WEEK 5
3D SCANNING AND PRINTING
Assignment: Test the design rules for your printer(s) (group project). Design and 3D print an object (small, few cm) that could not be made subtractively. 3D scan an object (and optionally print it).
Softwares:
- Cura, CAD-Software to prepare your model for 3D printing
- Rhino3D, 3D design software
- 123D Catch, 3D scan
DETAILS
What I did this week
I first spend a lot of time in mounting my 3D printer, from an Ultimaker kit (Original+ model). Then I spent a lot of time understanding how it works, and solving my first issues. I was finally able to do few prints with it. I also did a simple 3D scan.
Mounting my 3D printer from the kit
|
At the starting just a simple boxlooks simple at this stagenotice says it is between 6h00 and 20h00 to mount it
|
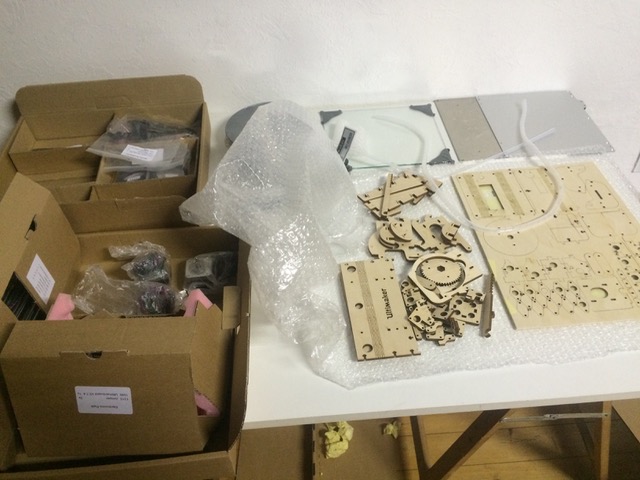
... but inside there is so much partsall the structure is made of wood (laser cutted)and so much bolts, nuts and so on
|
|
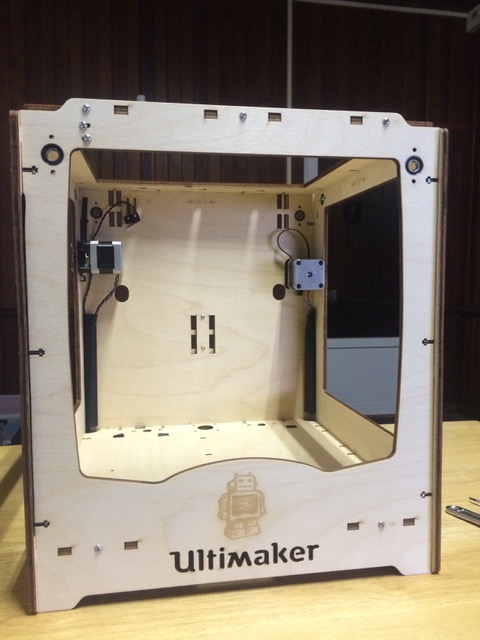
Step 1: assembling the Frame (about 2h30)at starting; identifying each part (numbers logic, etc) took some time
|
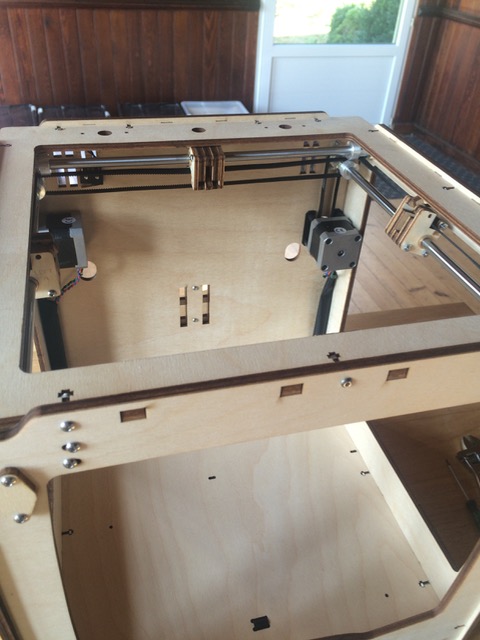
Step 2: assembling axes X and Y (about 2h30)building and understanding the role of slider blocks was not obvious
|
|
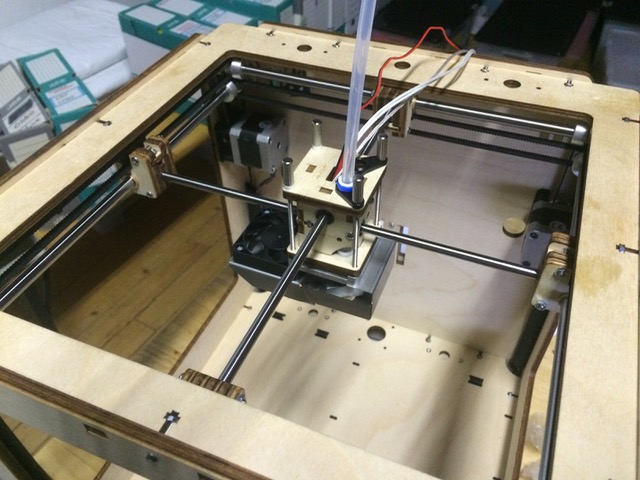
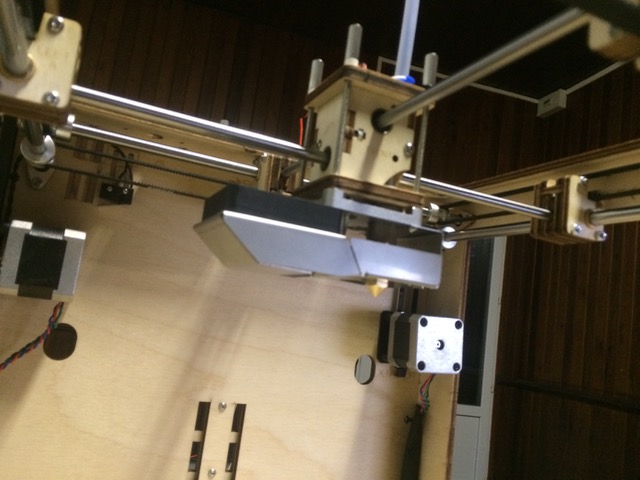
Step 3: assembling extrusion head (about 2h30) this part was a bit tricky
|
Positionning of the head and X/Y axes inside the slider blocks was not so clearit was necessary to found more info on Internet to understand how to fix it in the blocks
|
|
Step 4: assembling the Z axe + heated bed (about 2h30) the bed is a bit heavy and fragile, it was not so obvious to put it in place on Z axe
|
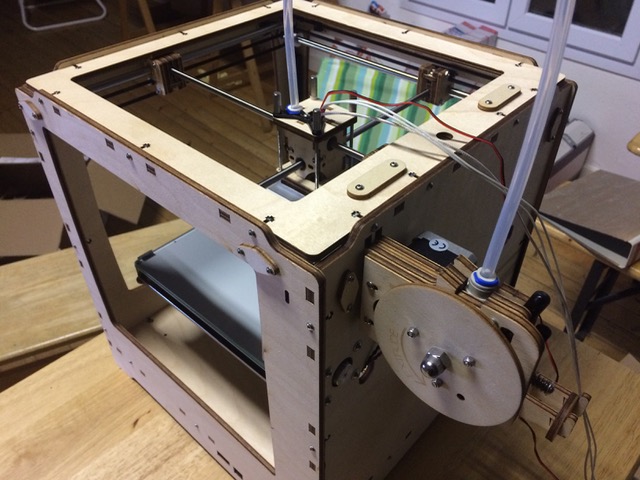
Step 5: assembling the material feeder (about 2h00) nothing particular except that I had to take care of not damaging the wooden gear with the small plastic gear
|
|
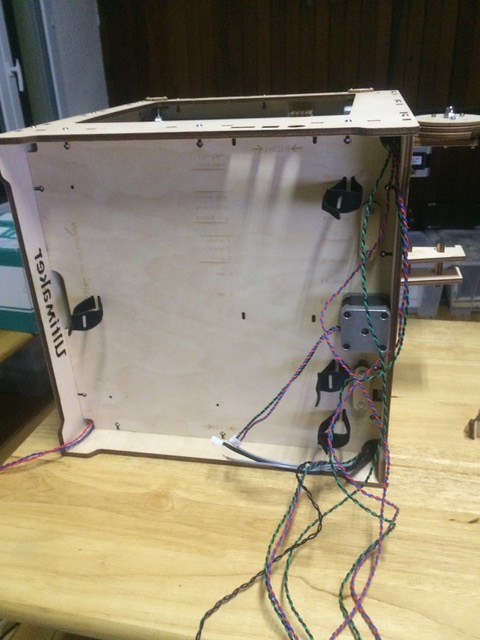
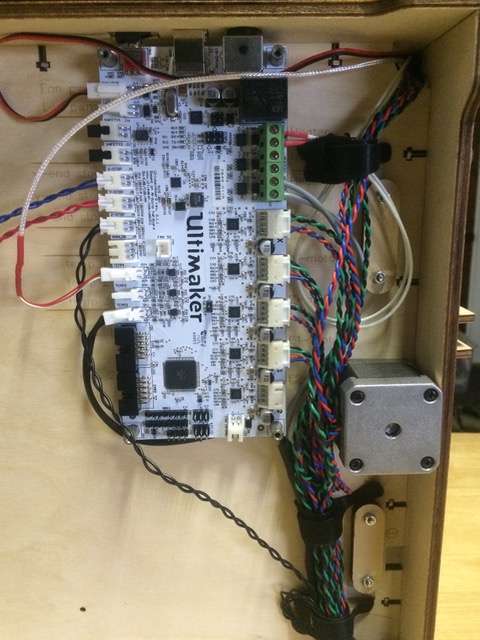
Step 6: mounting electronics circuit board (about 1h00) all the wires are going to the bottom of the frame where will be installed the board
|
PCB is installed, the explanation of the connection inside the notice was not so obviousbut after some time each connector found its place
|
|
Step 7: installing Ulti Controler (about 1h00)It is placed at the bottom of the front side and is connected to the board
|
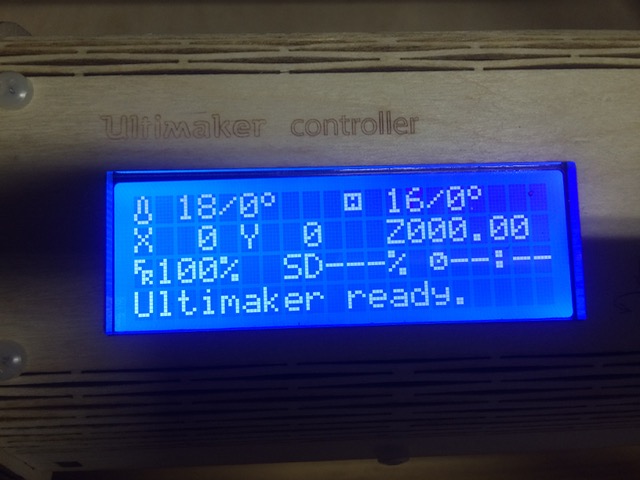
the controler give some information in real time (temp, etc...)and allow us to control/interact directly with the printer, even while printing, great feature
|

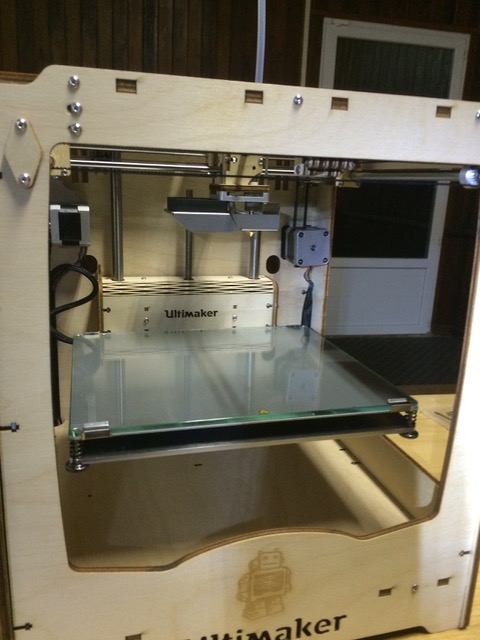
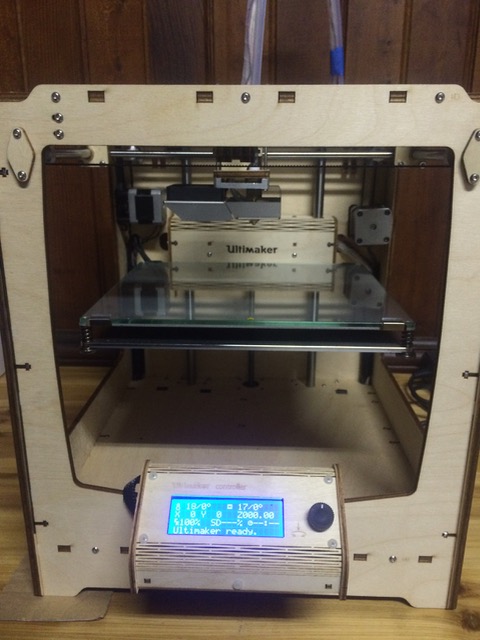
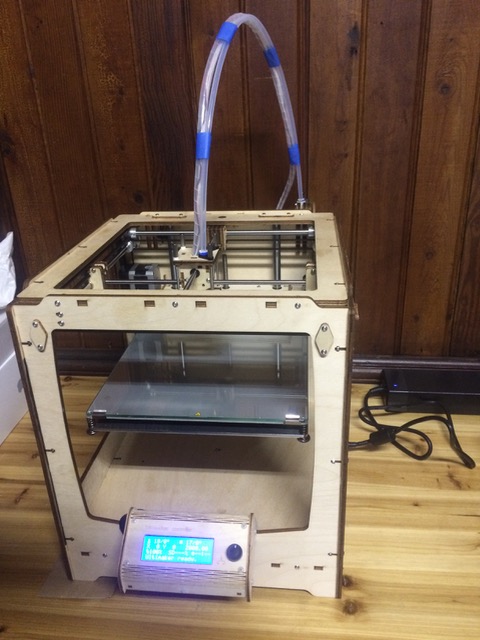
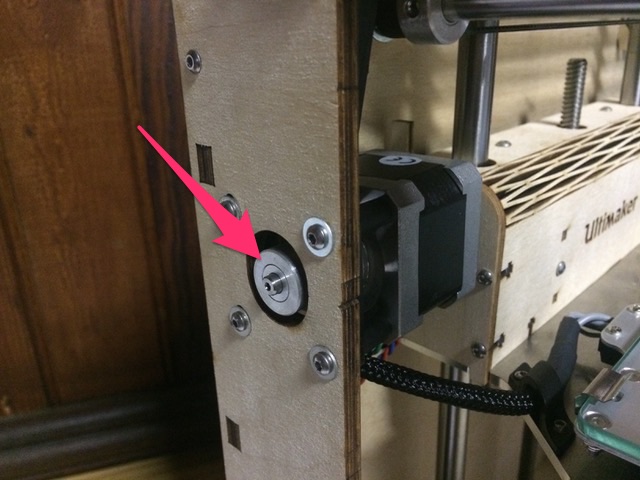
And finally positionning the Z endstop (Z limit switch), not a so obvious task!And after about 14h in total, the printer hardware is ready! cool!! now I need to check if it is working ;-)
It took a lot of time, but mounting my own printer was really very instructive I understand now: X/Y/Z operations and feeder mechanism from the mechanical point of view; extrusion head components; electronics components and connections. I really feel more confortable to use and maintain it because I understand it better!
Starting with Cura, and doing first 3D printings
|
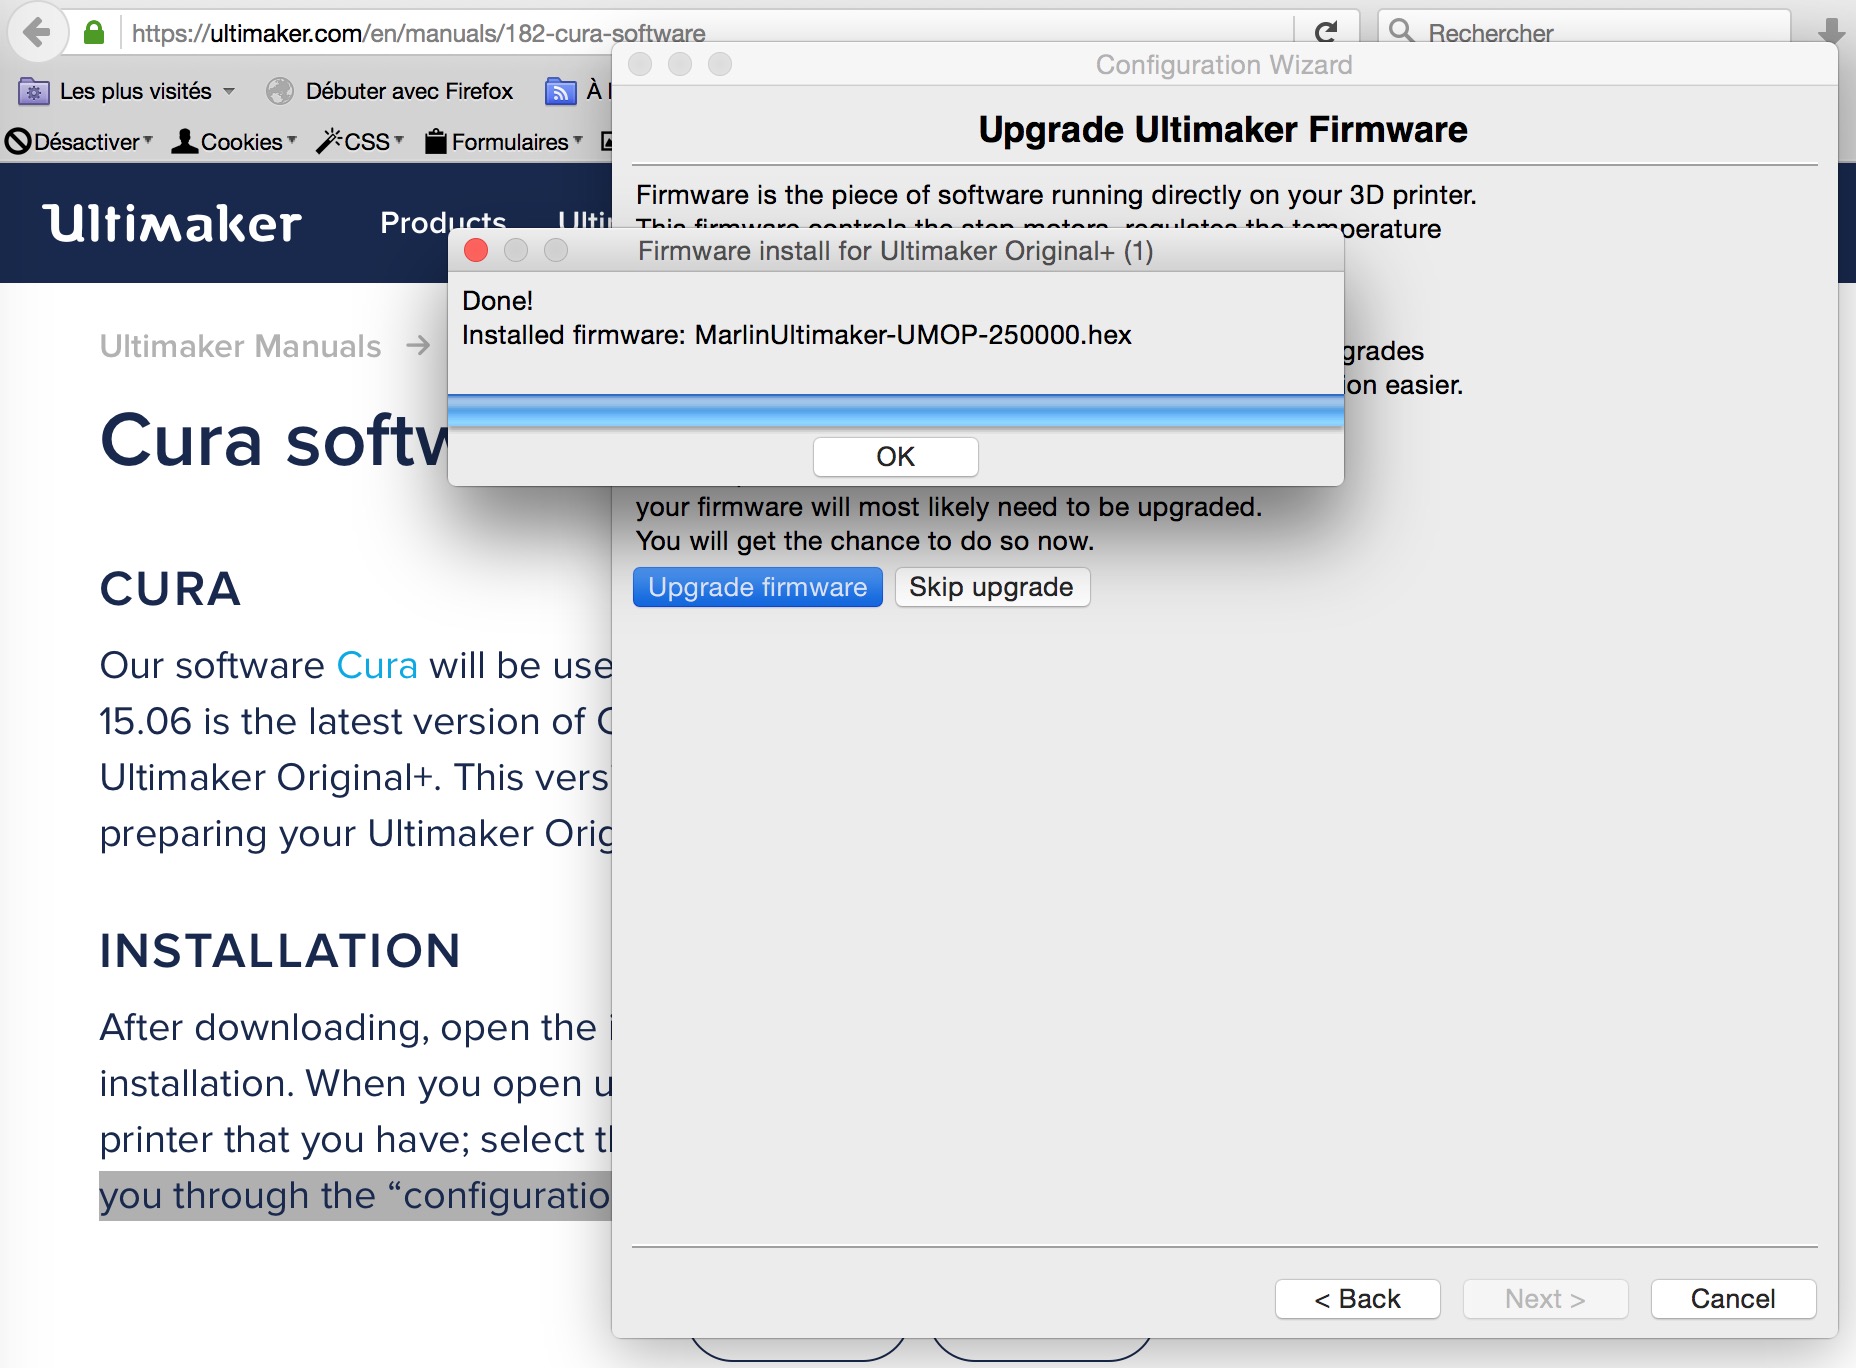
Starting Cura, specifying the model of my printerCura has a wizard when we declare a new printer and propose to update firmwares
|
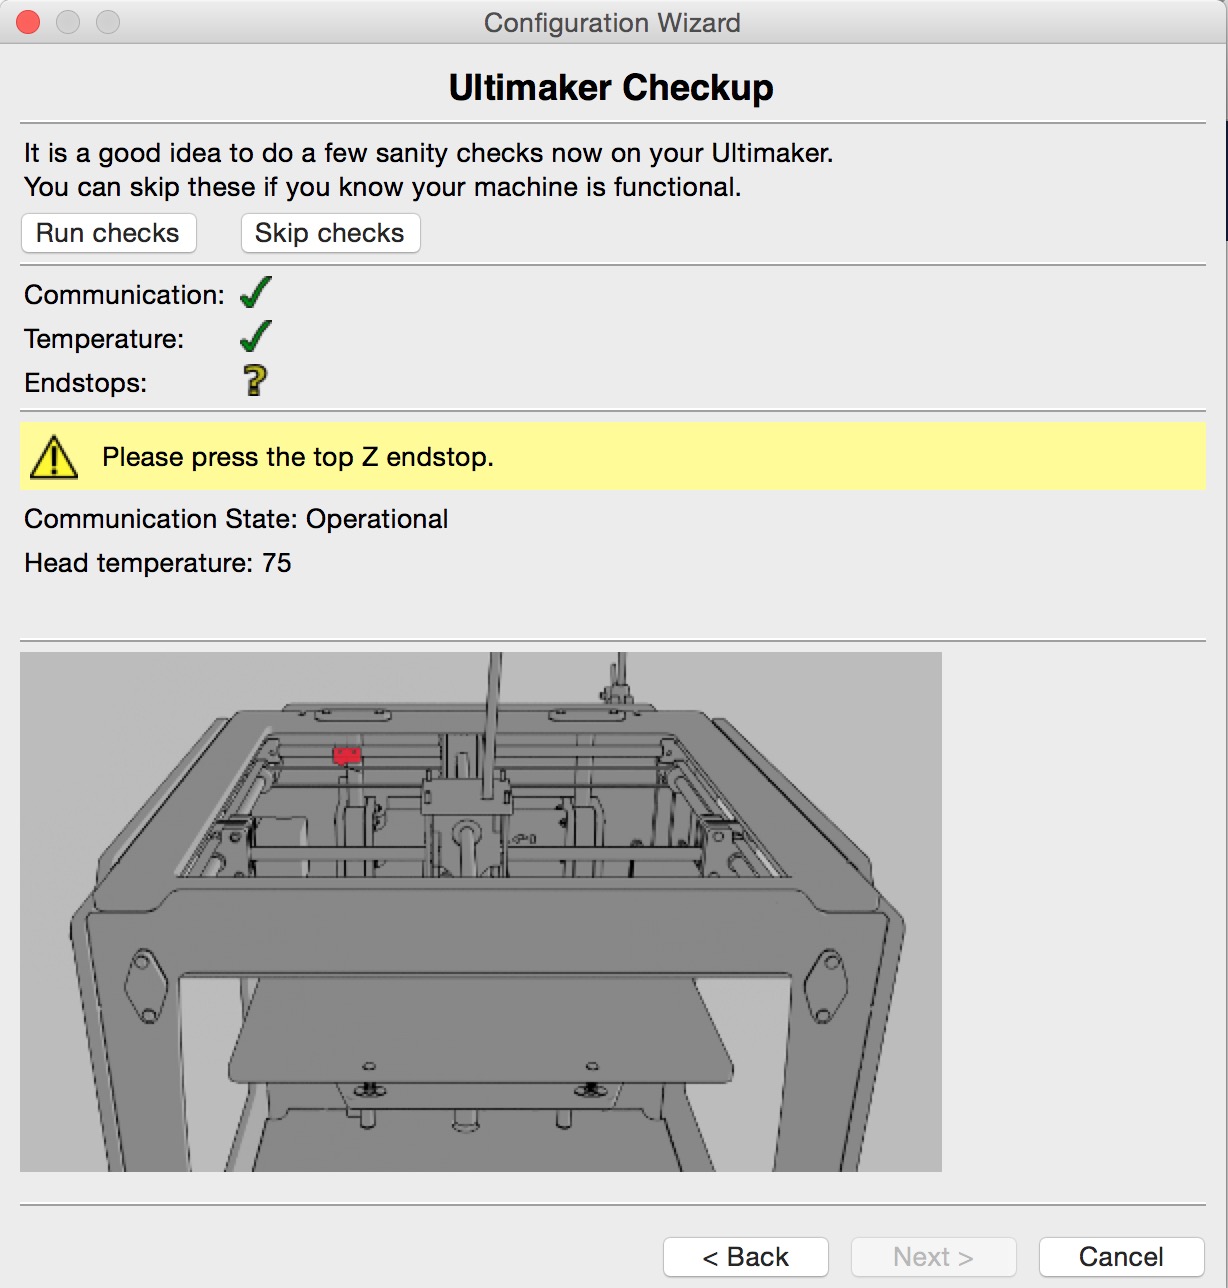
Then Cura does a checkup of my printer: communication, head temperature, Z endstop...
|
|
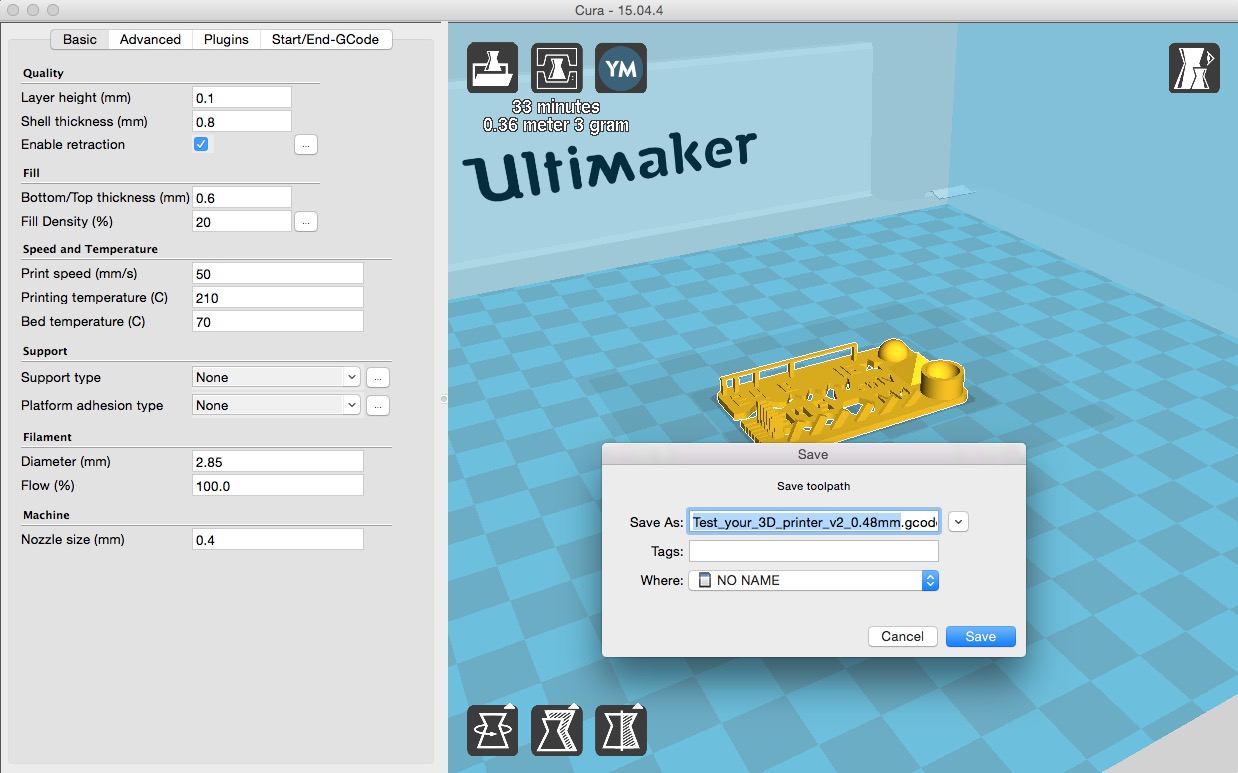
First print: opening a file test found on http://www.thingiverse.com/ Fastprint as setup, then loading .gcode file on my SD card
|
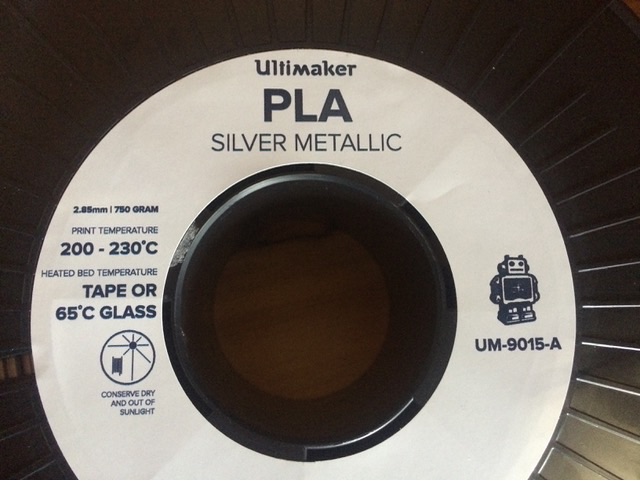
Using PLA material provided with the printerUsing temps 210/70(C) for head/bed
|
|
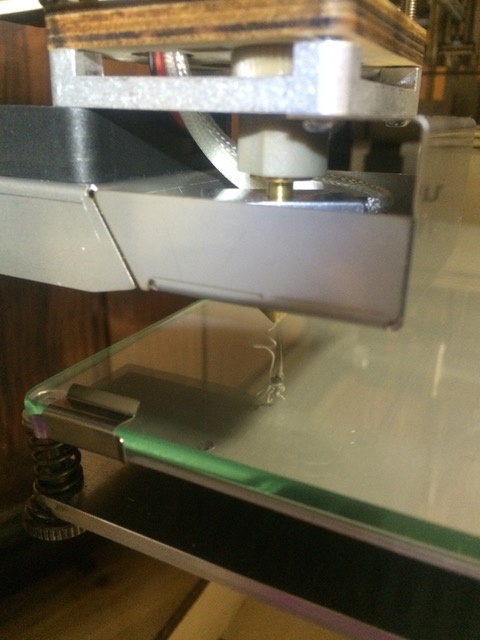
First time filament is going out of my printer extrusion head
|
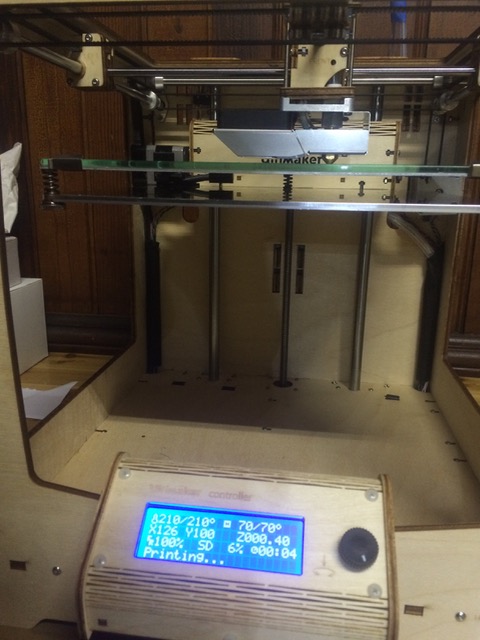
Printing
|
|
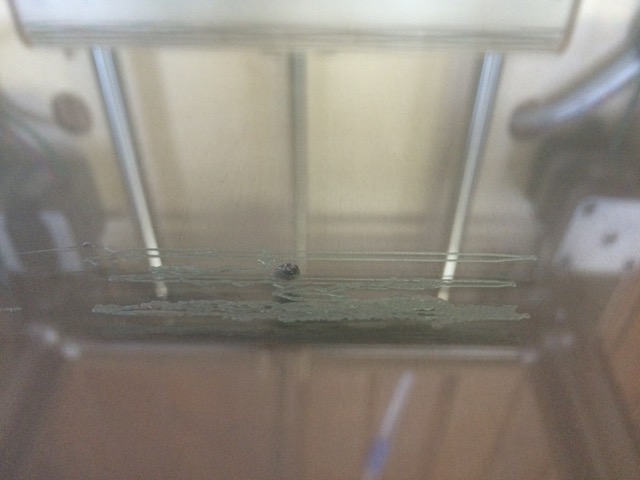
What a bad result!in fact at some moments, no more plastic going out of the extrusion head
|
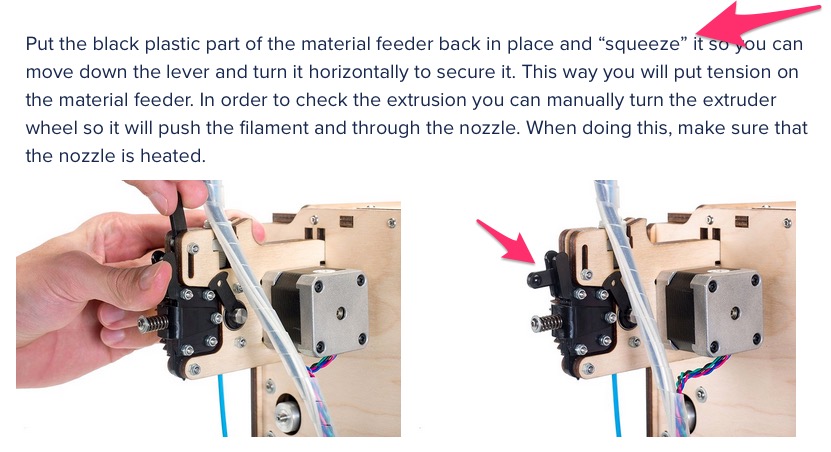
After reading about material feeder, I understood what I made wrong I did not close the lever correctly, so not enough pressure on the filament
|
|
Trying again, still a bad result :-(
|
This time, the problem was coming from my Y axe, in fact the pulley on the Y motor axe was not enough tightenedAnd sometimes, the motor was turning into the void
|
|
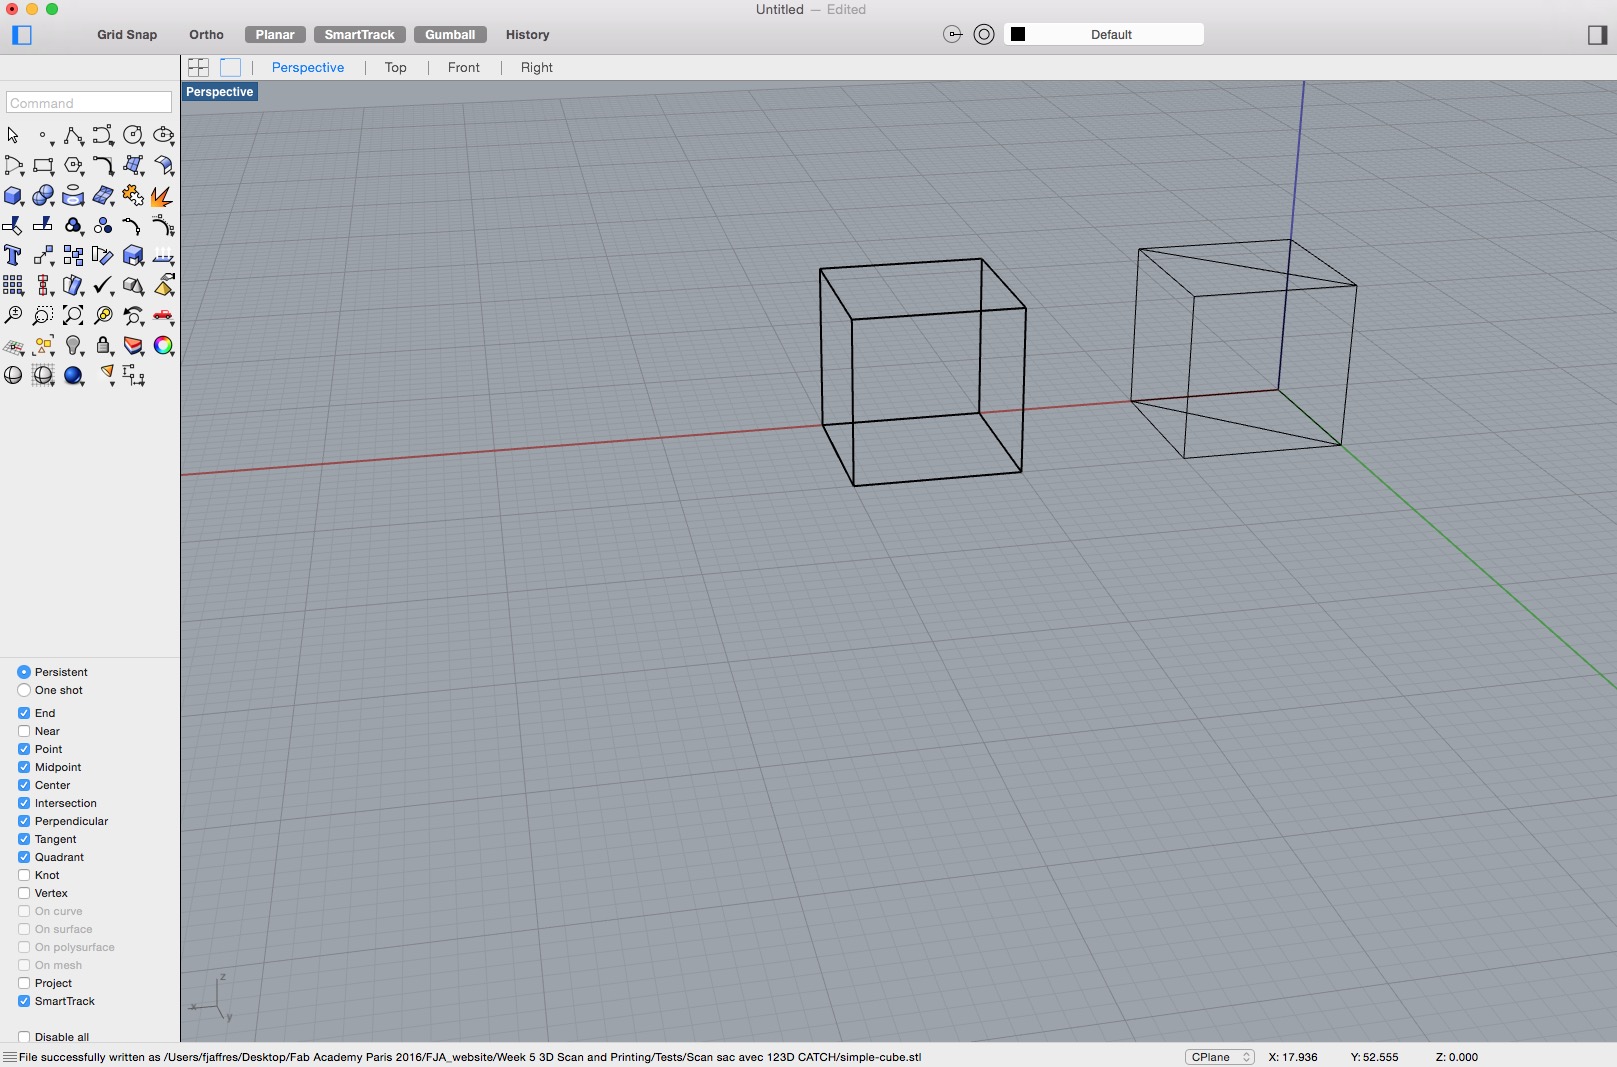
Then, I did a more simple model to print, a simple 1cm width cubeUsing Rhino
|
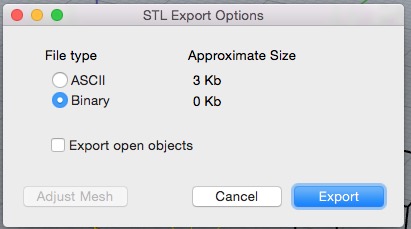
Exporting it to STL file
|
|
Print looks really better
|
Yes, not so bad
|
|
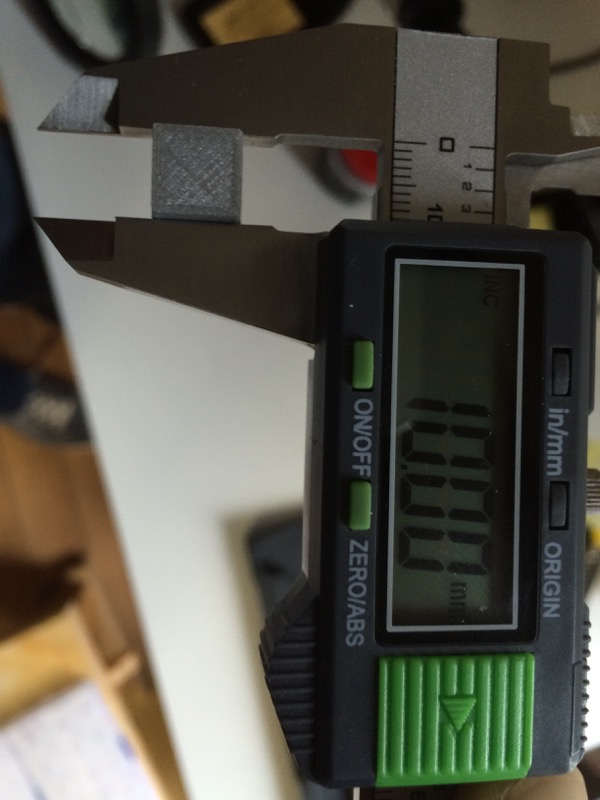
And the dimension is OK !
|
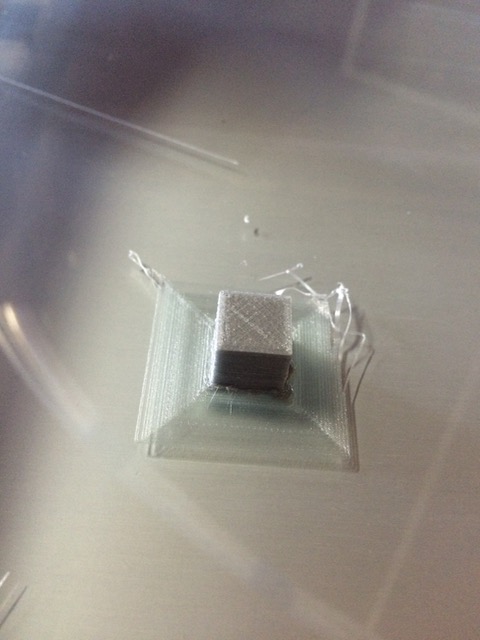
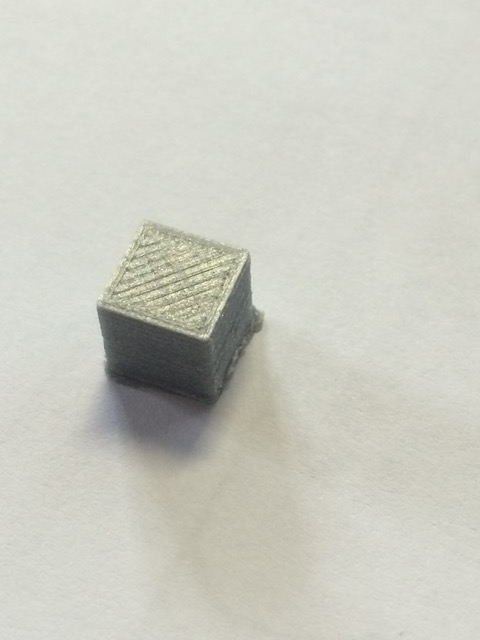
I still have low quality while printing the first layers some plastic "mess" on the back of my object, head melting previous layers probably an issue on my bed leveling I have to work more on the calibration of my bed I will continue working on the tuning my printer
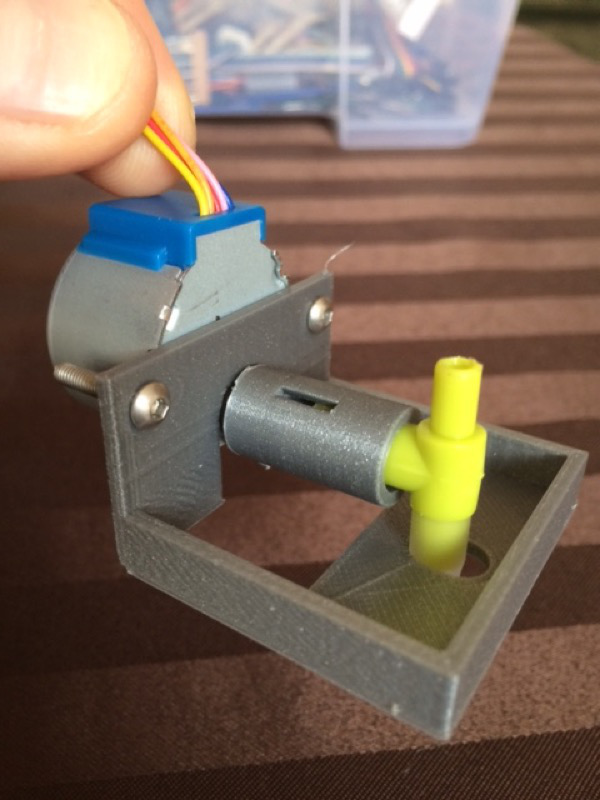
Production of an object that could not be made subtractively
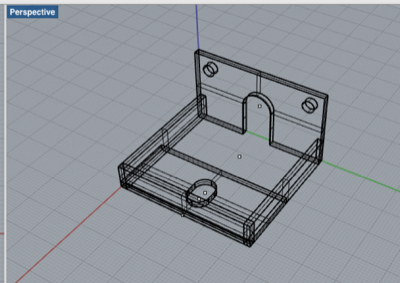
|
I did an object for our Team Machine that cannot be done subtractivelyHere is a screenshot of object done with Rhino3D
|
Here is the printed object in actionI have finalize the settings of my 3D printer, now printed object are very good quality
|
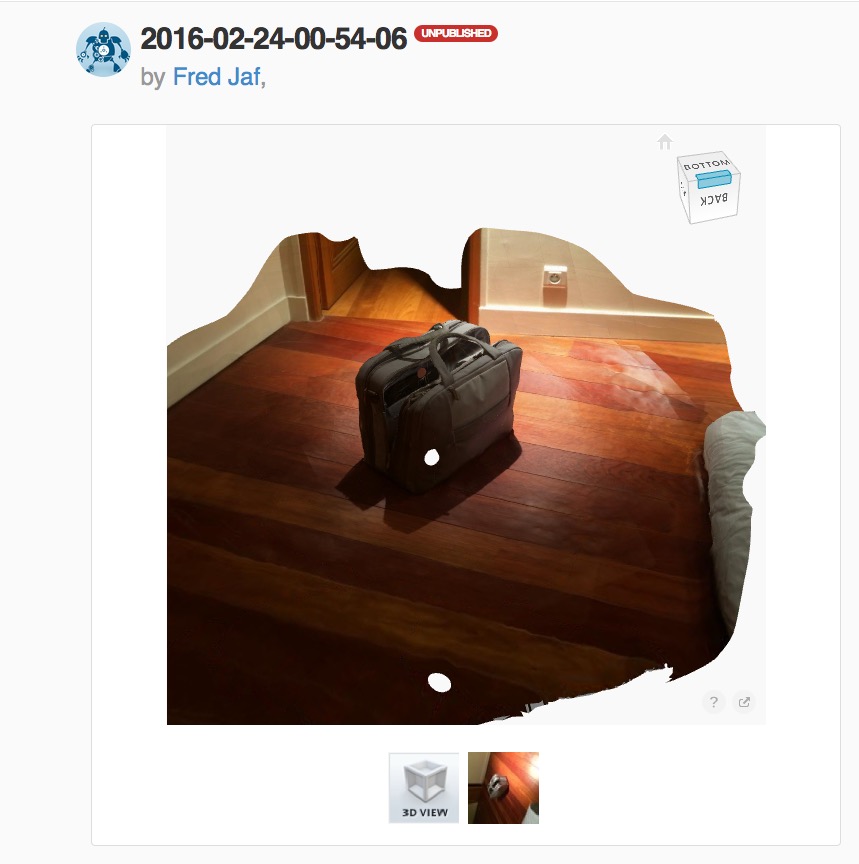
3D scanning
|
I registered on autodesk websiteI installed 123D Catch, from Autodesk, on my smartphone
|
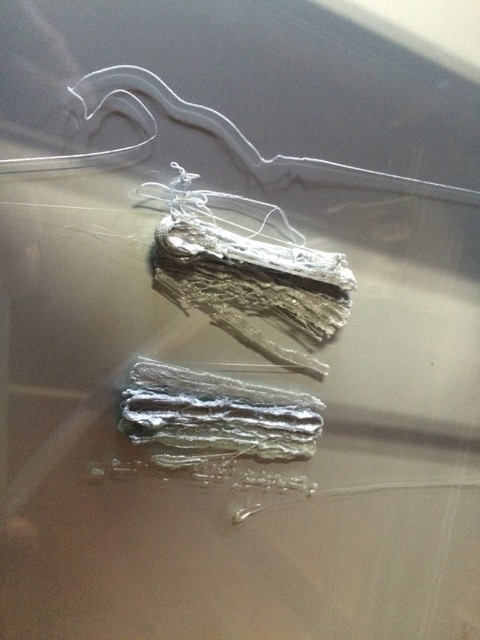
Using 123D Catch, I did several photos of my object (my bag)Turning around the object, trying to keep same distance to it
|
|
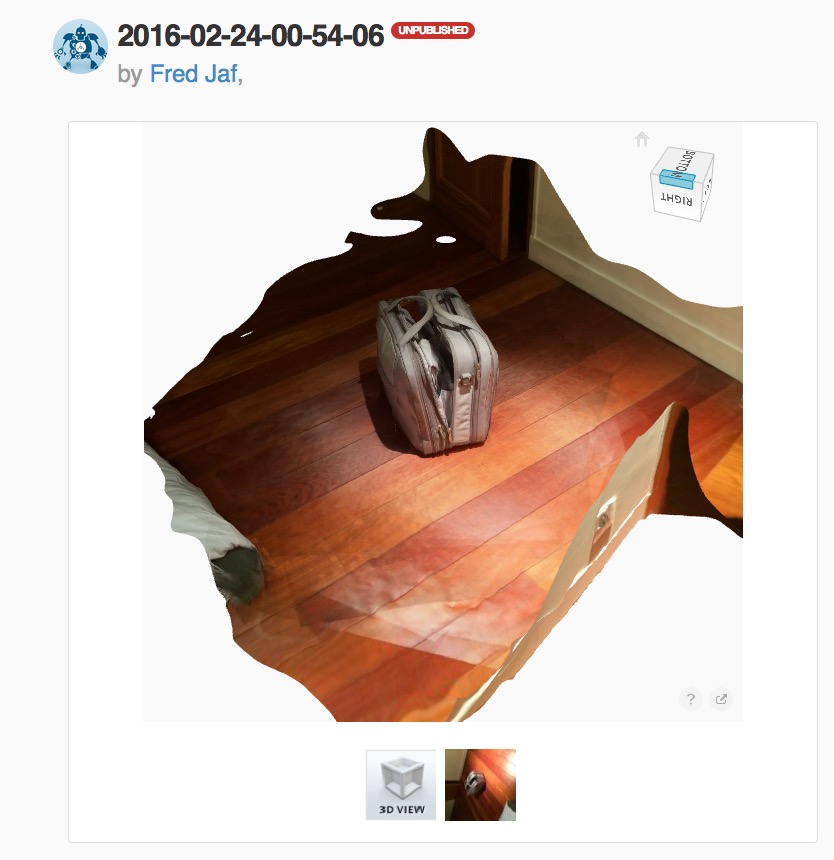
Then I load photos to Autodesk cloudI had to wait several minutes for post processing (30 to 60 minutes) on Autodesk platformAs first result, 3D Preview on the website is really IMPRESSIVE
|
Then I can download 3D files, as outputs
|
|
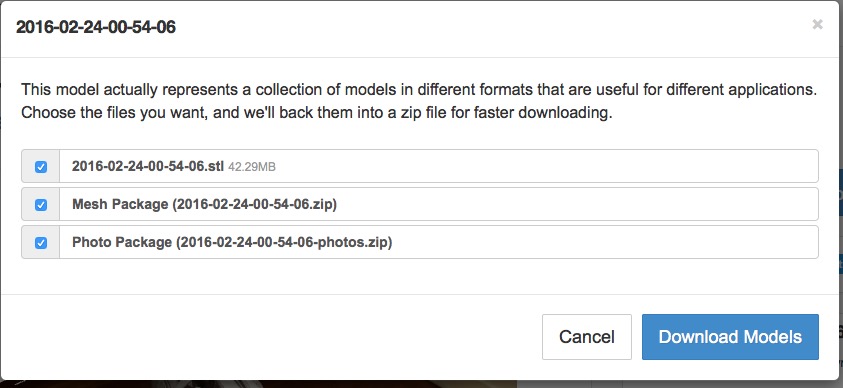
Several format are available:
|
Opening .obj file in Rhino (so much meshes), looks like it will be a big job to clean it if I want to go to print!
|


no more time spent on 3D scanning I spent/spend so much time on the 3D printer (assembling, and now trying it)