WEEK 3
COMPUTER-CONTROLLED CUTTING
Design and make a corrugated cardboard press-fit construction kit
ChessBoard: idea and draft
As I did not find an object to build with the LaserCutter that can be useful for my final project, I was looking for an idea of a kit that can be reusable.As my son likes a lot playing Chess, and is a fan of construction games, I decided to build for him a ChessBoard kit.
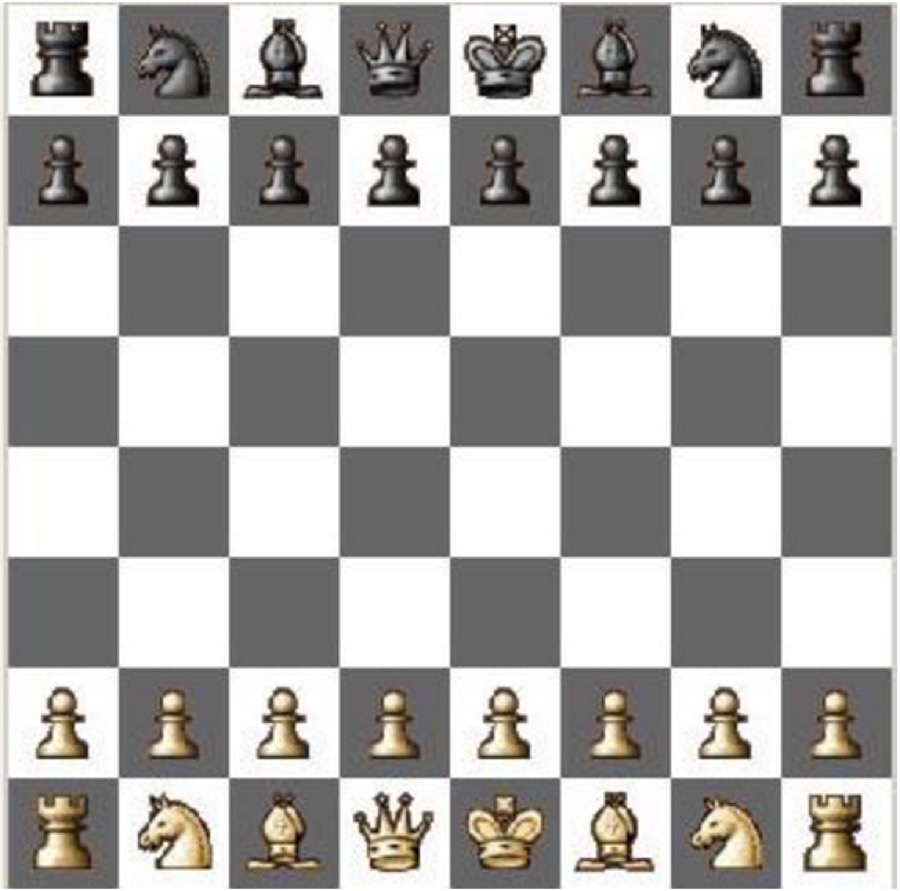
A typical ChessBoard (found on the Internet):
What I did:
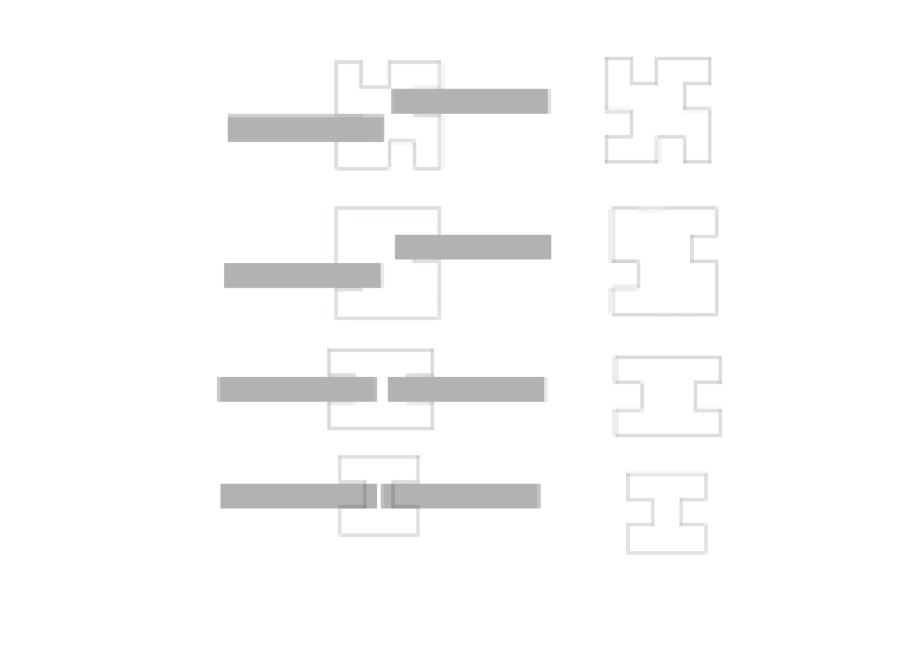
I did a very first draft of the ChessBoard using Inkscape.At the beginning I imagined that I can use Inkscape to build my 2D files to go to the LaserCutter, but very quick I decided to stop because, this software is not parametric (and from my point of view not so intuitive to use, poor interactions with the mouse and keyboard).However I did few drawings of the Joints in Inkscape, and I took the decision to have white squares and black squares of the keyboards on two different planes (and keep them uncolored).
Results
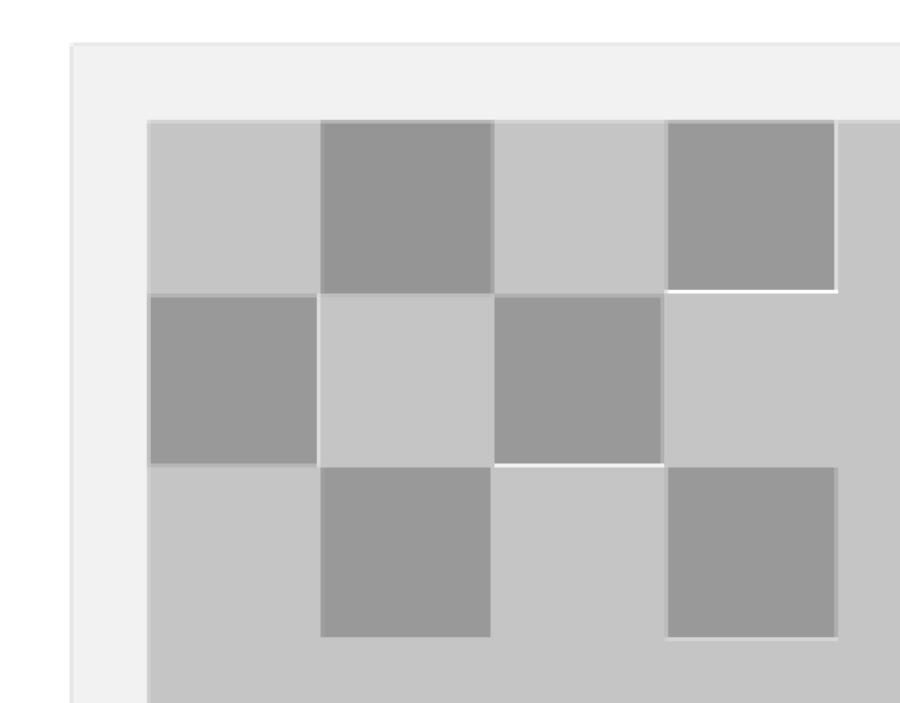
Starting to draw my ChessBoard:
Some ideas for the Joints, decision to put squares on different Z plans (2nd joint below):
Using a awesome parametric software to design my pieces
What I did:
In order to build my ChessBoard, I need only 2 types of pieces, which seems not to be a big deal!BUT I want those 2 pieces to be completely parameterizable!By this, I mean that I must be able to change any size parameter (as an input)and get the shape of my pieces automaticaly modified (as an output).To do this, I decided to use GrassHopper, which is the companion product of Rhino3D,the software I used the previous week to build my 3D files.
Results
|
Starting with GH (GrassHopper).Working on: Fillet or Chamfer, creating points for Joints.
|
Going to Chamfer. Using more and more Evaluate_Curve.Understanding sorting of Items (Indexes).
|
|
Retrieving an Item from a List (List Item) from its Index.Creating all my segments from the points.
|
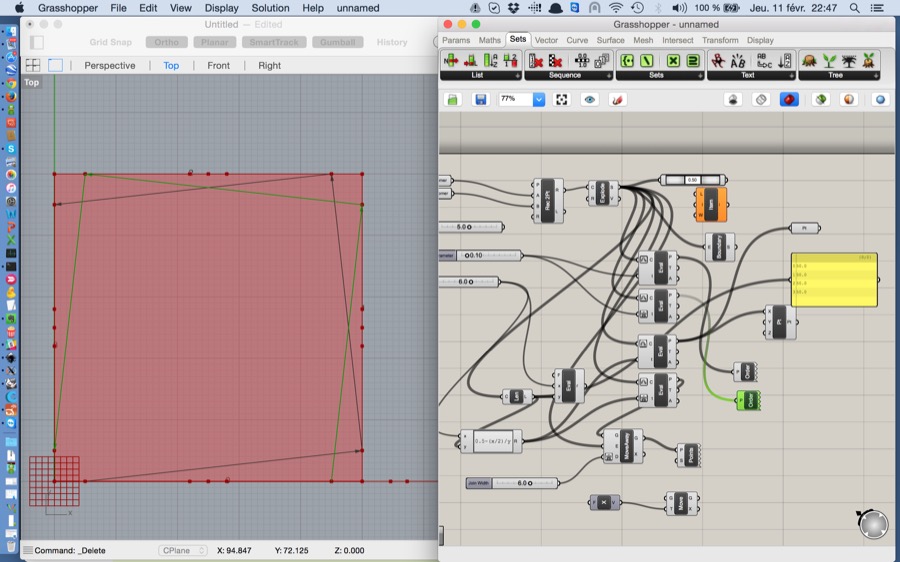
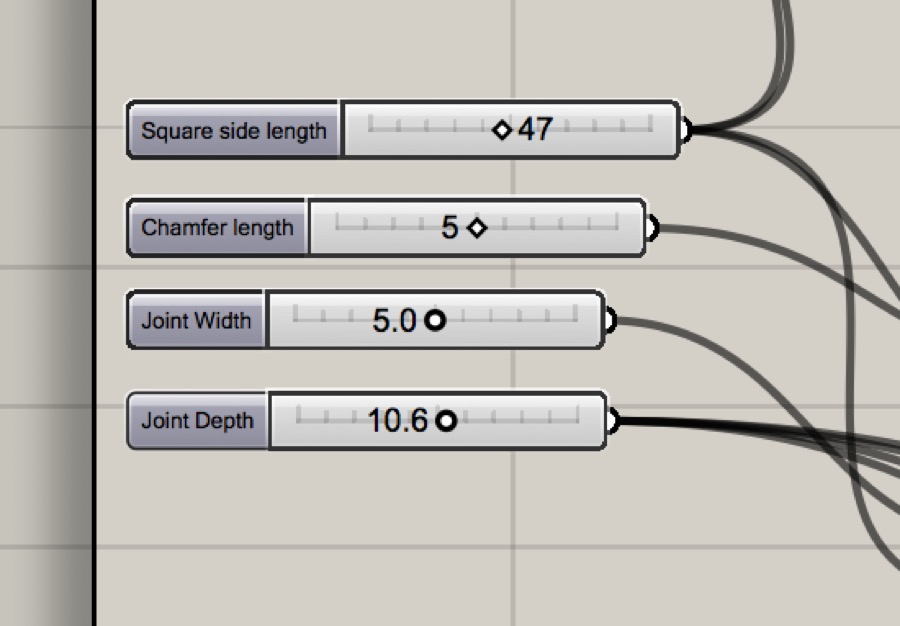
All my inputs Parameters:
|
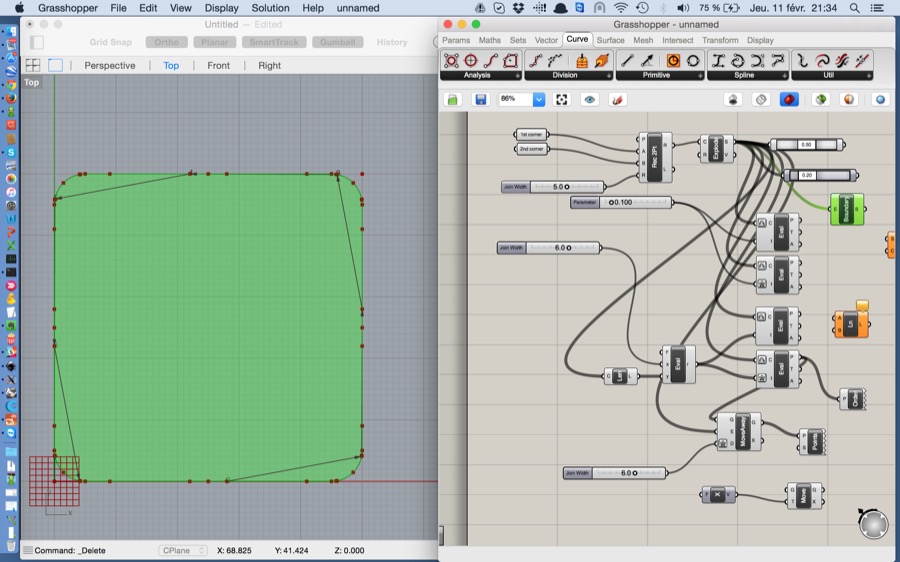

Final preview for the main piece, doing a Join of all my Segments.Some optimization of the GH file (using List Item with several outputs).

From the GH (GrassHopper) files to the LaserCutter
What I did:
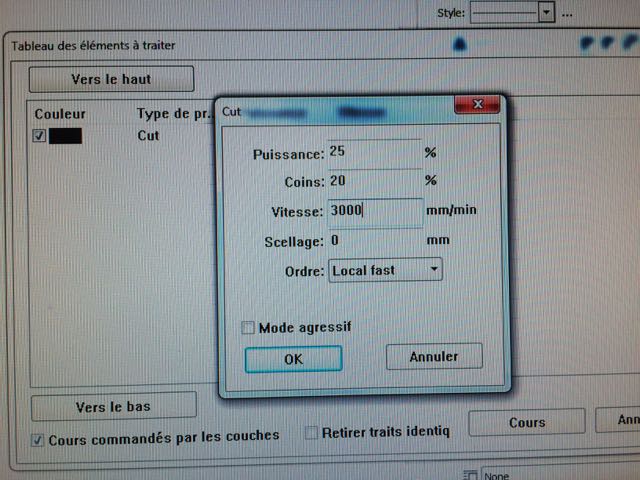
First I had to do a Bake of my preview from GH to Rhino, I did it on the Join component in GH.Then I had to duplicate my pieces inside my Rhino files (.3dm), then export those files to .dwg files (2004 polylines).Then I opened those files on the computer connected to the LaserCutter, using CorelDraw software.I set up the parameters for the Laser (Power, Corners, Speed)
Results
|
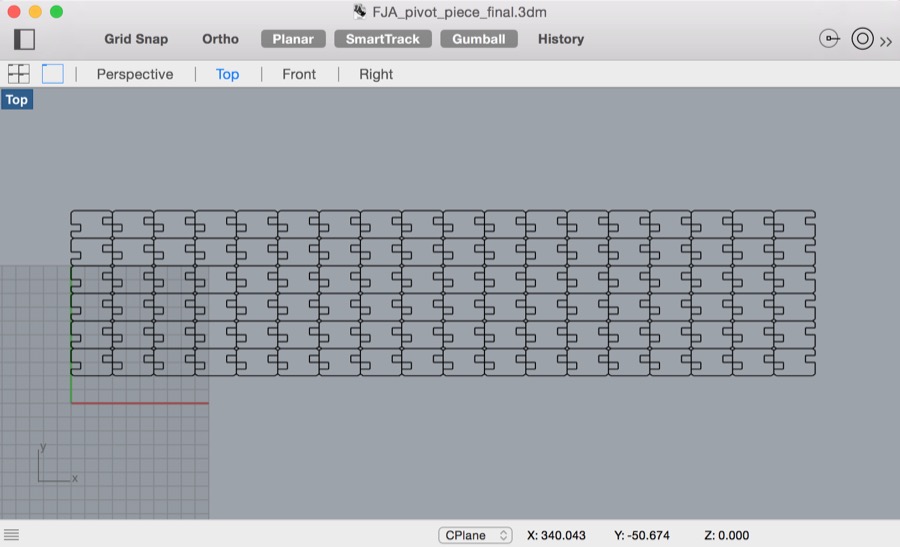
Final Rhino file for the pivot piece
|
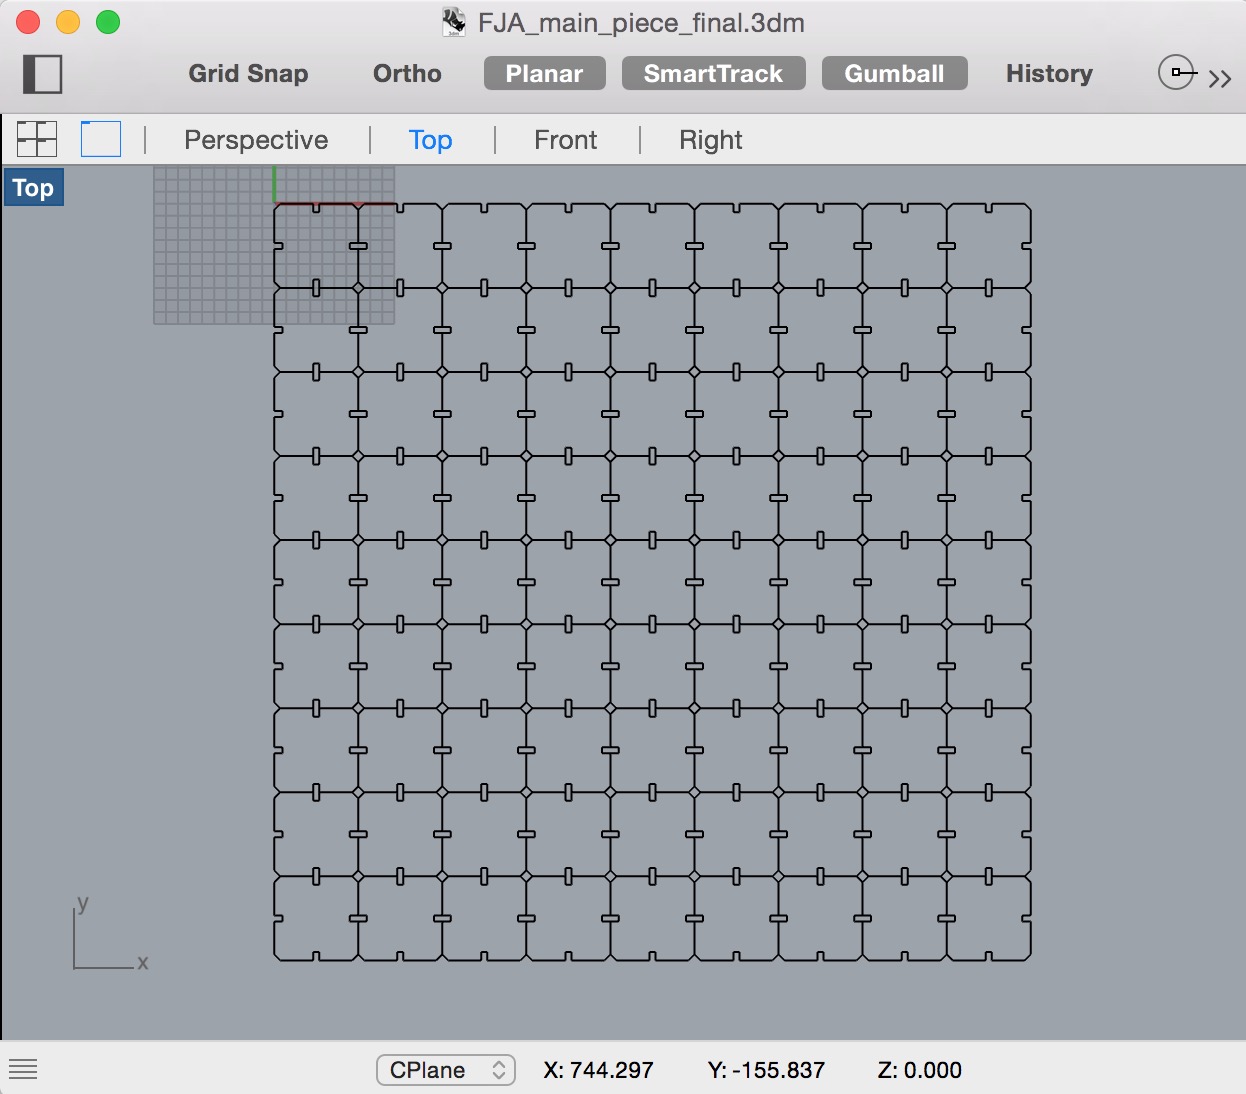
Final Rhino file for the main piece
|
Some photos
|
Setting the parameters for the Laser Cut:
|
First test:
|
|
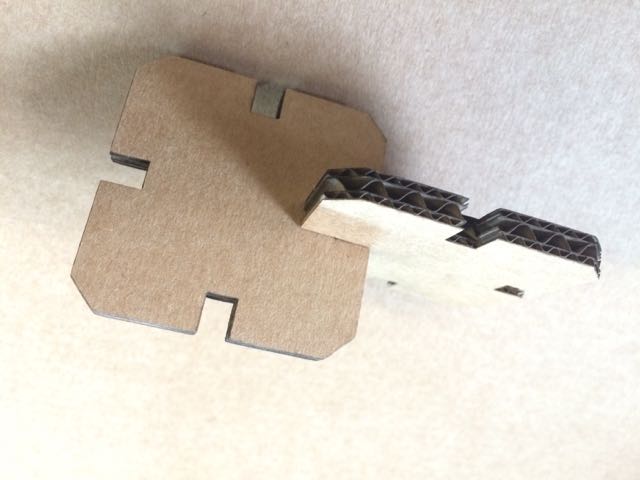
First Joint:
|
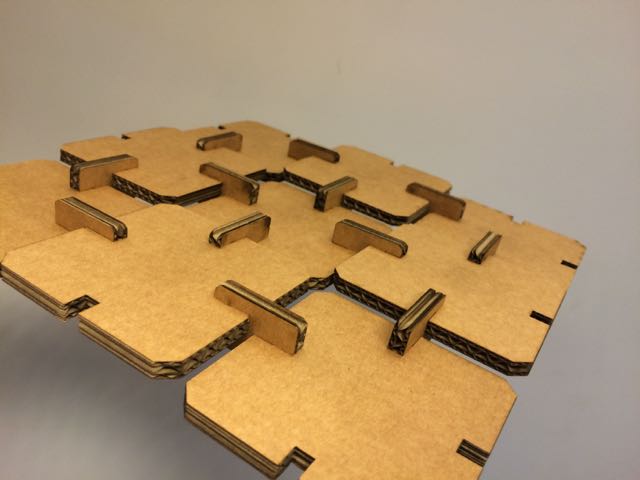
Second test, with 9 main pieces, to check concept:
|
|
Laser in action
|
Children in action ;-)
|


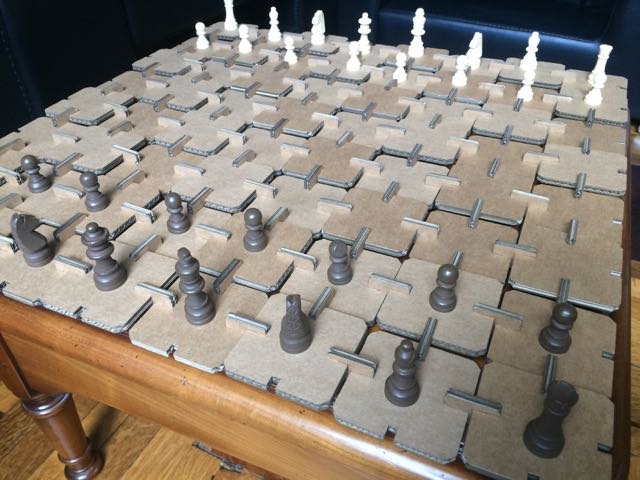
Final result
Working with Vinyl Cutter
What I did:
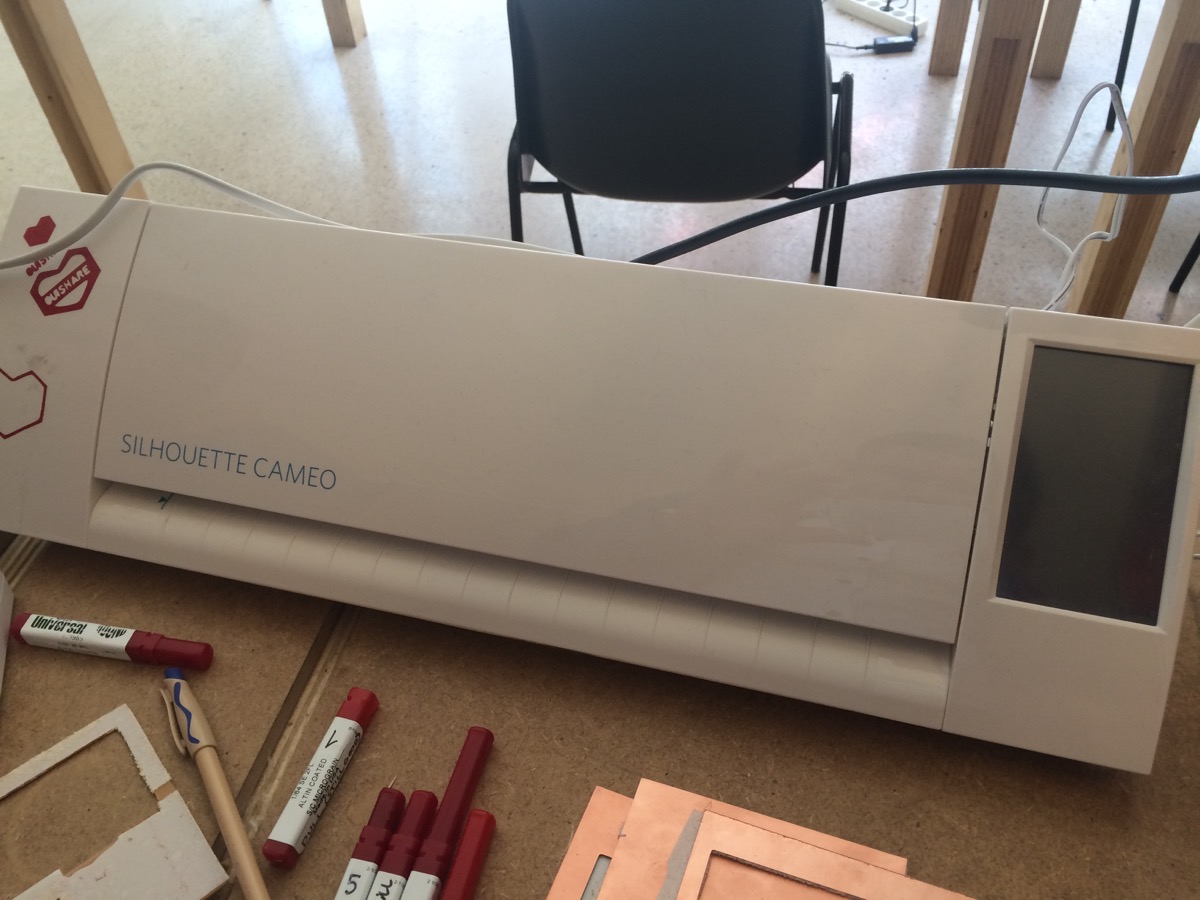
We used Silhouette Cameo machine to do Vinyl Cutter. I did simple stickers from images I found on the Internet, Starwars related (I know, not so original!).
Details
|
Here is the machine we used.
|
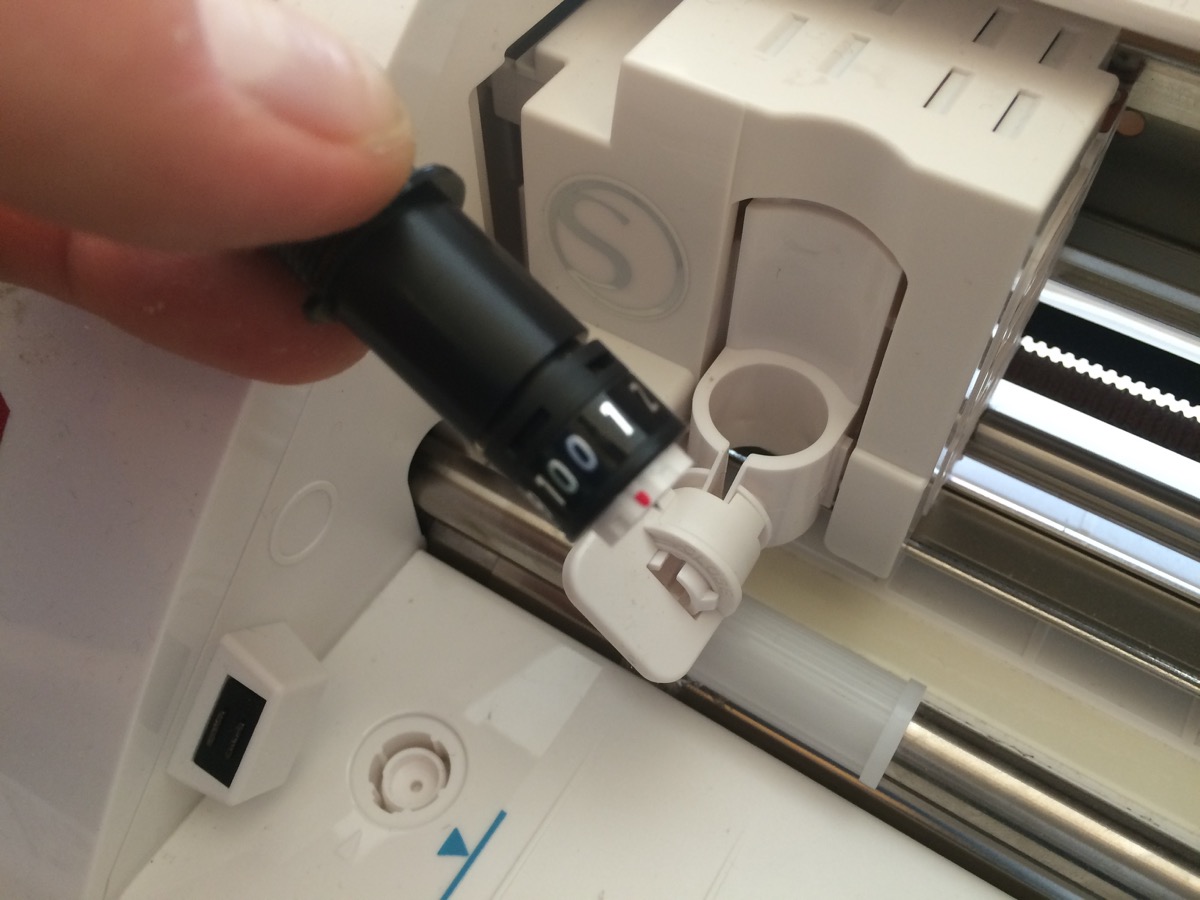
The physical settings of the cutter is very important to determine the depth of the cutting job.
|
|
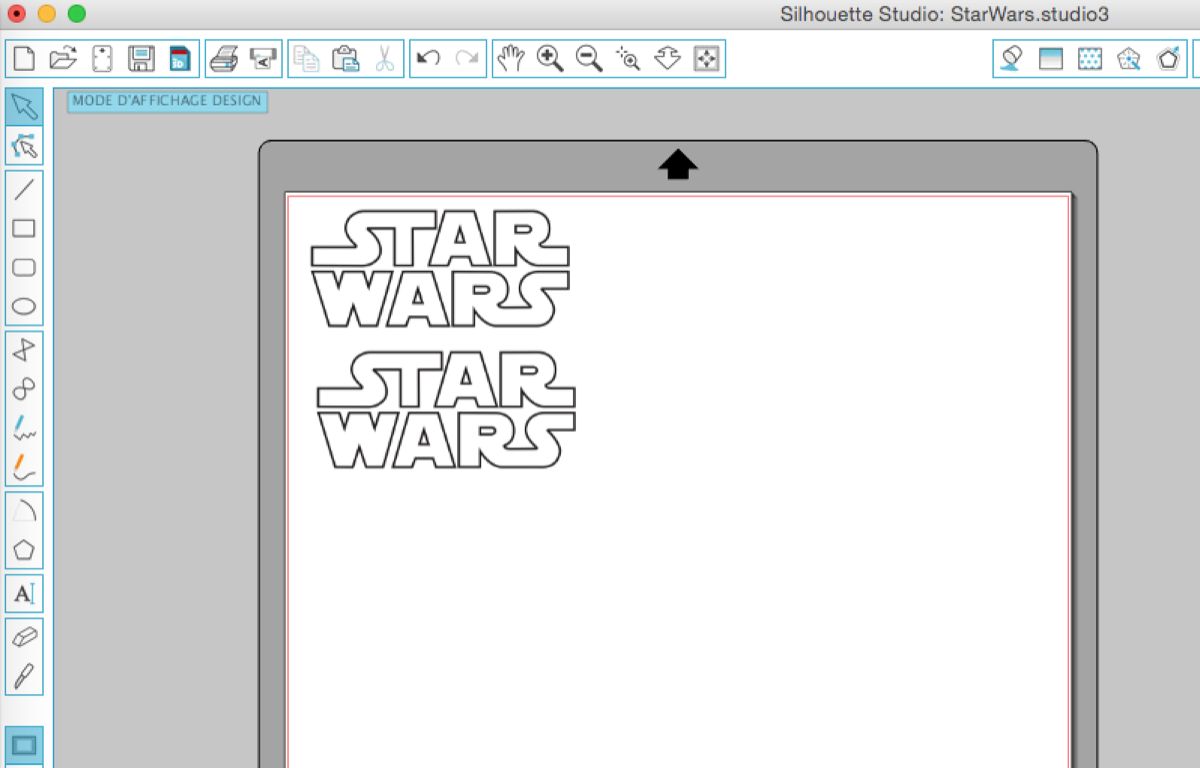
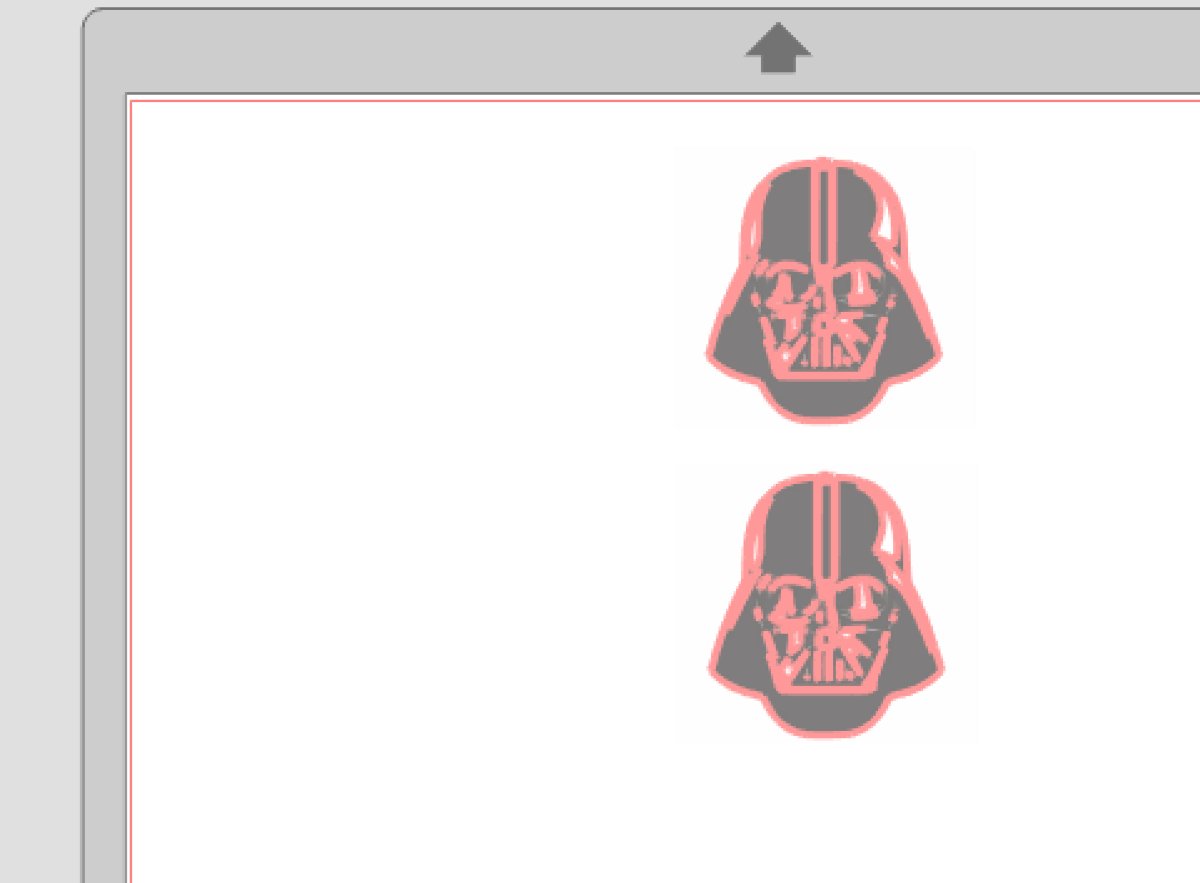
Importing PNG files. In the software, Settings of the material used with the machine is very important also, notably to know the thickness of the material!
|
The images have to be vectorized. It is possible to do it with the software provided with the machine.
|
|
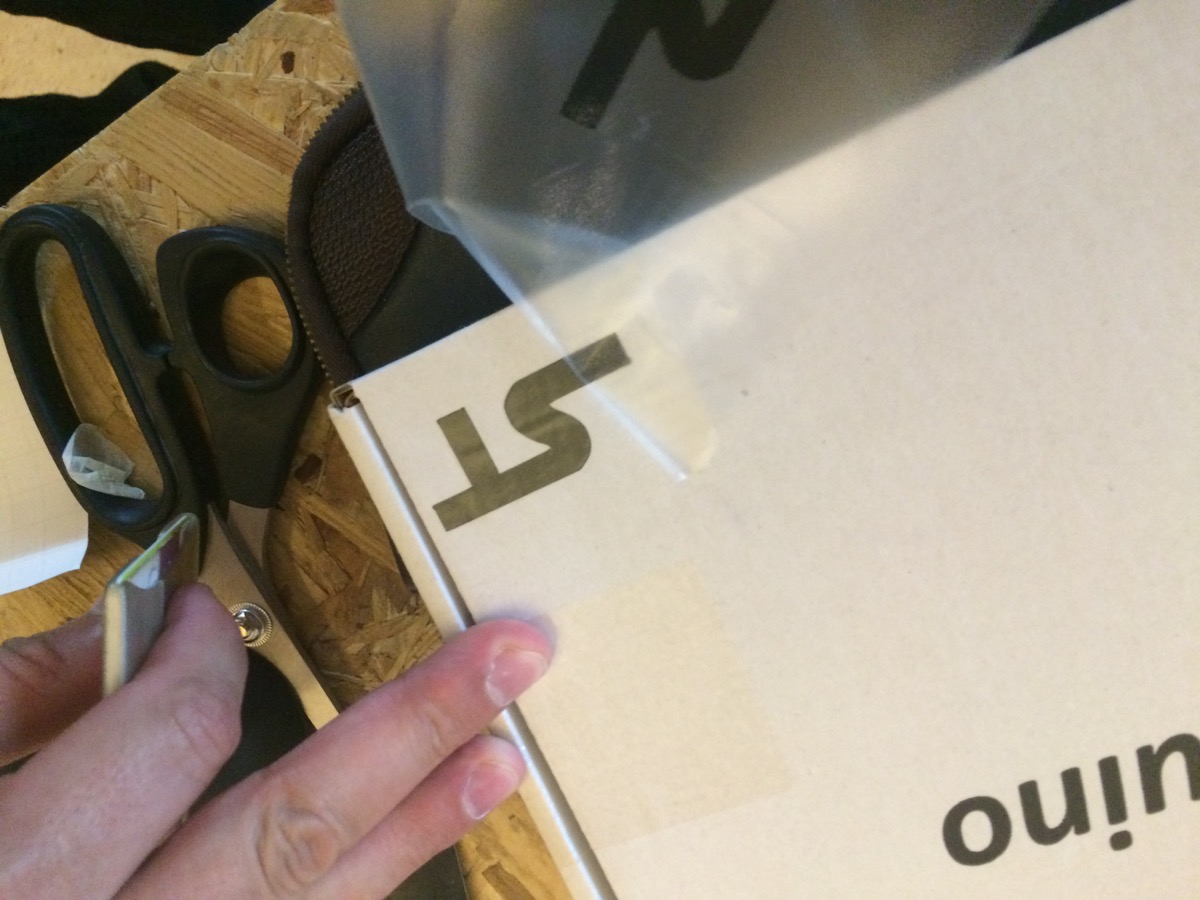
After cutting, we must take care when unsticking, because it sticks well ! :-)
|
Here is my final result, using transfer paper
|