2d Cad (bitmap): Gimp+Bimp
Resize, compress and rename with a pattern your pictures for the web
1. Download Gimp
• Mac (the Bimp plug-in is already installed in this version)
• Windows
1.1 Install Gimp's plug-in "Bimp" (just for windows)
Bimp stands for "Batch image manipulation plugin", it allows you to execute a list of actions to manipulate a group of pictures
Go to help > plug in browser and search and install "bimp"
2. Open Bimp
In Gimp go to file > Batch image manipulation...

3. Set input/output folders
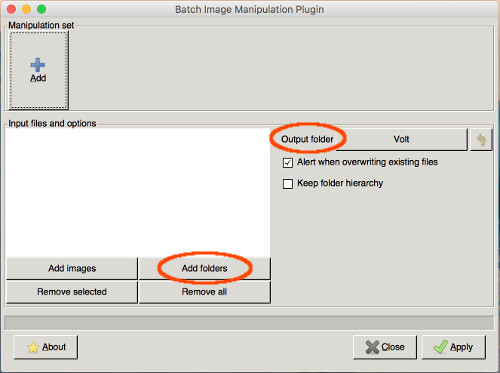
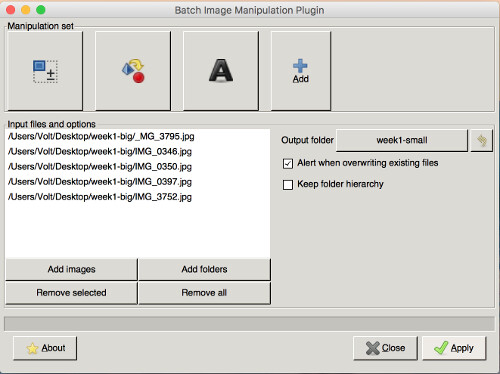
After the step 2, a window will appear, first of all you should choose an input folder – where your full size pictures are stored – and an output folder – where you will store the manipulated pictures.
4. Add Manipulation sets
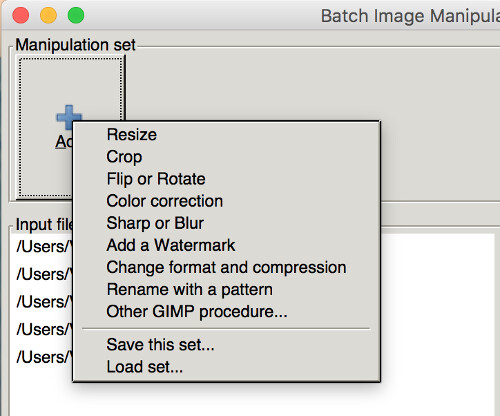
At the top of the window press the button Add: a dropdown list will appear showing you the preset actions you can execute on your files. In this tutorial we will use the Resize, Change format and compression and Rename with a pattern
4.1 Resize
In this example i want to resize my picture to an exact width of 500px, this is what i need to fit the images in the layout of my website. And because I don't want to distort my pictures I will keep the Preserve aspect ratio selected.

4.2 Compress
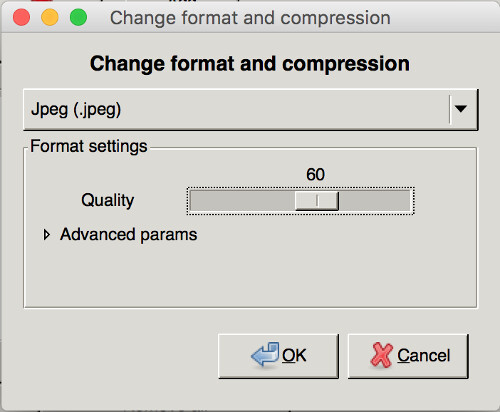
In order to reduce the file size we will use the Change format and compression action. We can choose a destination format: usually jpeg, unless you need transparency in your images (png or gif will work).
4.3 Rename with a pattern
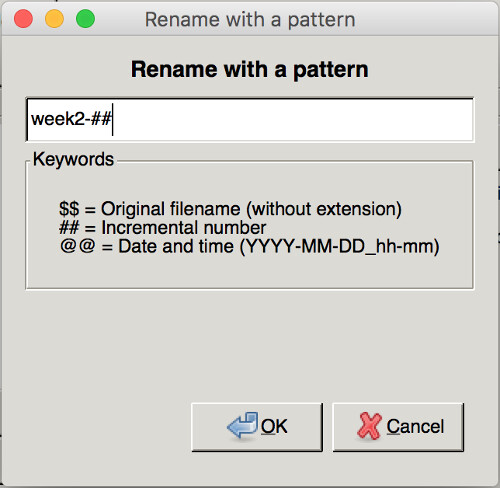
Now we can set a sequential name to our pictures: in this case I want my picture named week2-1, week2-2, week2-3, week2-n, so we type in week2-## where ## will be replaced by an incremental number, as suggested at the bottom of the window.
5. Execute
We have set all the manipulations we wanted to execute on our images so we can just press Apply and after the charging of the bottom bar we will find our pictures – resized, compressed and renamed – in the destination folder.
3d Cad: Rhinocheros
Main structure of the final project
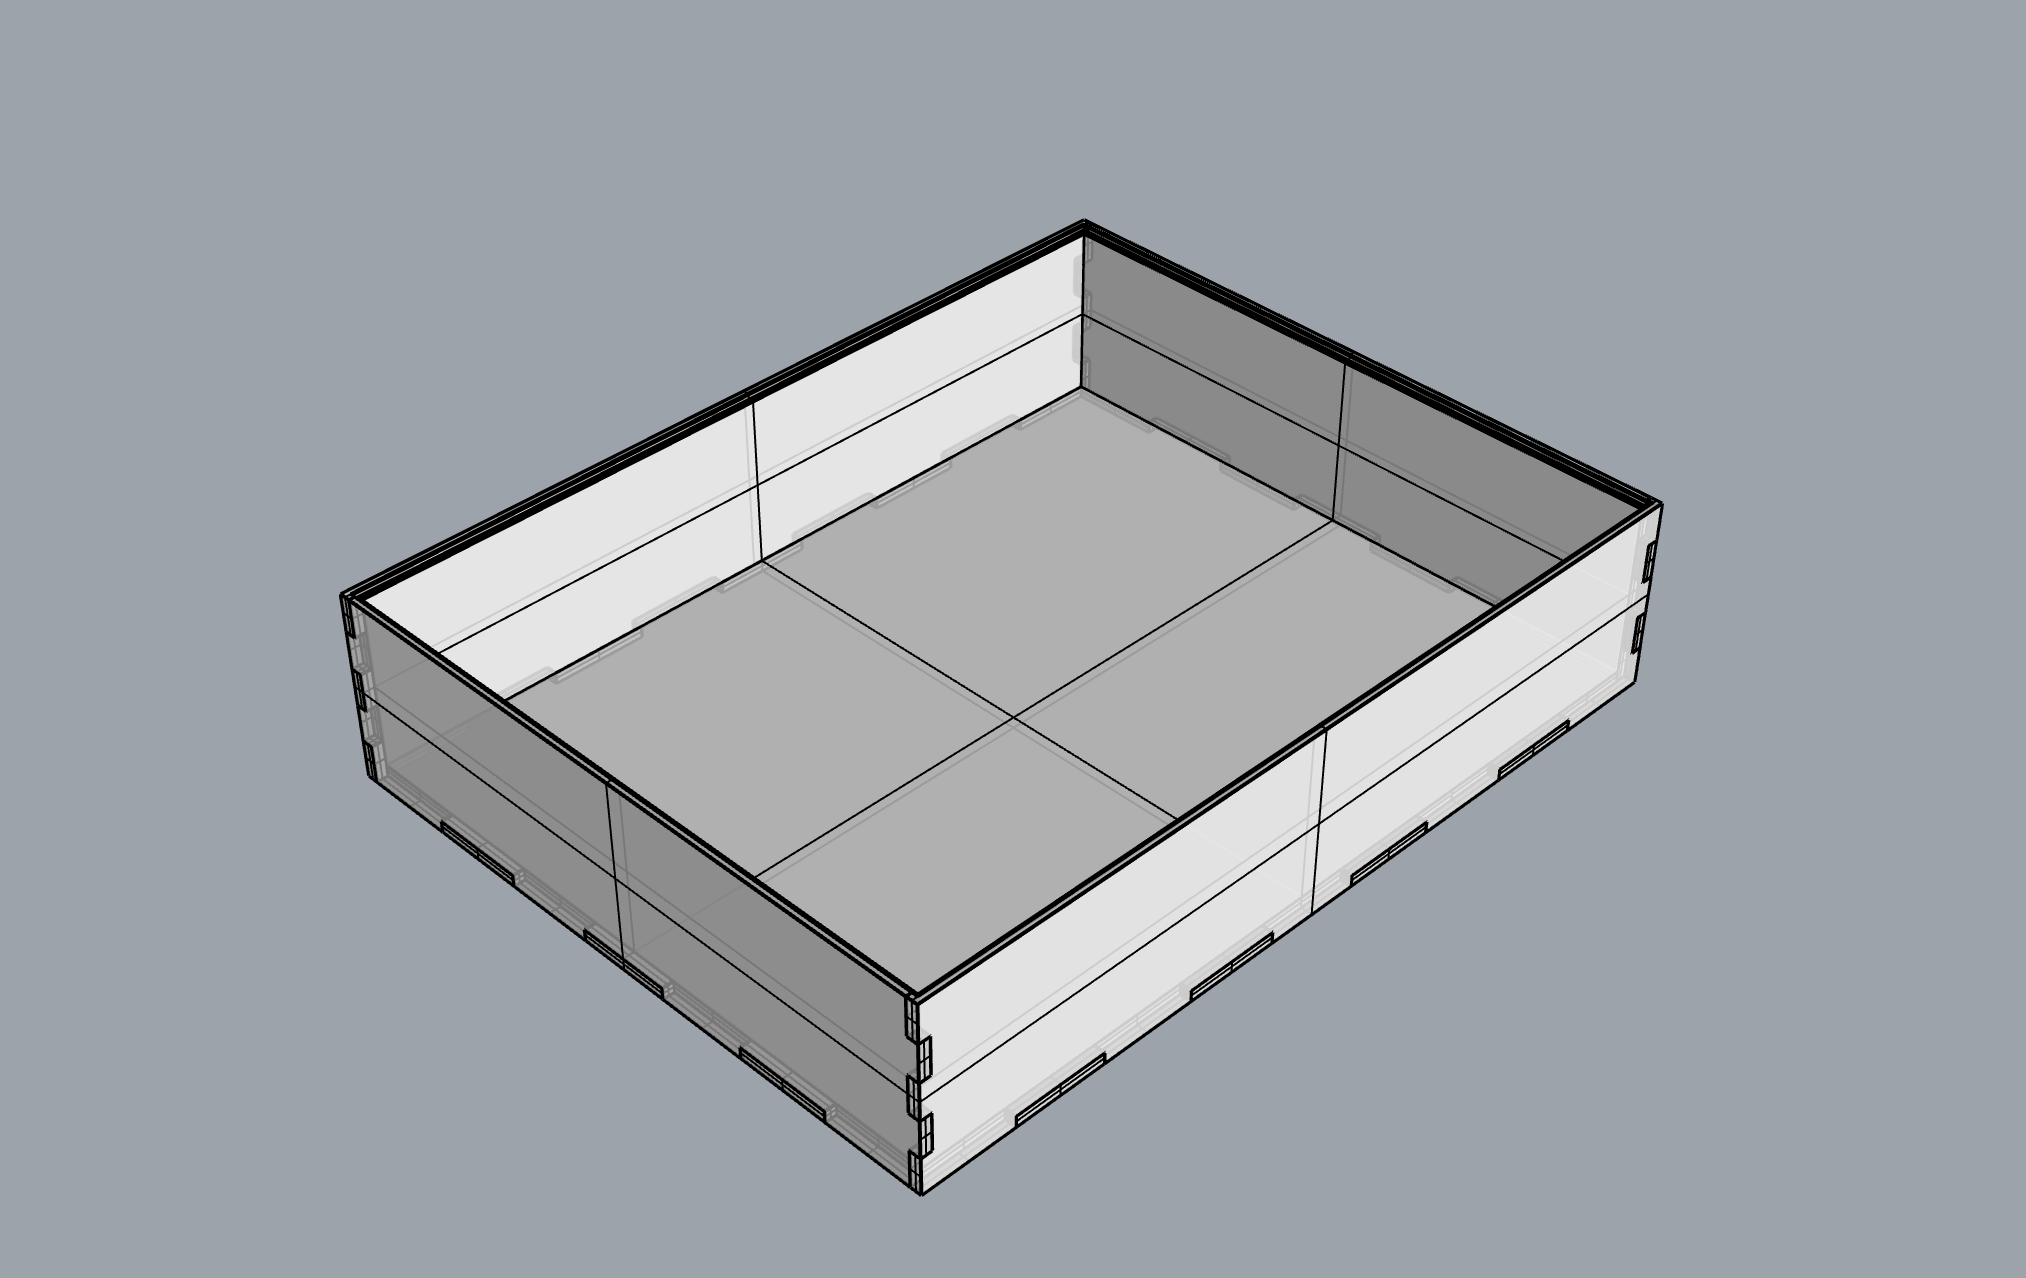
File 3d
Go back in Home