In this week assignment, I will be scanning a little bear using Autodesk123D catch, repairing the mesh with autodesk 123D catch, blender and netfabb and printing
3D Scanning
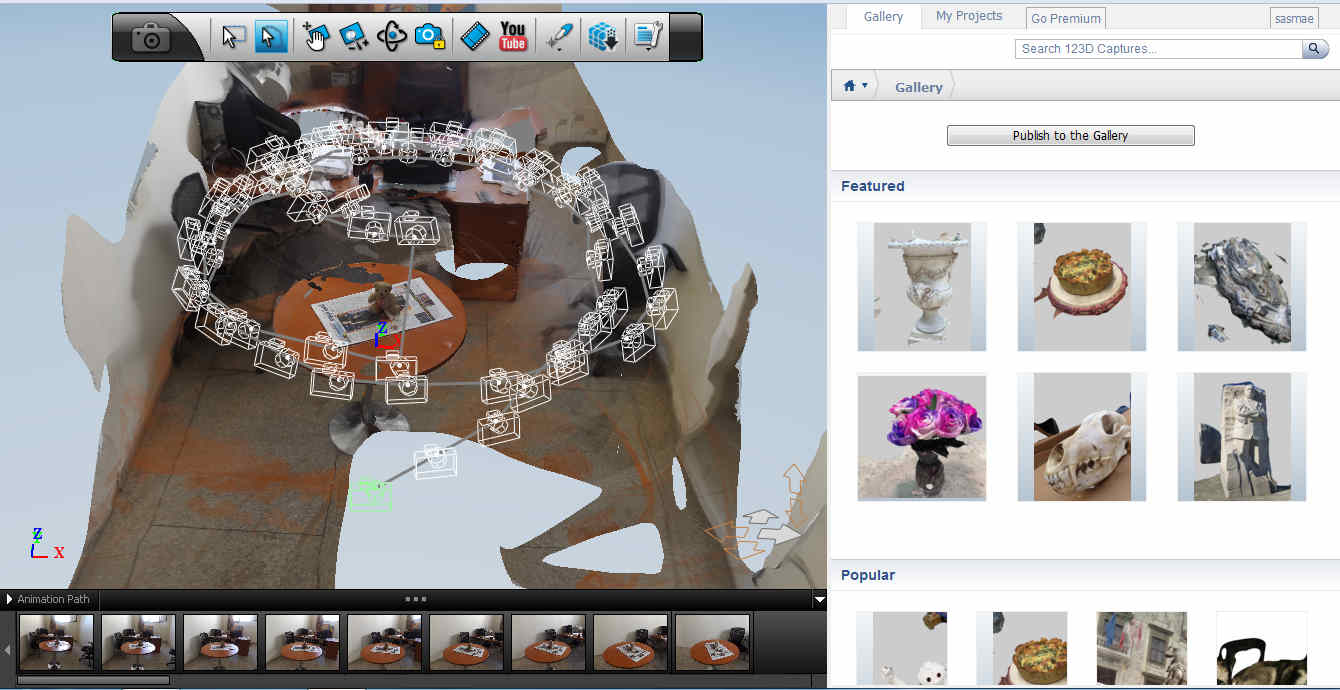
I shoot 50 sequential photograph with small increment in two rounds with my camera, then I upload the photos to autodesk 123D catch to create a new capture, I organize pictures and upload them to the cloud to create the 3D model of the bear, below is the screenshot of the model
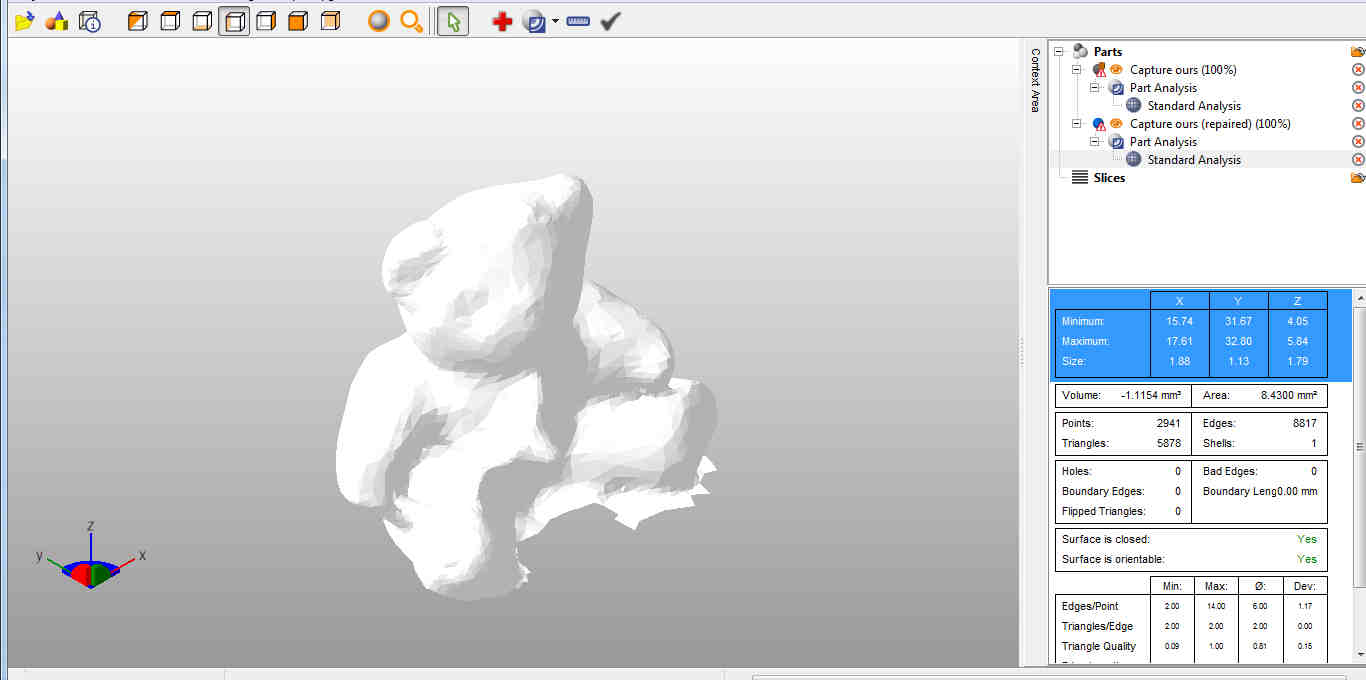
I start some repairs from here, I used the selection tool to select and detete from the scene every details except the little bear, at the end I get this screen, then I export the the last capture of the bear into blender for further repairs. here you can dowload the file on obj format
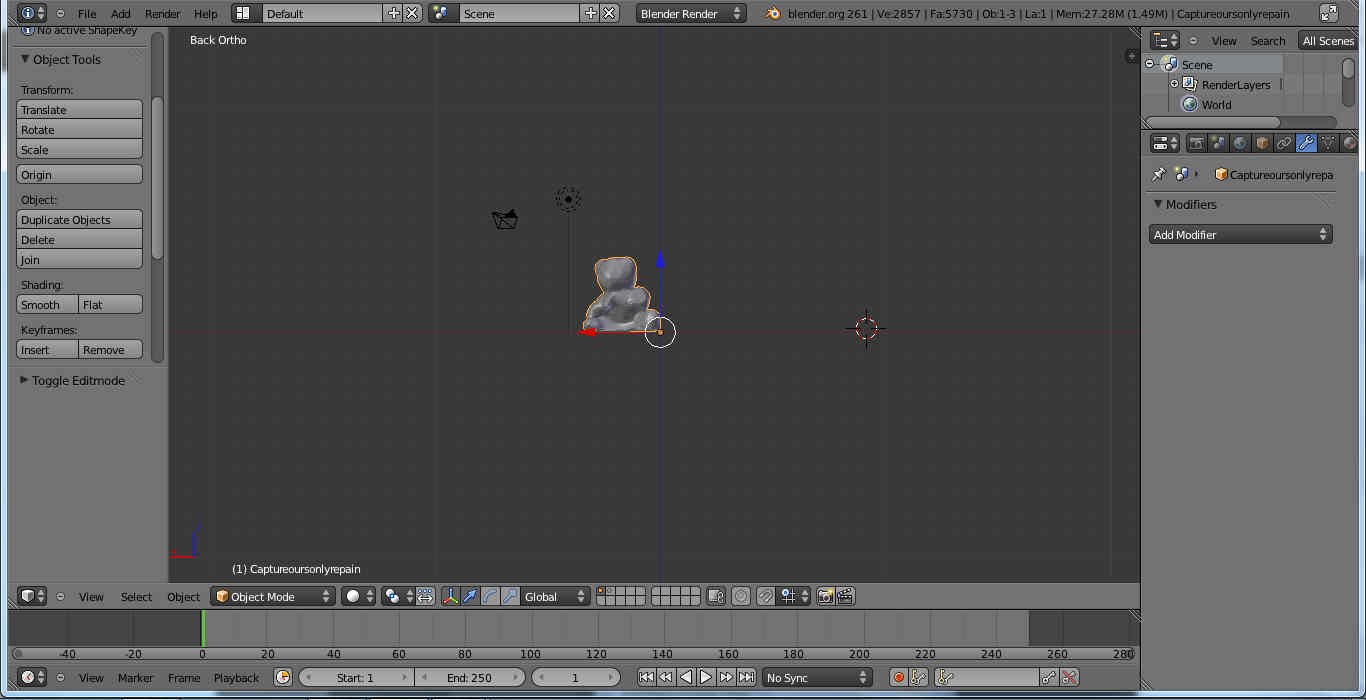
I import the object file into blender I size in edit mode change view and delete vetices as needed, in sculpt mode I then apply bruch in the bottom of the object, below is the screenshot. here you can dowload the file on stl format
I then import the file into netfabb to analyse, and do manual and automatic repair, in different views I select with triange and add or delete triagles in the base as needed, then analyse and do automatic repair here you can dowload the file on stl format
I then import to blender to to delete vertices in different view modes and apply bruch in the base I choosed raduis 10, here is the final result in blender. here you can dowload the file on stl format
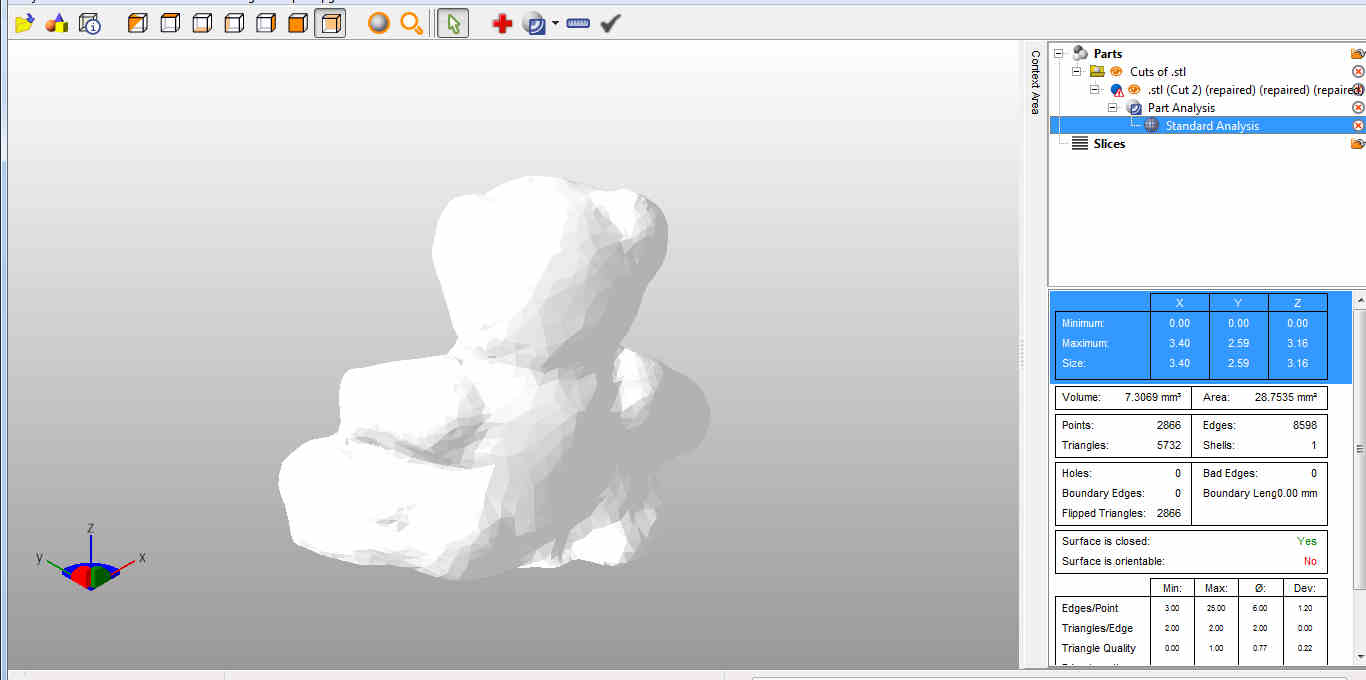
I then import into netfabb to cut the object and apply the automatic repair there, below is the final result obtained, and ready to print. here you can dowload the file on stl format
3D Printing
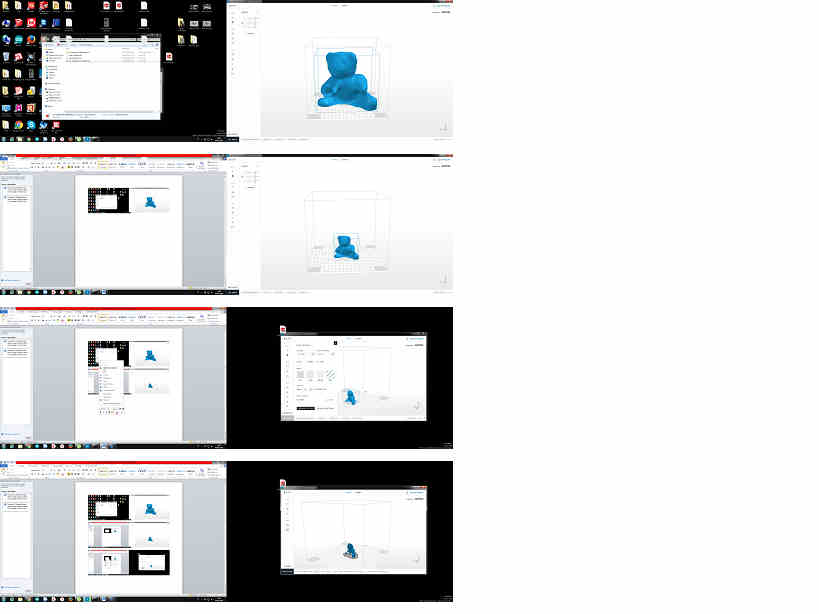
I used Zortax 3D printer and Z-suite for Z-code, below is the configuration window. the video and final result part.
here is a video extract of 3D printing process
here are the results
editing a mesh and 3D printer setting
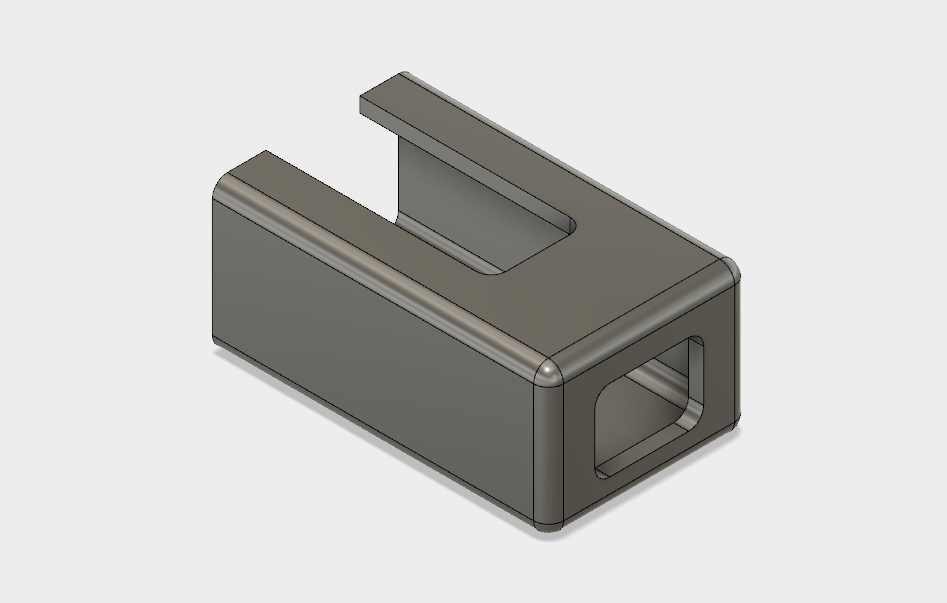
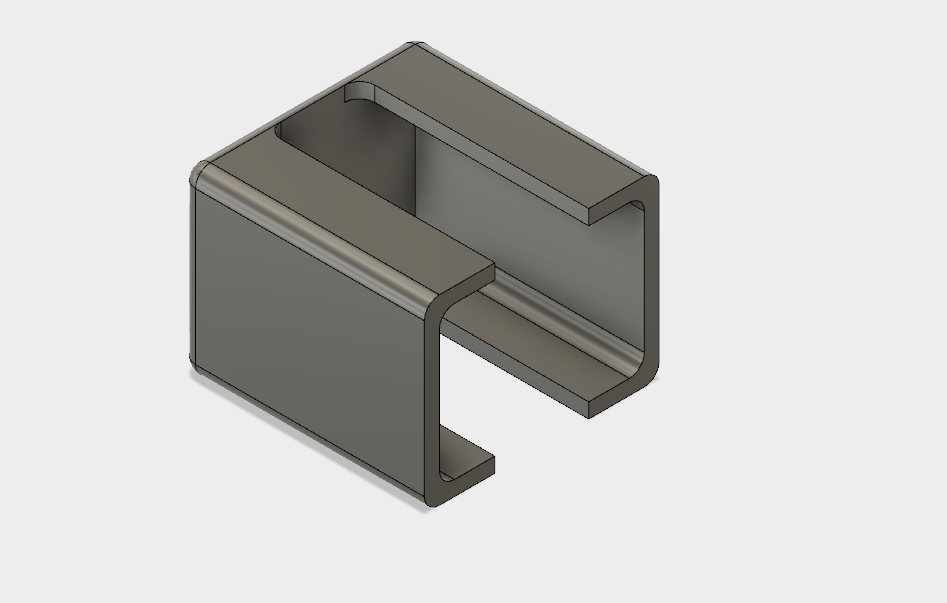
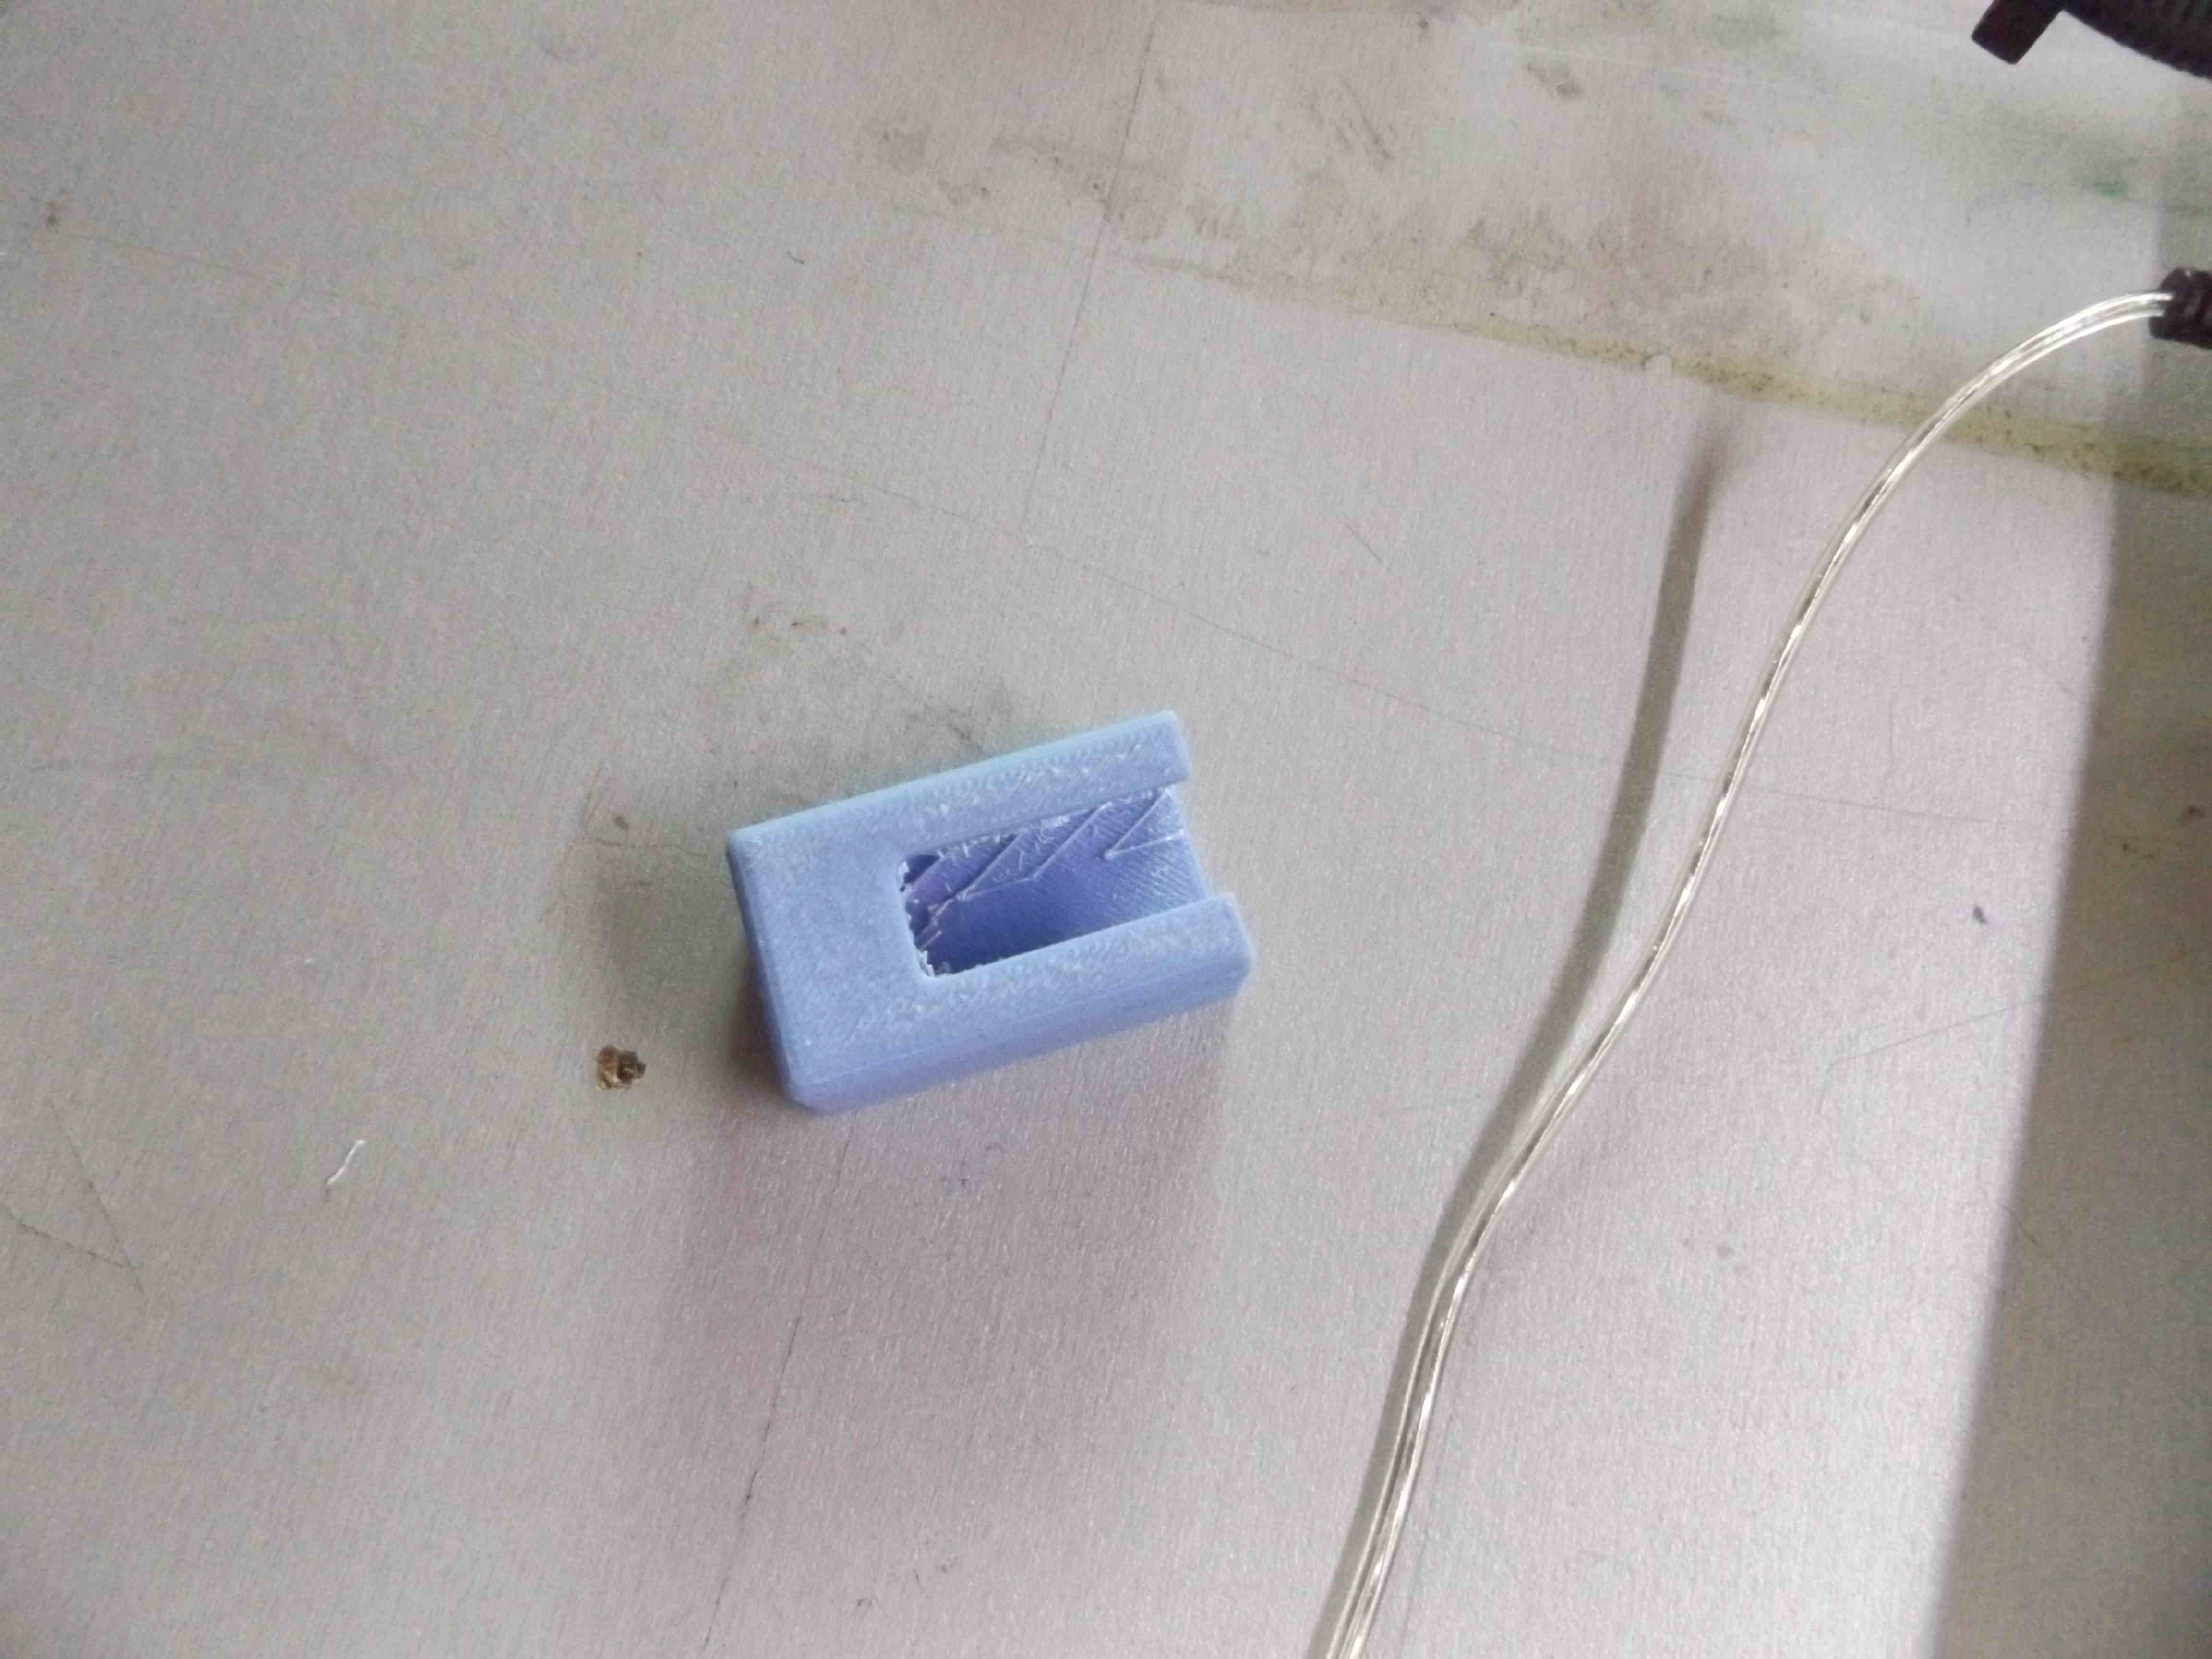
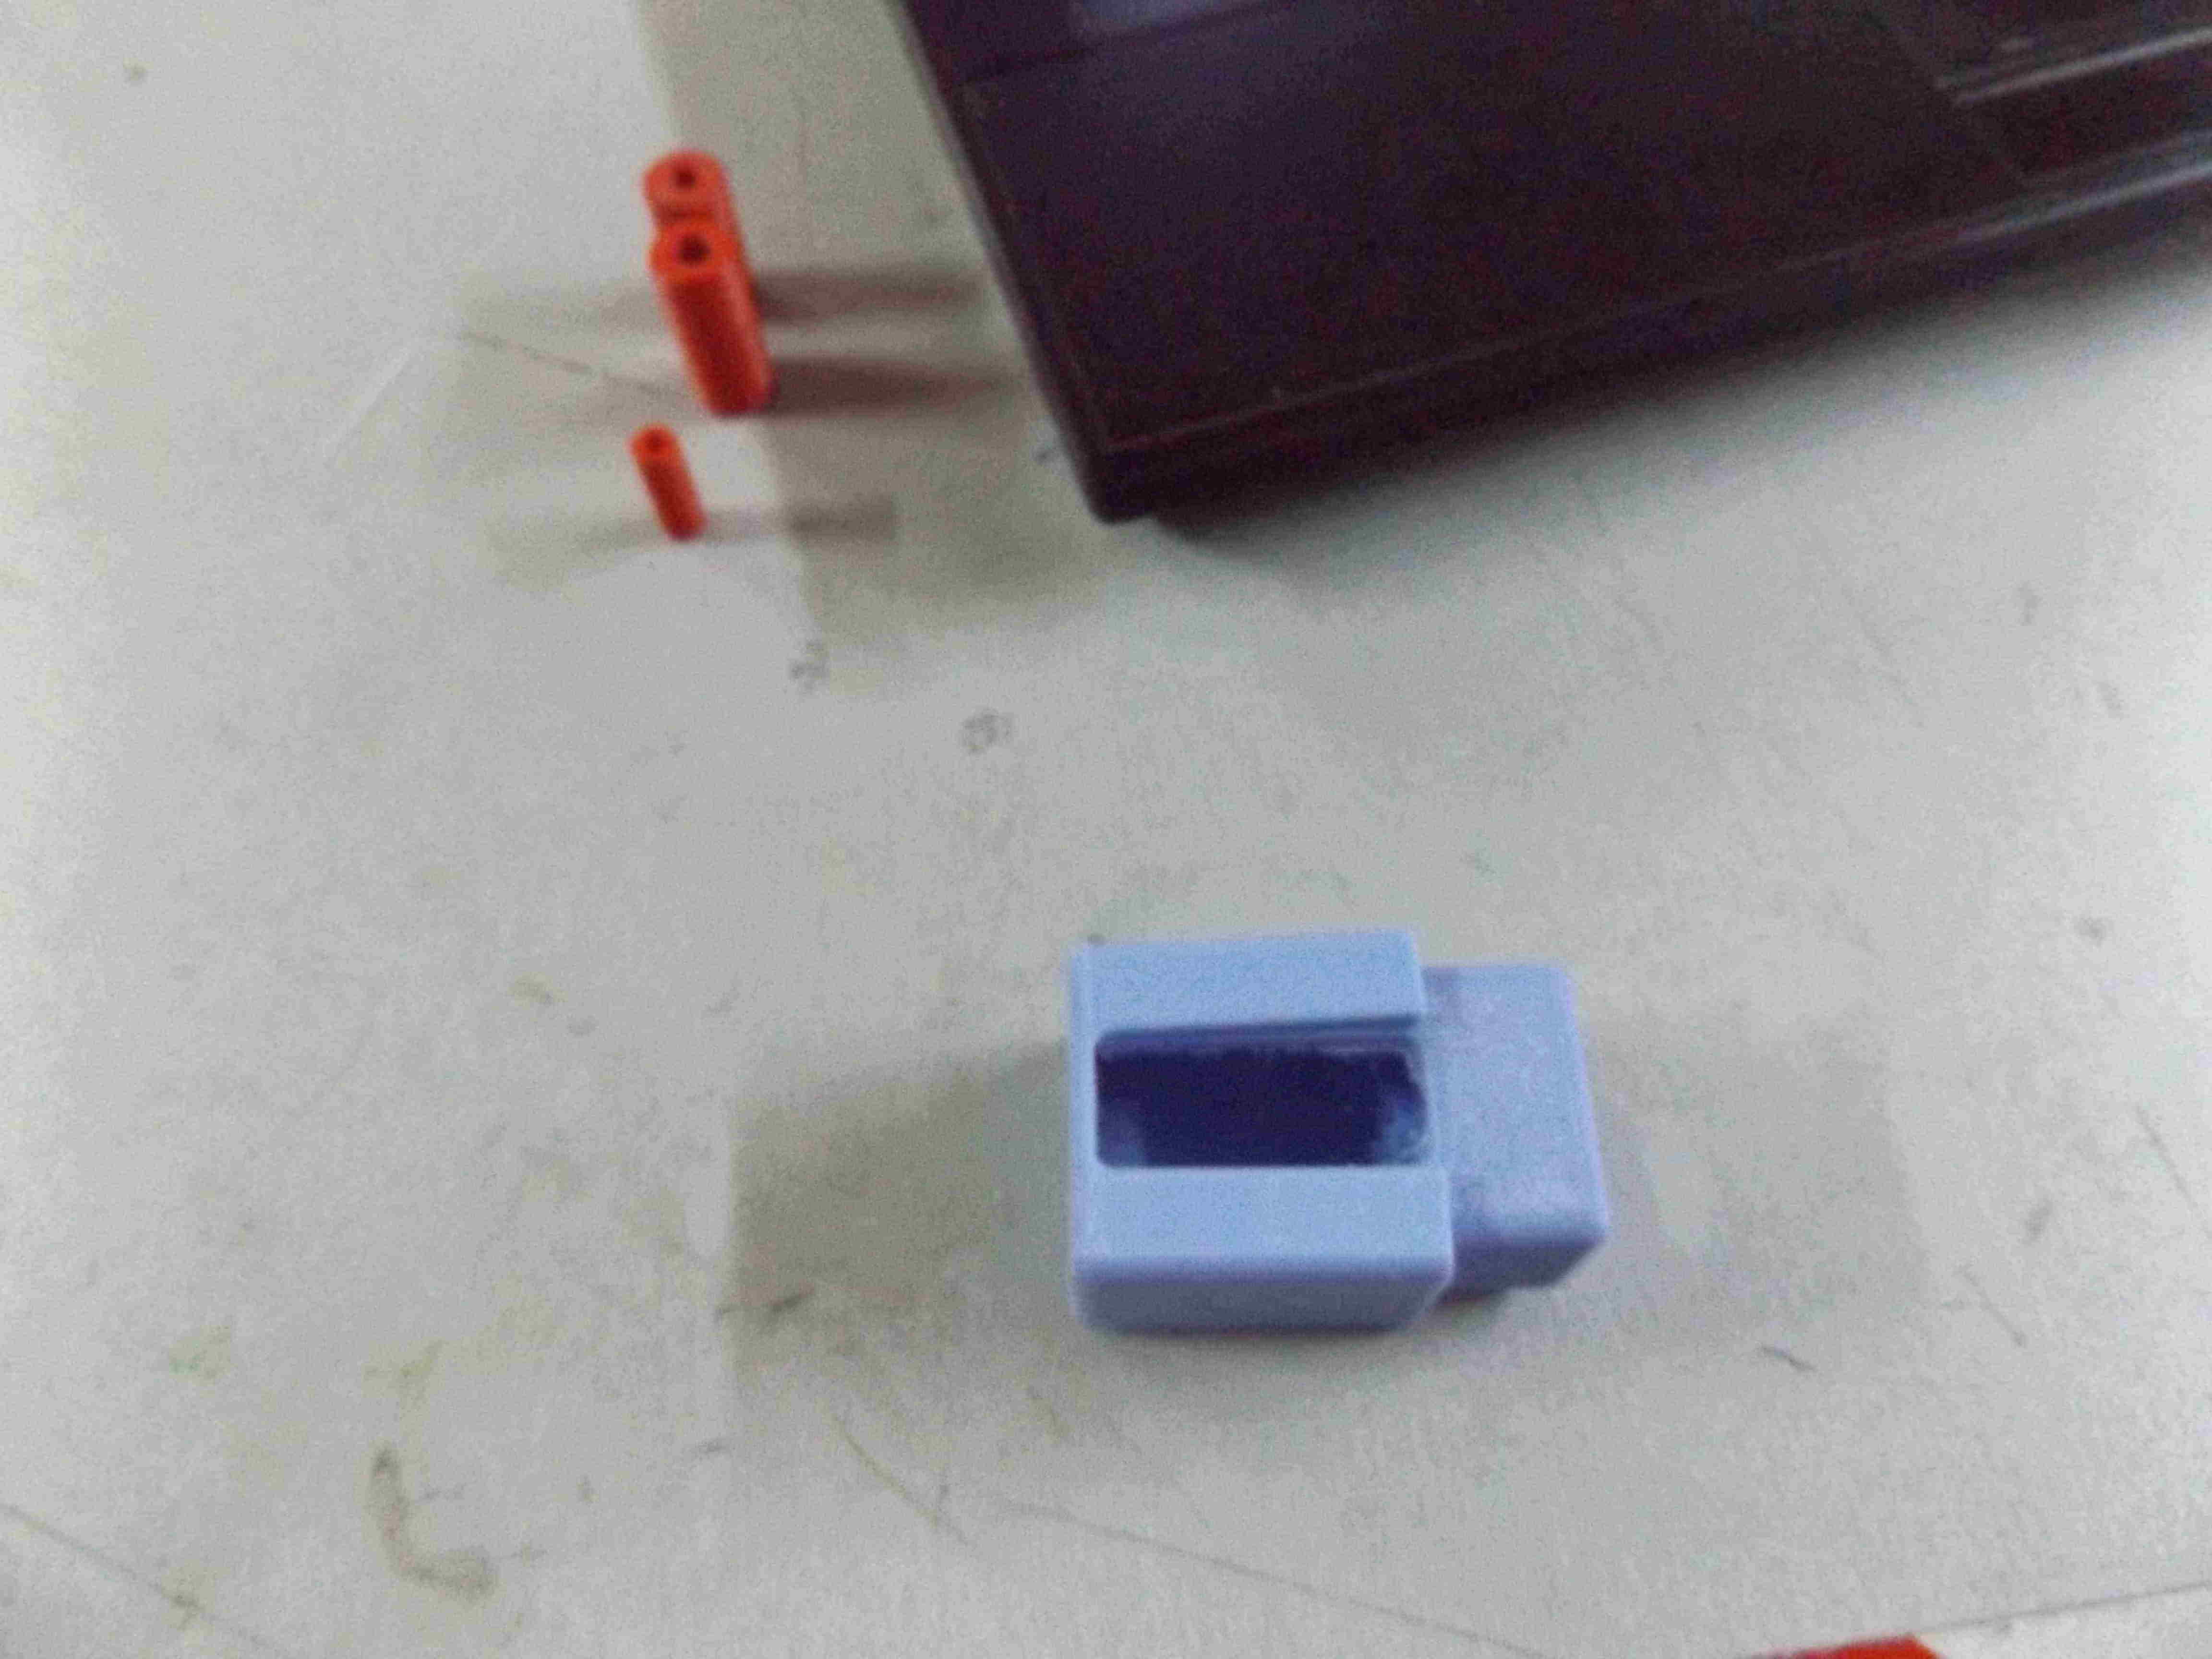
I sketch a simple small usb cover in fusion 360 two parts upper and lower. I used values suggested in this page to design the 3D parts 0.3 in all dimensions for shrinking and 0.5mm for clearance and 3D print with ABS.
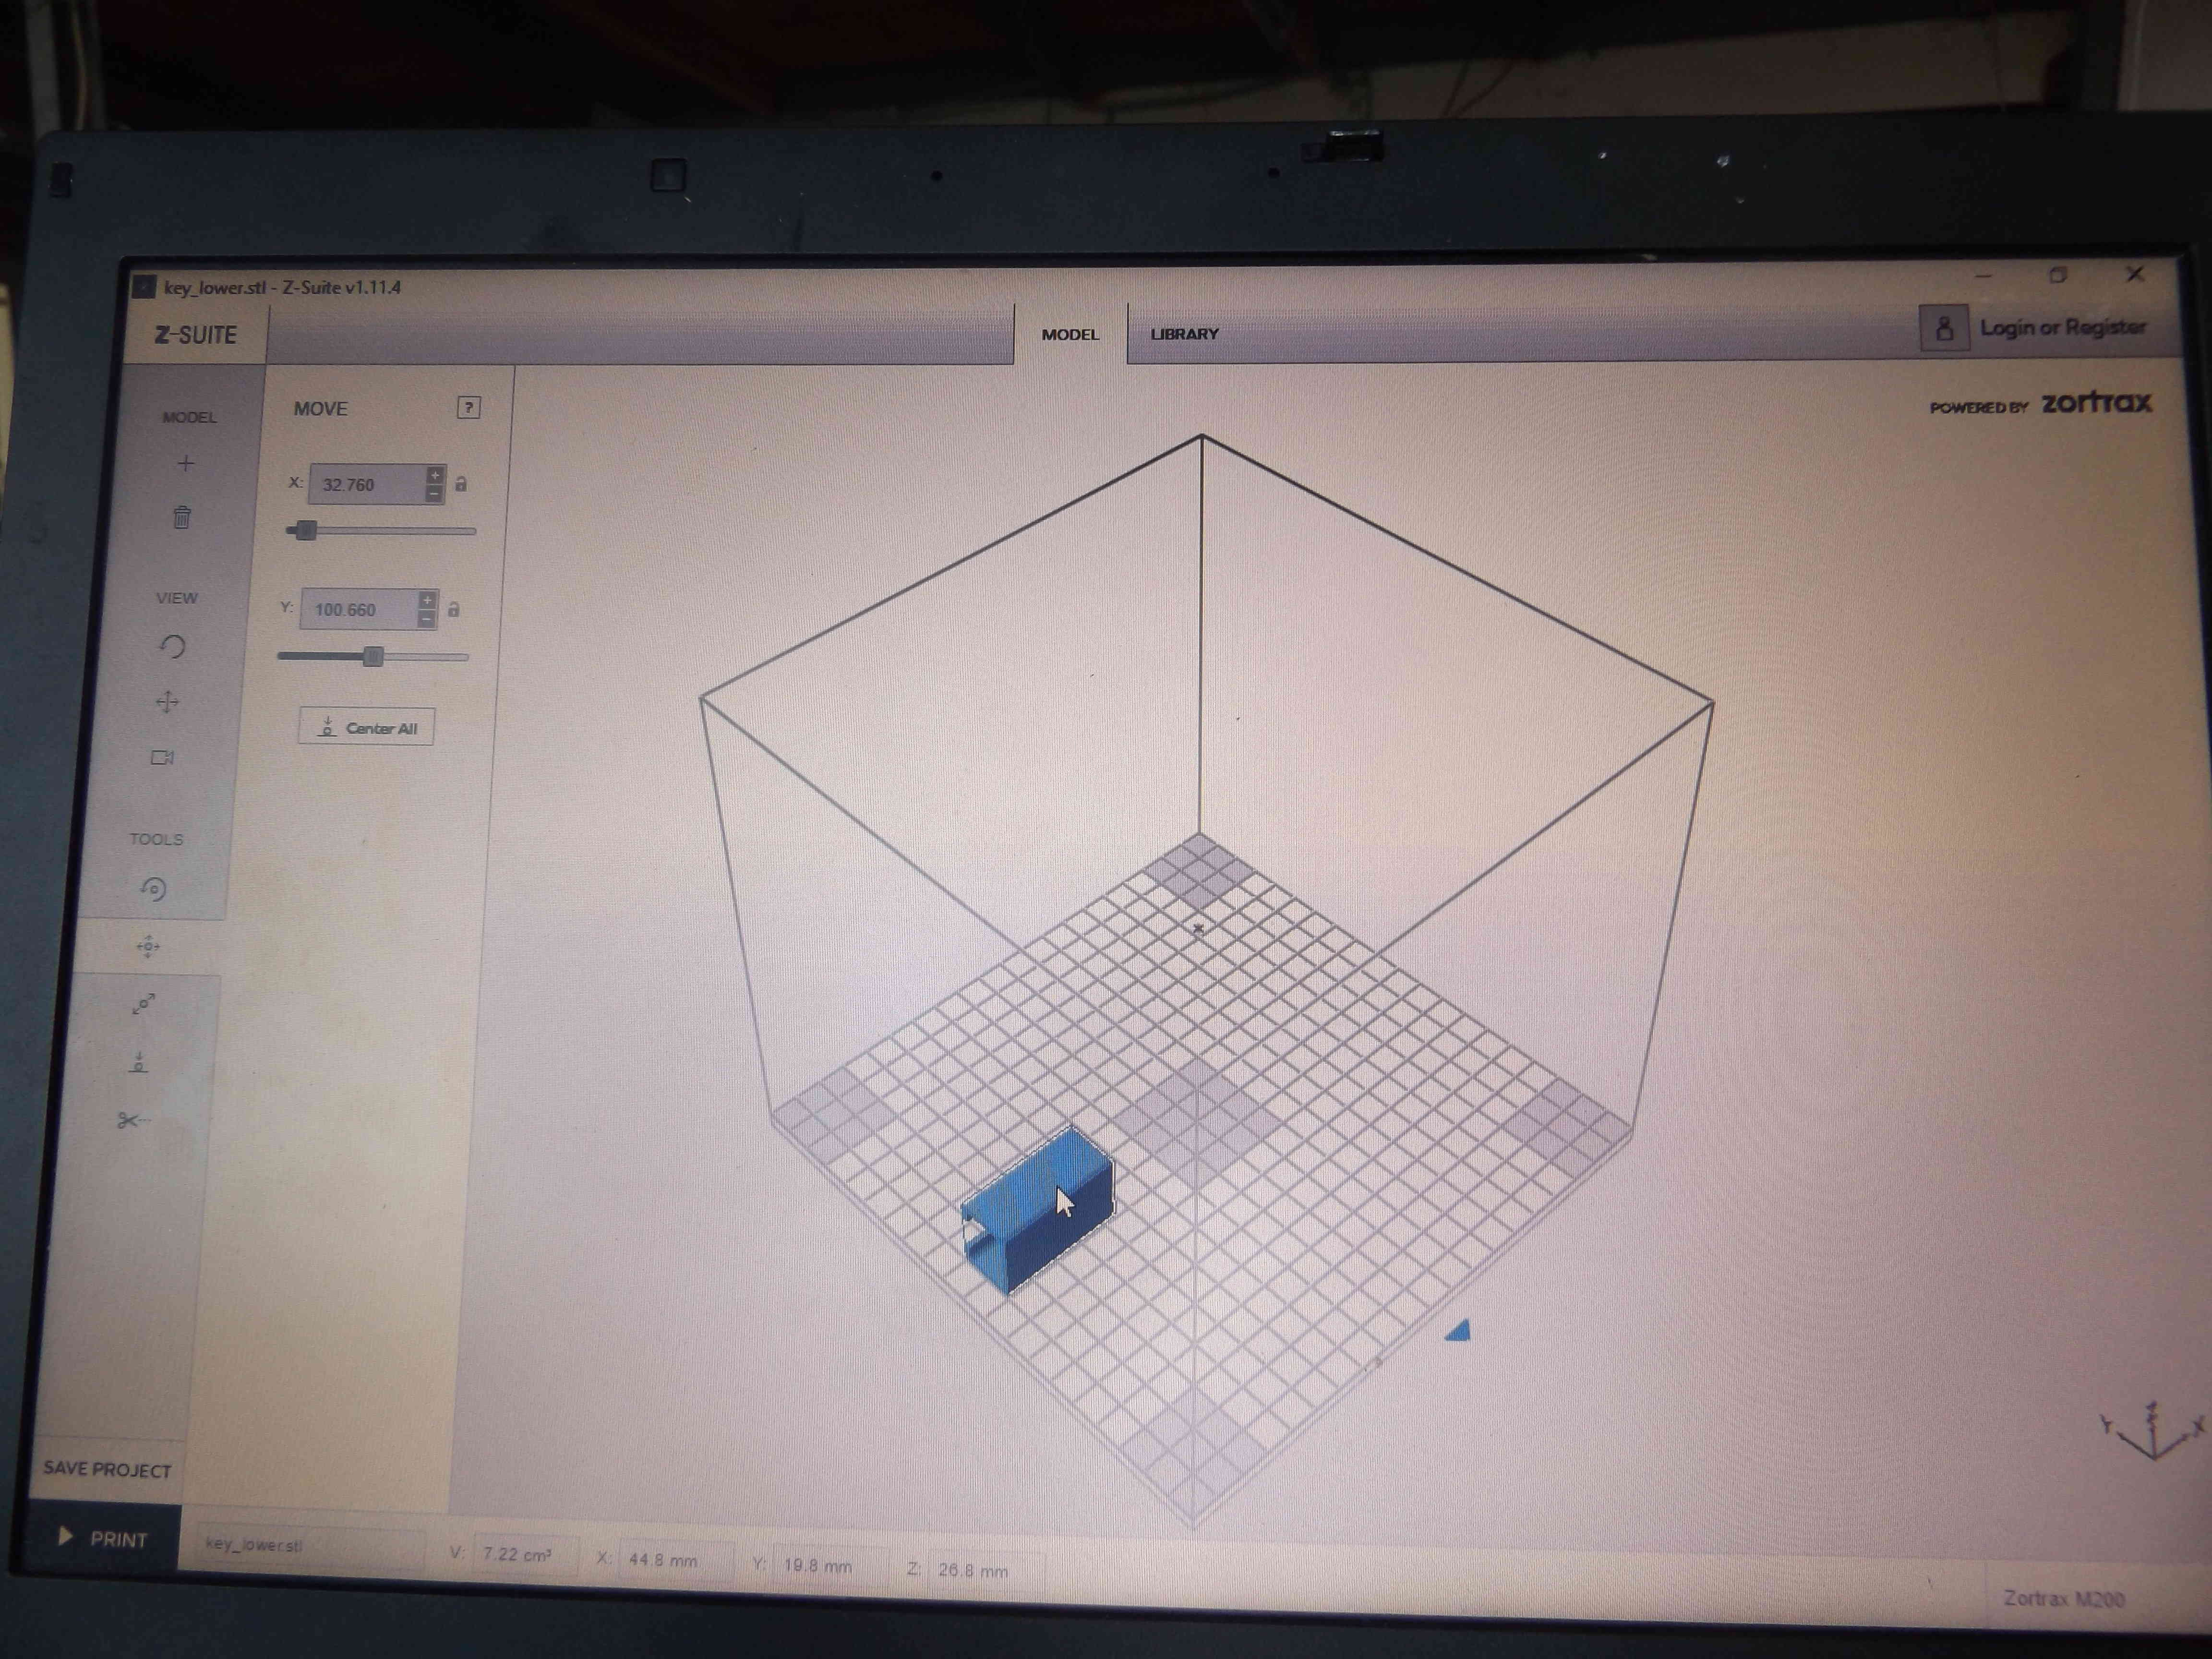
slicing and 3D printer setting
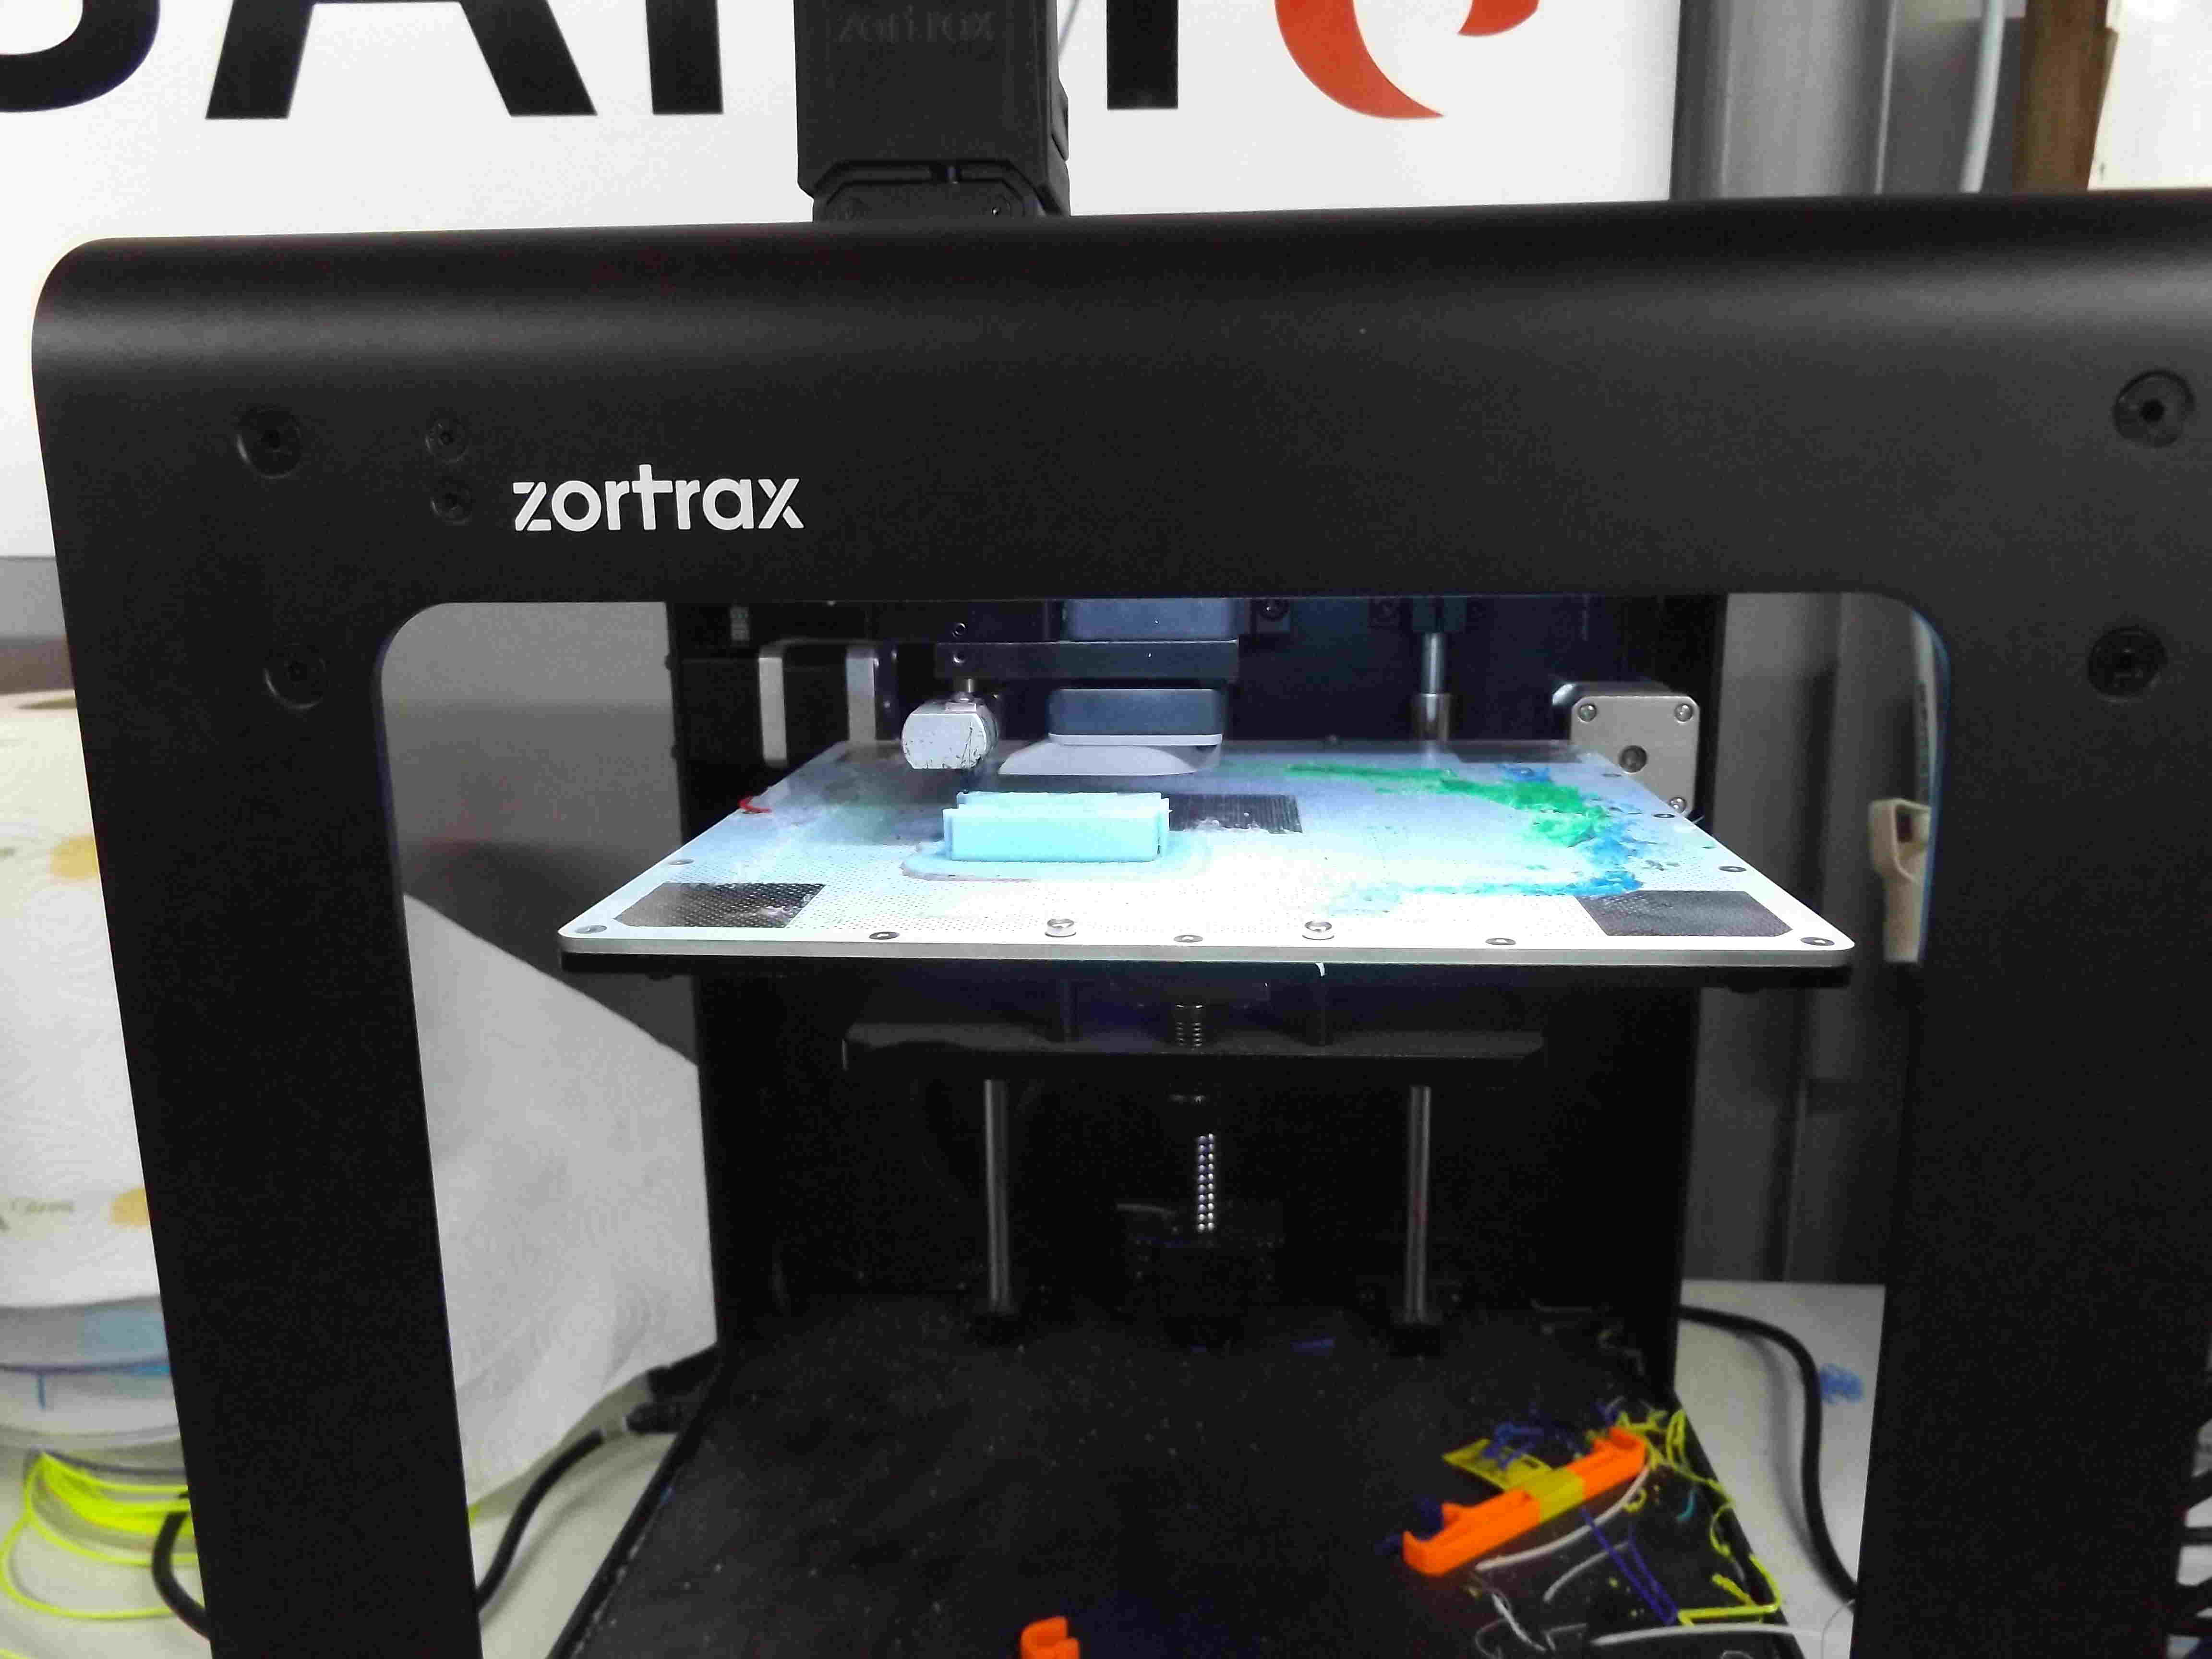
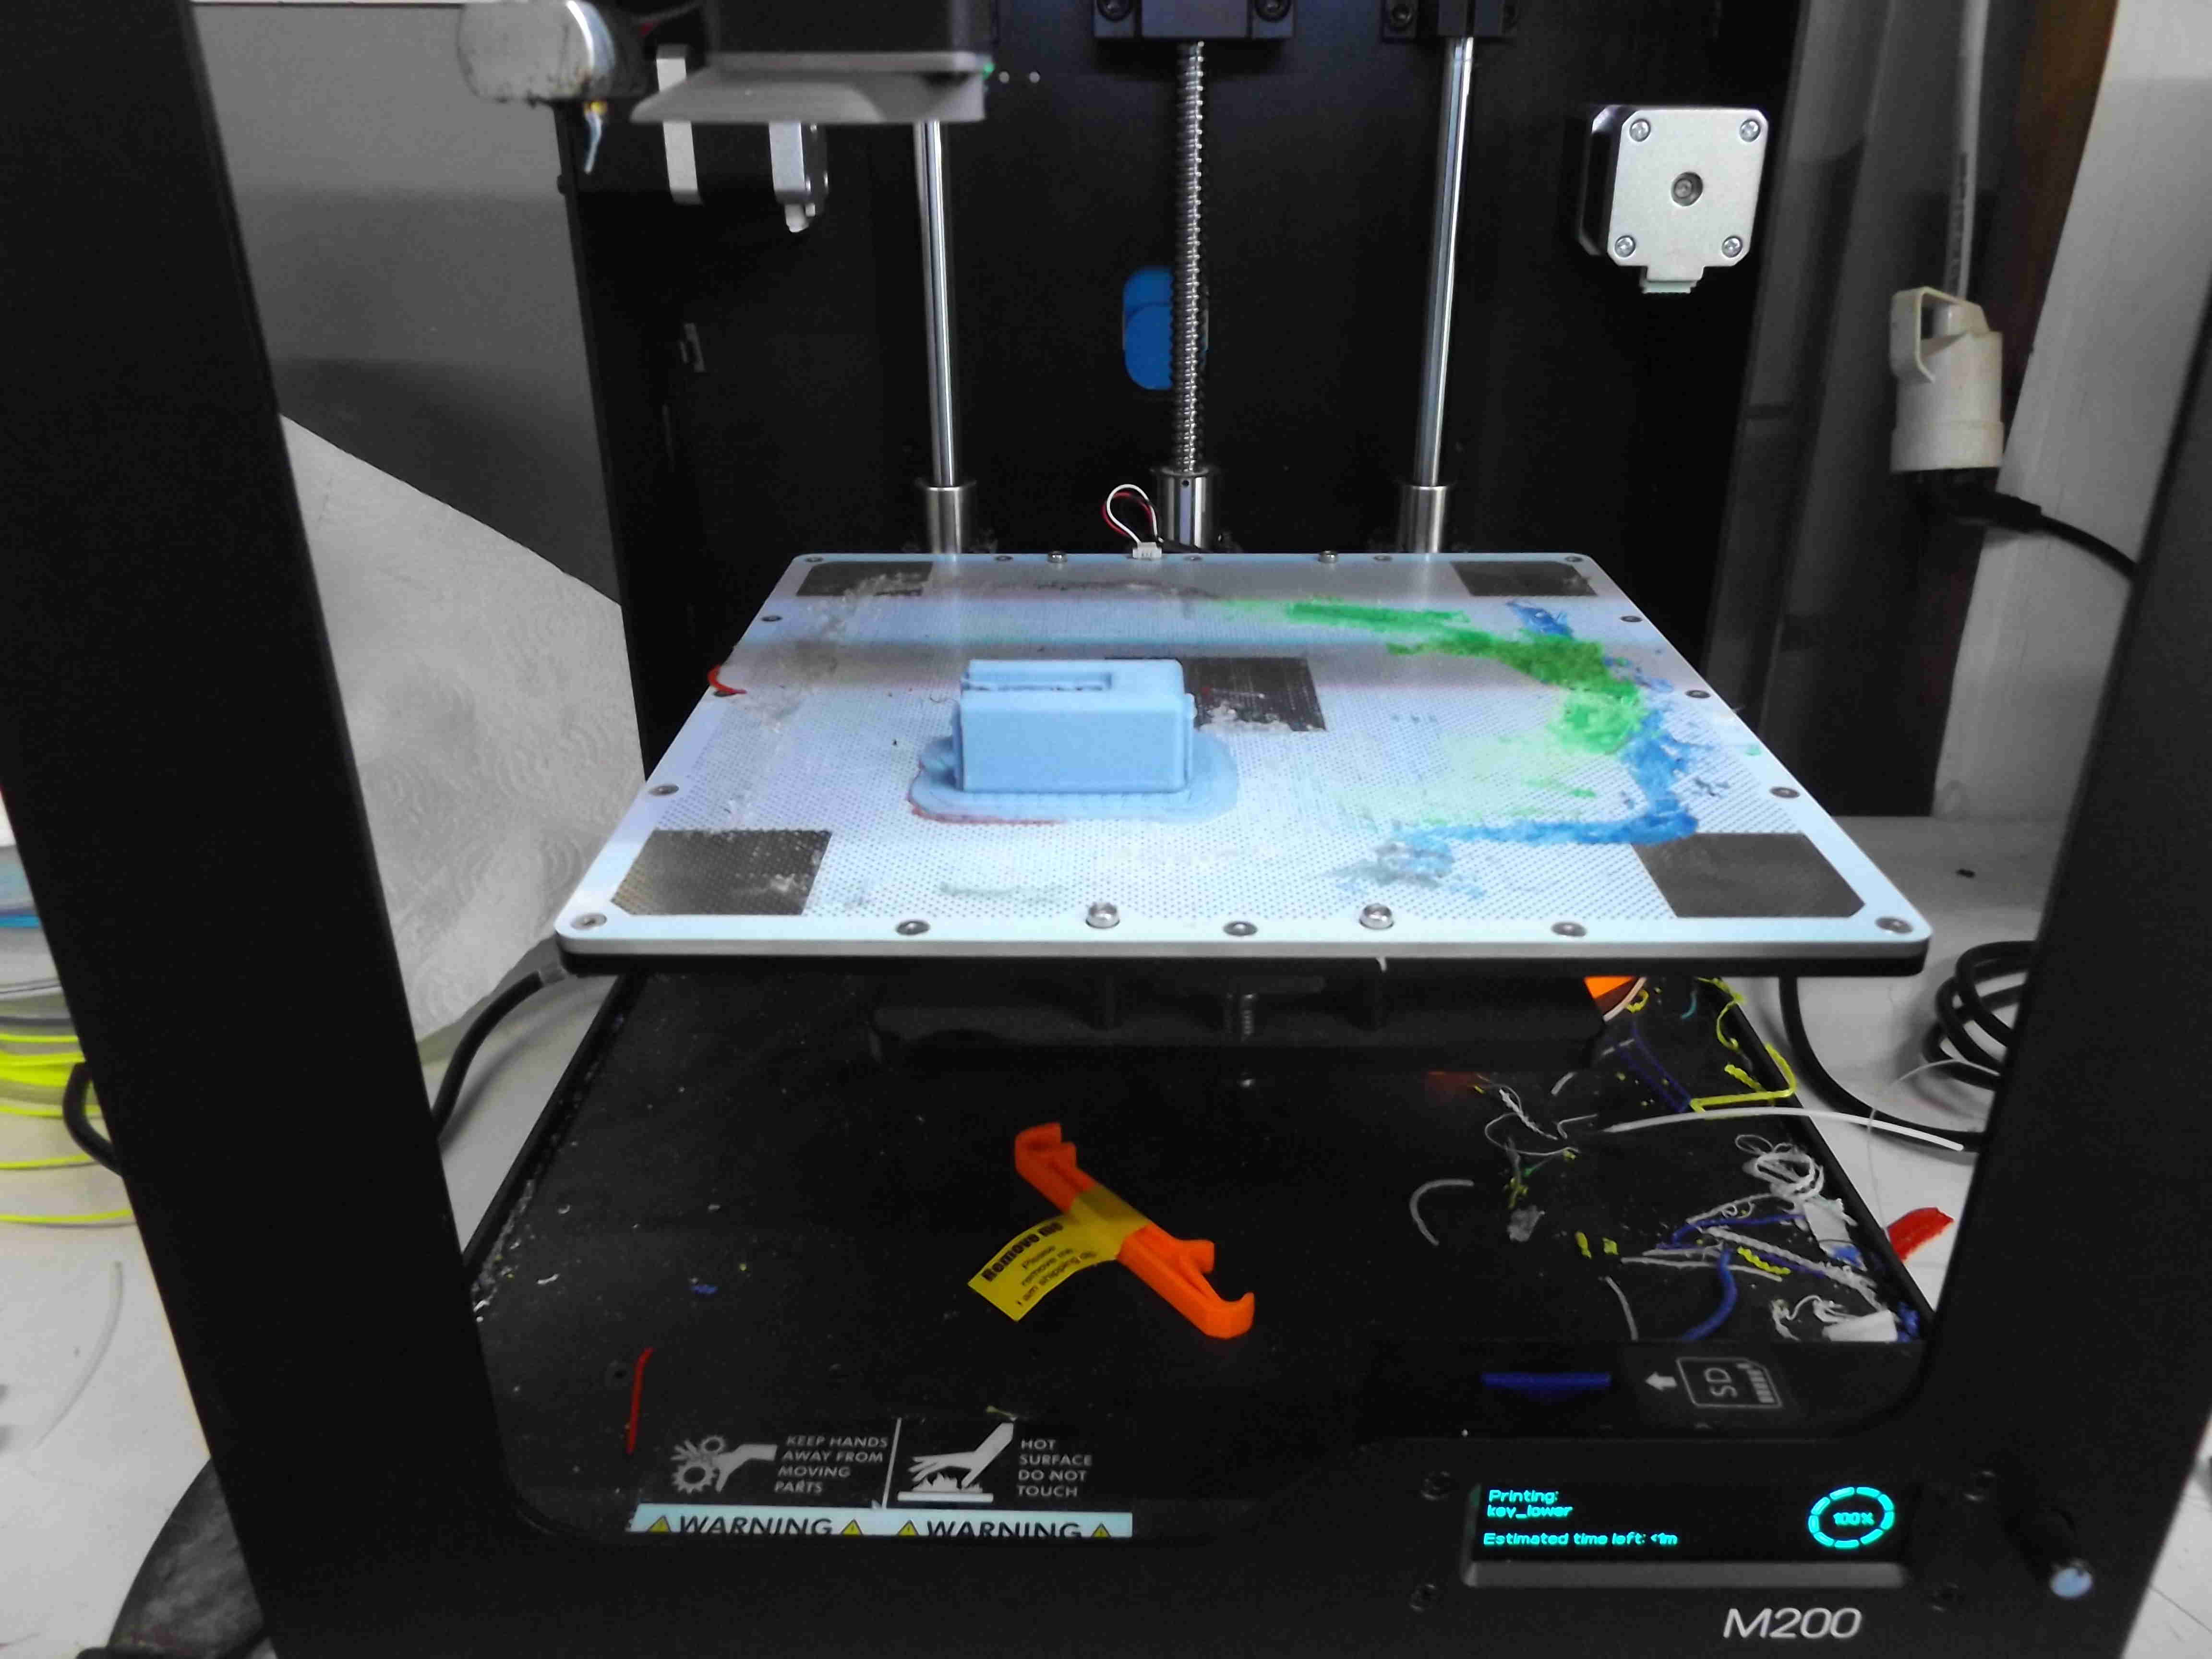
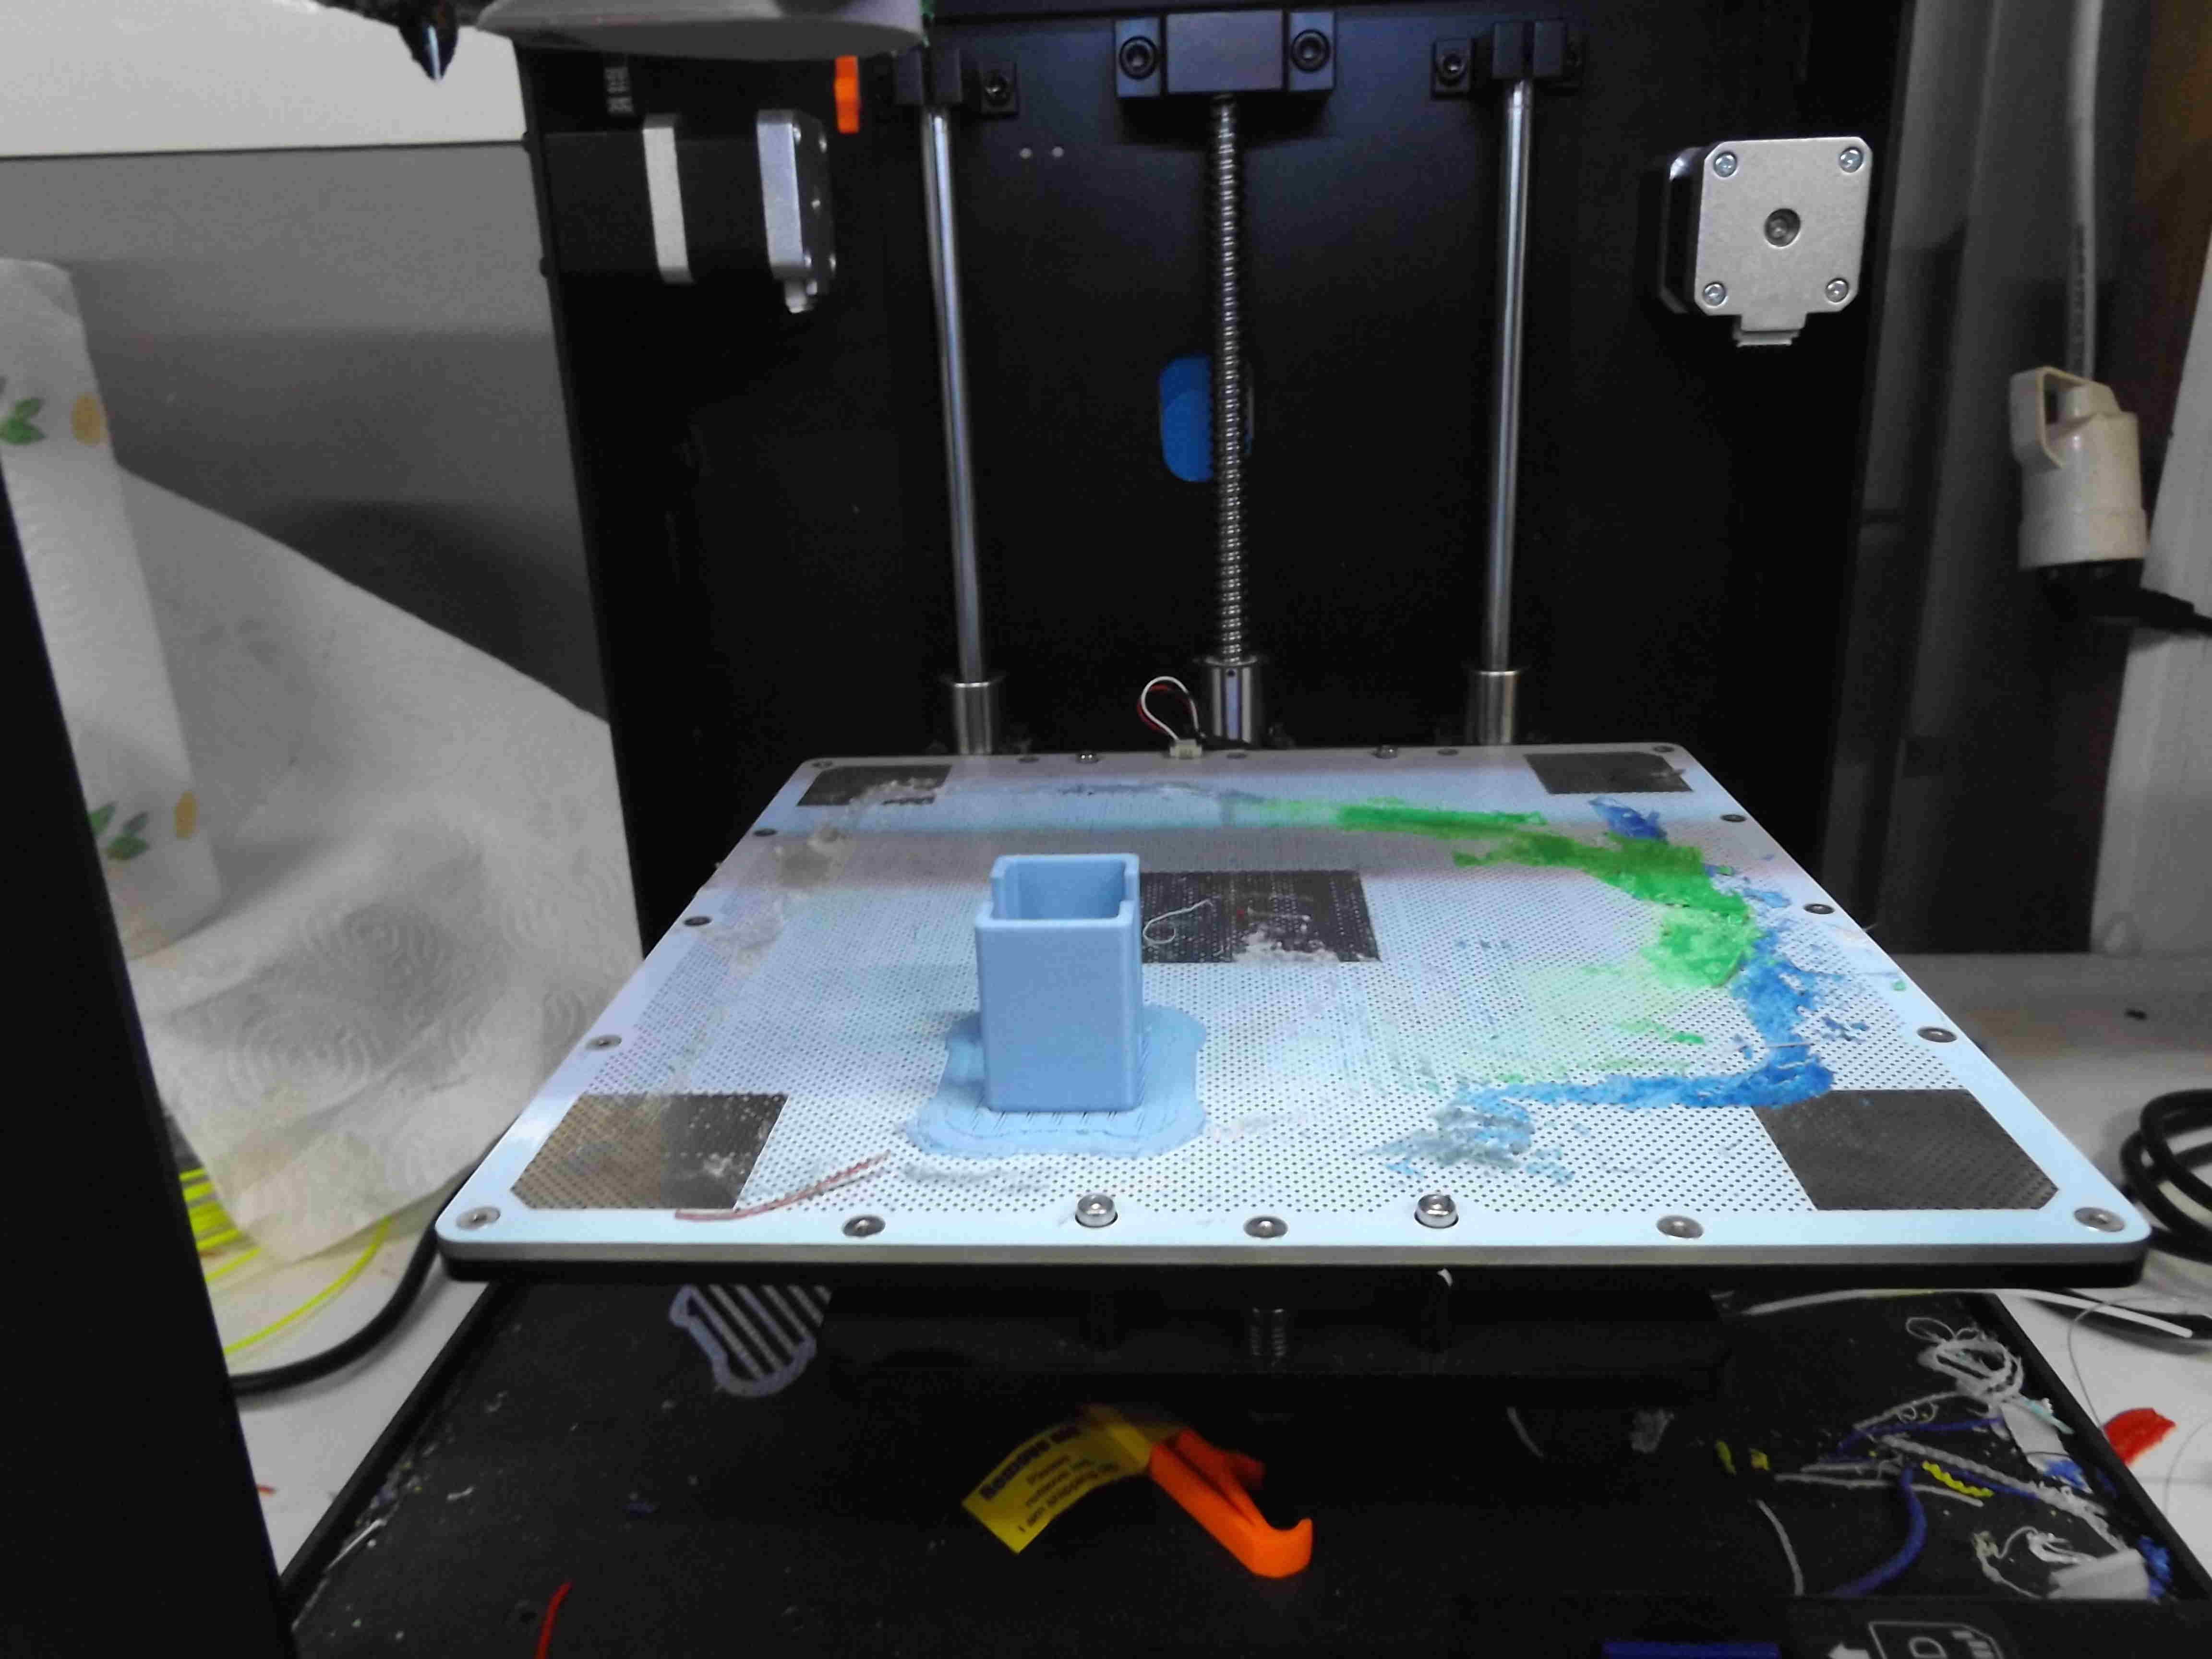
I used zortax M200, I insert the filement into the printer I load the filement end in the extruder, turn on the 3D printer then in control panel I choose filement, load new filement, then the extruder will start heating. to unload the filement I choose unload in the control panel and pull up the filement.
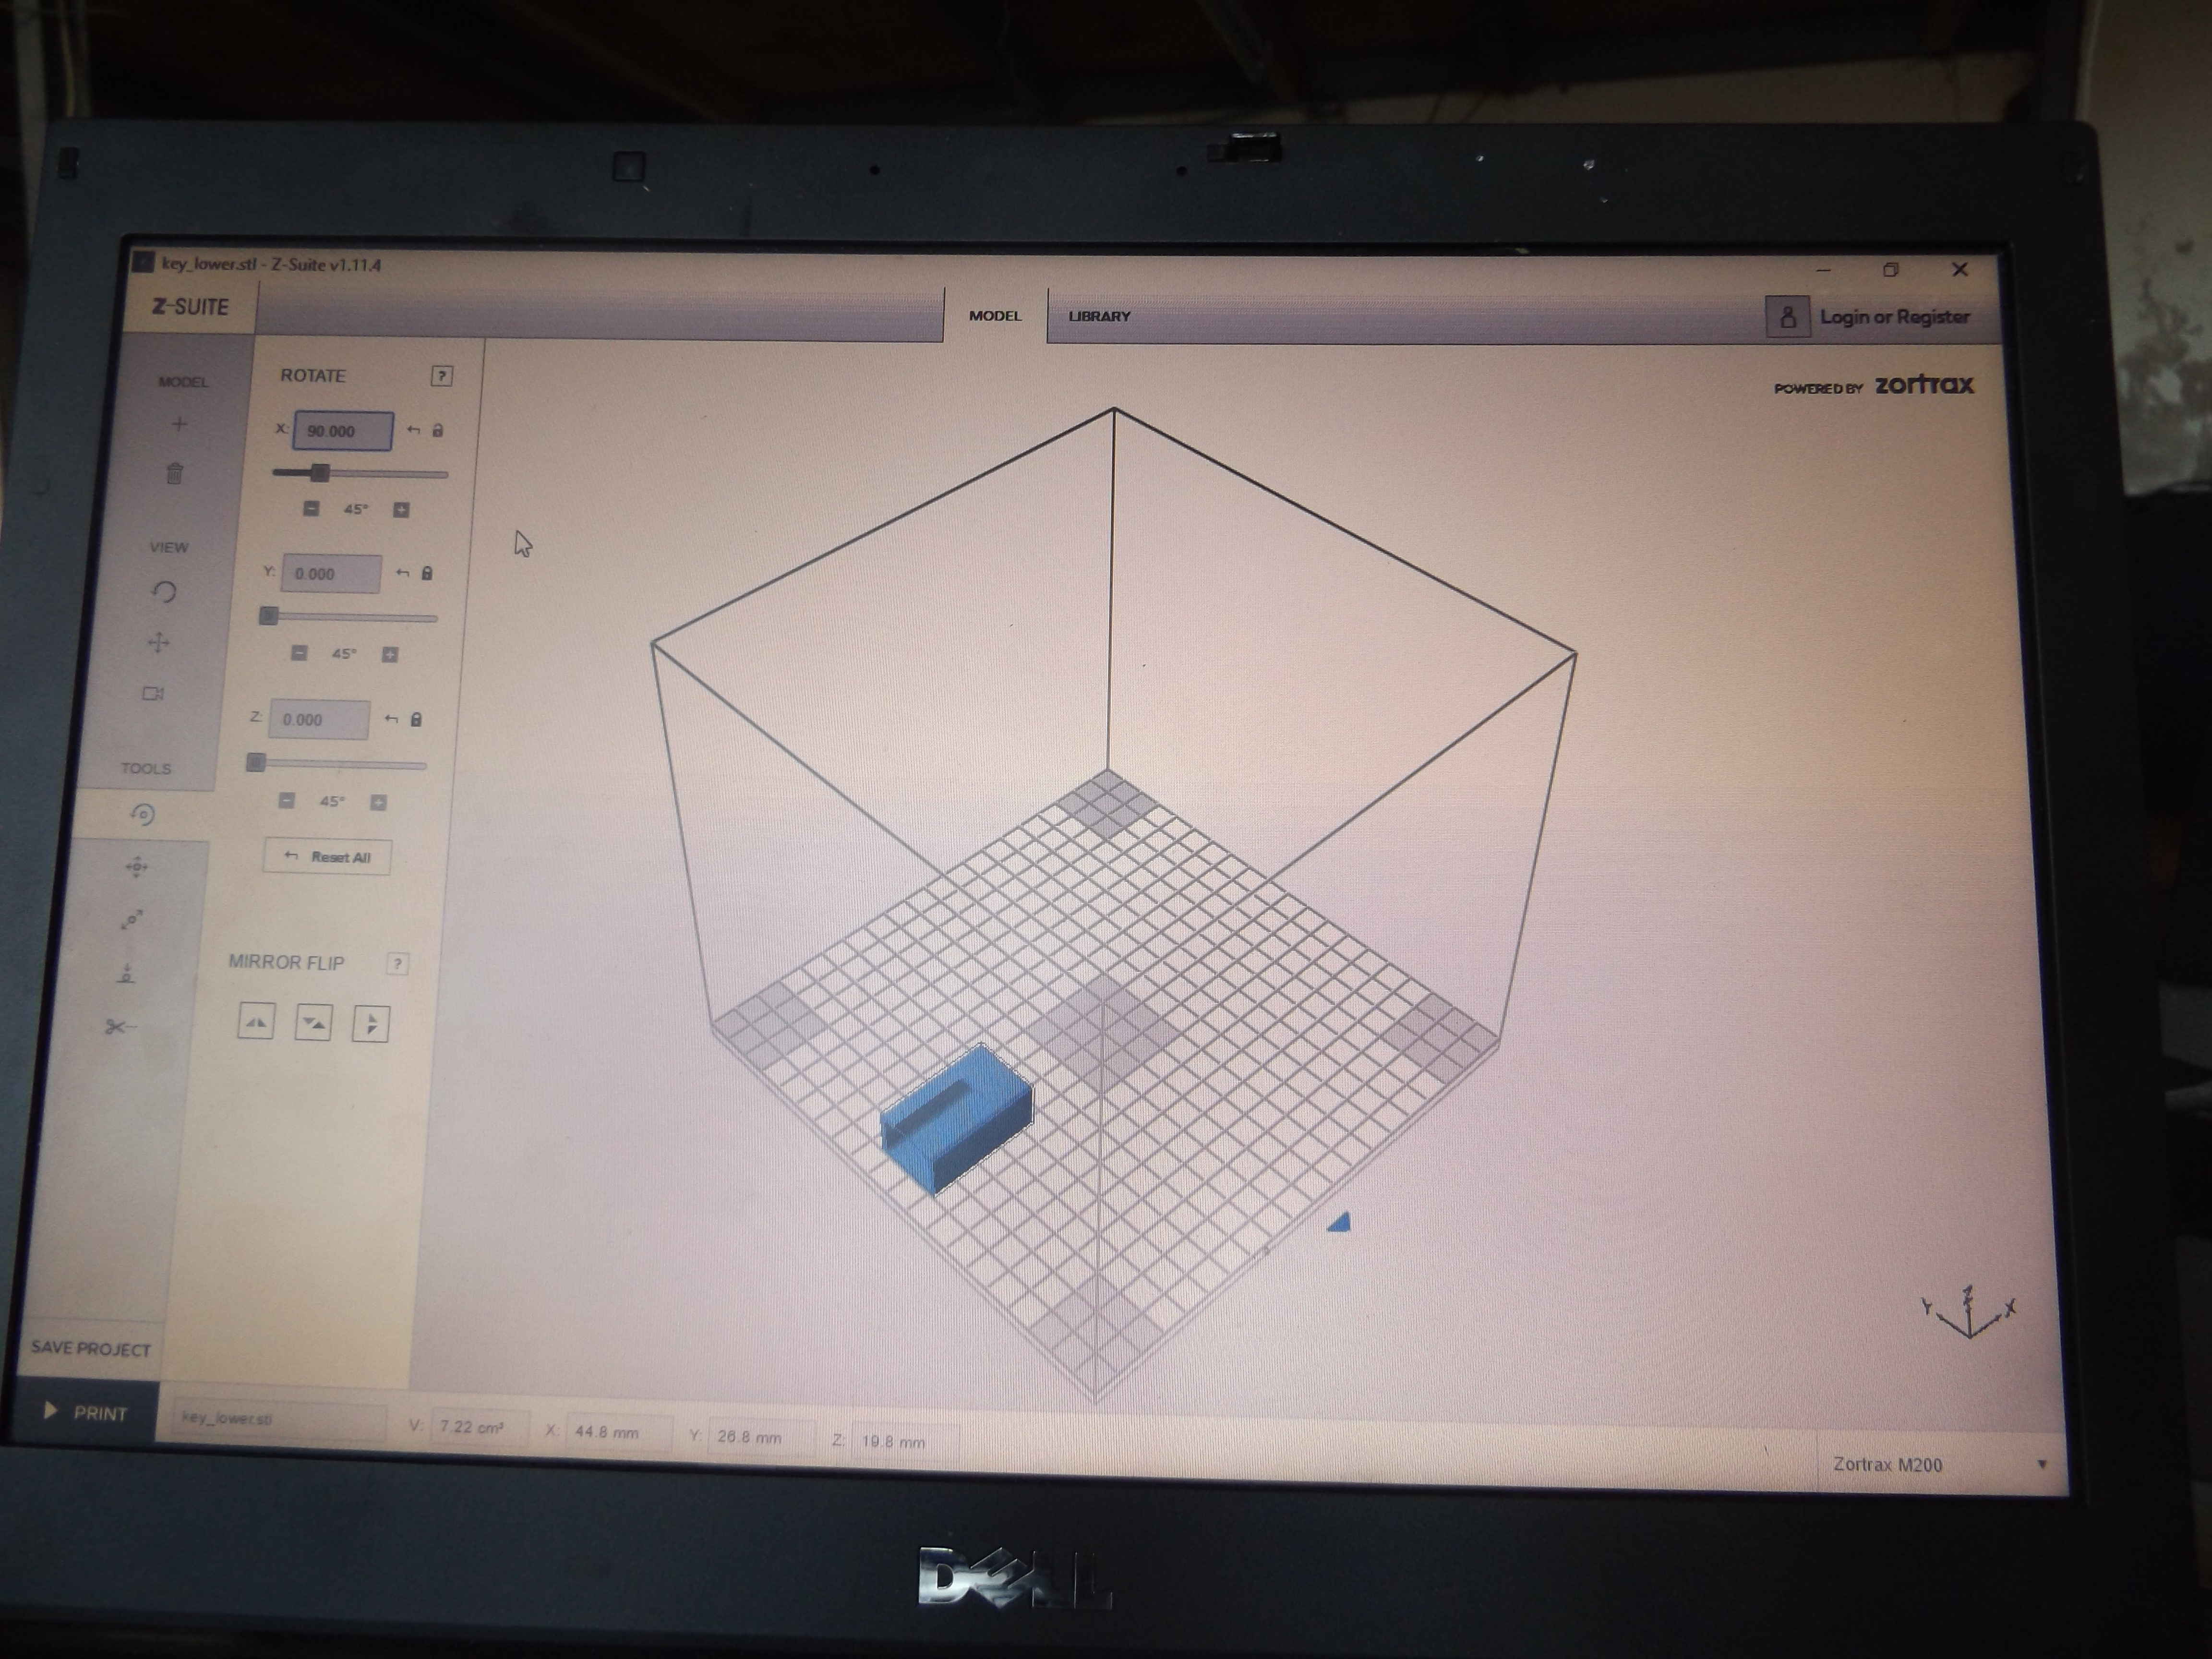
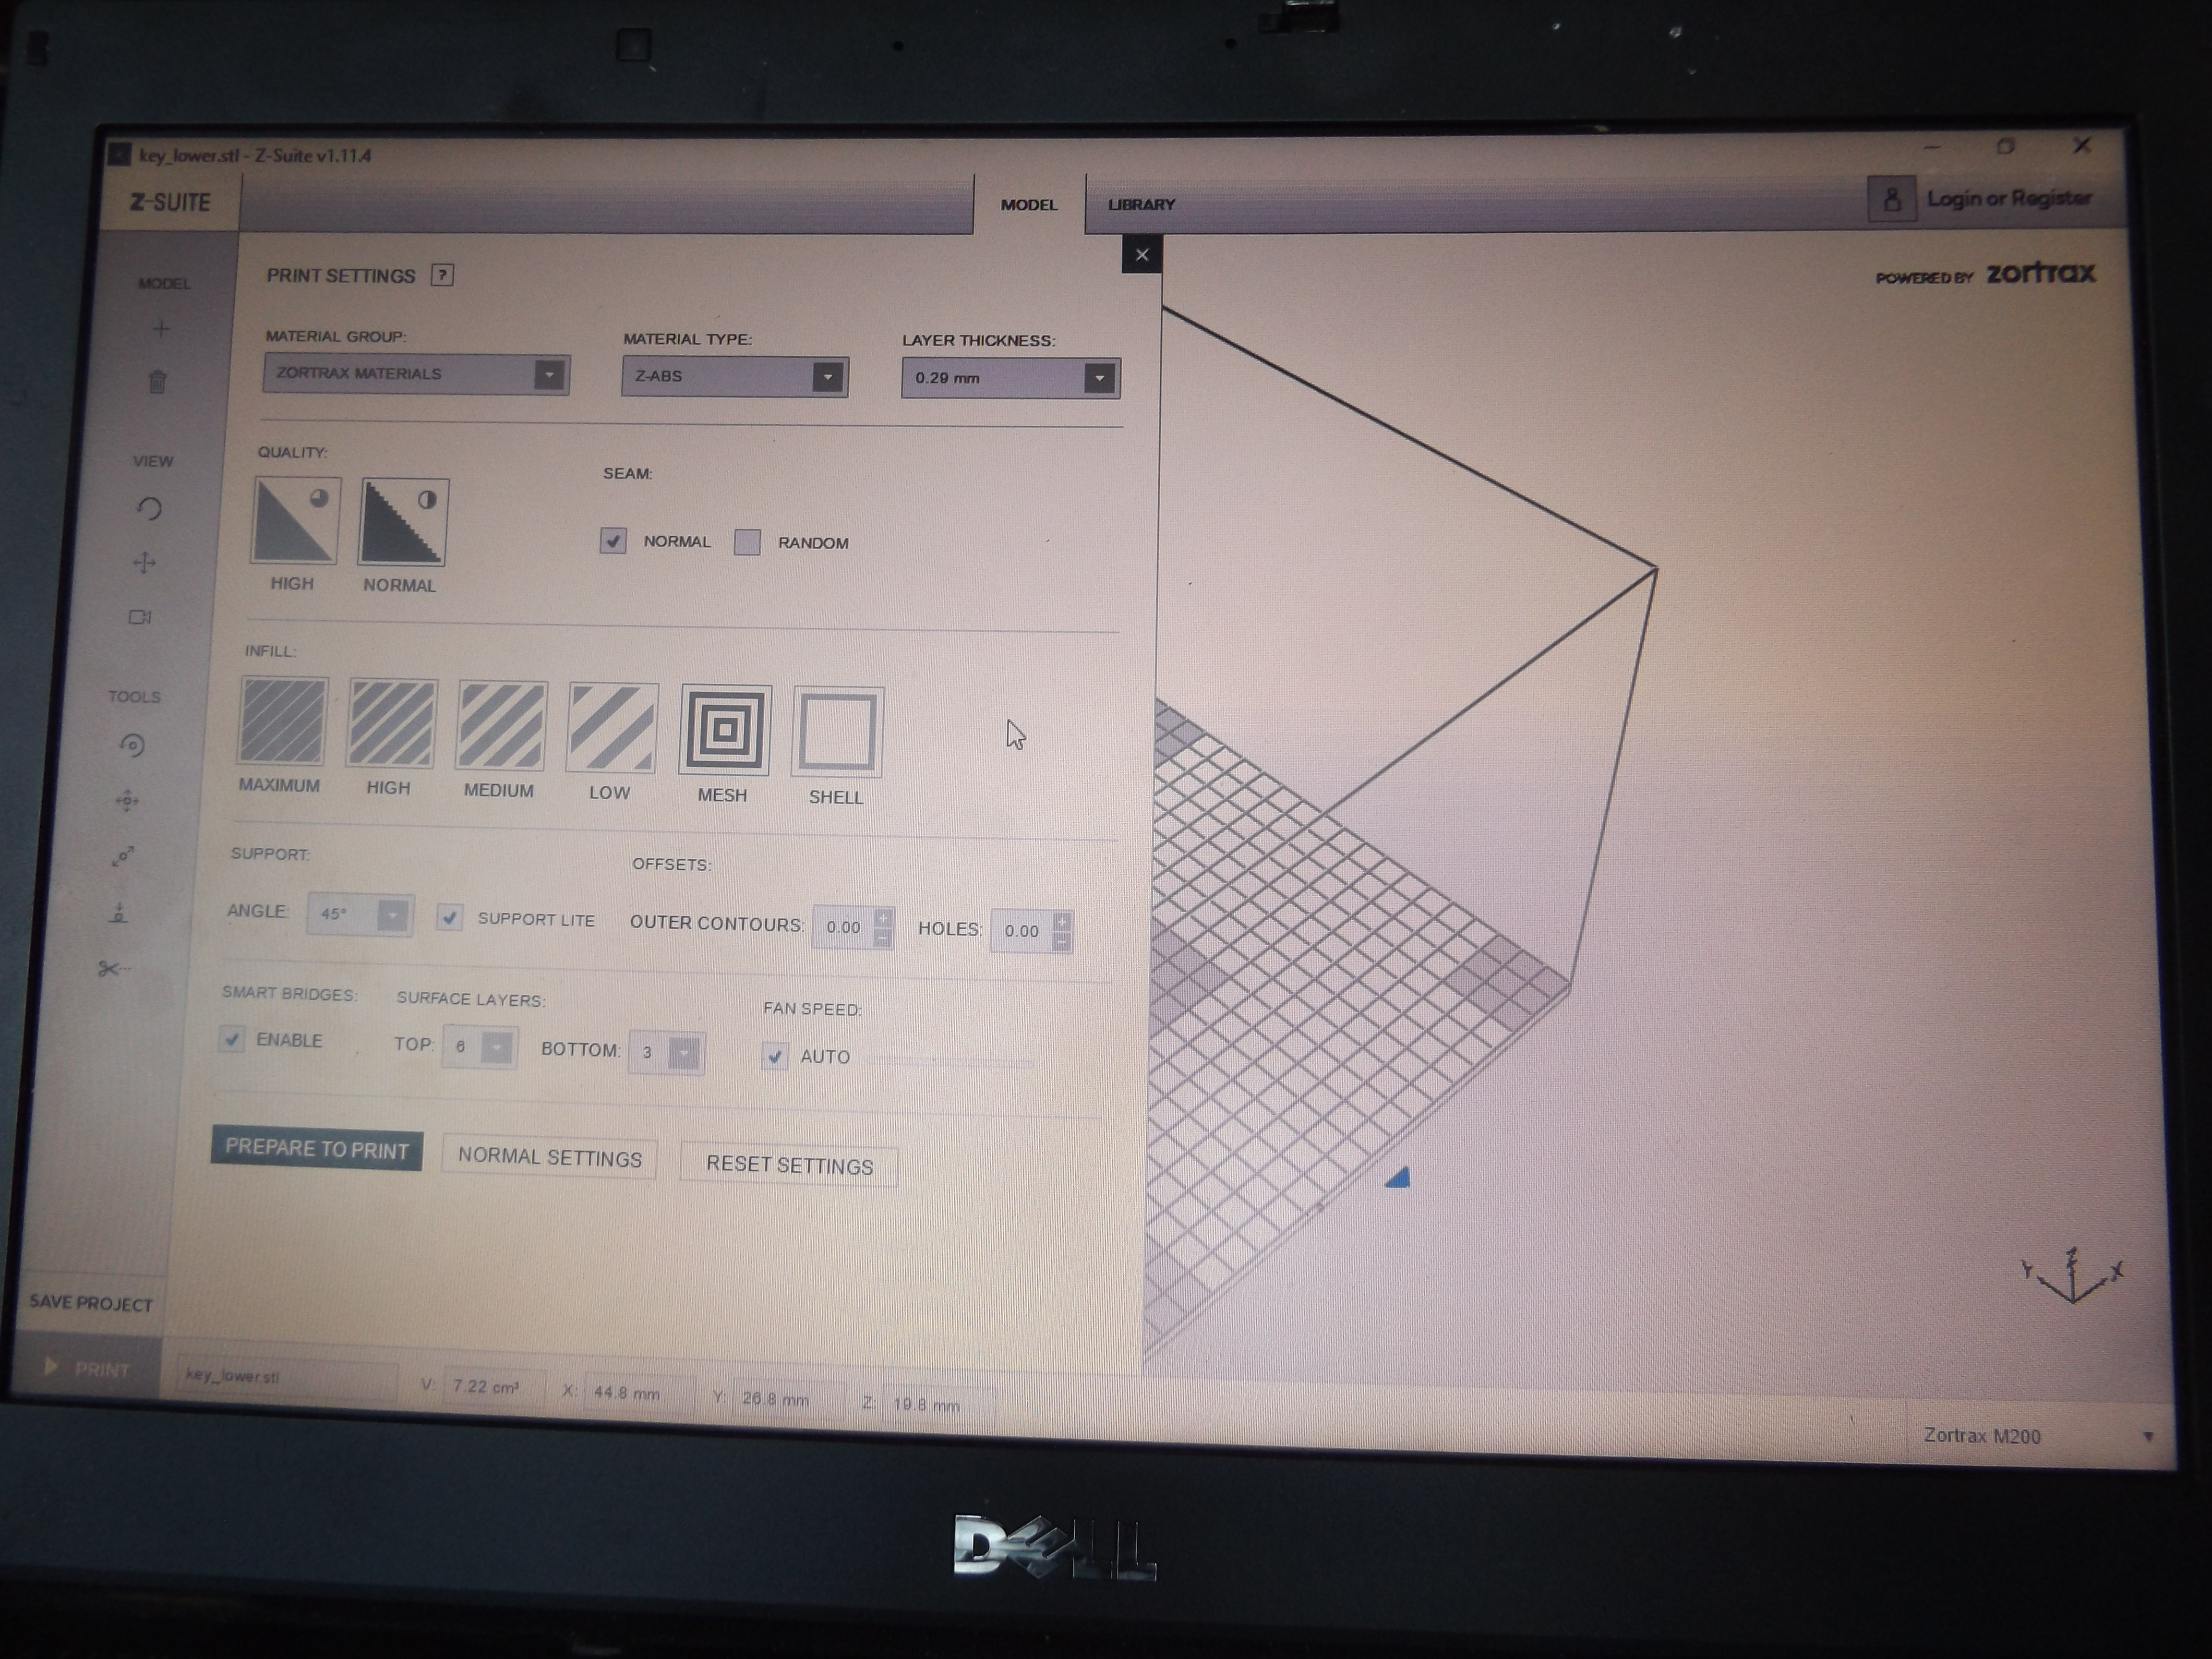
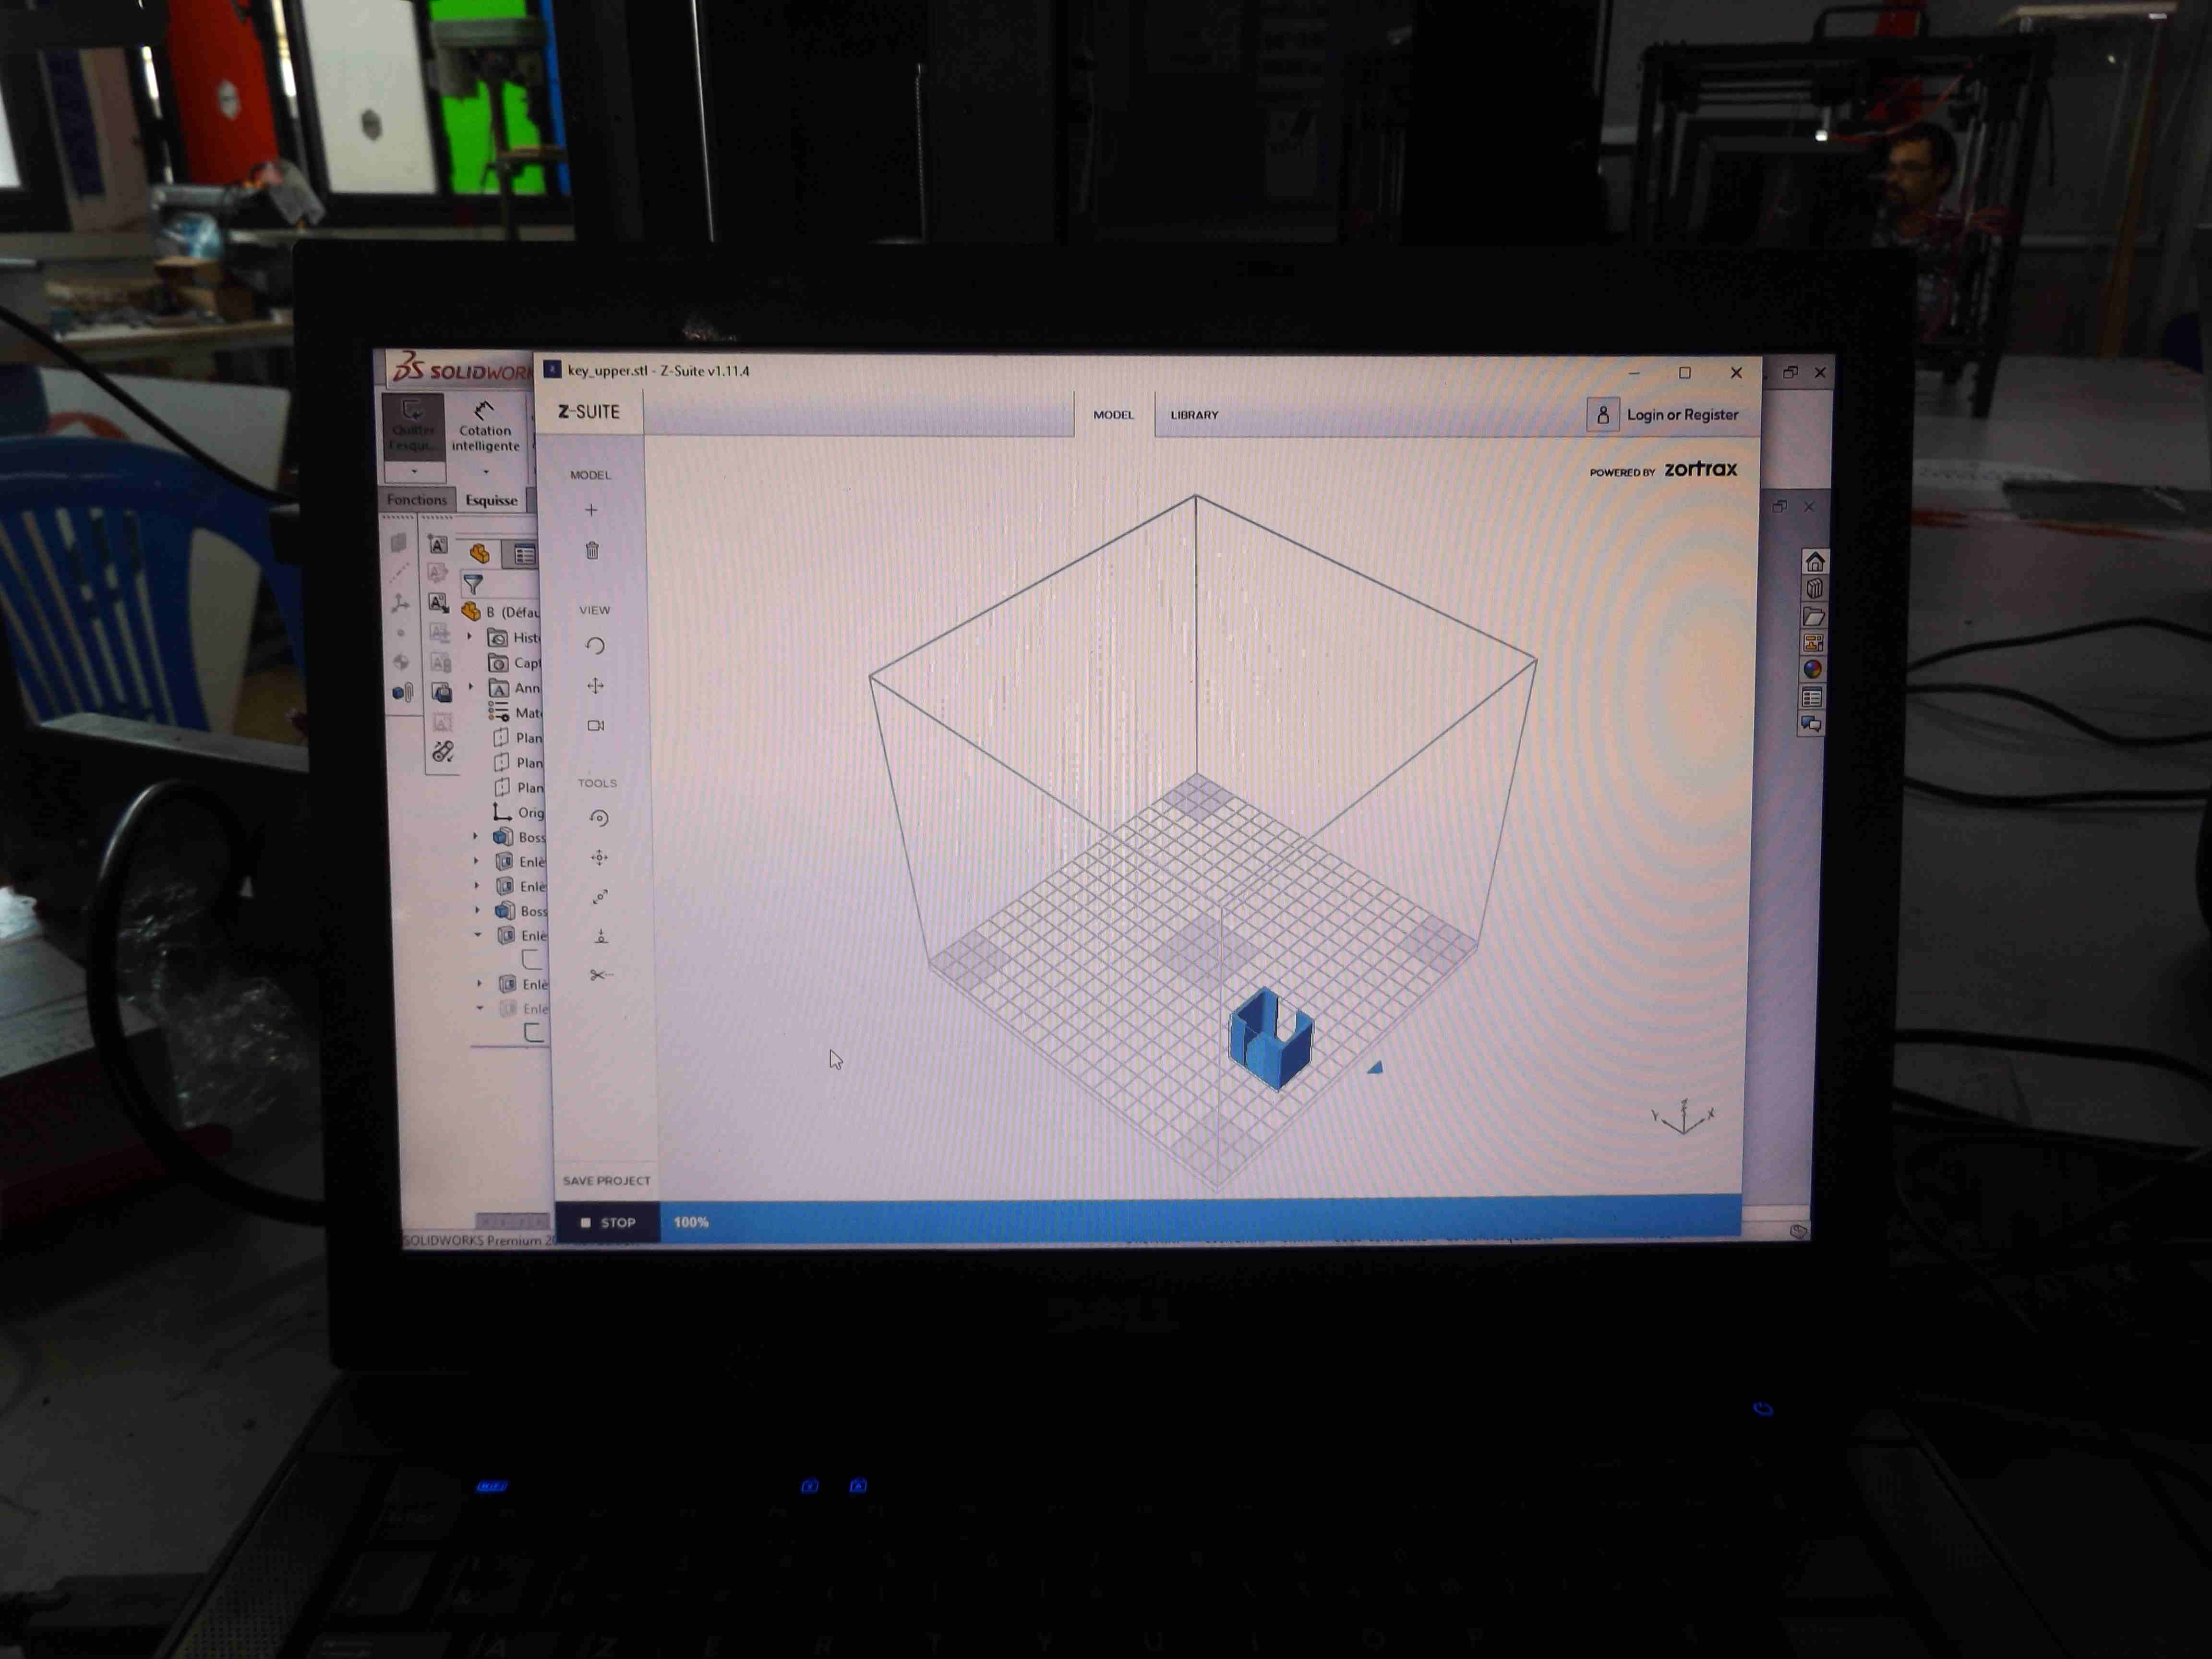
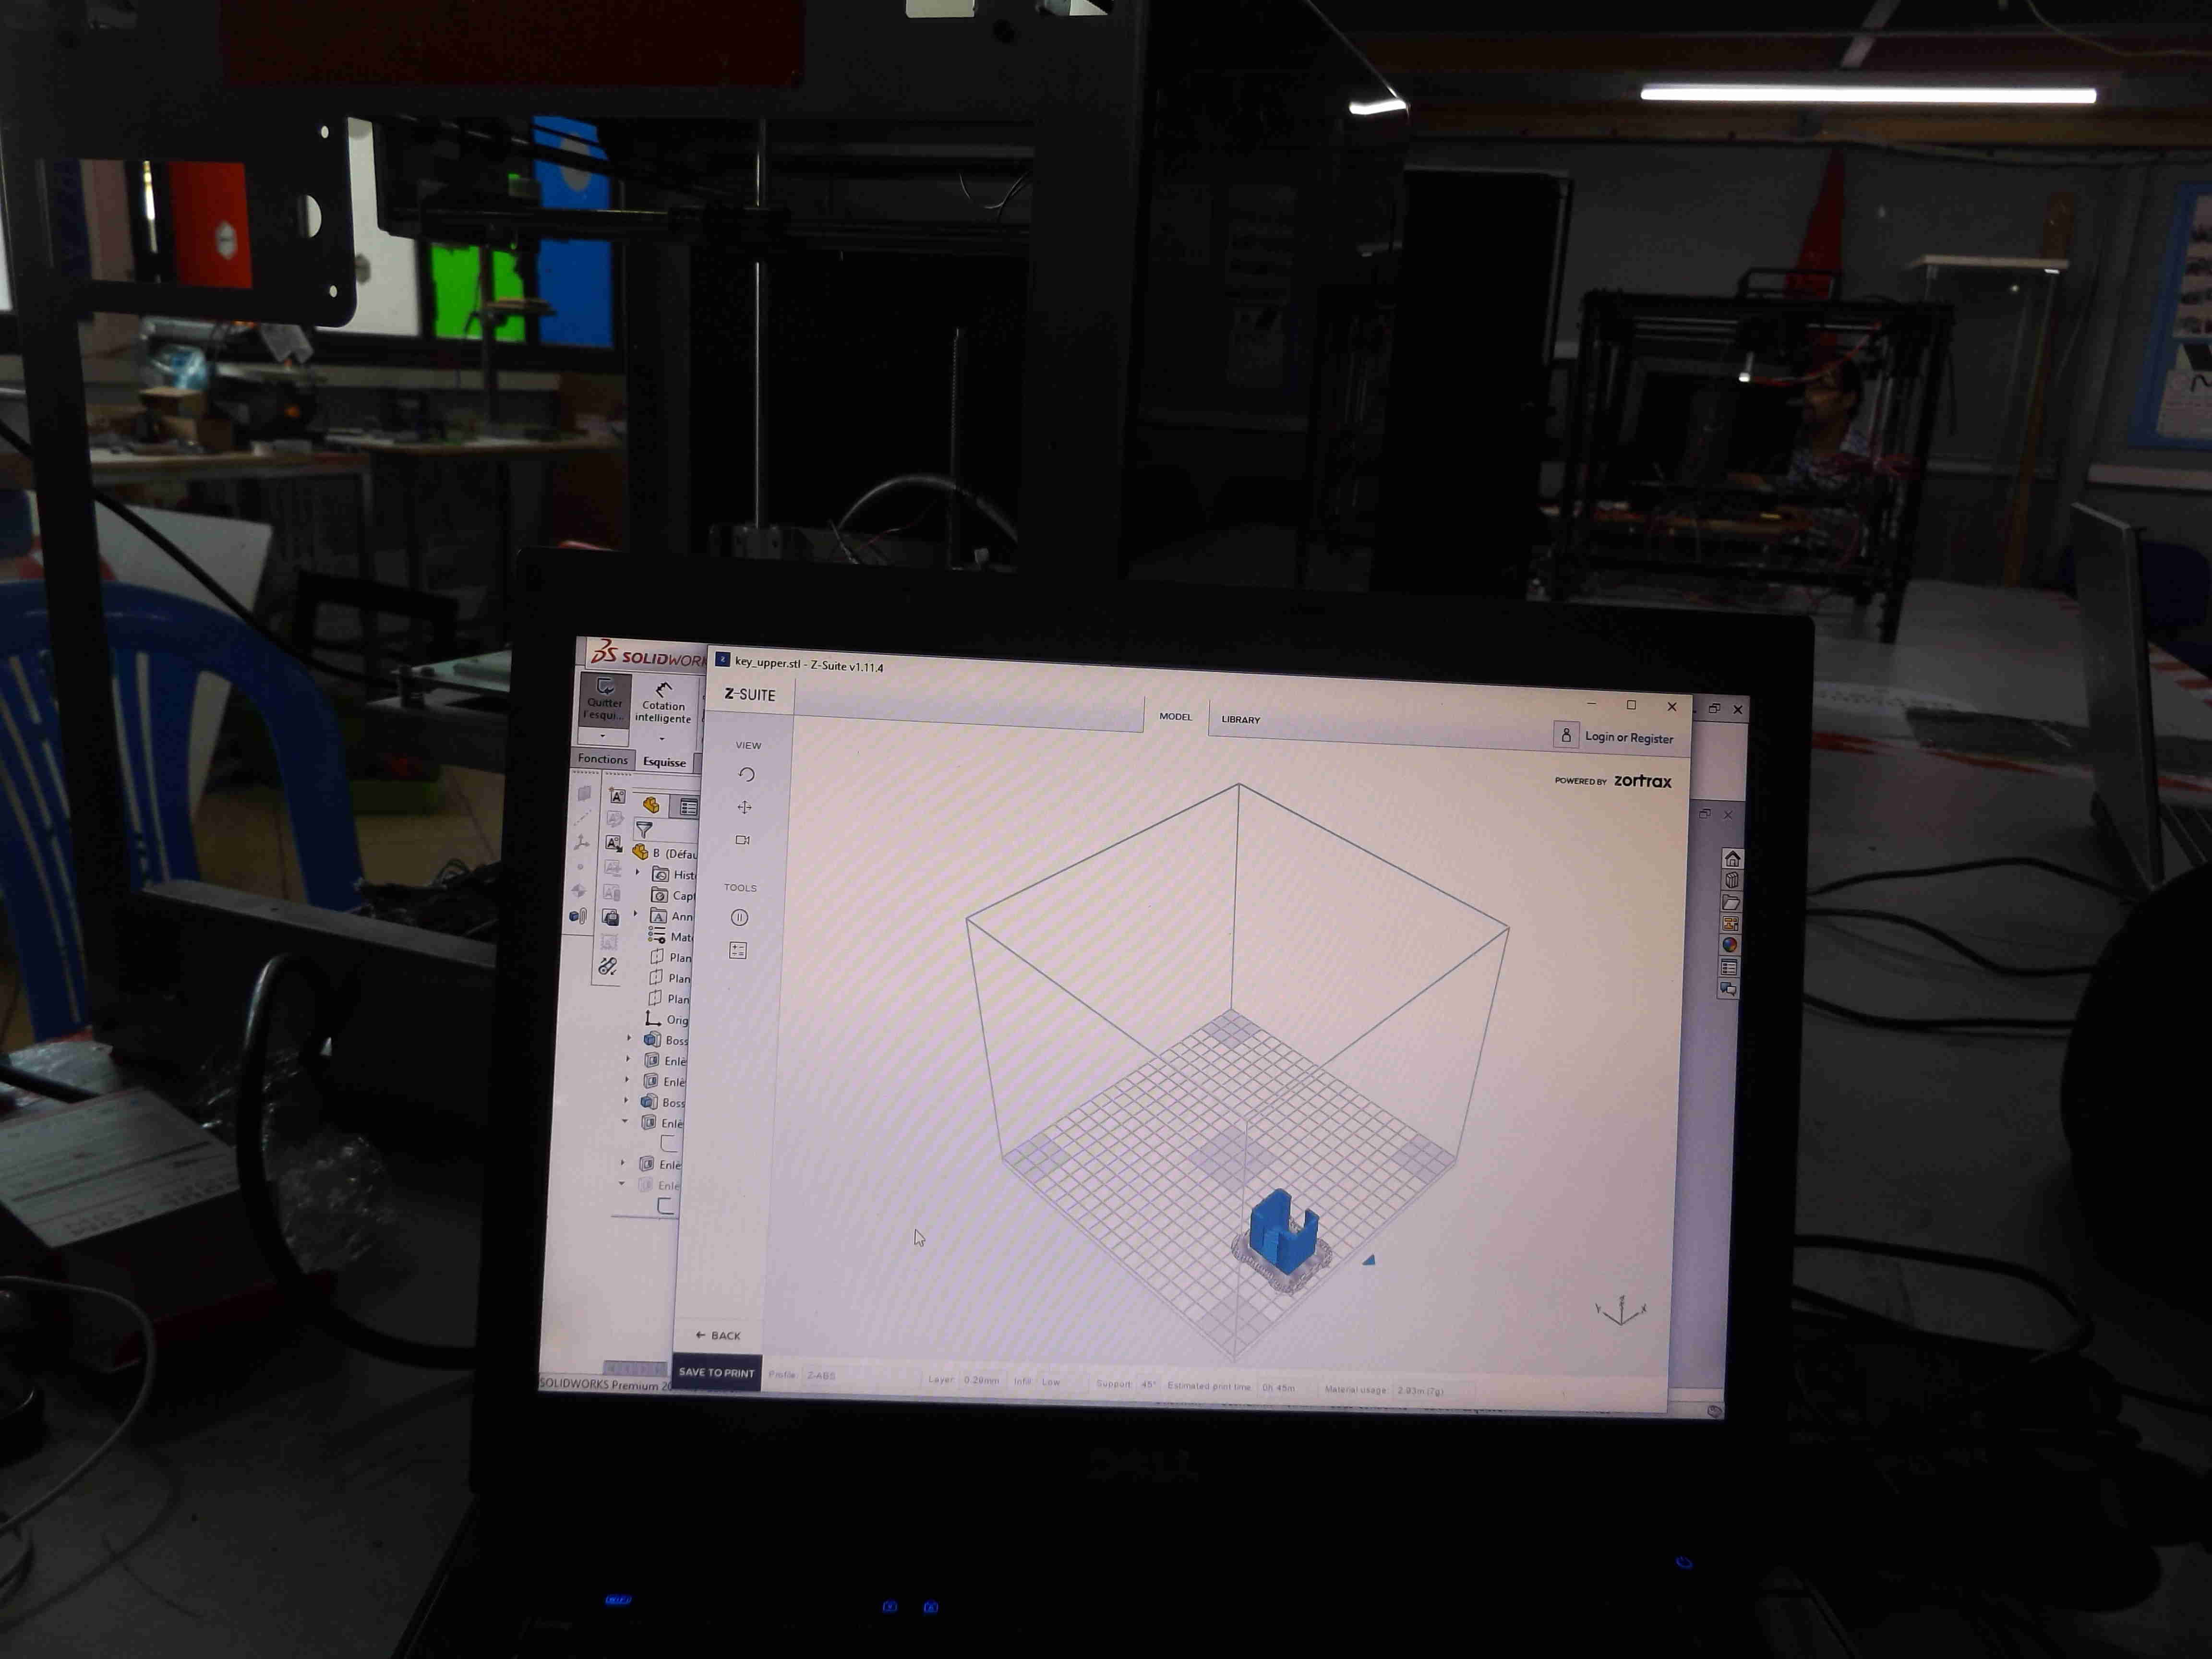
to prepare the file for 3D print I use Z suite program, load the file, then print, in the setting I choose ABS in material, layer thickness 0.29mm, fill type low, I change setting as apropriate, the prepare to print, the program gives an estimation of realization time and size of the final object, I check values save the model in SD, load the model in the 3D printer, choose the program in Zcode extention, click on the program name, then print to start the job, the platform start heating, after that the extruder start heating for a while then machine start printing, here are the screenshots.
To download design and 3D printer files in fusion360, stl and zcode.
here is the design file in f3d format here is the file key_lower in stl format. here is the file key_upper in stl format. here is the file key_lower in zcode format. here is the file key_upper in zcode format.