Final Project...

Craddle

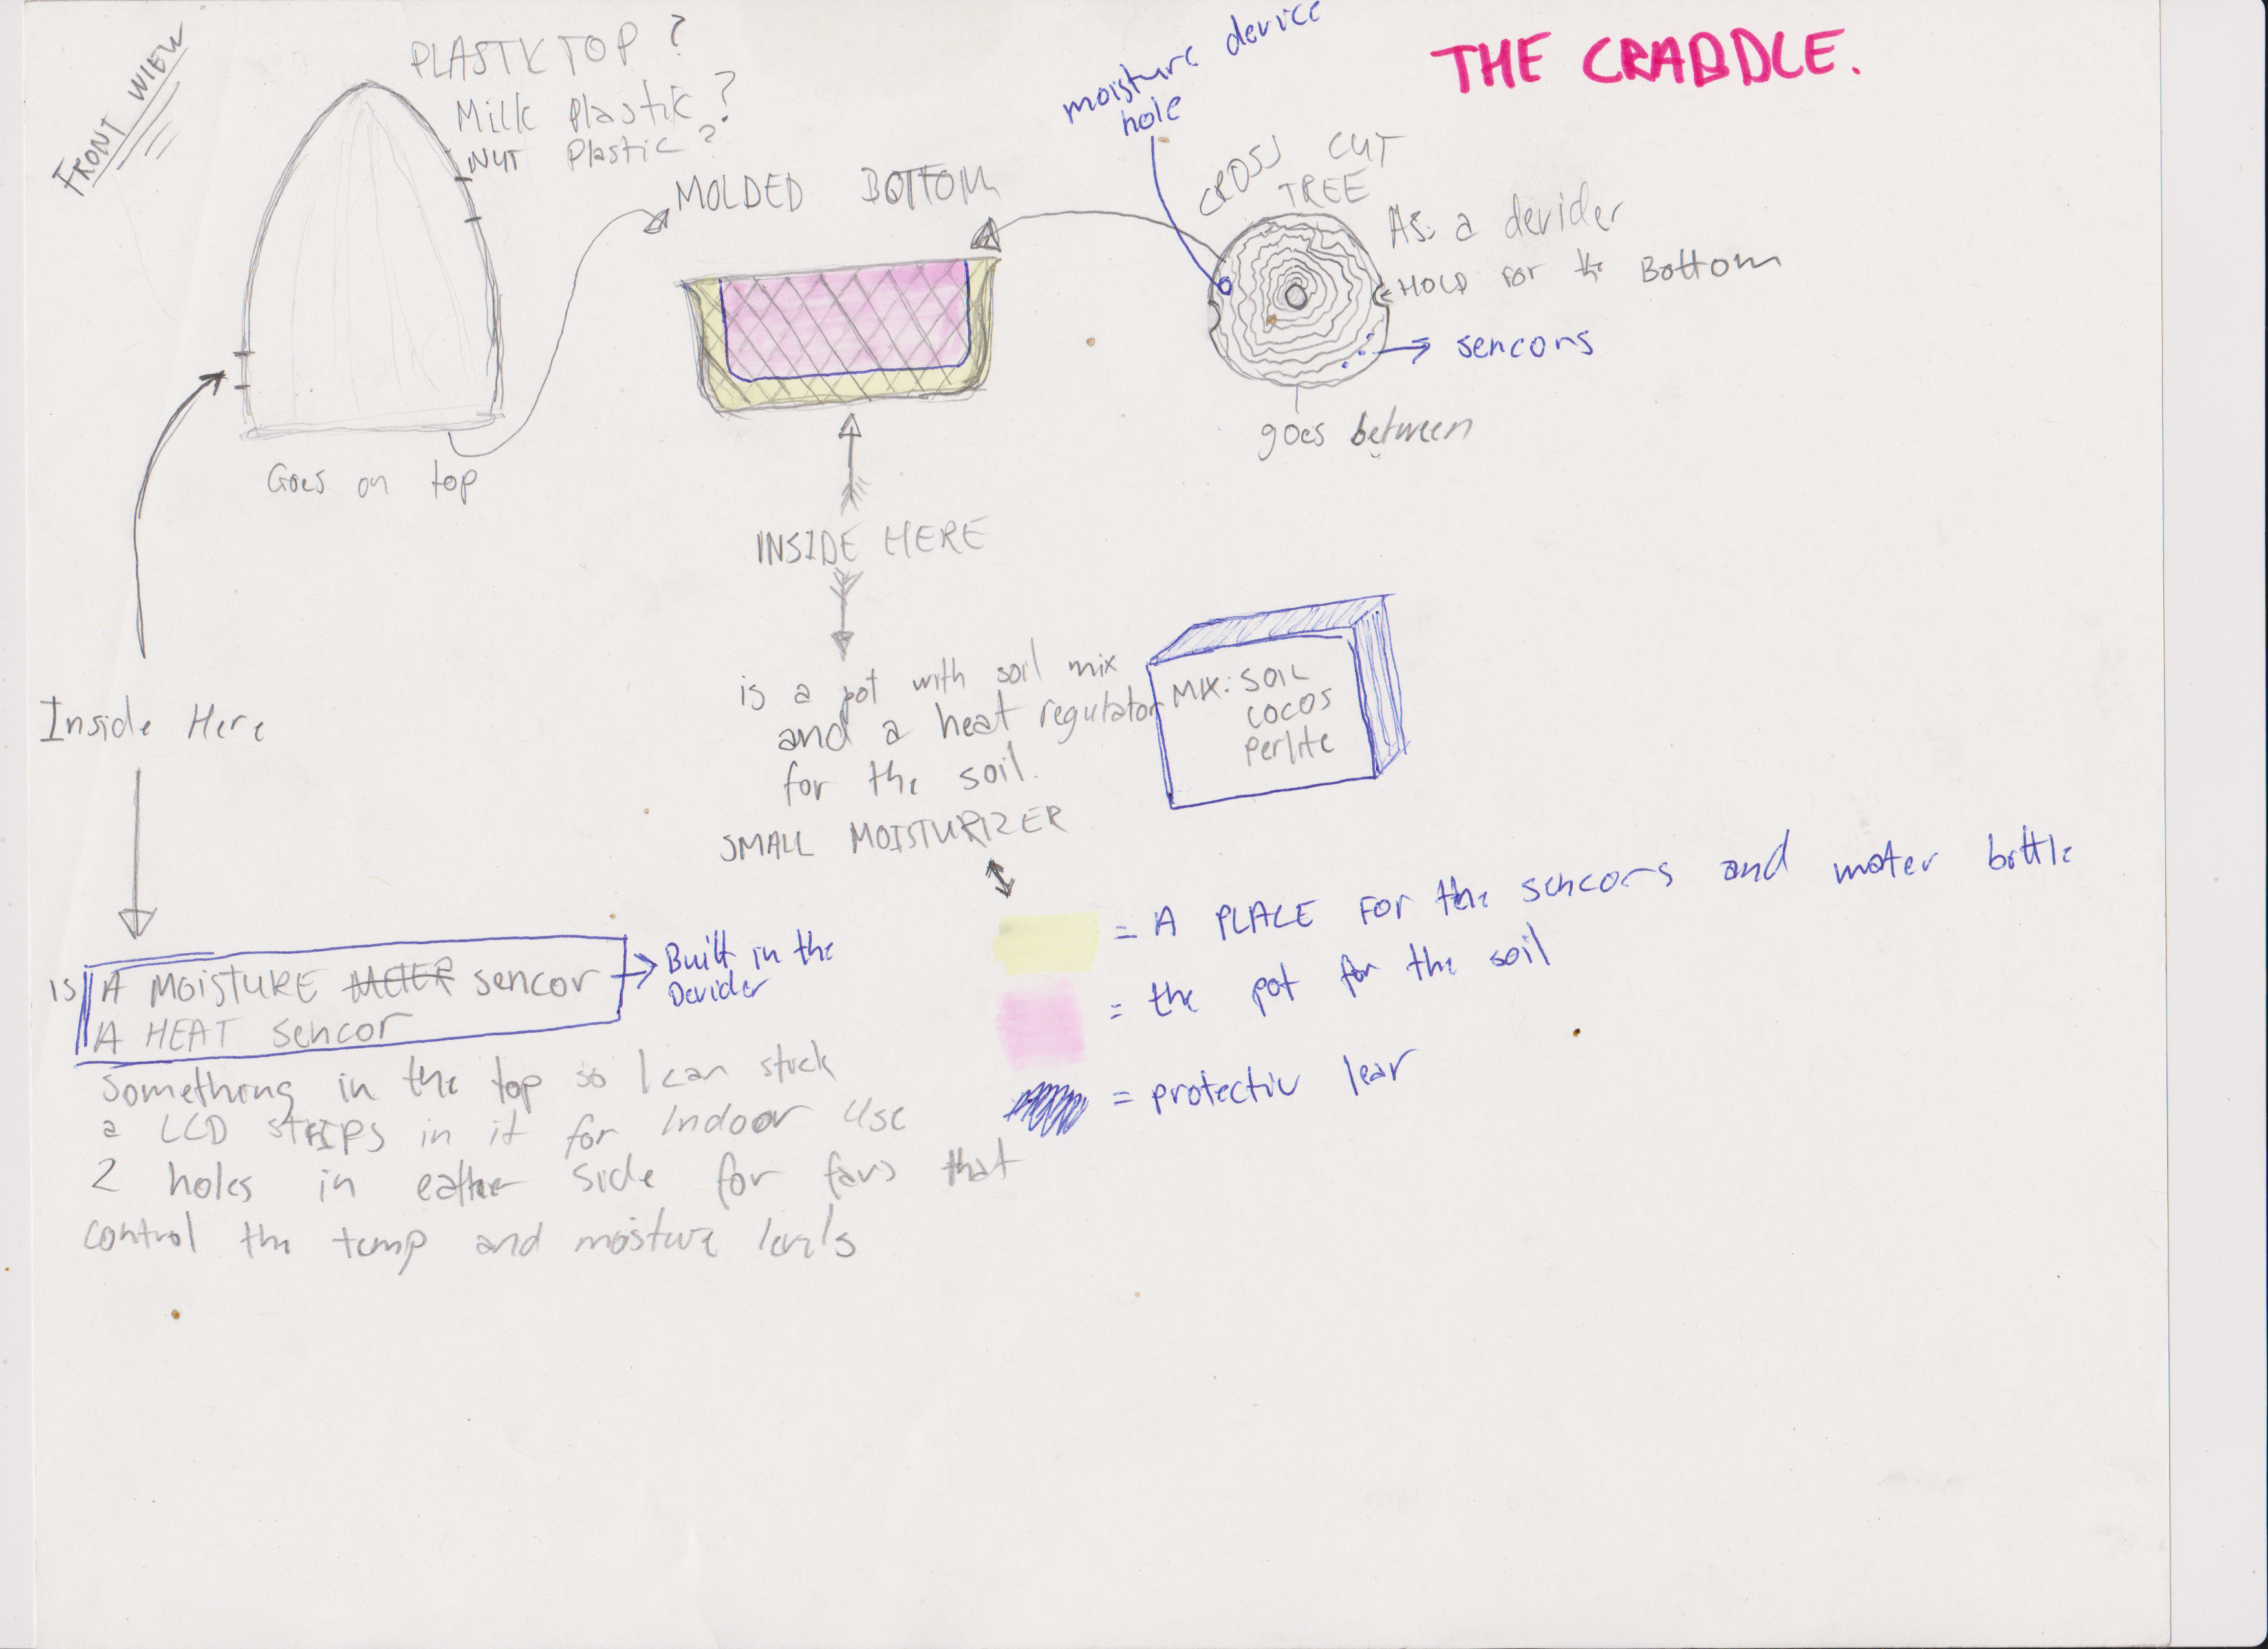
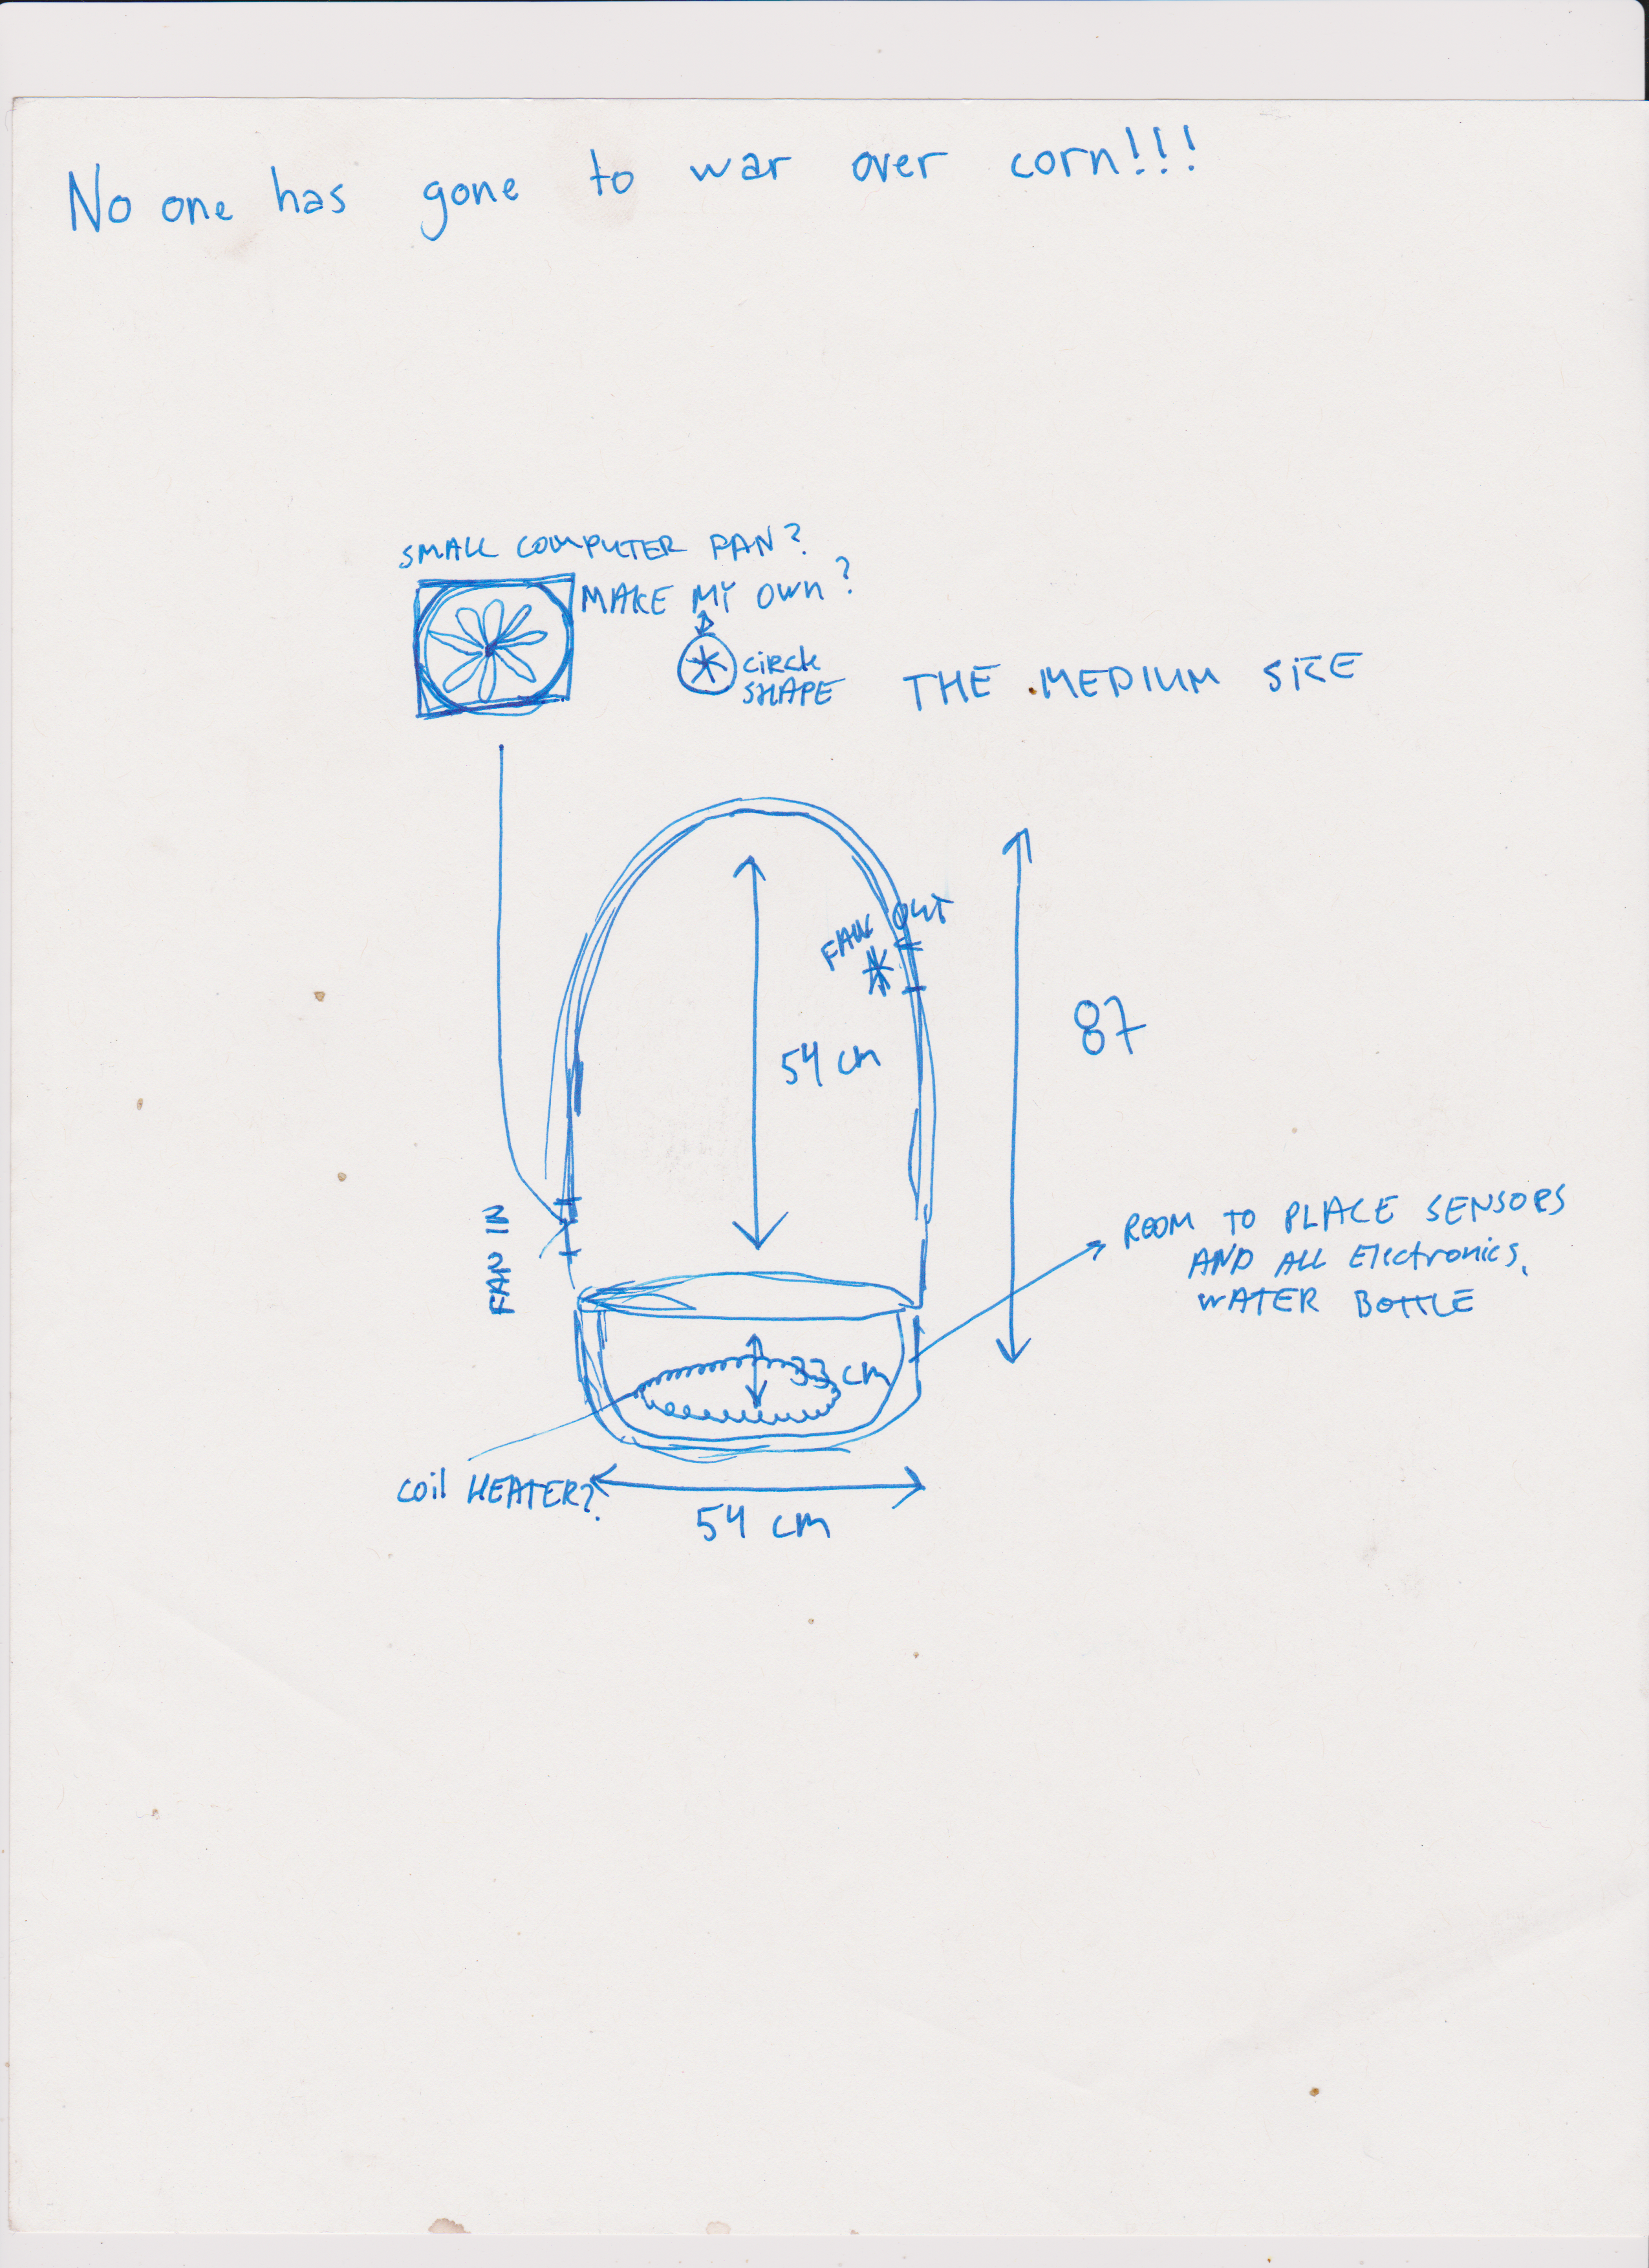
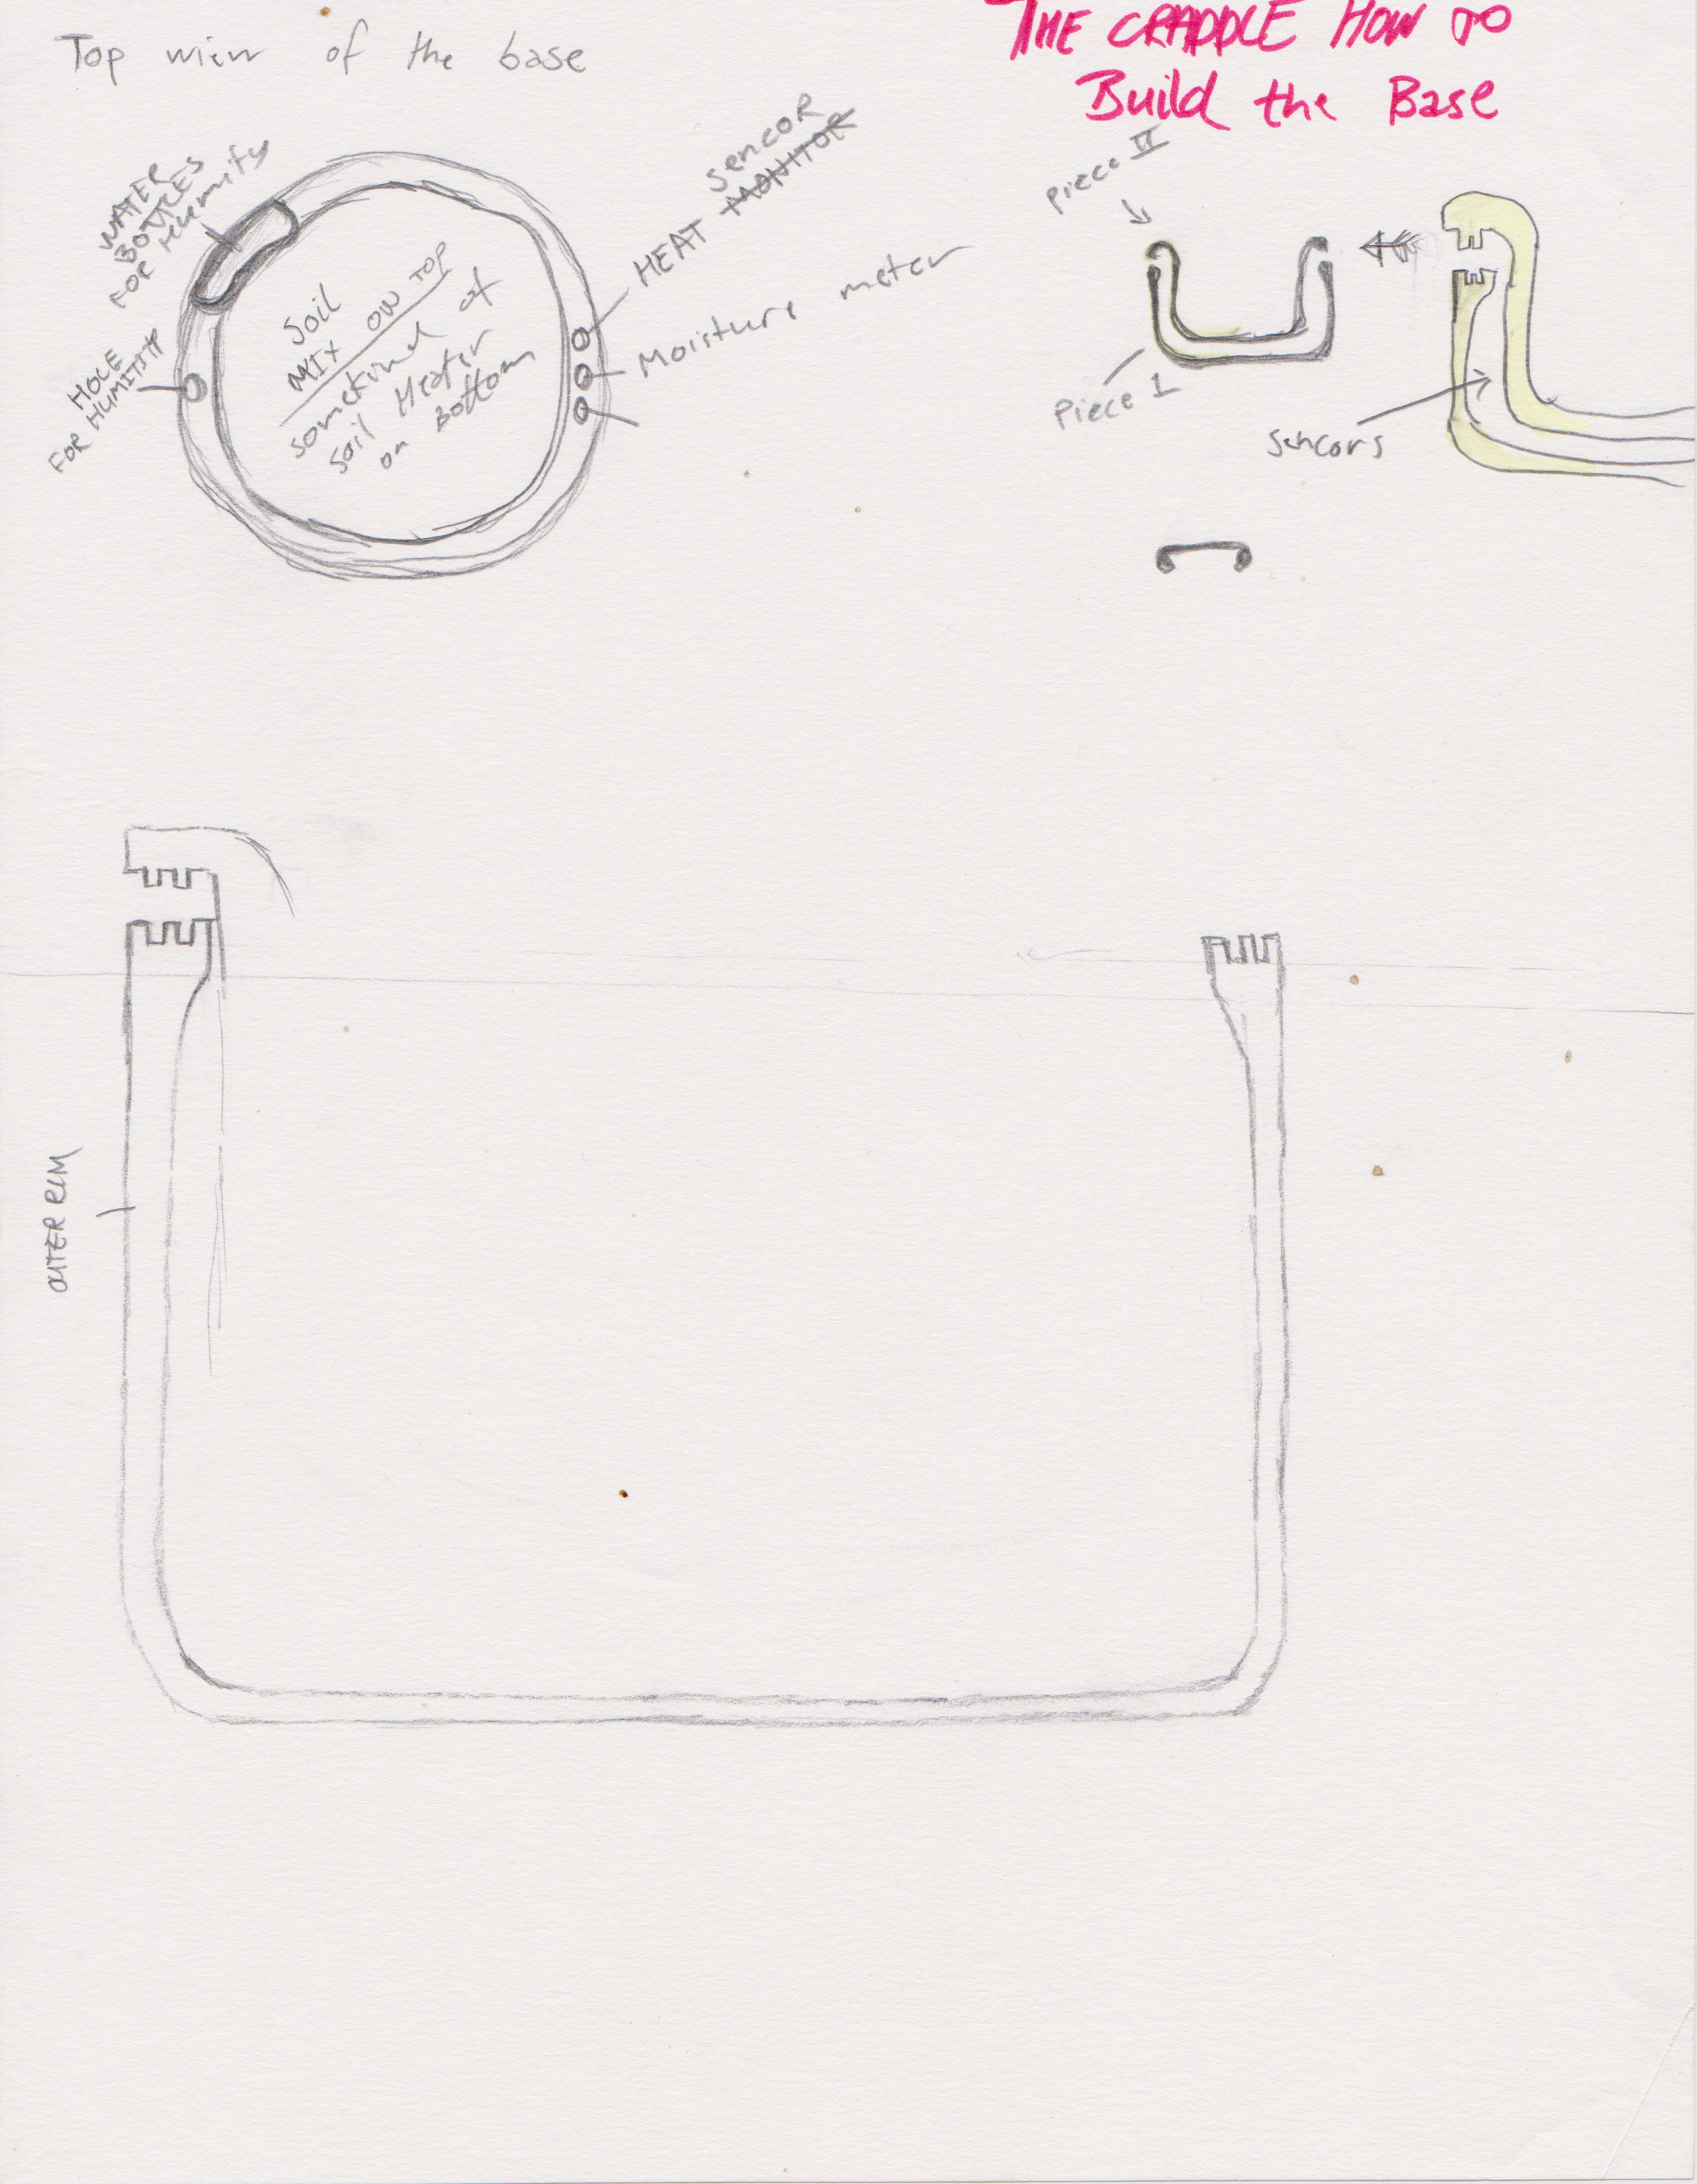
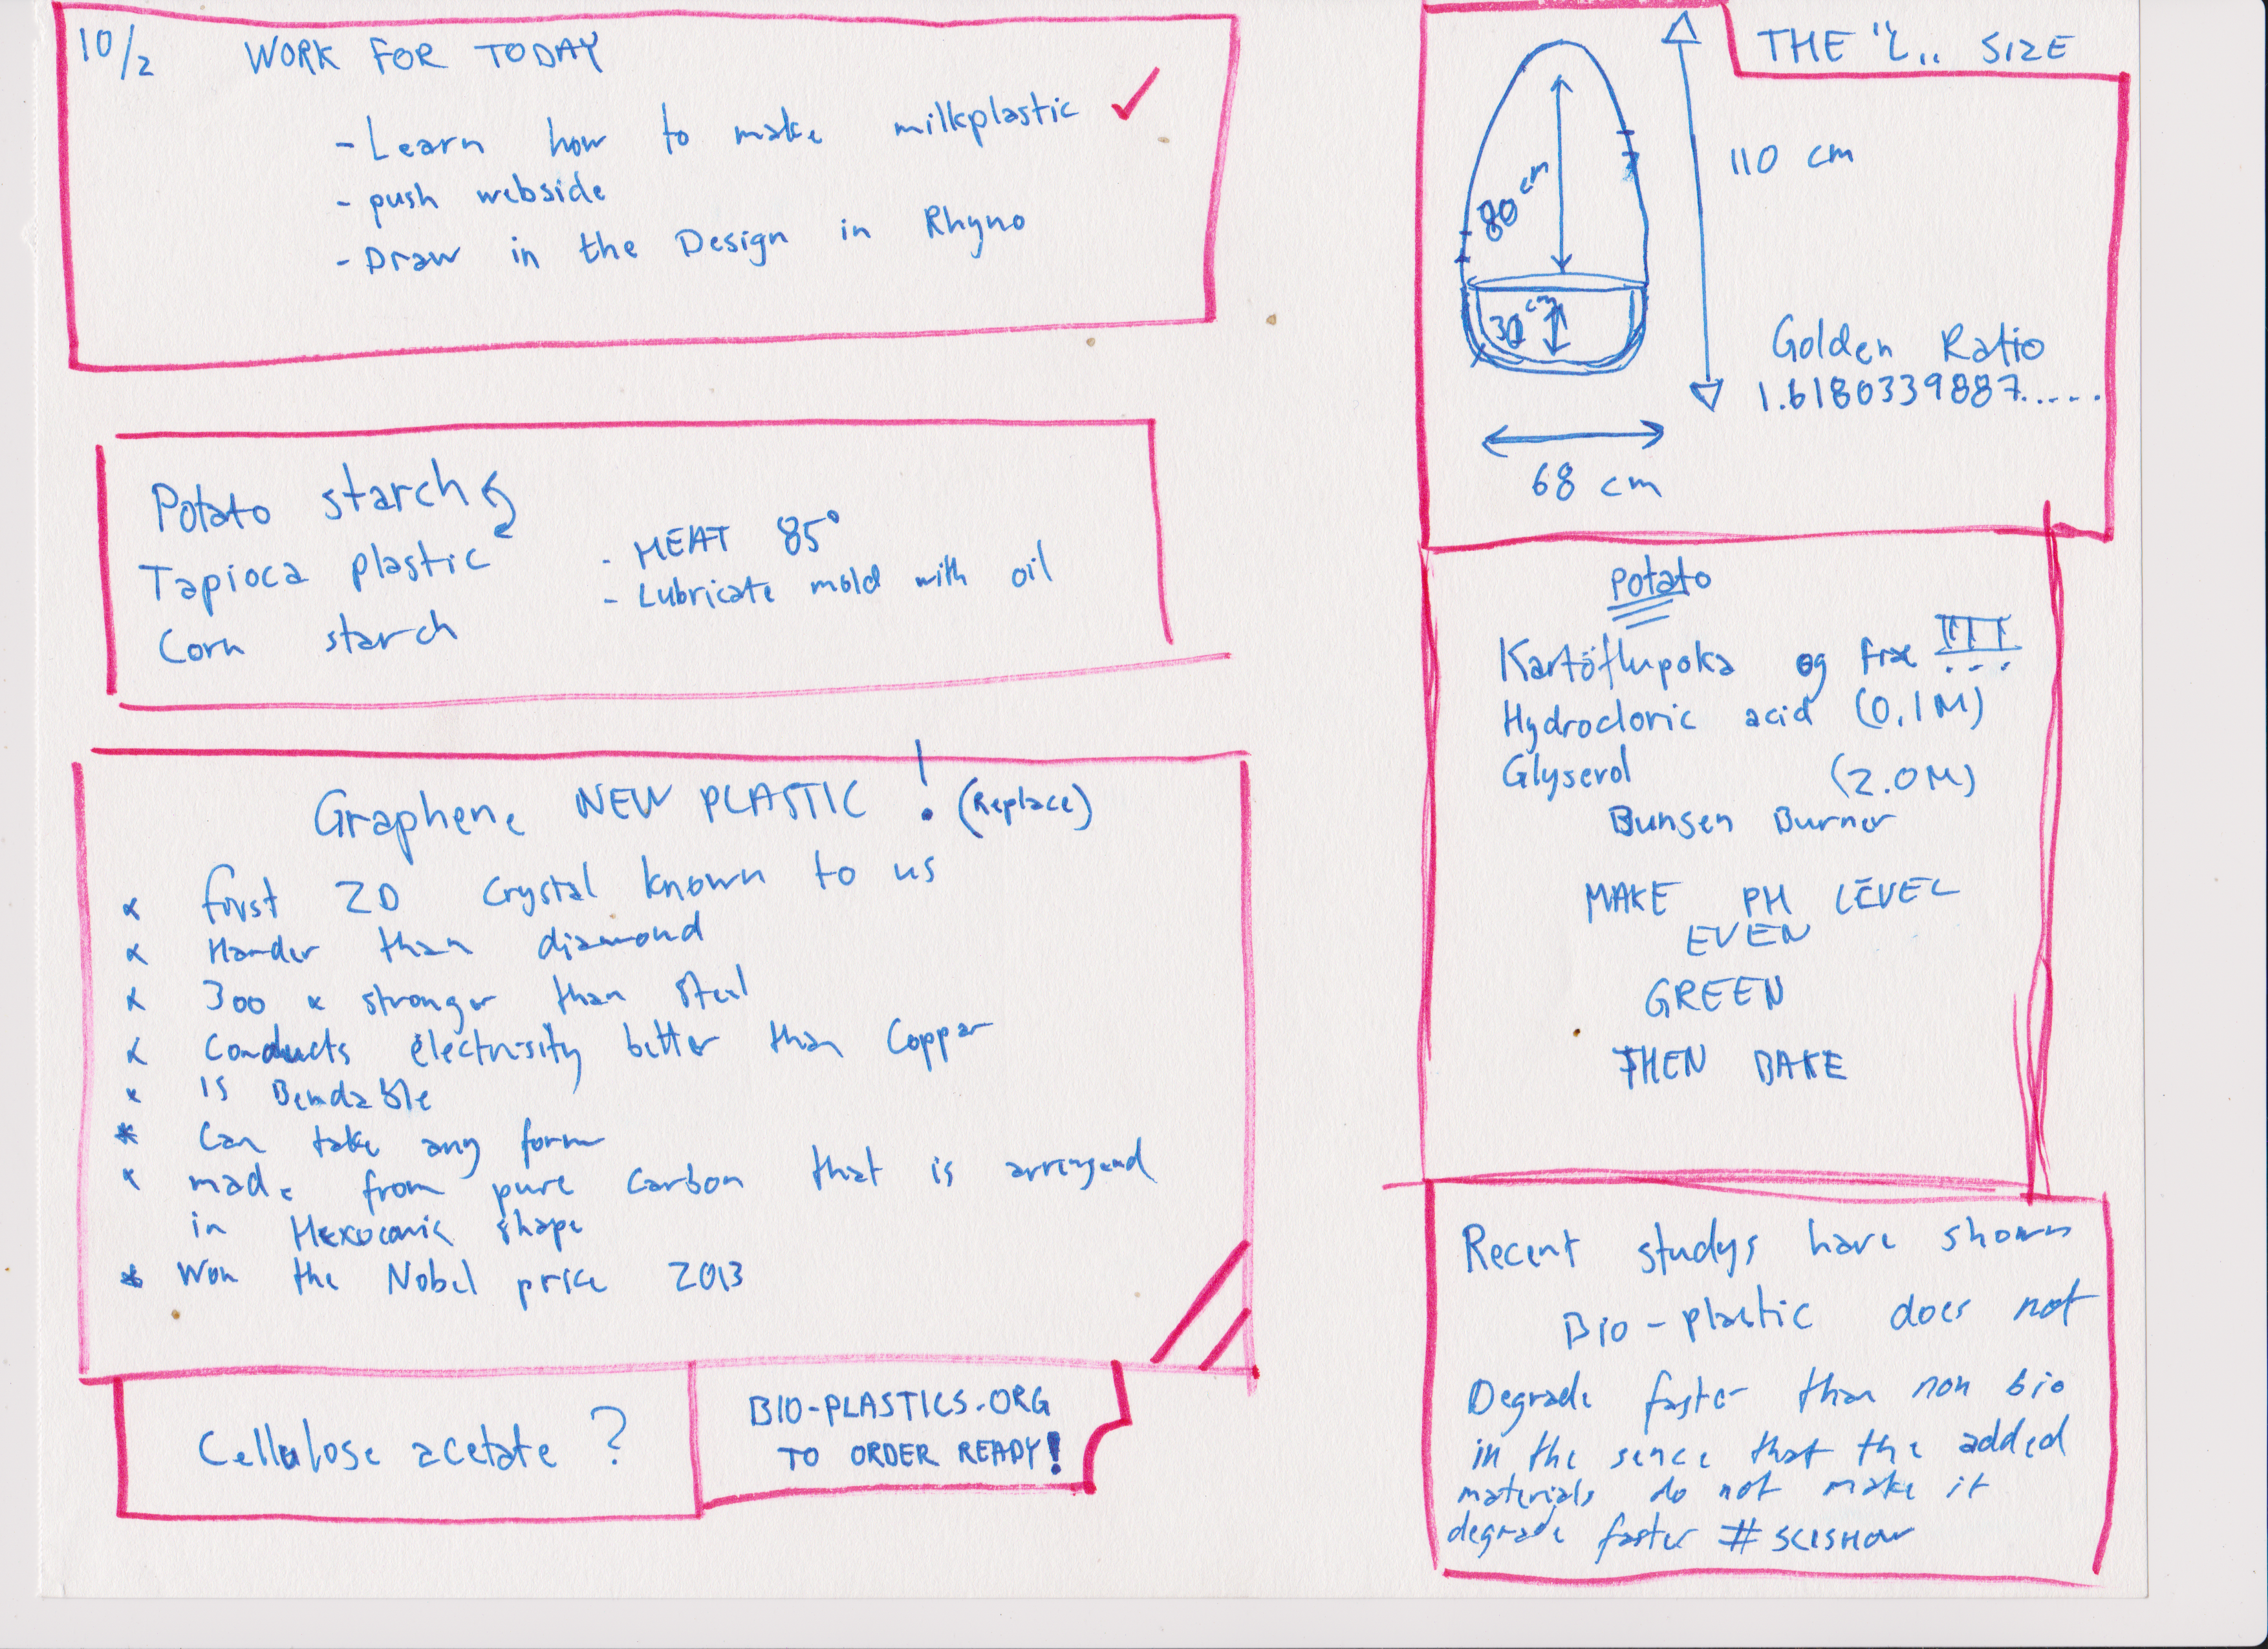
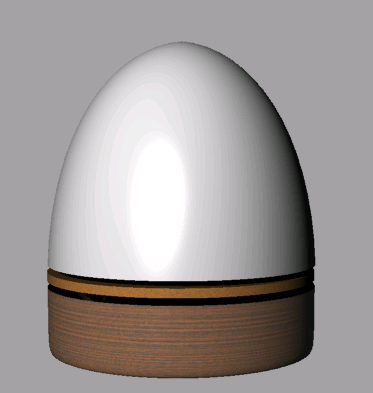
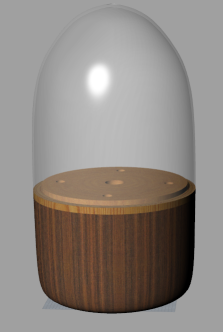
For my final project to make a microenviroment for plants that you could use all around the world, both inside and outside, the system should be capible to run in any tempeture. The system should be programmeble for any type of vegetation. The system should be able to check the mosture level around the plants an modify it depending on the plants need, it should be able to check the ph- level in your soil and let you know if its too hi or low, it should have a automated feed system both from the top soil and "bottom feeeder" should feed the from the bottom, it shuold have a soil mosture meter, and somekind of soil heater or regulator, it should keep track of the whole process and let you know with either alarms or message in your smartphone. I want the system to be both plug in ready with a cord and to be able to run on solarcells, if the system would have a little windmill to generate just eneugh power for the main systems for the days that the sun is blocket out, it should work both with sunpower and also have somekind of plug in for led lights for the inside growing. I want the system be build egg shaped and be called the craddle, it should have two holes in eater side with fans to control the mosture and the temp.

Design and thinking about how to make

w3 First draw sheet.
w3 another drawing.
w3 Thinking about how to make the bottom.
w3 The top.
w3 Materials.
w3 Amazing stuff liquid wood.

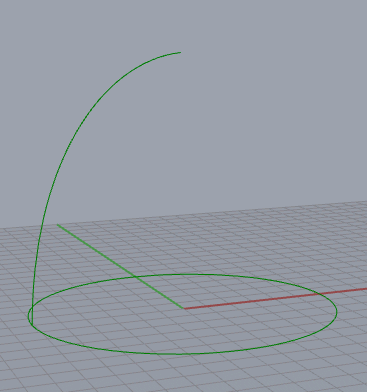
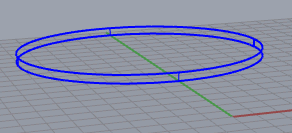
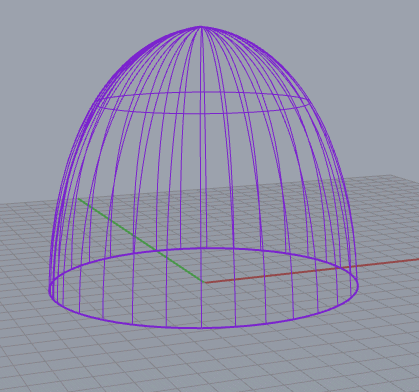
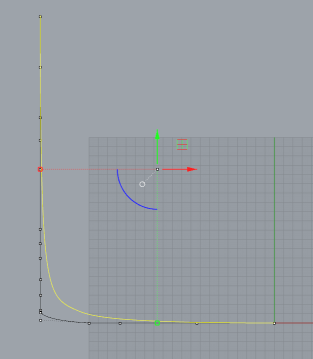
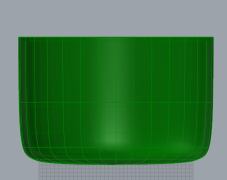
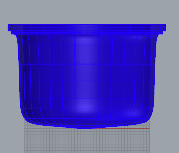
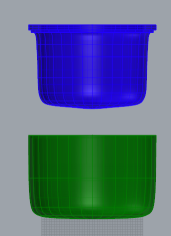
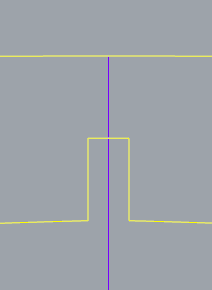
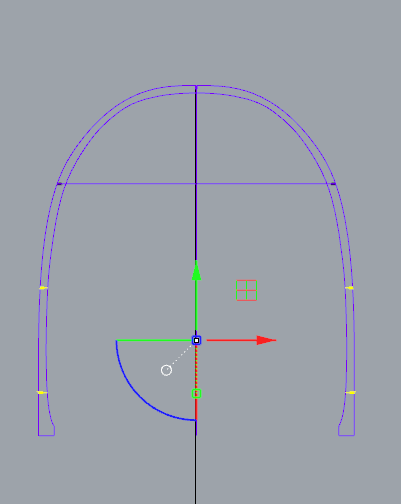
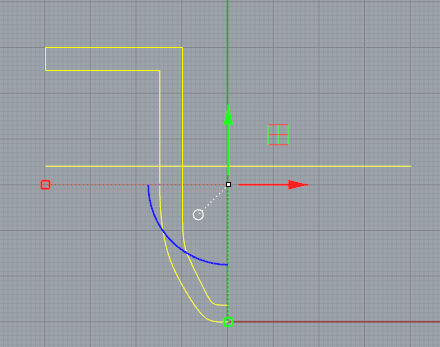
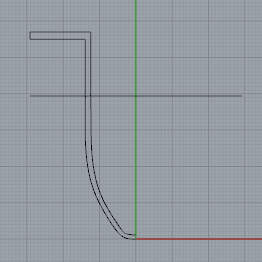
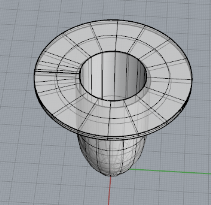
Rhino drawing of the craddle

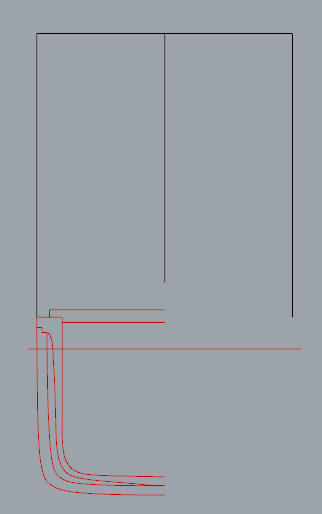
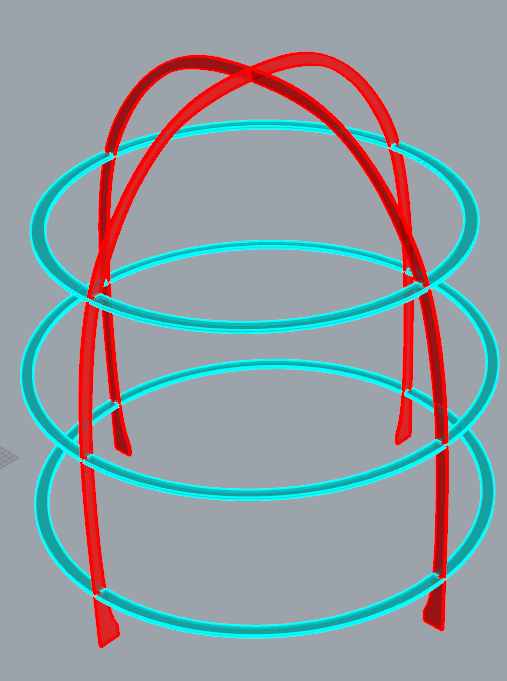
The first design I made during week two in rhino I did not know it properly then but this is the first computer design, but it was not in the right propurcions.

w3 The lines for the bottom piece that I made then to be able to use the sweep1 command.
w3 The lines for the top part for sweep1.
w3 The mibble part.
w3 The bottom piece ready.
w3 The top ready.
w3 Asselbeled.
w3 And rendered.

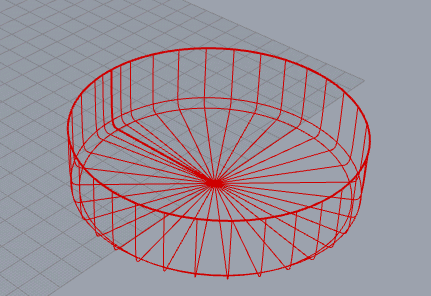
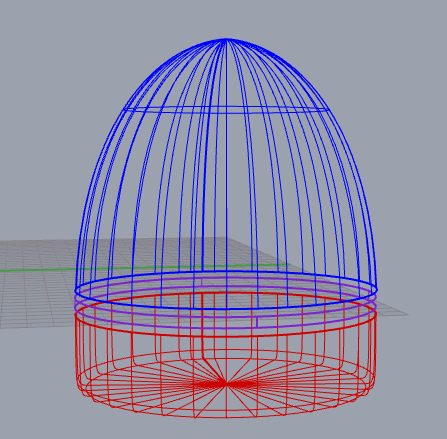
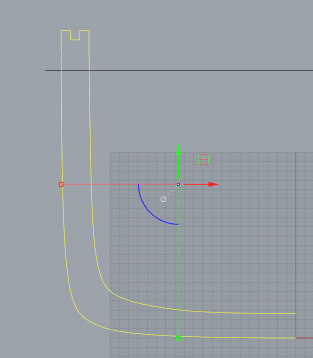
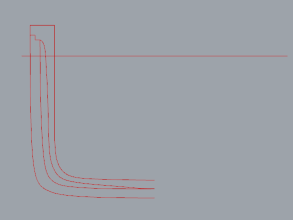
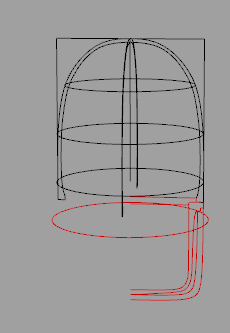
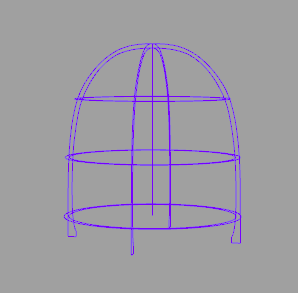
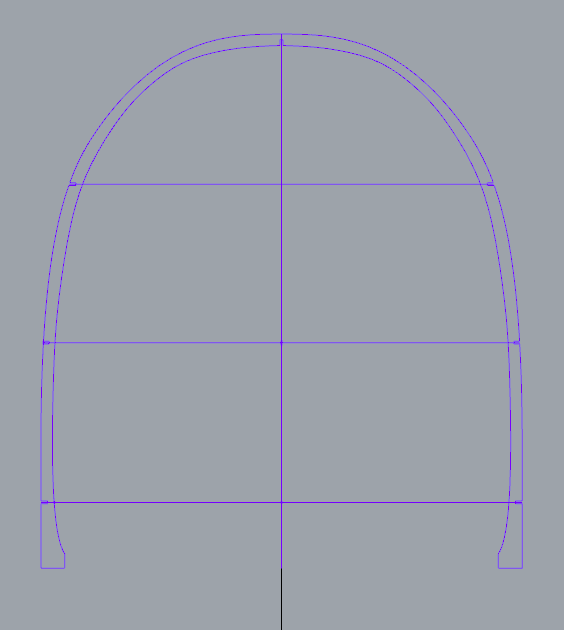
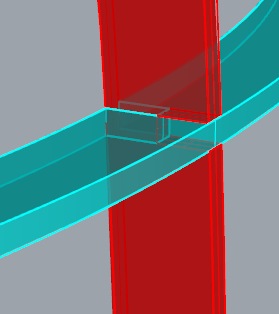
Then in composit week I made the designs in rhino in the right popursions.

w3 I started to make the outline in the dementions I wanted.
w3 Then I turned on the guidepoints and tweeked the line in the shape I wanted.
w3 Here I'm making the fixers so the two bottom pieces can slide into each other.
w3 Here's the start of the new bottom.
w3 The lines for both the bottom pieces.
w3 The outer piece came out like this just like it should have came out.
w3 And here's the inner part.
w3 They fit together with a little room between each other for the sencors.
w3 After I finished the bottom part I decided to make the design of the Craddle heres the middle piece.
w3 After I got the basic shape that I wanted I made cylenders to booleandiffrence and make the holes for the plants to come up and four little holes for germanating pots.
w3 I made guidelines to be able to make the dome.
w3 Dome ready.
w3 Assembled and ready the basic design of the dome.
w3 Rendered.
w3 And splitt.

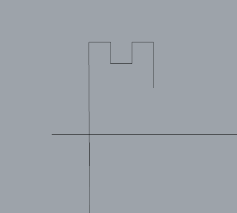
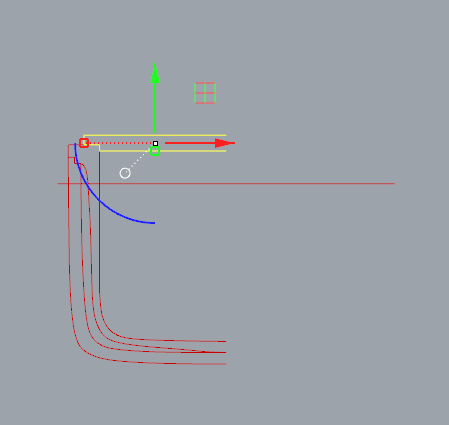
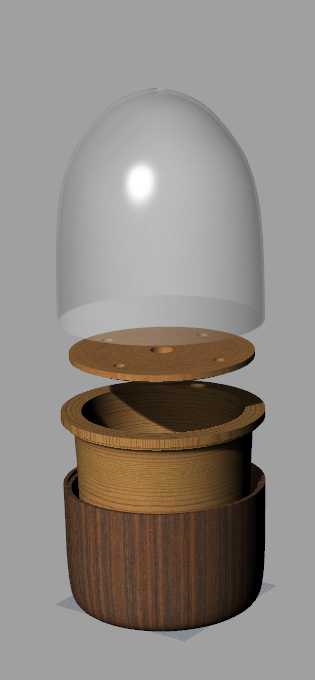
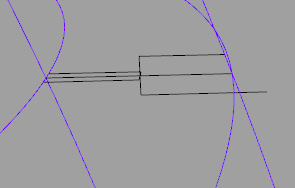
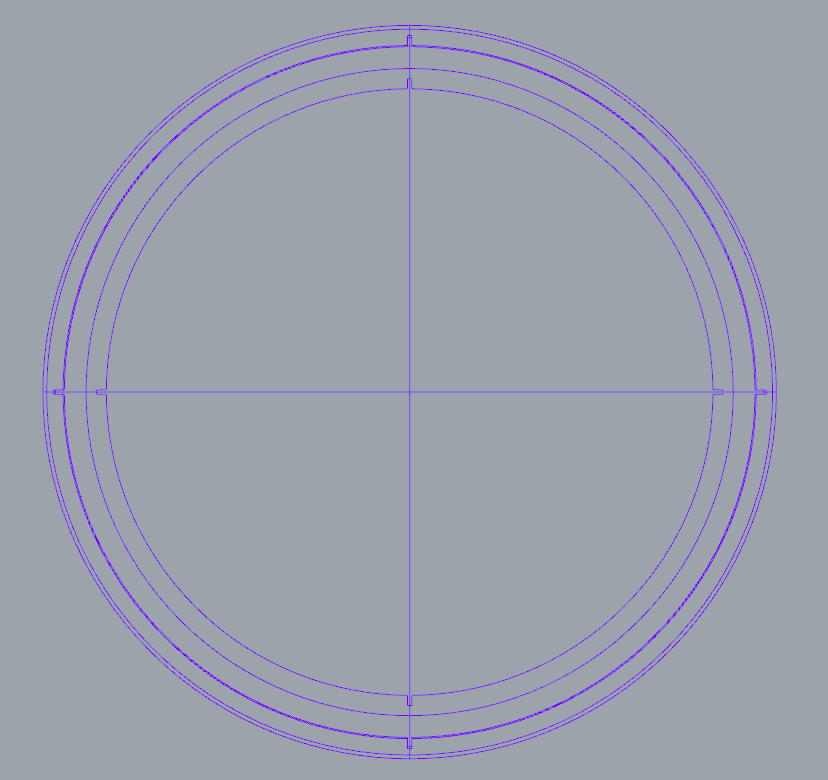
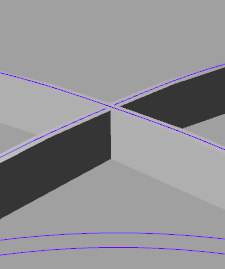
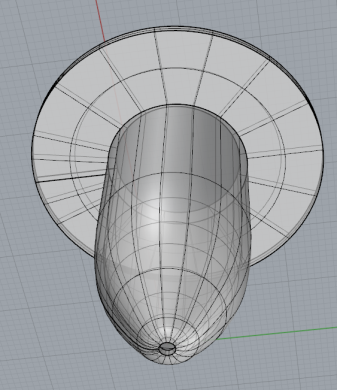
The redesign of the top

I was going to make the top piece out of a sheet of bio-plastic that I was going to vacumform over a form but I later relized that I would have many diffrent problems with that, first we dont have a vacumpormer with a heating element in the green fab lab and not in the barcelona fab lab and secondly I have no place to put lights or fans in the top piece so I designed a frame in rhino to be able to stick the hardwere that I need to put in the top. but I'm still hoping for to be able top vacumform a sheet of ego plastic and stick it over the woodframe.
w3 I went back to the guidelines that I had after making the clear top and drew on half of the structure.
w3 Then I used the mirror command and mirrored it 180 degrees the used the gumball with ortho turned on and moved it 90 degrees and pressed alt to make a duplicate.
w3 Making the fittings for the two frame pieces.
w3 After I finished to make the fittings I trimed the lines that I didn't want and joined the two frame pieces in one line.
w3 Then I made the rings to make the whole frame stronger.
w3 After that I put the whole frame on its own layer and turned of the layer with the outlines.
w3 Then I made the fittings for the frame and the rings I made it in one of the places that I needed the firring.
w3 Then I mirrored it and used the gumball to get on the other frame piece.
w3 The side wiew of the ready frame.
w3 And the top wiew.
w3 From there I started to make the extrution of the frame and check if all of my fittings were right.
w3 They all fitted right I put them in two diffrent layers to see it better.
w3 The frame ready axtruded and layerd.

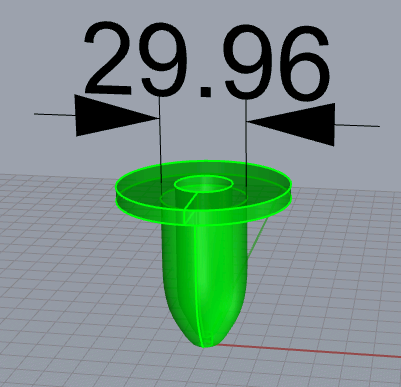
The germanating pots

I made four pots for germanate seeds.
w3 First I made the outline of the pot, then I used the sweep1 controle.
w3 The pot ready after I 3d printed a prototype I found out it was litle bit to tight fit and it looked kinda clunky.
w3 So I made new lines for a pot.
w3 The top wiew.
w3 And the wiew from under with a hole for water to drop trough and to be able to push the small plants and there roots when they are ready.
w3 From there I took it into cura and printed four germanating pots.

Download

You can set up a button for files to be downloaded with:

	<a href="#">
	<button type="button" class="btn btn-primary btn-lg">Download the file</button>
	</a>

Result:

Check the documentation of Bootstrap here.