2D CAD designing
- Index
- Inkscape
- In 2D CAD designing
- Introduction to pyramid GIFT box
- Get started
- I did laser cut the paper with following settings and I got
- Download sources
- GIMP
Inkscape
In 2D CAD designing
For 2D designing plenty of softwares available. I'll be using Inkscape to model pyramid shaped paper folding box which you can use to pack the gift articles for your friends and family. Basically this model is designed to designed to hold chocolates.
Introduction to pyramid GIFT box
Hello, all. In this assignment I'll be making the pyramid shaped gift box. Many times we don't find any box which we can use to pack the small gift article which we want to offer to our loved ones. Here, what I'm making is the simple gift box, which you can make out of any colorful cardboard paper or the paper you like. Just print int on the paper, cut solid lines and put is on your cardboard and you can trace the lines. For making this box there's no need to use sophisticated laser cutters or any other machines, optionally you can use it to make the whole process faster. Anyways, this assignment is all about the destining in later stage will look into the CAM process involved.
Software used for destining - Inkscape
Inkscape is professional quality vector graphics software which runs on Windows, Mac OS X and GNU/Linux. It is used by design professionals and hobbyists worldwide, for creating a wide variety of graphics such as illustrations, icons, logos, diagrams, maps and web graphics. Inkscape uses the W3C open standard SVG (Scalable Vector Graphics) as its native format, and is free and open-source software.
Let's get started
Step 1: Install Inkscape
This can be done using command bash sudo apt-get install inkscape or usin GUI(Ubuntu Software Center.)
Step 2: Opening Inkscape
Upon opening the Inkscape we can see the screen like shown in the above screenshot. The area with the black boarder is our page, which is our stage to setup the objects. To place and create object there are bunch of tools available, at the left hand side of the window, includes primitive shapes and freehand tools, crop, pain, eye-dropper and various other tools which are required during destining. At the bottom there are color swatches and layer controls.

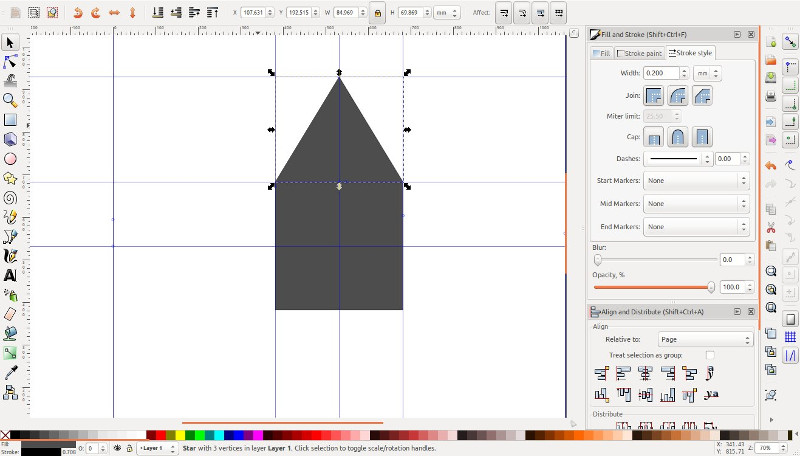
Step 3: Adding shapes
By selecting the rectangle tool from tool box I generated the base of the pyramid box. Then to make the flaps which we can close to pack the things inside I've added the triangle, positioned as shown in the picture above.
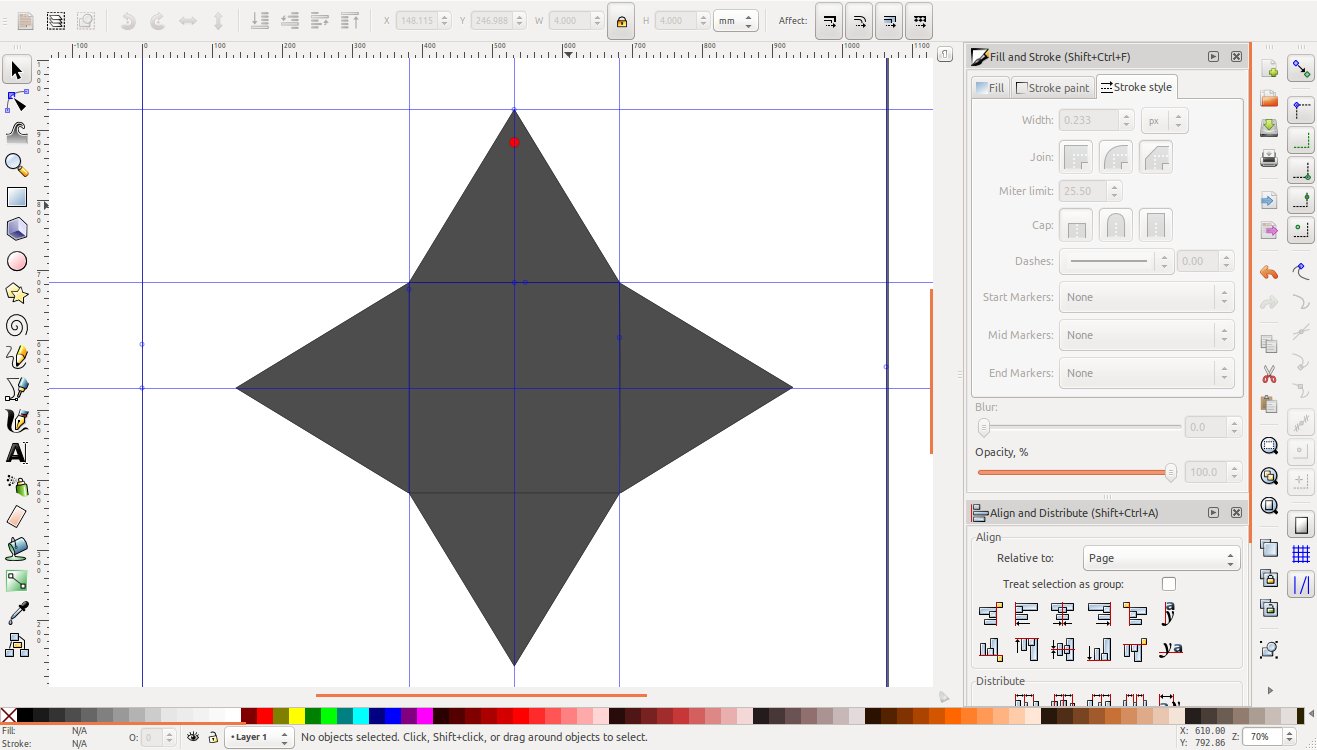
Step 4: Cloning the object
Cloning is the step which make the copy of the object which is selected. The cloning is the process of making the copy which is not just the visual copy of the object but also the active copy of the object. Yes! the thing is the budding object is always mimics the dimensions of the parent object. And if parent object's dimensions are altered the child objects copies the parameters from it's parent.
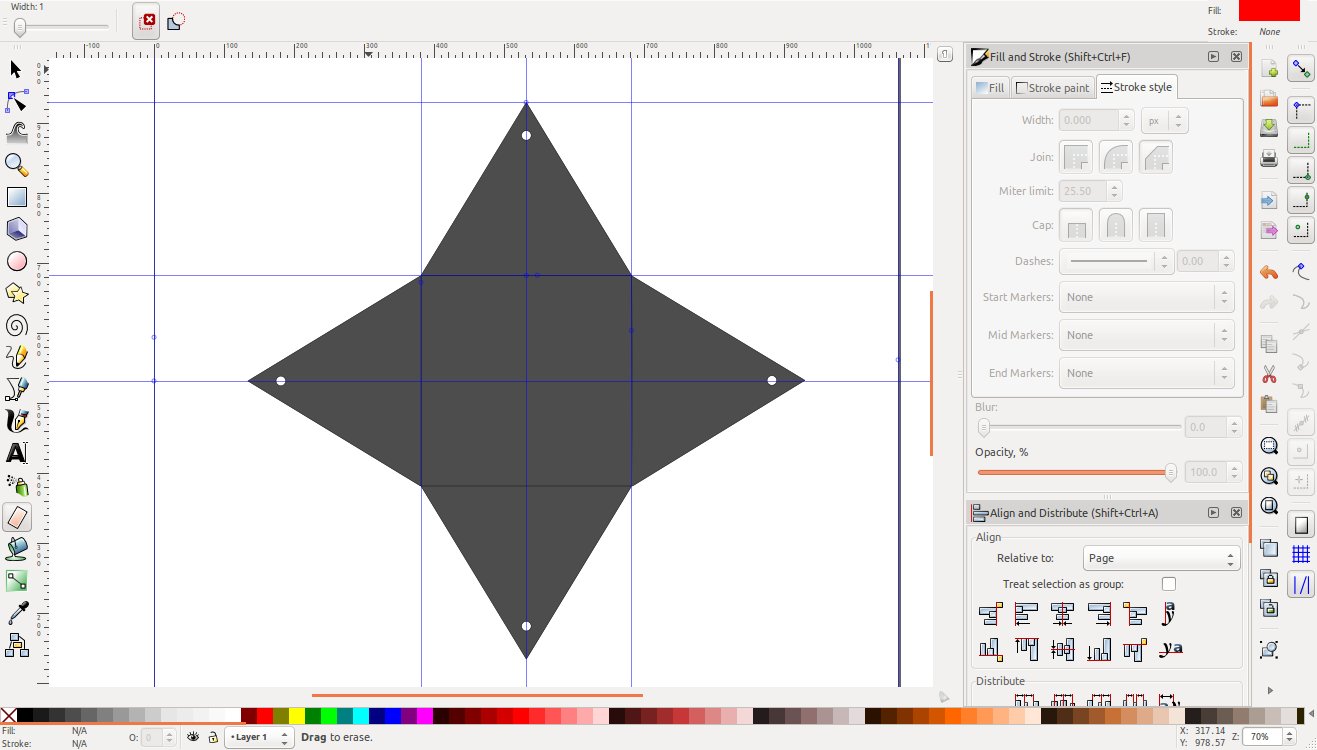
Step 5: Difference
Now, I have four clones of a triangle and I need to make sure they are should properly aligned with the sides of the inner square. As well I need to make the hole to close the box. For that I'll take the circle as shown in the previous step (red circle) and position it as desired. To make the hole, I'll take difference between the two objects. So, here I can viz. the process as Big Object - Red Circles = Object Shown in this step.
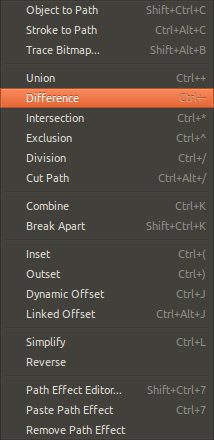
To make the difference we have to select both objects and the goto Path Menu and hit Difference.
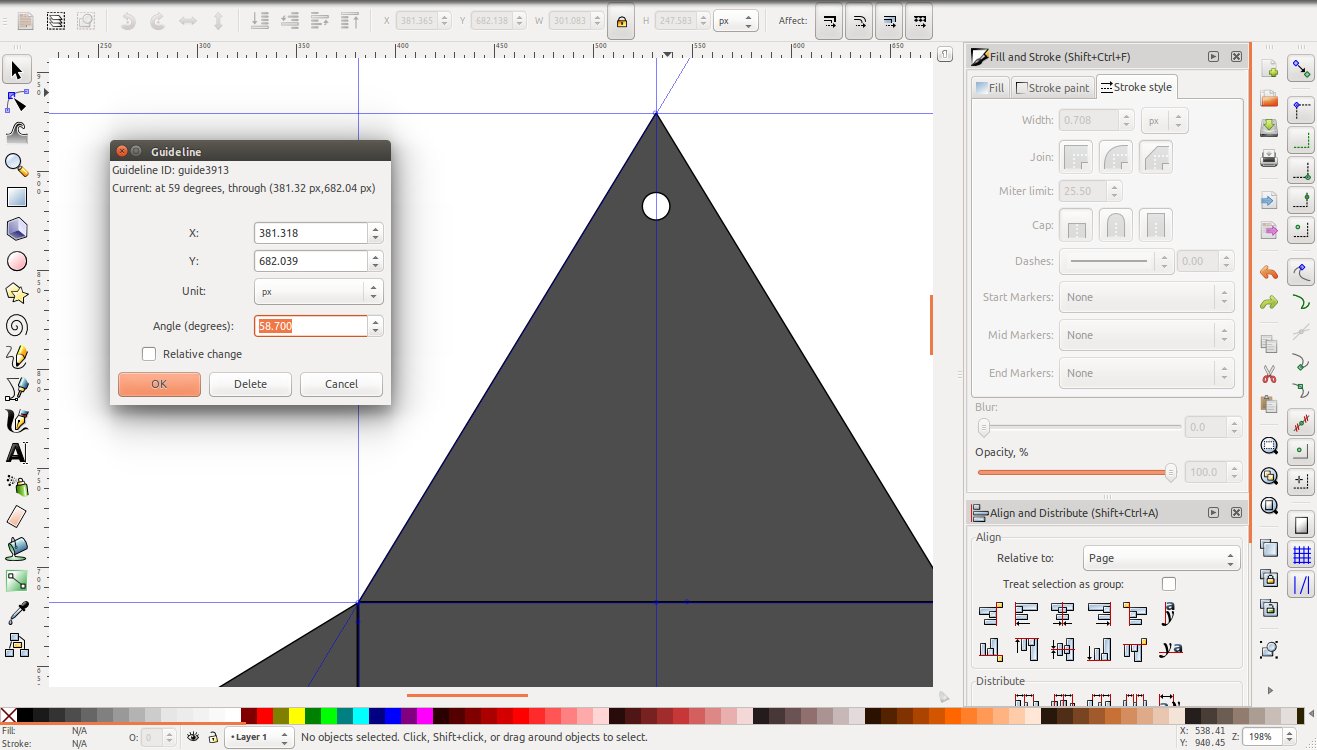
Step 5: Guidelines
Guidelines are really important while designing. We can draw the guidelines by dragging them off from the ruler. To make the guidelines, point your mouse pointer on the horizontal ruler if you want horizontal guideline or vertical one if you want vertical guideline. and drag it till your desired position. To modify the guideline double click on guideline and then I can adjust the properties related to guidelines as shown in the screenshot below.
Step 6: Draw using Pen tool and Union operation
Union is the operation which combines two objects all together. Consider I have two different objects and I want to a unified object using those two objects. So, what I have here is the tool union. With which I can combine to two object. This is one type of boolean operation, there are other boolean operations are available one of them we've seen in earlier step. You can find the all under the Path menu.
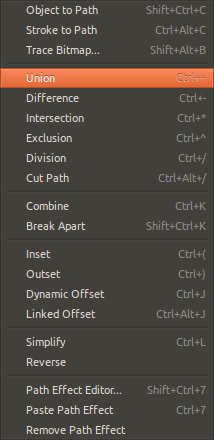
Pen is very powerful and versatile tool, with this tool we can draw straight lines, curved lines and whatever you imagine. To make the folding edge I've drawn two guidelines exactly parallel to the triangular flaps of the box as shown in the figure. Once done, then I picked up the Pen tool and started drawn the shape shown in the different color in image (burgundy color shapes).
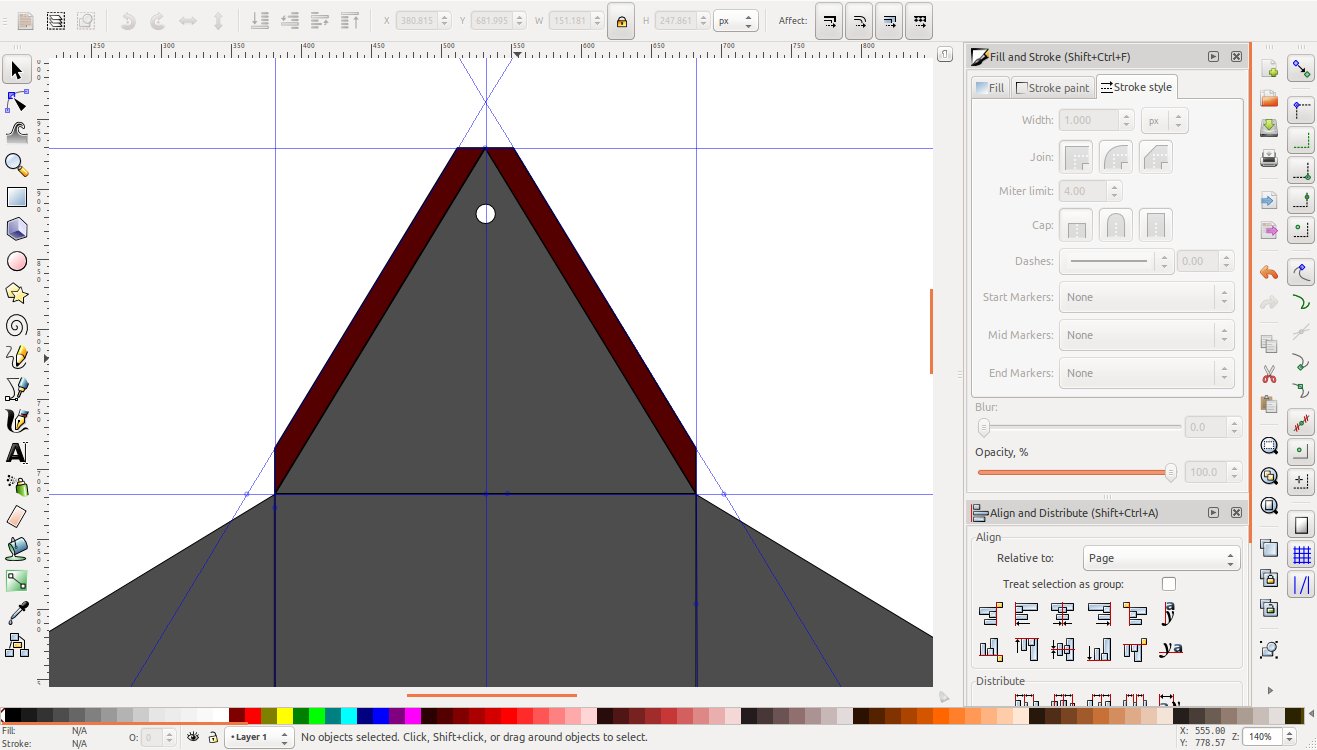
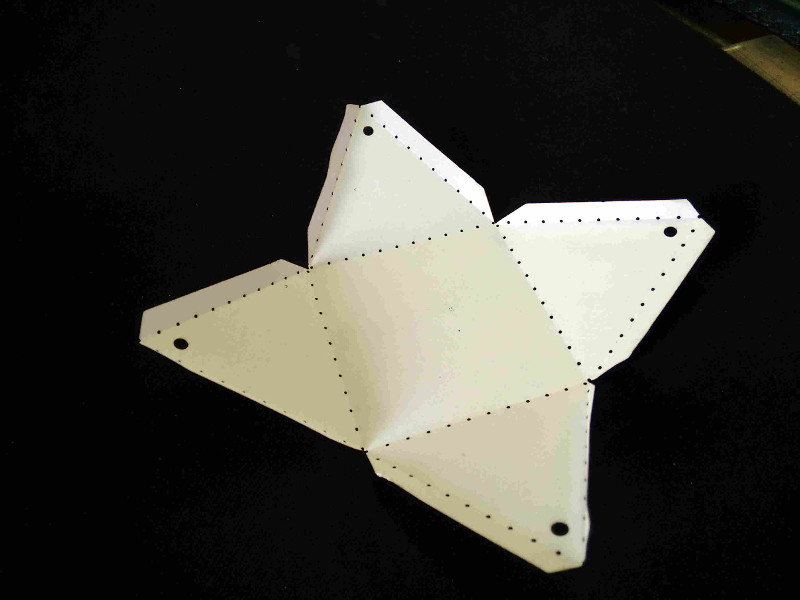
Step 7:Final Output
To make the final drawing I have to make the entire contour. To make the thing unified I'll use the union tool, which you can find in the Path menu as we have difference tool there only. Similar to difference select both the object and press union to make the object uniform. Later I added the separate objects to three different triangles denoting the folding lines.
Instructions 1. Laser cut the solid lines on the paper/cardboard 2. Fold the paper/cardboard exactly on the dotted lines. Optionally you can make the holes spaced 5mm apart for less thick paper. 3. Fold it and tie it with the color string to make it look prettier.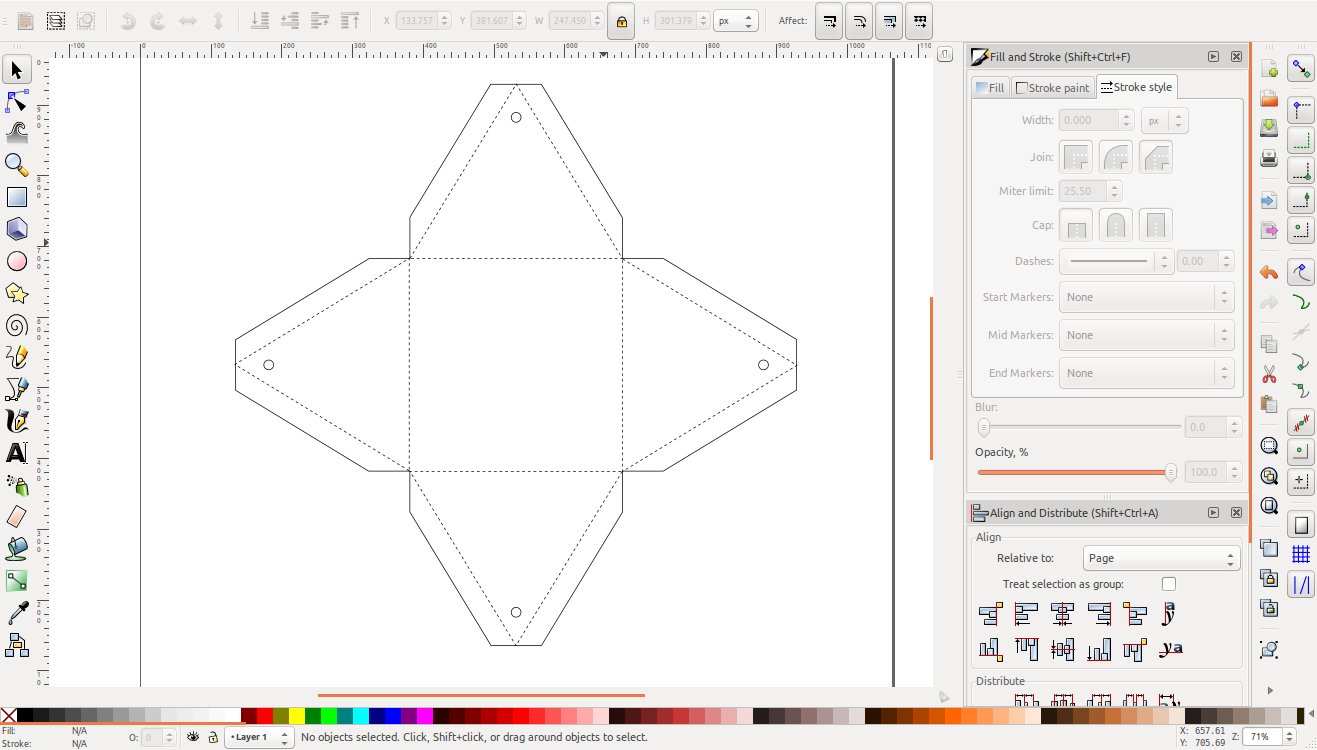
I did laser cut on paper and this is what I got
Settings Power : 12 Speed : 50mm/s Material Used : 75 GSM paper
Download sources
GIMP
Image editing
Before steeping into the FabAcademy I was hardcore Windows user, not because of it's runs without any problems but just because of my phobia for Linux. Several times I tried to install the Linux along-side of windows but always I made mistake and crashed always into the boot-looping and several other problems. The FabAcademy made me to use Linux!
So, when I was on windows I was using the Photoshop for editing the images and pretty well conversed with that because I had a small photography group and we do it commercially. During the 2nd week of FabAcademy I Mr.Neil introduced the batch with lot of potential softwares for 2D and 3D designing and editing.
Equivalent to the Photoshop we have GIMP. On GIMP website I found,
This is the official website of the GNU Image Manipulation Program (GIMP). GIMP is a cross-platform image editor available for GNU/Linux, OS X, Windows and more operating systems. It is free software, you can change its source code and distribute your changes. Whether you are a graphic designer, photographer, illustrator, or scientist, GIMP provides you with sophisticated tools to get your job done. You can further enhance your productivity with GIMP thanks to many customization options and 3rd party plugins.
So, lets dive into GIMP
You can install the GIMP via Ubuntu Software Center or from following command by executing it into the terminal.
sudo apt-get install gimp
Now, let's drag and drop the image into GIMP to open the image.
Our target is to make the image look better with reduced file size.
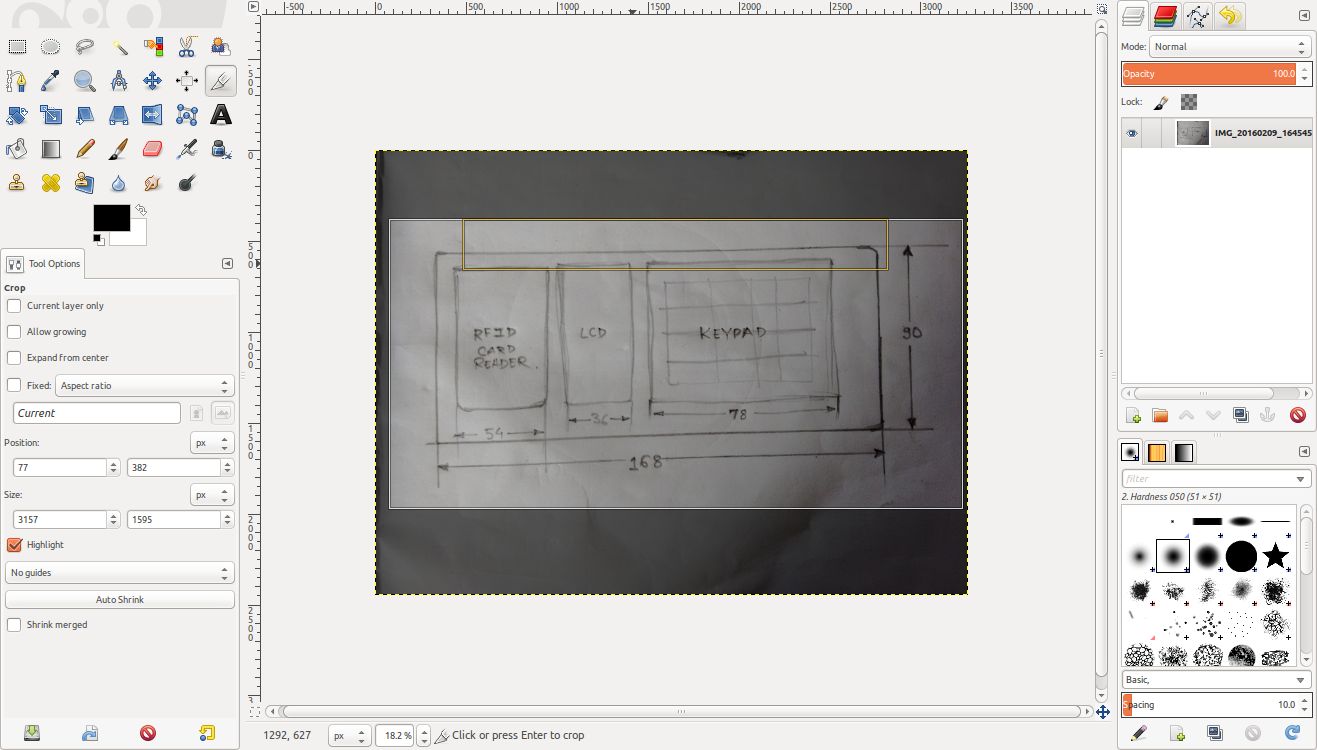
Step 1: Cropping the image
First step is to take out the ROI (Region of Intrest) it can be achieved by removing the extra part which present in the image. Doing the same will be using the crop tool which available in tool pallet. Pick up the tool and mark the RIO and double click to crop the ROI.
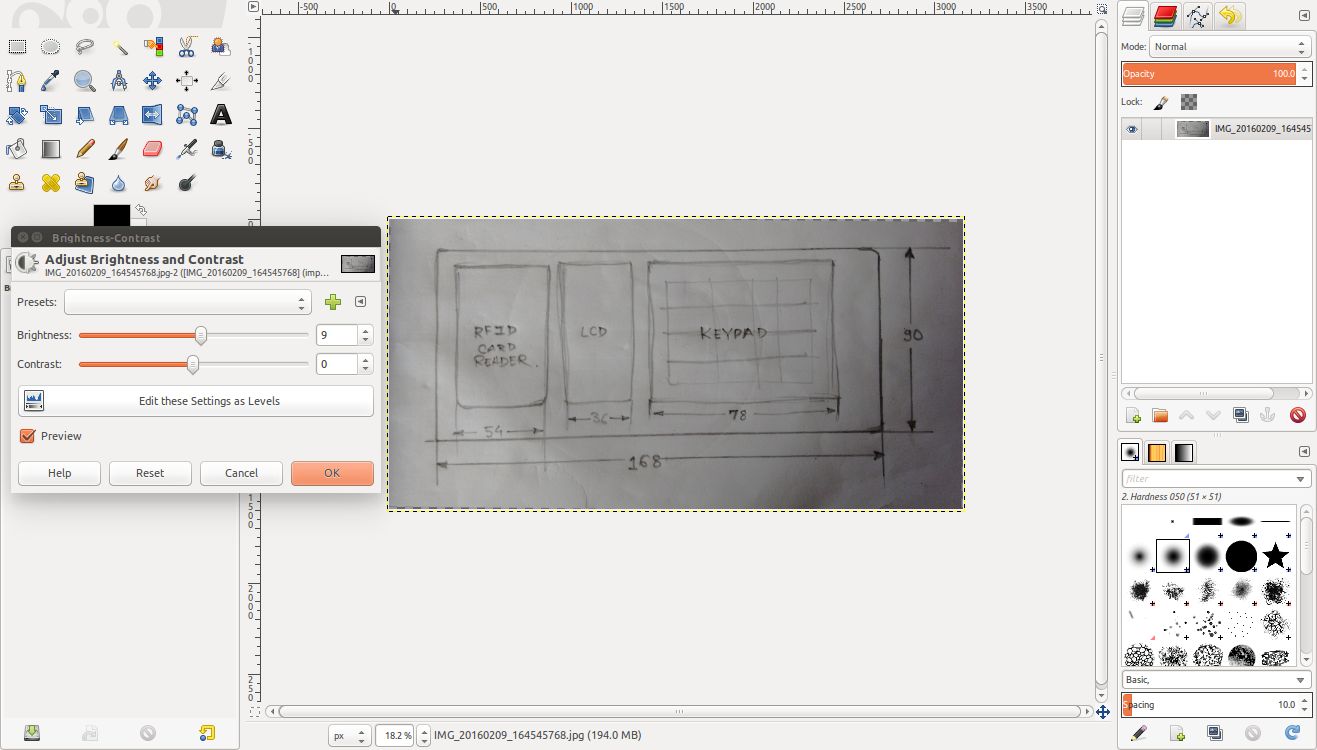
Step 2: Adjusting brightness and contrast
We have ROI cropped, now it's time time to enhance the image. The sign of good photograph is to capture the right amount of light into camera. The brightness and contrast option can be accessed from the menu bar, under the main menu Colors.
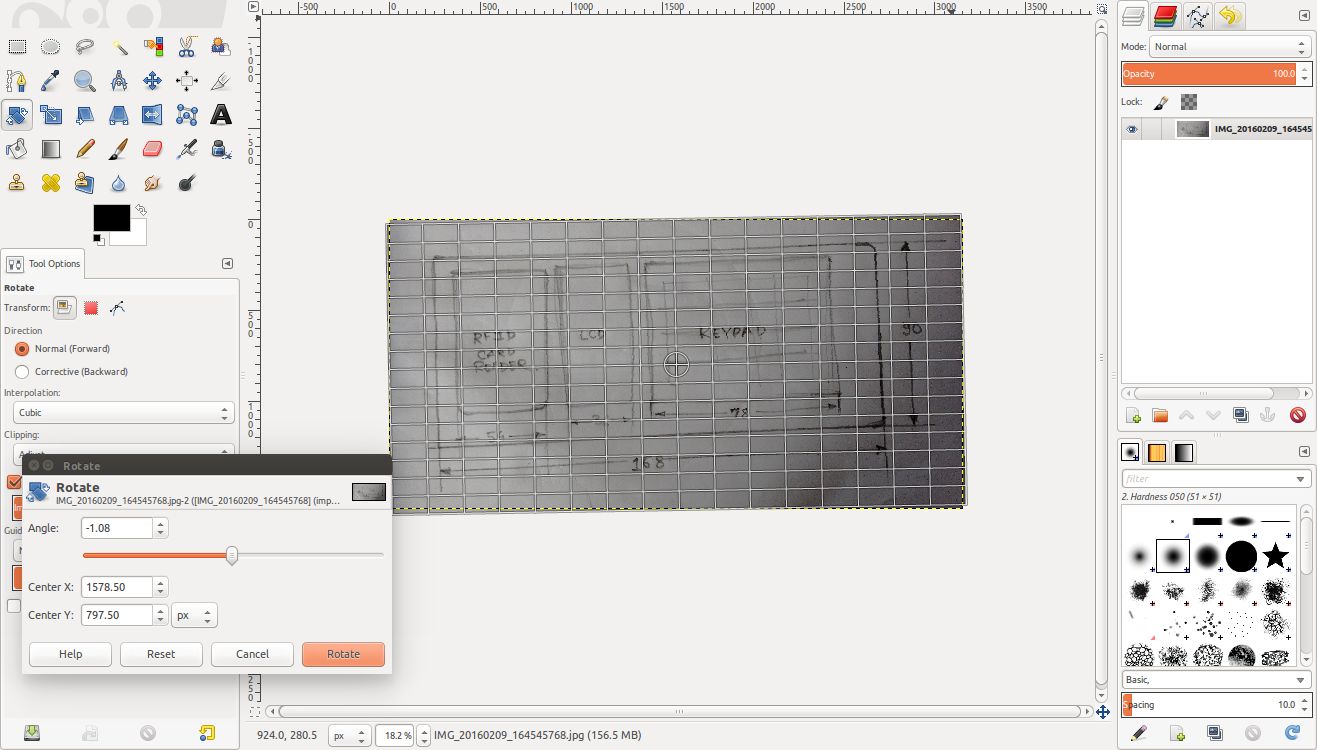
Step 3: Adjusting tilt
To correct the tile we have rotate tool available in GIMP which again can be accessed from Colors menu.
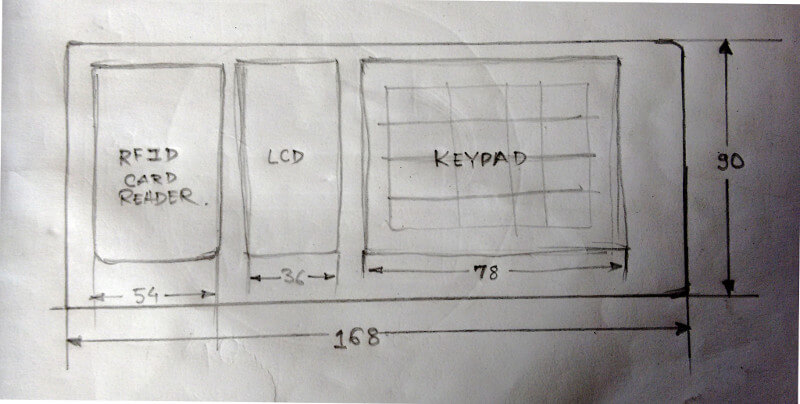
The output
GIMP Tutorials
There's also so much in GIMP you can explore. You can use it as a magic wand for images with which you can transform very generic images into super interesting images. I studied GIMP using this Tutorials.