She really likes walking during rainy ugly days...
But she does not like to walk on dirty and dry grounds...
To be honest, Fab Snail does not like many things...like polluted air or muggy days...
She is not the only one who doesn't like all that, just like all the other snails...
The difference is that if Fab Snails is not happy, she can turns into a real stalker!
(Also on your mobile -.-)
So take care of Fab Snail, she is a good snail...
She is just different from the other snails!"
Weekly Assignment
The weekly assignment was:
- design and fabricate a 3D mold (~ft2), and produce a fiber composite part in it
Software and Hardware
The software that i've used this week are:
- Python: used to write a program on the Udoo board
- Arduino IDE: used to program the Udoo
- Vectric Cut3D: used to prepare the models for milling
- Solid Works: 3D modeling
Concerning the hardware:
- ShopBot PRSAlpha: CNC mill
- UDOO board: mini-PC ARM Cortex-A9
The Cloud
Last week, somebody said to me that was not possible to build a cloud so, for this week, i've decided to build a cloud.
I've started by searching on google for similar projects and i've found this. The project was supposed to be "open source" but
i was not able to find the code online.
I've seen that the cloud of this guy was selled as a commercial product at the crazy price of 3000$!
At this point the challenge was to build a similar product.
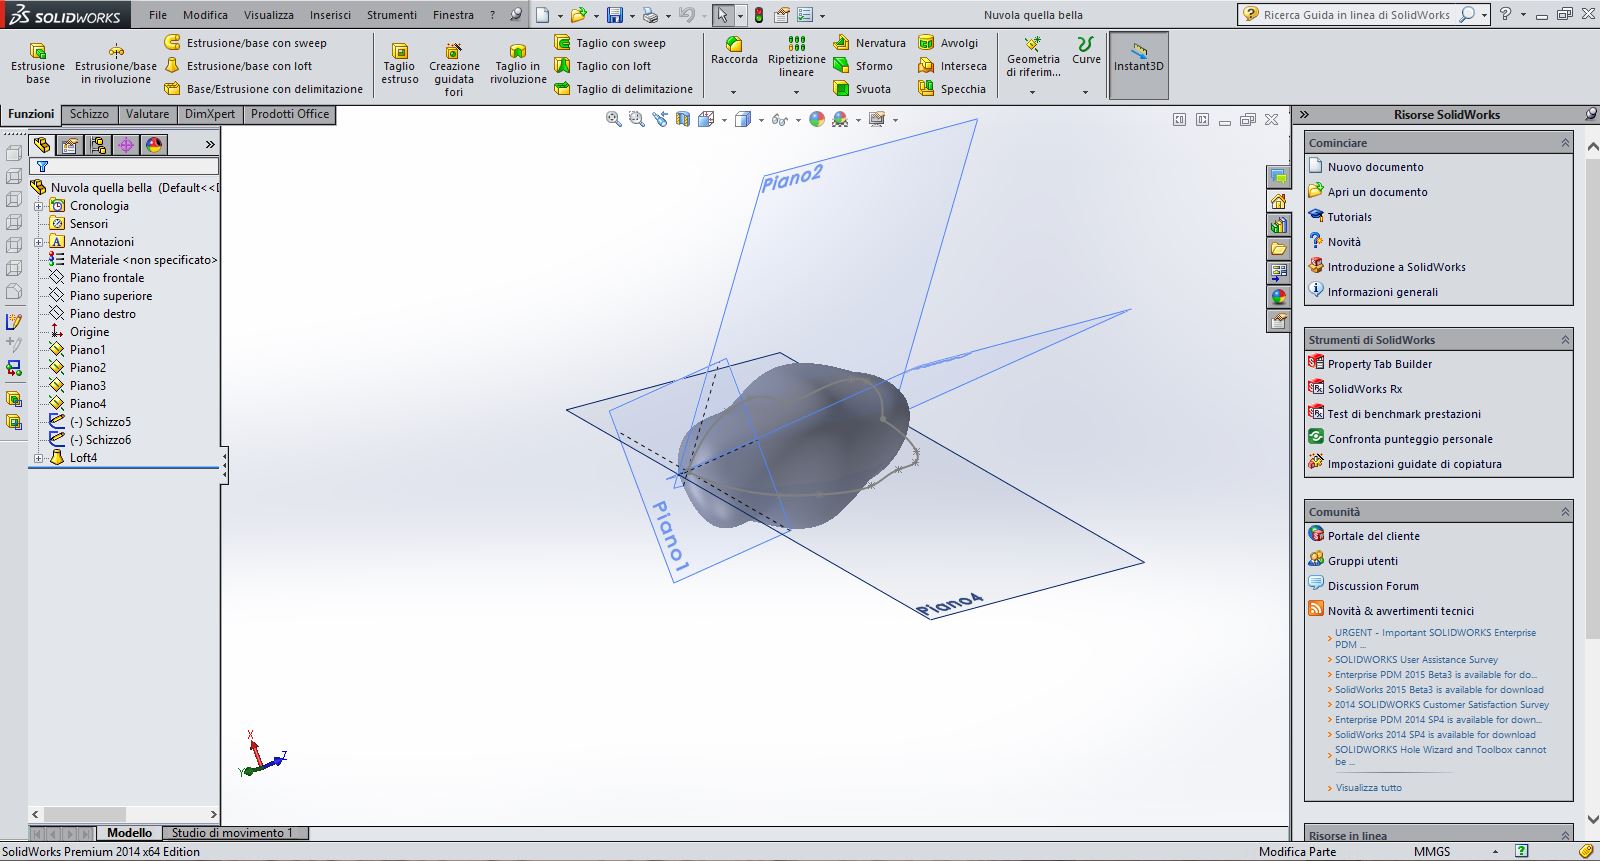
I've started by designing the 3D shape of the cloud in Solid Works:
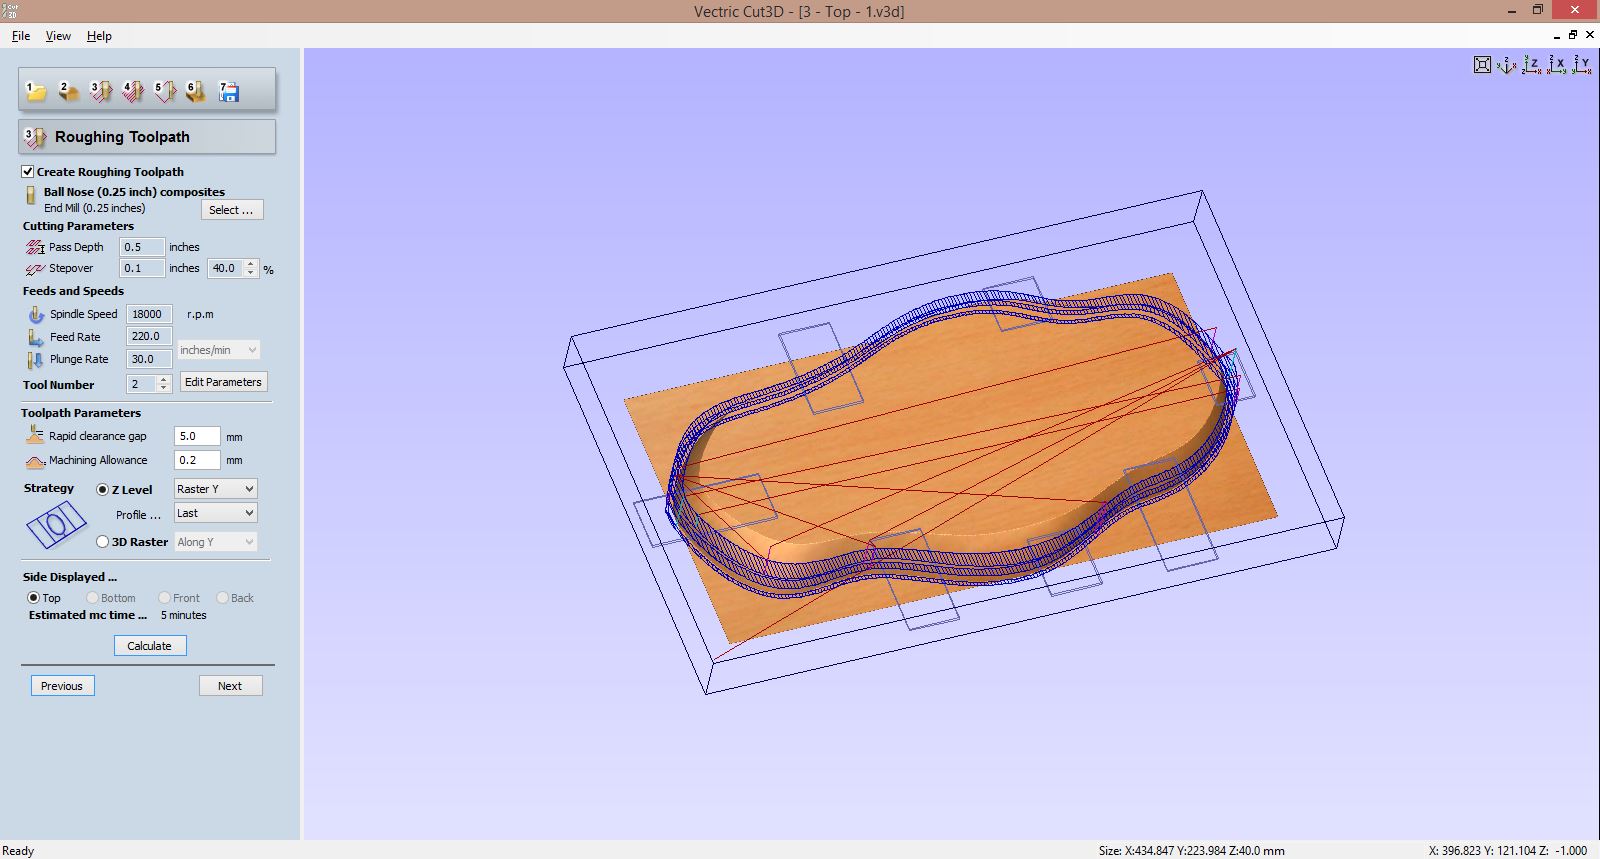
I've then used Cut3D to slice the model for milling the polystyrene. We had only panels of 40mm height so i've cutted the model in 3 pieces of 40mm each:

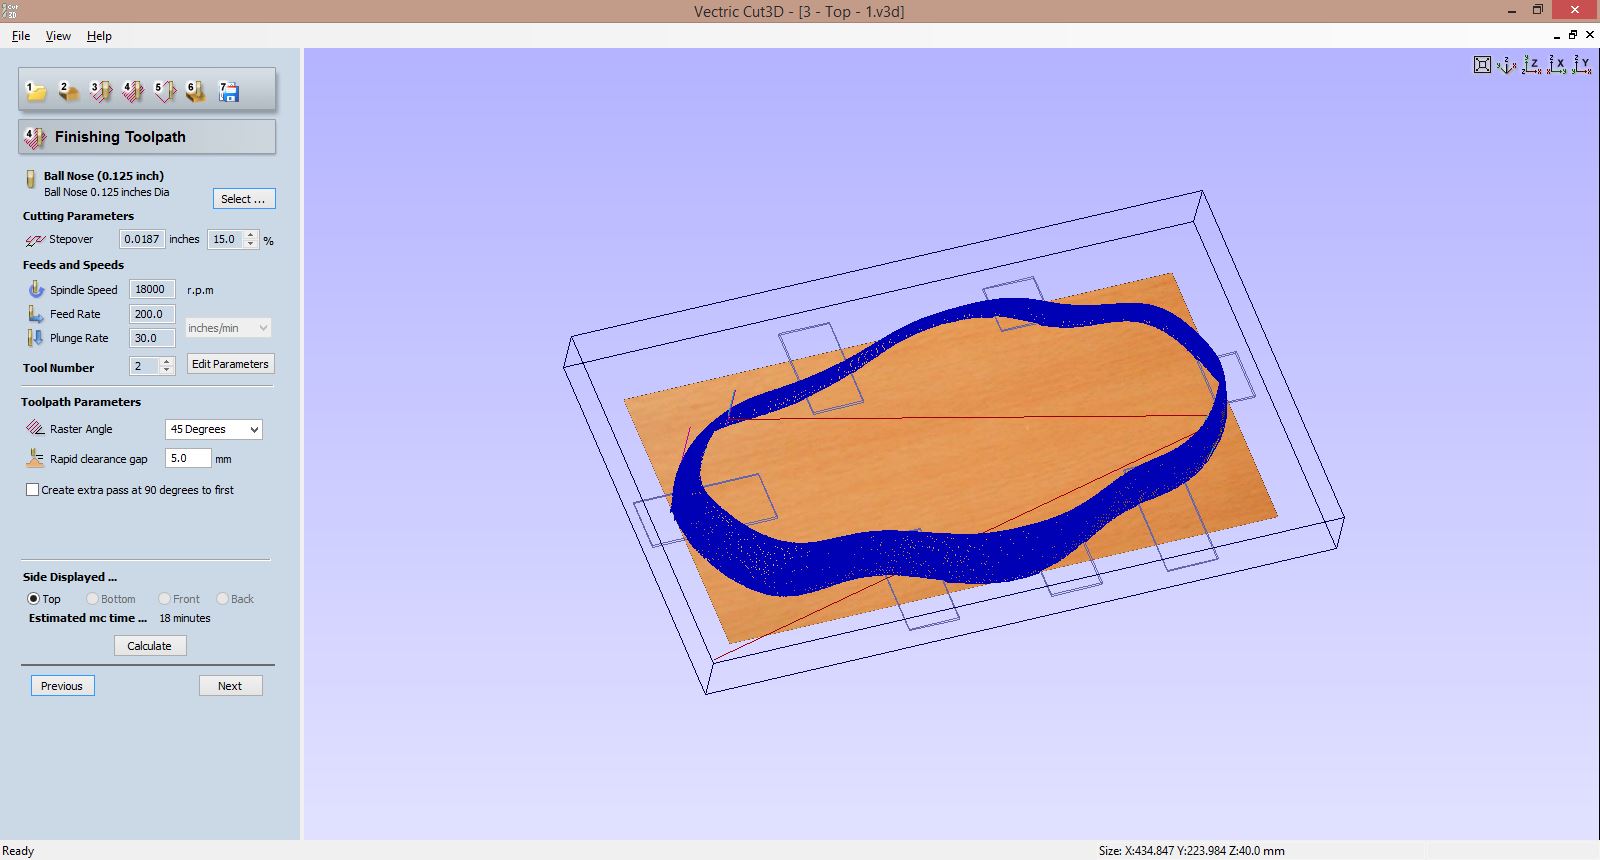
The ShpBot endmills that we had in lab was of 1/4 of inches straight and 1/8 of inches (ball).I've used the 1/4 end mill for the rough toolpath
and the 1/8 ball for the finishing with the following settings (for each piece of the model):
Then i've saved everythong by selecting sbp (millimiters) format.
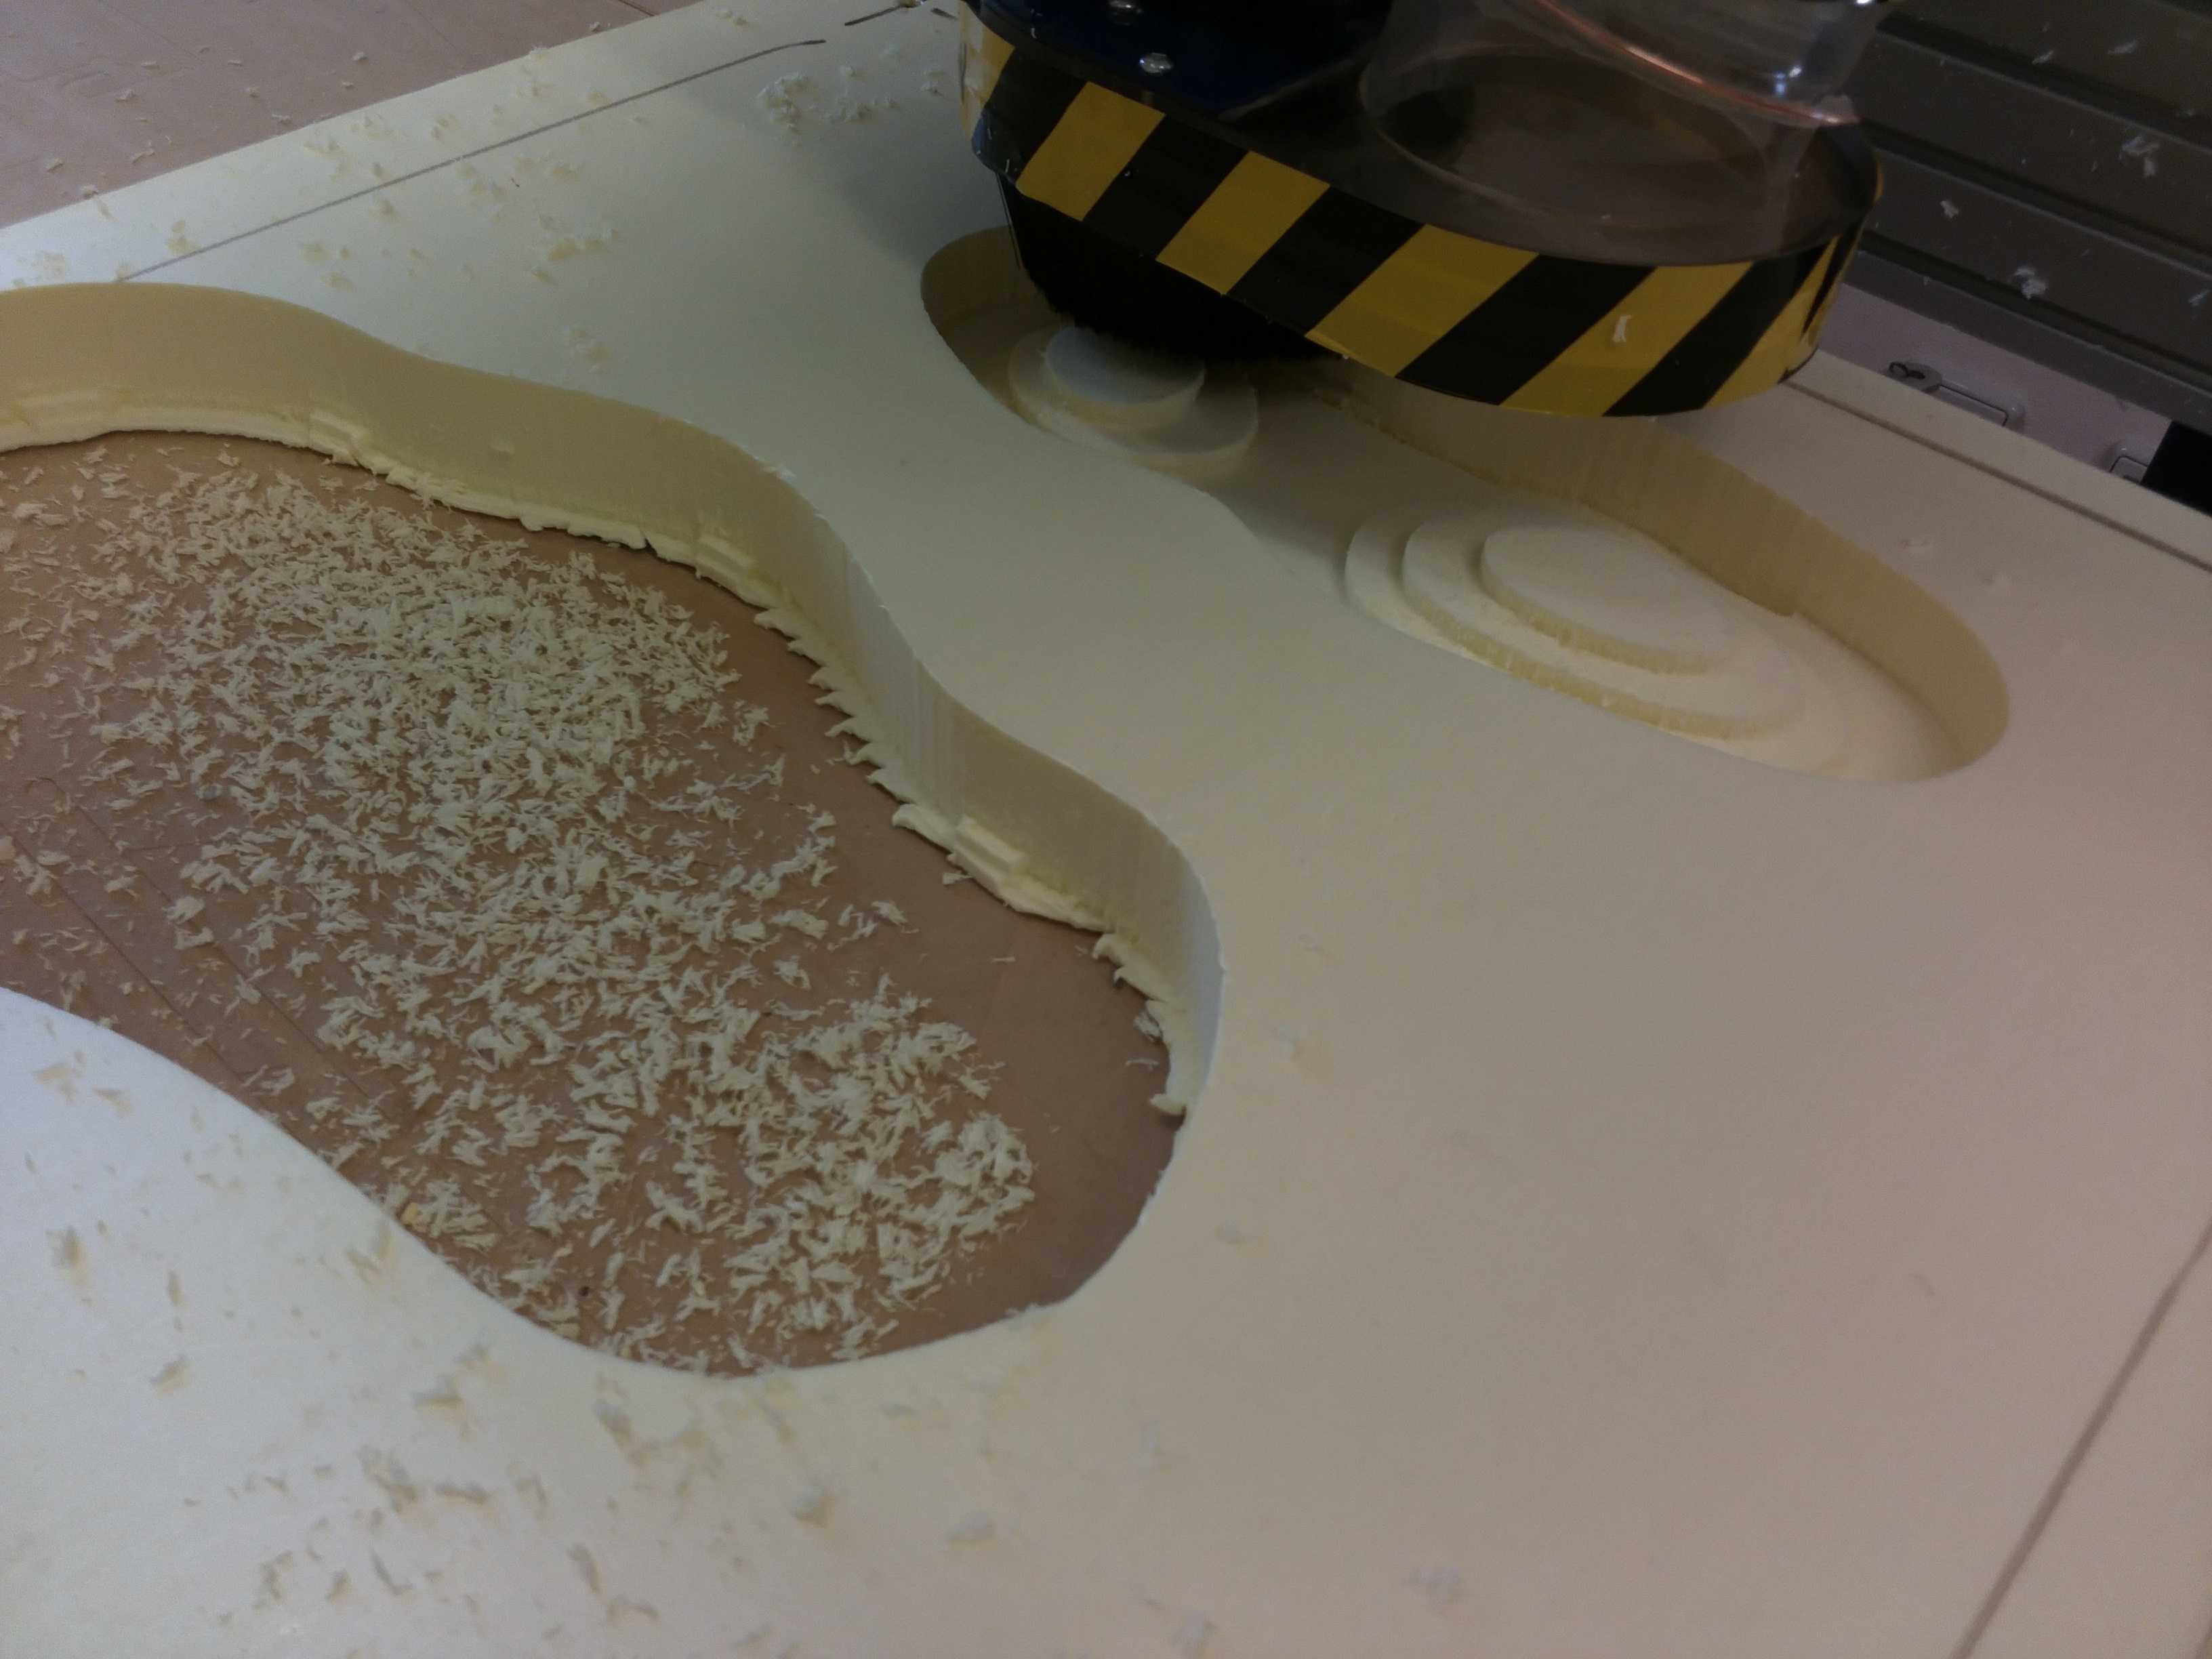
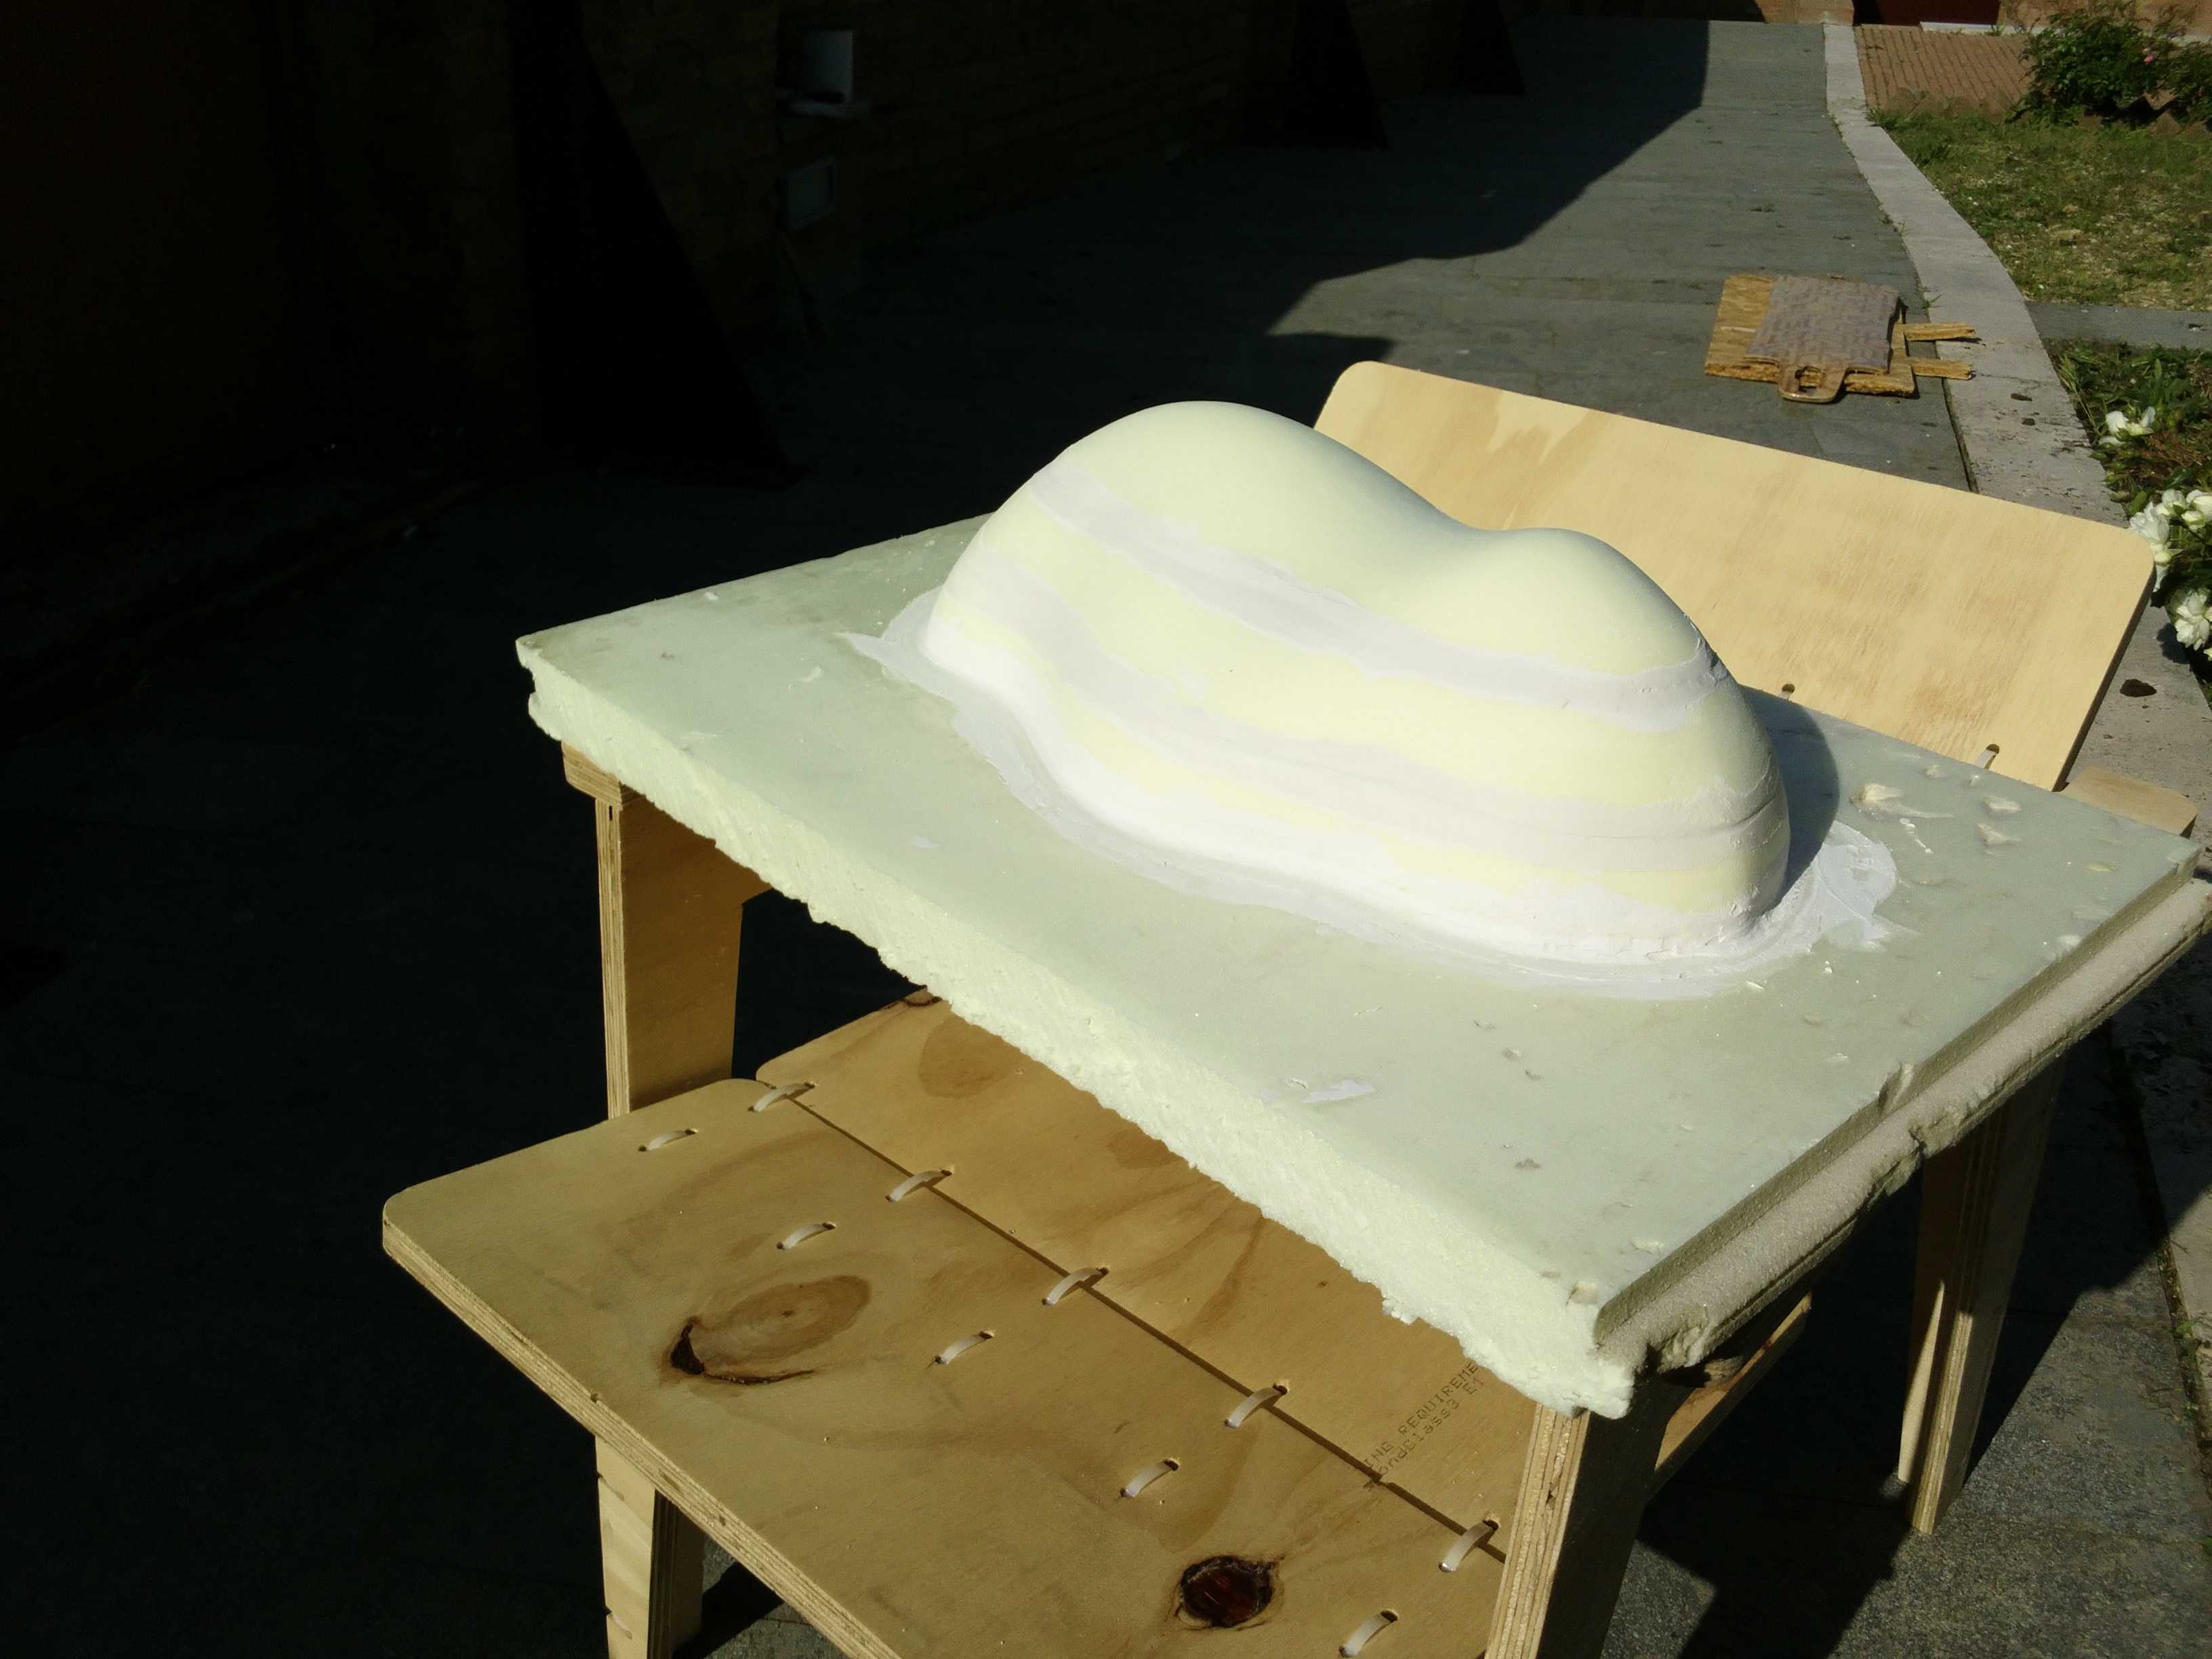
The following image shows the result of the milling (DOWNLOAD - 1 - 2 - 3):
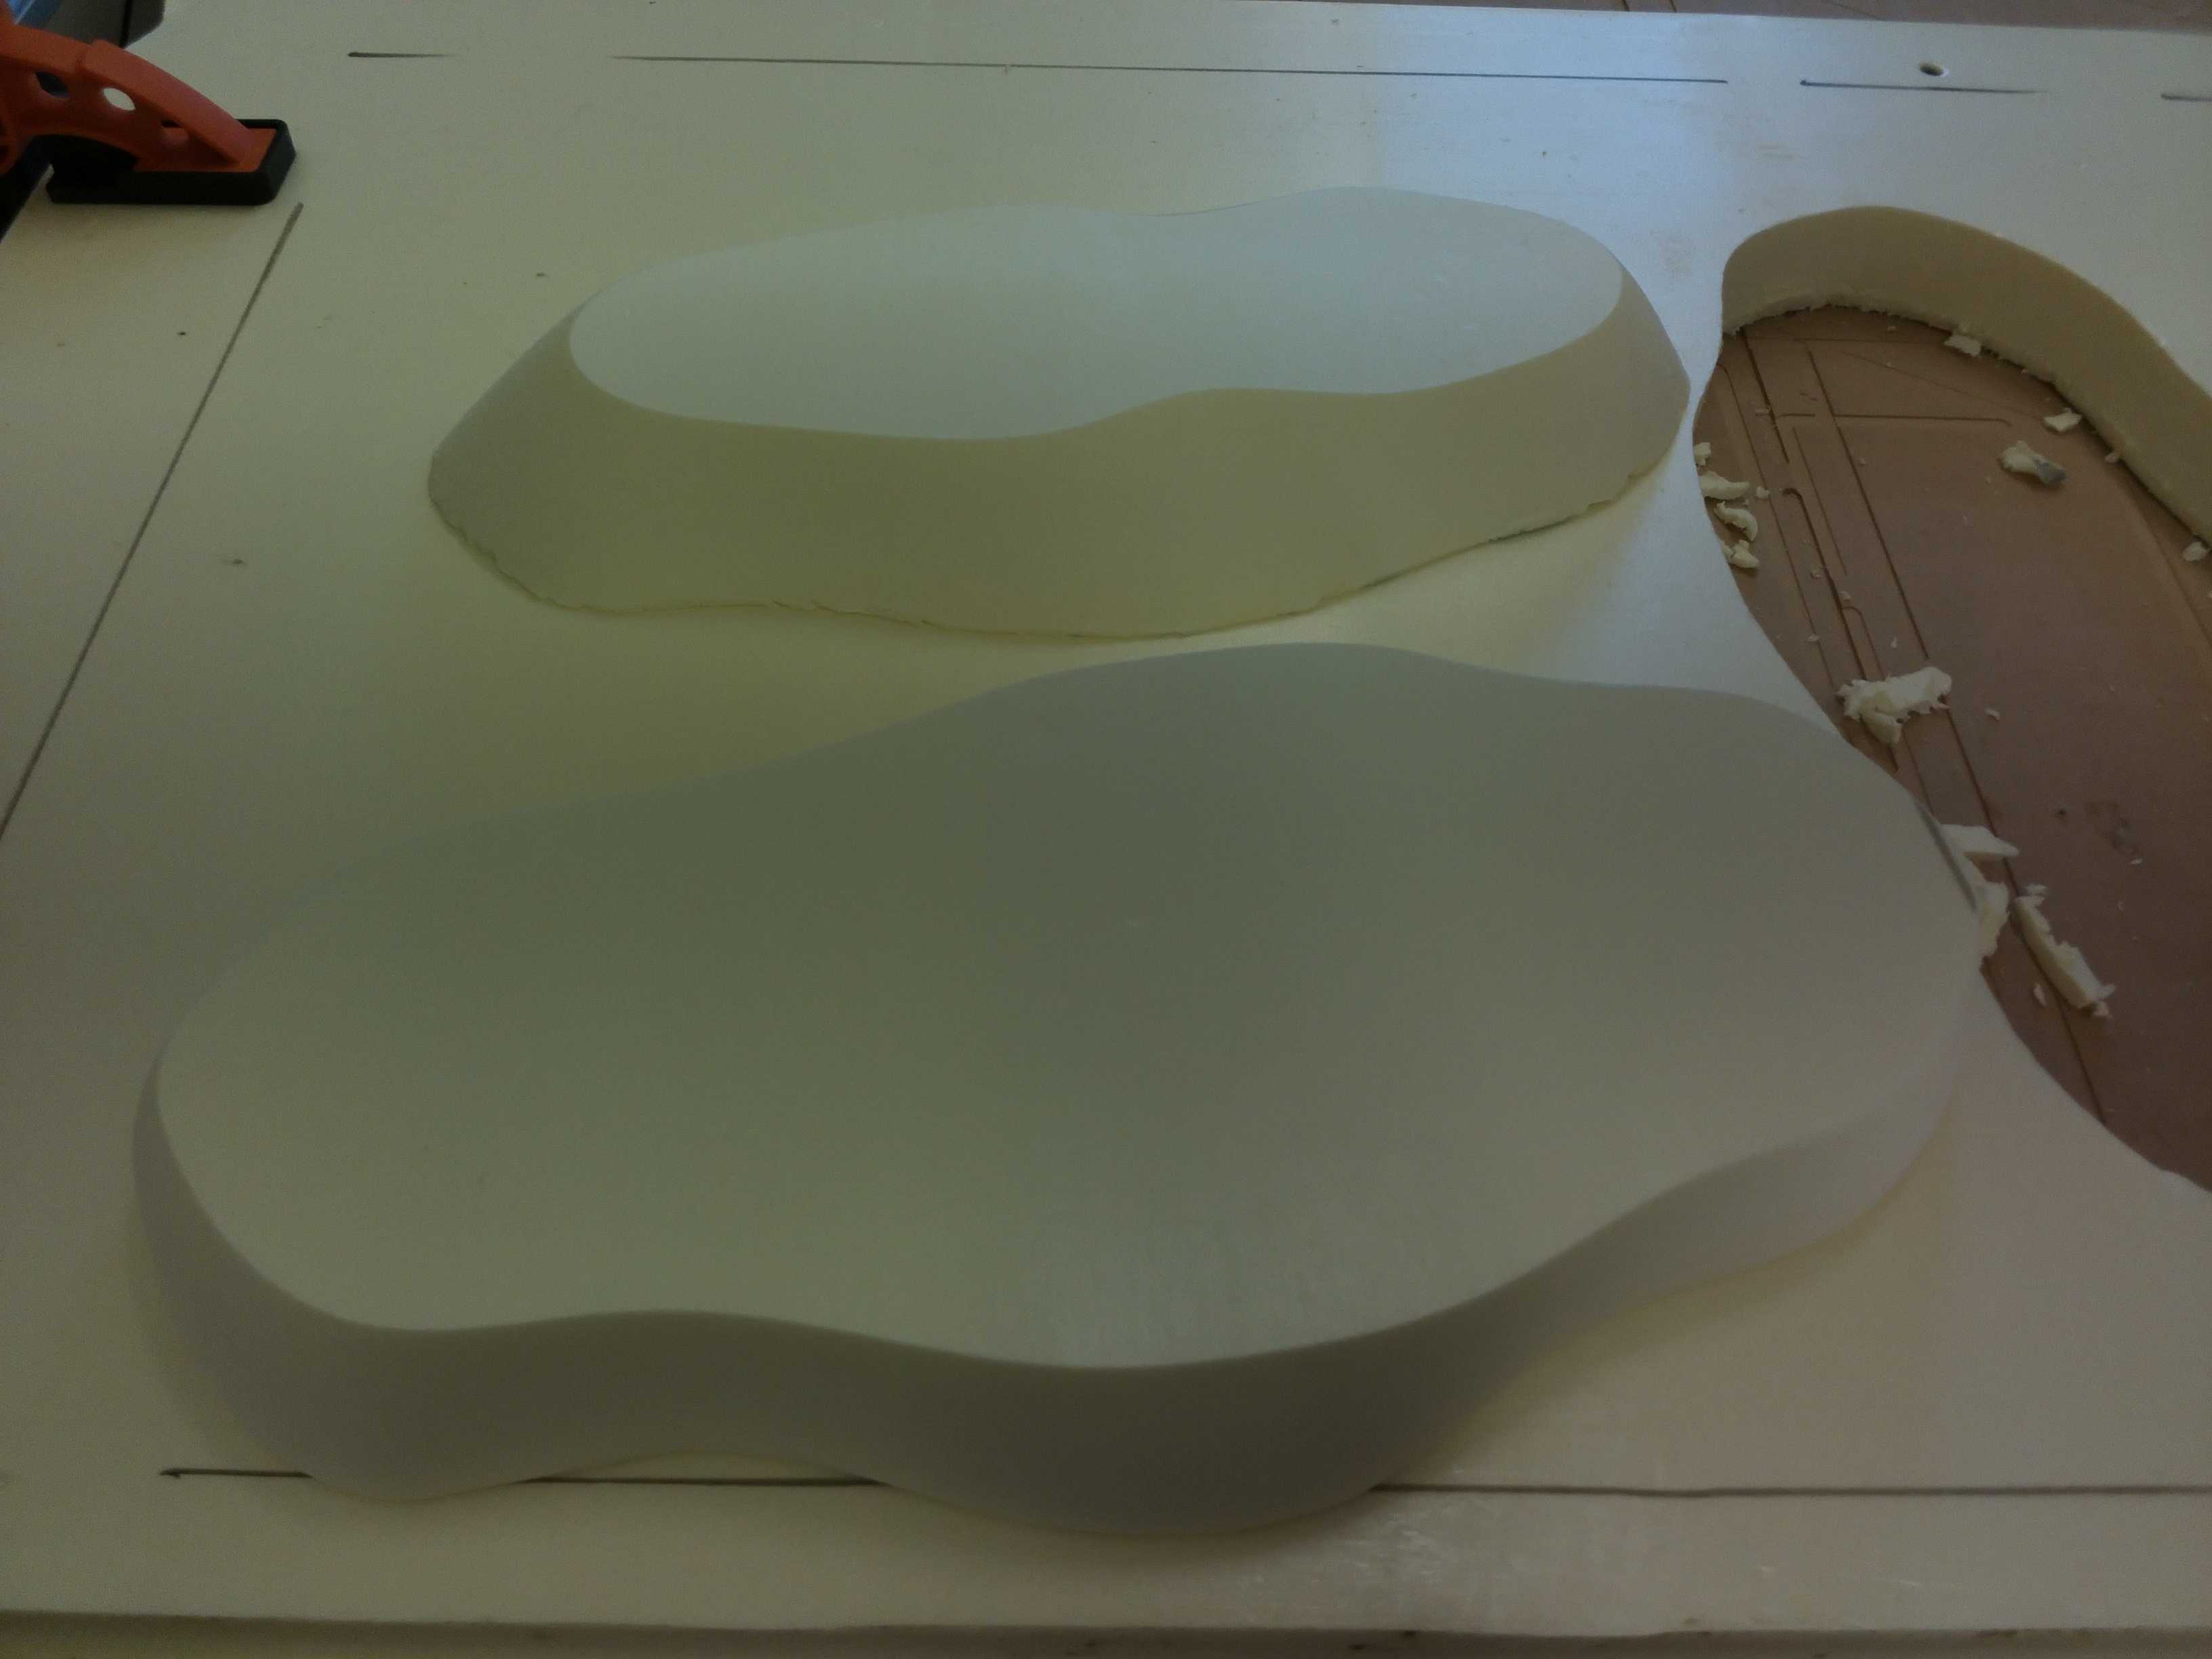
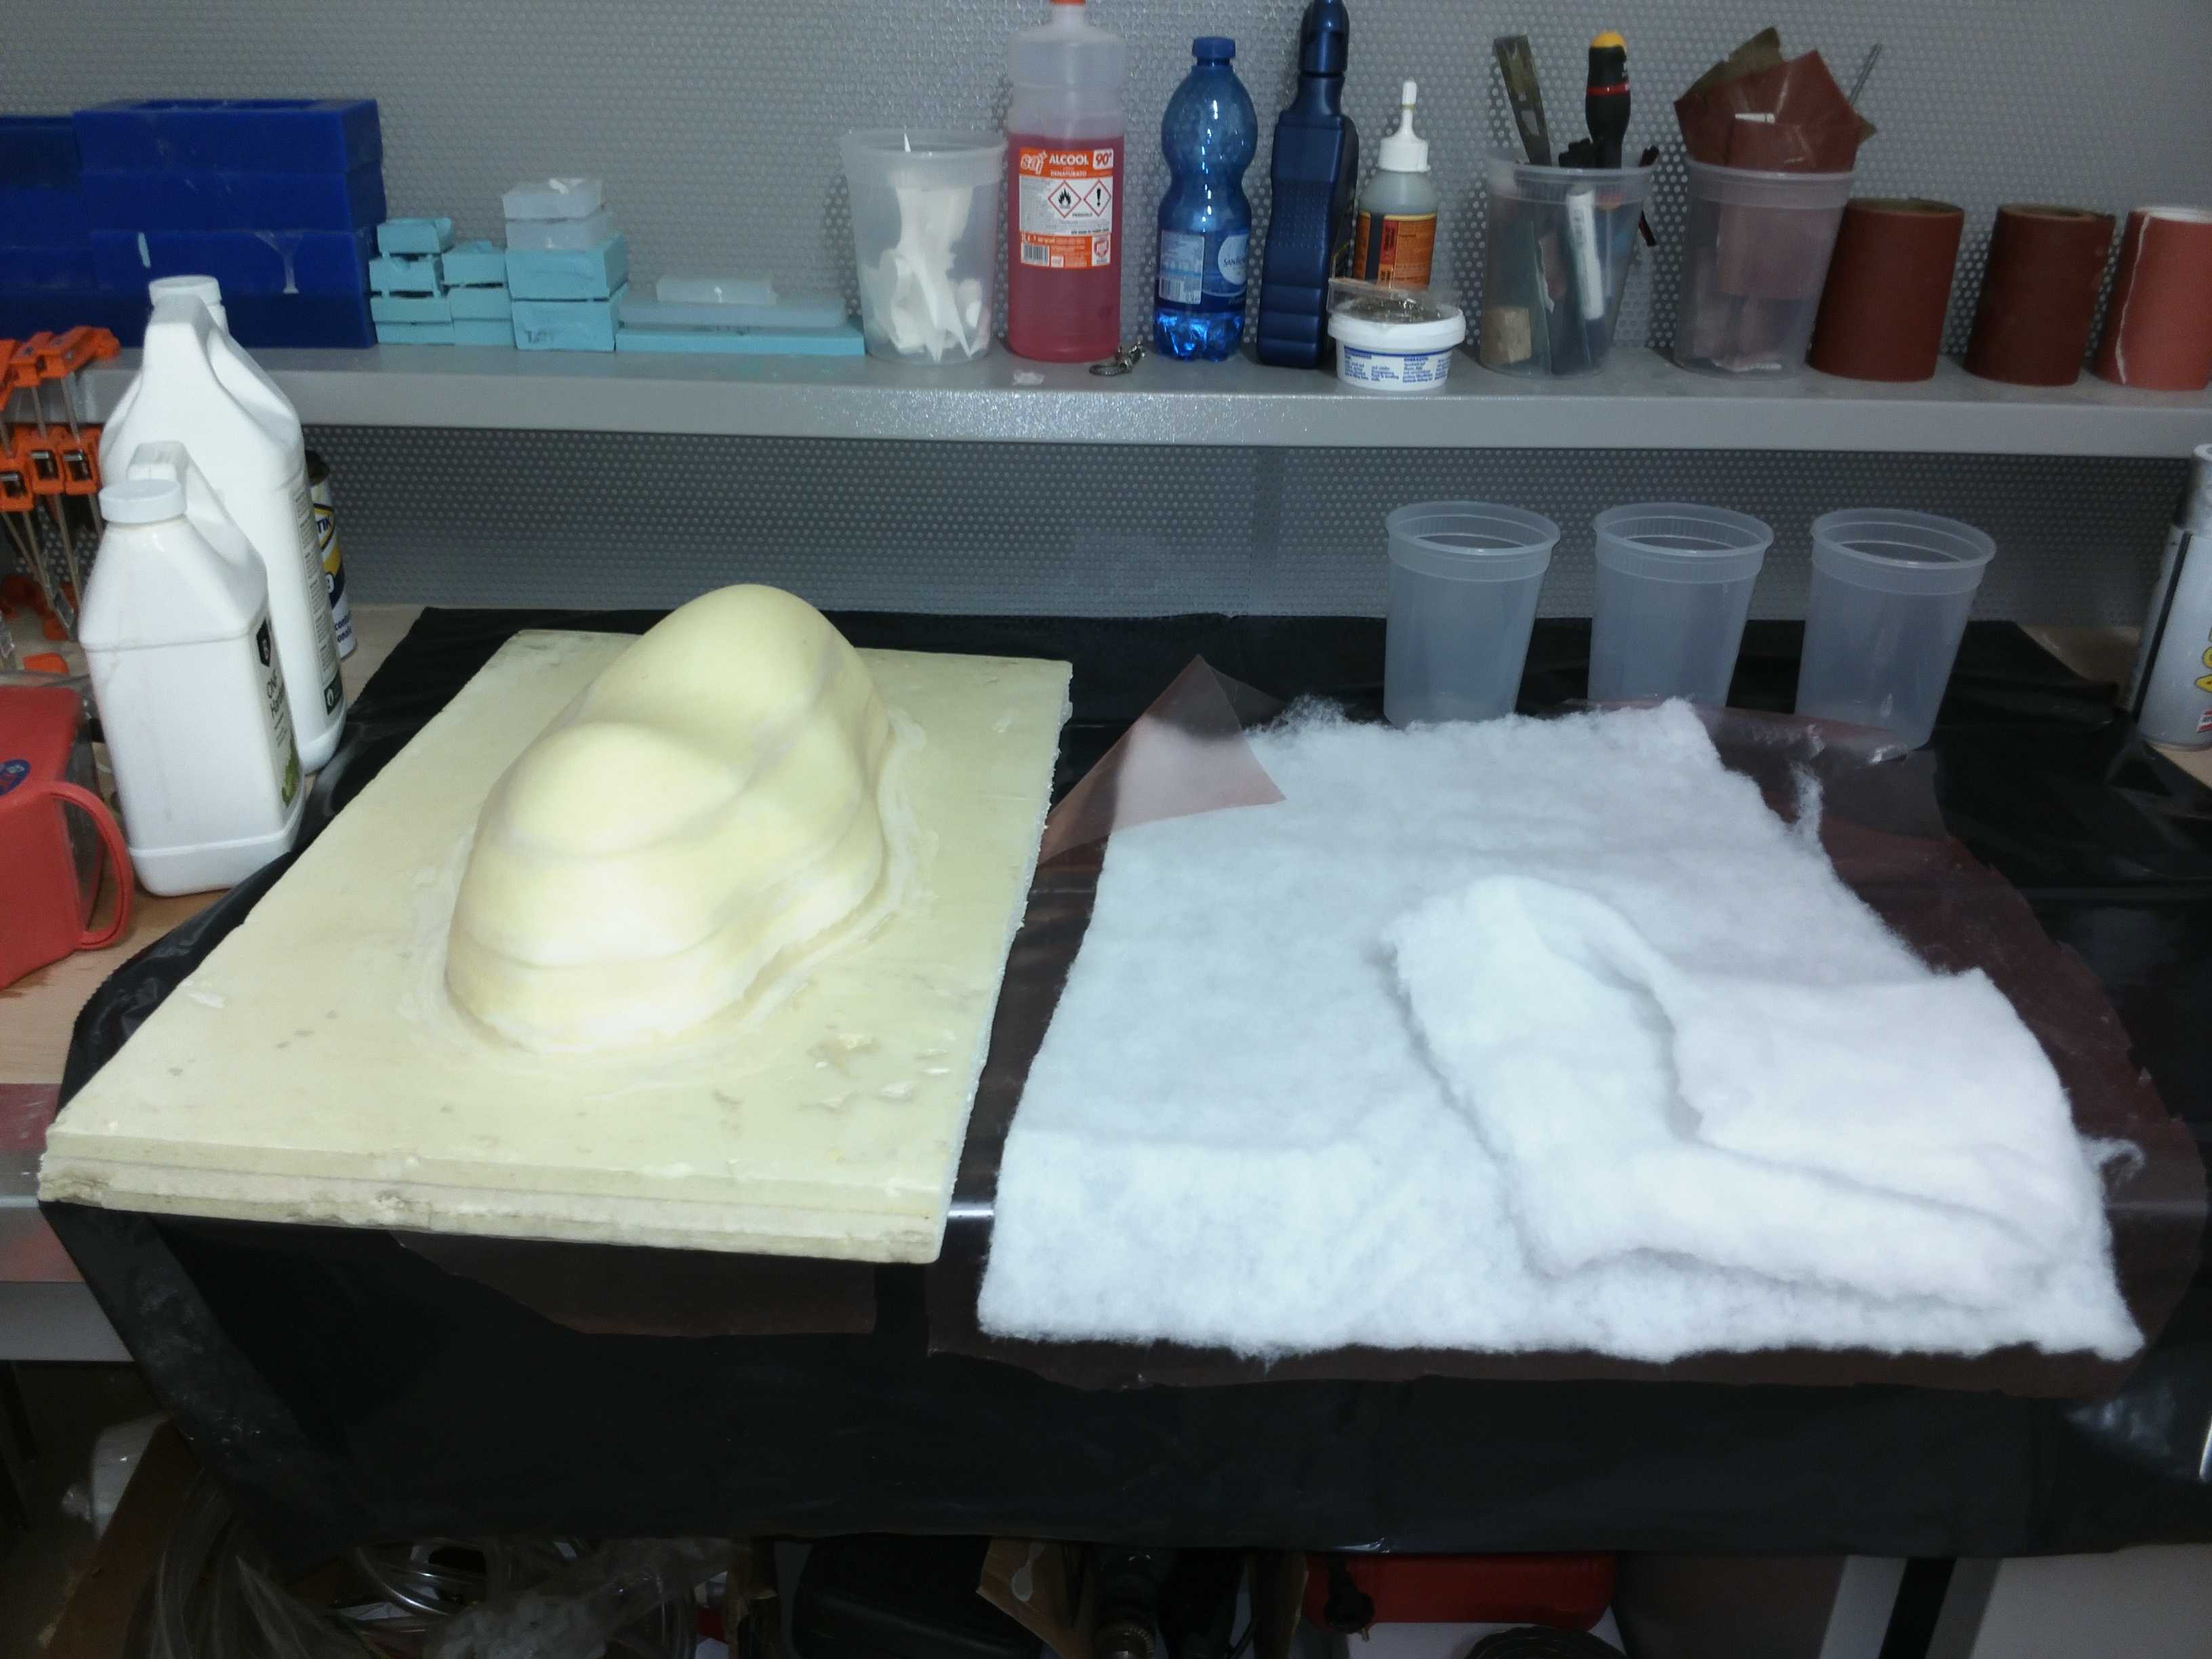
Then i've glued the three pieces and i've refined the model sealing the holes with some plaster used for the wood (the brown one in the image):
I think that both the glue and the plaster that i've used for this first model were wrong.
The gorilla glue was not the right one because it expands when it is dry and the plaster was to hard.
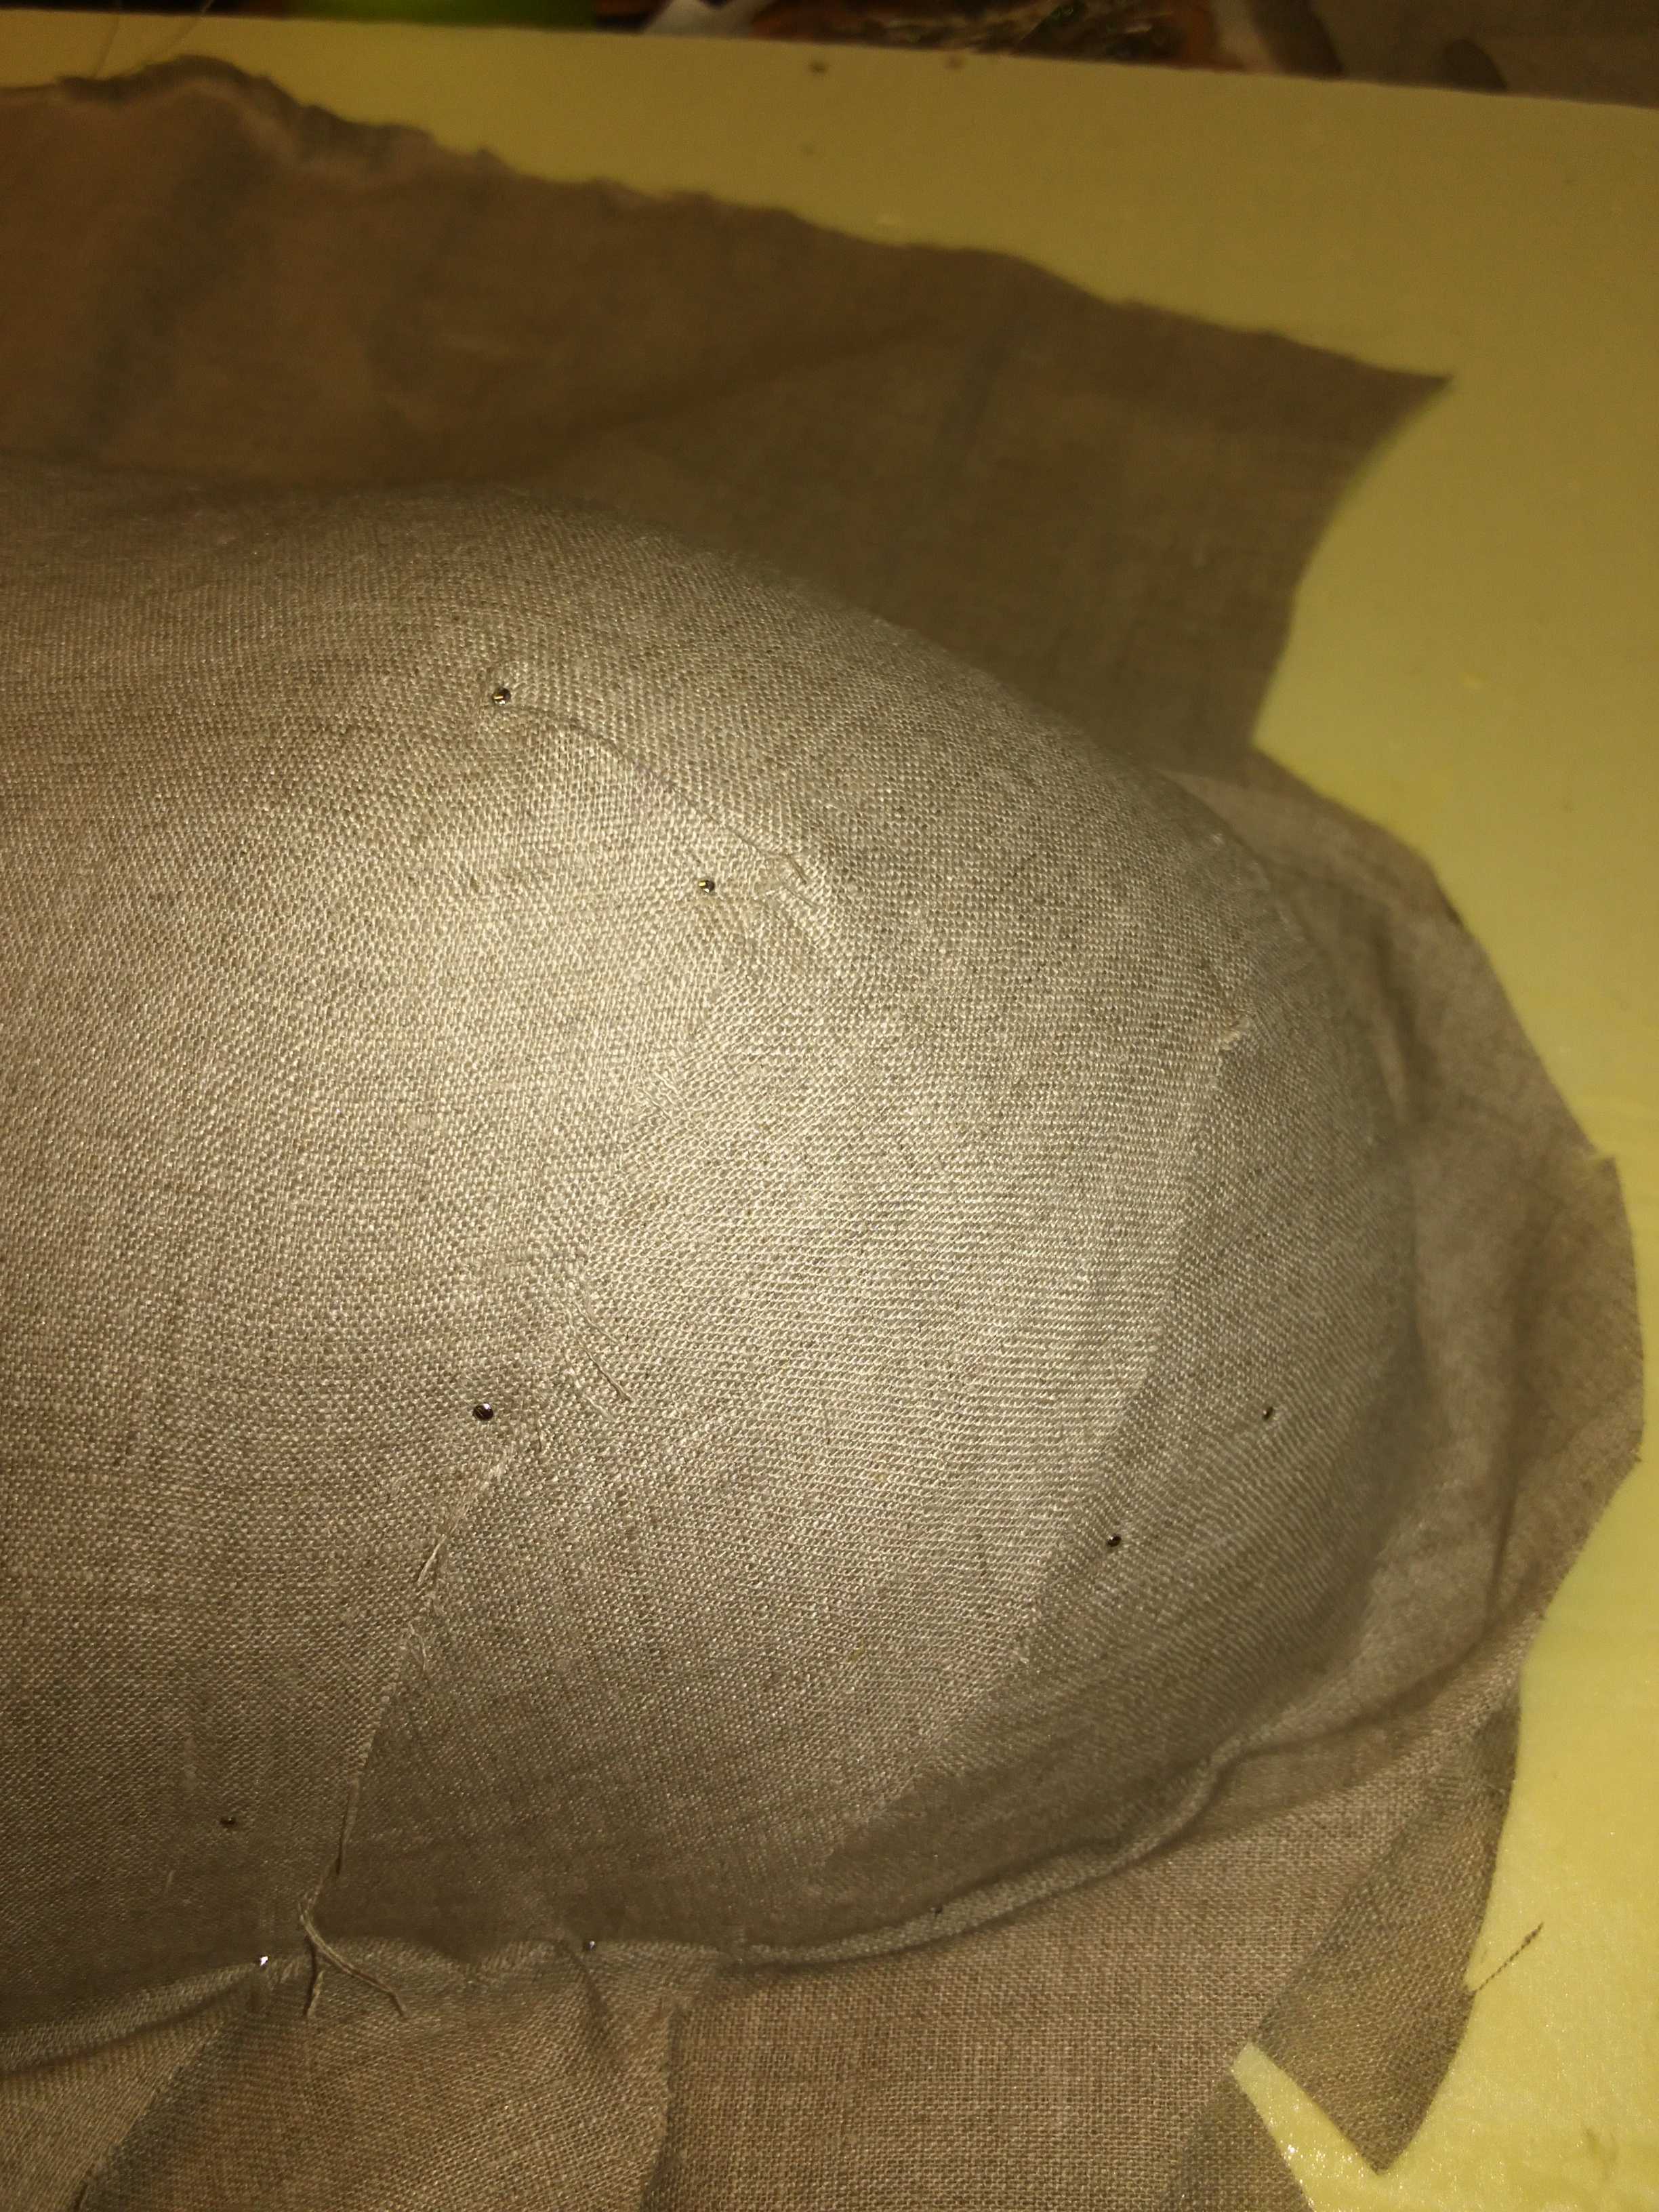
At this point, i've prepared the linen by cutting it manually trying to avoid creases:
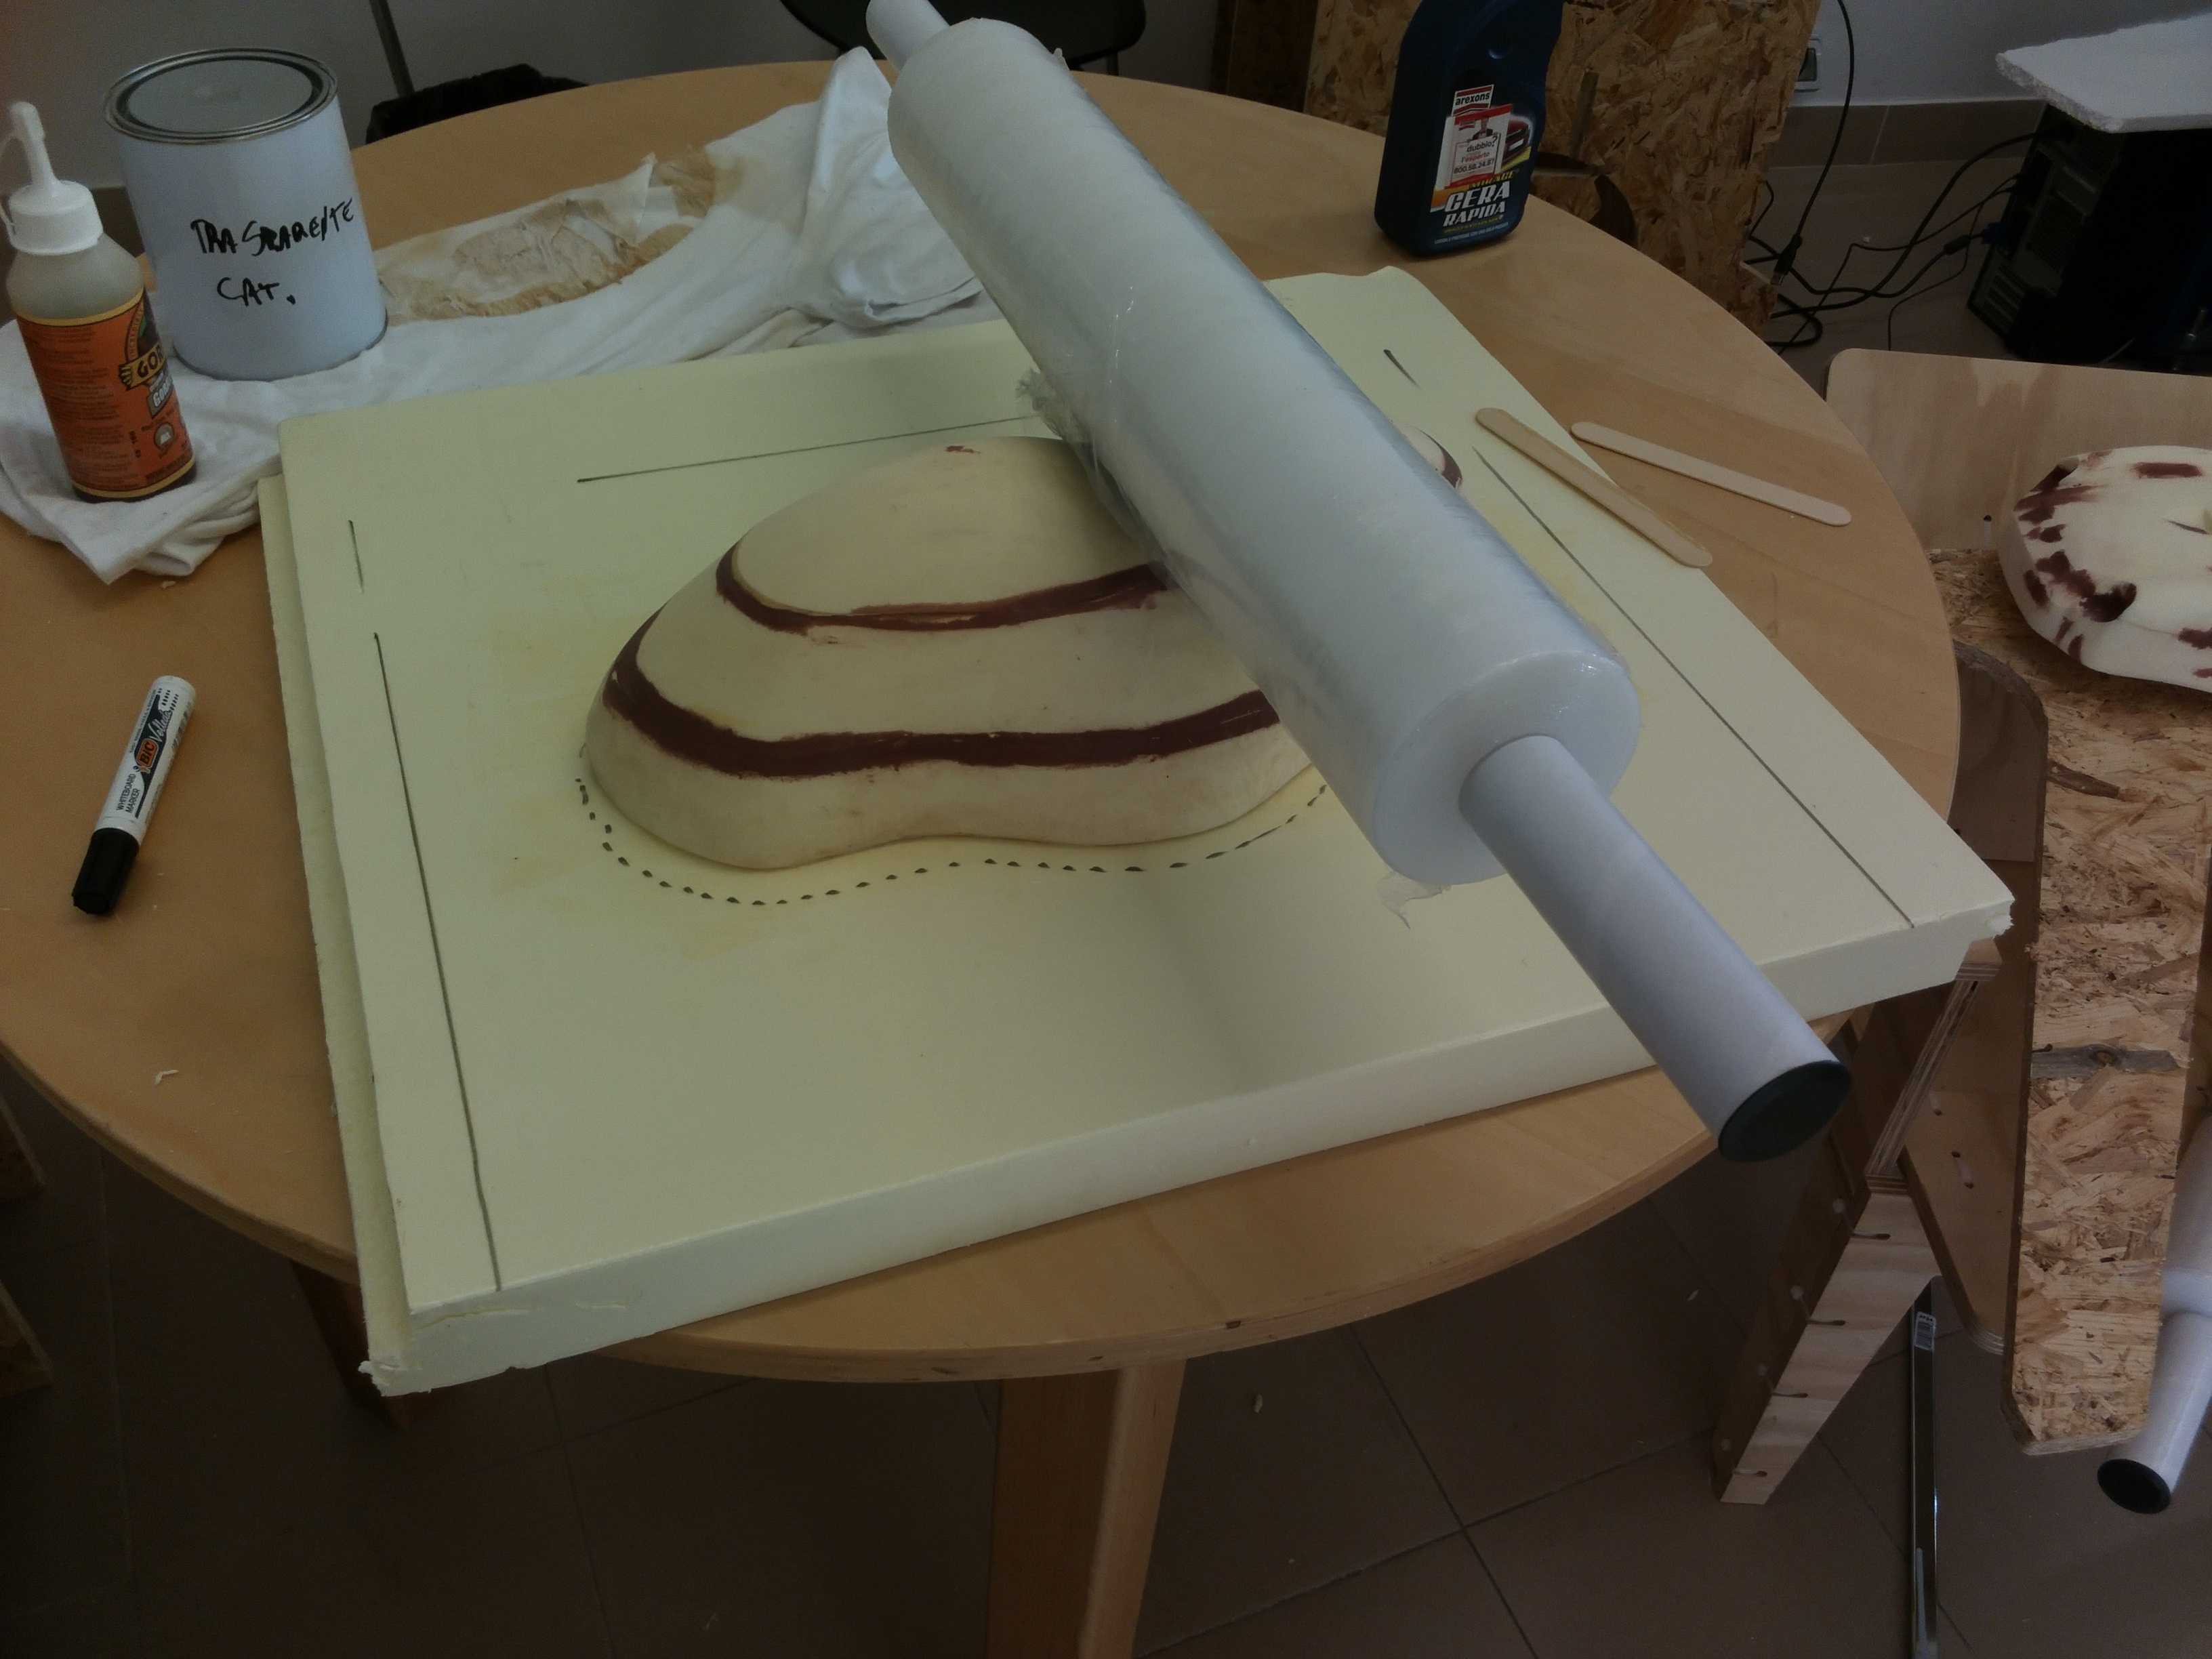
I've used some sewing pins to stick the linen in place above the model. I tought this was a good idea but i've discovered that
it wasn't at all because in the end i was not able to remove the linen from the polystyrene model. By the way, I've covered the model
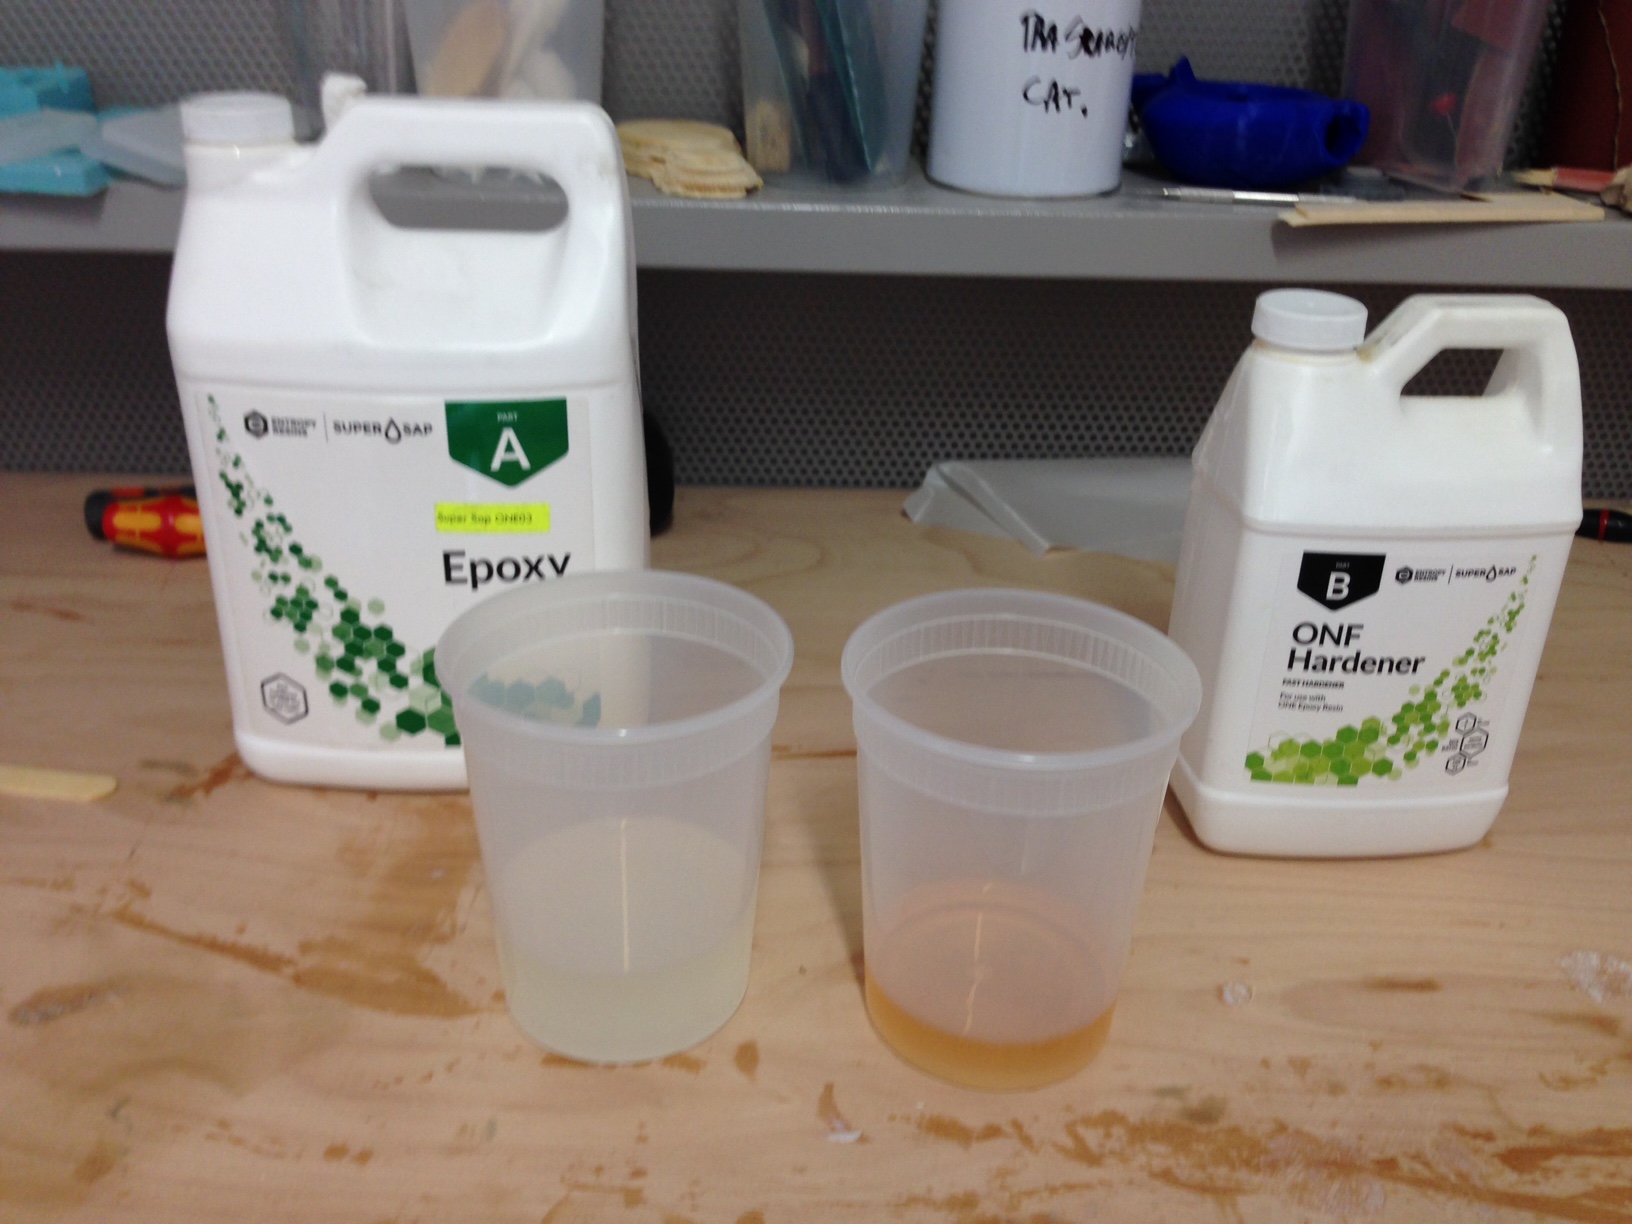
with 6-7 passes of wax, putted the linen on top of it and covered everything with the epoxy resin (mixed in 1/2 ratio parts with the hardener; 1 part of hardener, 2 of resin).
I've followed this schema to put each layer of material correctly:
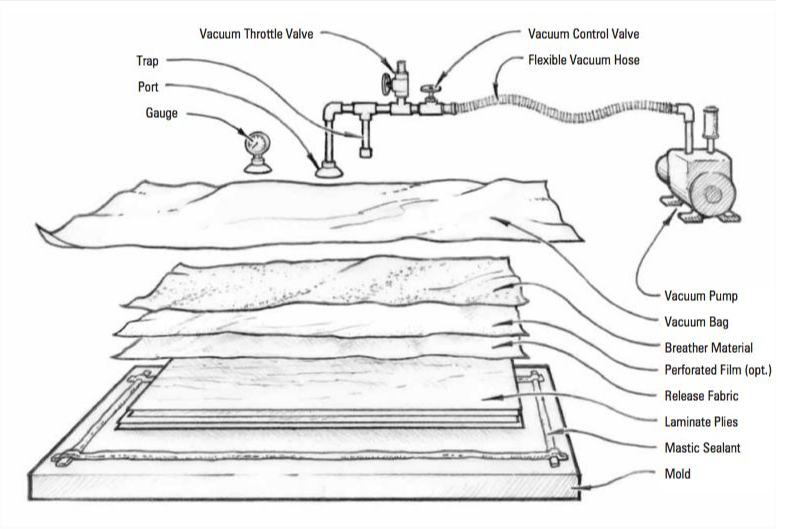
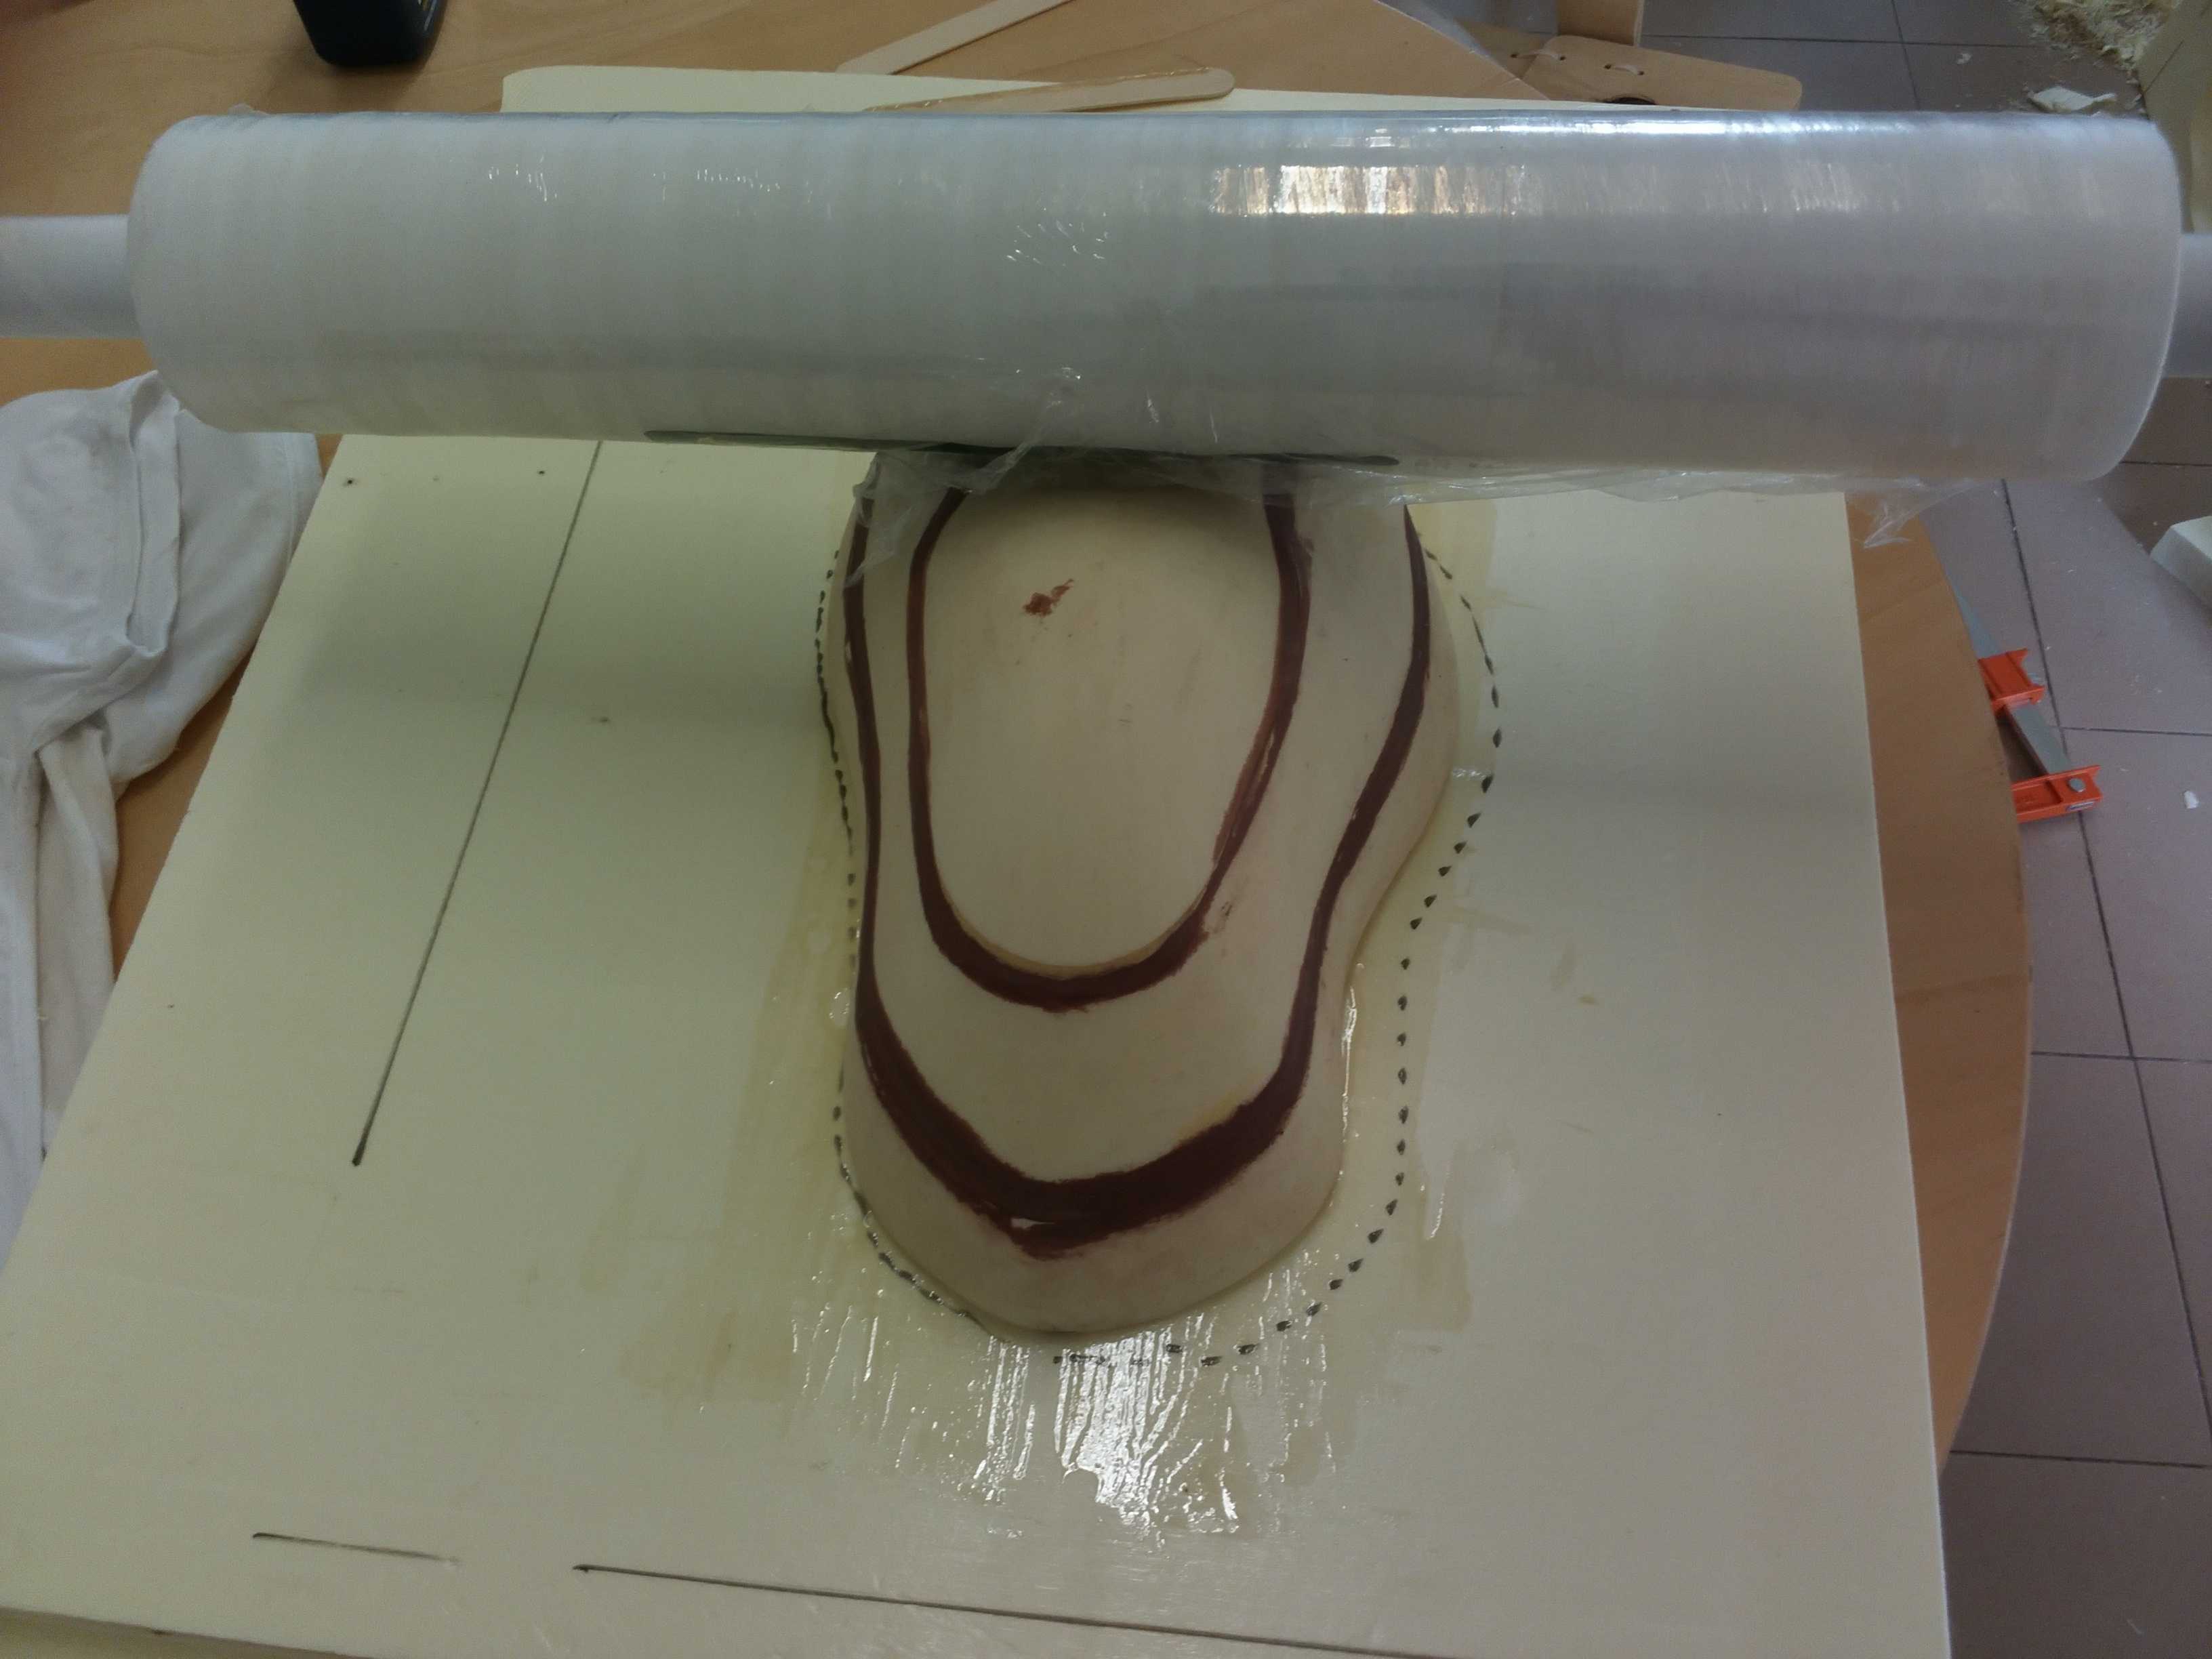
The next step was to put everything under vacuum and wait for the night to pass :).

The day after i've opened the bag:
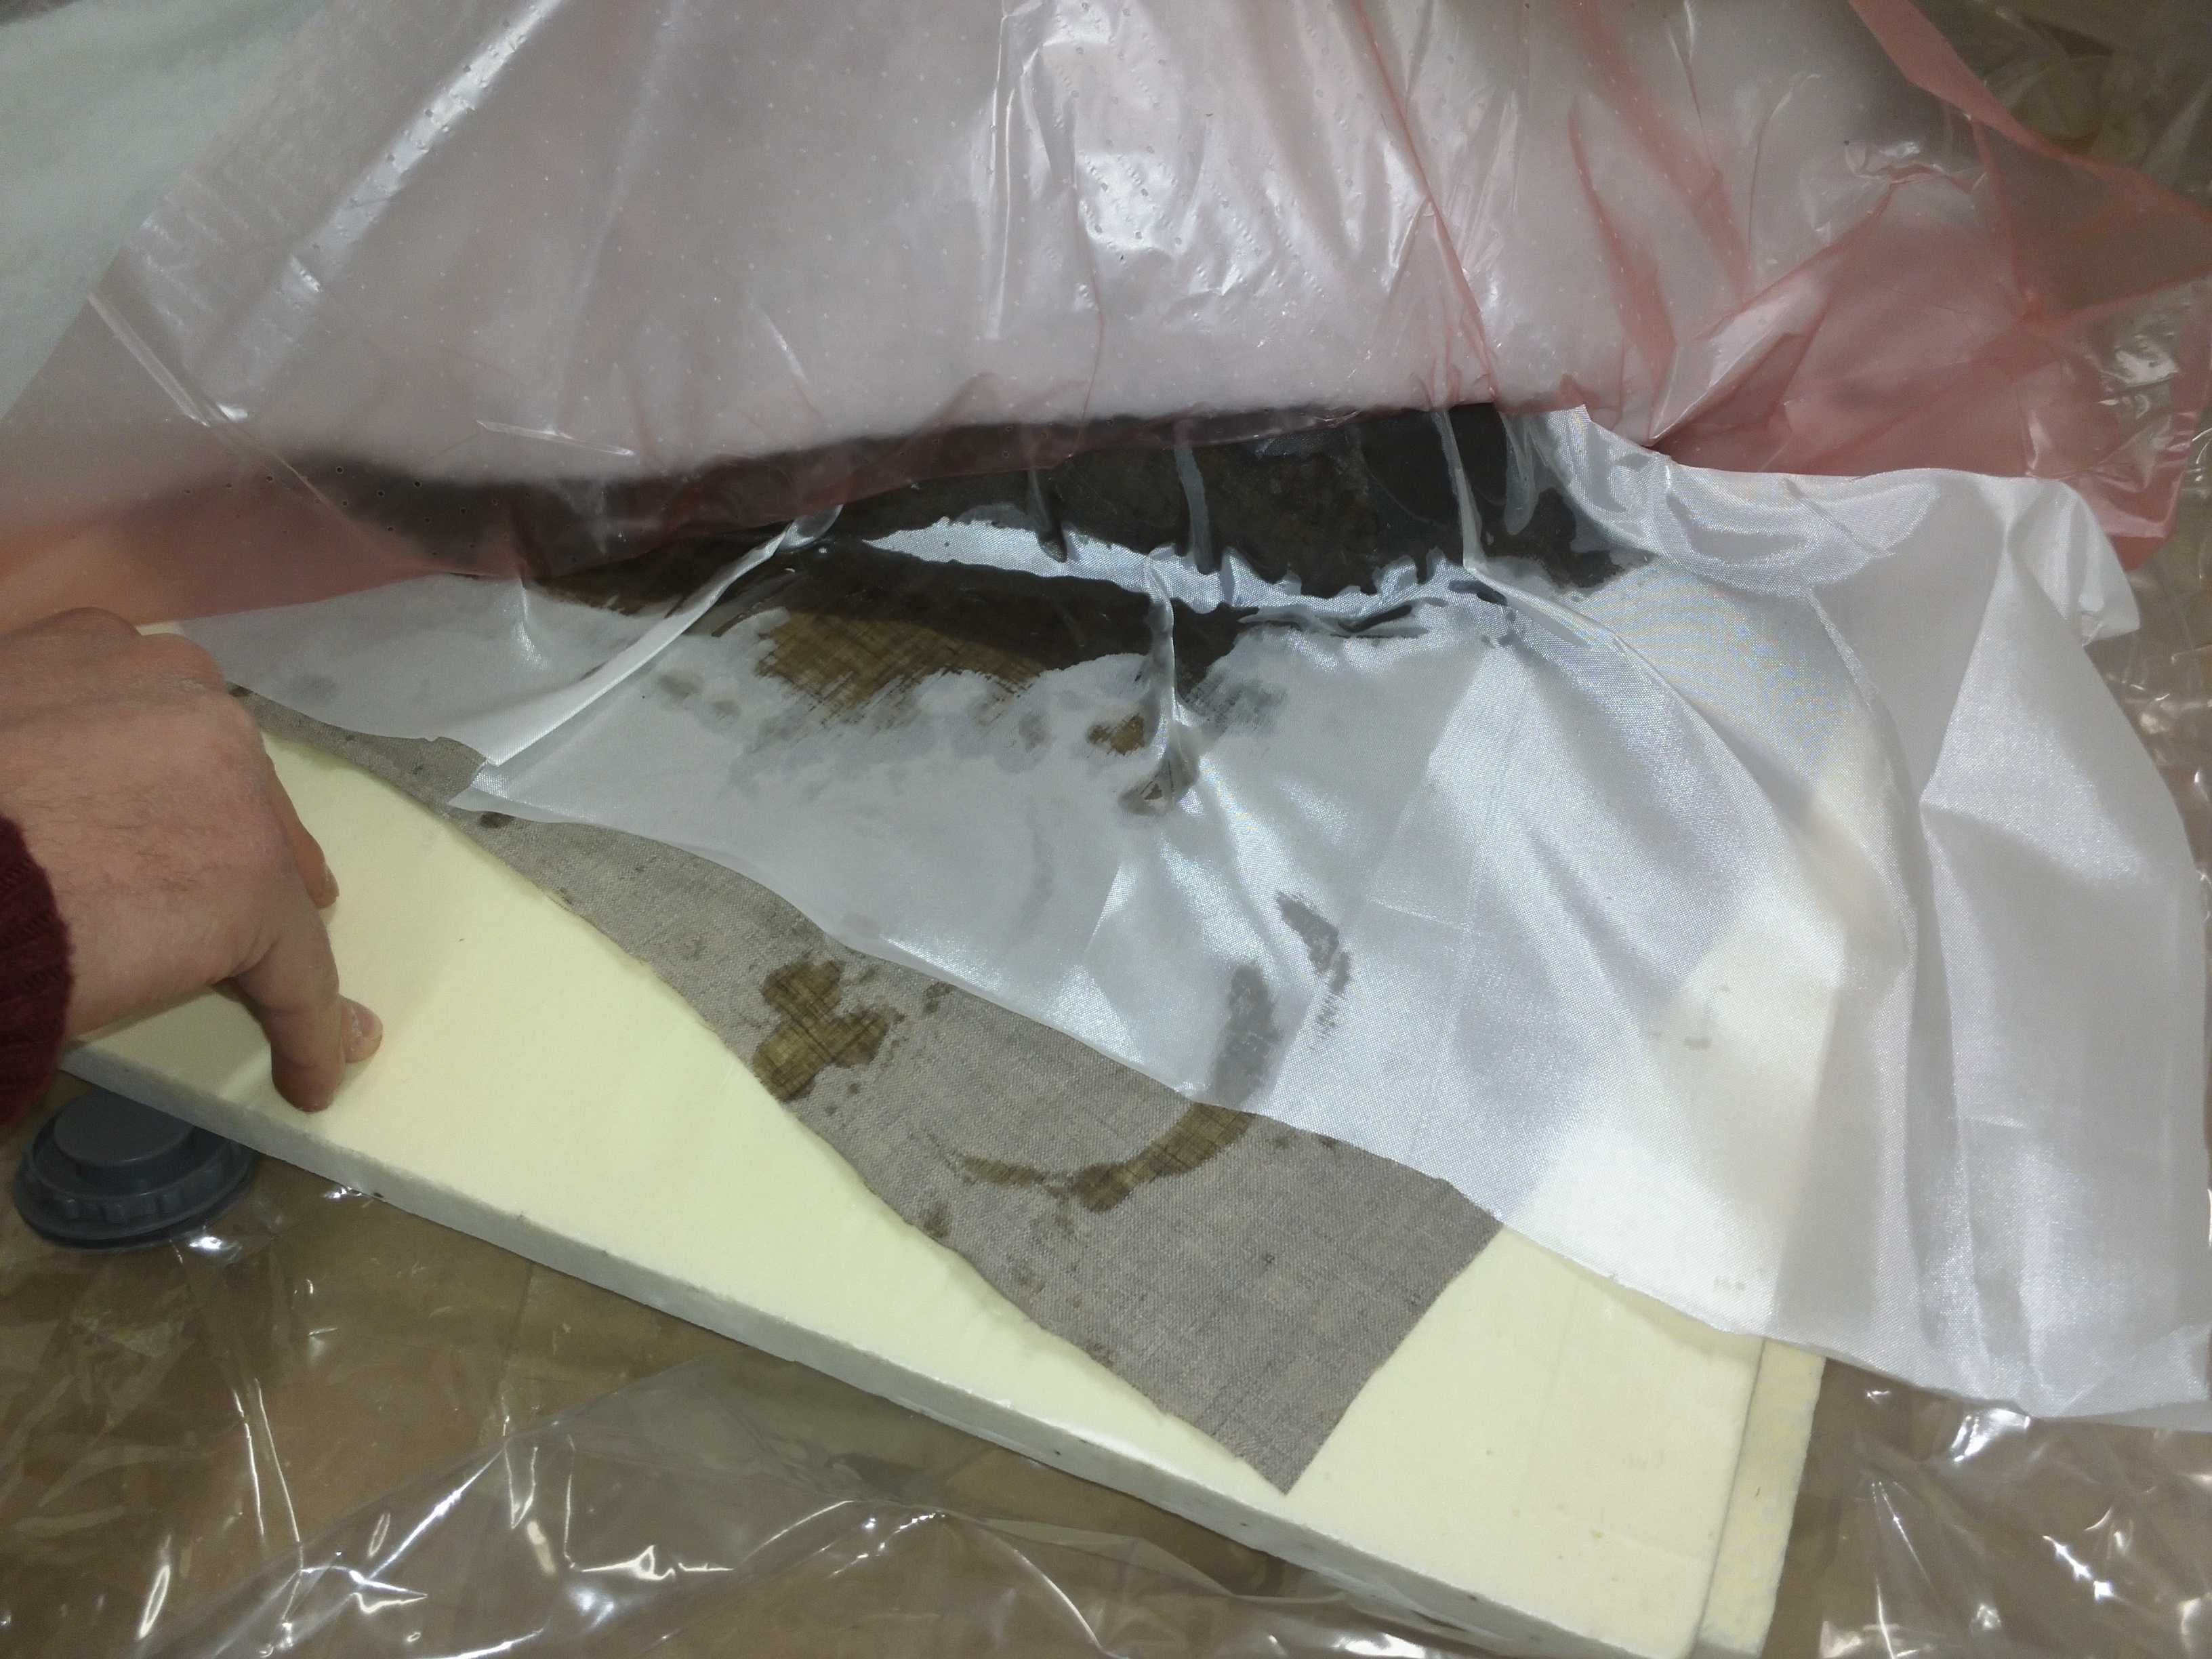
Ok...to be honest i was very confident that it would have worked and that i could have been able to easily remove the linen from the model but....:
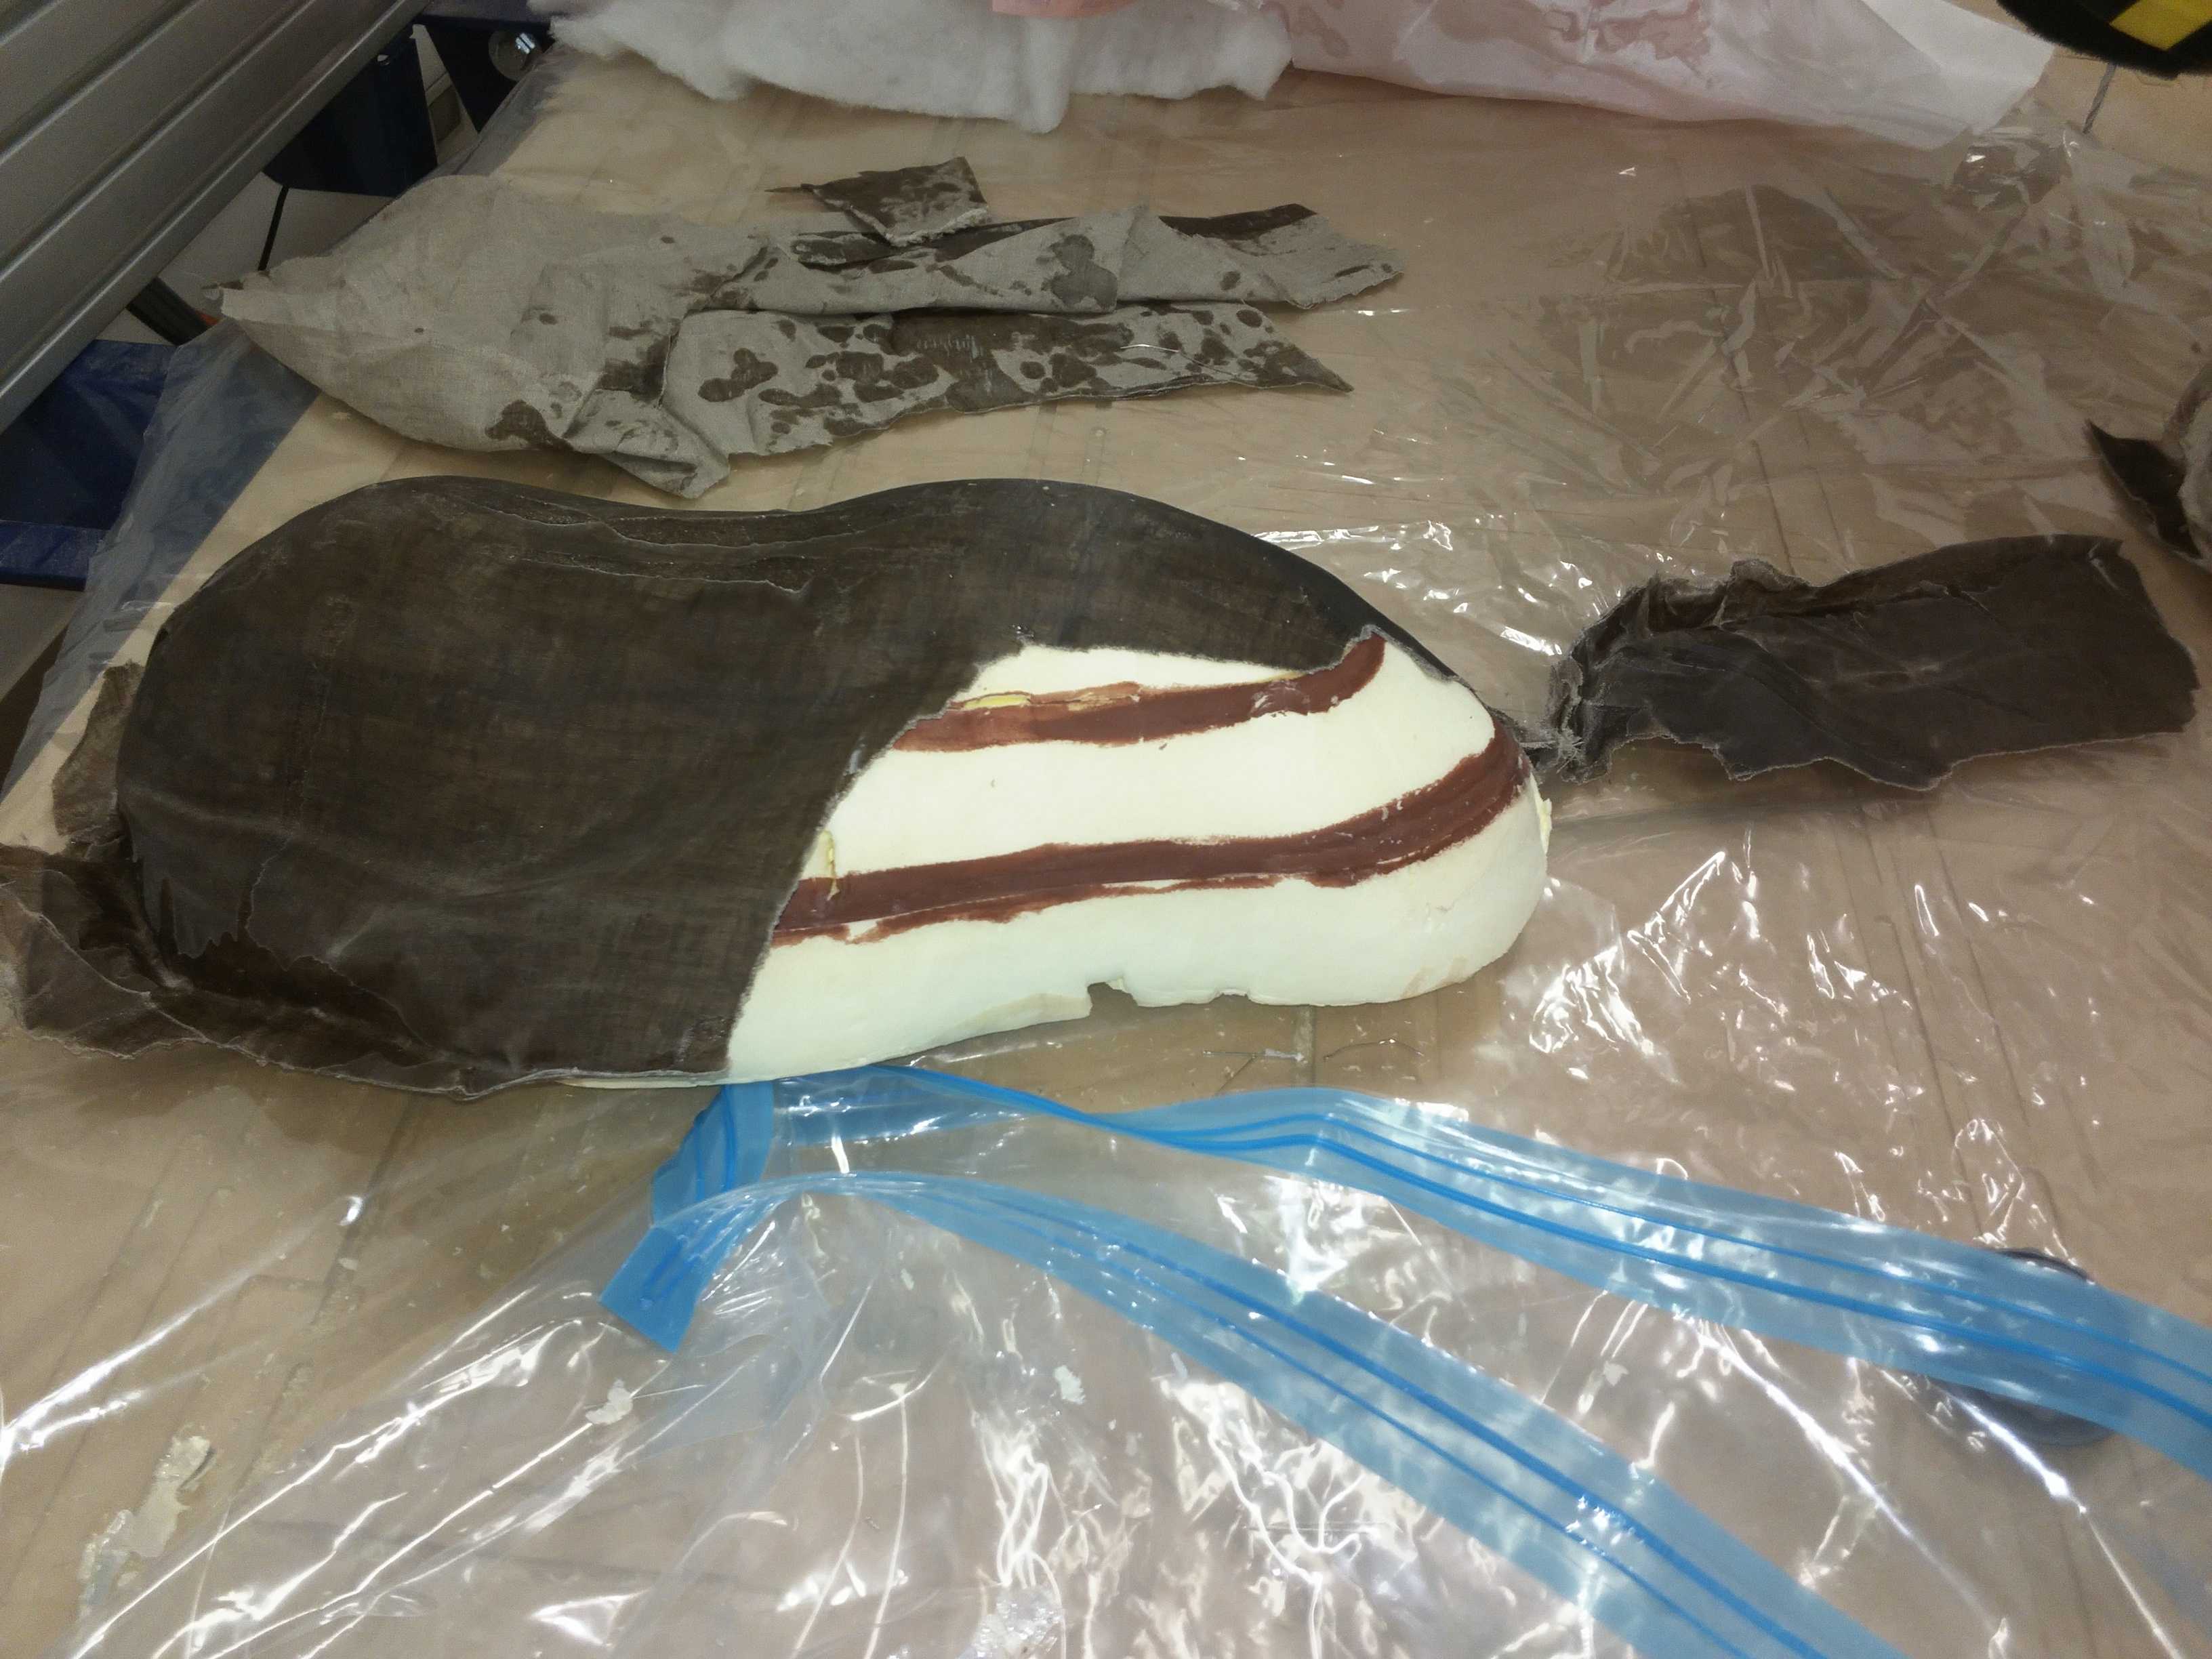
...i've destroyed everything.
At this point, having in mind all the mistakes committed in this first model, i've restarted the process from the very beginning.
i've milled the model again but i did the following changes:
- Glue: i've used a cheap glue for wood
- Wax: i've used wax for furniture
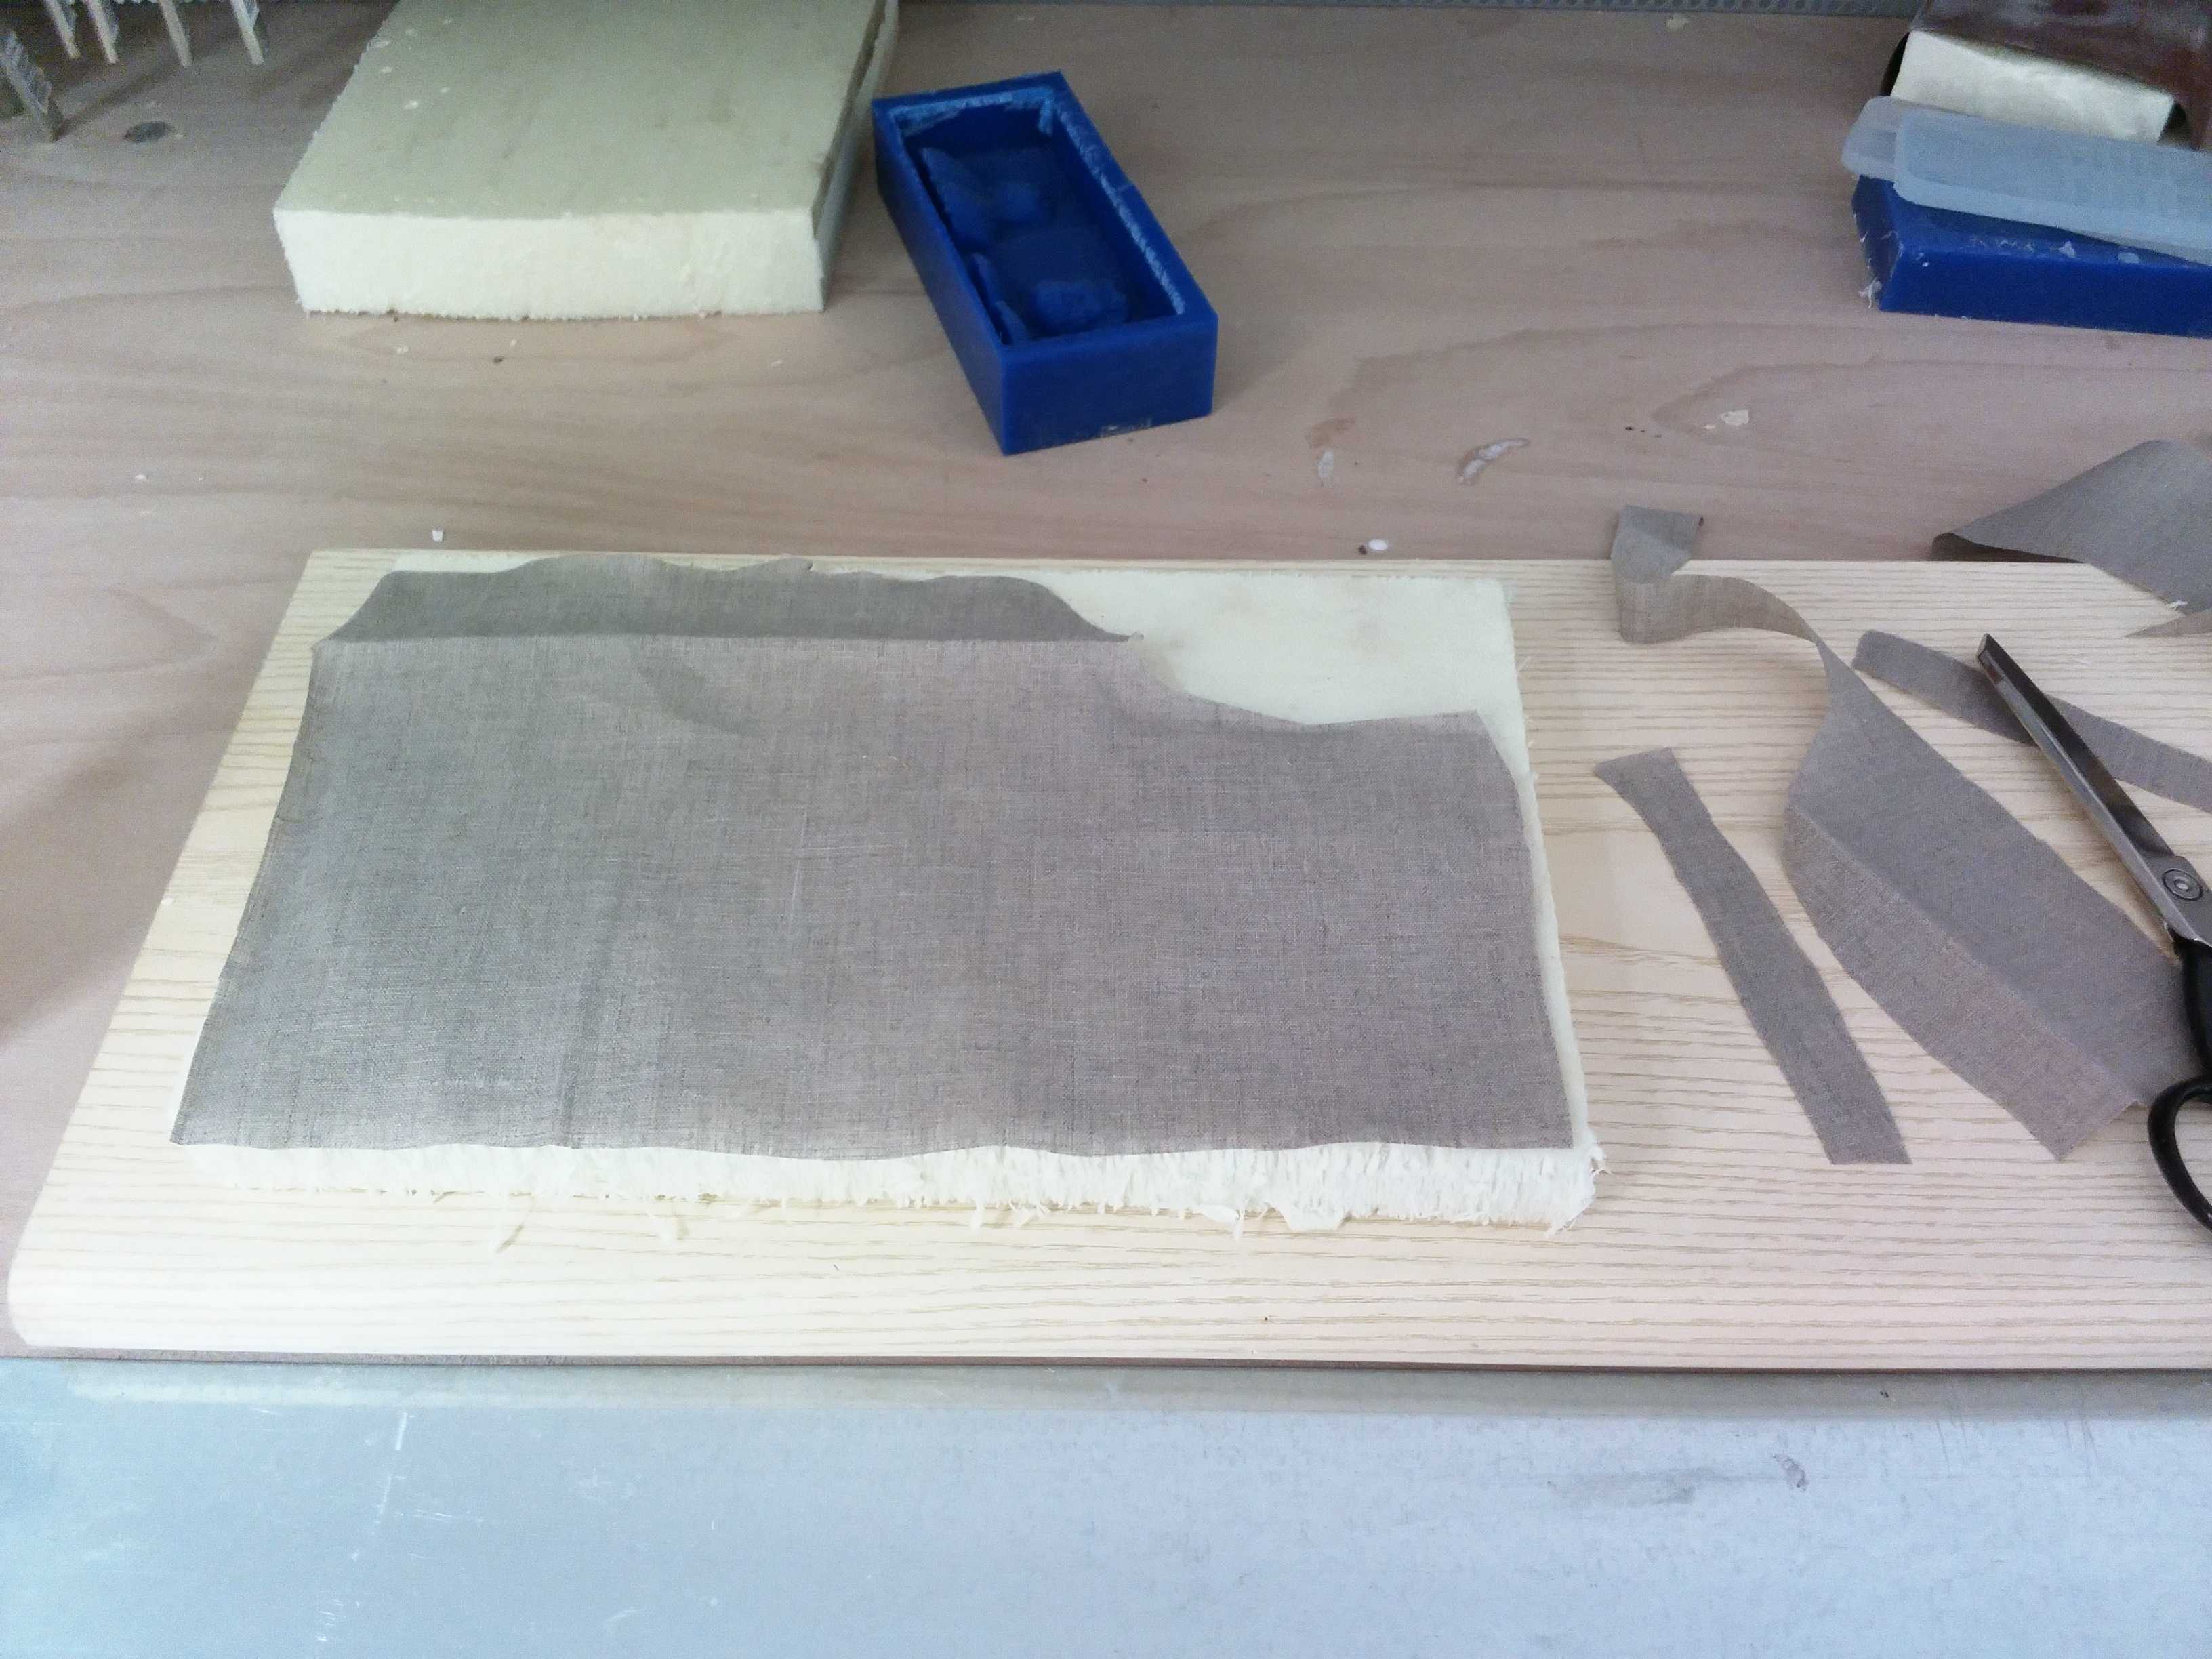
- Linen: i've cutted the linen in small pieces and not in a single one
- Sewing pins: i've removed completely the pins
- Plaster: i've used a normal soft plaster
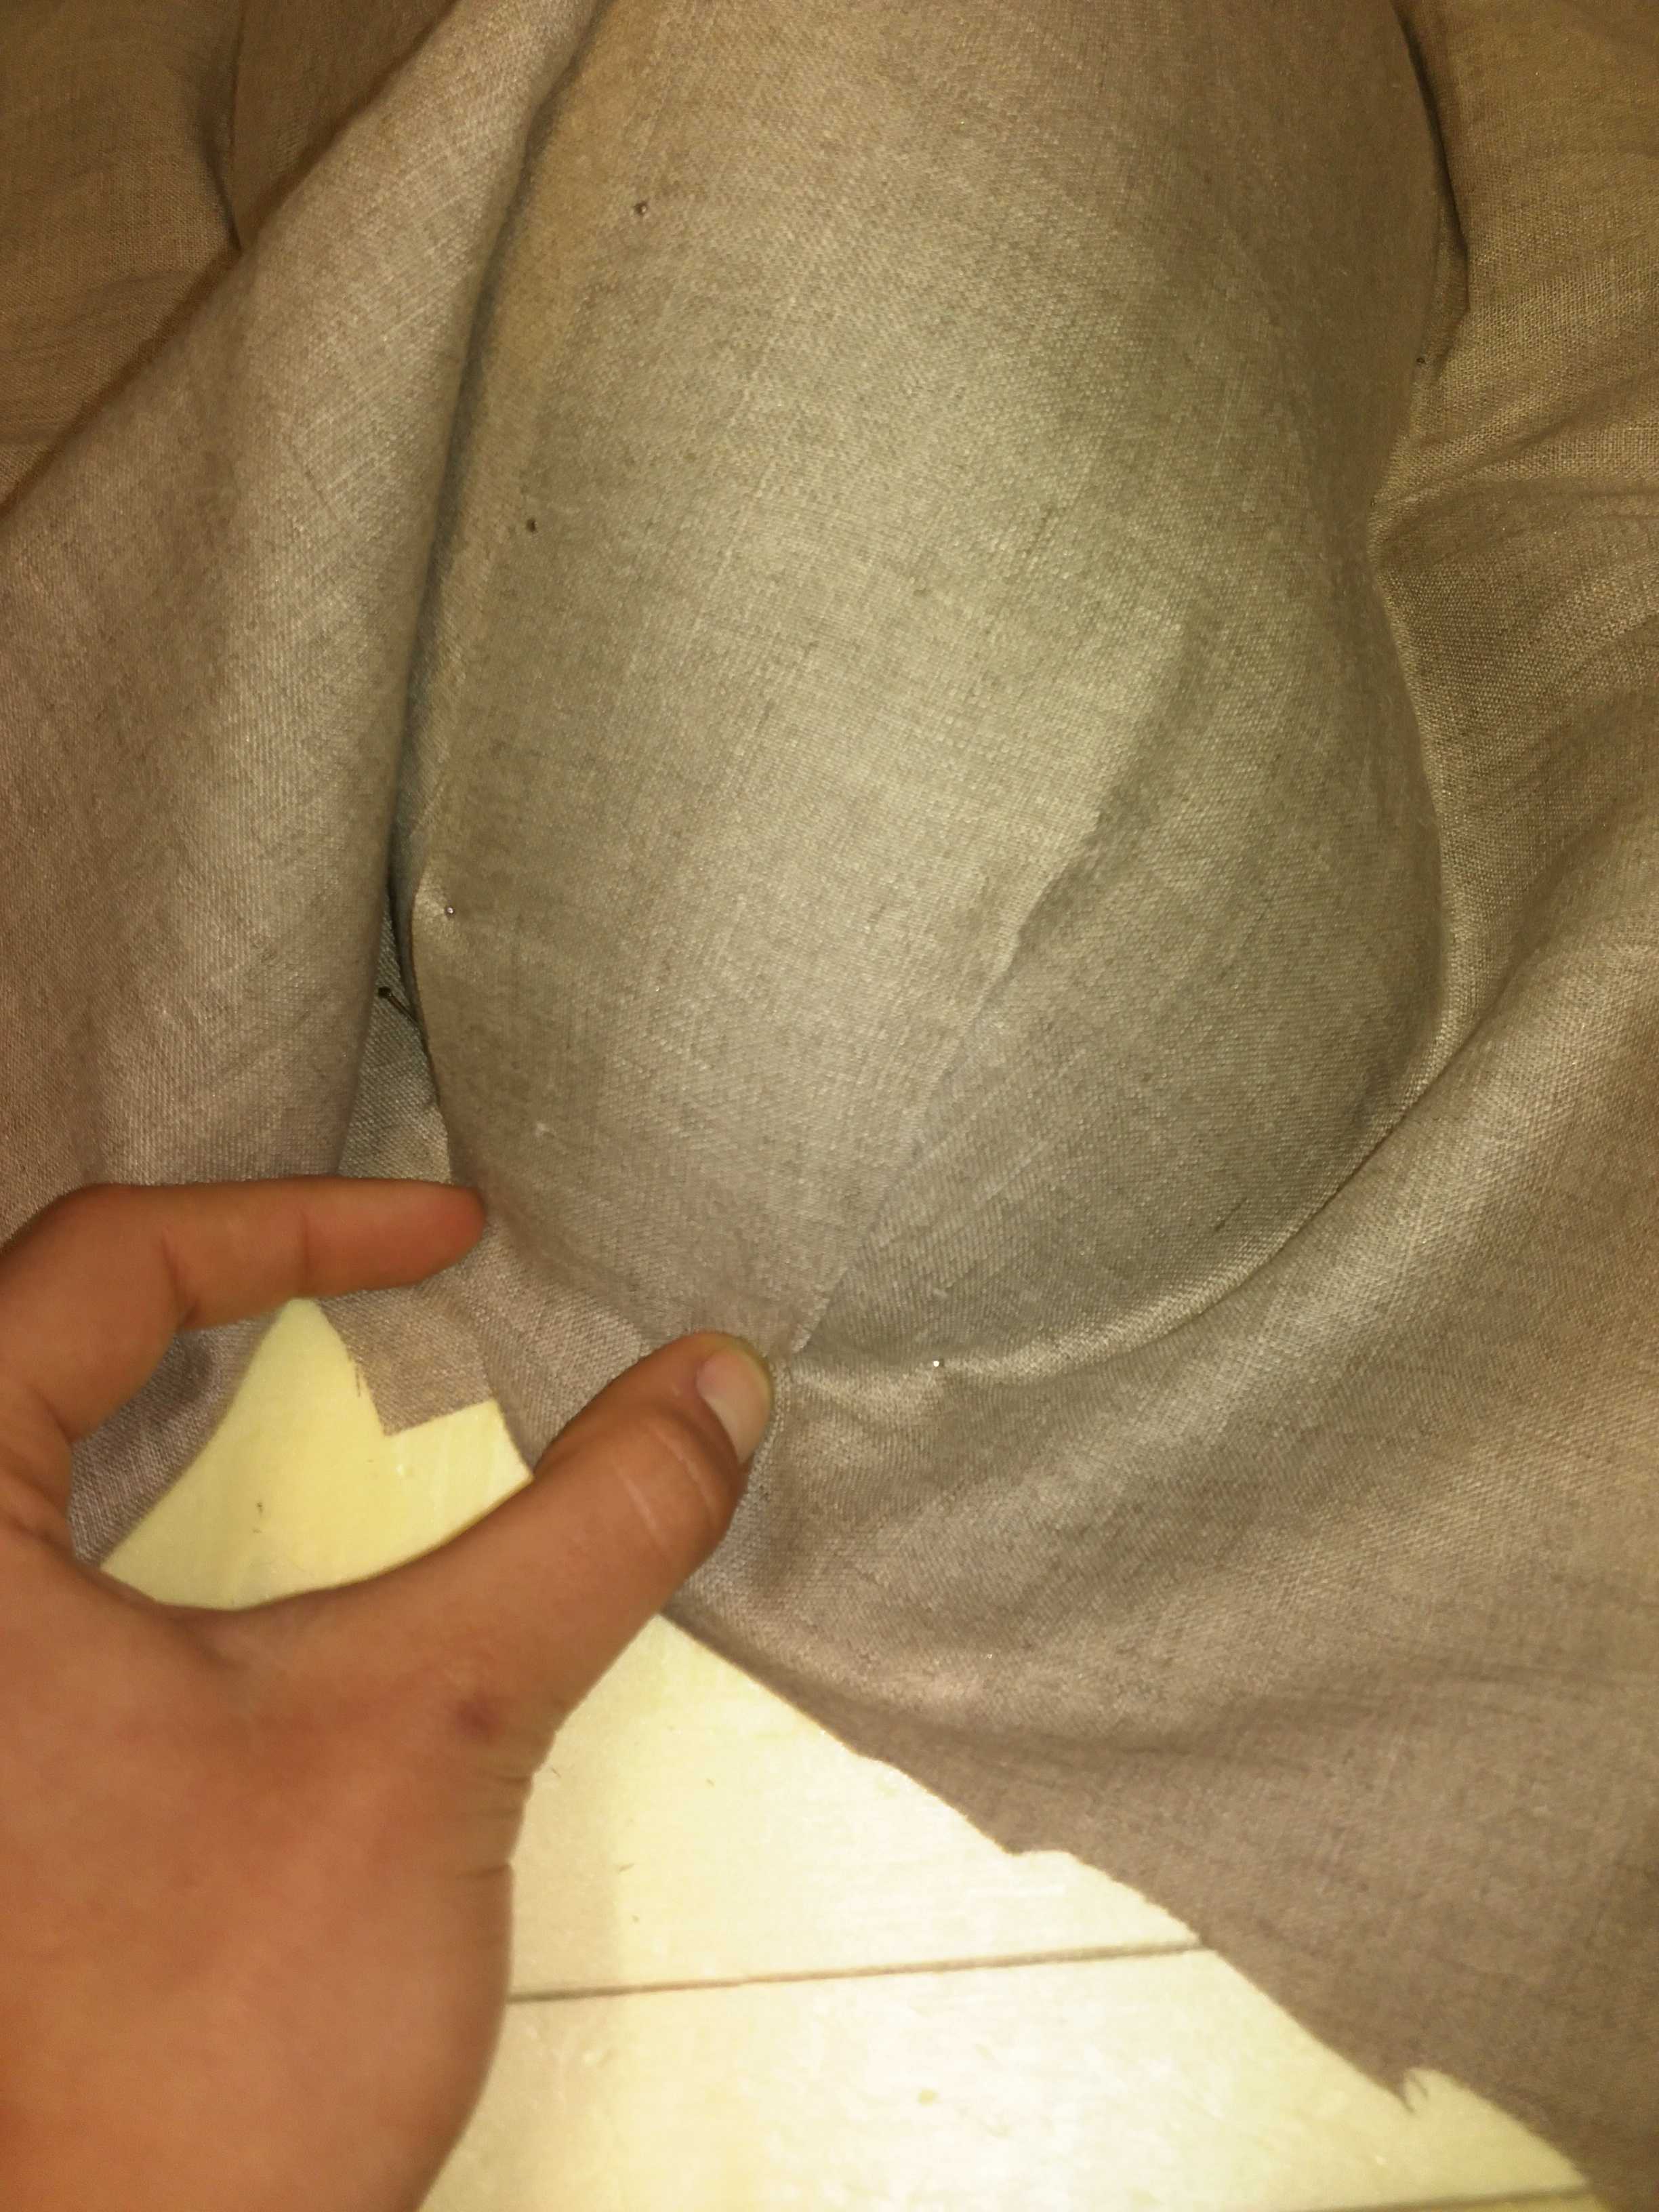
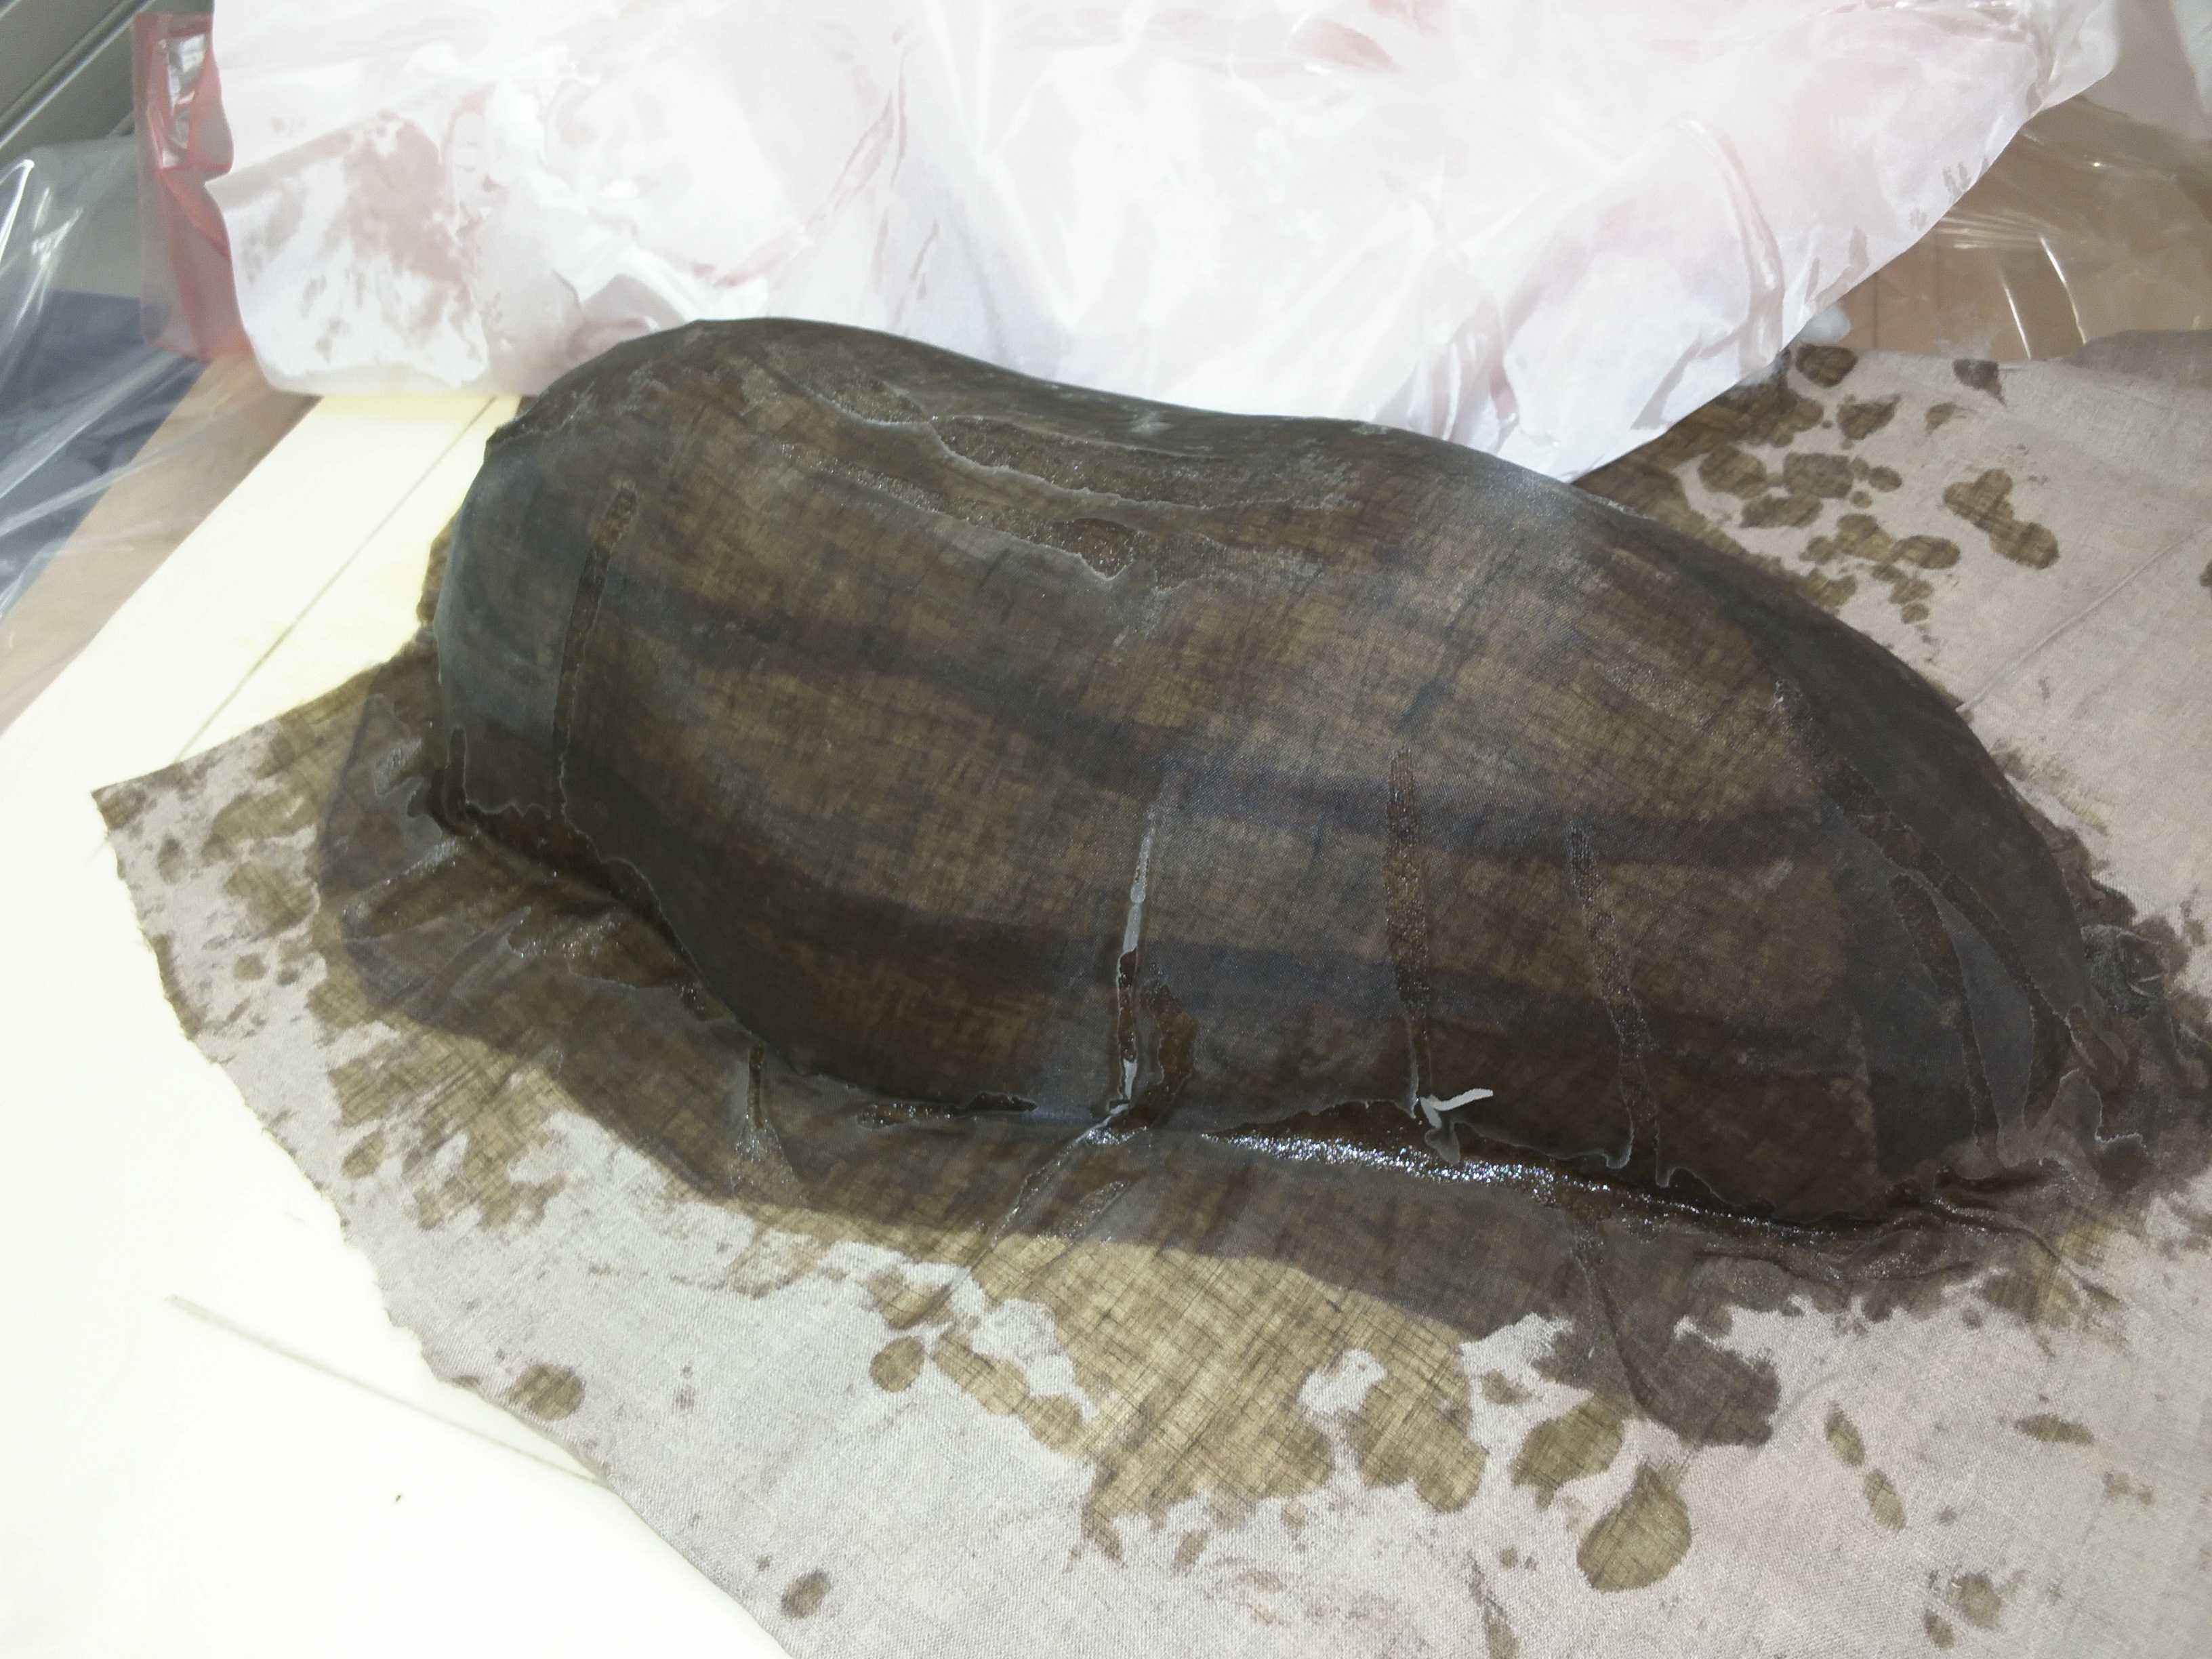
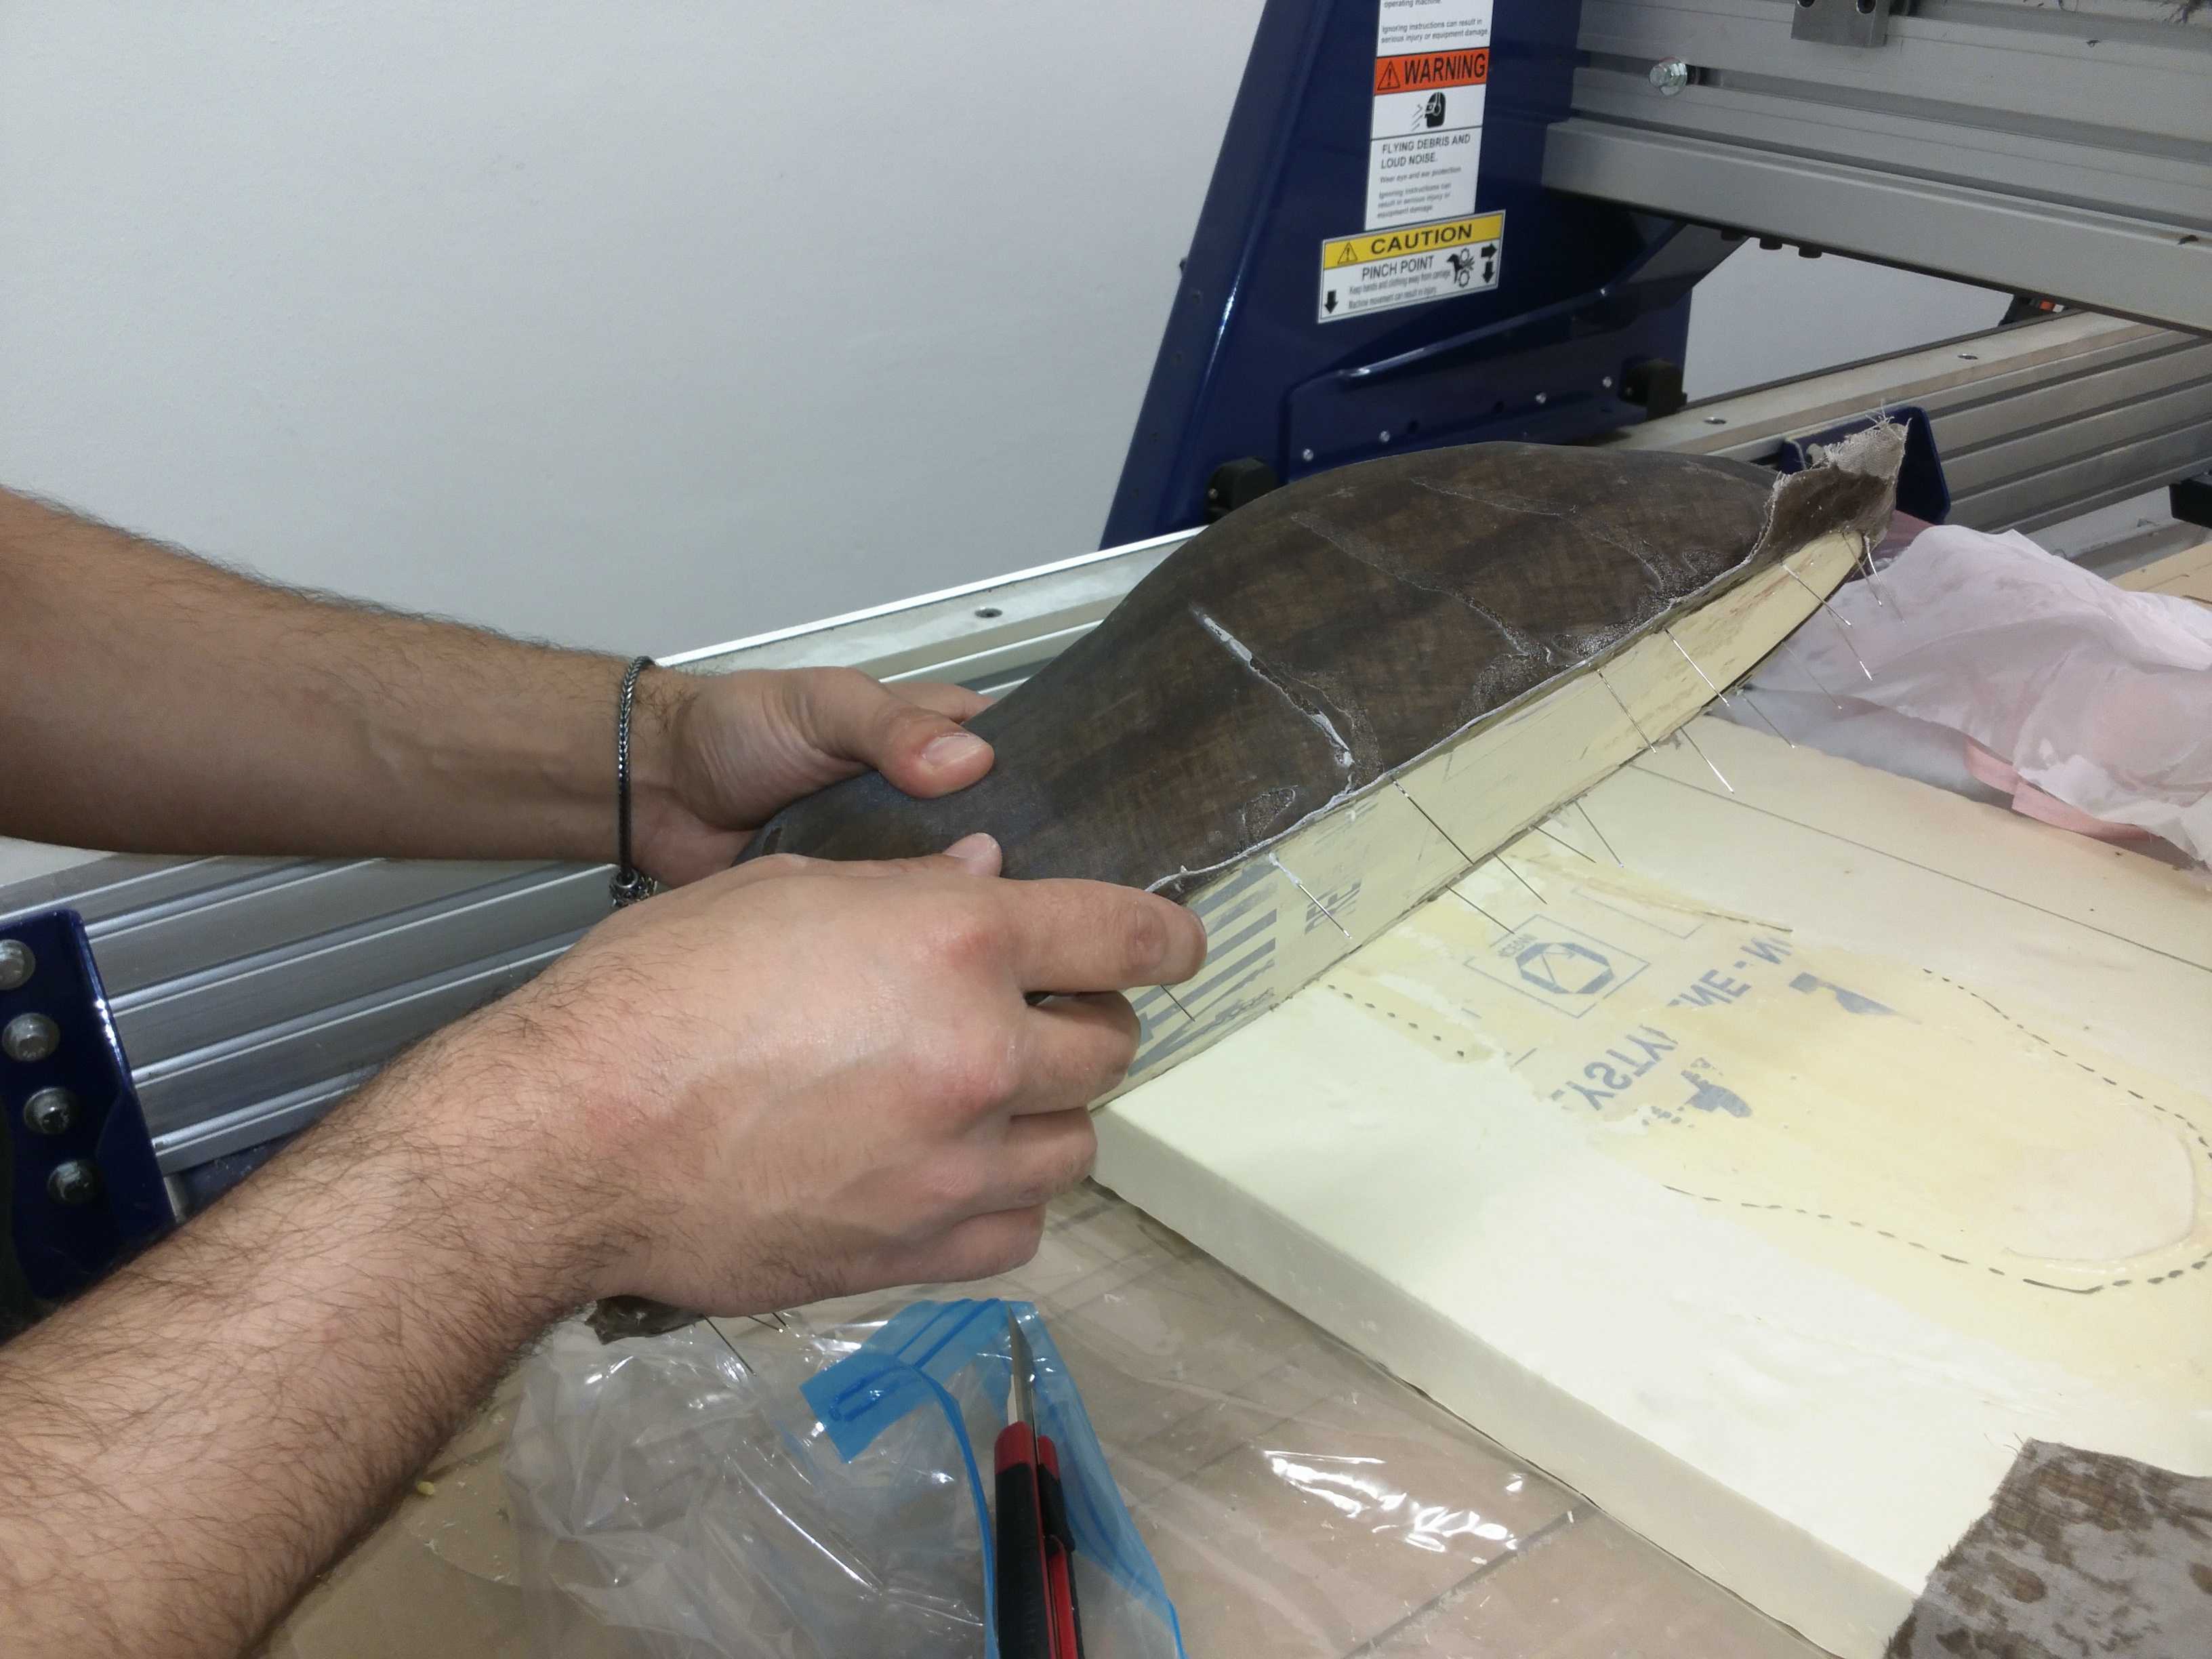
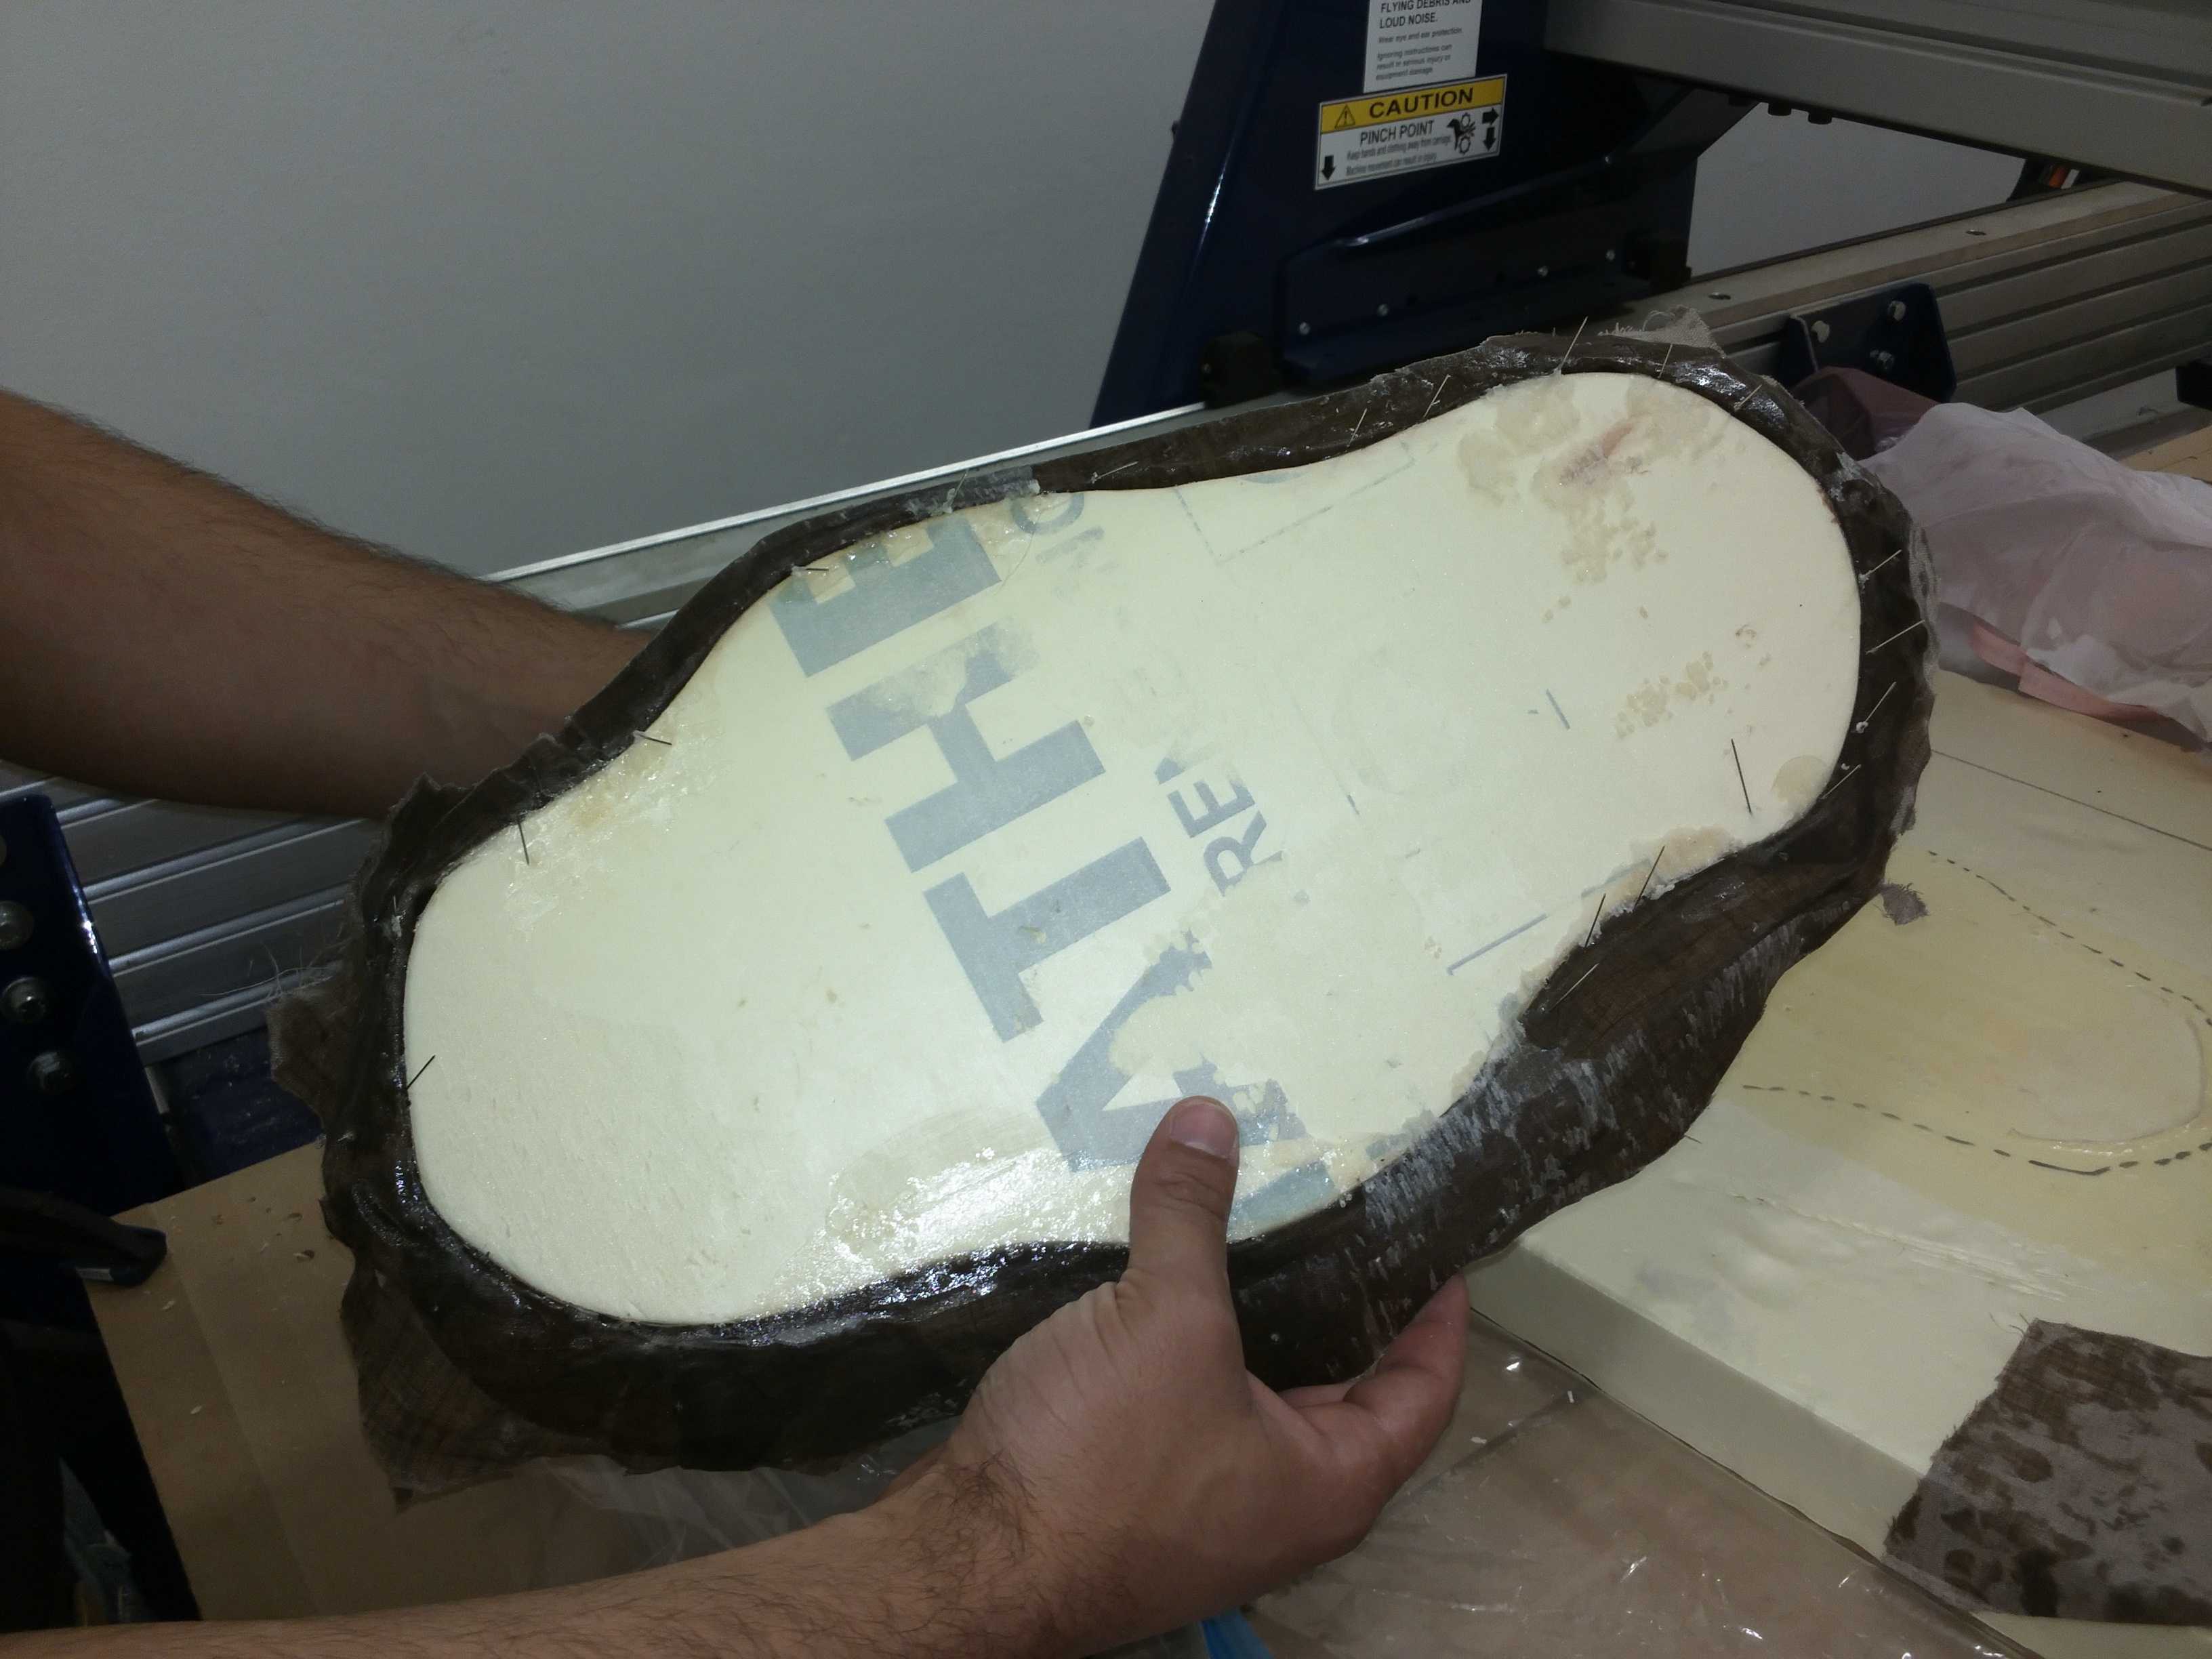
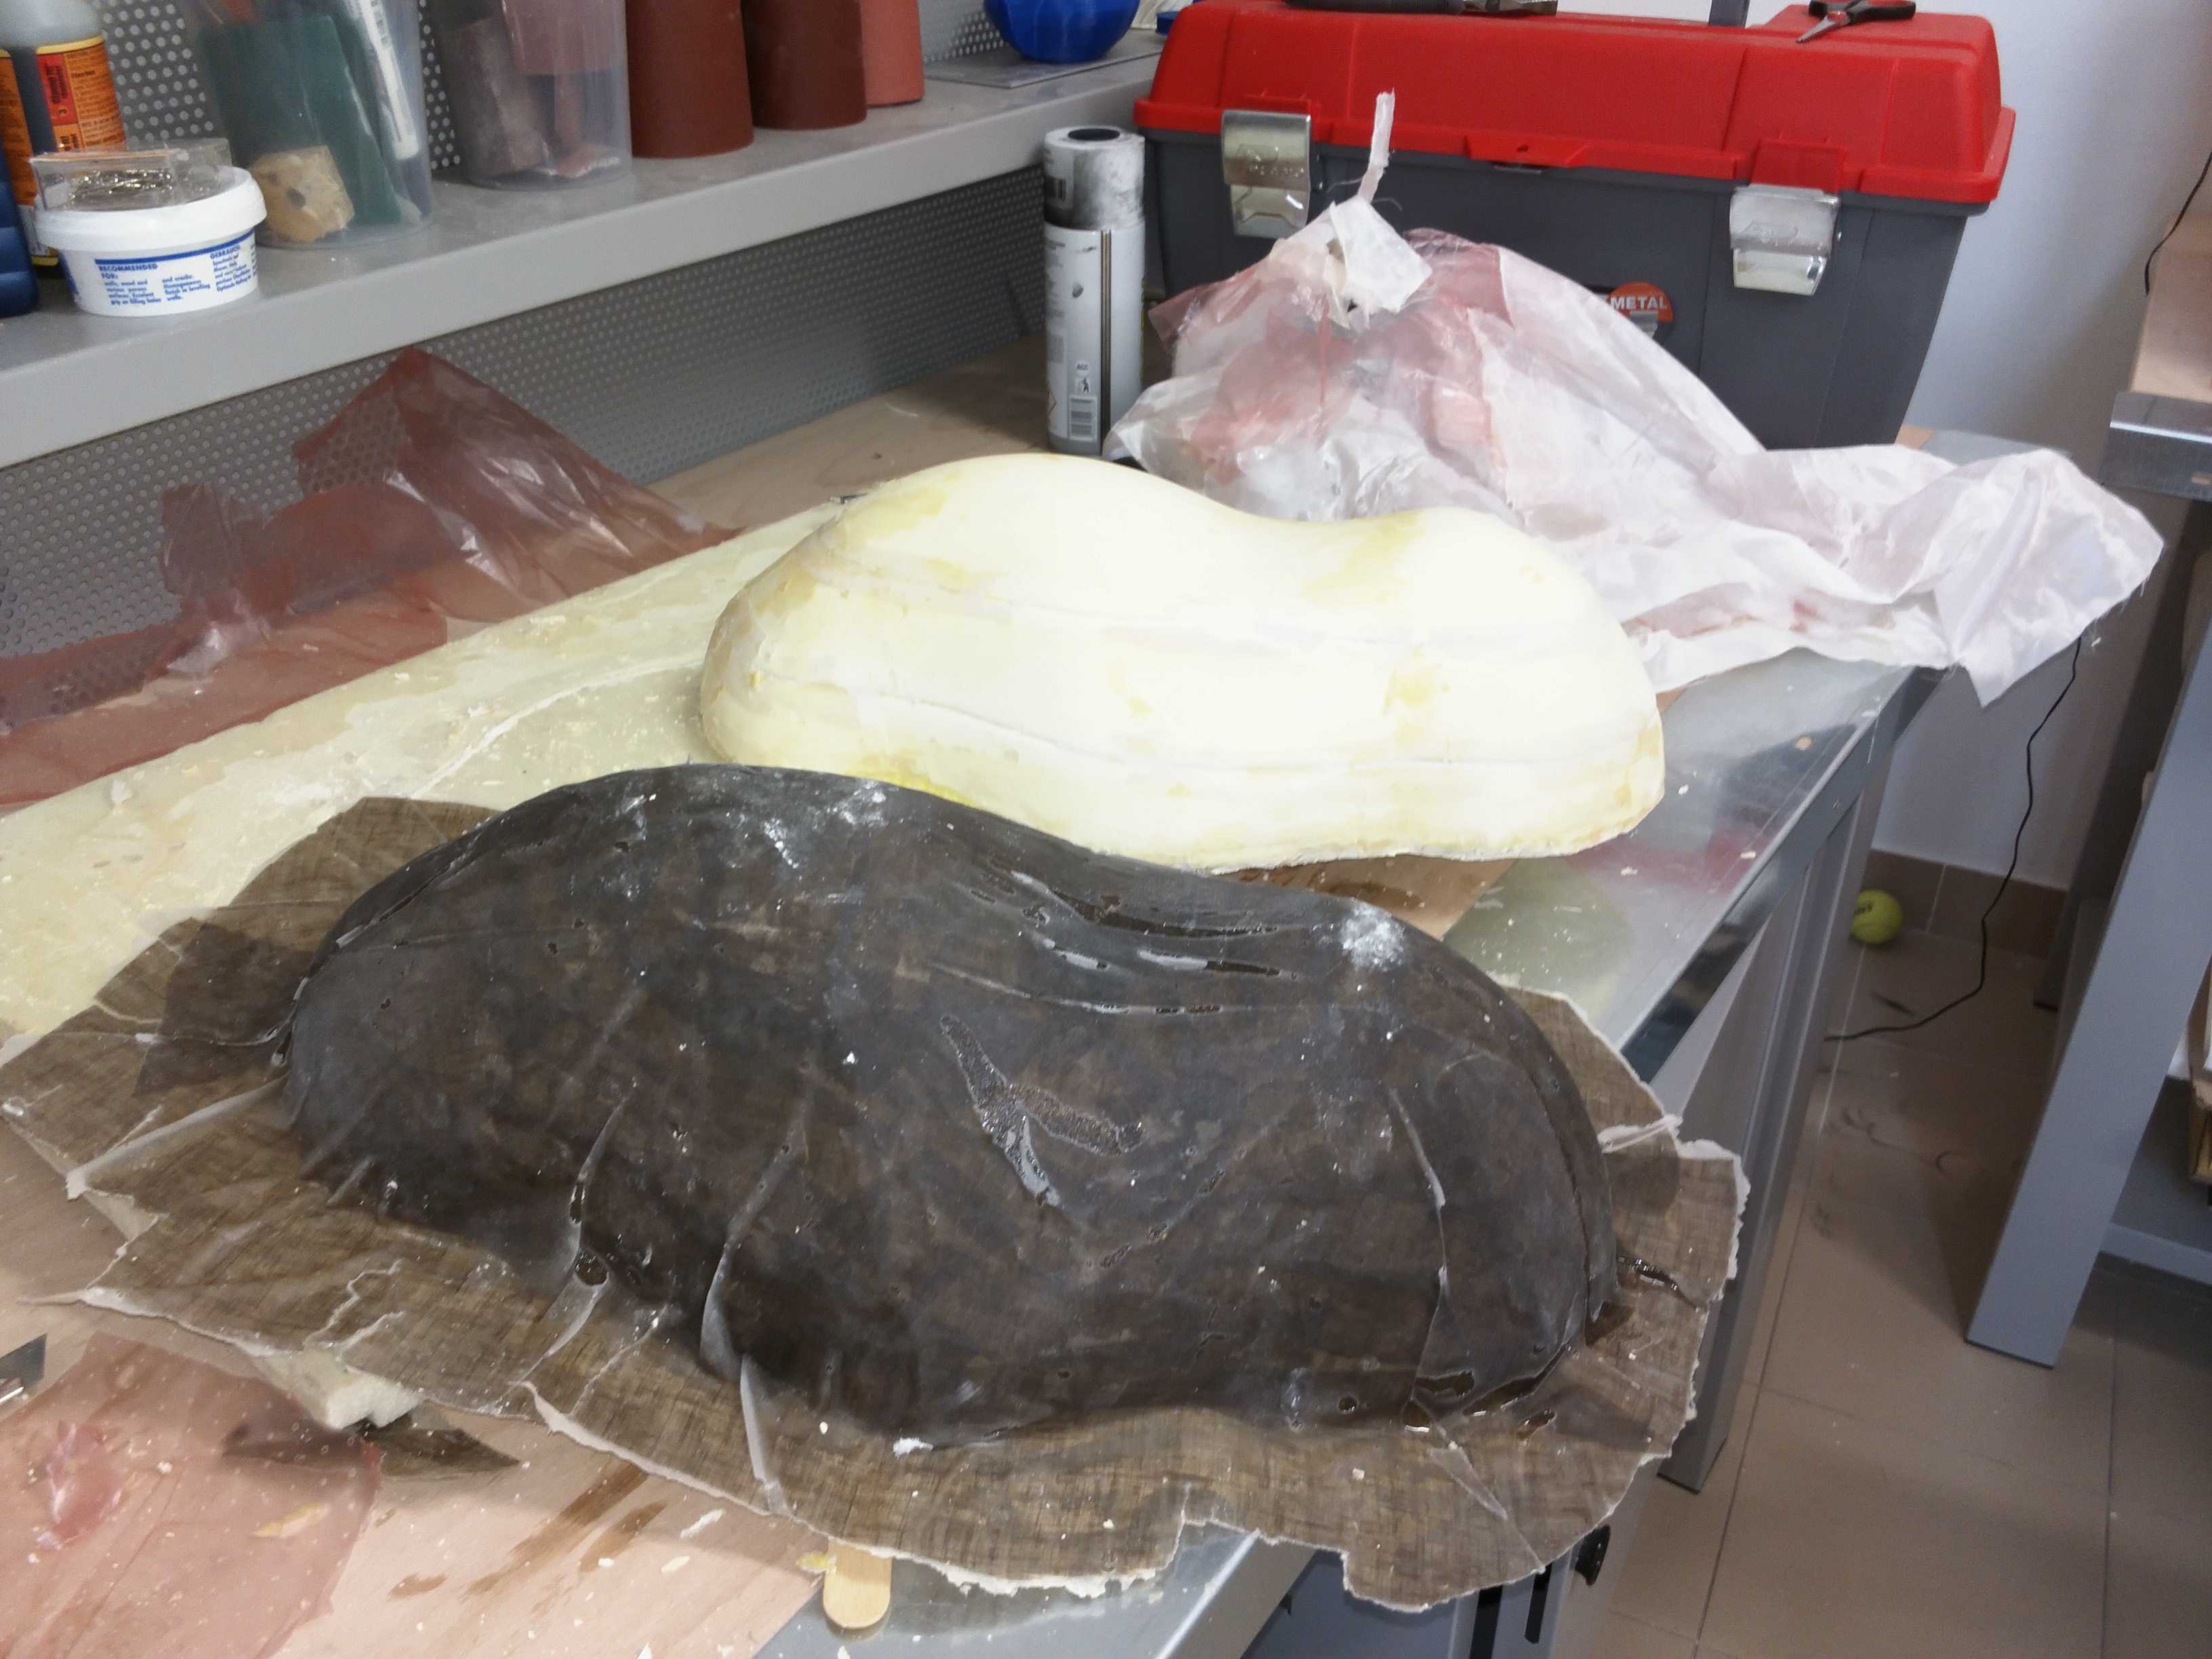
This second attempt went fine:
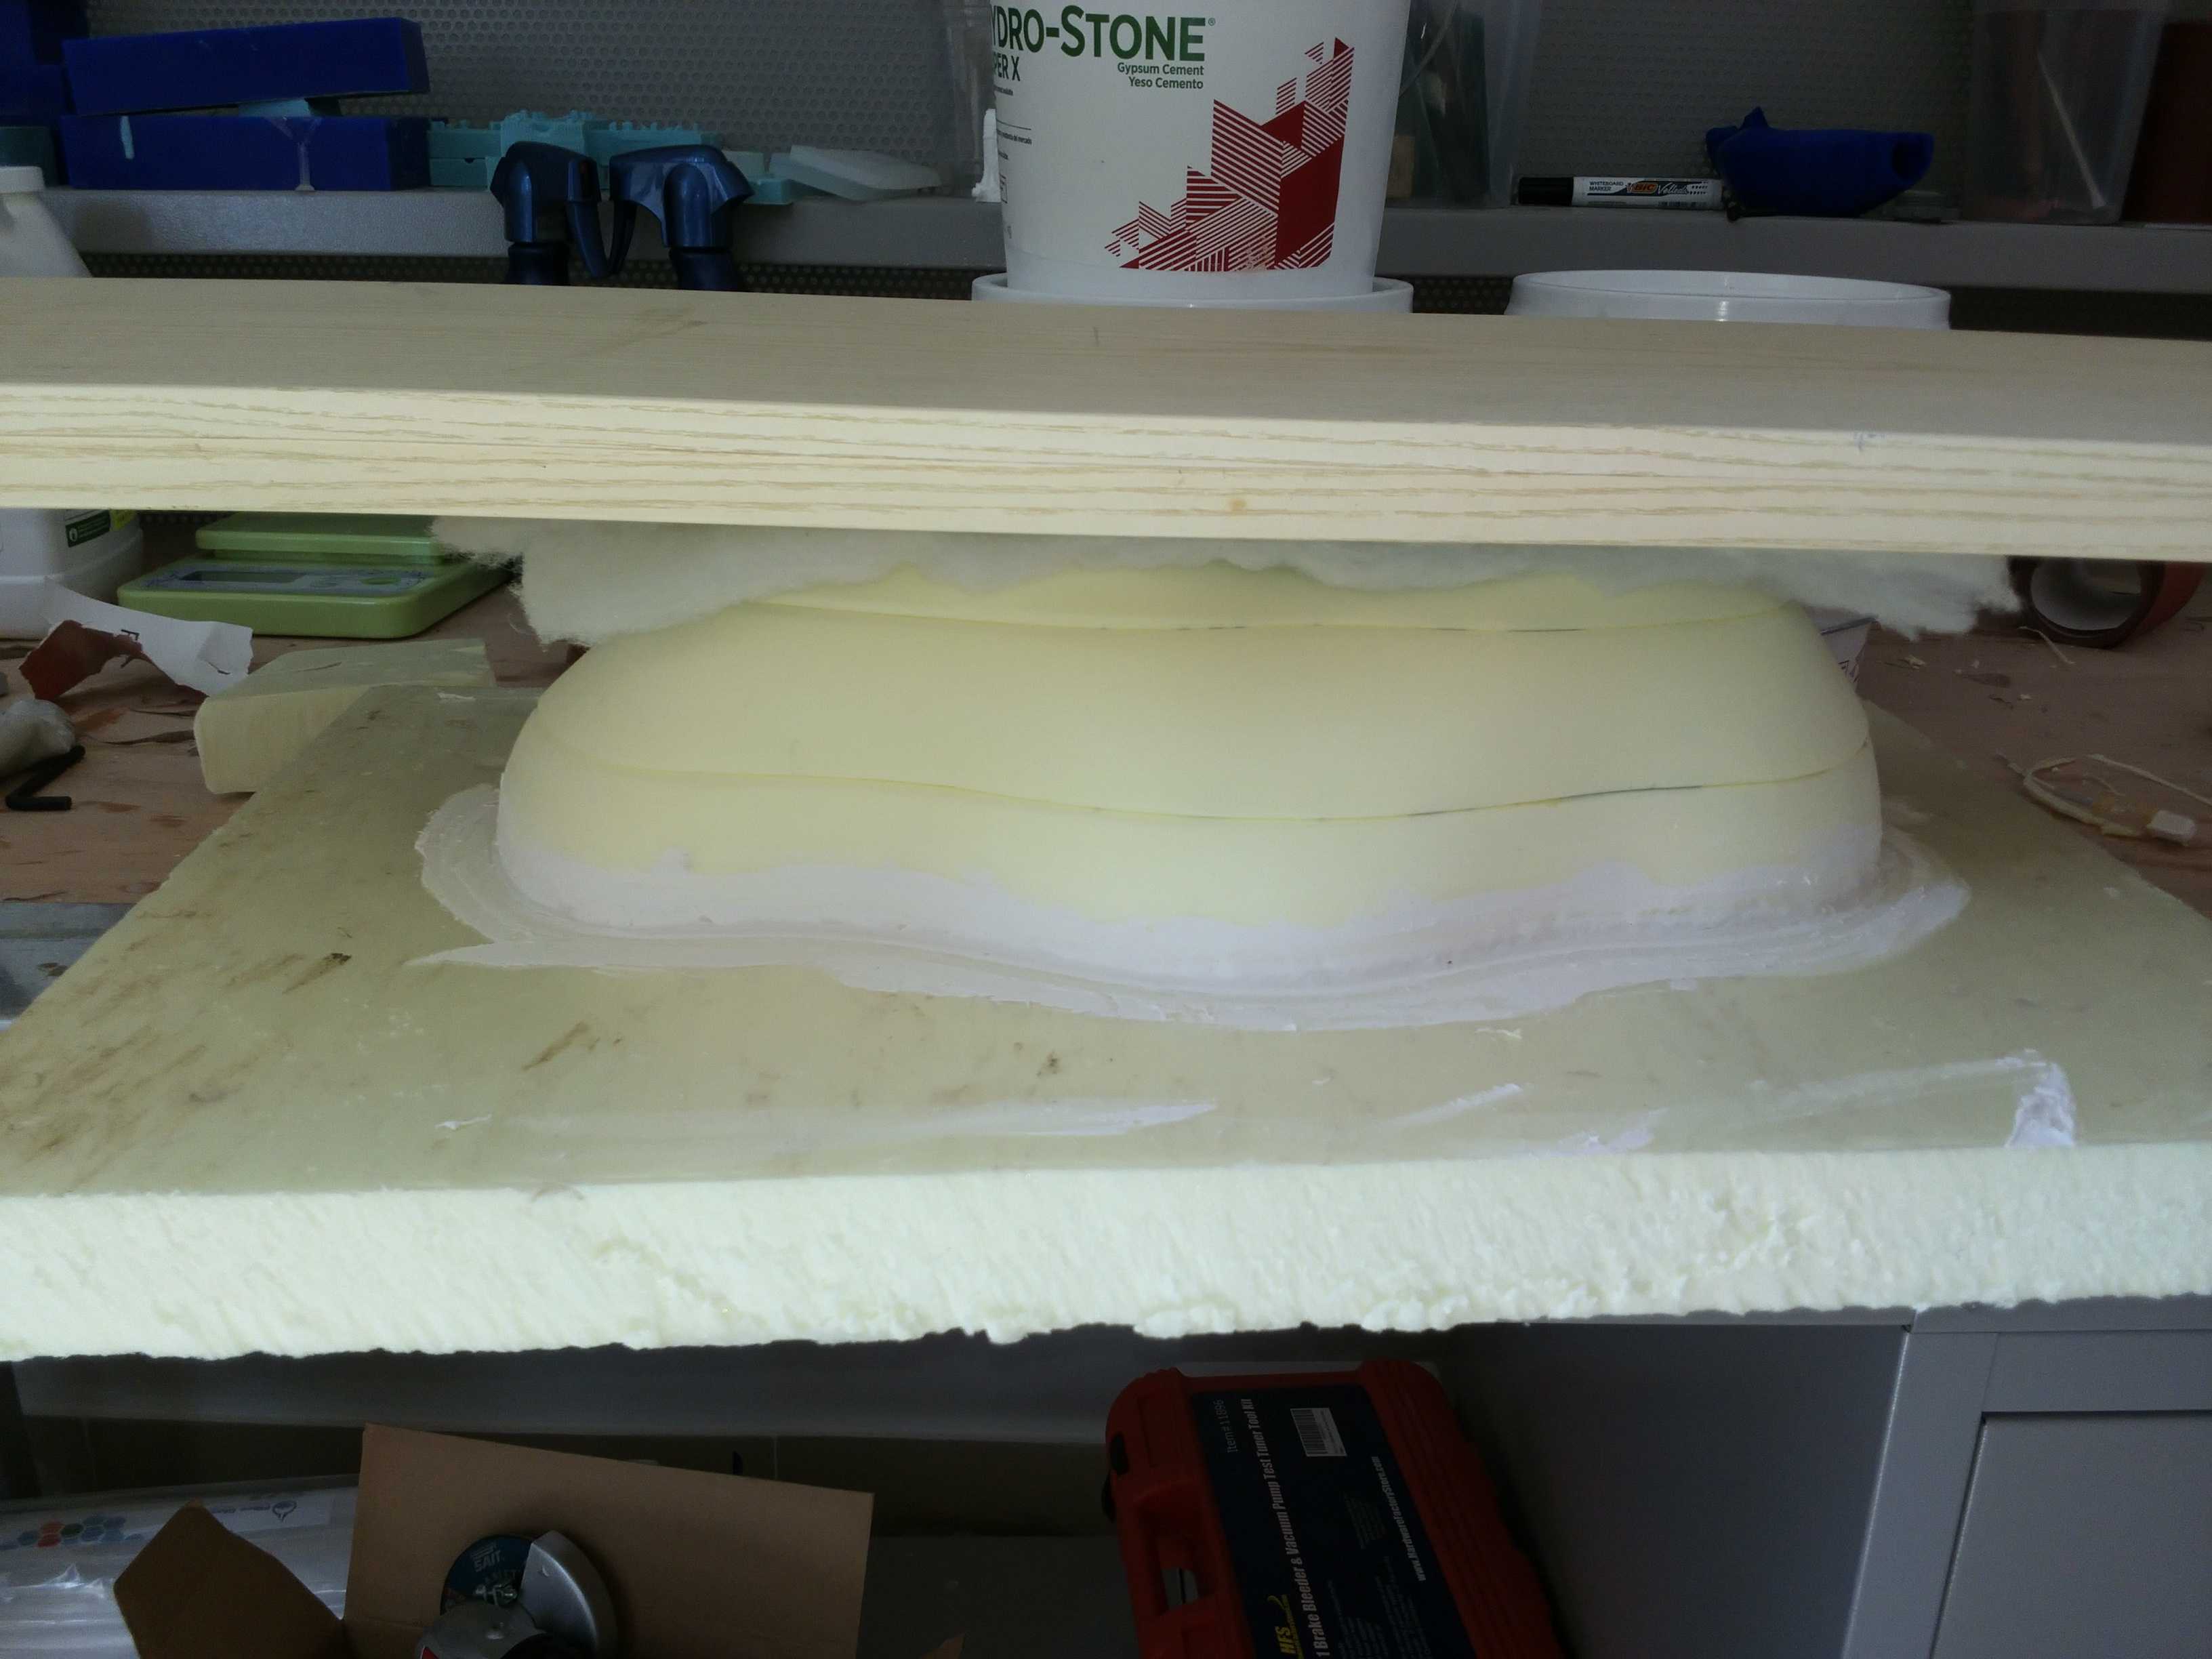
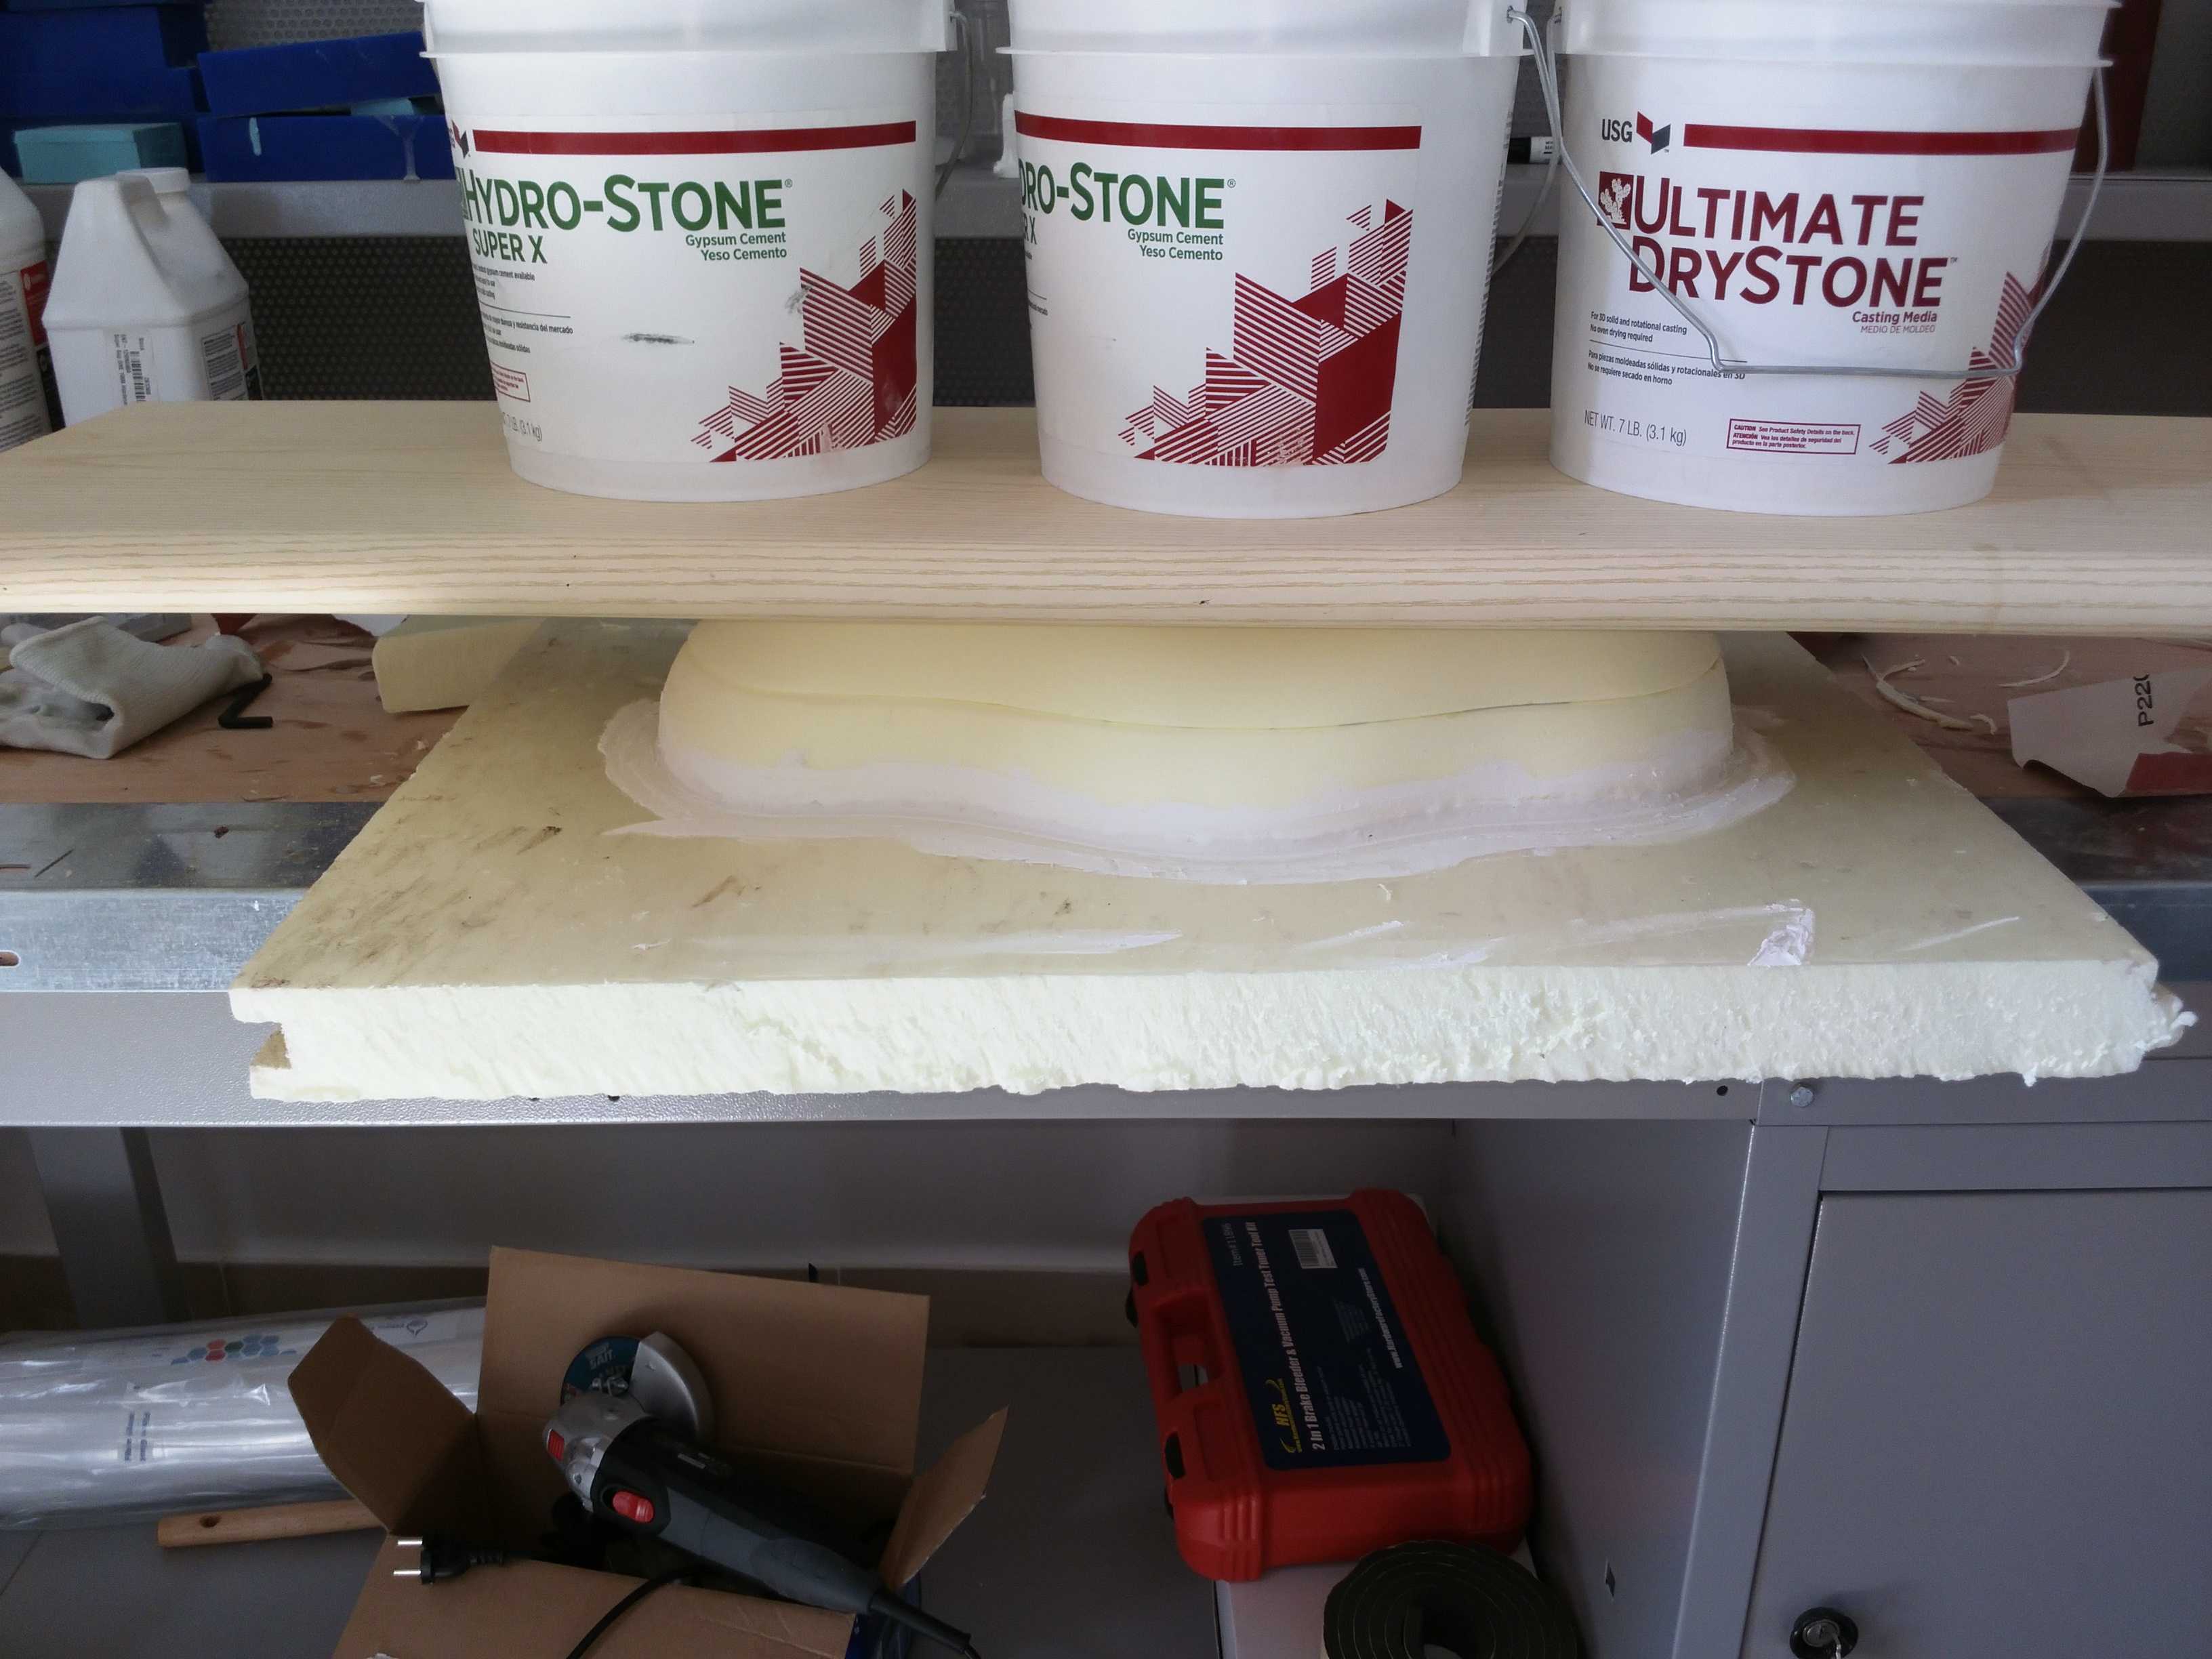
I was able to detach the mold from the linen easily:
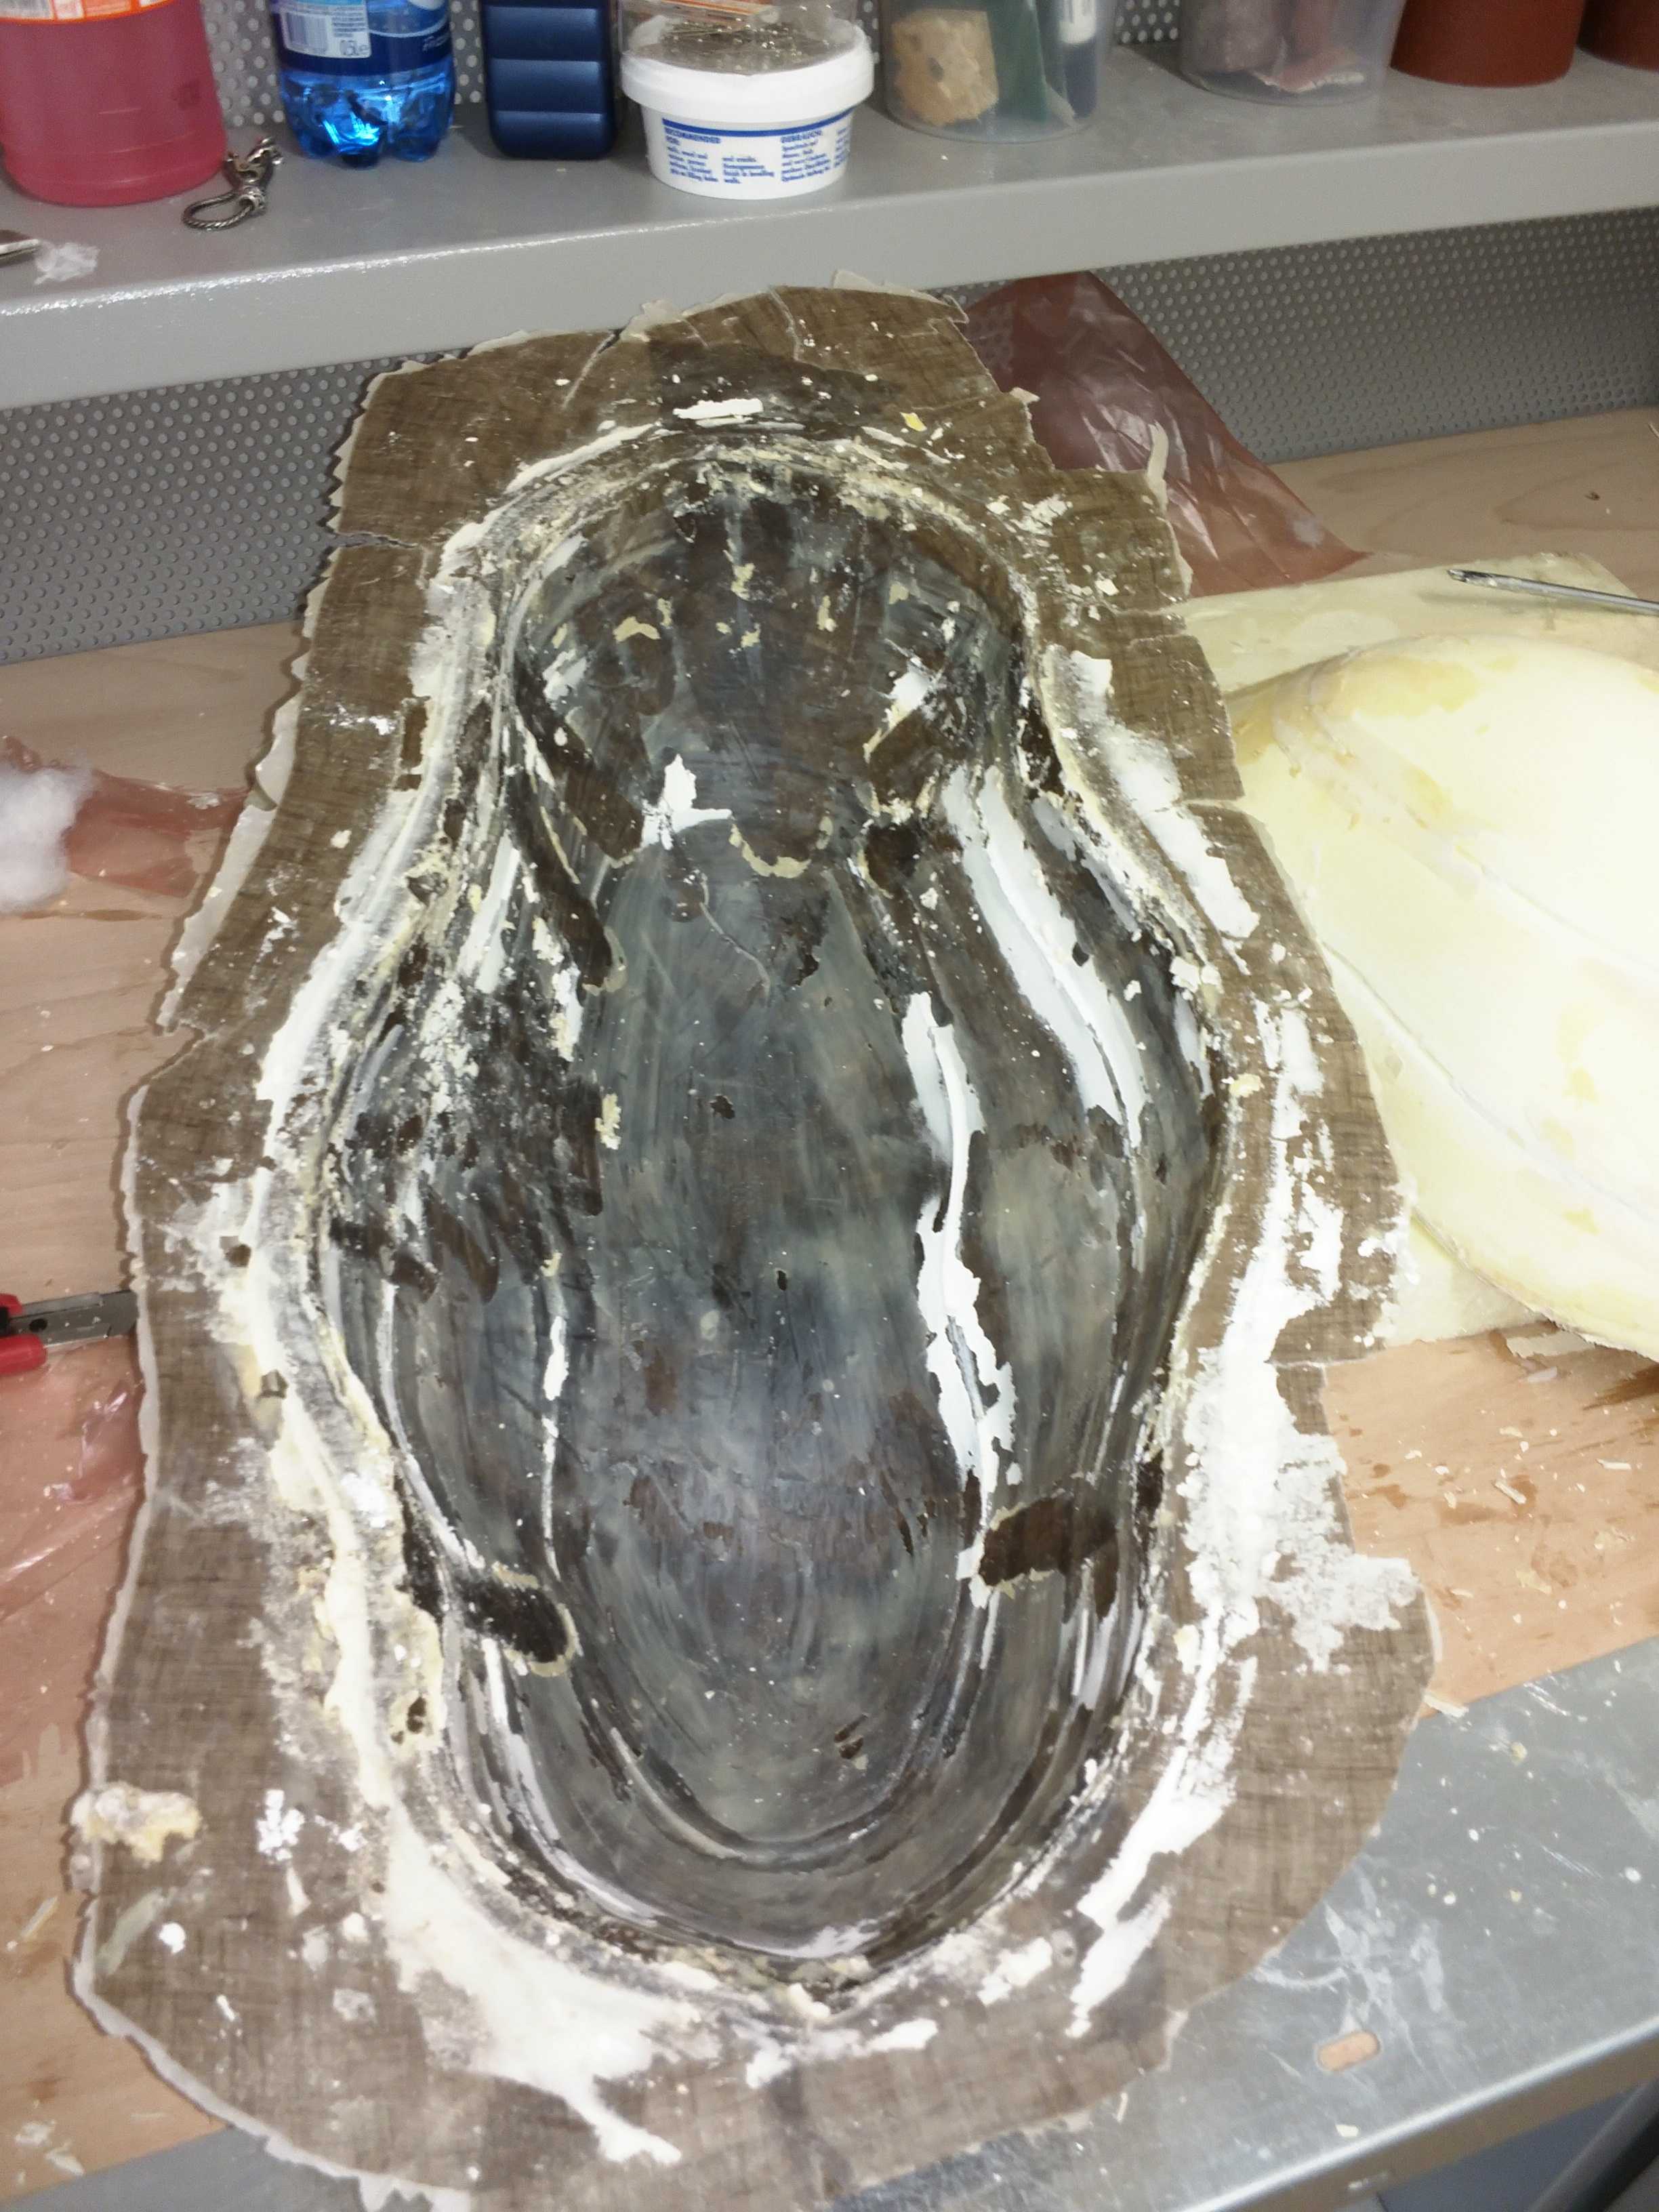
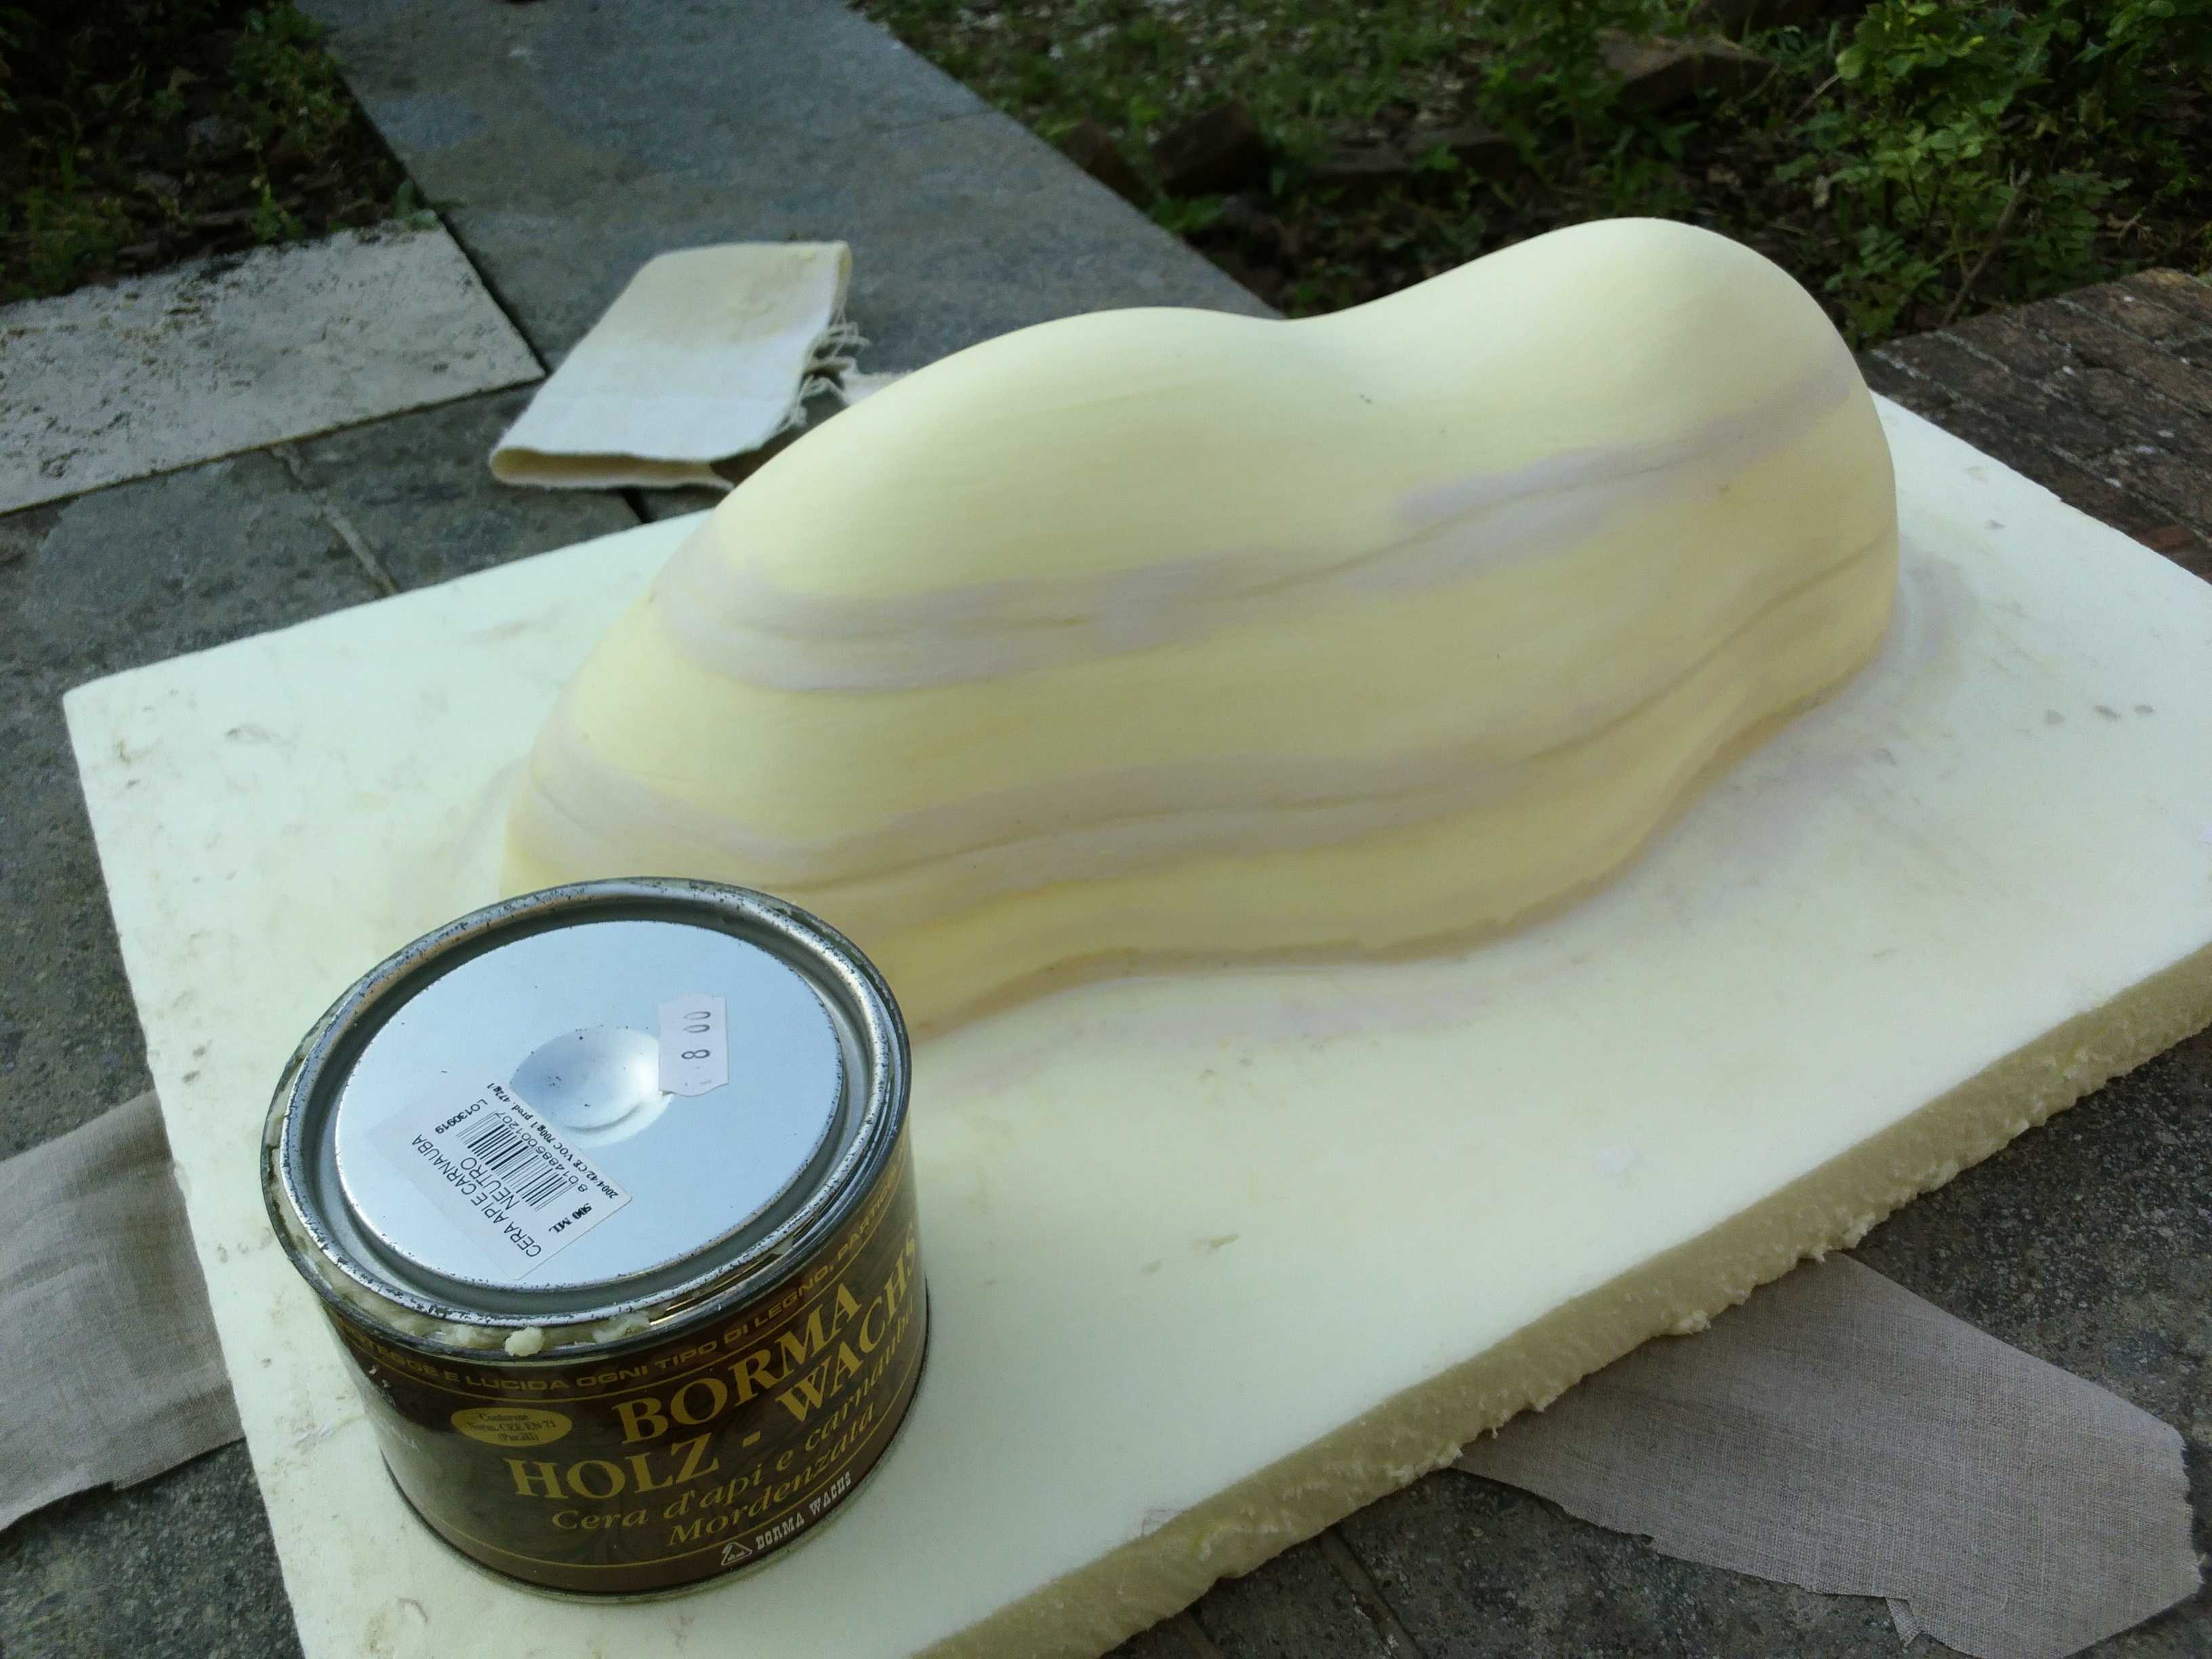
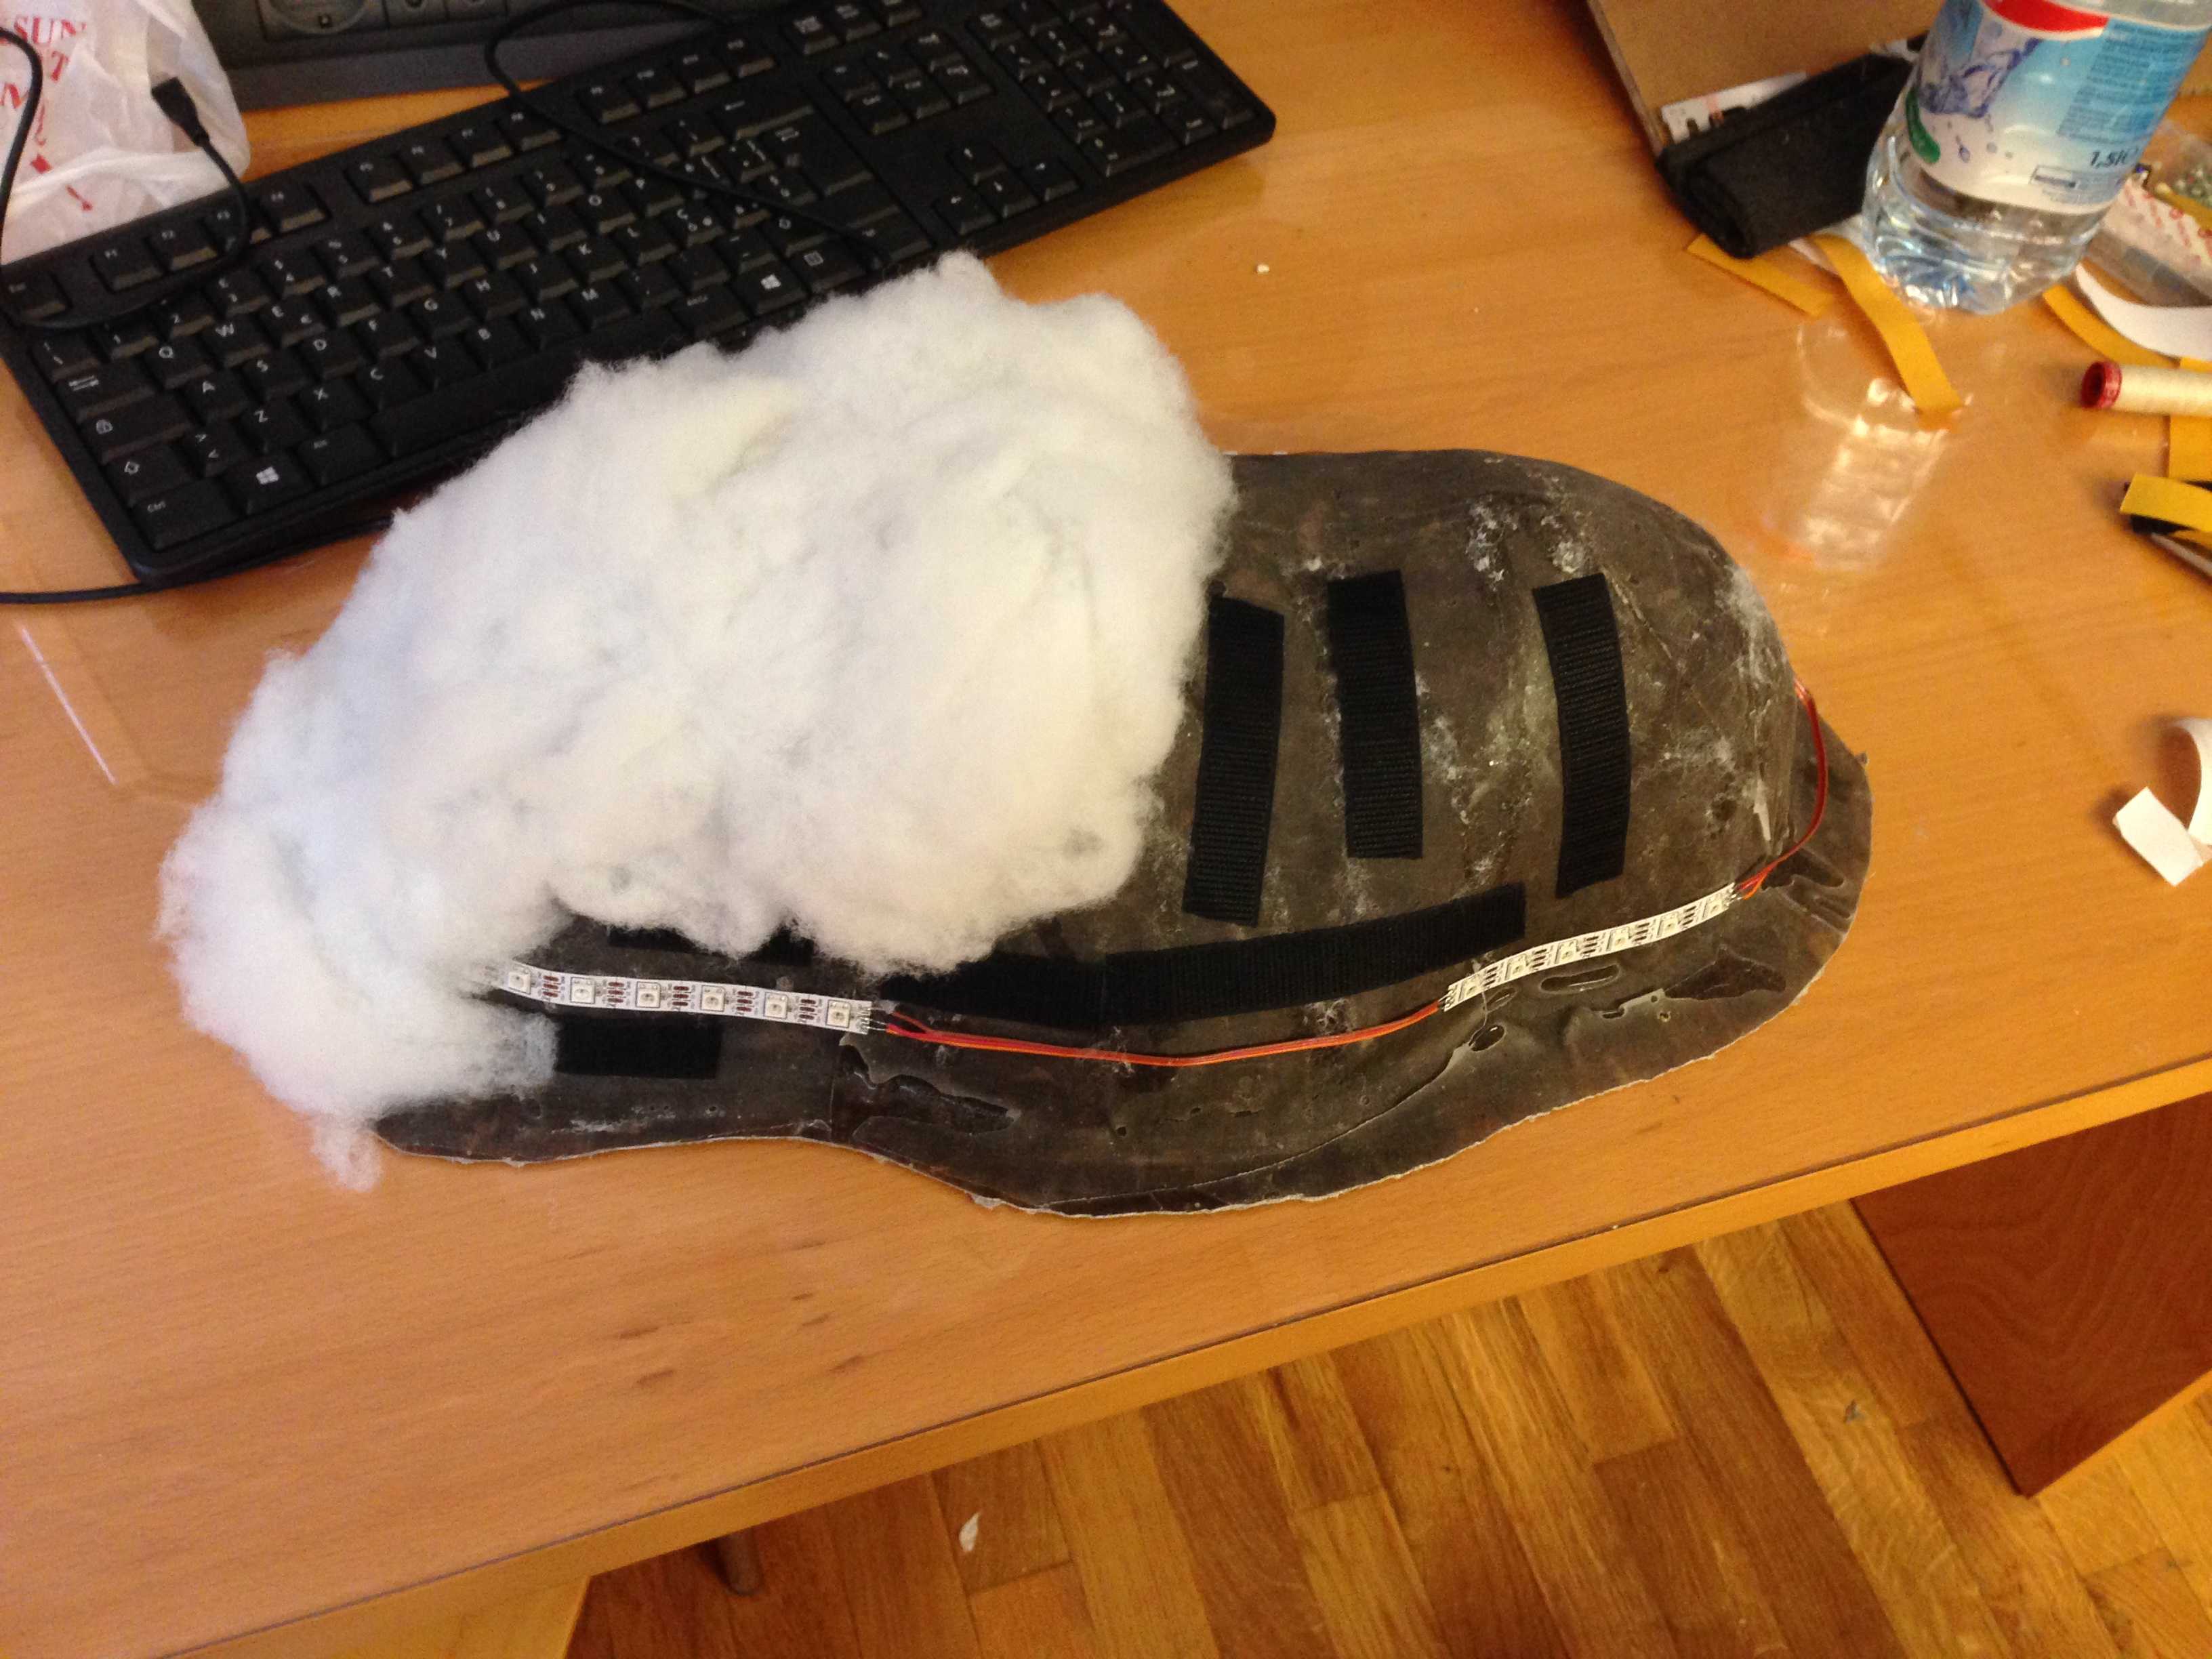
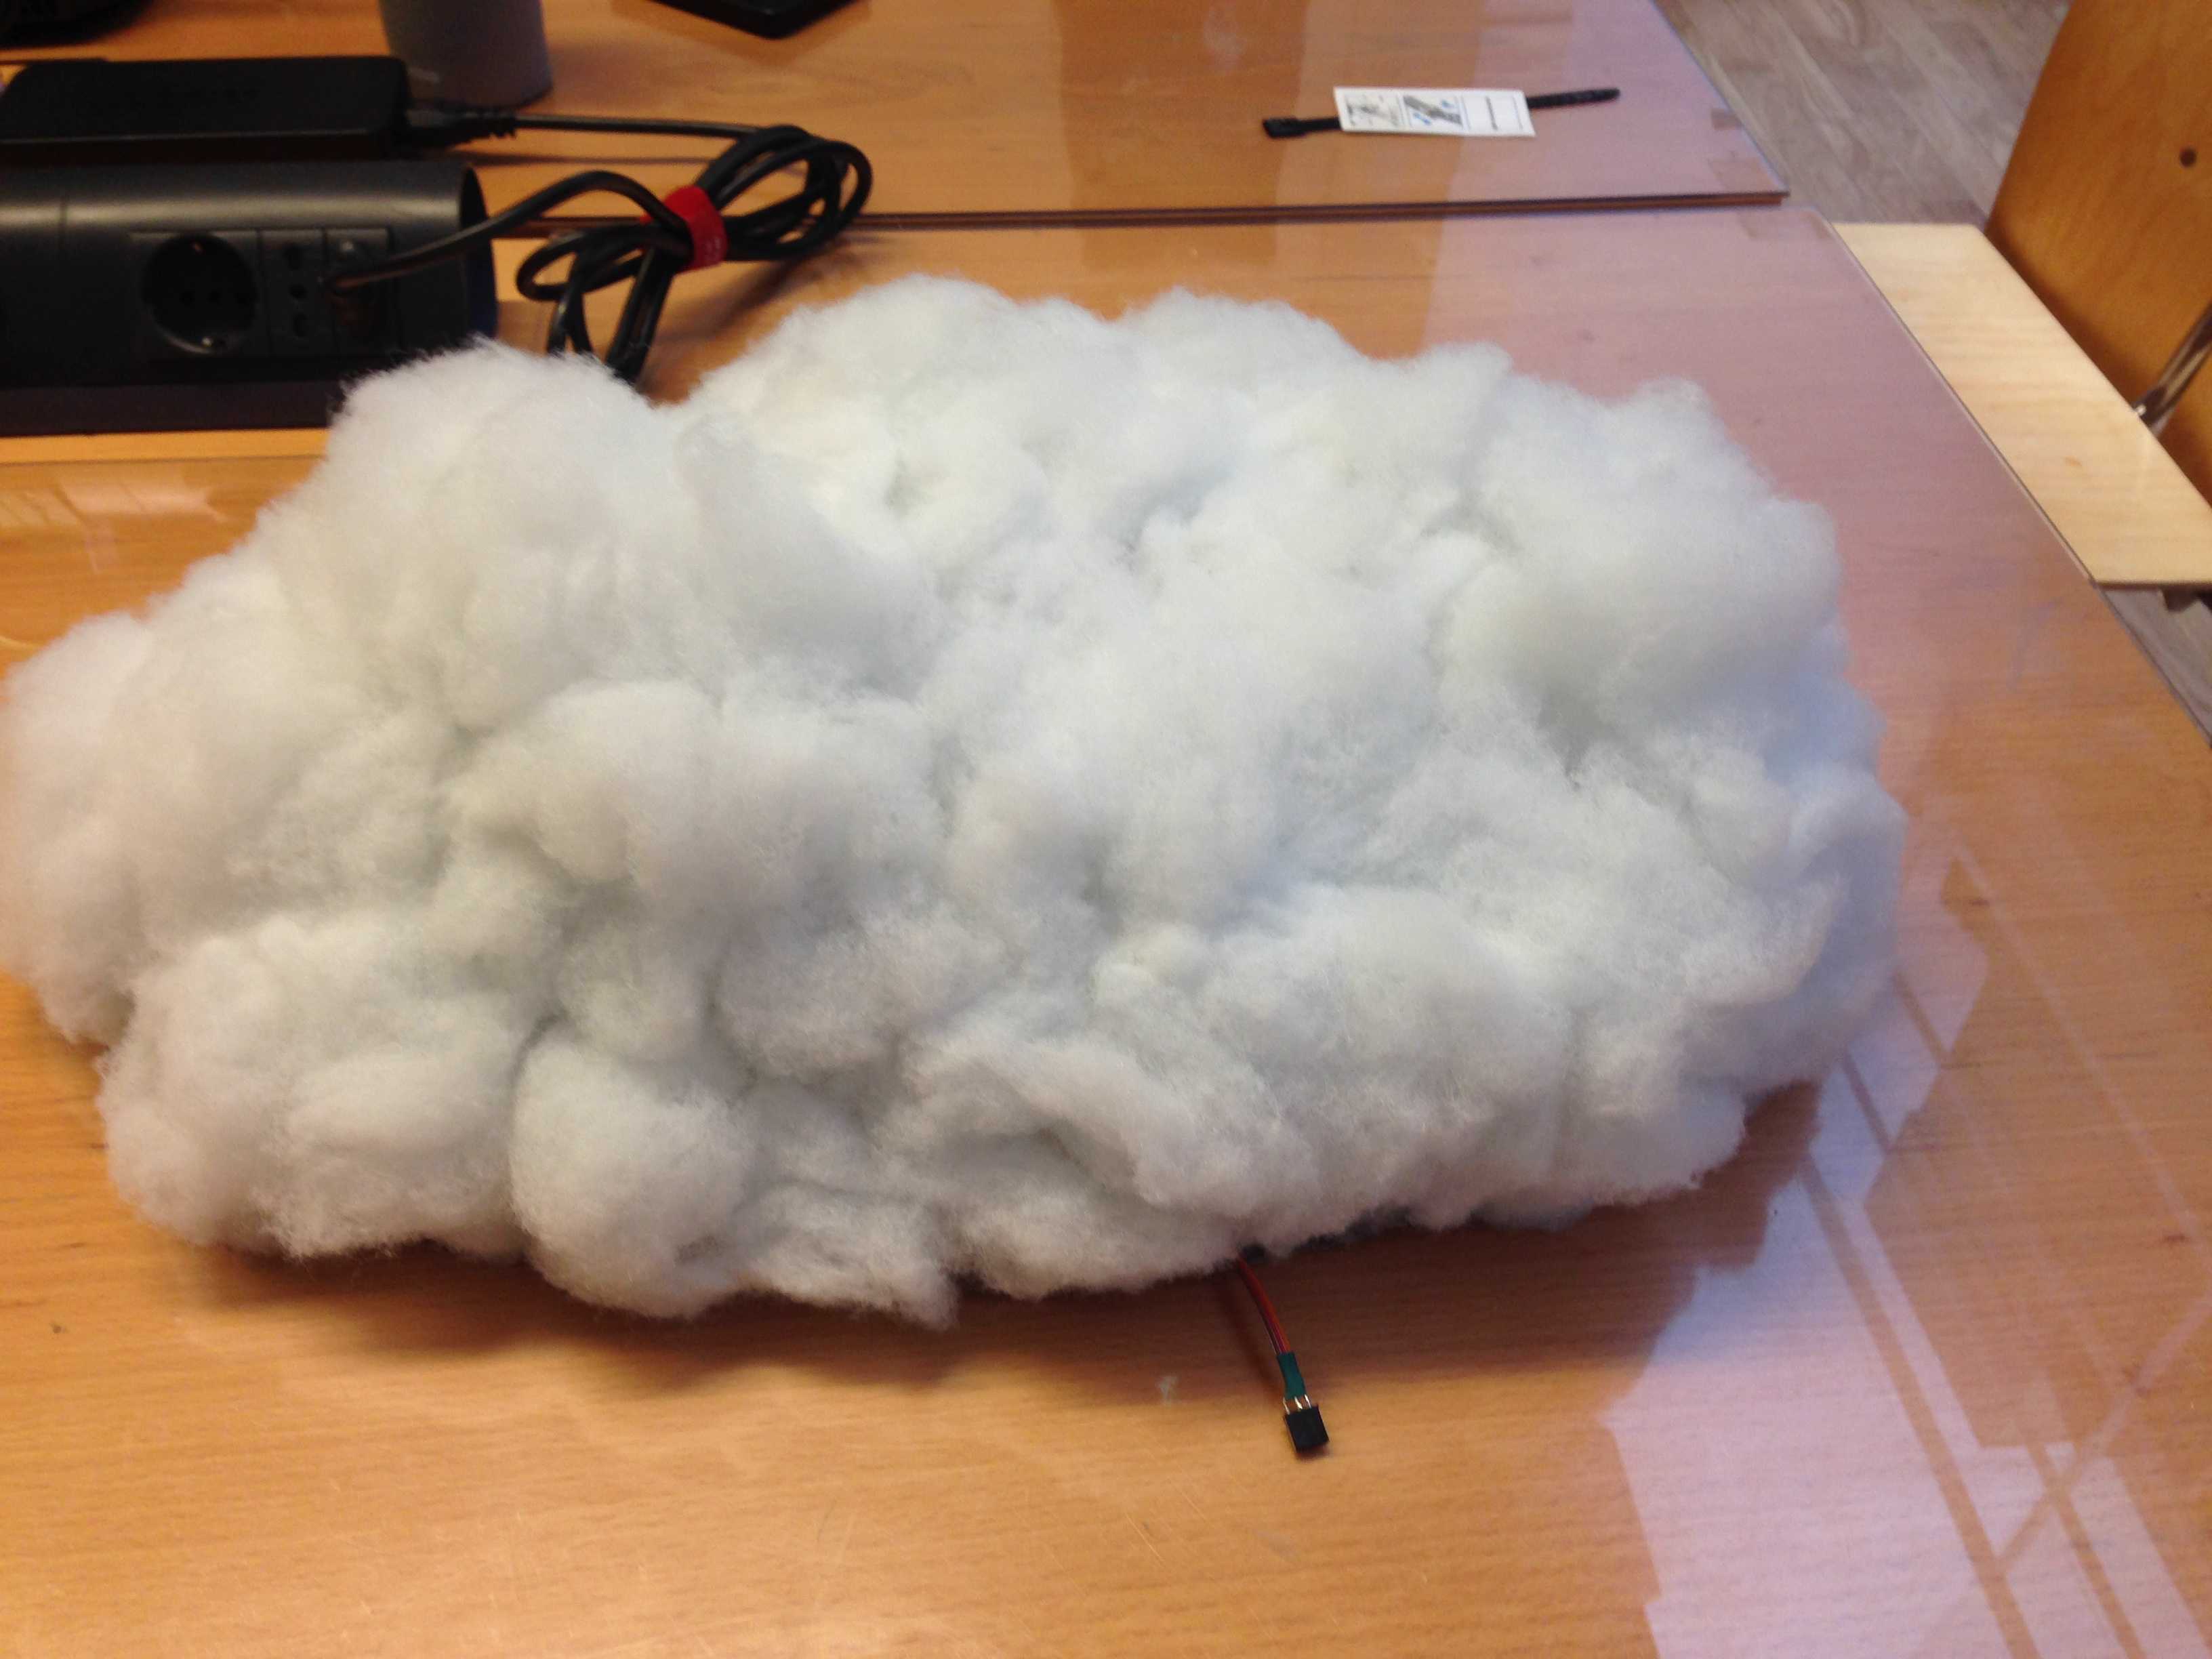
At this point i've recovered the mold with 4-5 layers of wax and i've repeated the process to obtain the second half of the cloud. Then i've attached a neopixel led strip all around the laminate scaffhold and i've covered everything with adesive velcro and breather material in order to obtain a fluffy effect.
Electronics & Programming
To program the cloud i've used a UDOO board. The developers of this board works here in the
University of Siena and they have donate some boards to the FabLab so i had this board for free :).
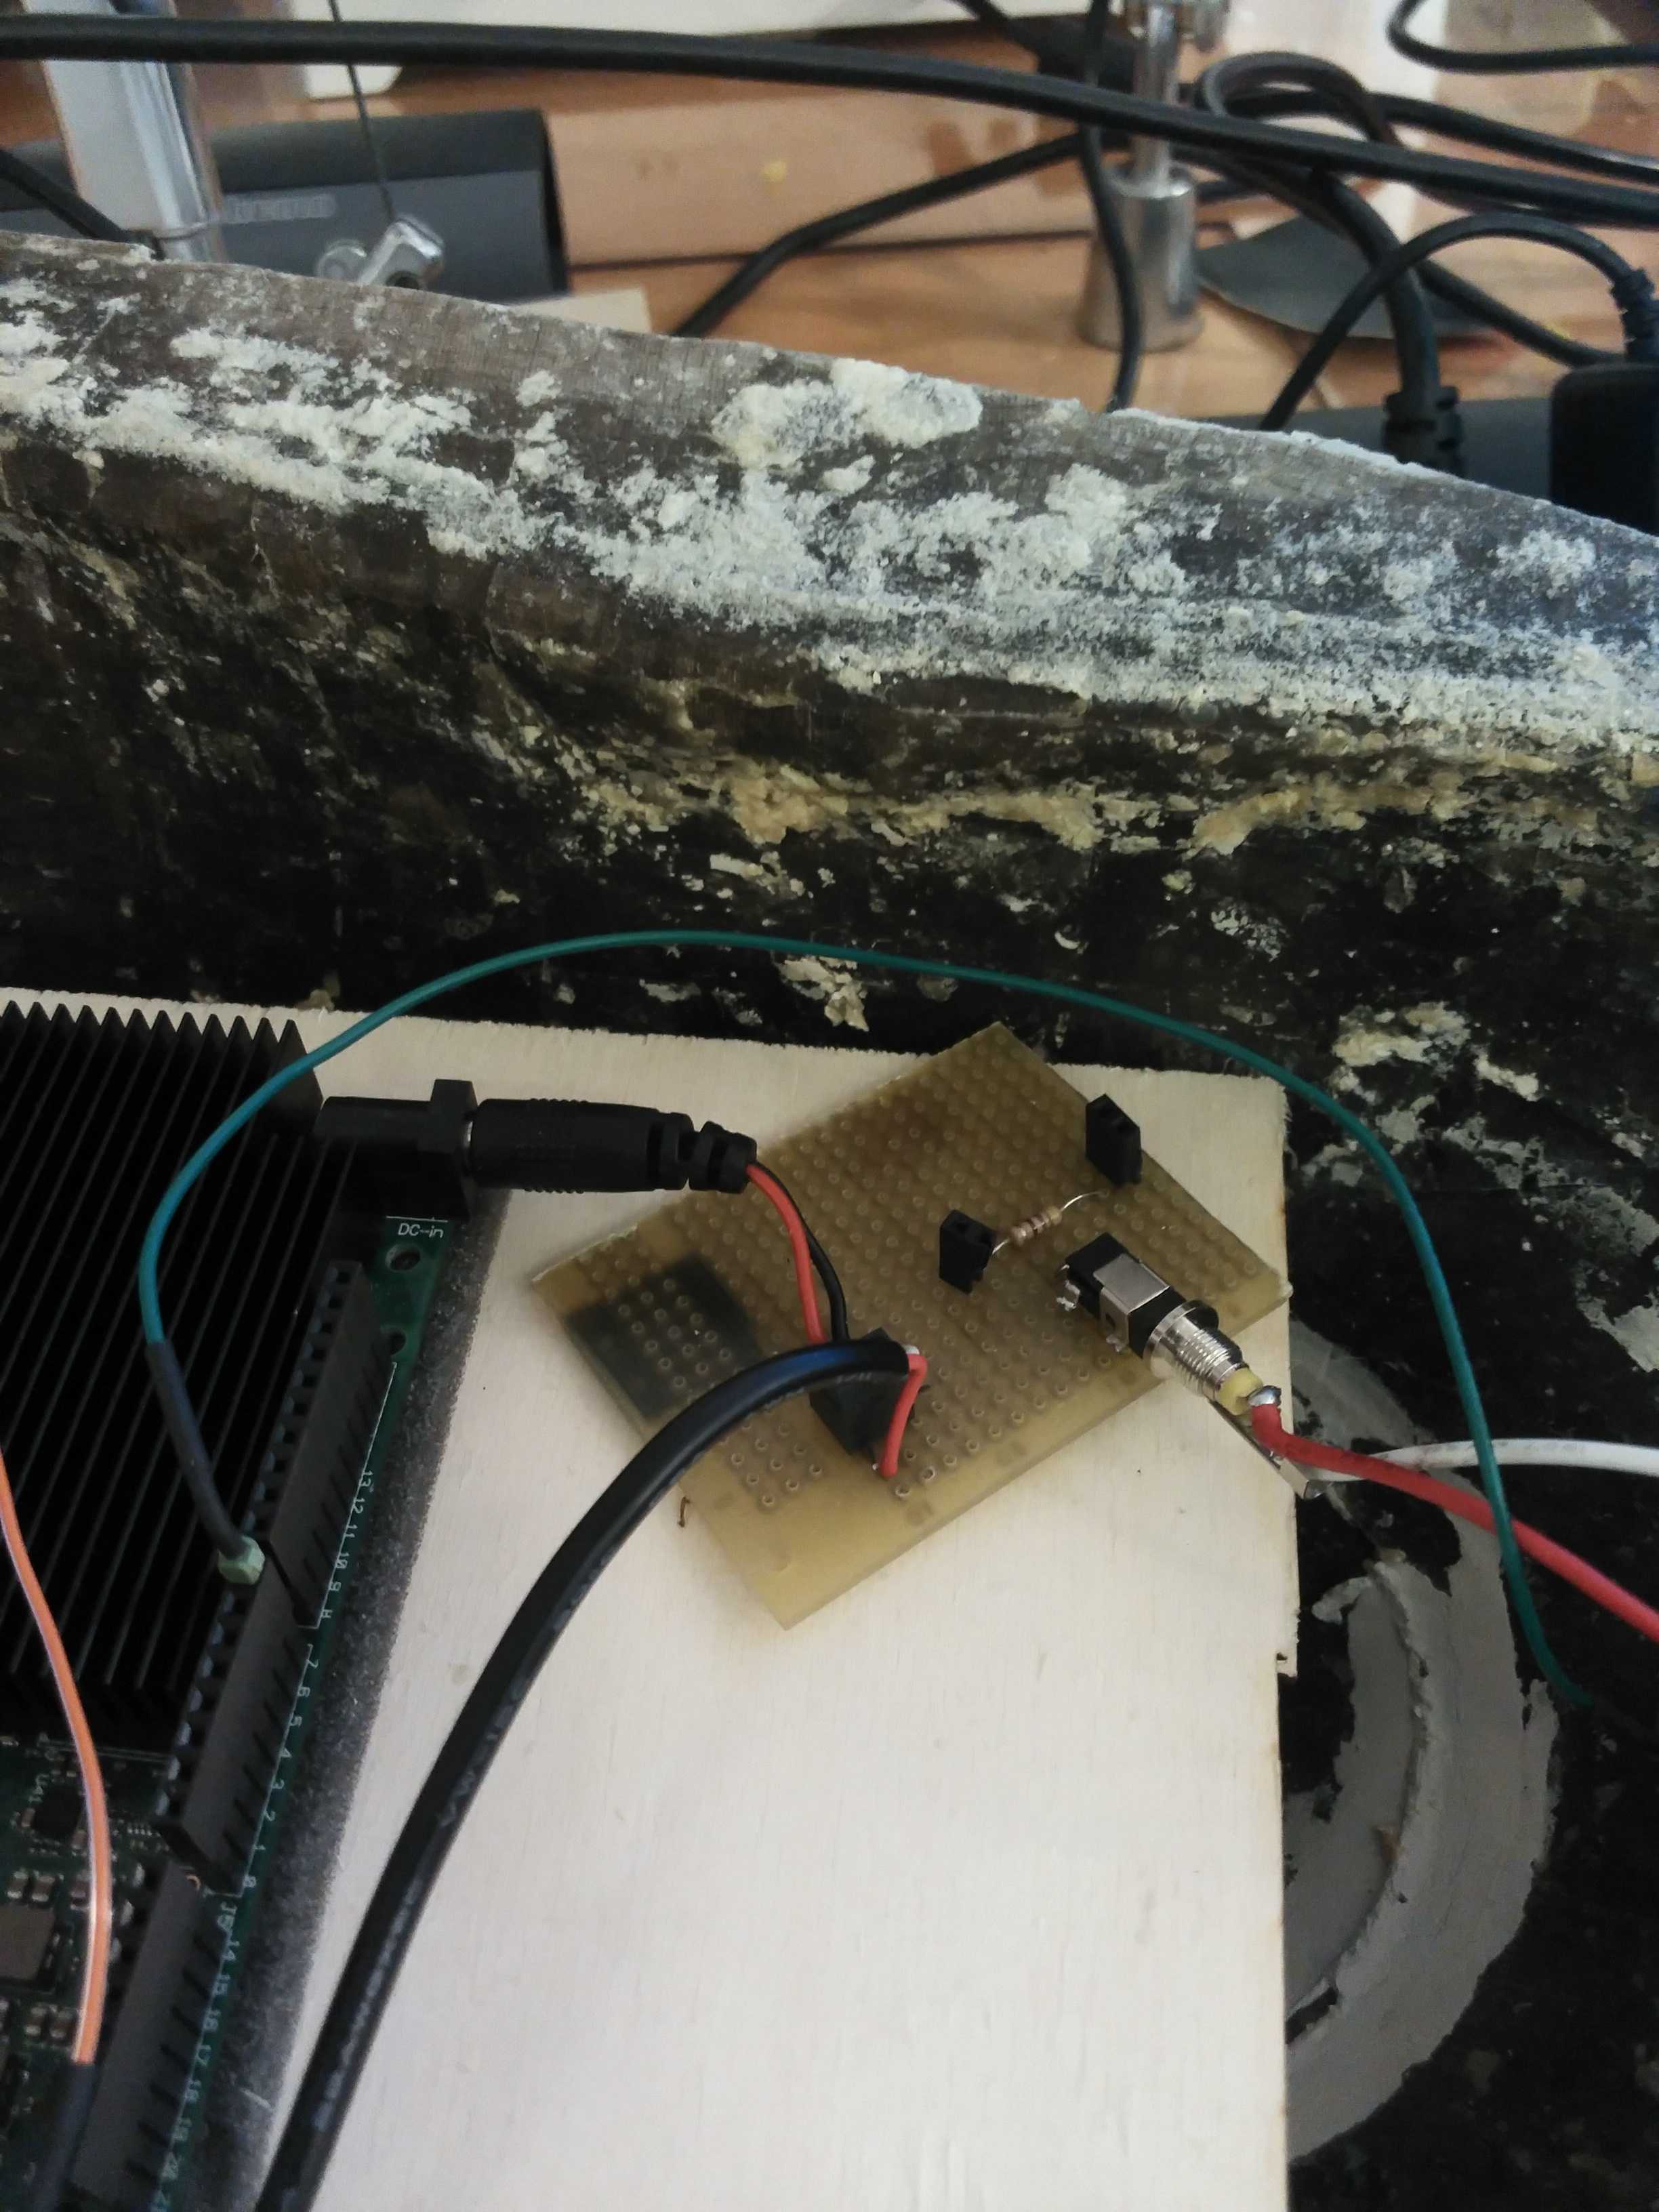
I've used a piece of recycled plywood to place the board inside the cloud. At the beginning i had some troubles with the power
because the UDOO absorbs 1A and the neopixel (each led at full brightness) absorbs 3.6A; of course i did not want to use each led
at full bright simultaneously so i've extimated that i need maximum 1A for the Leds.
I've bought from i chinese store (6€) a 5V-2A power adaptor and i've used it to connect both the UDOO and the led strip:
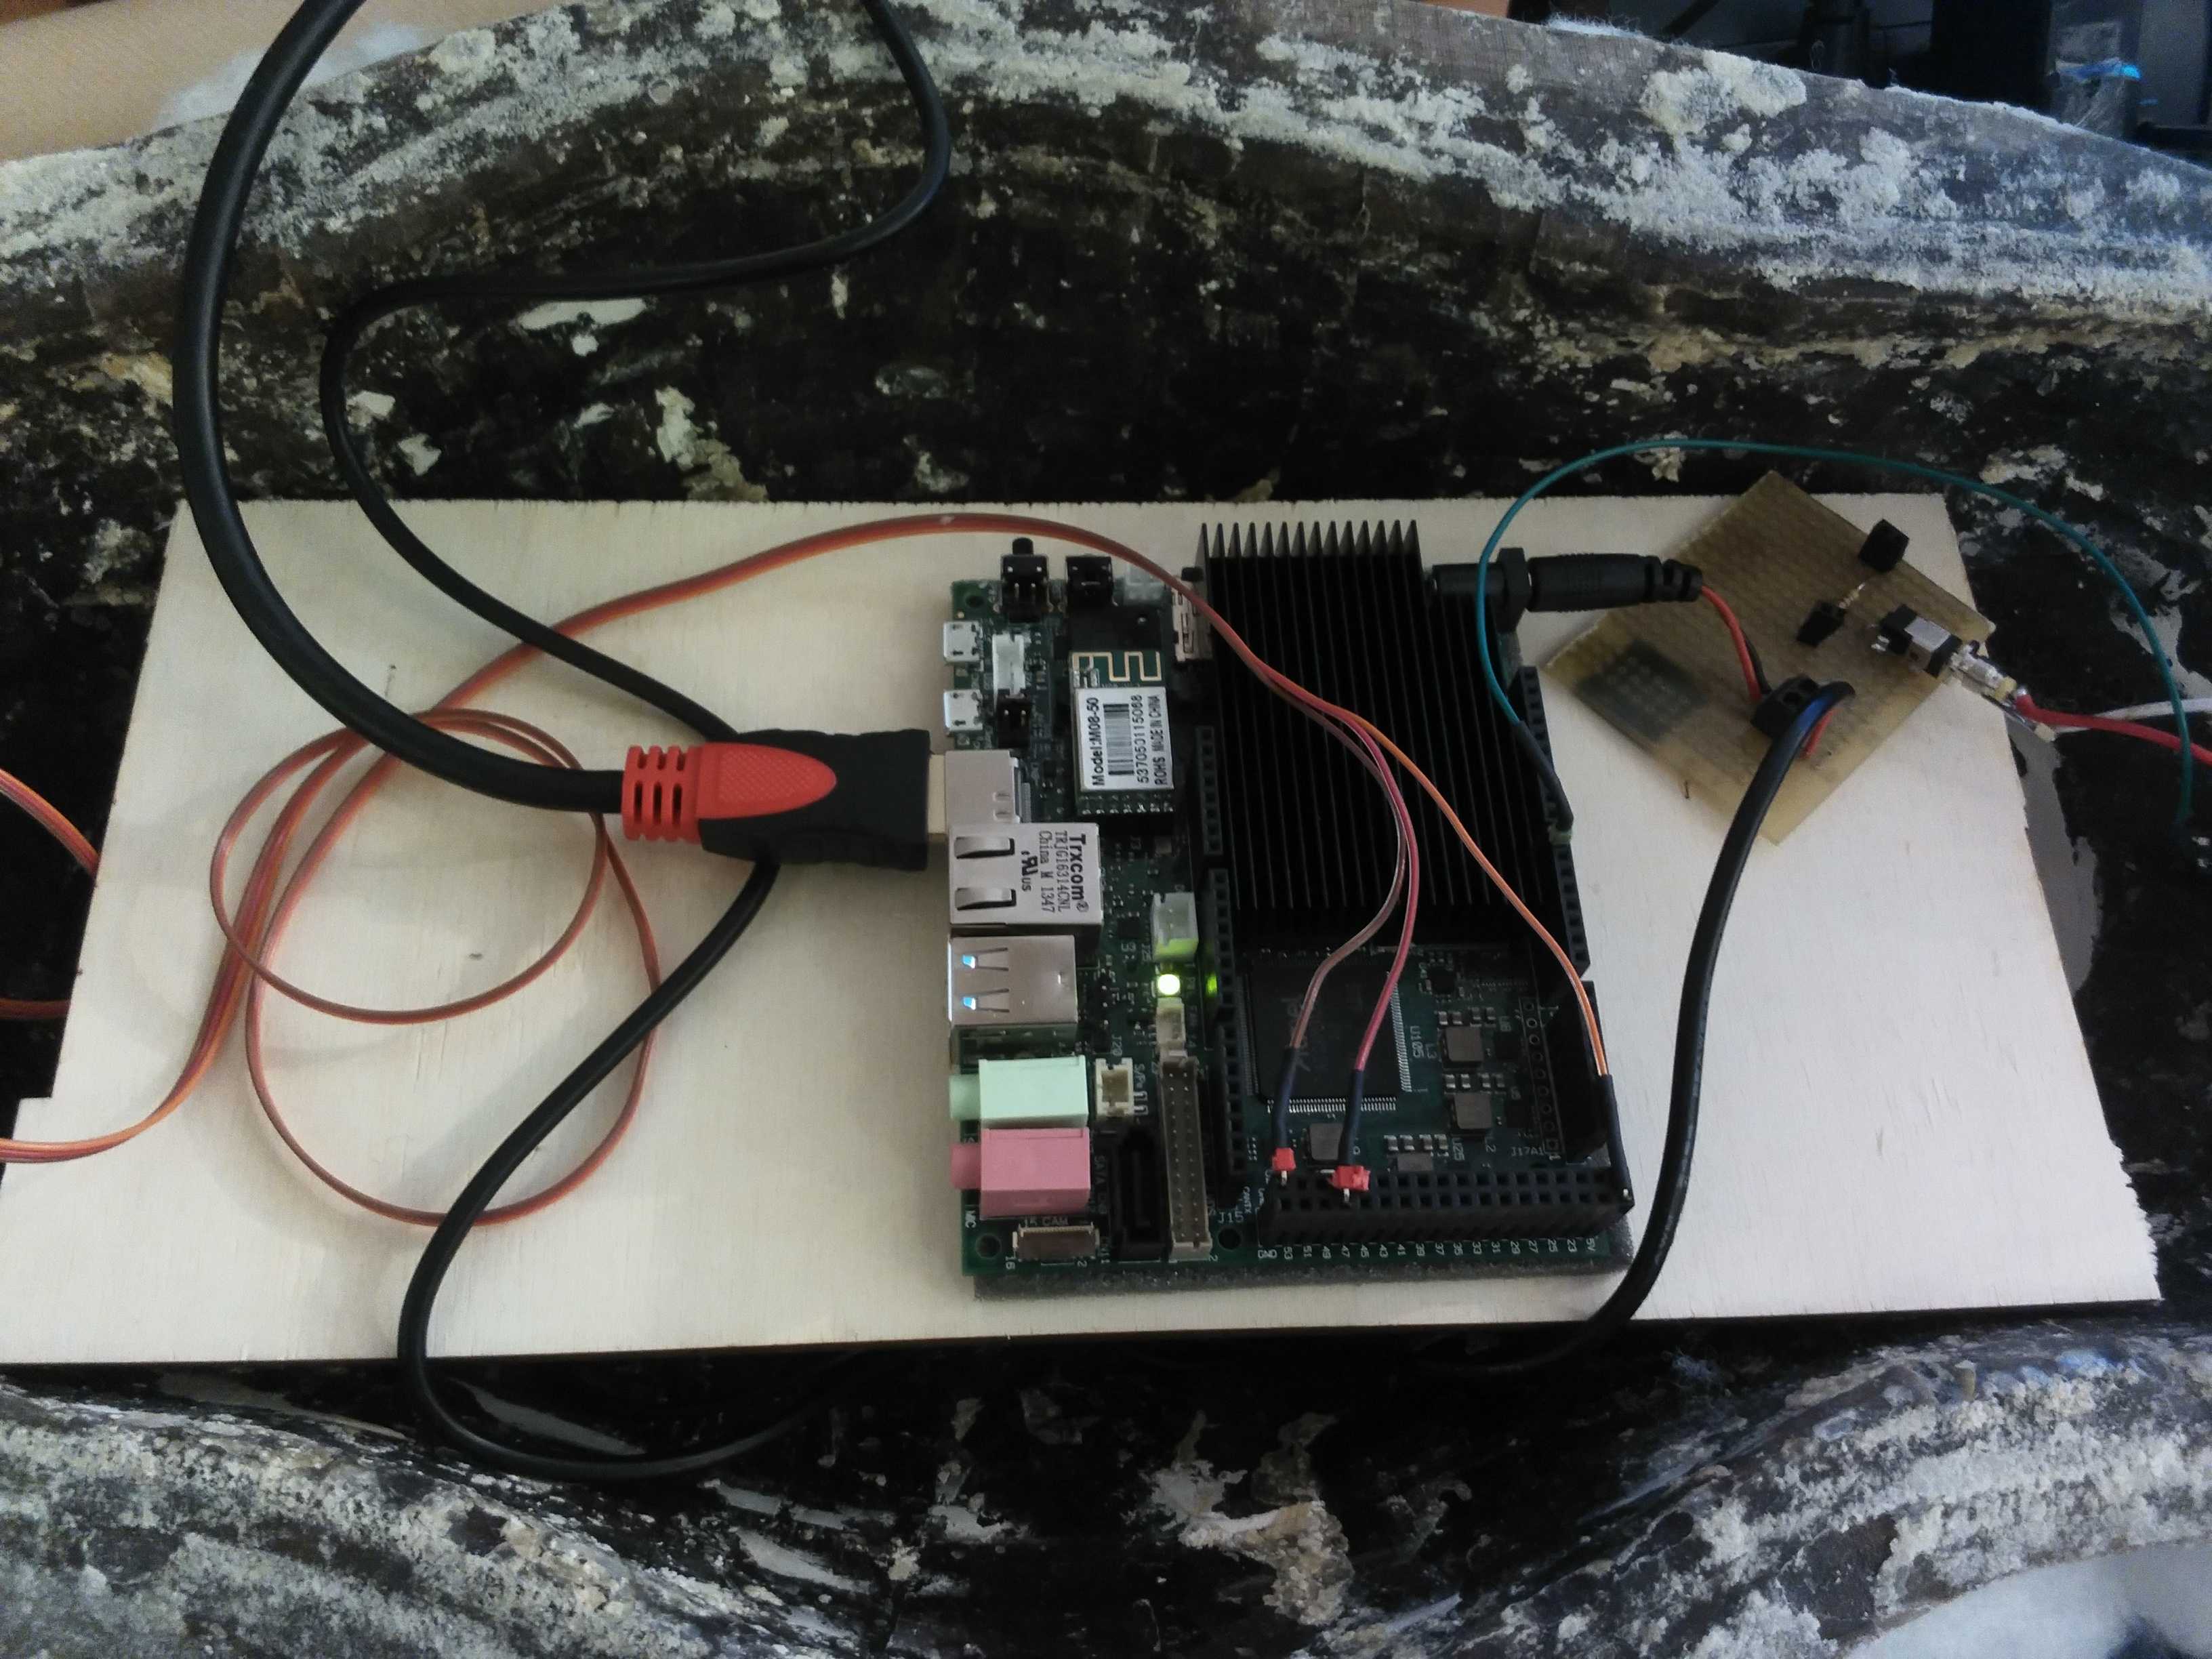
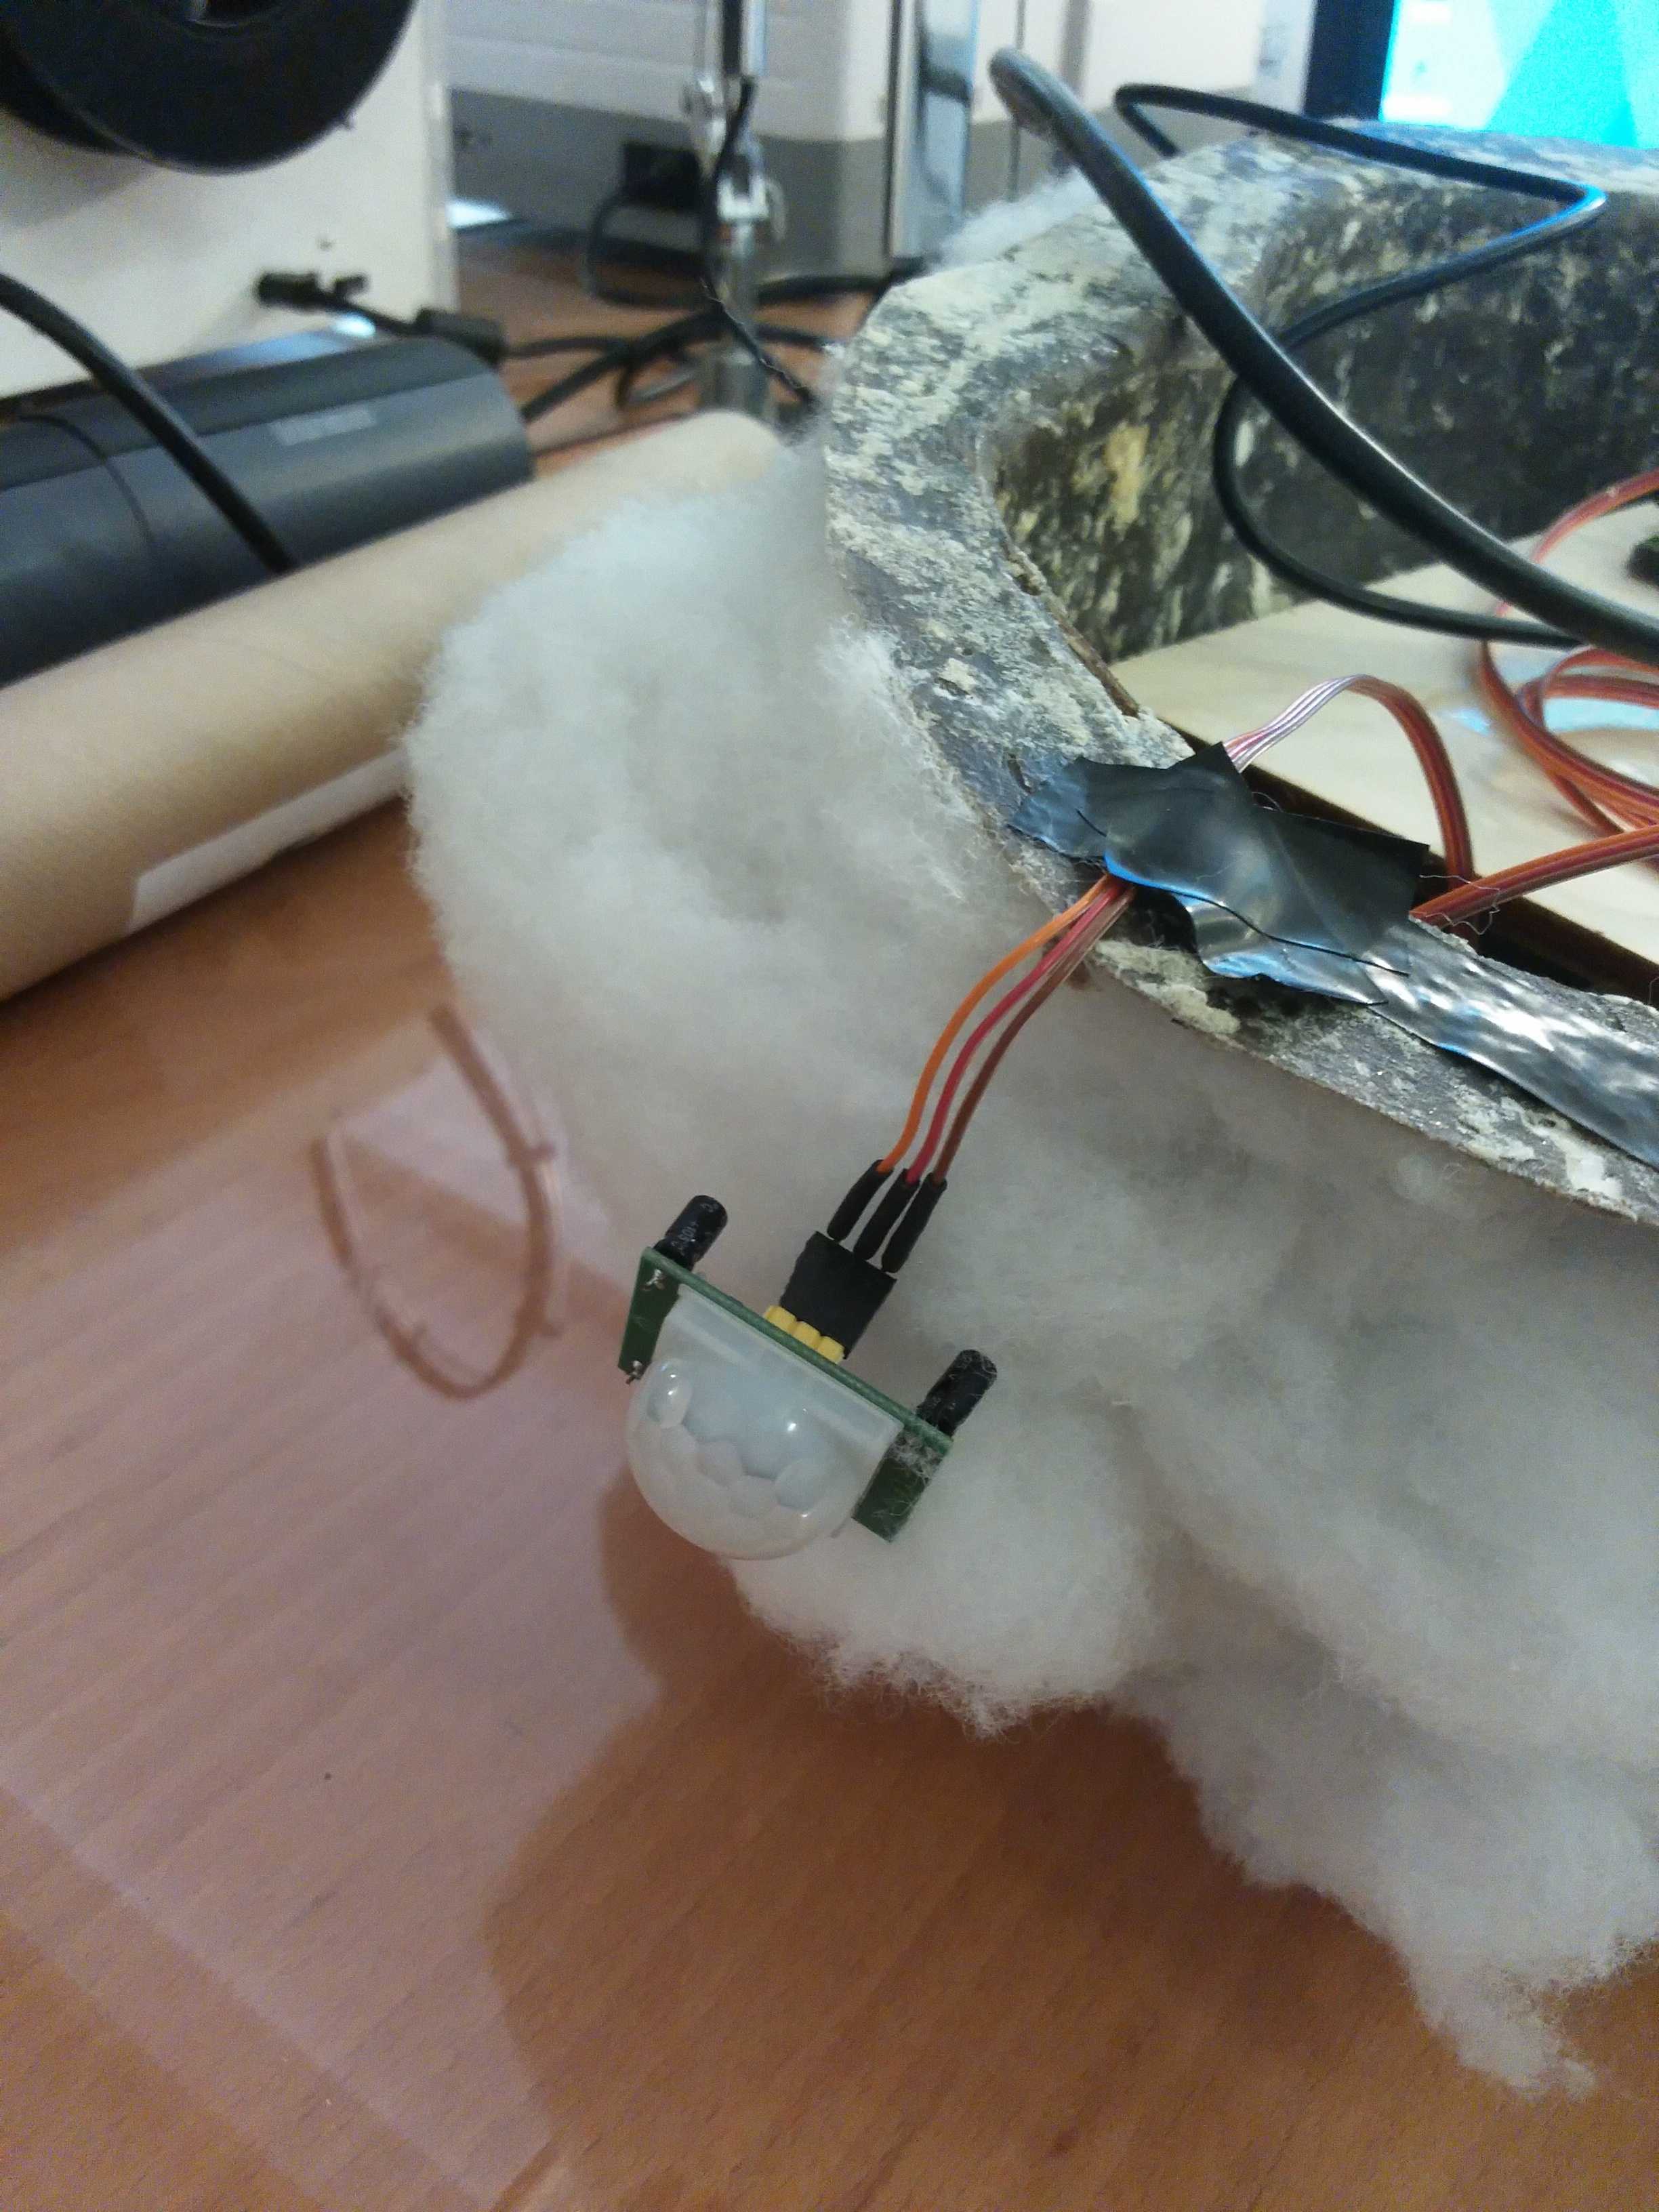
I've attached to the UDOO also a pyroelectric sensor to sense motion in order to trigger the effect of the cloud. The idea was to simulate a
strom with lights and sounds when somebody has approached the object.
To program the cloud i've used a combination of python and an arduino sketch because the UDOO board has an integrated
arduino2 on top of it which can talk with the ARM processor.
By googling i've found this projectand i've modified from that code the part related to the
leds effects.
#include <FastLED.h>
#include <SD.h>
#include <SPI.h>

// How many leds in your strip?
#define NUM_LEDS 60
#define DATA_PIN 7
#define iter 10
#define pirpin 49

char val;
char ini;
int flag =0;
int pirState='Low';
int pir=0;

// Define the array of leds
CRGB leds[NUM_LEDS];

void setup() {
  // this line sets the LED strip type - refer fastLED documeantion for more details https://github.com/FastLED/FastLED
  FastLED.addLeds<WS2812B, DATA_PIN, GRB>(leds, NUM_LEDS);
  pinMode(pirpin, INPUT);
  Serial.begin(9600);
  delay(2000);

}


void loop() {

pir = digitalRead(pirpin);

if(pir == HIGH){
  if(pirState == LOW){

      pirState = HIGH;
      Serial.println('h');
      Serial.flush();
      delay(500);
      for(int i=0;i<iter;i++){
        detect_thunder();
        delay(random(10,30));
        }
        delay(600);
        detect_thunder();
        delay(100);
        detect_thunder();
        delay(100);
        detect_thunder();
        delay(100);
        detect_thunder();
        delay(700);
        detect_thunder();
        delay(50);

        val = Serial.read();
        while(val !='2'){
          val = Serial.read();
         }
  }
}
  else{
    if(pirState==HIGH){
    pirState = LOW;
    }
  }


}


void detect_thunder() {

    //3 types of lightning. Each cycle random one.
    switch(random(1,3)){

      case 1:
        thunderburst();
        delay(random(10,500));
        //Serial.println("Thunderburst");
        break;

      case 2:
        rolling();
        //Serial.println("Rolling");
        break;

      case 3:
        crack();
        delay(random(50,250));
        //Serial.println("Crack");
        break;


    }
  }


//Turn all the lights off.
void reset(){
  for (int i=0;i<NUM_LEDS;i++){
    leds[i] = CHSV( 0, 0, 0);
  }
  FastLED.show();

}


void rolling(){
  // every LED with 1/10 chance
  // of being turned on, up to 10 times, with a random delay wbetween each time
  for(int r=0;r<random(2,10);r++){
    //iterate through every LED
    for(int i=0;i<NUM_LEDS;i++){
      if(random(0,100)>90){
        leds[i] = CHSV( 0, 0, 255);

      }
      else{
        //dont need reset as we're blacking out other LEDs here
        leds[i] = CHSV(0,0,0);
      }
    }
    FastLED.show();
    delay(random(5,100));
    reset();

  }
}

void crack(){
   //turn everything white briefly
   for(int i=0;i<NUM_LEDS;i++) {
      leds[i] = CHSV( 0, 0, 255);
   }
   FastLED.show();
   delay(random(10,100));
   reset();
}

void thunderburst(){

  // this thunder works by lighting two random lengths
  // of the strand from 10-20 pixels.
  int rs1 = random(0,NUM_LEDS/2);
  int rl1 = random(10,20);
  int rs2 = random(rs1+rl1,NUM_LEDS);
  int rl2 = random(10,20);

  //repeat this chosen strands a few times, adds a bit of realism
  for(int r = 0;r<random(3,6);r++){

    for(int i=0;i< rl1; i++){
      leds[i+rs1] = CHSV( 0, 0, 255);
    }

    if(rs2+rl2 < NUM_LEDS){
      for(int i=0;i< rl2; i++){
        leds[i+rs2] = CHSV( 0, 0, 255);
      }
    }

    FastLED.show();
    //stay illuminated for a set time
    delay(random(10,50));

    reset();
    delay(random(10,50));
  }

}
The code uses the FastLed library.
Concerning the python code which runs on the UDOO:
#!/usr/bin/env python
import pyaudio
import wave
import sys
import serial
import time

# length of data to read.
chunk = 1024

#validation
if len(sys.argv) < 2:
    print "Open Serial Port.\n\n" +\
          "Usage: %s serial_port" % sys.argv[0]
    sys.exit(-1)


#opens serial port
ser = serial.Serial(sys.argv[1], 9600)
time.sleep(2)
ser.write('2')
ser.flush()

while True:

    line = ser.read()
    print line
    time.sleep(.1)

    if (line == 'h'):
        #ser.write('1')
        #print "suca"
        wf = wave.open('test.wav', 'rb')
        p = pyaudio.PyAudio()
        stream = p.open(format =
                p.get_format_from_width(wf.getsampwidth()),
                channels = wf.getnchannels(),
                rate = wf.getframerate(),
                output = True)
        data = wf.readframes(chunk)
        while data != '':
            # writing to the stream is what *actually* plays the sound.
            stream.write(data)
            data = wf.readframes(chunk)

        # cleanup stuff.
        stream.close()
        p.terminate()
        ser.write('2')
        ser.flush()
The mode of operation of the two programs is really simple. I'm sensing motion with the sensor connected to the arduino and i'm sending through serial an 'h' character when the sensor is triggered and then i'm playing the sound from the python code. At the end of the reproduction, a '2' is sent over serial so the MCU can start to read again the sensor. Remember to put a file named 'test.wav' where is the python code (or change the path to the file inside the python program) to reproduce the audio.
After this, i've created a service to execute at startup in ubuntu (the one that i've uploaded into the sd card of the UDOO board).
In the video i've attached the uddo board to an external speaker wich is mounted in our Lab but i've also tested the system with a small USB speaker placed inside the cloud and attached to the UDOO.
Conclusions
This module was really stressful. I've spent a lot of time trying to understand wich kind of material was the correct one and each phase needed
to realize an object with the laminating process took a lot of time so doing a mistake could result in a very huge loss of time. Bu the way i am really
happy with the final result. In the end, instead of 3000$ i've spent:
- $135 for a UDOO board (to be honest, that was a donation so i've spent 0$ for the board)
- $24 for a neopixel led strip
- $6 for a power adaptor 5V-2A
- $15 for making the laminates
For a total price of 180$, wich i think is a very good result. Moreover, i think that the price can be also lowered more by using a RaspberryPI which costs $35 instead of $135.