She really likes walking during rainy ugly days...
But she does not like to walk on dirty and dry grounds...
To be honest, Fab Snail does not like many things...like polluted air or muggy days...
She is not the only one who doesn't like all that, just like all the other snails...
The difference is that if Fab Snails is not happy, she can turns into a real stalker!
(Also on your mobile -.-)
So take care of Fab Snail, she is a good snail...
She is just different from the other snails!"
HTML and CSS
The assignement for the first week was to build a personal website,
to learn the basics of version control system and to make a
proposal for the final project.
I had a previous intermediate knowledge about html and css and this first week
represented an opportunity to investigate the bootstrap framework and to
have a general refresh of the subject.
After having a quick overview on some of the different tools proposed during
classes, I've decided to use bootstrap.
I think that this framework has a very detailed and well organized documentation
which is basically all that you need to get started (http://getbootstrap.com/).
I started from a basic bootstrap template to familiarize with the grid system and
to explore some classes. As soon as I felt confortable with the basics,I've started
to build my site from scratch. There is a
list of useful links that I've used during this week:
- Youtube : a nice set of tutorial for boostrap
- Stackoverflow : always a good resource for finding answers to anything!
- www.w3schools.com : tutorial and references for CSS and HTML
- http://bootstrapdesigntools.com : a nice online-tool for design and personalize nav bars for bootstrap
- http://wesandersonpalettes.tumblr.com/ : this amazing website for choosing some colors!it really rocks!
- Fab Academy : previous years Fab Academy students websites
- Animation : i've used this animation as a starting point
- CSS animation : i moved to w3school to study more in depth the animations in css
- Highlightjs : fancy JavaScript to format code
I've used an open source editor called Atom.
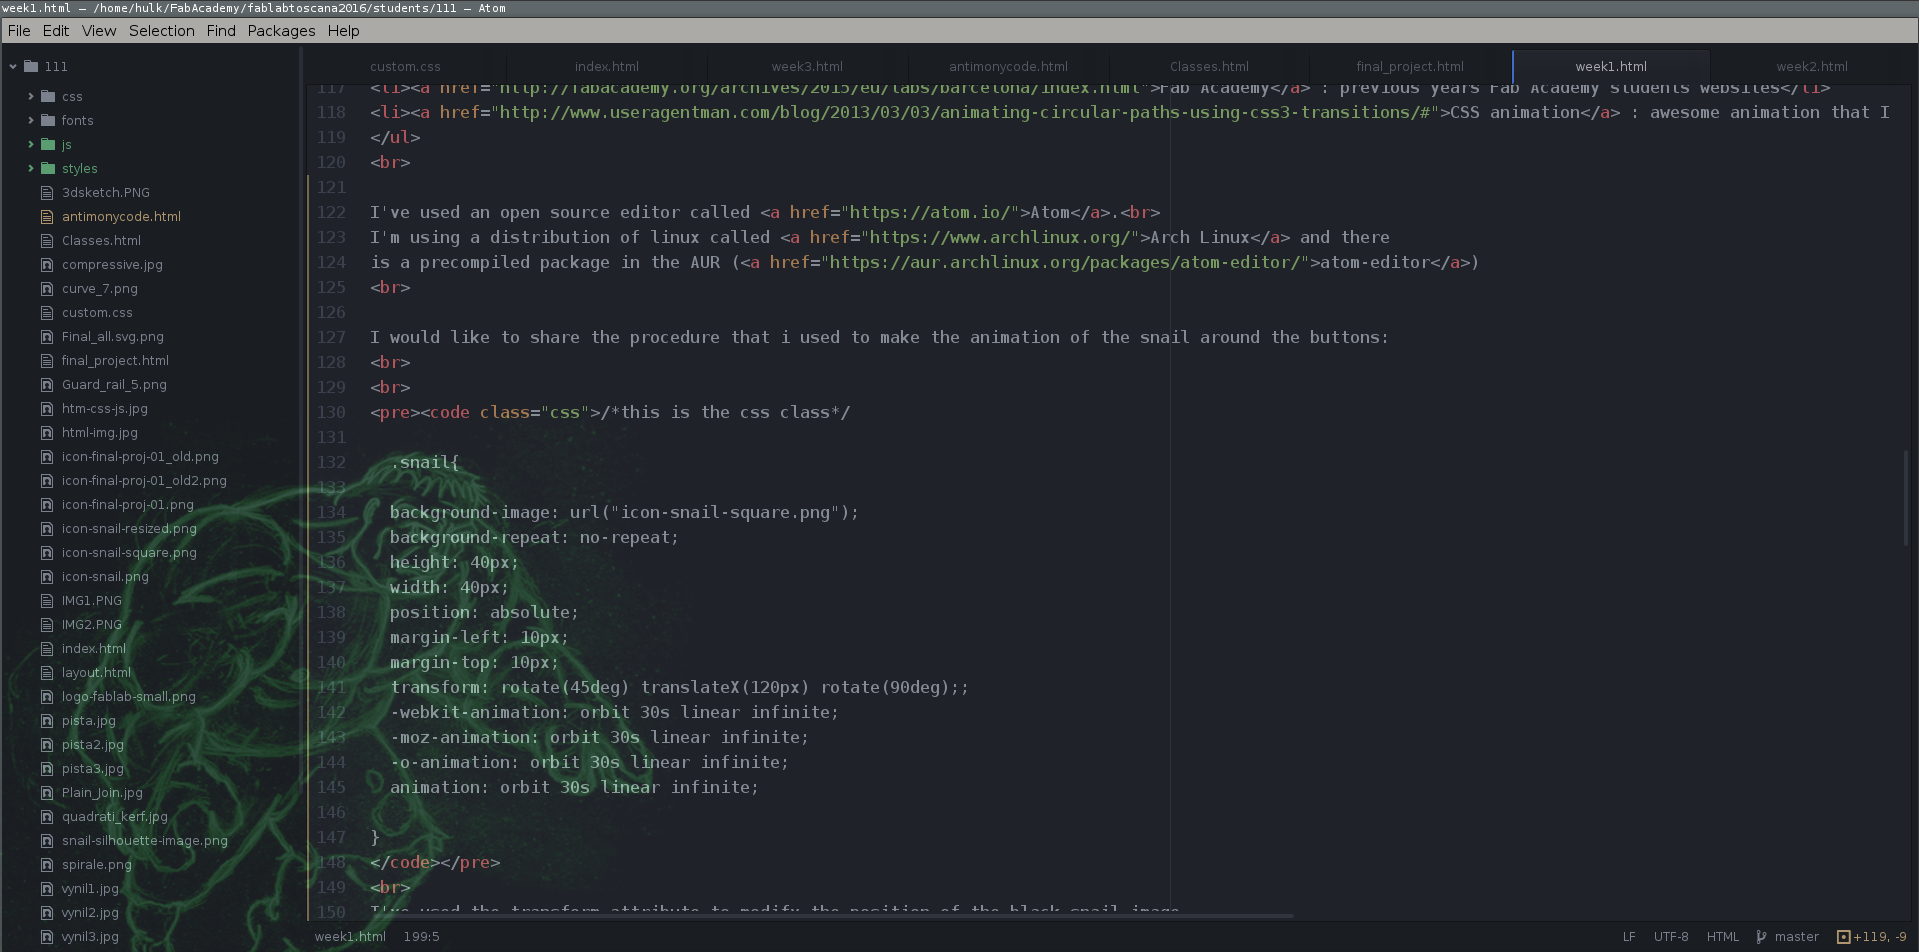
I'm using a distribution of linux called Arch Linux and there is a precompiled package in the AUR (atom-editor).
I would like to share the procedure that i used to make the animation of the snail around the buttons:
/*this is the css class*/

  .snail{

  background-image: url("icon-snail-square.png");
  background-repeat: no-repeat;
  height: 40px;
  width: 40px;
  position: absolute;
  margin-left: 10px;
  margin-top: 10px;
  transform: rotate(45deg) translateX(120px) rotate(90deg);;
  -webkit-animation: orbit 30s linear infinite;
  -moz-animation: orbit 30s linear infinite;
  -o-animation: orbit 30s linear infinite;
  animation: orbit 30s linear infinite;

}
I've used the transform attribute to modify the position of the black snail image on the border of the green circle and oriented in the right position.
Then i've added the code for the animation which i called "orbit":
/*Keyframes for the animation*/
  @-webkit-keyframes orbit {
  	from { 	-webkit-transform: rotate(0deg) translateX(120px) rotate(90deg); }
  	to   {  -webkit-transform: rotate(360deg) translateX(120px) rotate(90deg); }
  }

  @-moz-keyframes orbit {
  	from { 	-moz-transform: rotate(0deg) translateX(120px) rotate(90deg); }
  	to   {  -moz-transform: rotate(360deg) translateX(120px) rotate(90deg); }
  }

  @-o-keyframes orbit {
  	from { 	-o-transform: rotate(0deg) translateX(120px) rotate(90deg); }
  	to   {  -o-transform: rotate(360deg) translateX(120px) rotate(90deg); }
  }

  @keyframes orbit {
  	from { 	transform: rotate(0deg) translateX(120px) rotate(90deg); }
  	to   {  transform: rotate(360deg) translateX(120px) rotate(90deg); }
  }
I've used another class to make a second snail moving on the opposite direction.
I've made a css class equal to the previous except for the transform attribute:
/*this is the css class*/

  .snail2{

  ...
  ...
  transform: scaleY(-1) rotate(45deg) translateX(120px) rotate(90deg);;
  ...
  ...

}
And of course i've defined new keyframes for the animation adding the new transform attribute:
/*Keyframes for the animation 2*/
  @-webkit-keyframes orbit2 {
   from { 	-webkit-transform: scaleY(-1) rotate(0deg) translateX(120px) rotate(90deg); }
   to   {  -webkit-transform: scaleY(-1) rotate(360deg) translateX(120px) rotate(90deg); }
  }

  @-moz-keyframes orbit2 {
   from { 	-moz-transform: scaleY(-1) rotate(0deg) translateX(120px) rotate(90deg); }
   to   {  -moz-transform: scaleY(-1) rotate(360deg) translateX(120px) rotate(90deg); }
  }

  @-o-keyframes orbit2 {
   from { 	-o-transform: scaleY(-1) rotate(0deg) translateX(120px) rotate(90deg); }
   to   {  -o-transform: scaleY(-1) rotate(360deg) translateX(120px) rotate(90deg); }
  }

  @keyframes orbit2 {
   from { 	transform: scaleY(-1) rotate(0deg) translateX(120px) rotate(90deg); }
   to   {  transform: scaleY(-1) rotate(360deg) translateX(120px) rotate(90deg); }
  }
Version Control System and Git
The second main focus was to learn the basics about a versioning system.
I had a basic knowledge on what VCS are and i've used the git software through the Git Hub,
a web-based Git repository hosting service.
The Fab Academy network, use Git Lab which is very similar to Git Hub.
By the way, to refresh all the ideas on what a VCS is and what are the incoming benefits of it's use, i've followed
this tutorial.
A VCS is a system that takes trace of every single change made ona files. It is particularly useful in managing group shared projects. Each
member have access to a shared repository and, accordingly to it's privilege, he can modify the files.
The system takes trace of every change made on files and offers the possibility to roll back to previous versions
of the files.
All the modifications and the changes in the repository are shared too so everyone can see what is modified and by who at any time.
Moreover, in a VCS, is possible to branch a local copy of the repository (or part of it) to work on and only later merge this modified part
with all the other modifications made by the rest of the people who have the access to the files.
To summarize a little bit what i have understood, there are some major advantages in using VCSs:
- A complete long-term change history of every file: this means every change made by many individuals over the years. Changes include the creation and deletion of files as well as edits to their contents.
- Branching and merging: having team members work concurrently is a no-brainer, but even individuals working on their own can benefit from the ability to work on independent streams of changes (thanks to branches).
- Traceability: being able to trace each change made to the documents
To start my repository for the FabAcademy, i've first created an acoount on Git Lab.
I had this ssh version installed on my OS and here the CLI commands i've executed the first time to clone the archive to my machine and then to push into it:
ssh-keygen
cat ~/.ssh/id_rsa.pub
Then copy and paste the output into GitLab profile --> keys.
Then:
git clone git@git.fabacademy.org:fabacademy2016/fablabtoscana2016.git
git add path/to/my/folder .
git commit -m 'any message'
git push origin master
Git has a lots of command and one of the best way to avoid memorize any single command is to use a cheat sheet. I've used this one but usually i search "git cheat sheet" in google images. An example here.
I had no particular problems in this first phase and everything worked well enough.
Conclusions
I always find funny work with html and css and each time i learn something new.
For instance tried css animation for the first time.
Concerning Git, I think that if properly used, it is one of the most powerful instruments
when you have to work on a shared project.Under linux is really a super-fast tool (thanks to command line)
to keep trace of all the changes made on the archive.Moreover, you can rollback to any
previous version of any files to correct any mistake.
Actually… i have to confess that i've modified some pages of the other Fab Academy
participants through the shared archive, but I am confident that no one of my friends
will read my site until this point so….i think they will never catch me :) (unless they will
read the git-log...)