 Introduction
 G00 X6000.00
A prodigious and rapid machine for mediocre candle decorationsIntroduction
This is a group project made by Luca Giacolini, Luca Rabazzi and Flavio Lampus, who are indeed the three serious workers you see below. In short, our assignment was to think of, design and automate a 3-axis machine. At first, we really wanted to build a small lathe, that could be operated both by hand and computer. We therefore started to look around for inspirational work. We found three works interesting for our purpose:
1.This lathe made out of wood and only a couple of metal components. We really got useful insights on the overal structure of the machine;
2.Students of 2015 at Opendot Milano built a lathe to work with foam;
3.The Eggbot as a more artistic perspective on CNC machines.
After some deep thinking, we discovered it would have been pretty hard since the material we wanted to work with was too hard to machine. For this reason we decided to work with something lighter. We thought to work with something organic, like fruits or vegetables, and to build a lathe able to peel them or to sculpt them. We really liked the last one, so we focused on it. In the end we decided to do a machine that decorates candles. We wanted to use a soldering iron to decorate the candles, so it was linked to our X and Z axis, then we had a rotative axis, where to put the candle.
In short, our assignment was to think of, design and automate a 3-axis machine. At first, we really wanted to build a small lathe, that could be operated both by hand and computer. We therefore started to look around for inspirational work. We found three works interesting for our purpose:
1.This lathe made out of wood and only a couple of metal components. We really got useful insights on the overal structure of the machine;
2.Students of 2015 at Opendot Milano built a lathe to work with foam;
3.The Eggbot as a more artistic perspective on CNC machines.
After some deep thinking, we discovered it would have been pretty hard since the material we wanted to work with was too hard to machine. For this reason we decided to work with something lighter. We thought to work with something organic, like fruits or vegetables, and to build a lathe able to peel them or to sculpt them. We really liked the last one, so we focused on it. In the end we decided to do a machine that decorates candles. We wanted to use a soldering iron to decorate the candles, so it was linked to our X and Z axis, then we had a rotative axis, where to put the candle.
Preliminary explorations
First thing that we did was to build a rough 3D model in Rhino, as shown in the picture below.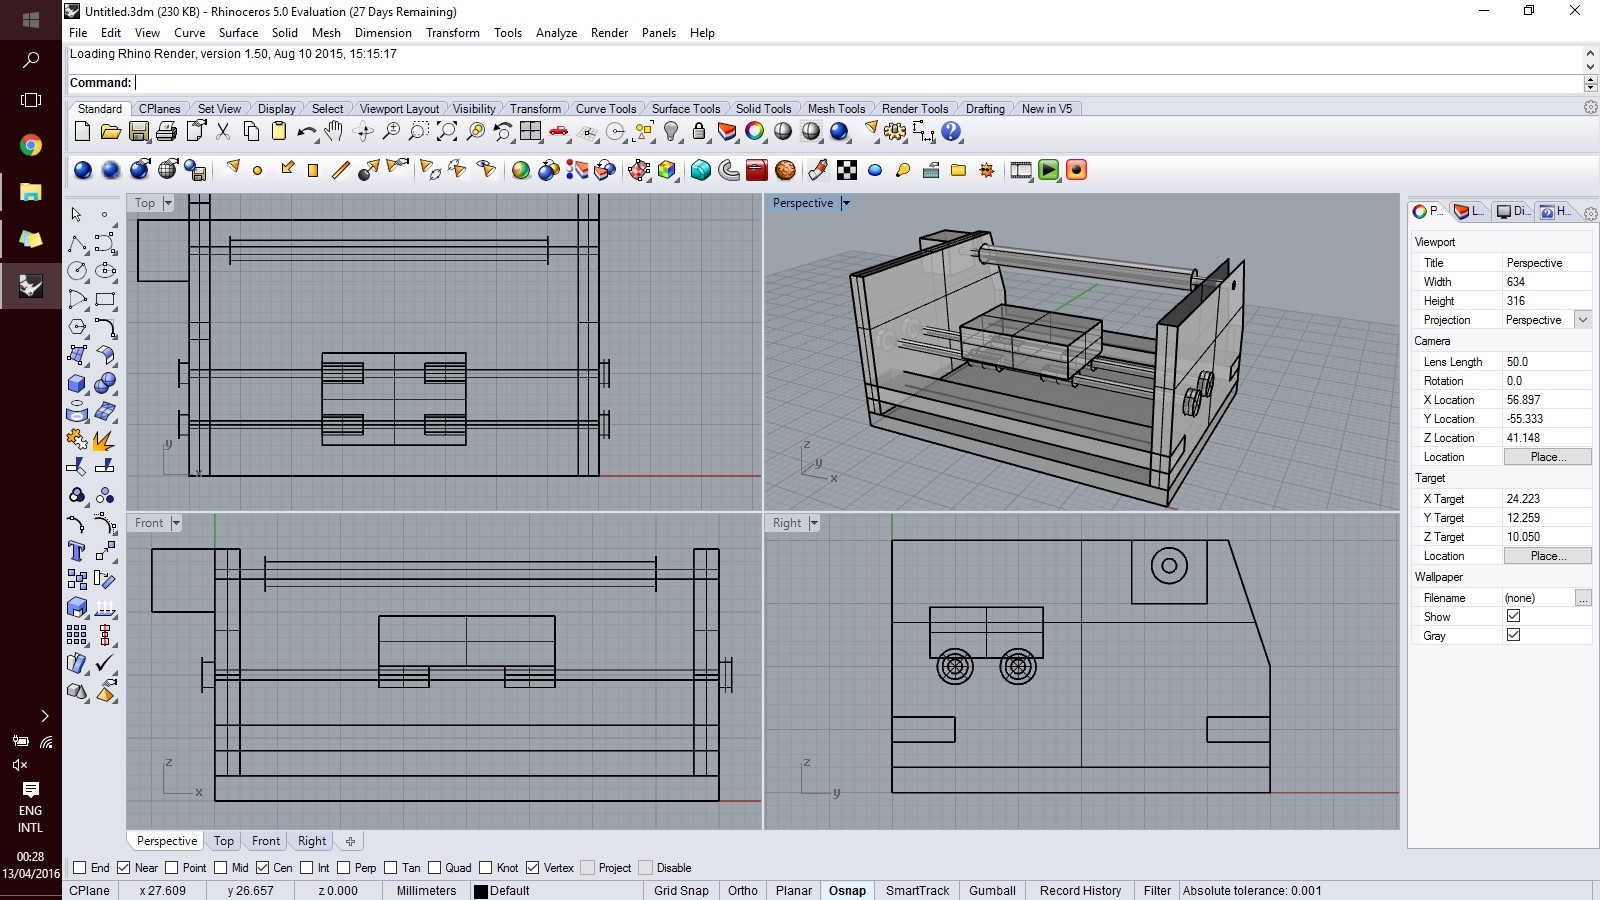 Starting from there, we quickly prototyped a physical model with the ShopBot in order to get a feeling for the size and the structural strenght of the model.
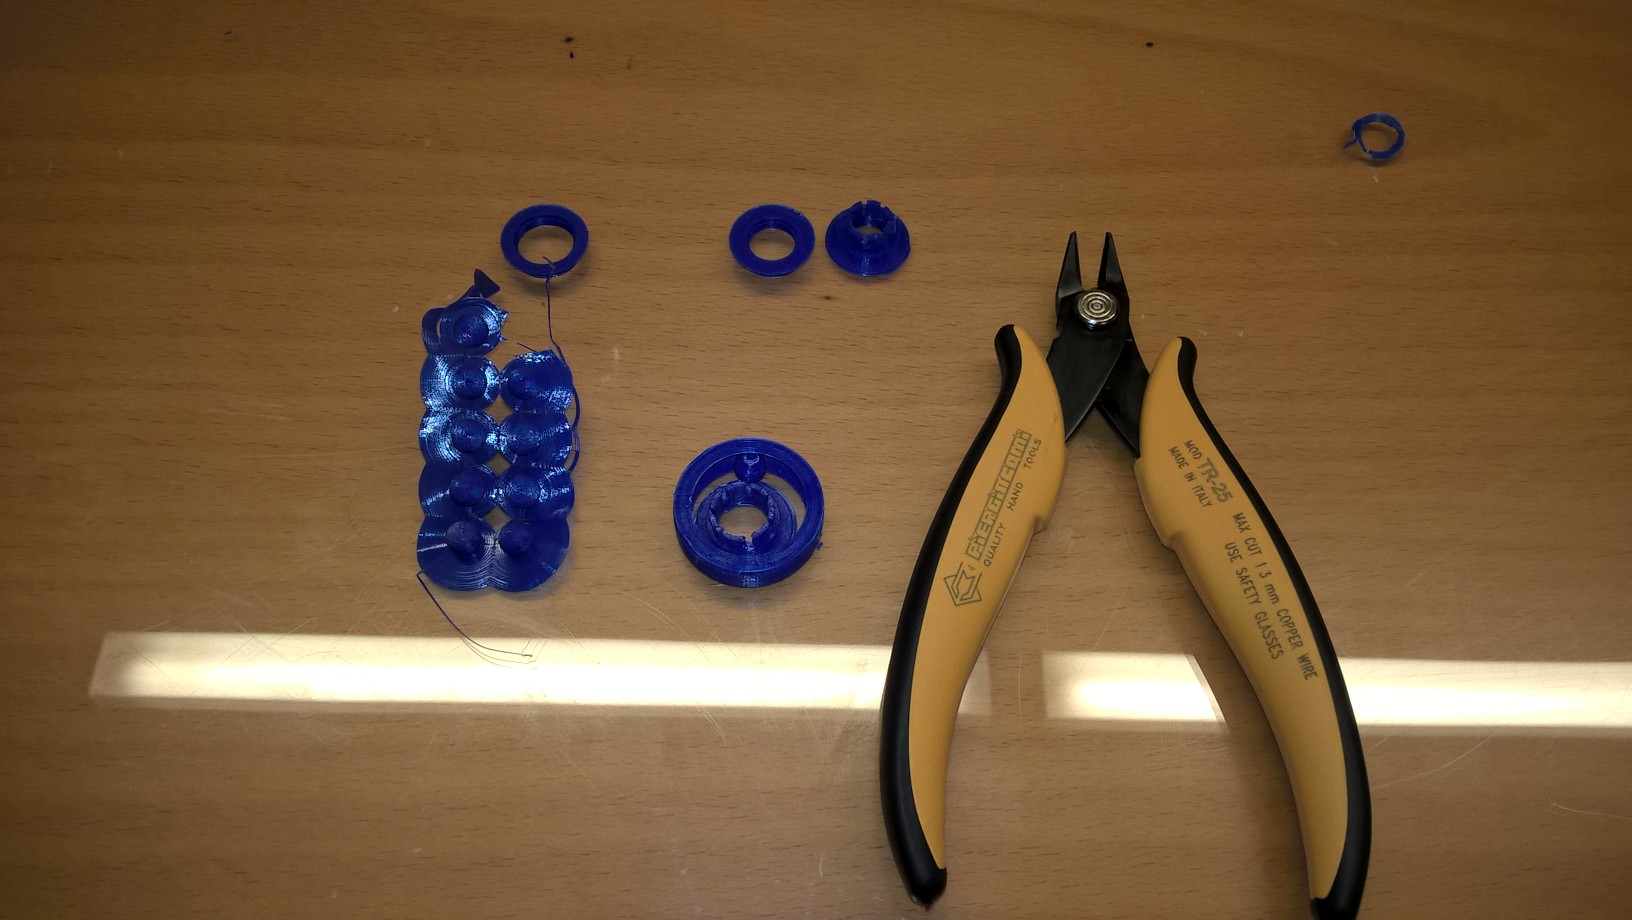
 Next to that, we also had quick explorations with some components, such as ball bearings and pulleys, that we later abandoned.
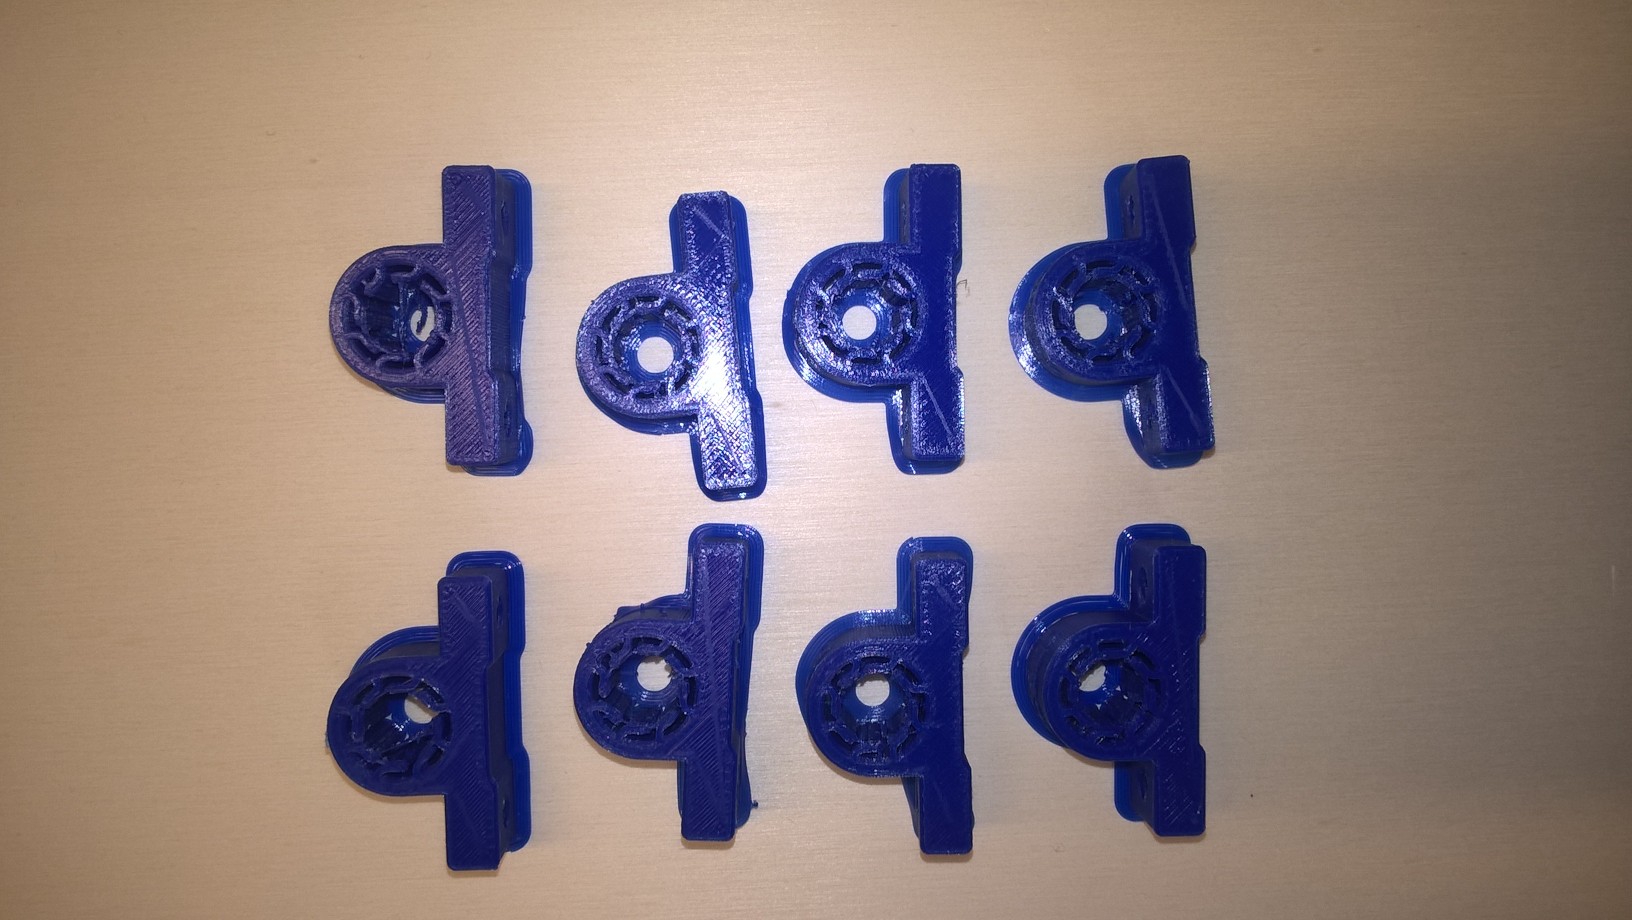
+Next to that, we also had quick explorations with some components, such as ball bearings and pulleys, that we later abandoned. The circular bearings below were designed in Antimony. The linear bearings are instead downloaded from Thingiverse.
Next to that, we also had quick explorations with some components, such as ball bearings and pulleys, that we later abandoned.
+Next to that, we also had quick explorations with some components, such as ball bearings and pulleys, that we later abandoned. The circular bearings below were designed in Antimony. The linear bearings are instead downloaded from Thingiverse.
Mechanical design
The mechanic design was made in Solidworks. The full-rendering below shows the main components that had to be manifactured: The mechanic design was made in Solidworks and the STL files can be downloaded here. The full-rendering below shows the main components that had to be manifactured: 1.wooden structure; 2.cart to move around the x axis; 3.toothed cart to move in the y axis, where to attach the soldering iron; 4.candle grip mechanism; 5.motor holders;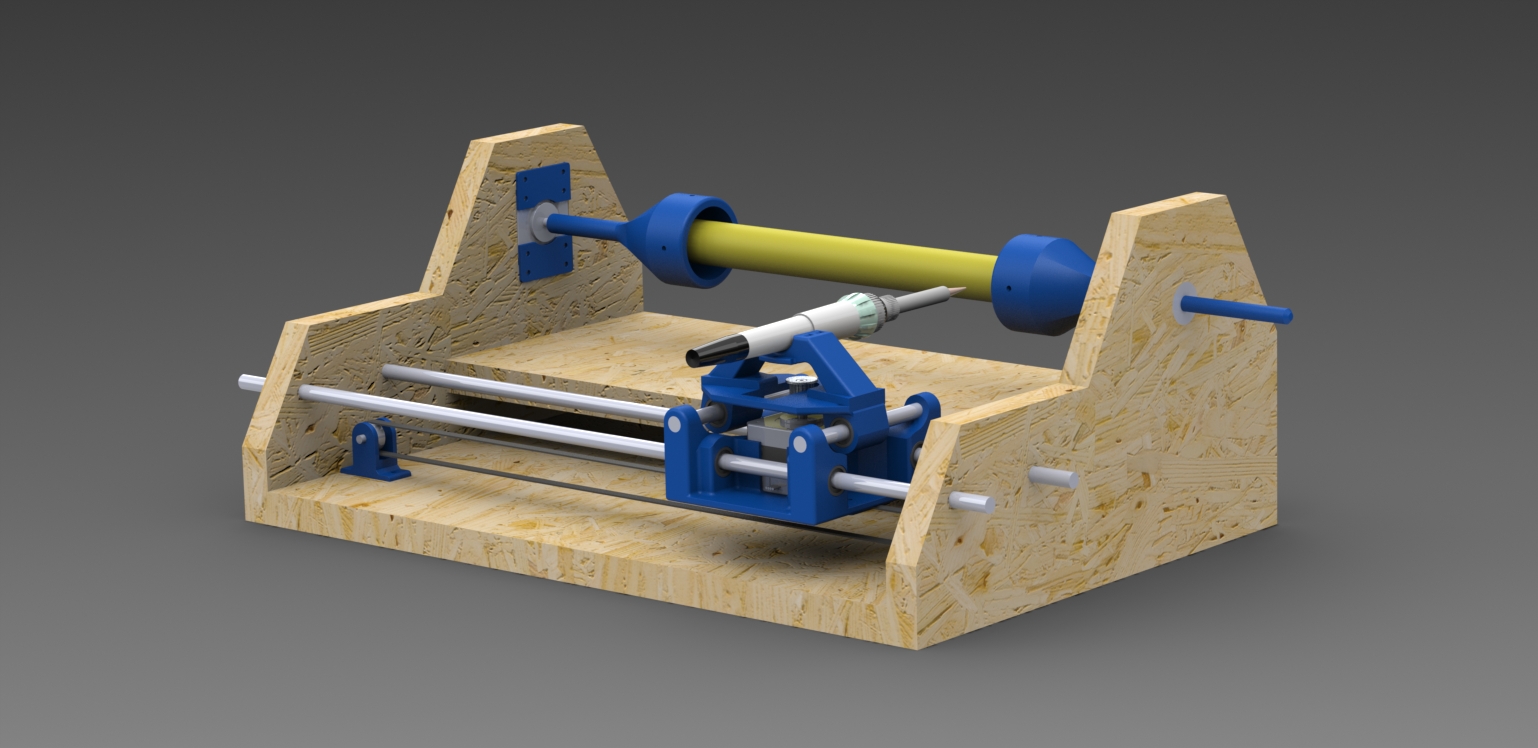
 Apart from that, we also had to purchase a couple of components:
1.linear bearings
2.circular bearings
Apart from that, we also had to purchase a couple of components:
1.linear bearings
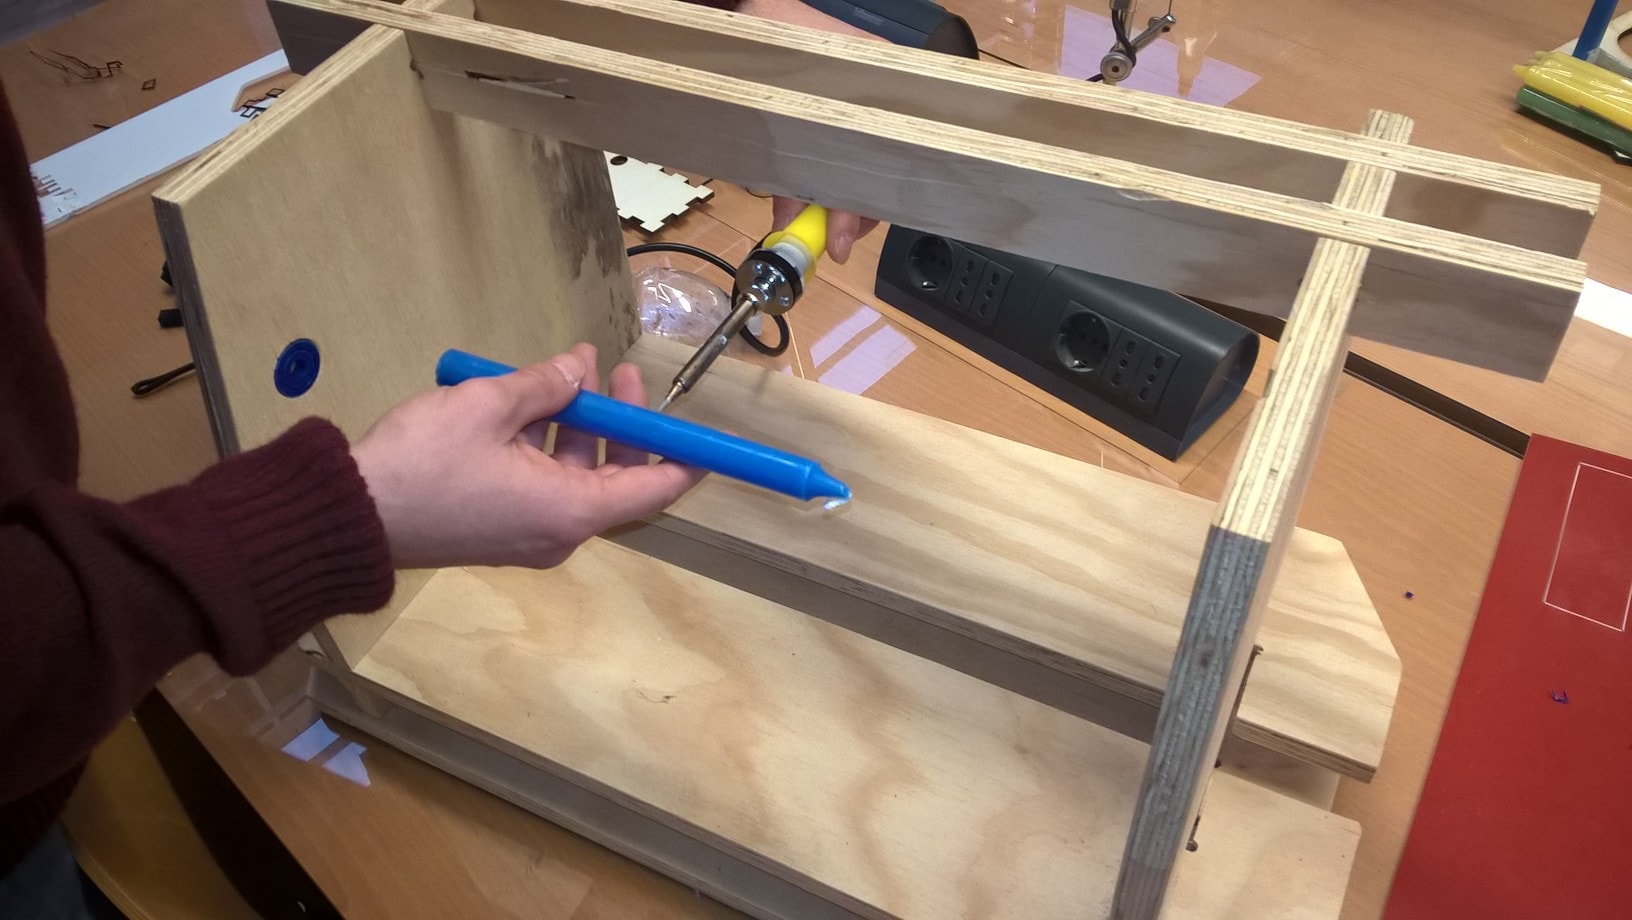
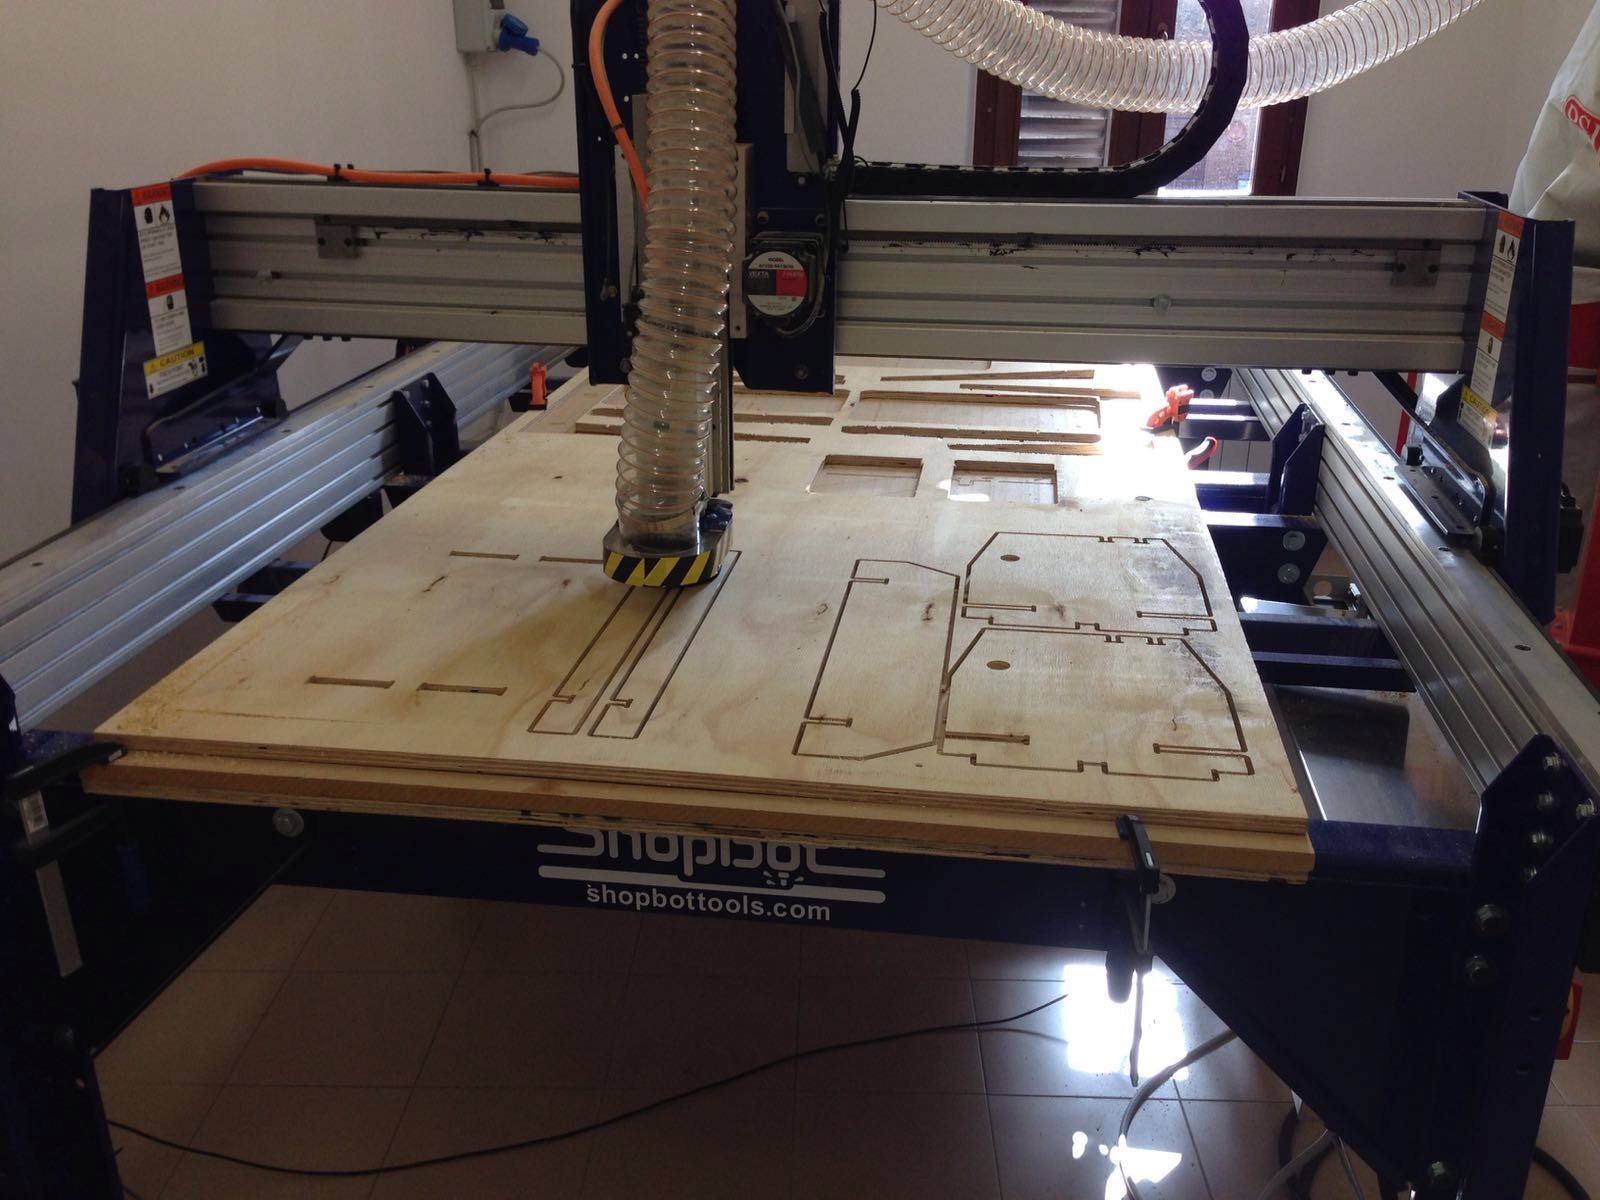
2.circular bearings3.metal rods (8mm diameter); 4.bolts and nuts (3mm diameter); We manufactured the wooden structure milling a 18mm OSB wood with the Shopbot. We printed the mechanical parts using the Ultimaker 2 with PLA filament. Some process pictures below.
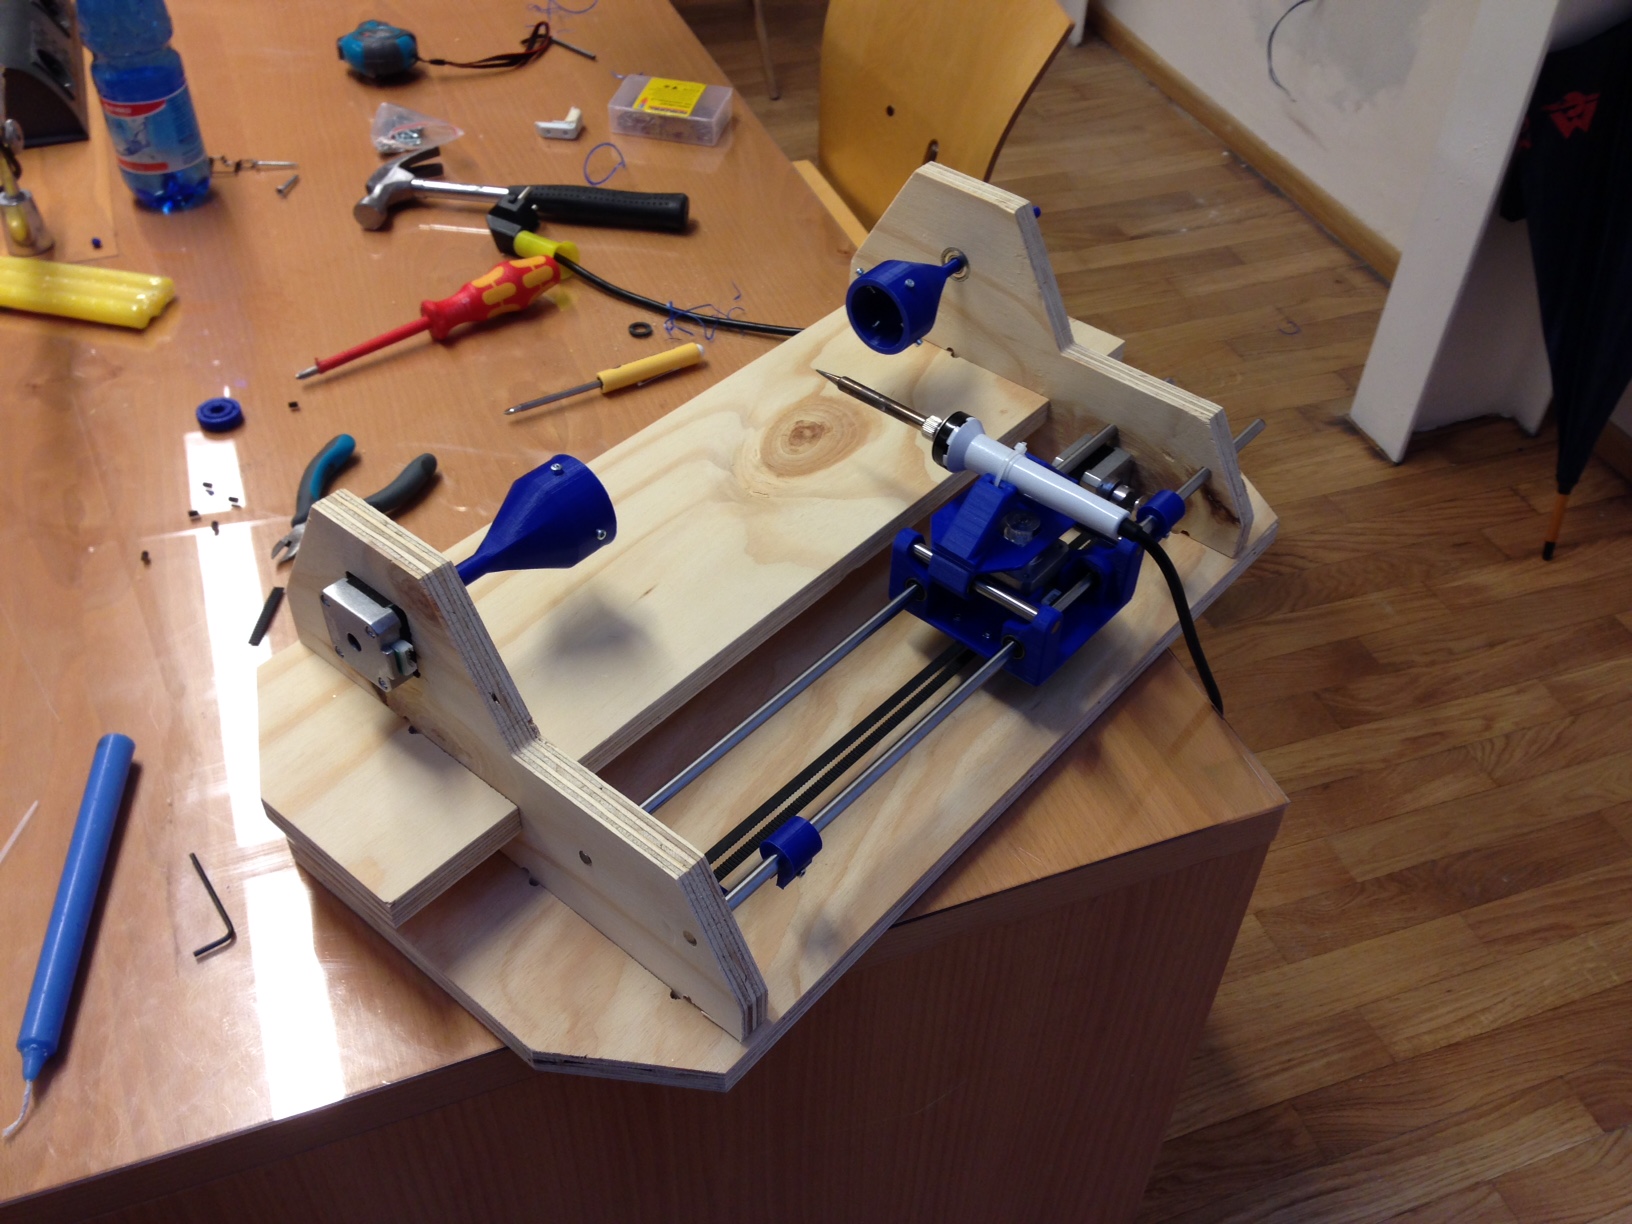
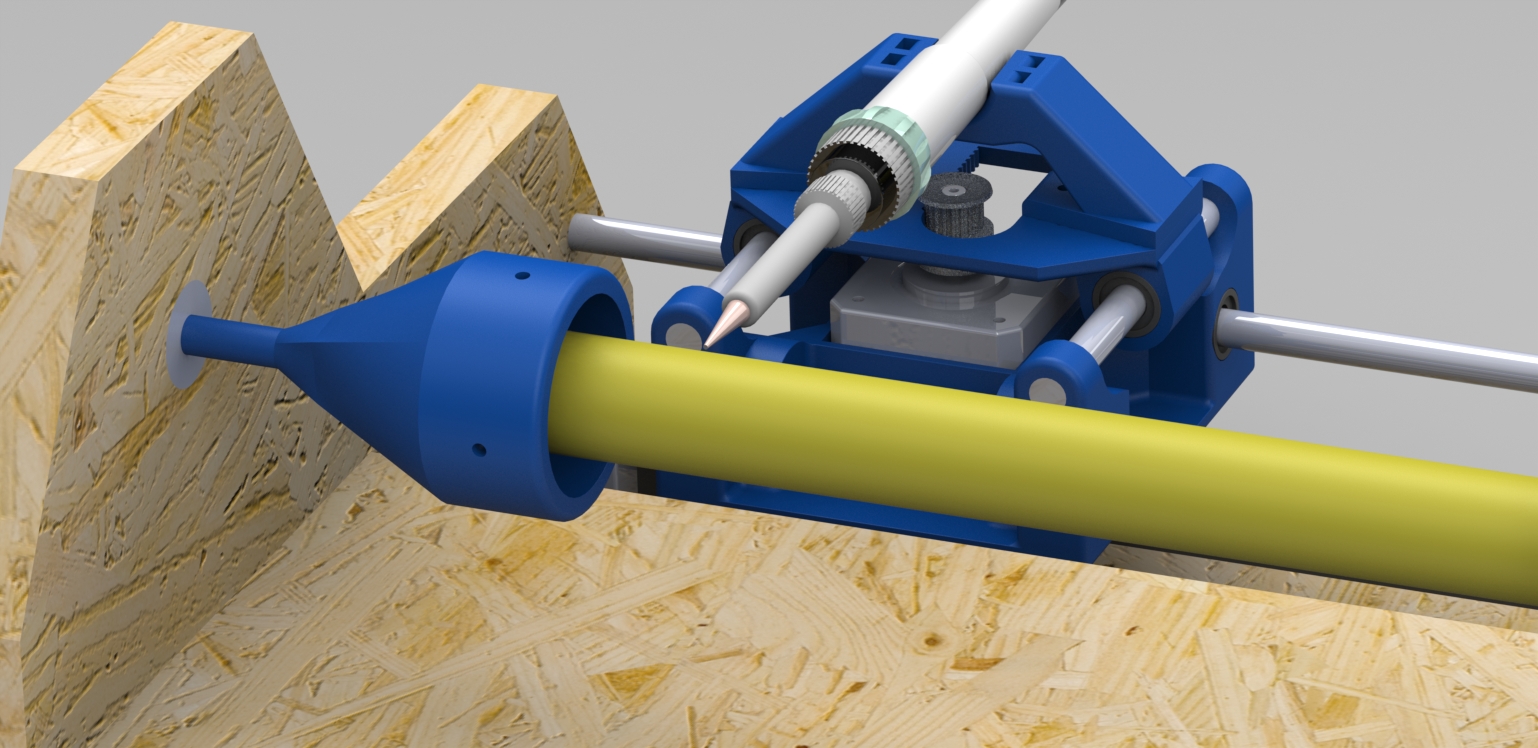
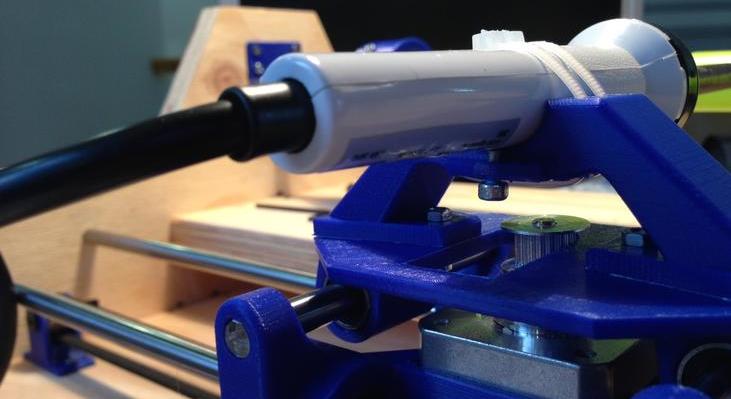
 Below two details that should be reconsidered in the future. On the left, the iron attachment to the machine, that is not too tight when the drill bit enters more than 2mm into the candle. On the right, the candle attachment to the structure, that is totally cumbersome and does not really help in centering the candle on the rotation axis.

Electronics
Once the mechanical part was done, we had to make it works. We used 3 Nema 17 stepper motors: one for the X axis, one for the Y axis and the last one for our rotative axis, we will call it Z, also if it's not a proper Z. Since we used 3 stepper motors, we needed 3 drivers for motors, we mounted them on our CnCshield. We were not supposed to use an Arduino, we had to use a Satcha Kit, but we had some trouble using it. So, for now we used a Arduino Duemilanove, then we will switch to the Satcha Kit.
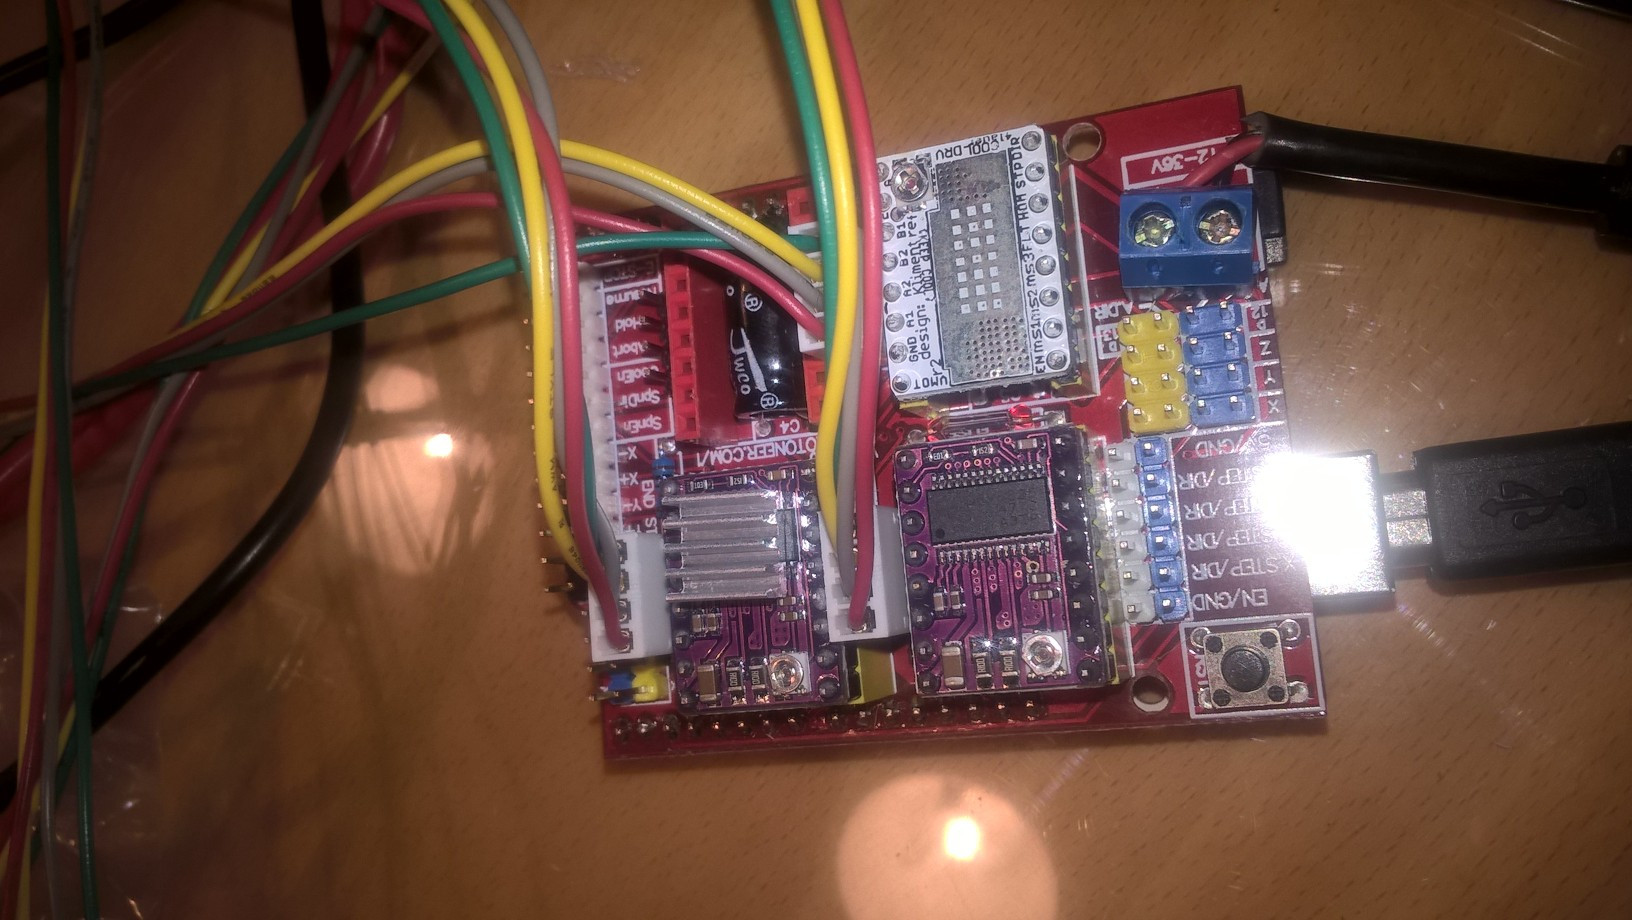 In this photo you can see our board, it had all the drivers connected. Then we connected the board to a computer and the cables to our stepper motors, we were ready to program it.
Programming
In order to program the G00 X6000 he had to flash grbl on our board, write or generate a G-Code with the coordinates to decorate our candles and choose and use a G-Code sender to send the G-code to our machine.
First we studied the G-code, how it works and how to use it. The G-Code page of RepRap had the more detailed informations about it.
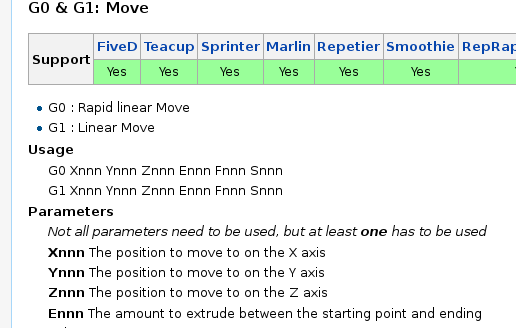
Not only he described the function of every commands, but it also told us if that particular command was supported or not by grbl. Once we got into it, we started to generate some random G-Code files with the FabMoudles and we tried to read it, it has been a good way to learn how to use it.
Then we started to study Grbl:

Grbl GitHub's page is awesome. There's truly helpful and clear wiki, that explained us step by step what to do and how to move through the installation and the use of it.

There were two ways two flash grbl on our board (since we did not use Windows): we could use Arduino IDE, or we could flash the .hex file with bash. We decided to use Arduino, so we uploaded grbl library on it, we loaded the grbl sketch and eventually on our board.
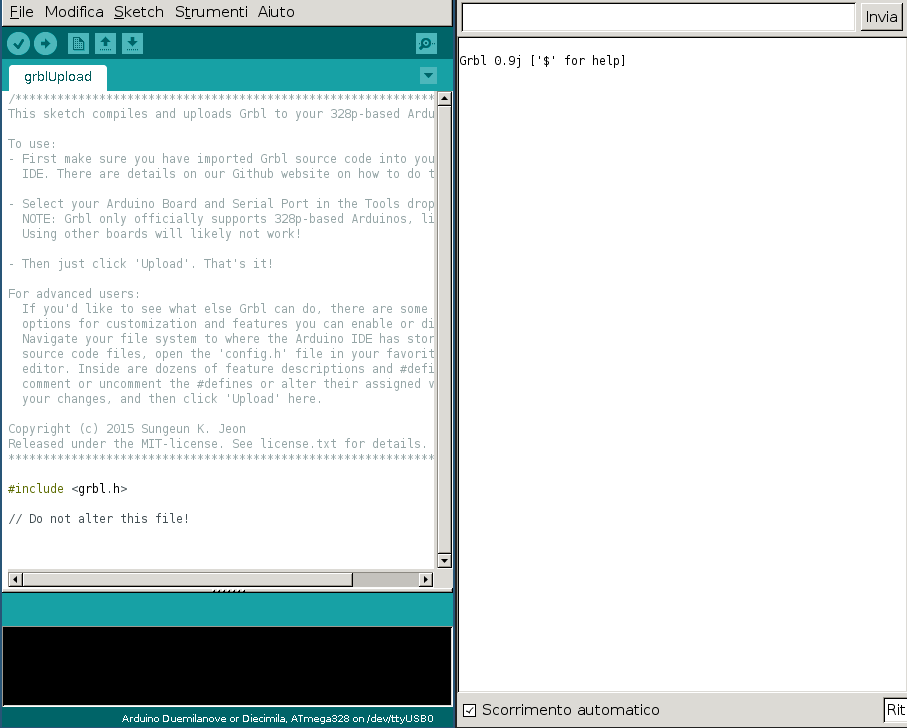
Then we opened the serial port terminal and, as you can see in the image, it wrote the welcome message. In the beginning we had some trouble with this part because we tried to use an Arduino Mega, but it did not work.
We also tried to use Minicom in order to comunicate via serial port:
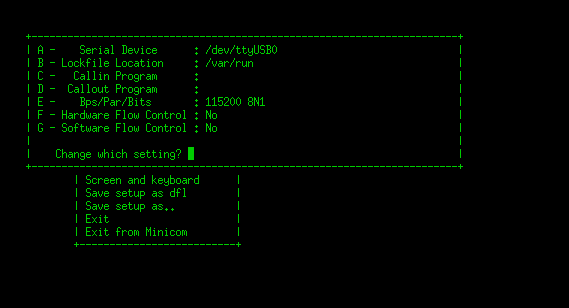
Minicom is pretty simple, first we typed on bash:
We used the Arduino IDE's serial monitor and we typed:
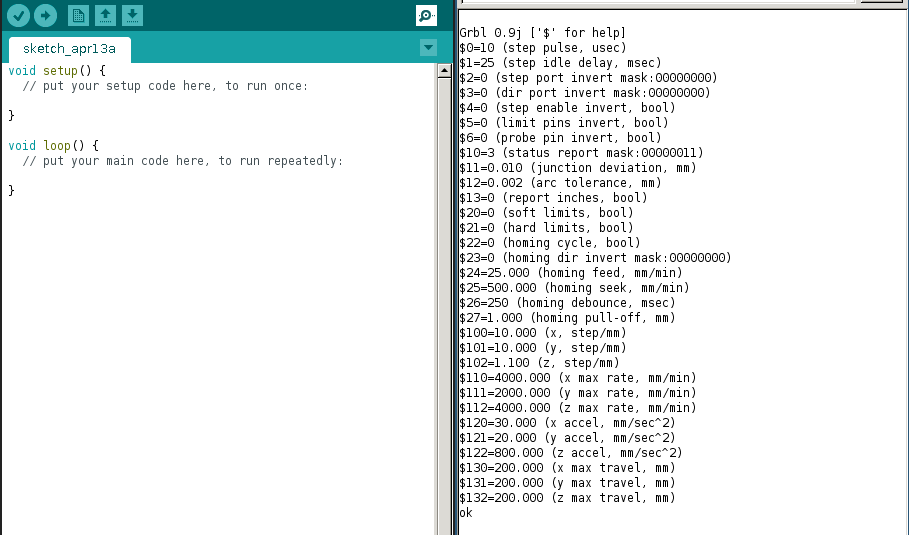
The most important settings here are:
We did a lot of test, since we've found the best settings for each axis, we wrote the G-Code for the decoration we wanted to do, and eventually we used a python interface as Gcode-sender.
It's a pretty simple script, it will look for a file named grbl.gcode inside its own folder, and then upload it to the machine. As you can see:
Results
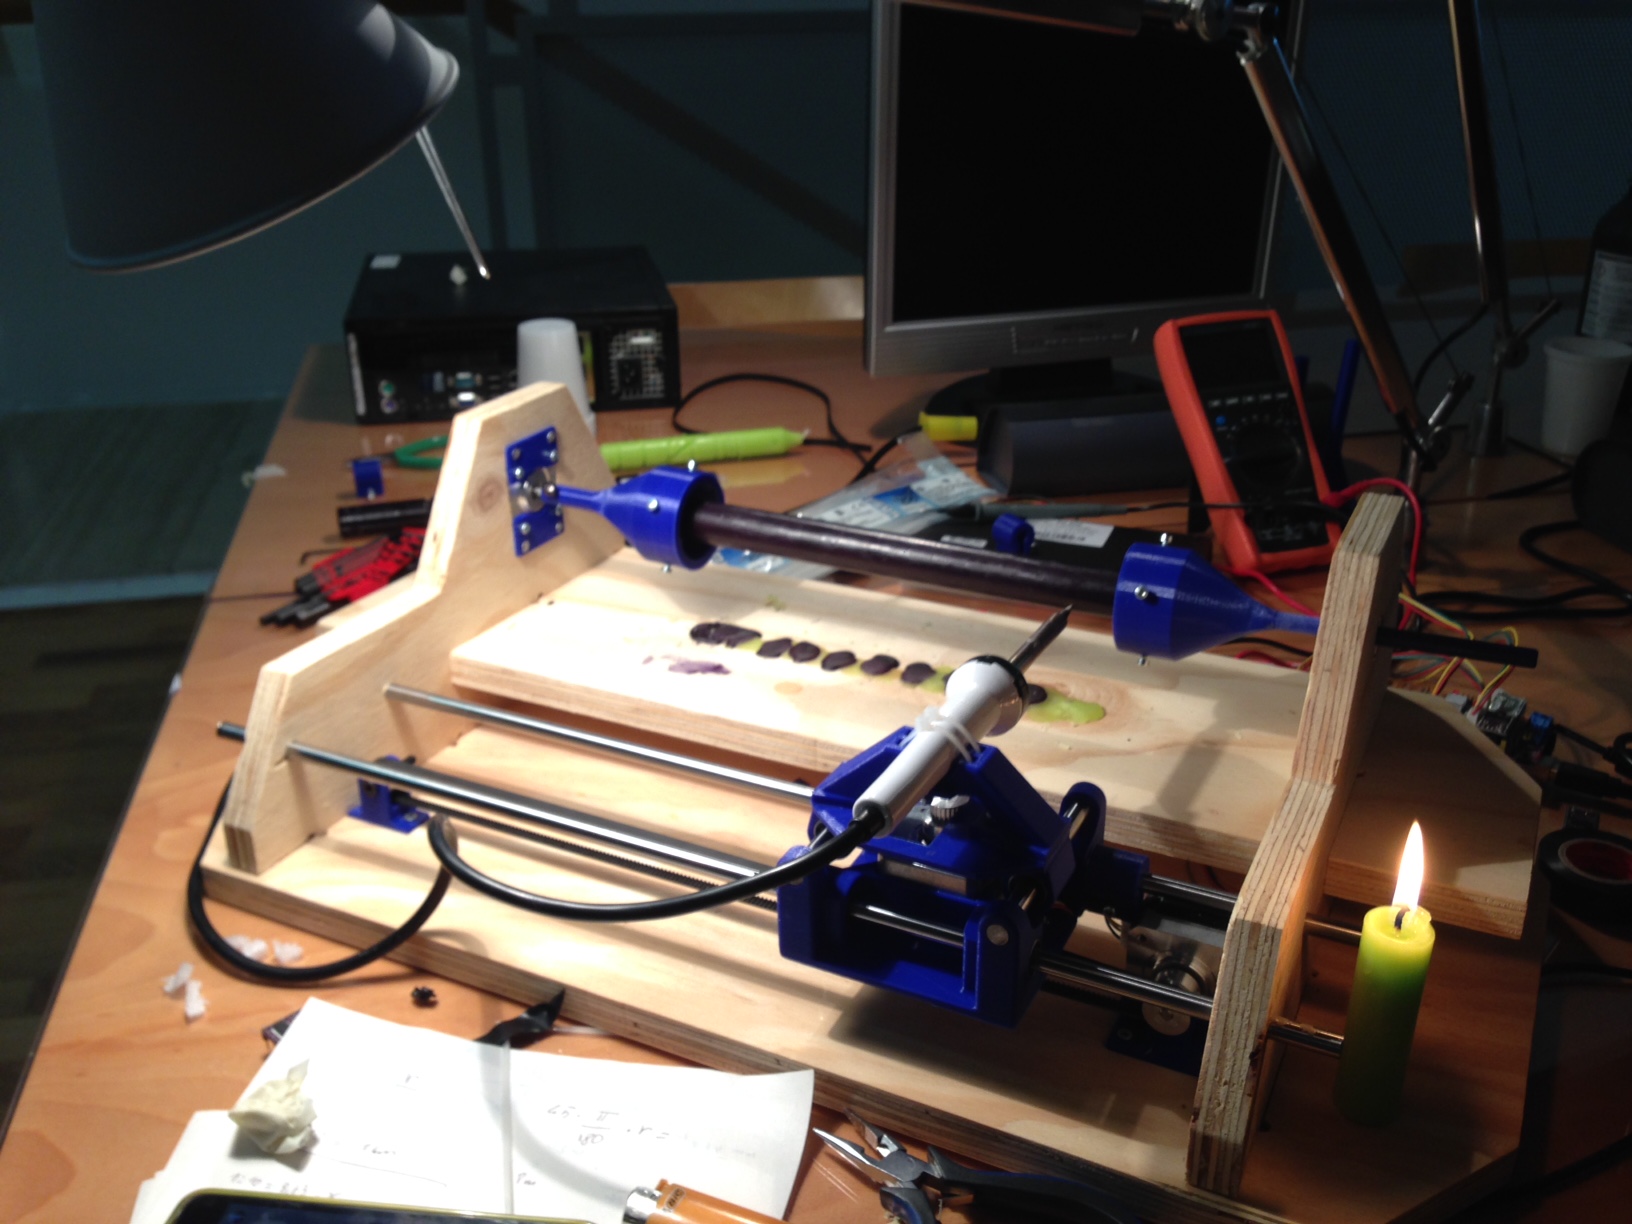
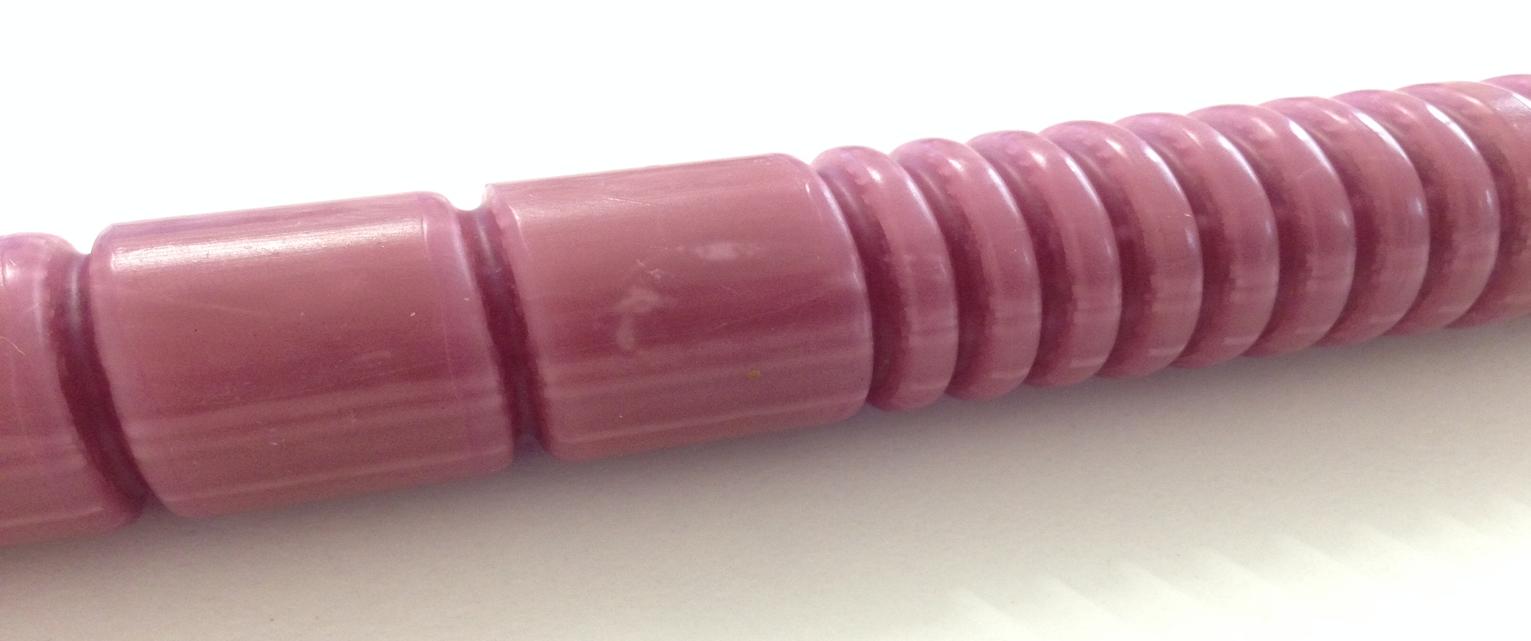
Below you can see the best results we achieved so far. Circular patterns work better as most of the wax actually drops to the ground.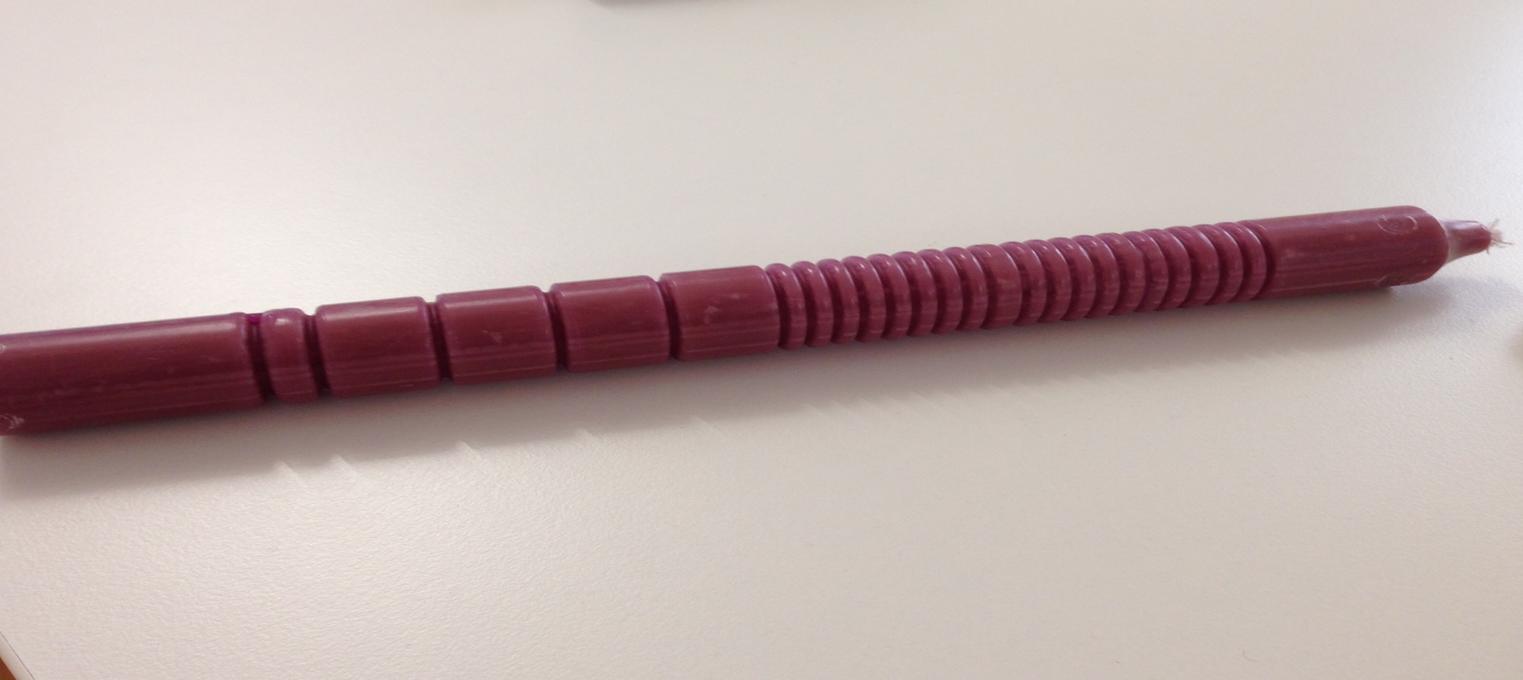
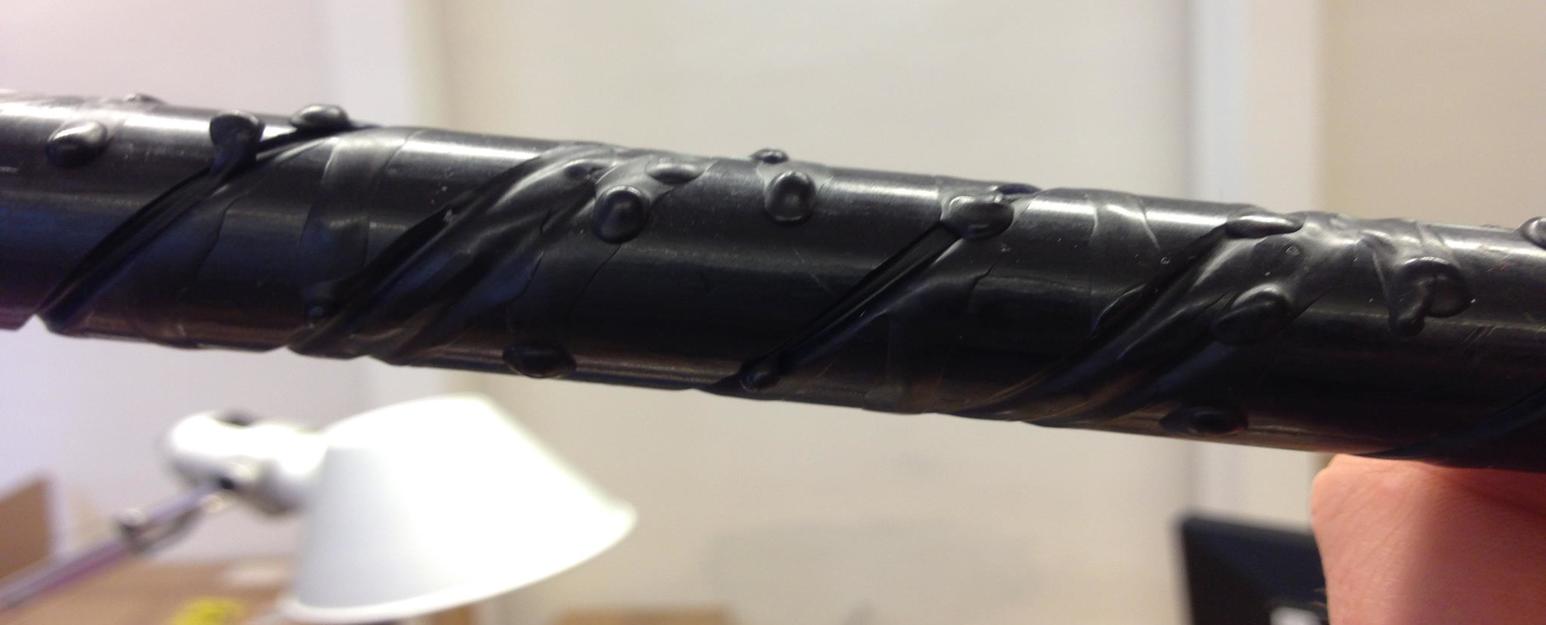
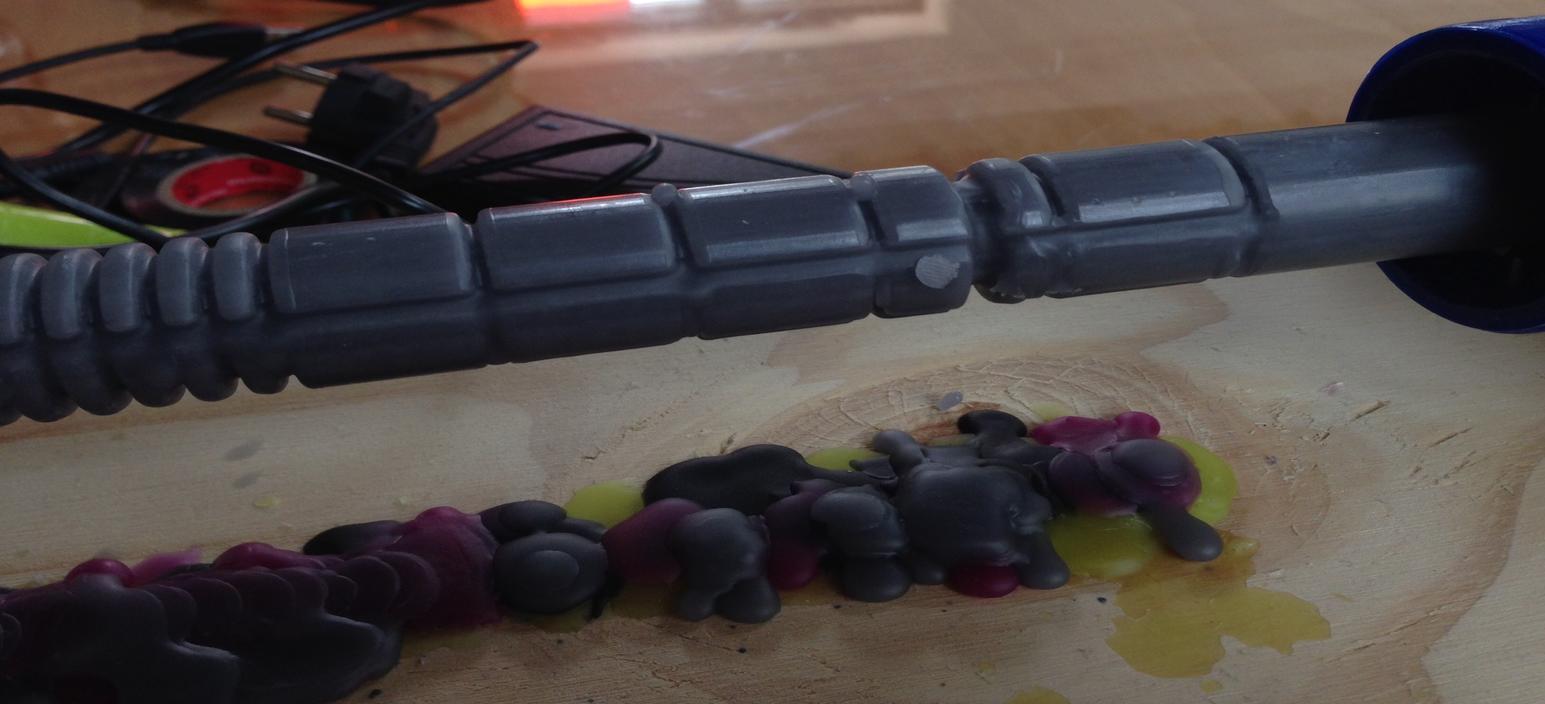
 Below is instead the picture of a diagonal patter. When the soldering iron moves sideways, we can not prevent the wax from actually dripping over the candle itself. We might be able to fix it if we increase the speed of rotation, but then the soldering iron tip might get stuck.
 Below is the picture of an horizontal + circular pattern.
Conclusions
Given the time we had available, we are pretty satisfied with the result. On the positive note the 18mm structure is quite solid and, combined with metal bearings and rods simply works quite smooth. Things that should definitively be improved are: 1.the candle attachment mechanism, that is now cumbersome. Maybe it should have been similar to the one used in power hand screwdrivers to hold the drill bit. This is a good example. 2.the toothed part on the kart should be made out of metal, because with PLA it might wear off quite soon.Download
Mechanical Designs G-code standard rings decorationG-code spiral decoration
G-code lines and rings decoration
G-code big ans small rings decoration