Roosvelth Cántaro's Academy

Test the design rules for your printer(s)
• Design and 3D print an object (small, few cm) that could not be made subtractively.
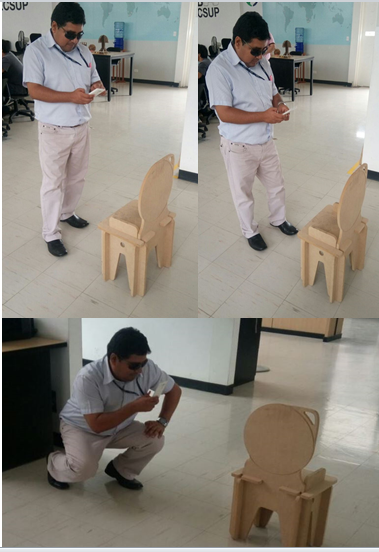
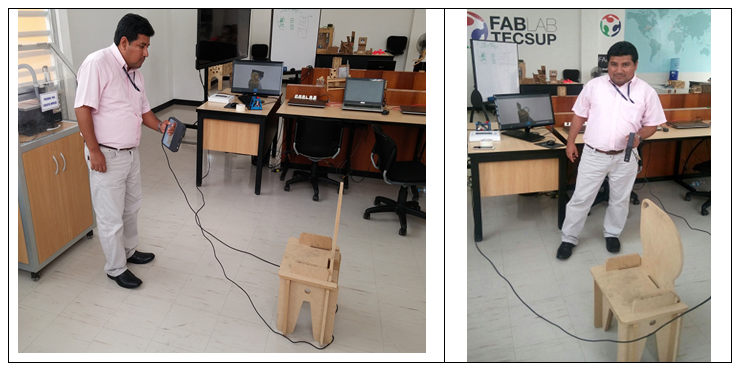
• 3D scan an object (and optionally print it)
My plan for my printing will be more technical to be used regularly at work. I think that my modeling skills are not very advanced, but I’m very interested in learning.
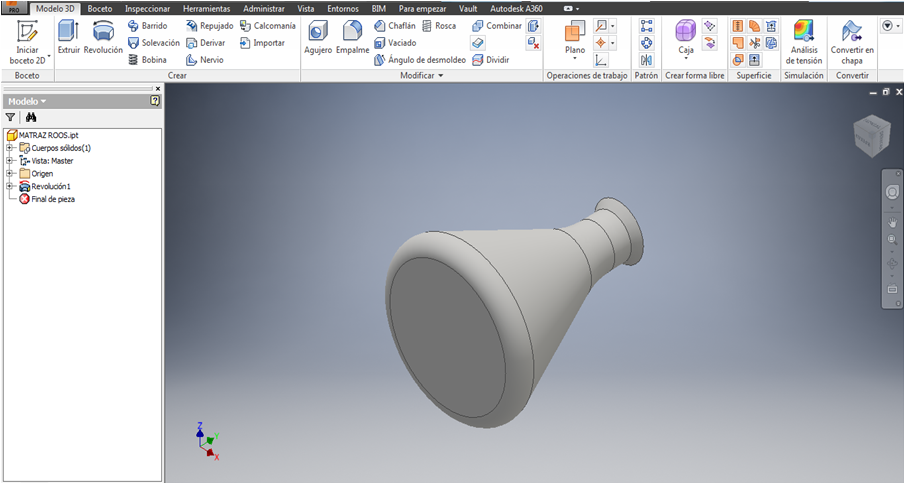
I used for 3D design to modeling a solid a software Rhinoceros. For this assignment I decided to try another AUTODESK program, 123 Design, which is a 3D creation tool, with free-editing.
I download this program 123D CATCH in my cell phone; this program used is relatively easy, the results obtained are using cell phone and camera.
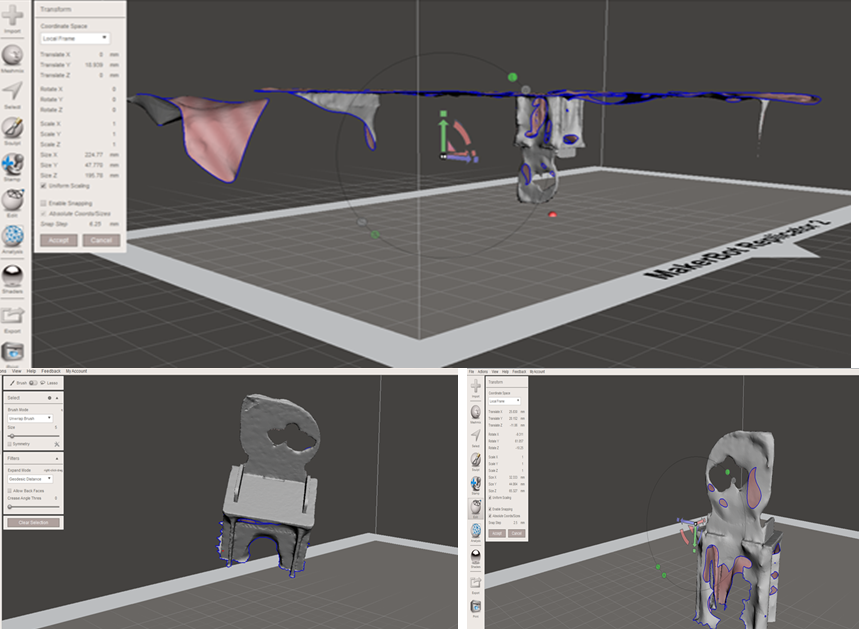
I worked with Meshmixer 3.0: the ultimate tool 3D mashups and remixes, for mash, mix, sculpt, stamp or paint your own 3D designs. Unfortunately there was a good design 3D object with this software.
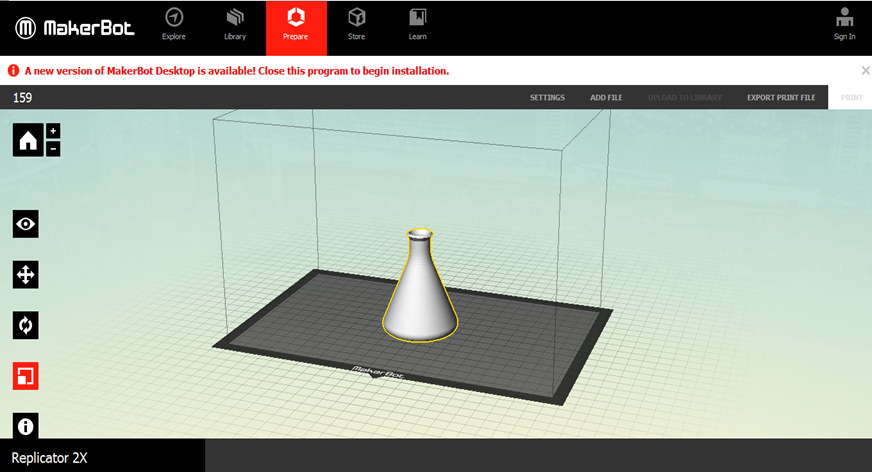
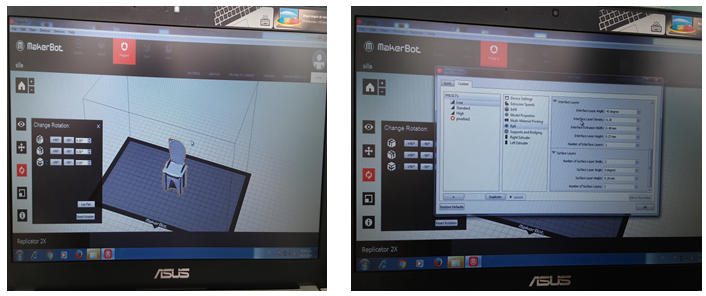
The program is downloaded and installed into one of the Fab Lab TECSUP's computers. Even though the program is powerful, it seems to be intuitive and easy to use. Here is the file HYUNDAI.123dx. This file is exported to STL format. The STL format file was opened with the program in the Makerbot2 Replicator2X printer, where I set the real scale (1.4 factor was used), I saved it on a SD memory card with the FAT extension.
1.- Directly place the memory a SD memory in the slot.
2.- Directly connecting a computer with the same software brand and sending directly the FAT file.
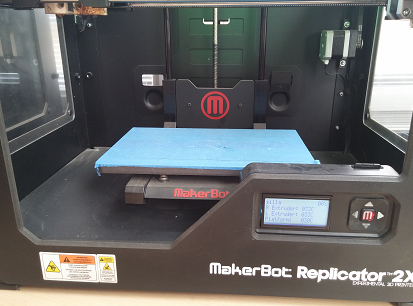
The STL format file was opened with the program in the Makerbot2 Replicator2X printer, where I set the real scale (1.4 factor was used). I saved it on a SD memory card with the FAT extension.
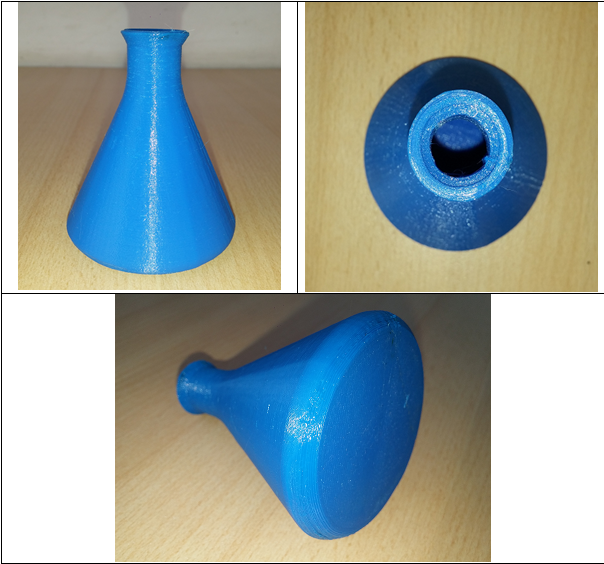
Before you begin the printing process, the machine will go to a preheating period. When the extruder reaches 230 ° C and the platform 110° C, the printing process begins.
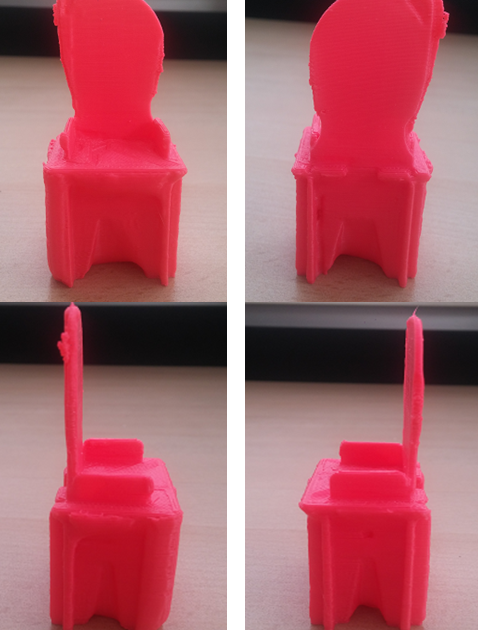
We have finally obtained a compact, resistant and homogeneous material distribution of color.
Advantages and limitations of 3D based on my design printing:
One of the advantages of 3D printing is the option of creating their own models; you can customize designs to future of different objects. To such an extent that each objects will tend to be unique. The personalization that allows the 3D printer leads us to consider that each object is be able to play in mass or failing, identify your product. As well as in what they do. The possibilities, limitations and possible improvements to printing 3D models in architecture and construction. On the one hand it has observed that the fundamental qualities to consider when implementing a 3D architecture or construction printing machine are: work area, layer height, minimum detail size, resolution, accuracy (normally in %), minimum thickness of wall and removal of stands.