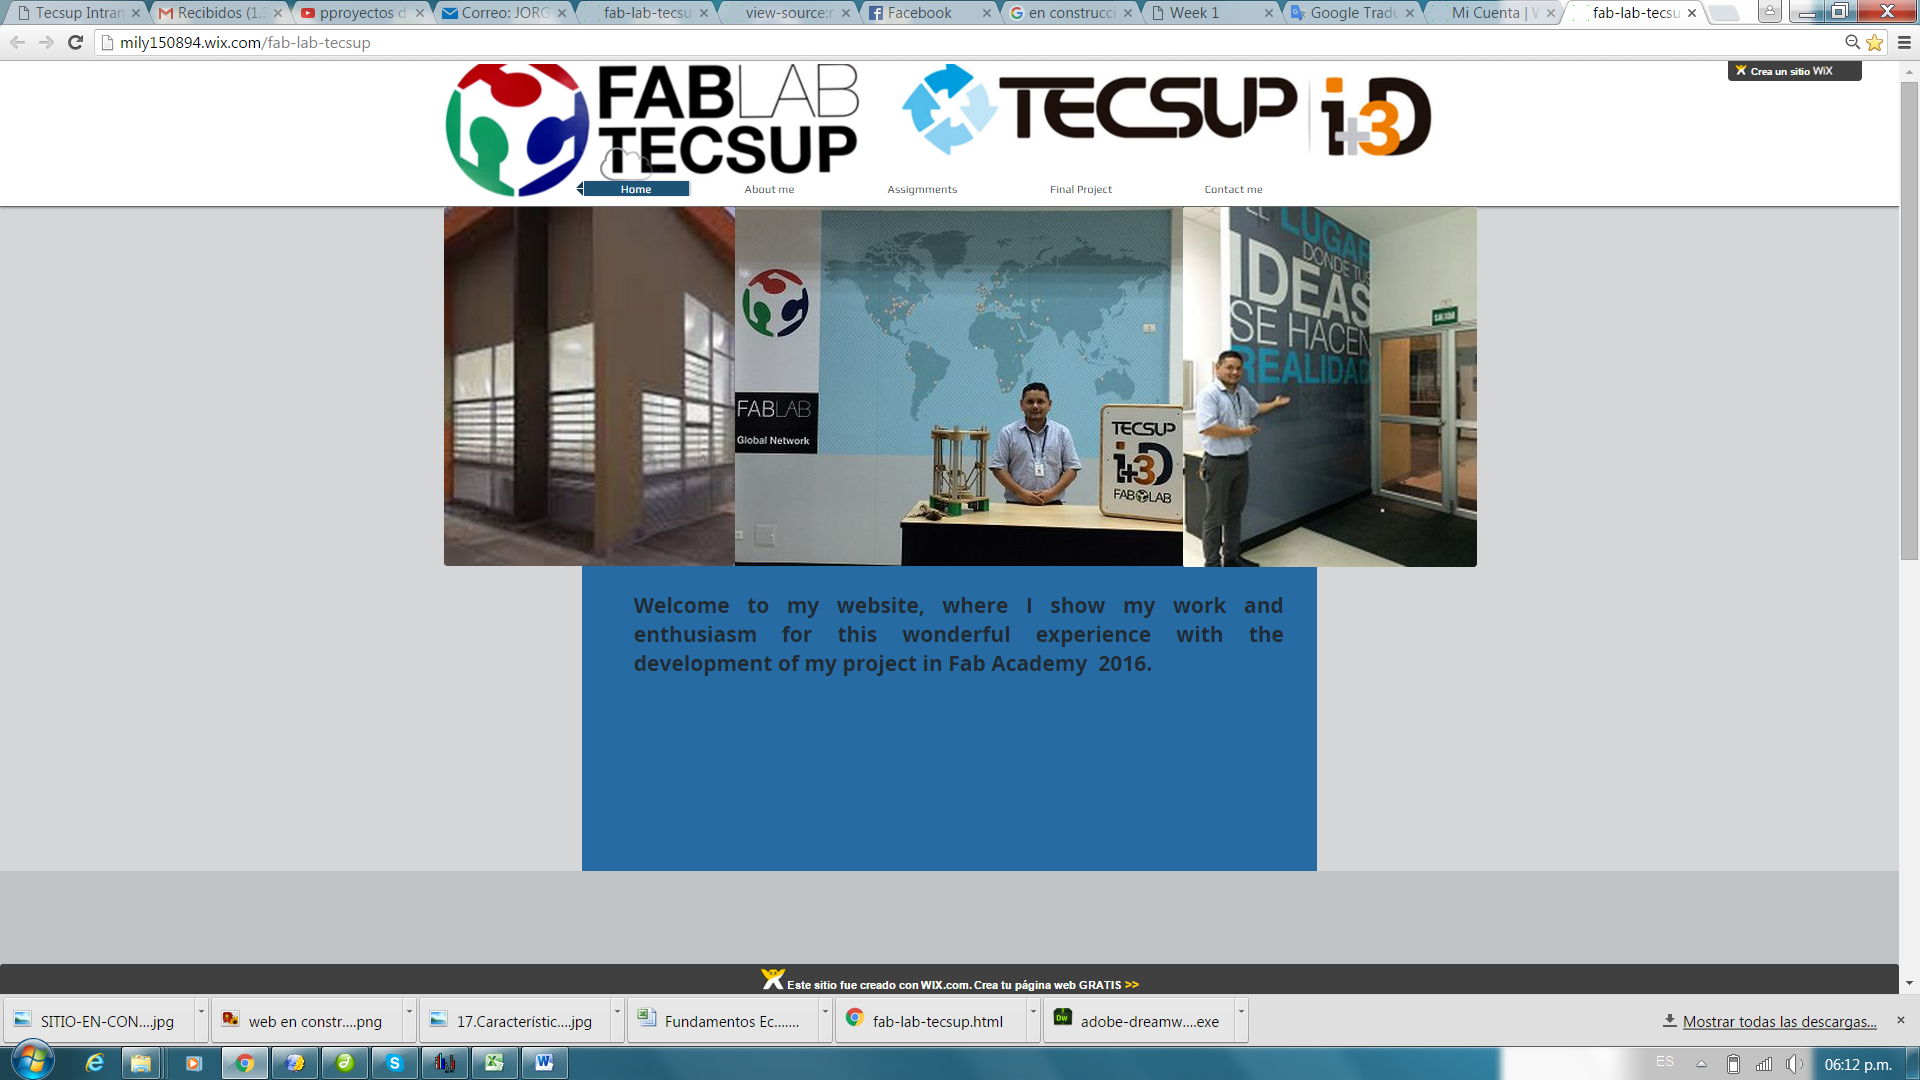
For the design of my website in the first instance used the "Wix" which could see it was easy to design, but then I realized it was not the right program because it would struggle to provide information to gitlab program. Therefore I decided to find another program.
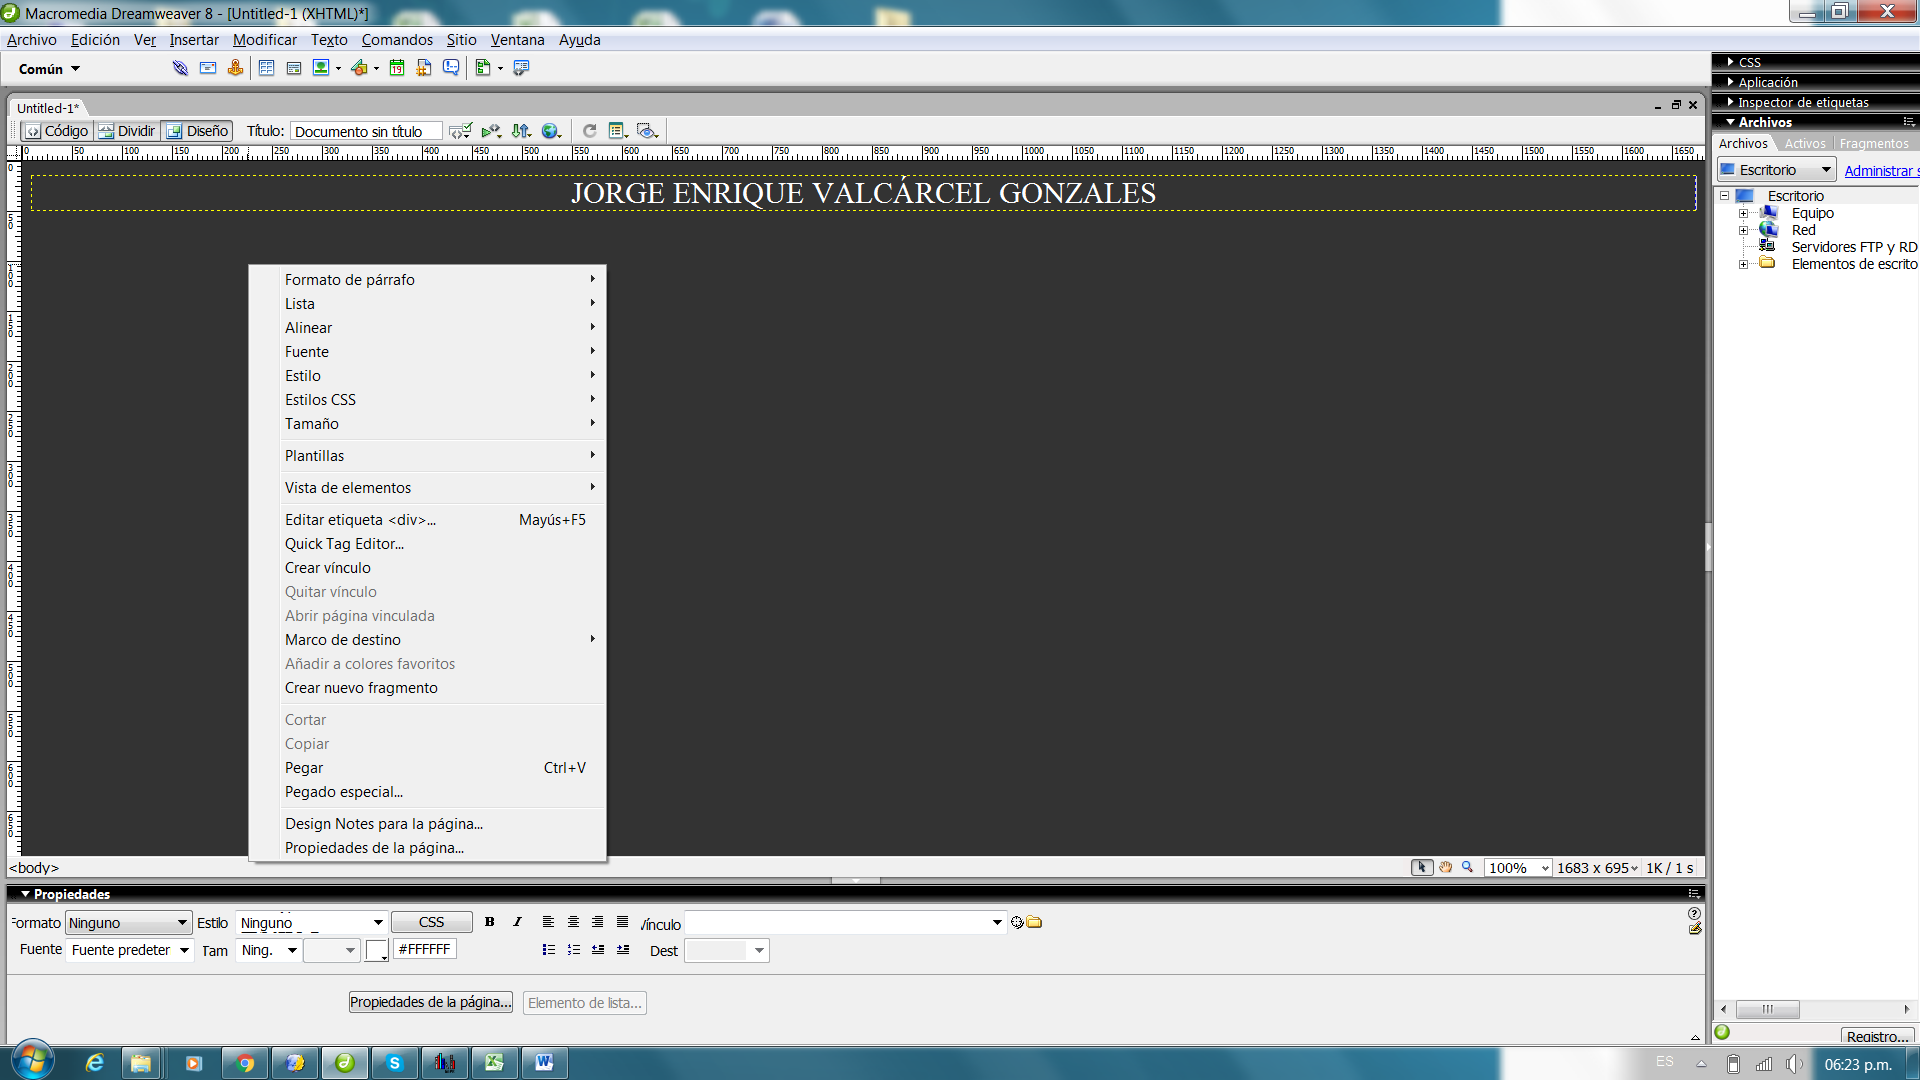
Then I started using the "Dreamweaver 8", but then I decided not to use because the license was for a month.
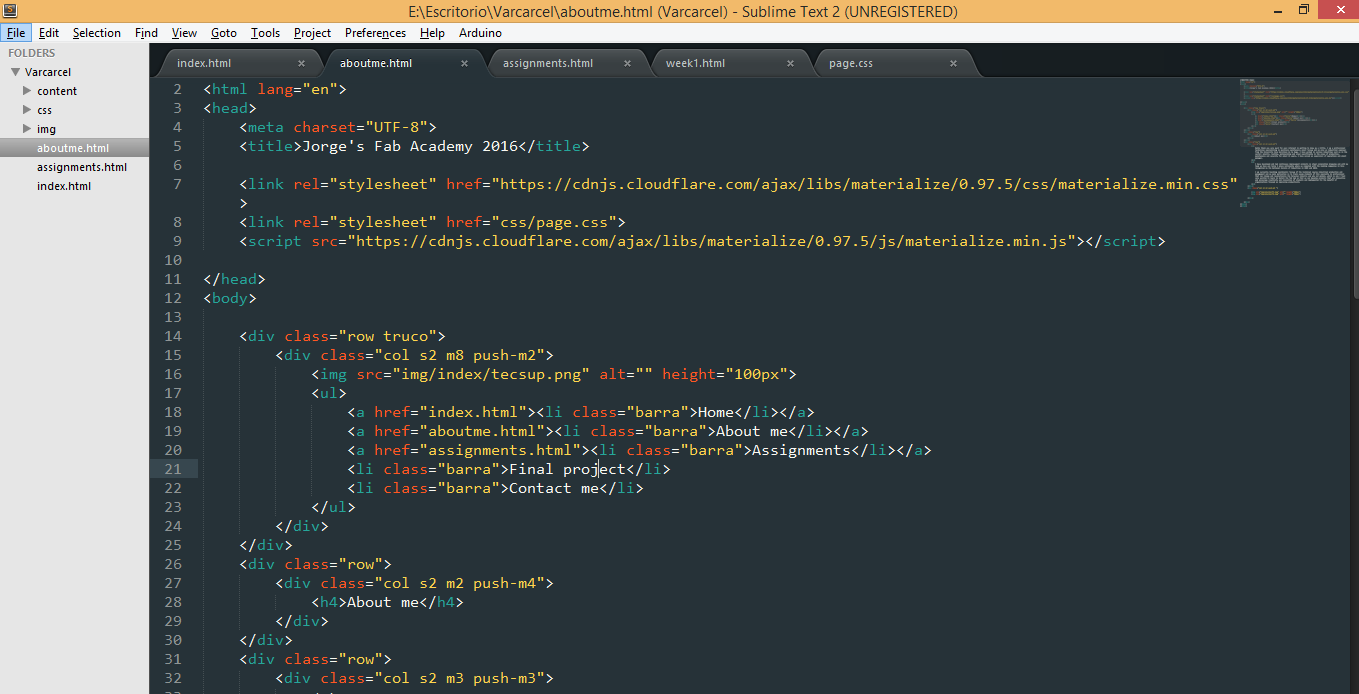
So finally i decided to use html and css from Materialize framework, and as my text editor, Sublime Text 2
So here we go. How do you make a web page using a framework? It's really easy (at least easier than doing it from the scratch). The first thing you do is to check the framework documentation. Luckyly Materialize has lots (and i swear it, lots!) of documentation. There is a description to use every single component available, and with a little notion of css and html you can develop a nice looking page.
The first thing I did was to create a navbar (i just had to copy and edit some code) Then I designed some useful blocks of code for everything I needed (images, video, text) Once I did this I designed my principal pages and a structure for the assignments pages. Since I had all the structure done, i stoped worrying about web development, I just had to replicate the blocks and the basic structures.
Here you can see some of the main structure and the html code of my pages
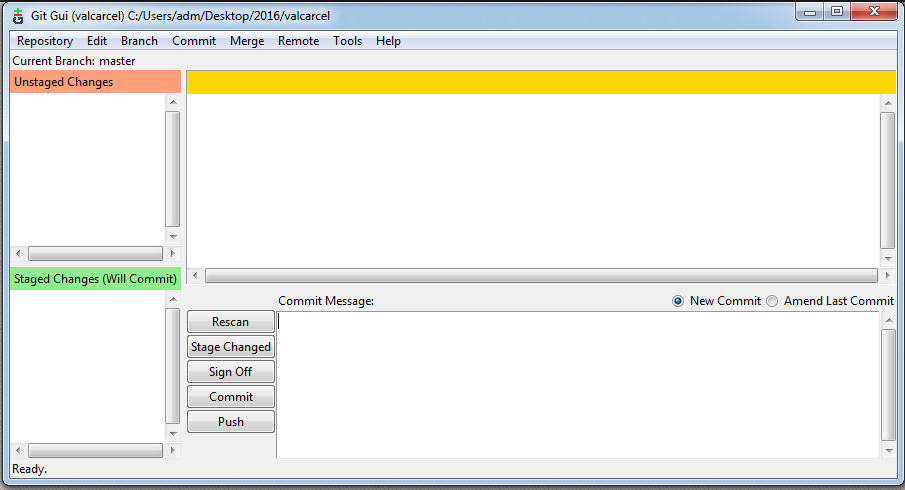
Steps to upload the files to the archive
Here you can see how does the interface looks like