Exercise 12 Molding and Casting
Requirement
- design a 3D mold, machine it, and cast parts from it
Designing the positive mold
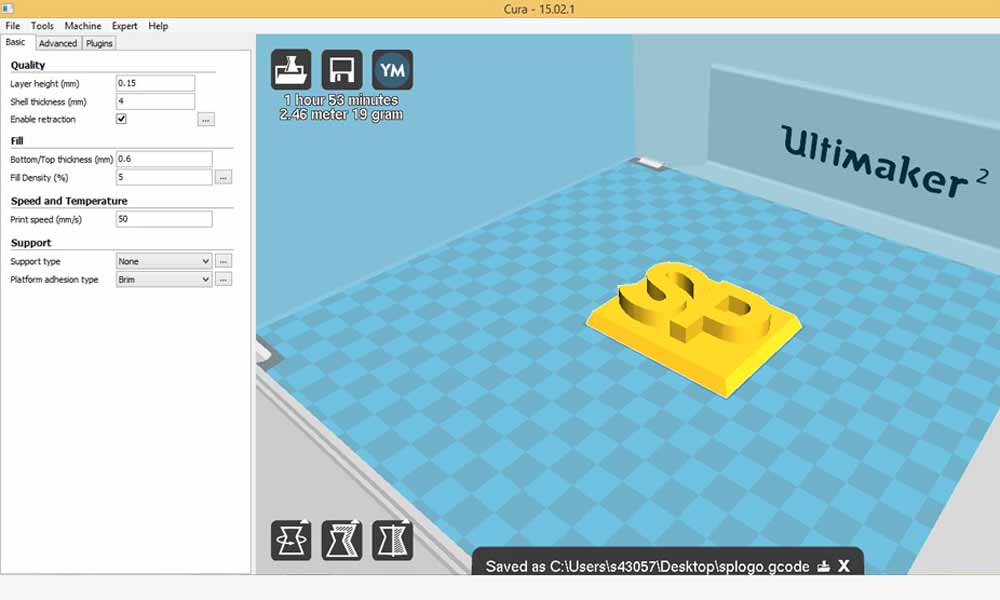
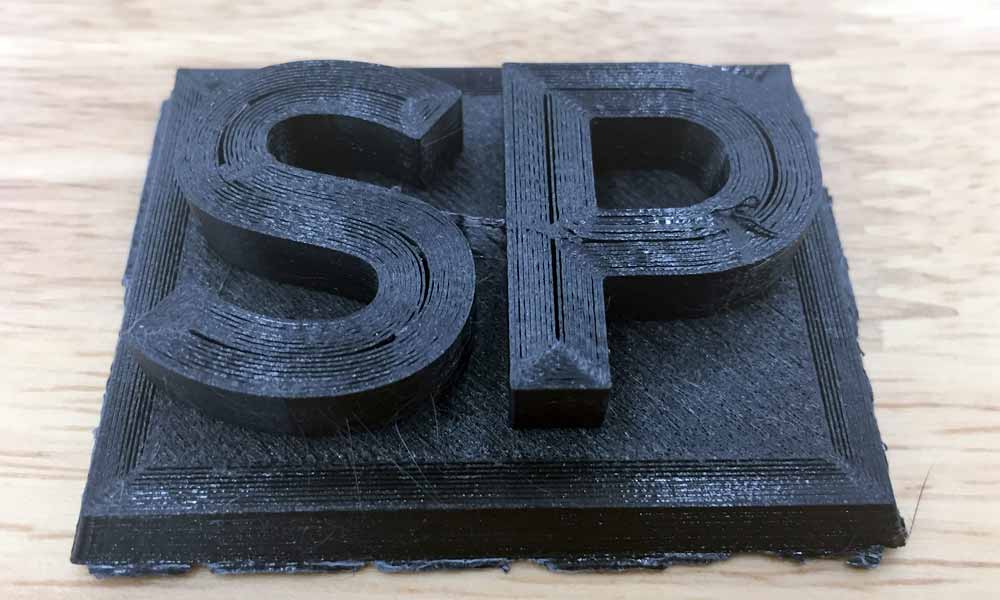
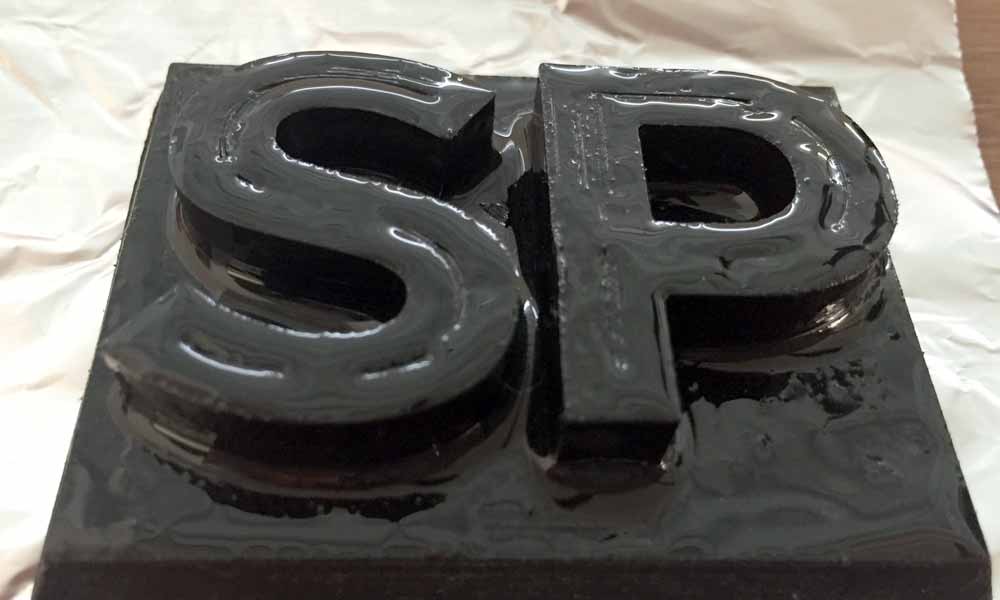
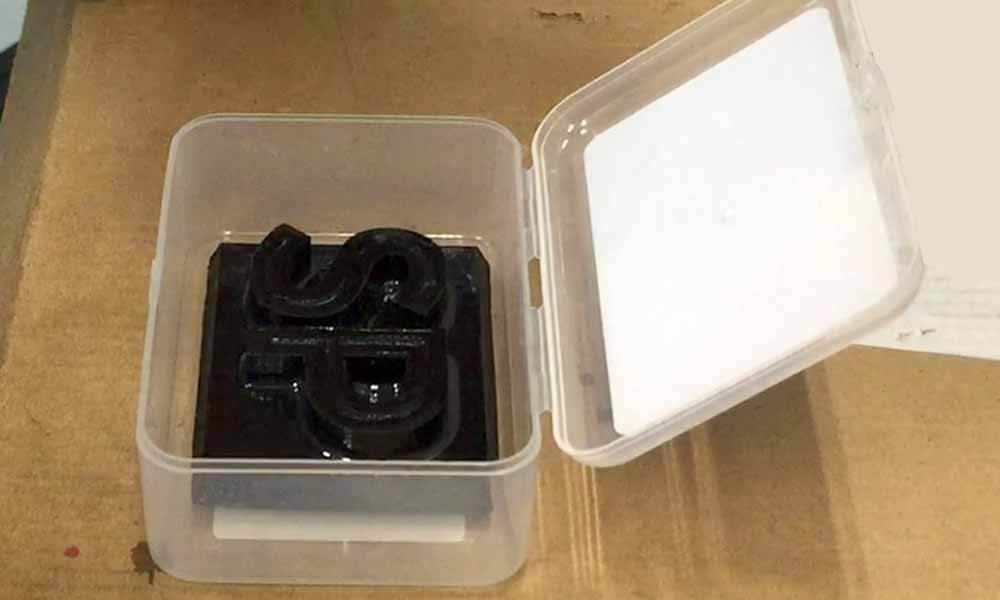
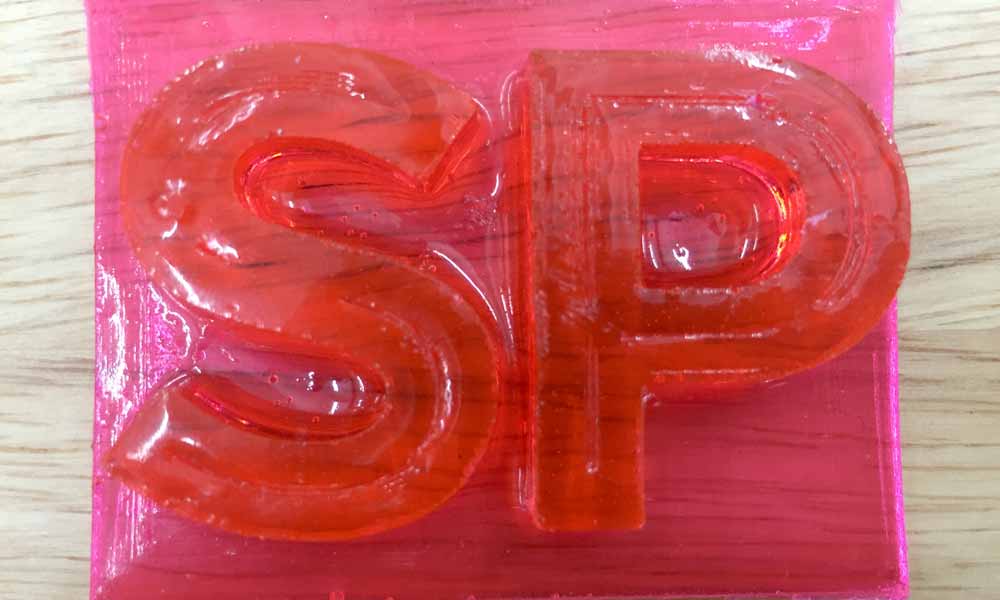
I have decided to use a simple design as the object for my mold, for a start. And that is "SP", the logo of my organization, Singapore Polytechnic. I cropped the PNG photo into a size which I would like to use, and convert it into SVG format using inkscape. Then I can import the svg file to 123D design. I angled the base to about 2mm inward so that it would be easier to release from the mold. The problem with 3d-printing the positive mold is that it does not have a smooth finish. Because of that, I added a coat of XTC-3D, which is a protective coating for smoothing and finishing 3D printed parts, to smoothen out the rough surfaces. Two liquids (A & B) are mixed together and brushed onto the surface. Coating self-levels and wets out uniformly without leaving brush strokes. Working time is 10 minutes and cure time is about 4 hours.

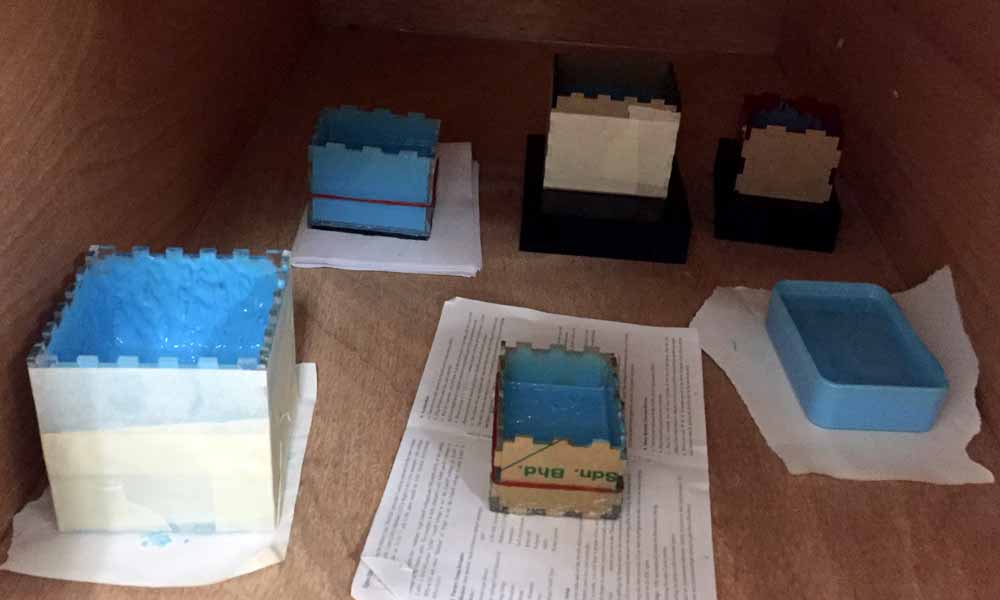
I needed to make a container for the negative mold to sit. And I am using the boxmaker to make a box quickly. I made a noob mistake at the first cut. I forgot to take the thickness of both sides of the joints (+ 2.7 + 2.7) into consideration. The final parameters are:
- 70.4 x 55.4 x 25 mm
- Material thickness: 2.7 mm
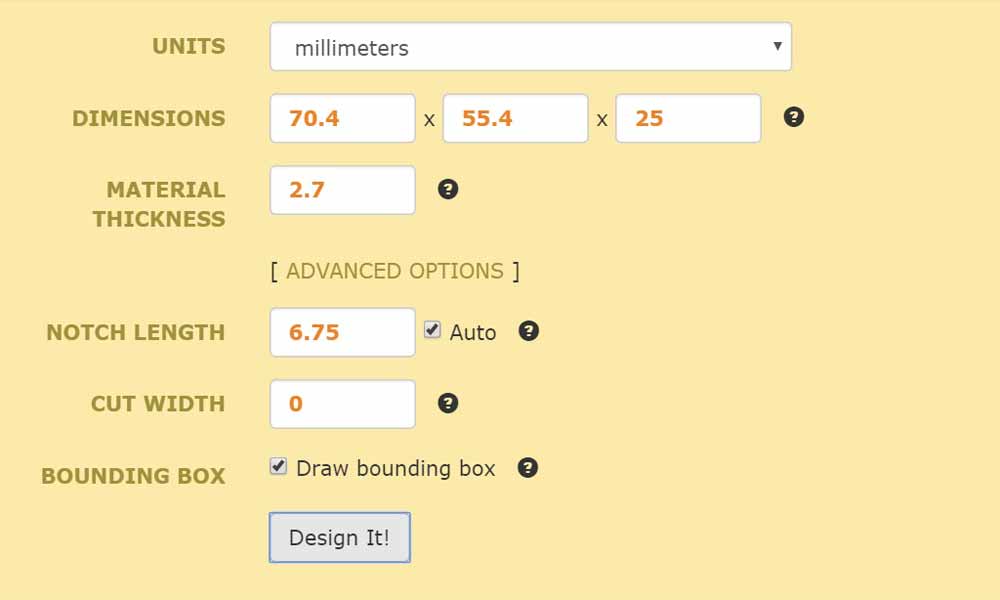
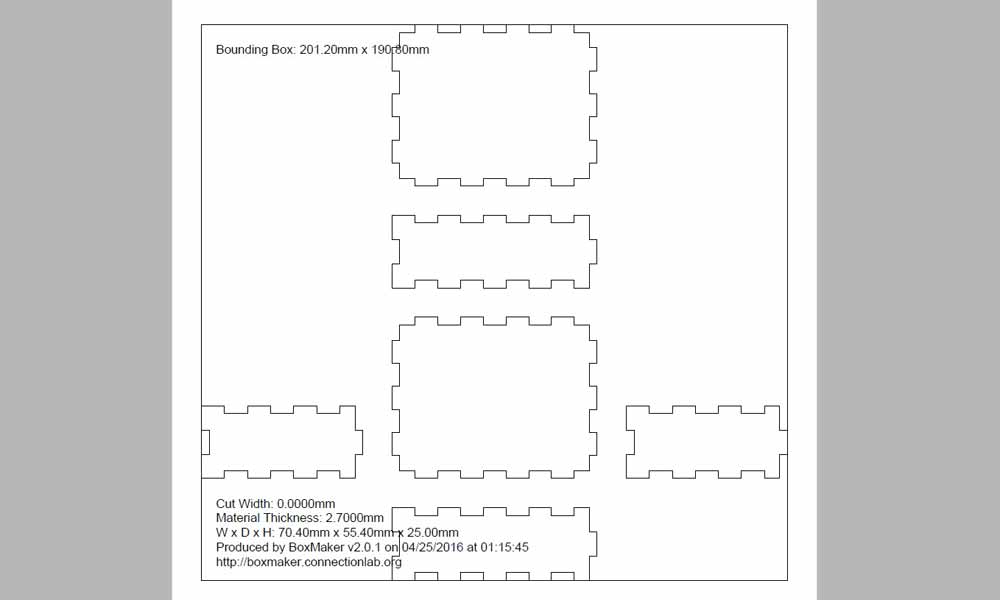
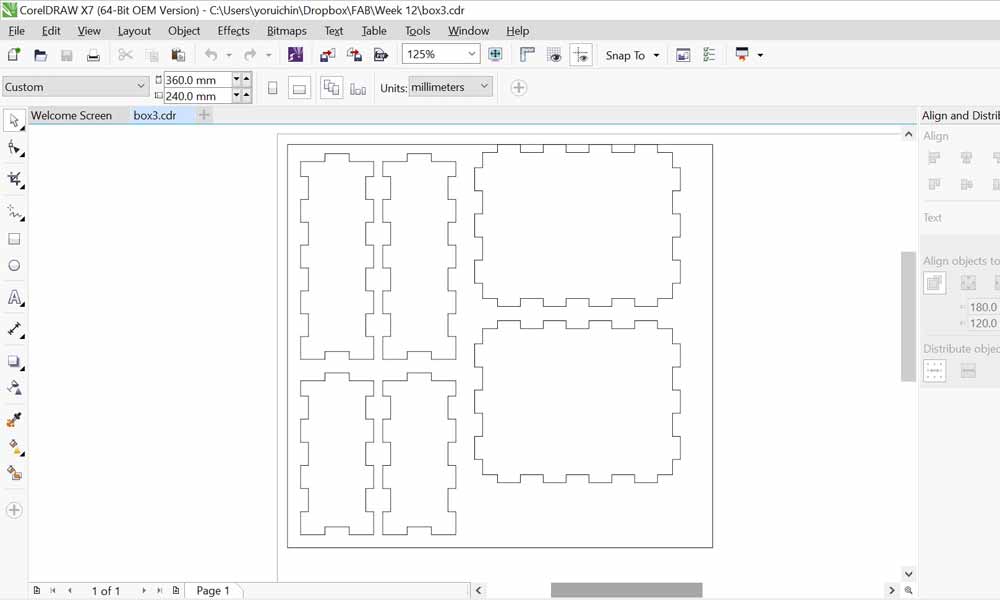
However, I didn't have time that day to cut a 2nd time. And I found an alternative to hold my mold. So I didn't have to waste time to lasercut again.
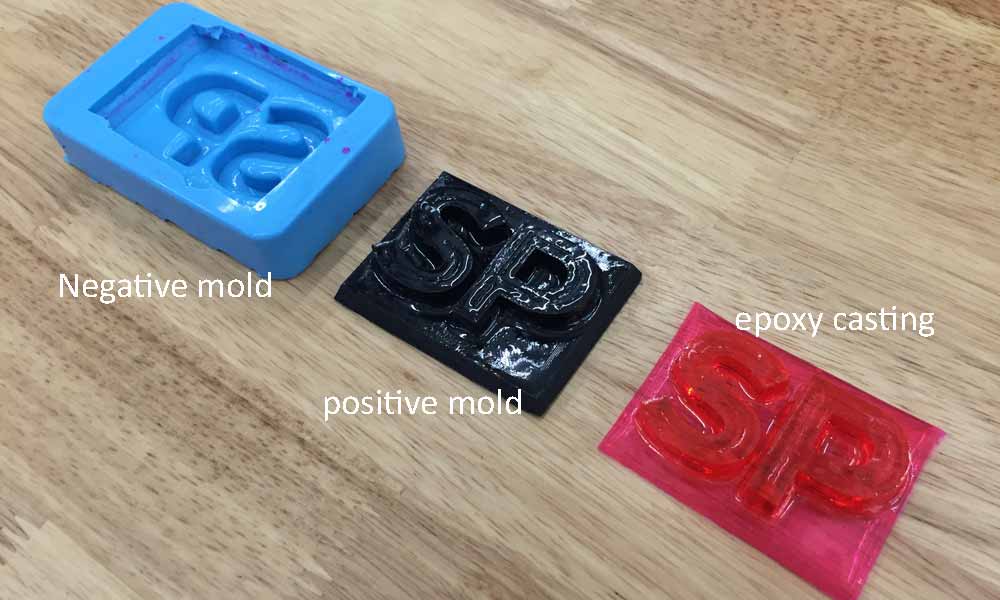
Making the Negative Mold
We are using the Easy Mold Silicon rubber to make the mold. Instructions can be found here.There are some good tutorials on how to make a soft mold, such as this 2-part clip: How to Make a Block Mold Using Easy Mold Silicone Rubber and How to Make a Resin Bangle Bracelet Using a Block Mold.
EasyMold Silicone Rubber is ideal for a wide range of mold applications including Castin’Craft Clear Casting Resin and EasyCast Clear Casting Epoxy, plaster, concrete, wax, soap, low melt metals, baking, chocolates, ice cubes and air-dry clay. For block molds, we can determine how much silicone rubber is needed first by pouring rice into the area around and over the object in the contained area. Then, pour this rice into a measuring cup to determine how much silicone rubber to mix.
- Using a plastic container slightly larger than the original piece, apply hot melt glue or sulfur free clay to the base of the item. This creates a seal as well as securing the item. Position item in container and press firmly.
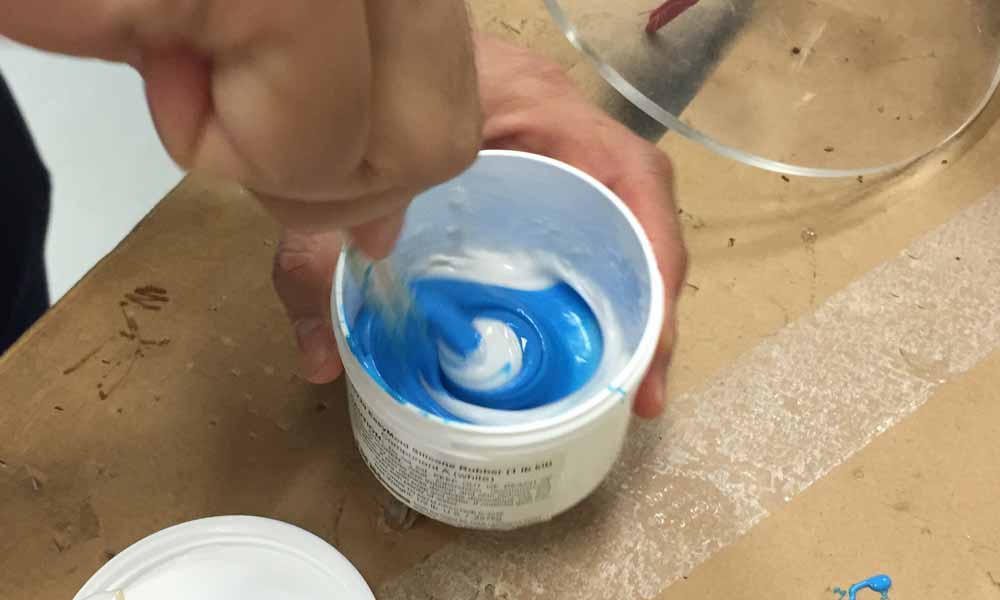
- Measure equal amounts of parts A and B by volume. Blend until a uniform color is achieved.
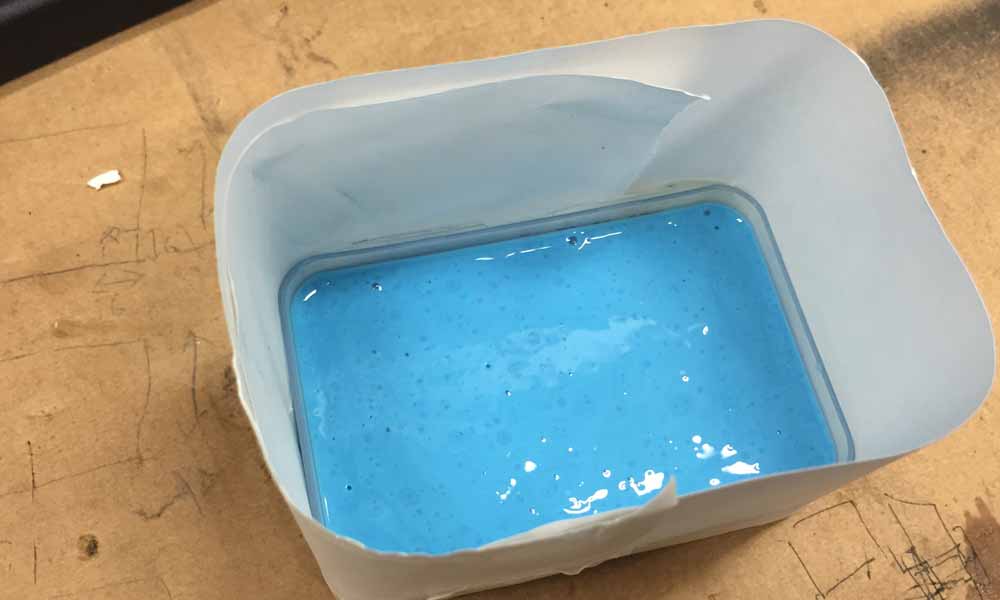
- Pour a thin stream to one side of item. Allow mold to cure 24 hours.
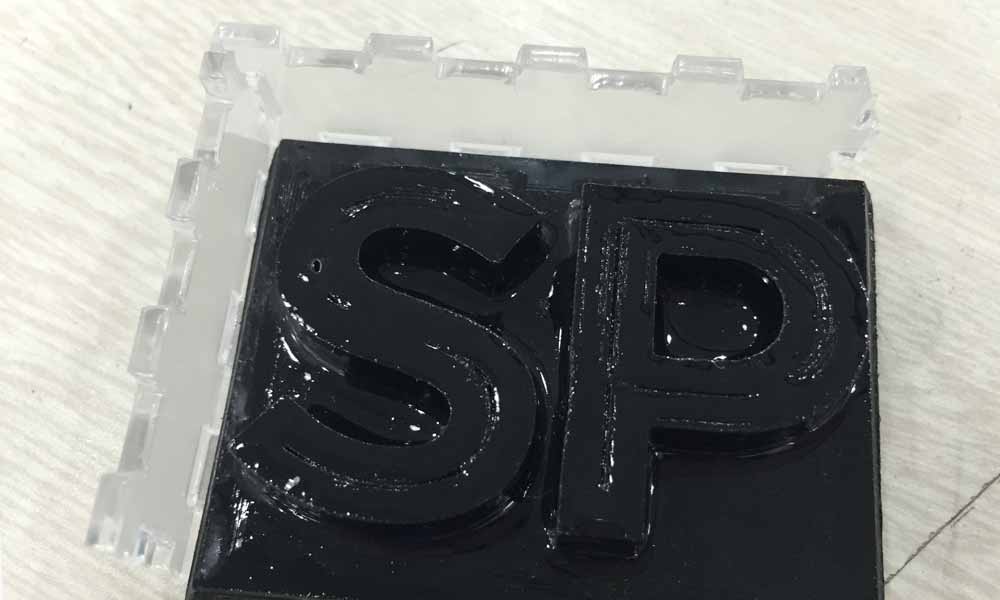
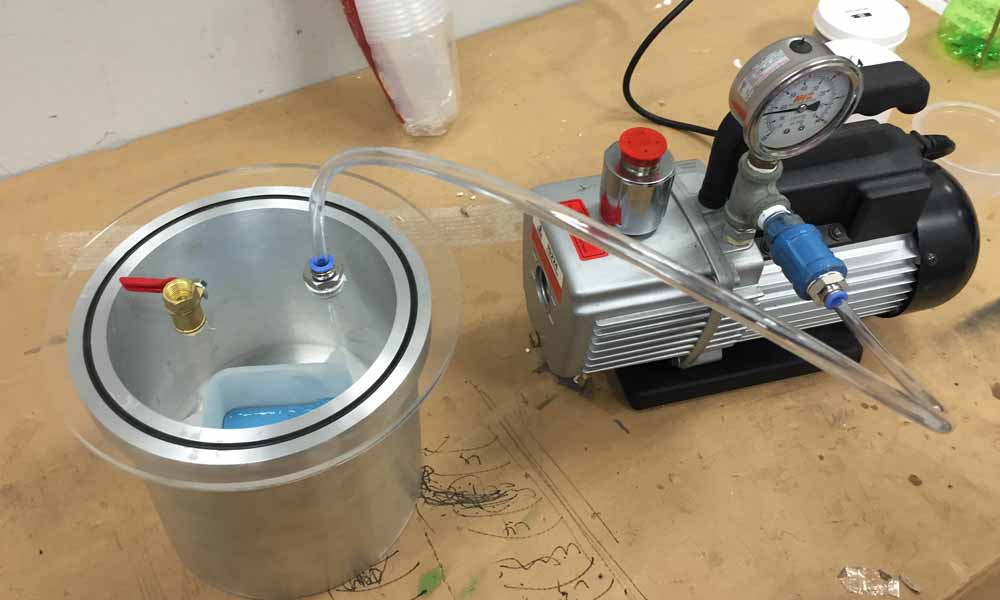
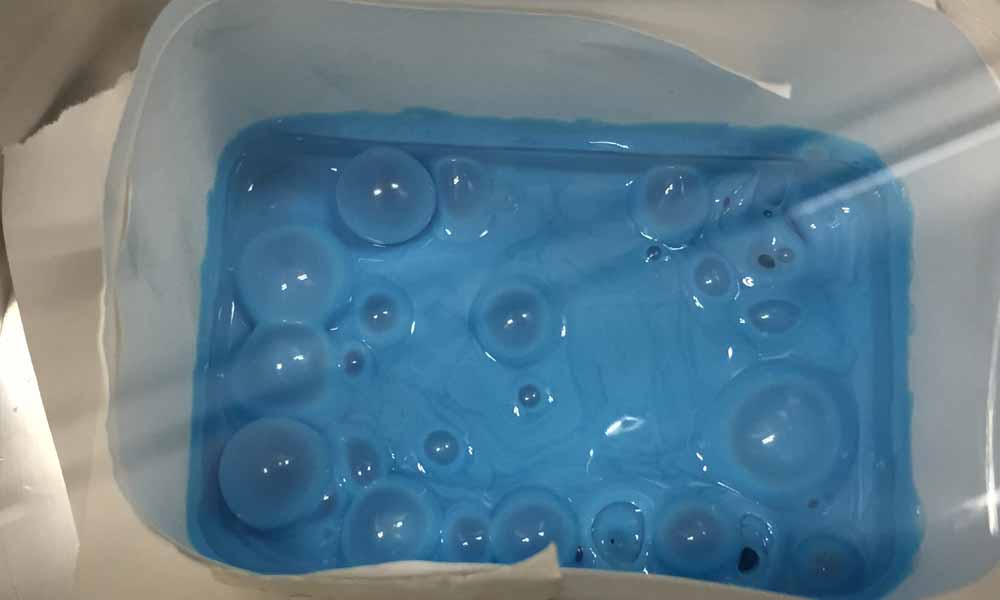
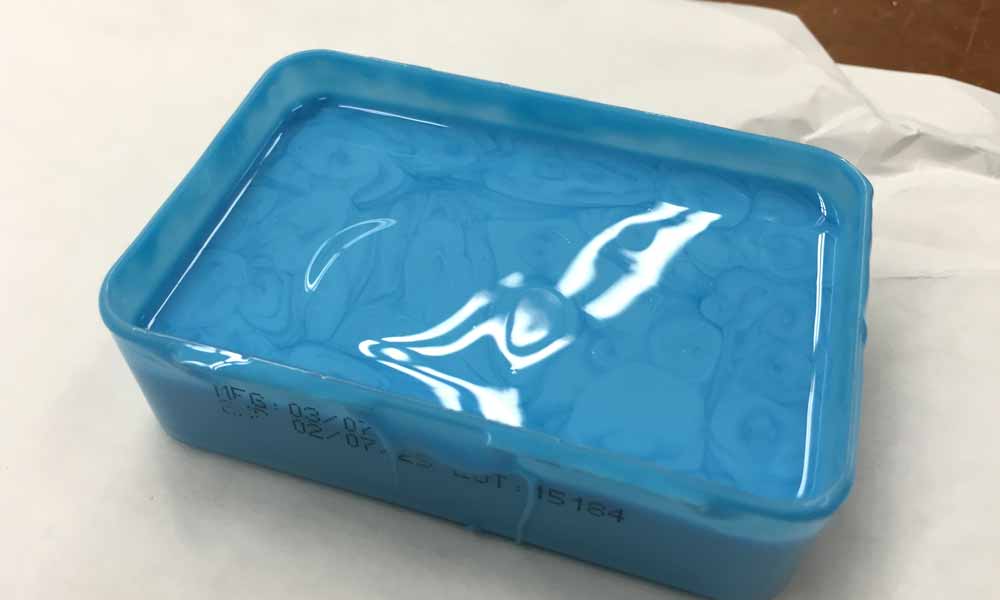
After mixing the Part A and B uniformly, I pour the mixture into the container. One of my classmates managed to borrow a vacuum degassing chamber for our project. I was told that we didn't really need a machine like this because if we take care to stir the mixture we can minimise bubbles and that the bubbles could be easily gotten rid of by simply knocking the container continuously for 5 minutes against the tabletop. However I felt that this equipment is a necessary step considering the amount of bubbles it was able to remove from the mixture because my model was 3d-printed, which was filled with air. After undergoing the vacuum chamber for about 30 minutes, I let it cure for 24 hours with the rest of my classmates.
Casting
I am using the EasyCast Clear Casting Epoxy to make the mold. Instructions can be found here.There are some good tutorials on how to do casting using epoxy resin, such as this clip: How To Use EasyCast Clear Casting Epoxy.
EasyCast is a two component, low odor, solvent free, clear casting epoxy. It can easily be colored, tinted or combined with fillers to create faux granite or metallic castings. These characteristics make it ideal for casting and embedding up to 6 ounces (maximum) per pour.
- Add equal volume of resin and hardener (1 is to 1) to a container and mix together for two full minutes. During mixing, use the stir stick to scrape the sides and bottom of your mixing container. Occasionally scrape the mixture from your stir stick back into the solution. After two full minutes of mixing, pour the contents from the first container into a second container. Using a new stir stick, mix the contents of this second container another minute, again scraping sides of container and stir stick. Pour immediately from this second container.
- Cast pieces should cure at temperatures between 21°C and 29°C. Normal cure for castings 1" thick is 24 hours for soft cure, 72 hours for hard cure.
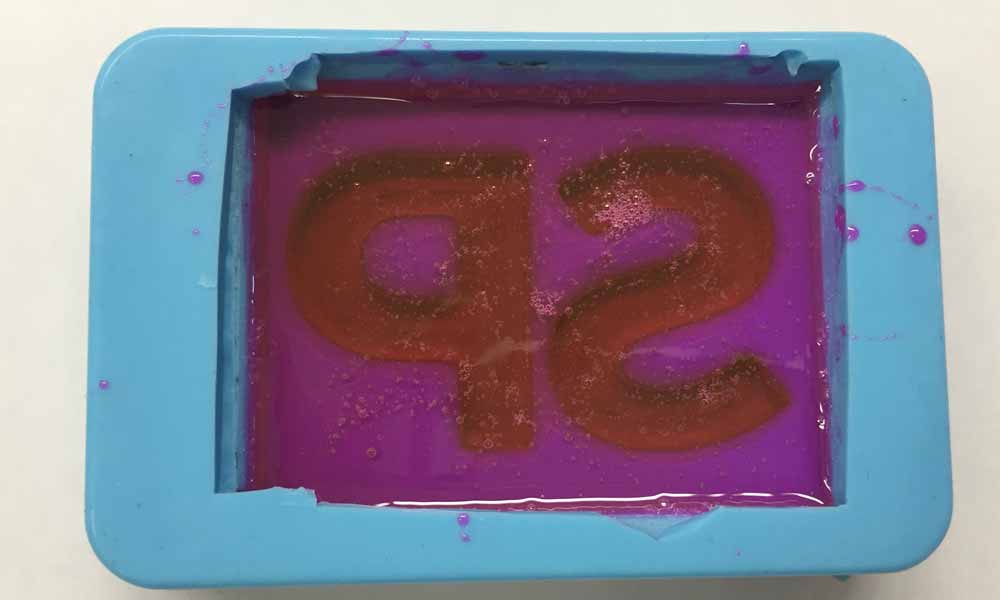
After mixing the resin and hardener together uniformly, I added a drop of coloring to the content and mix until thorough. Then, I pour the content into the silicon mold and let it cure for another 24 hours.
Milling Process
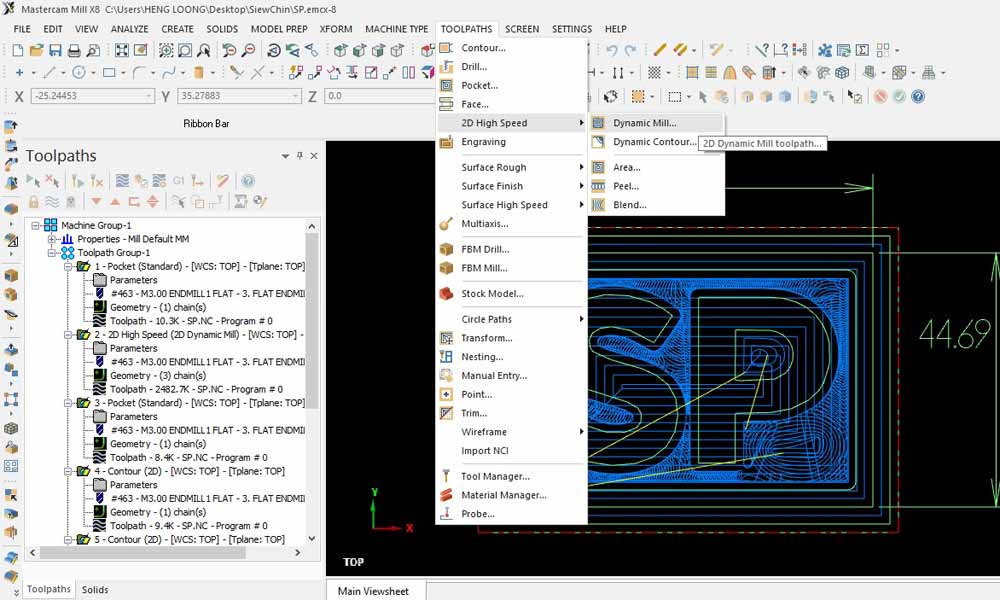
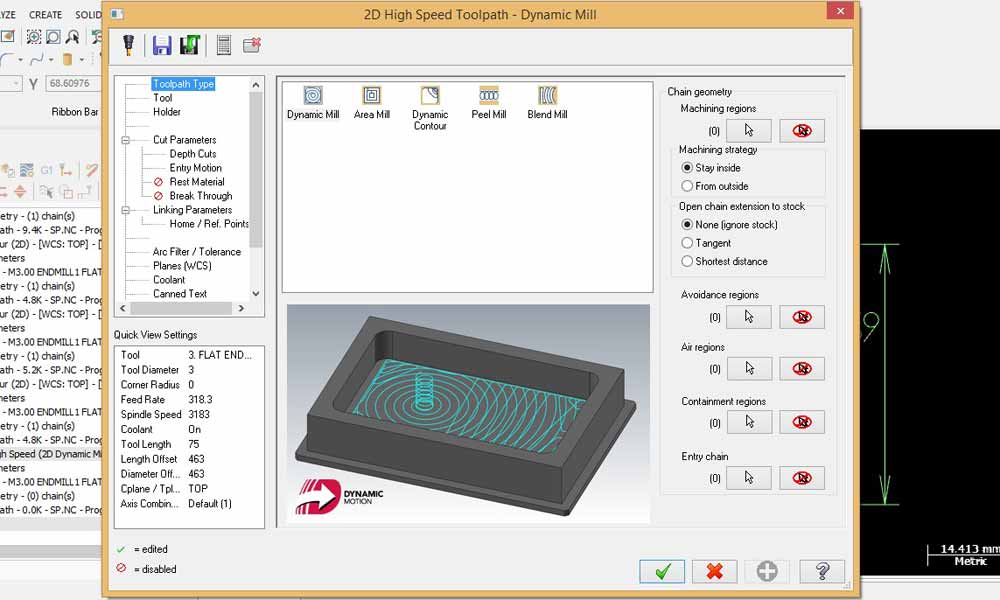
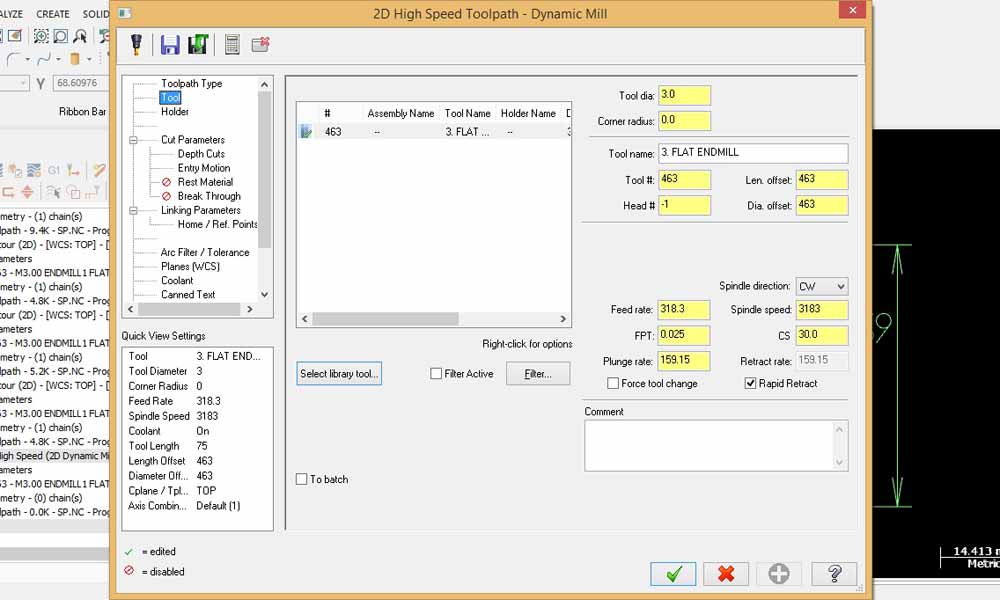
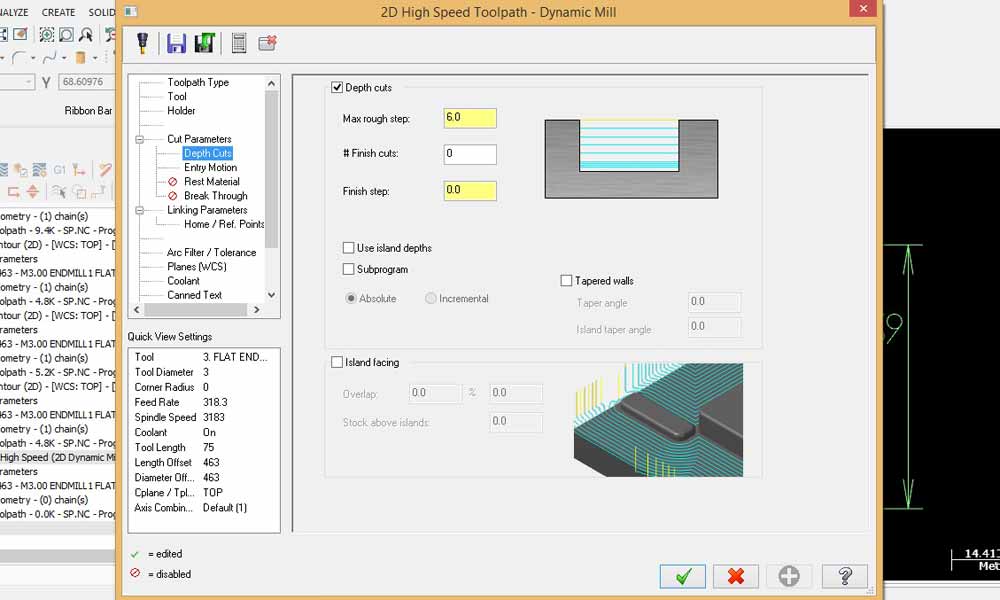
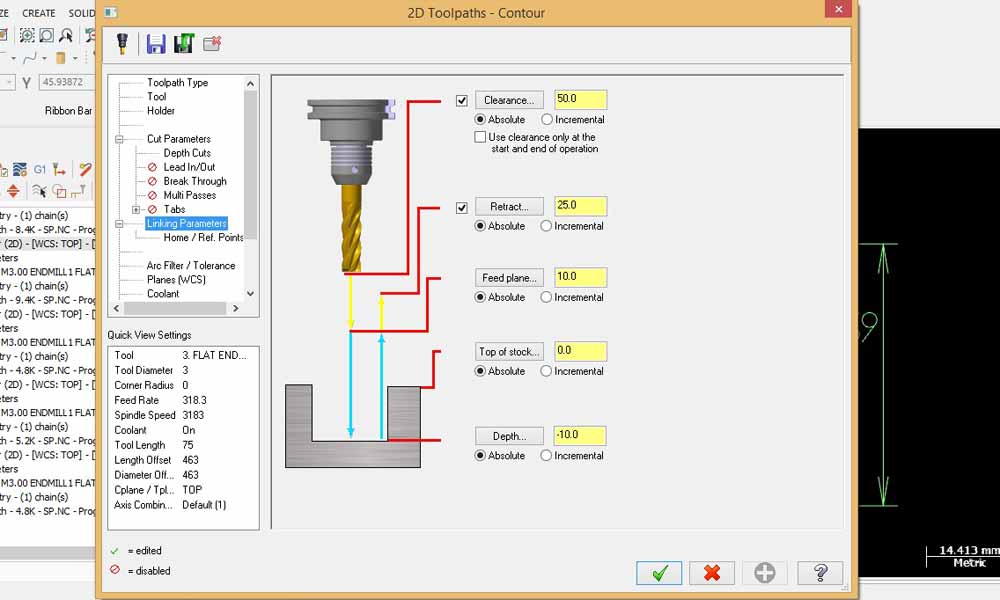
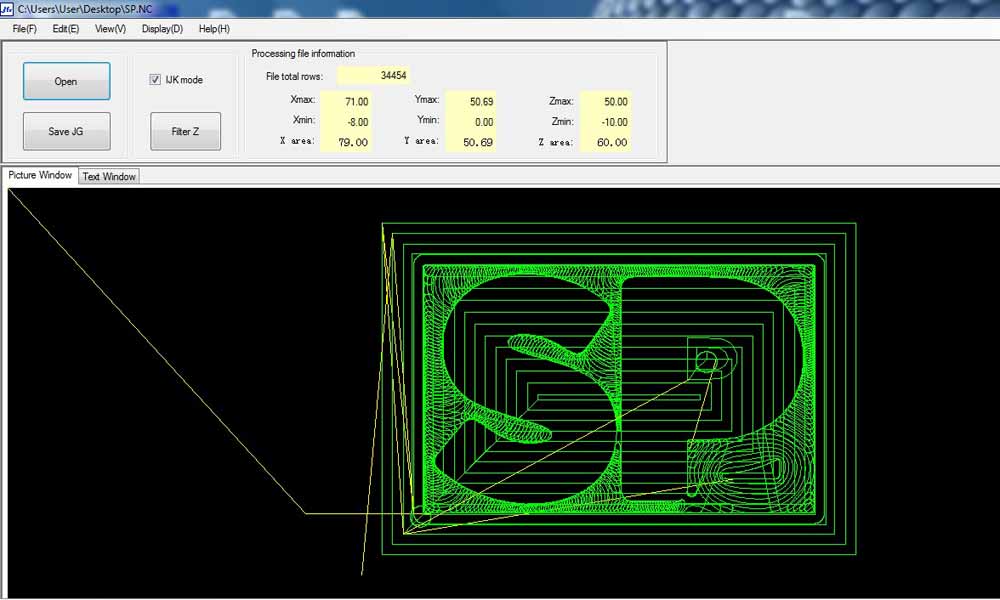
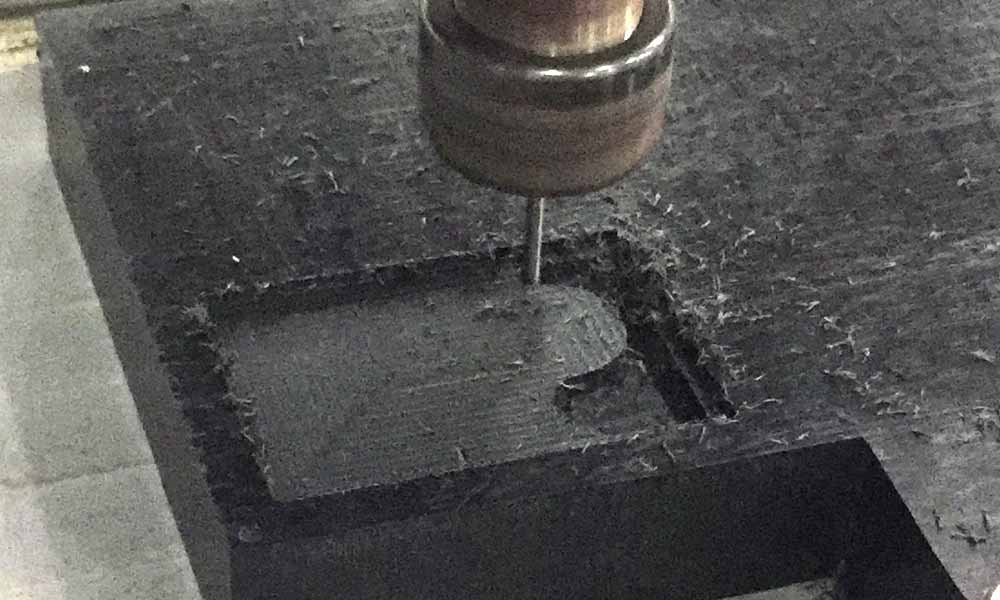
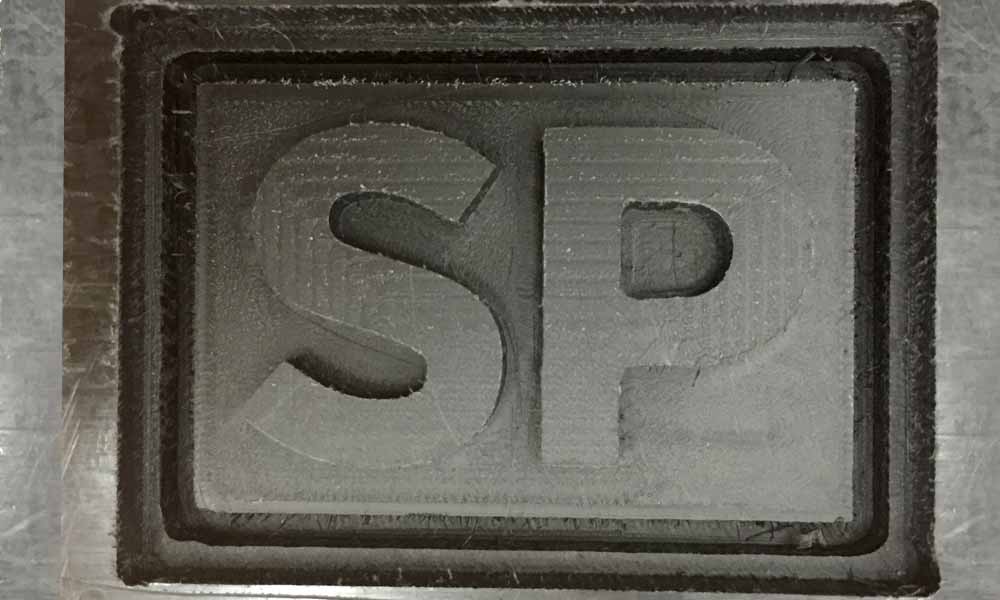
After I've done most of the work, I was informed only on the day of submission by the regional guru that 3d-printed mold was unacceptable, as the assessment criteria for the week requires us to design appropriate objects within the limitations of 3 axis machining. As a result, I spent an additional day working on the positive mold. The material used was high-density plastic block that a colleague helped me source from one of the schools in Singapore Polytechnic. With the guidance of my colleague, I was able mill the SP logo via Mastercam. It was a complicated software but the toolpath it was able to control was very precise. Dynamic Milling was the technique utilized for the job. Dynamic area mill is a pocket toolpath that utilizes dynamic motion. A boundary is selected; islands, bosses, and geometry to avoid are added; tooling, parameters, entry method, and linking values are entered; and the toolpath is generated. Material is removed from the inside to the outside in a highly efficient manner.
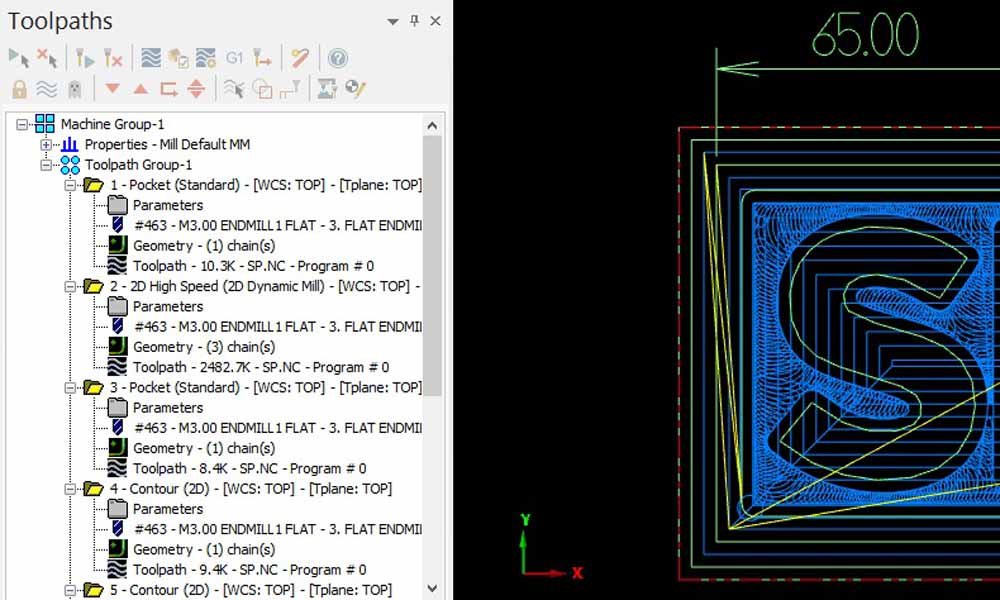
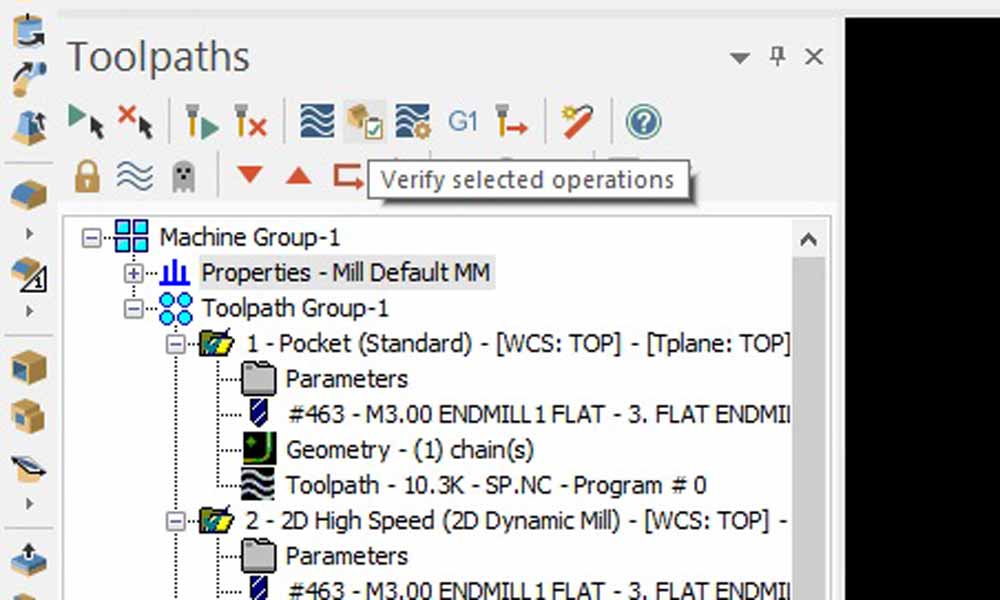
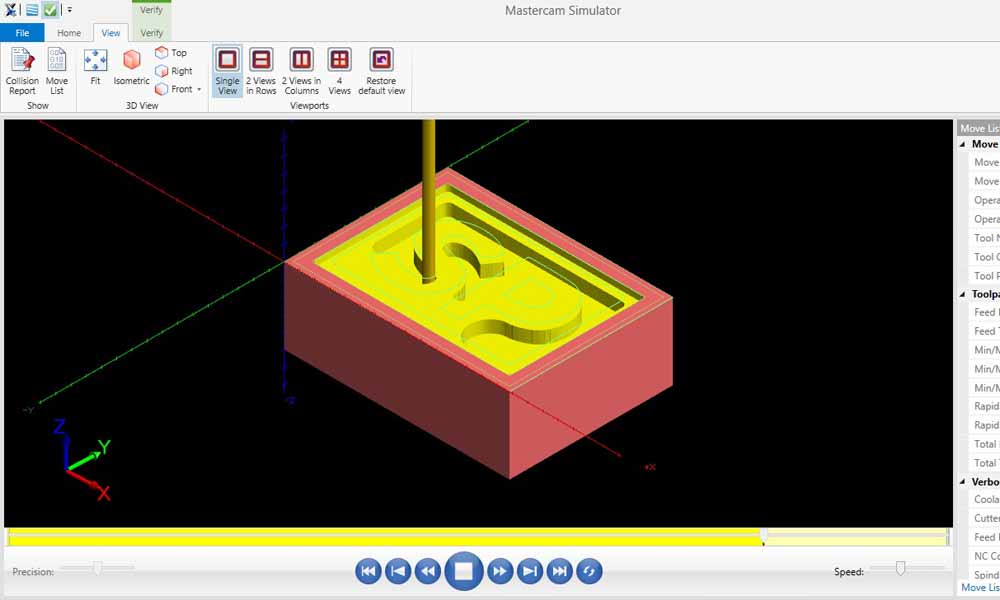
One interesting function of Mastercam is Backplotting All Toolpaths. Backplot is a Mastercam function that allows you to see the path the tools take to cut the part. This display lets you spot errors in the program before you machine the part. To do that, go to the top of the Toolpath Manager, click the Select all operations button. All five toolpath folders display a check mark. Right-click in the graphics window and choose Isometric (WCS) from the menu to view the part and all toolpaths in the isometric view. Use the buttons and sliders on the Backplot VCR bar to backplot the operations. Detailed instructions and settings on how to backplot and send NC file to the SK2030 CNC Router can be found here.
Hero Shots
Download Week 12 work files
References
- Simple Silicone Rubber Molds (no parting line)
- Moldmaking With Clear Silicone Rubber
- Mold Making - Surface Casting
- Repro Fast Cast Urethanes
- Mold Making Tutorial: How To Make a Brush-On Rubber Mold of a Bust
- How to Make a Block Mold Using Easy Mold Silicone Rubber
- How to Make a Resin Bangle Bracelet Using a Block Mold
- How To Use EasyCast Clear Casting Epoxy
- Mastercam Download
- mastercam x getting started tutorials - Dynamic Milling
- Basic 2D Machining
- Mastercam's Dynamic Milling
- Mastercam Toolpath Setup