12. 3D Moulding and Casting
This week assignment is to design a negative mould, machine it and cast parts from it.
Product design and molding process
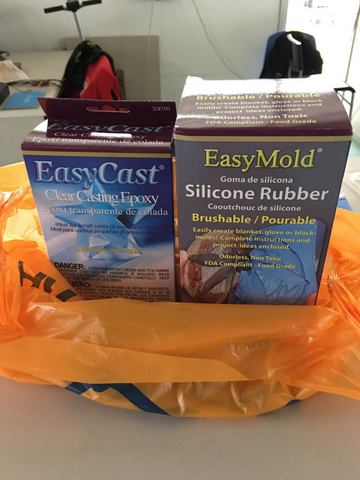
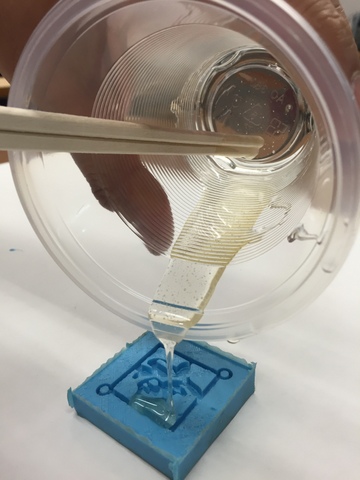
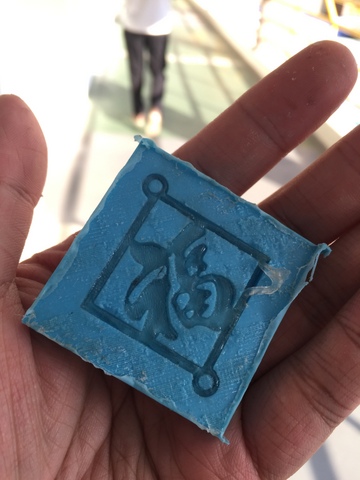
I designed a negative mould of a chinese character using tinkerCAD and 3D print it using a Ultimaker 2 printer. Followed up by laser cutting an aryclic box design by Make A Box. The box is to be used as a containment over the 3D print mould to hold the silicone poured over it. I left it to cure for 24 hours in a cool room before breaking the acrylic box to release the silicone mould.
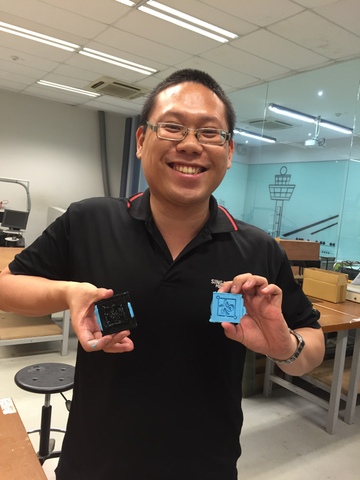
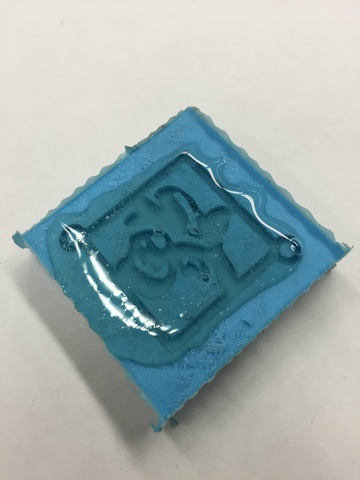
The results looked great !!
|
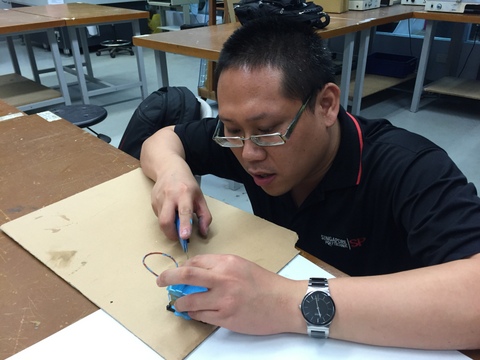
I mixed epoxy named Part A and Part B in equal portion together and poured in over the silicone mould and left to set for 24 hours.
|
After the setting time, I realised it wasn't hard as it was supposed to be and felt tacky to touch. I read the instruction manual again and found out the thinner the product, the longer time it takes to hardened. I felt the problem of the chinese character lays in the design for being too slick and thin.
|
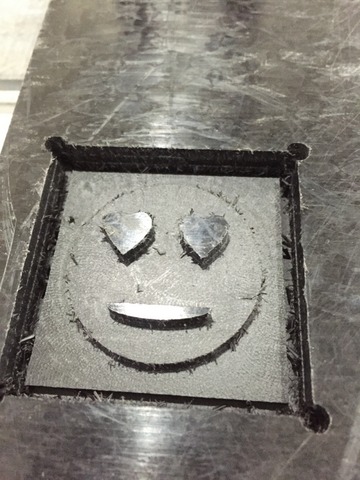
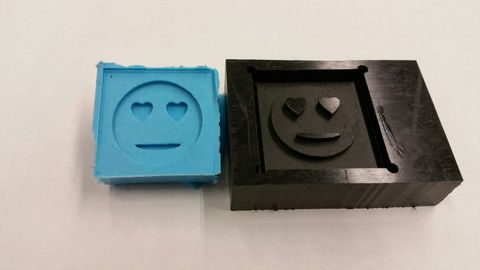
My smiley mold design
The smiley face design was drawn using Autocad.
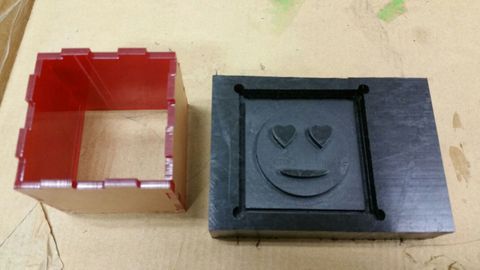
I then used Mastercam read the drawing and planned its cutting operations. The method of procedure is the same as was done in Week 7 and so it would not be repeated here. Here is the Mastercam file for download .
After the drawing gcode was generated in NC, it was later converted into JG because the machine that is going to be used is the SK2030.
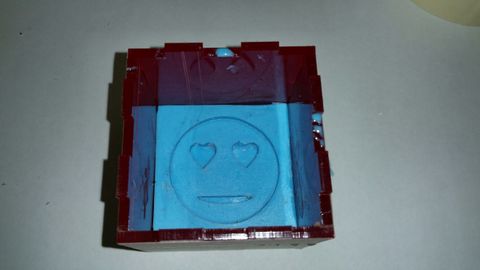
Again the arcylic box was created using the Make A Box.
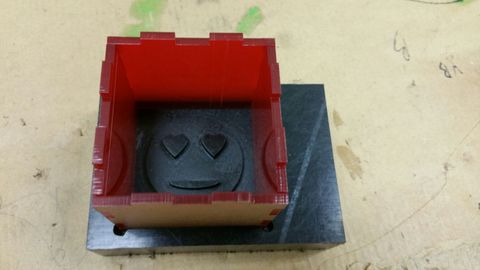
The first 3 pictures below showed the mold setup in preparations for the silicone.
|
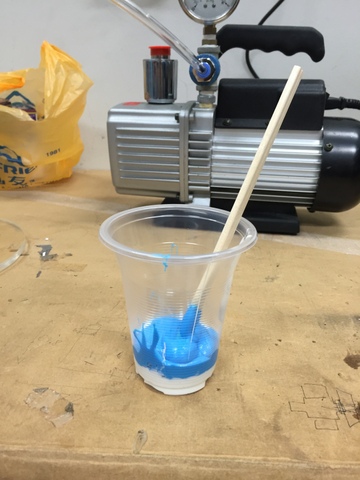
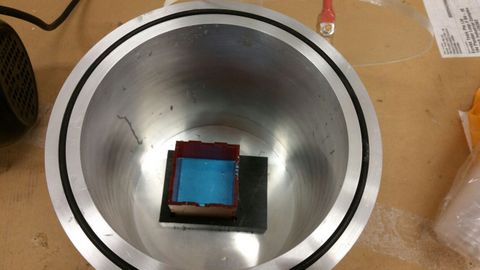
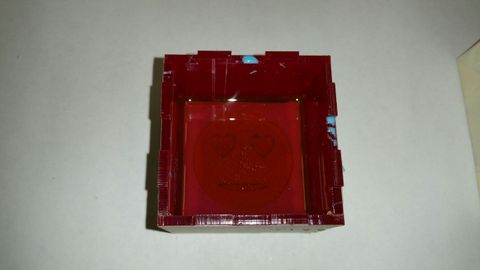
The next 3 pictures below showed the silicone being formed by mixing Part A and Part B together, then poured into mold. My local instructor told me to just knock it on the table for 5 mins to remove the air. However, one of our classmate build a vacuum chamber so that I decided to use it as it is more effective and let it cured for 24 hours.

|
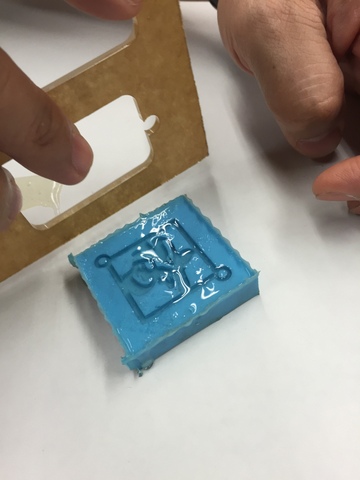
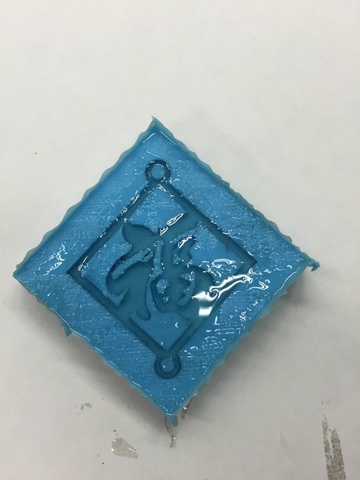
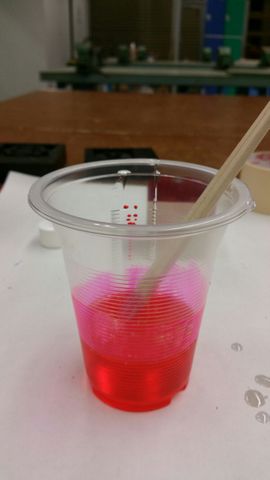
The Product
The product must first begin by mixing the together to form the epoxy. The portion is both equal for Part A and Part B. I added a little twist with red dye to make the end product more visually pleasing.
|
After 24 hours of curing time, the picture below showed the final results of the product must first.
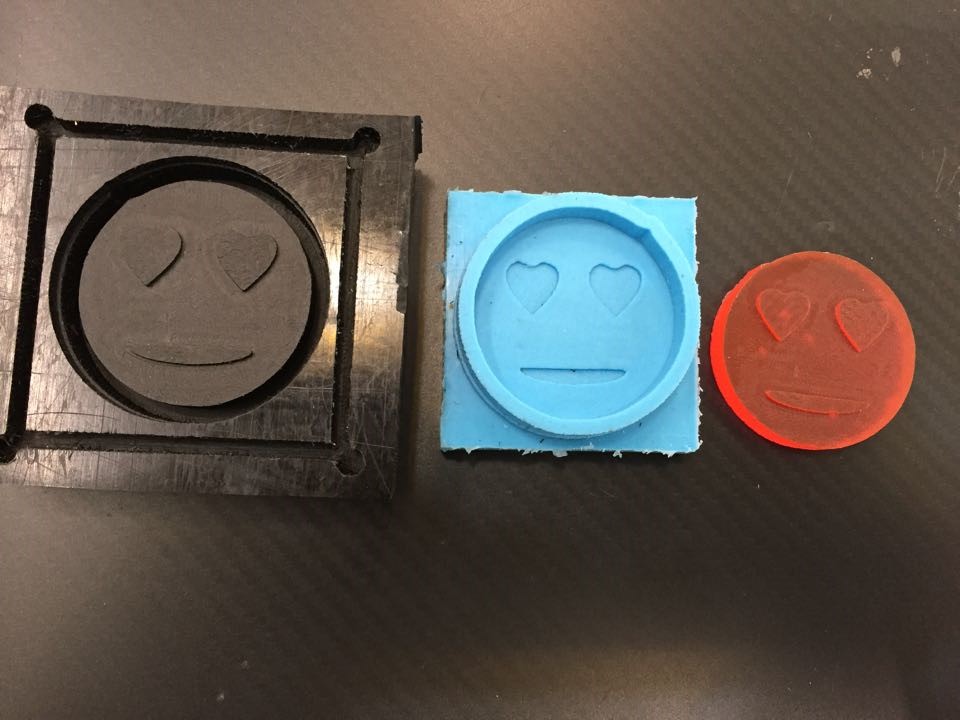
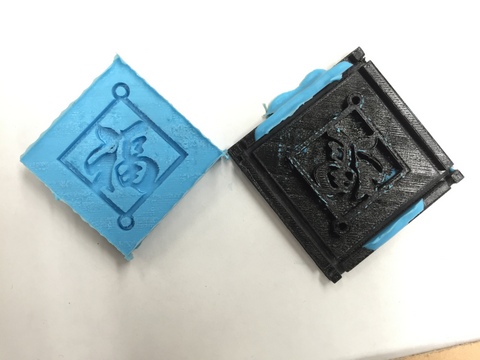
Comparing the 3D print mold and 2D route object
I chosed high density plastic to make the mold because the contacting surface of the silicone mold will be smooth.
2D route is better than 3D print, 3D printed object take a longer time and very hard to remove the silicone.