Use
<a href="folder/filename.ext">comment text</a> to link them into your writeup.For example: Week 3 images are named
wk3_00_imagename.jpg. This makes the images easier to find and link. Also, remember to place them in the image folderTip: You might want to place them at the end of your week page, in a list format.
You can set permissions for the file to be viewed/read-only
- Windows: Portable FastStone Image Resizer
- Linux: imagemagick command: "convert <src> -resize 640x480 <dest>.jpg"
If you use a 2-column table, you can place a thumbnail (on one side and explanatory text on the other. The thumbnails can be used to link to the full image. Here is an example:
|
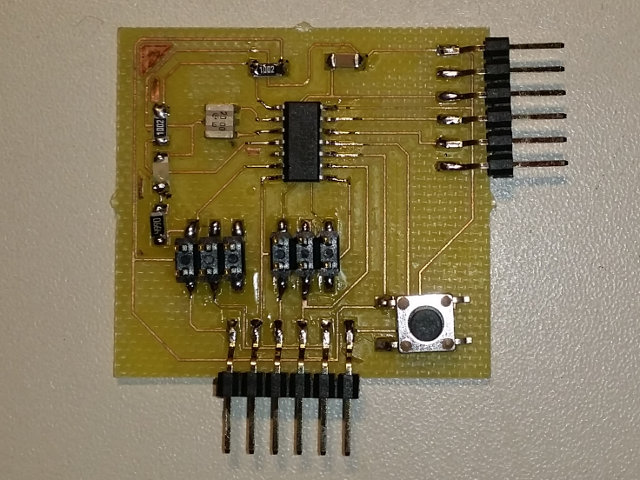
Completed board (try clicking on it). Text for this board is written here. Code for this is as follows: <table> |
This is a common problem with Windows users. Windows does not care if it is in lowercase or uppercase, however, Linux (where most web servers reside) is case sensitive!