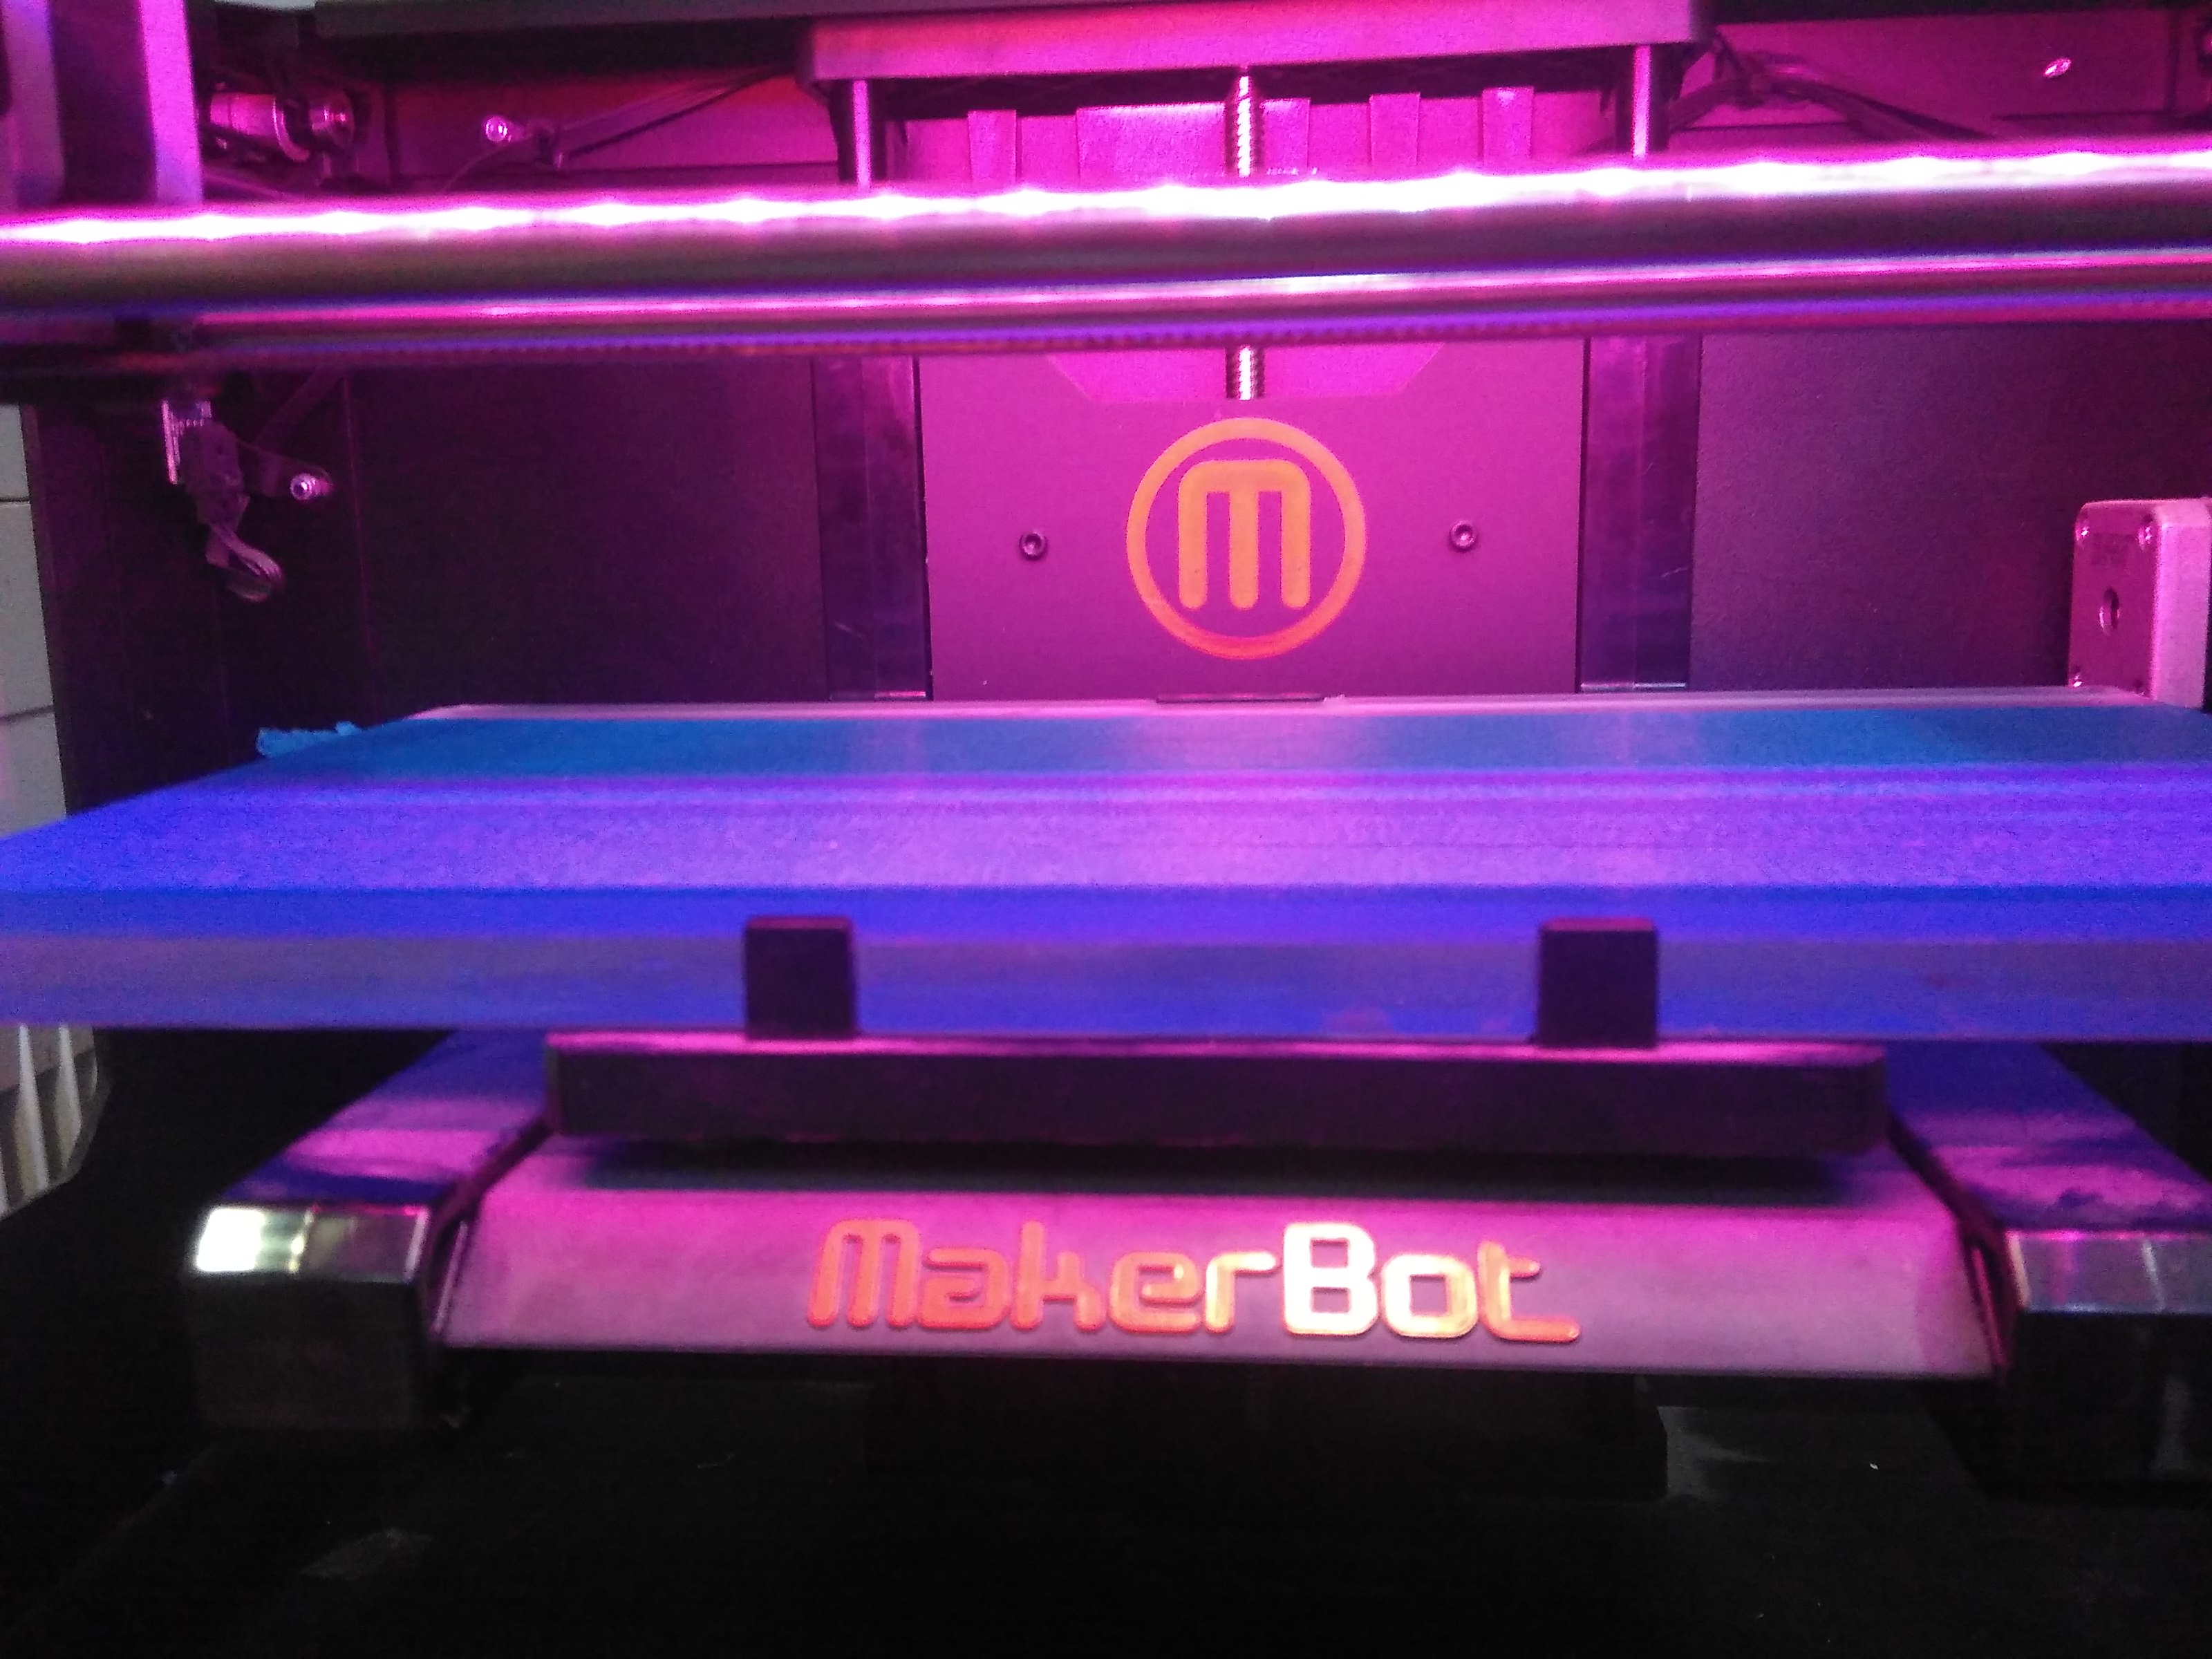
MakerBot Setting Up
25 Feb
Week5 3D Printing; MakerBot; Makerware; Replicator2
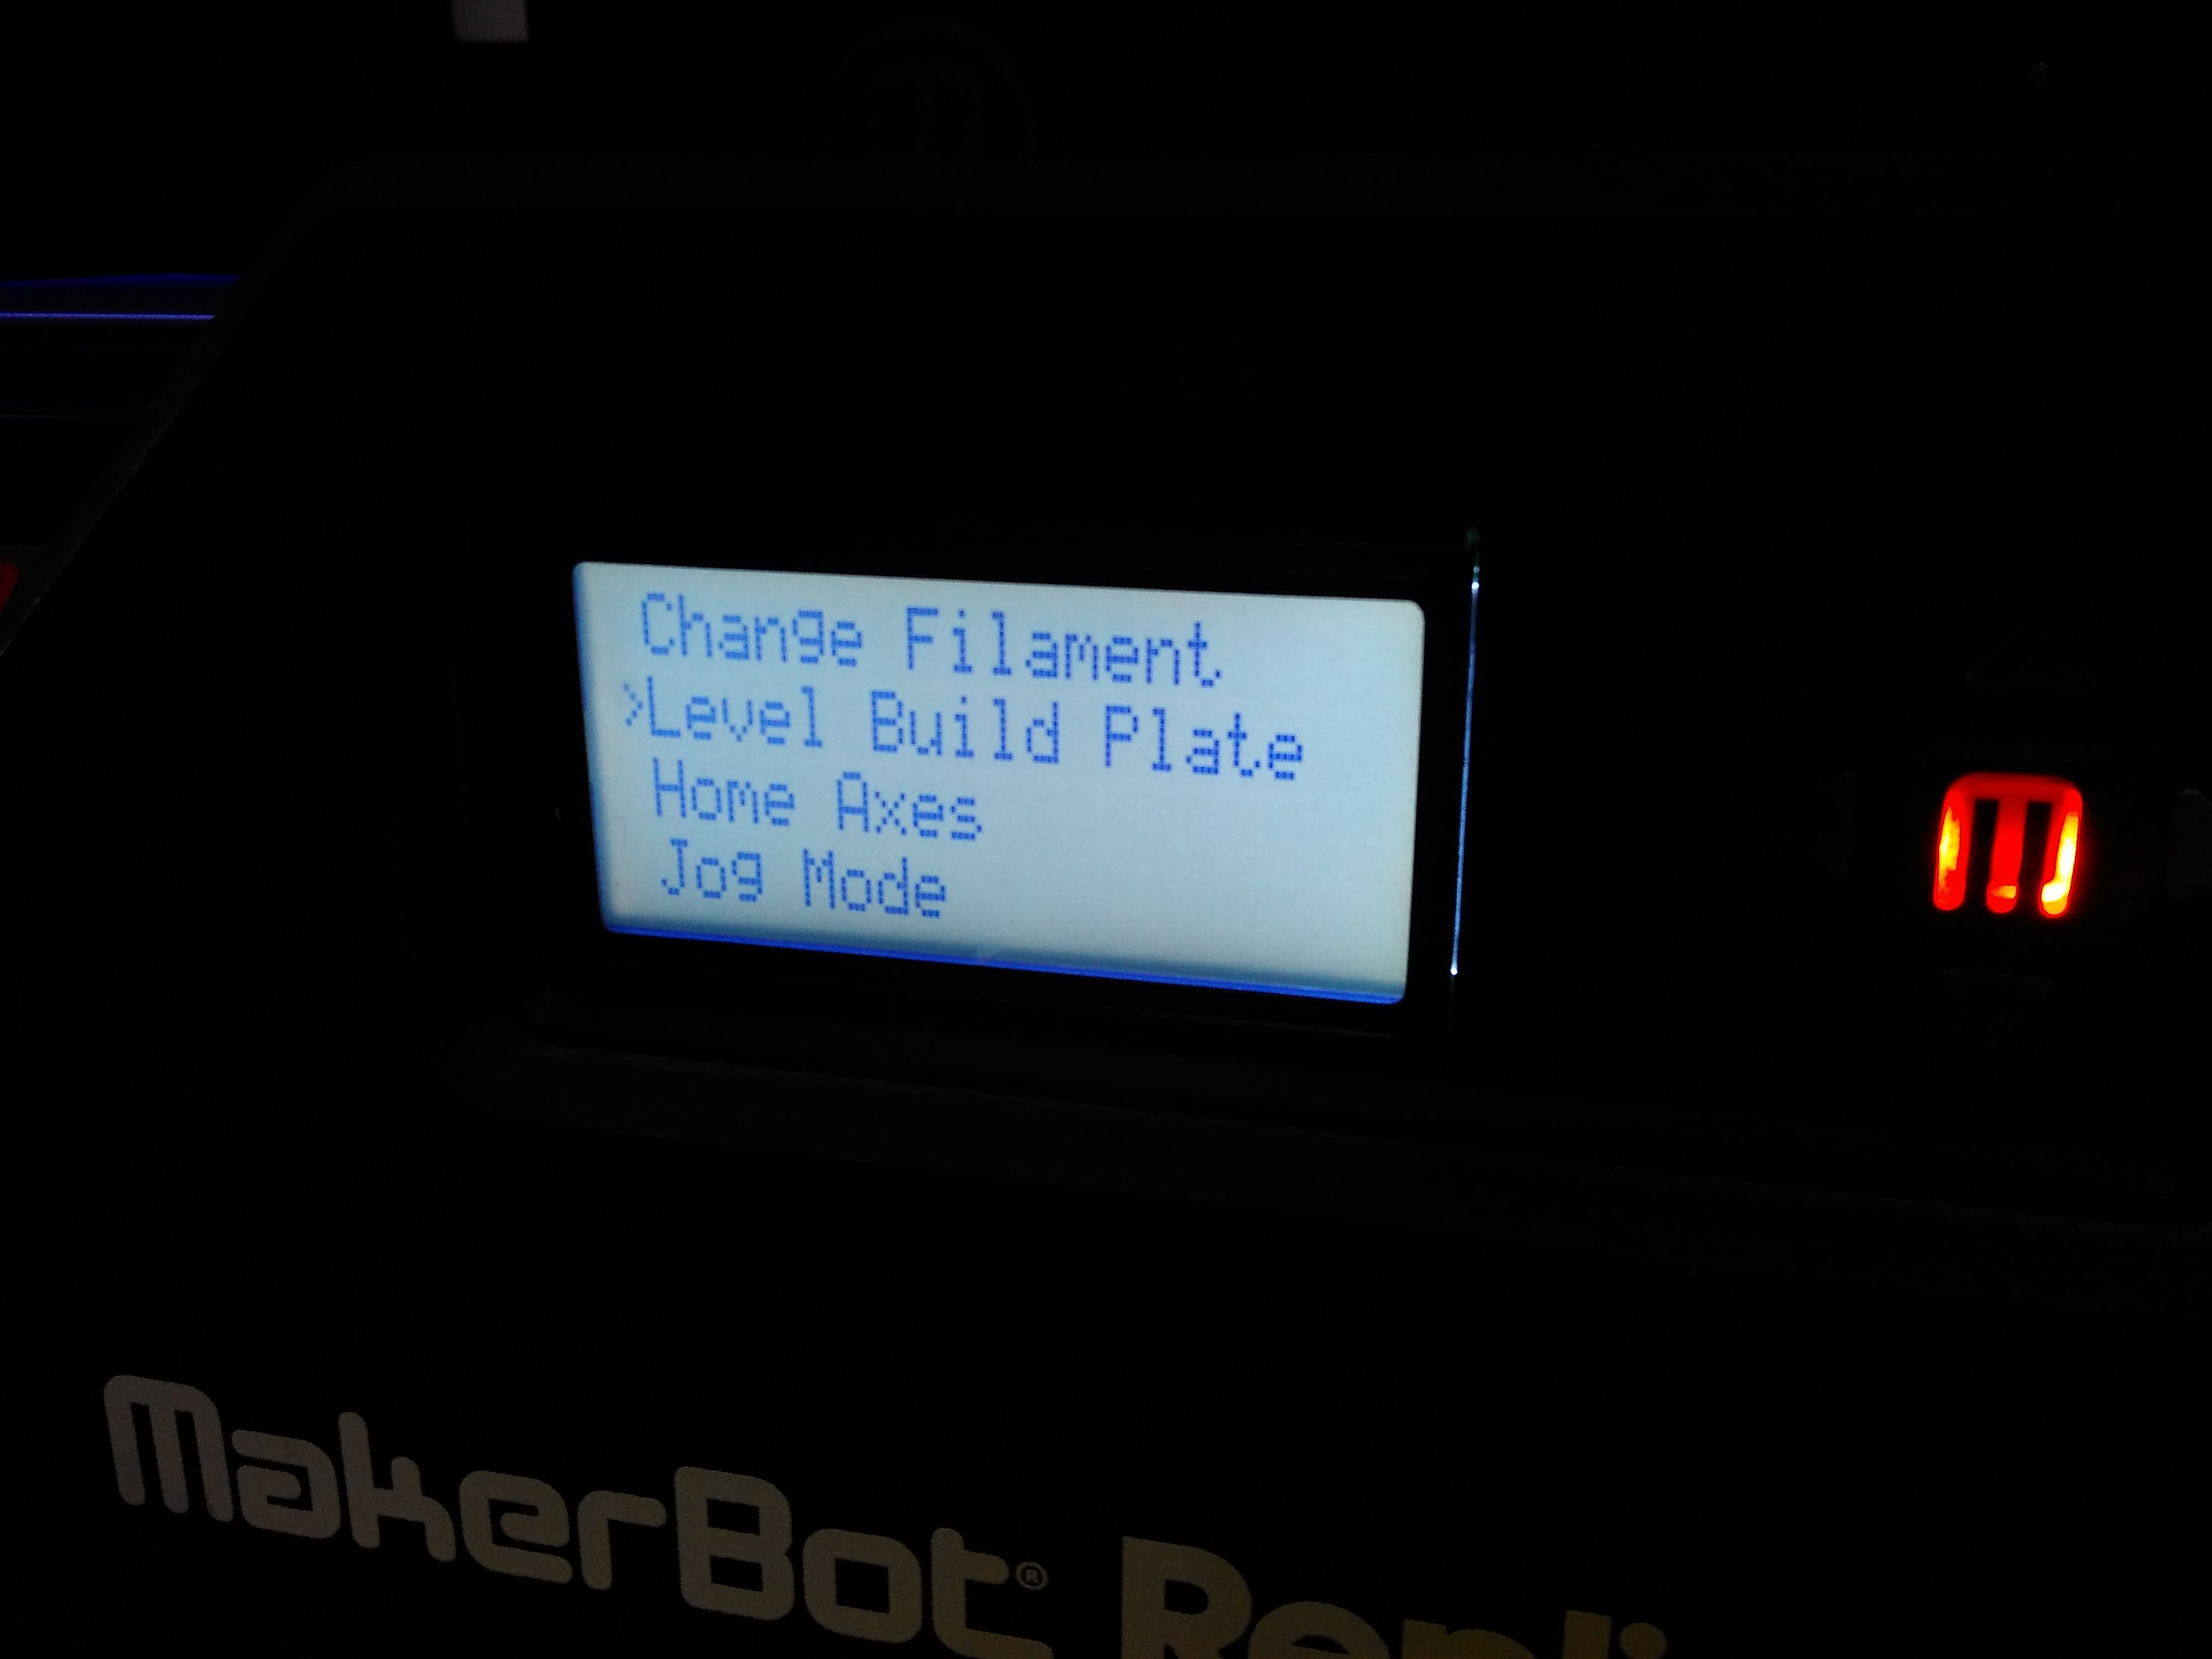
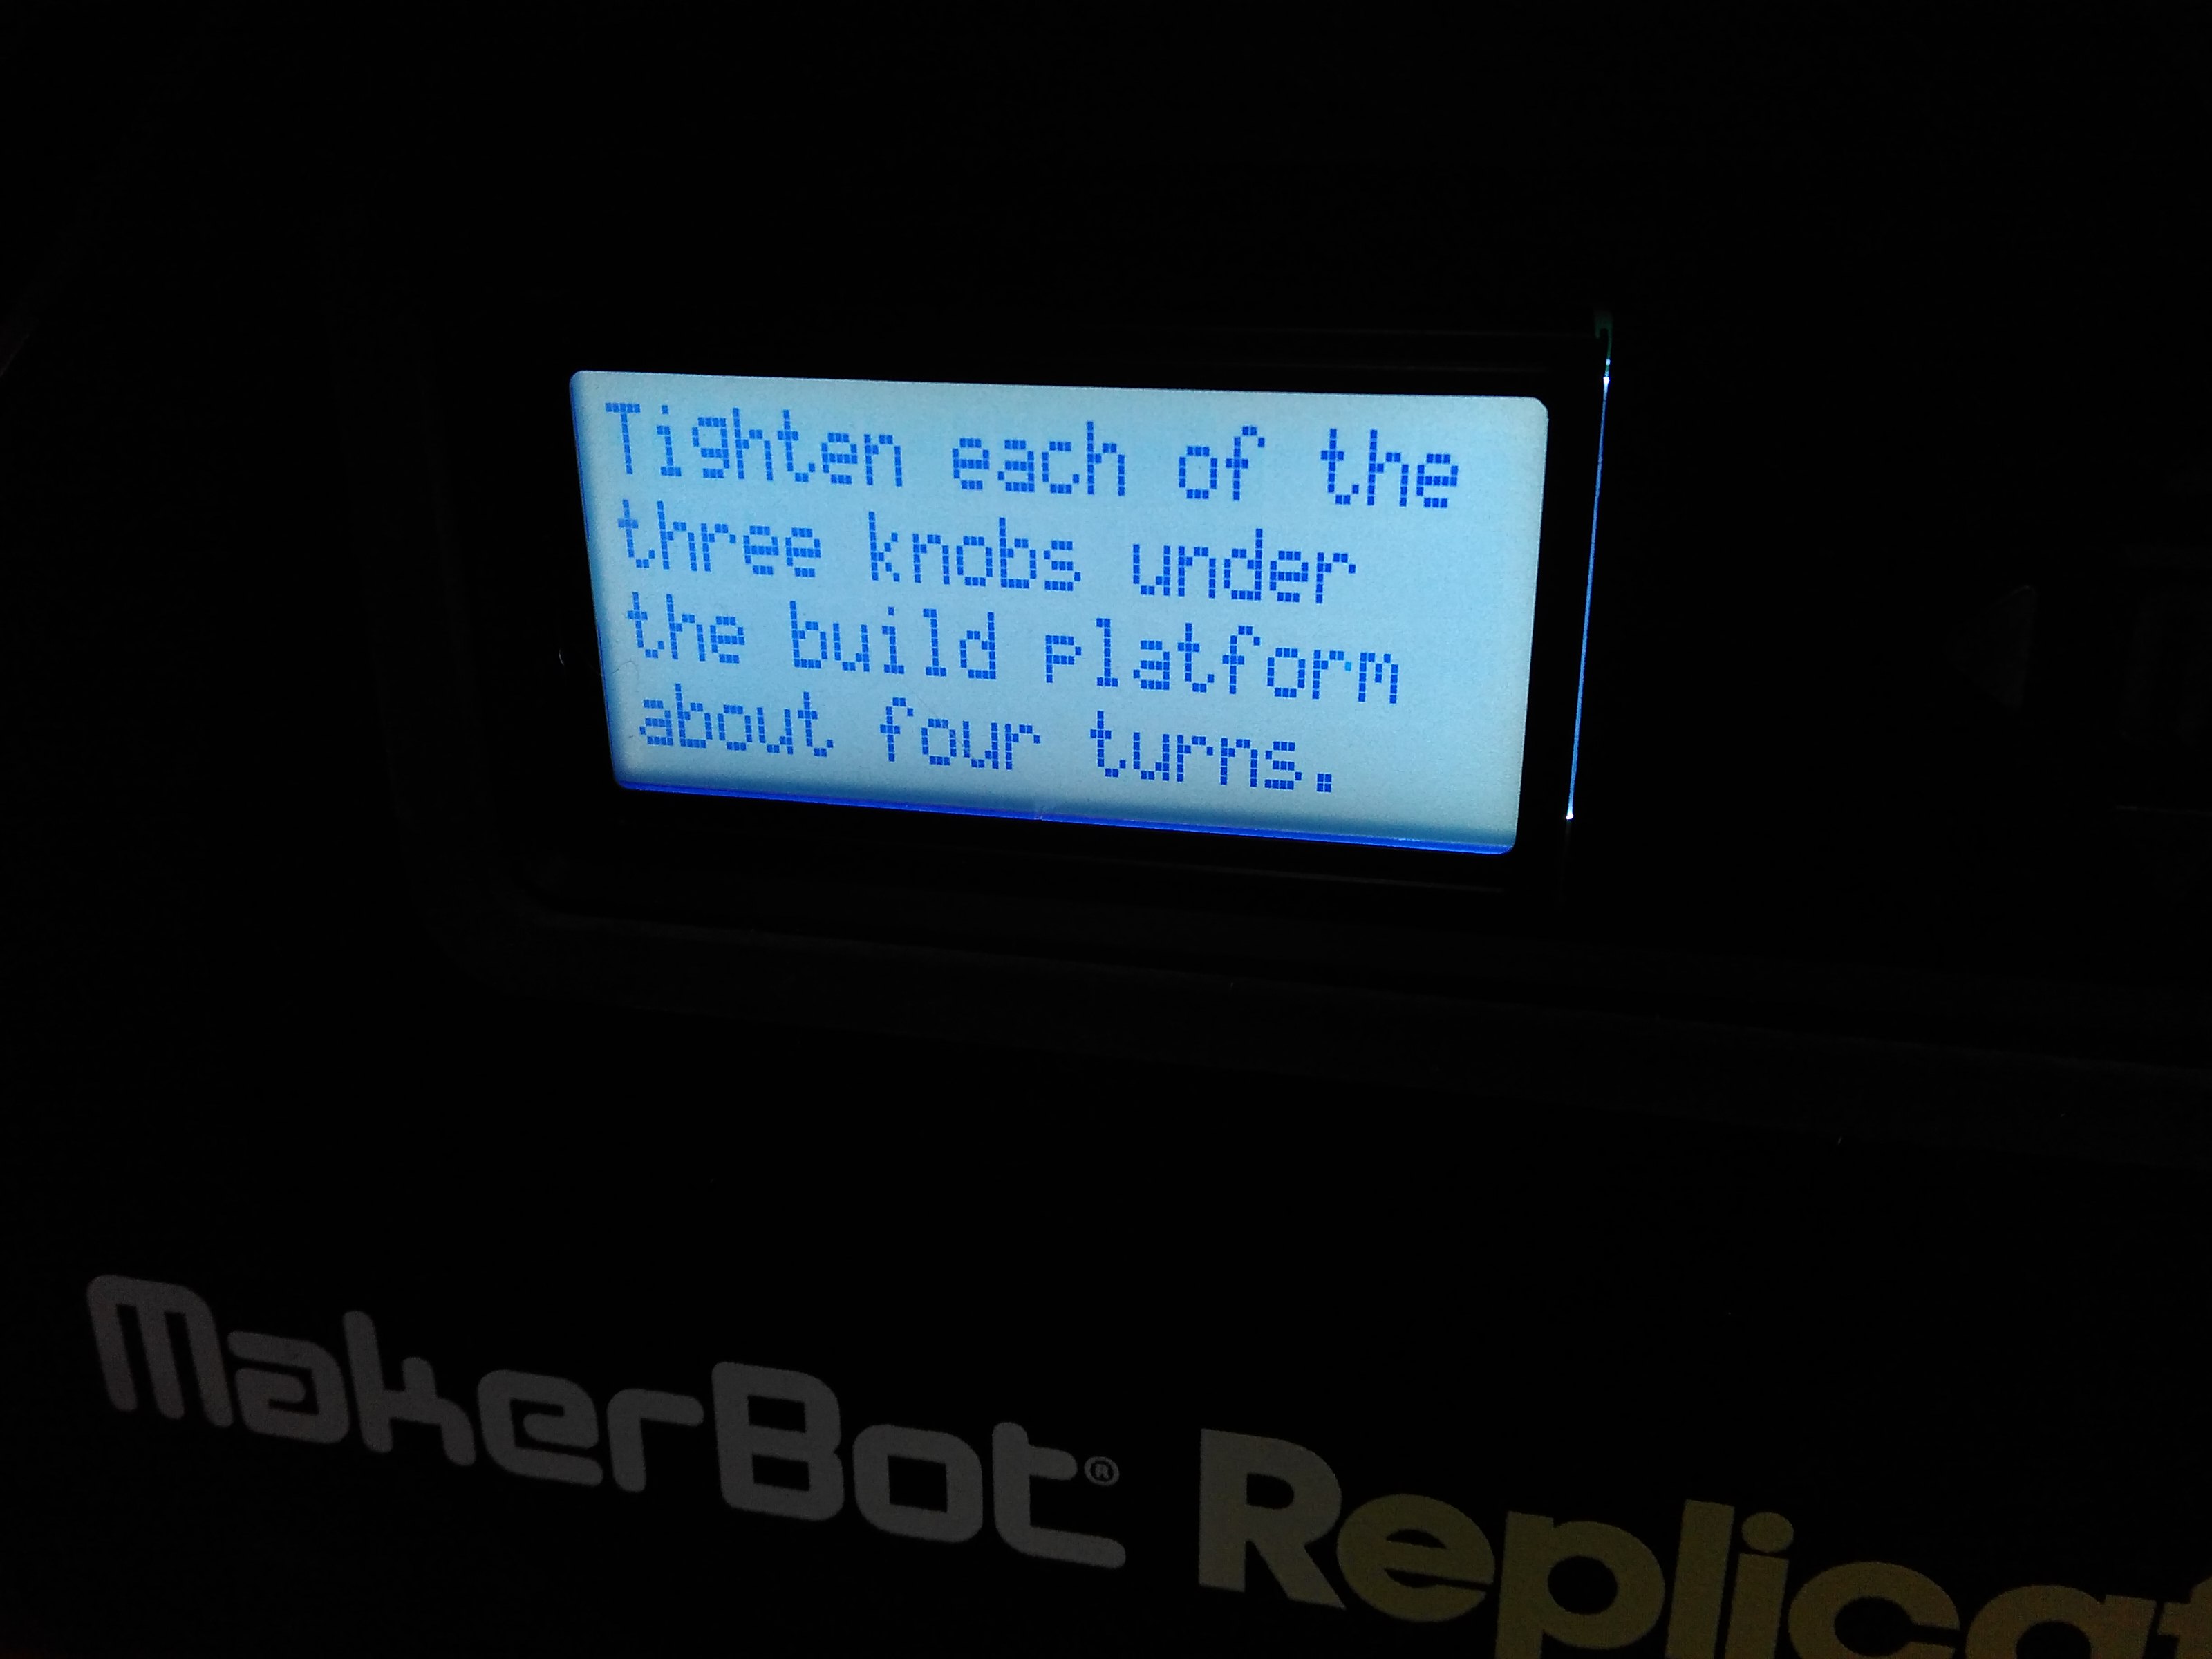
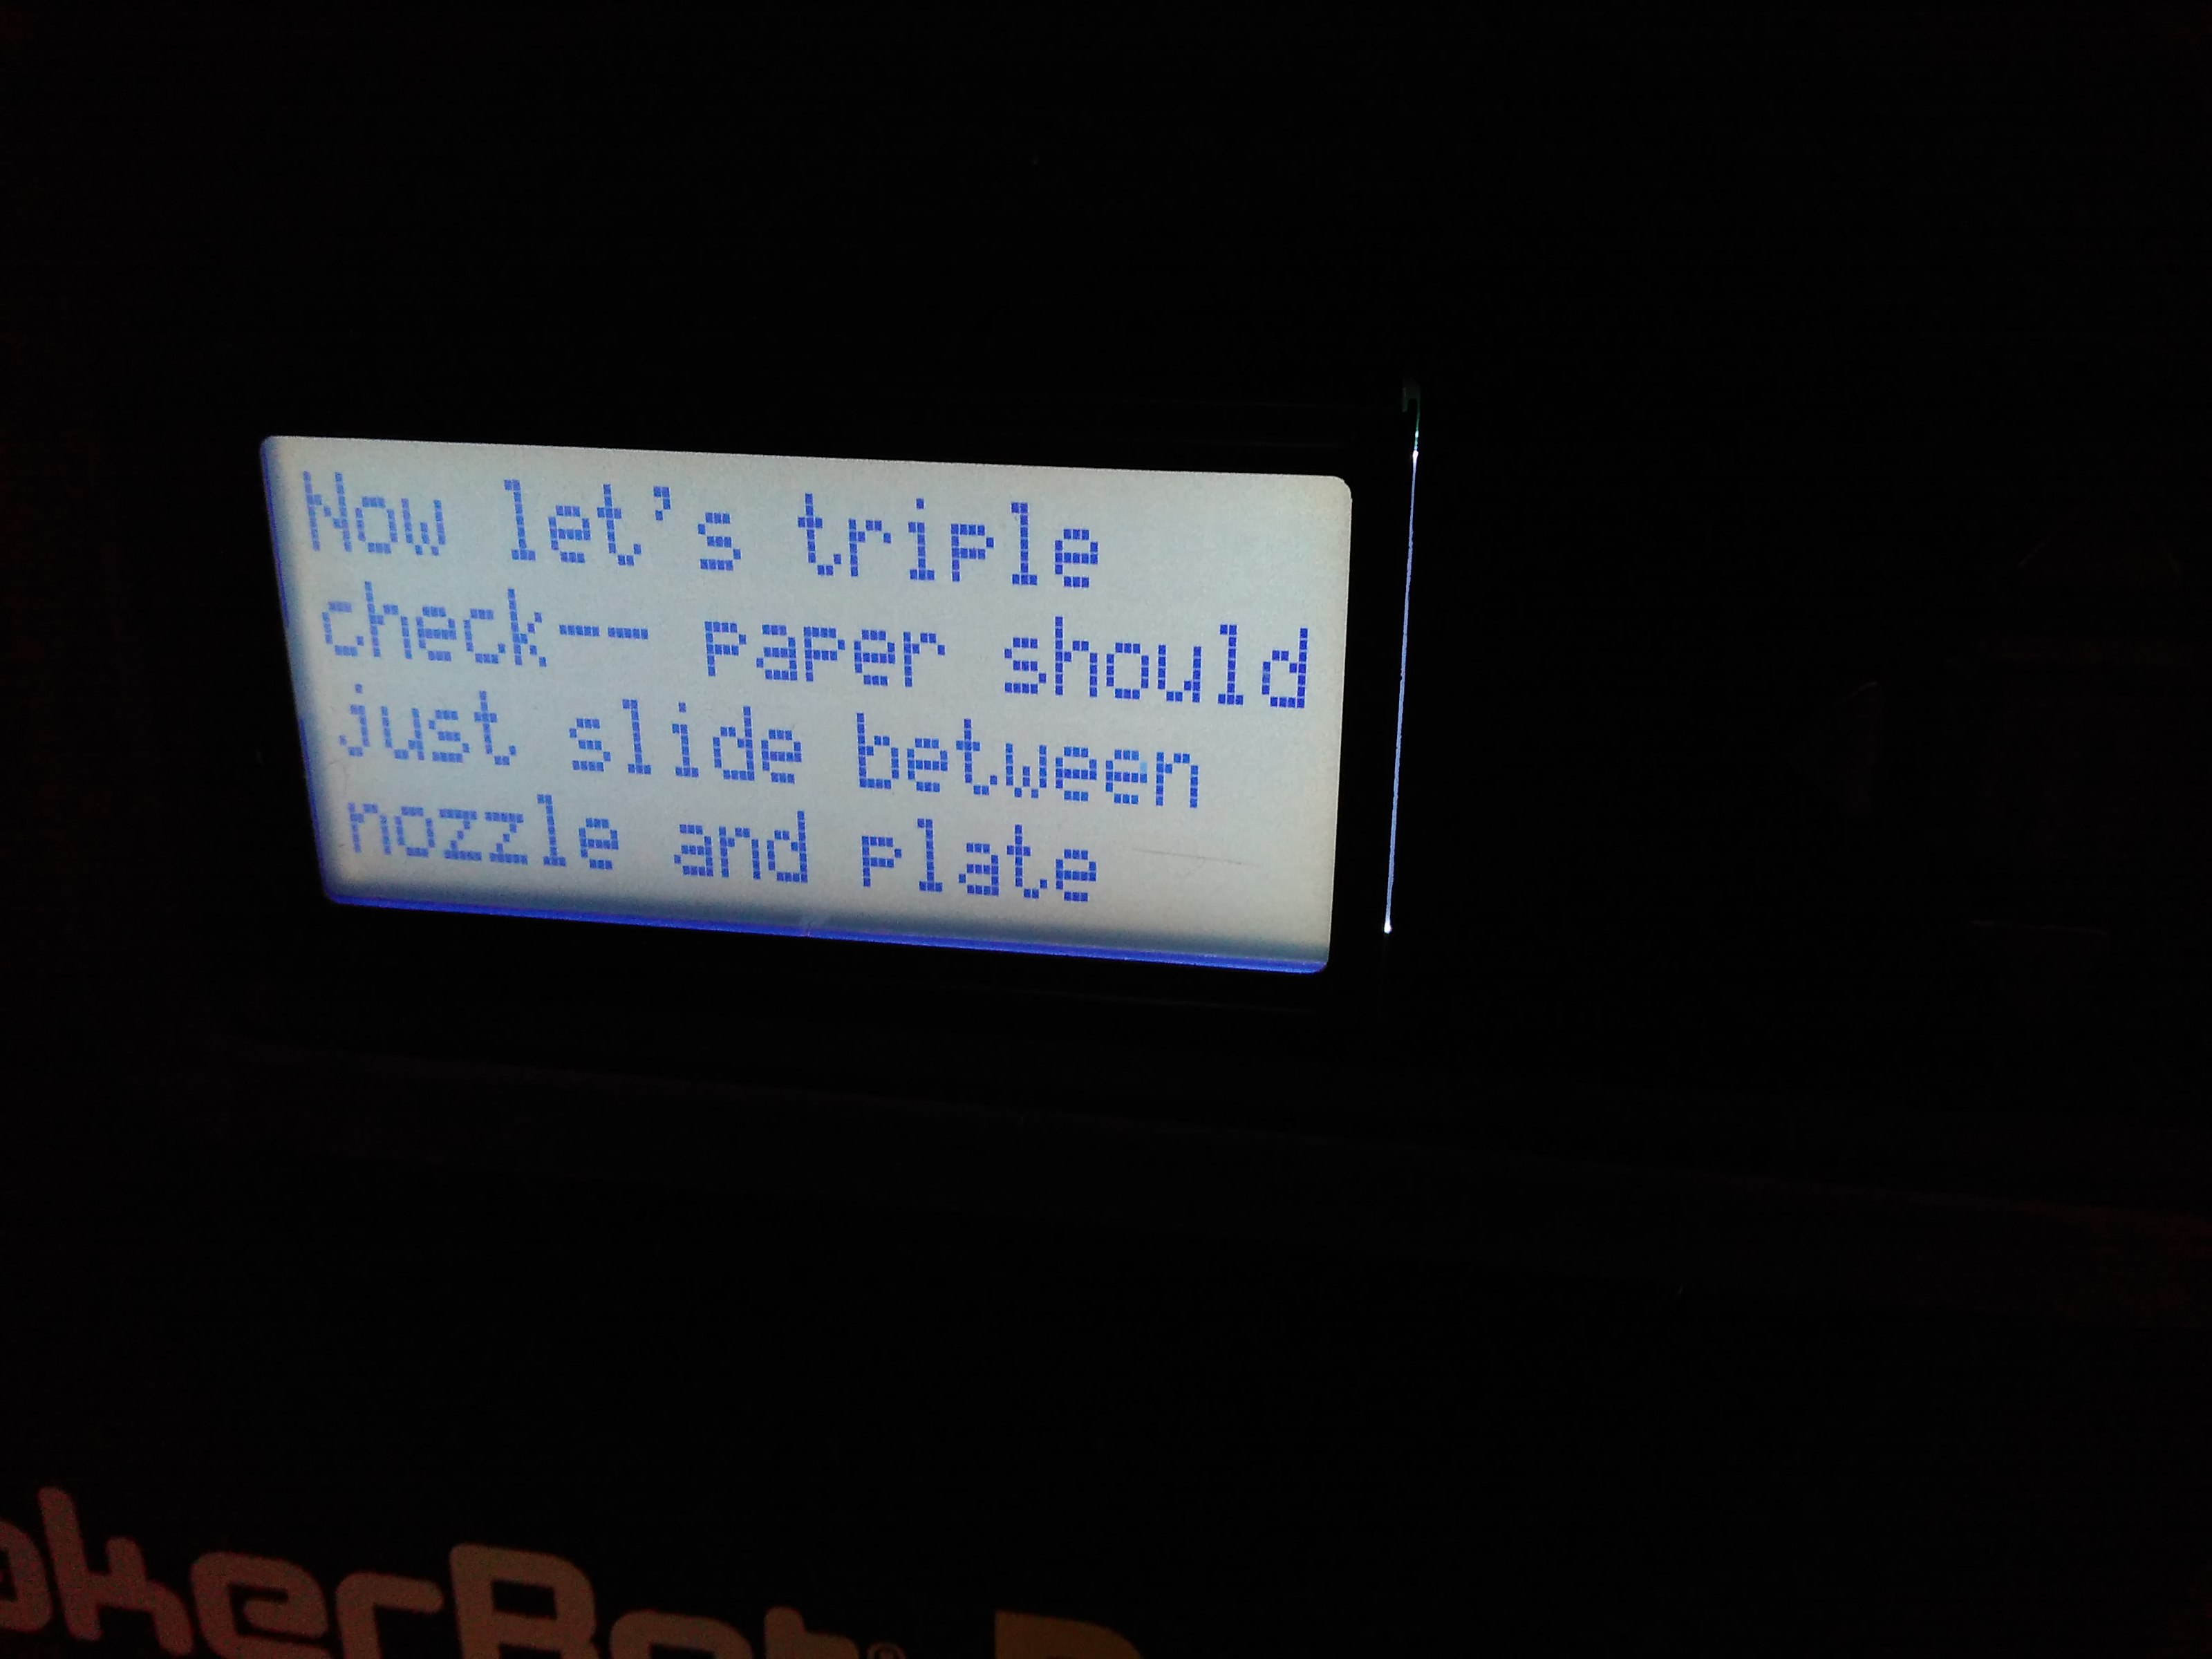
Before the job we should level up the platform with a piece of 0.1mm-thick support card which comes with the package when unboxing to adjust the distance between the extruder nozzle and the build platform. A sheet like A4 paper would be a perfect alternative if Makerbot's support card is not available anymore while avoid using namecard as it's way beyond 0.1mm's thick. Slide the paper through while adusting the screw until you can feel some friction.
If the extruder is too far away from the build platform, the material won't stick. If the extruder is too close, it might stracth the printouts or jam the extruder.
☞ Tips
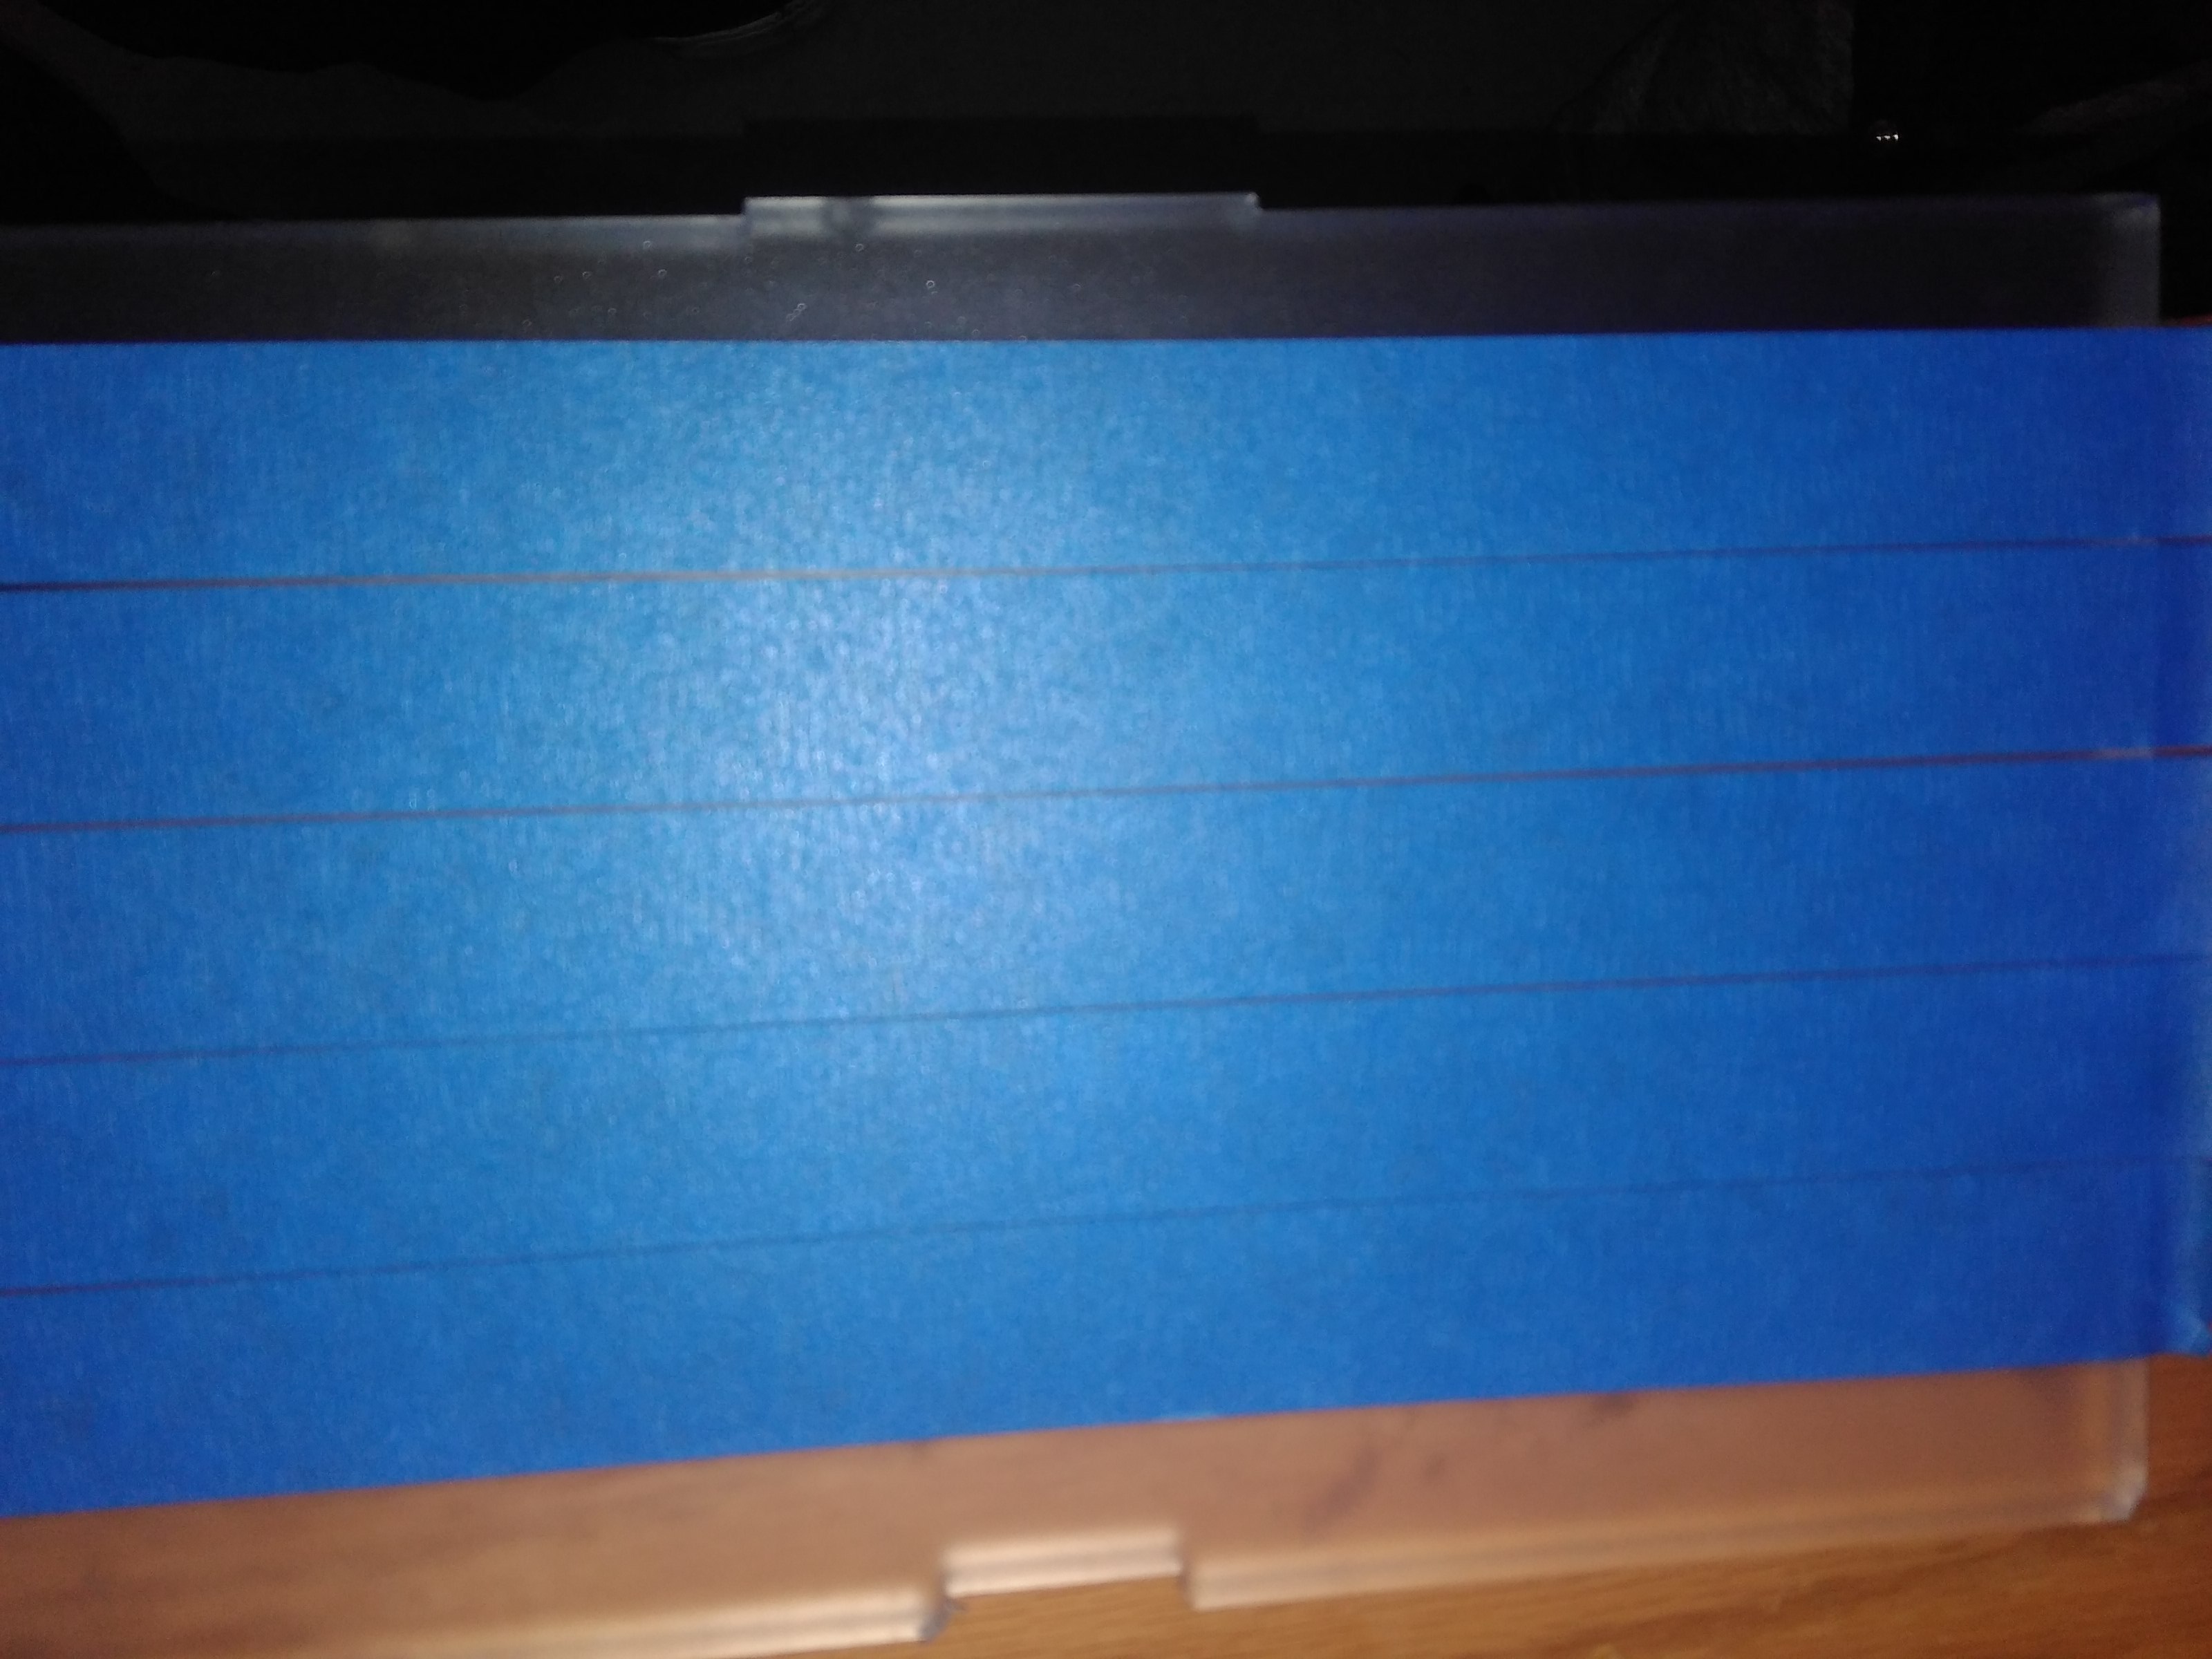
Adding a layer of tape on the platform can make it easier to tear off the printouts. Remember to readjust the knobs under the platform as the tape has decreased the distance between the nozzle and build platform.
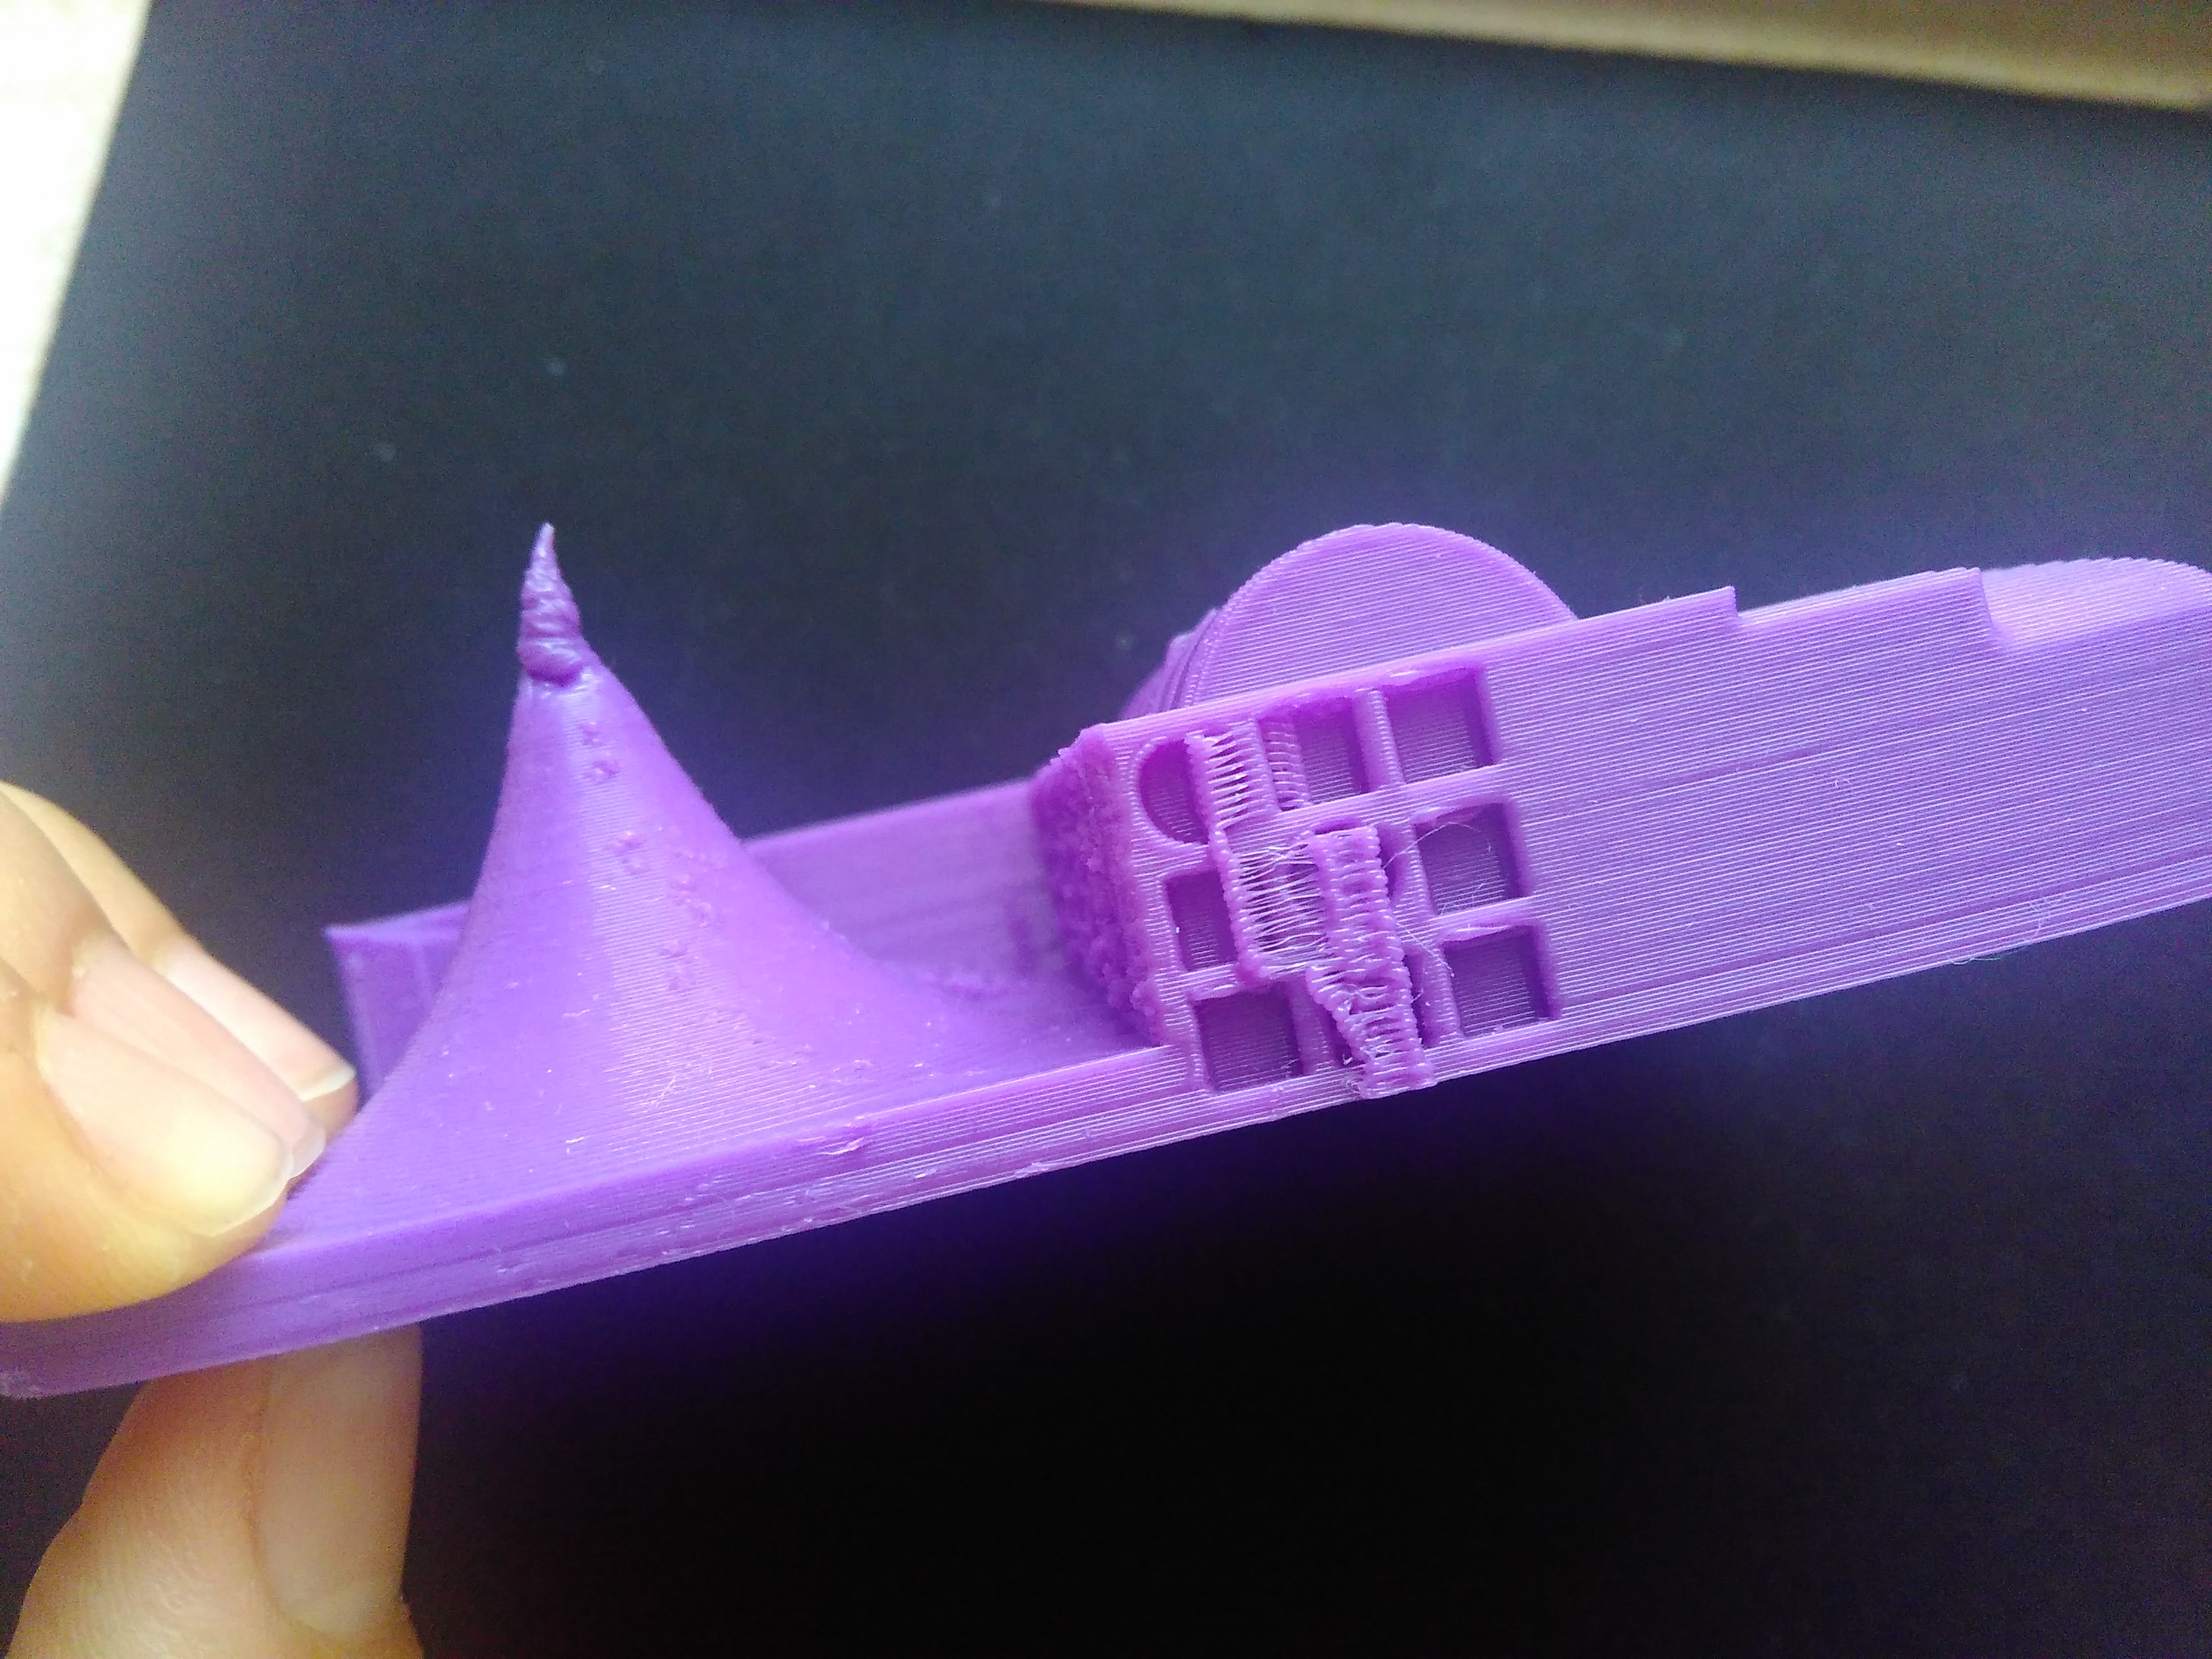
3D Printer Tolerance Test
25 Feb
Week5 3D Printing; Test
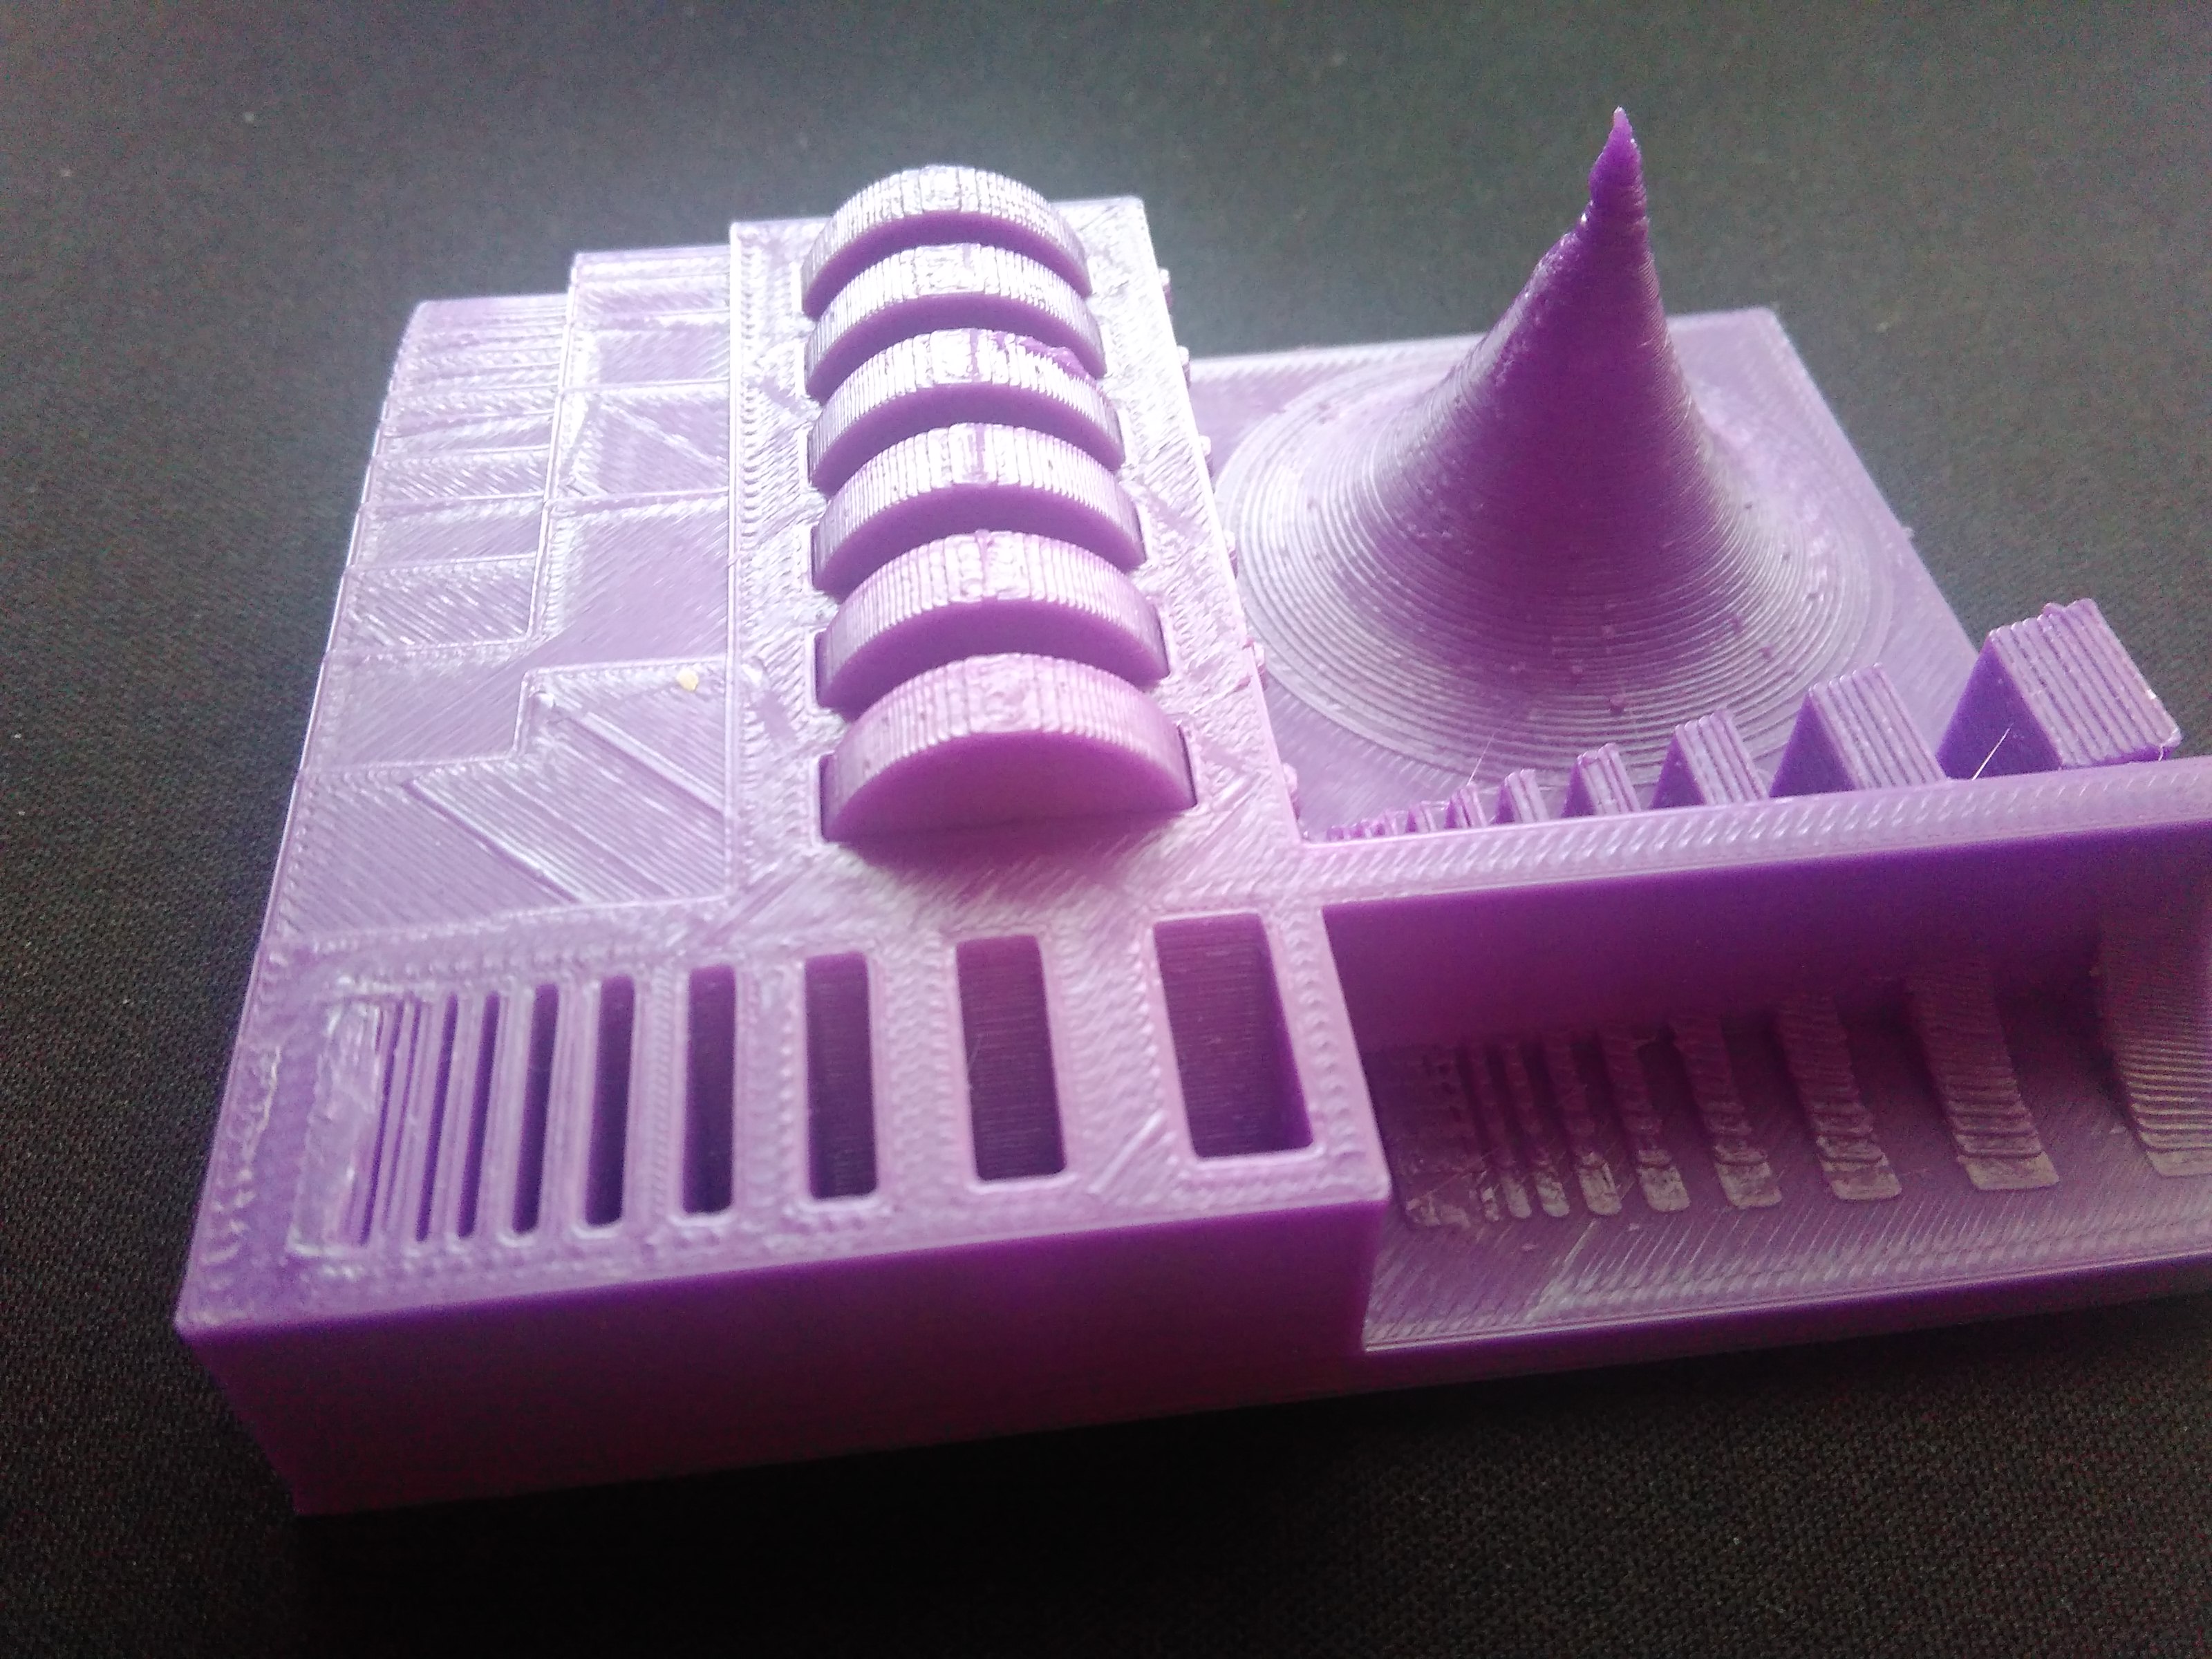
The idea of the tolerance test is to see how the existing 3d printer and material's limit. Therefore the feature should be printed using the highest resolution and thin walls.
Test on bridge
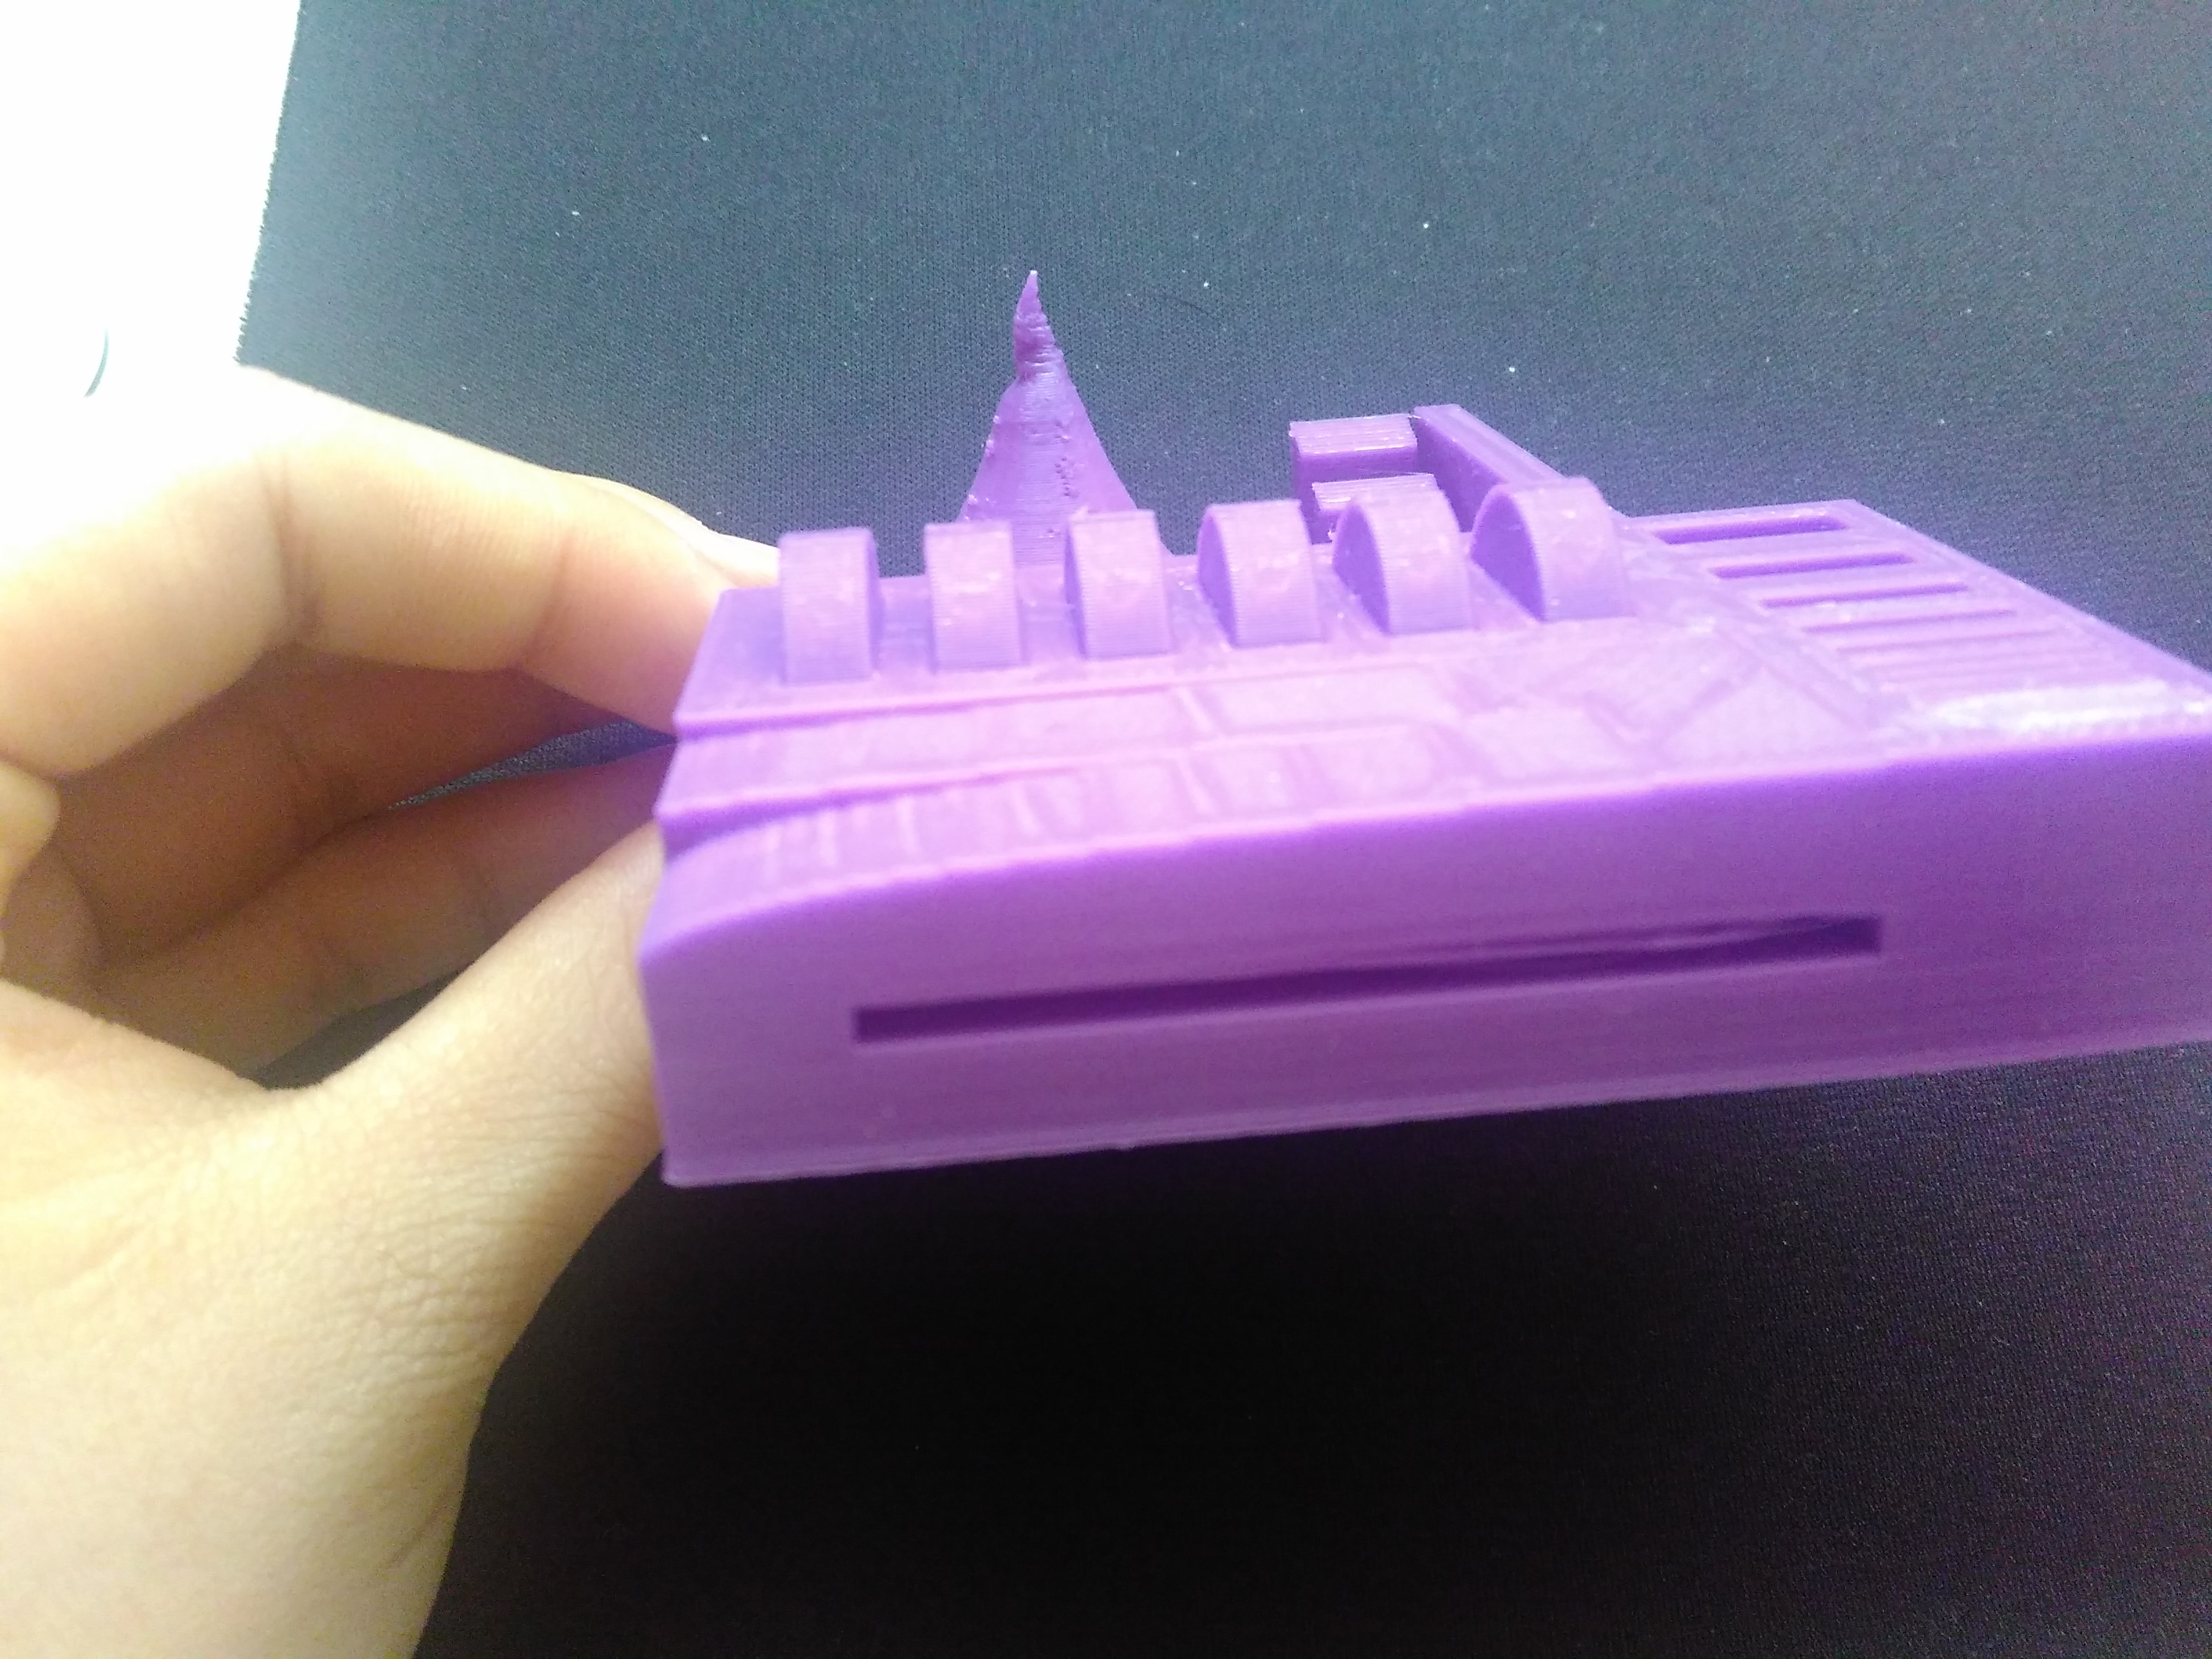
Test on peak
Test on curves
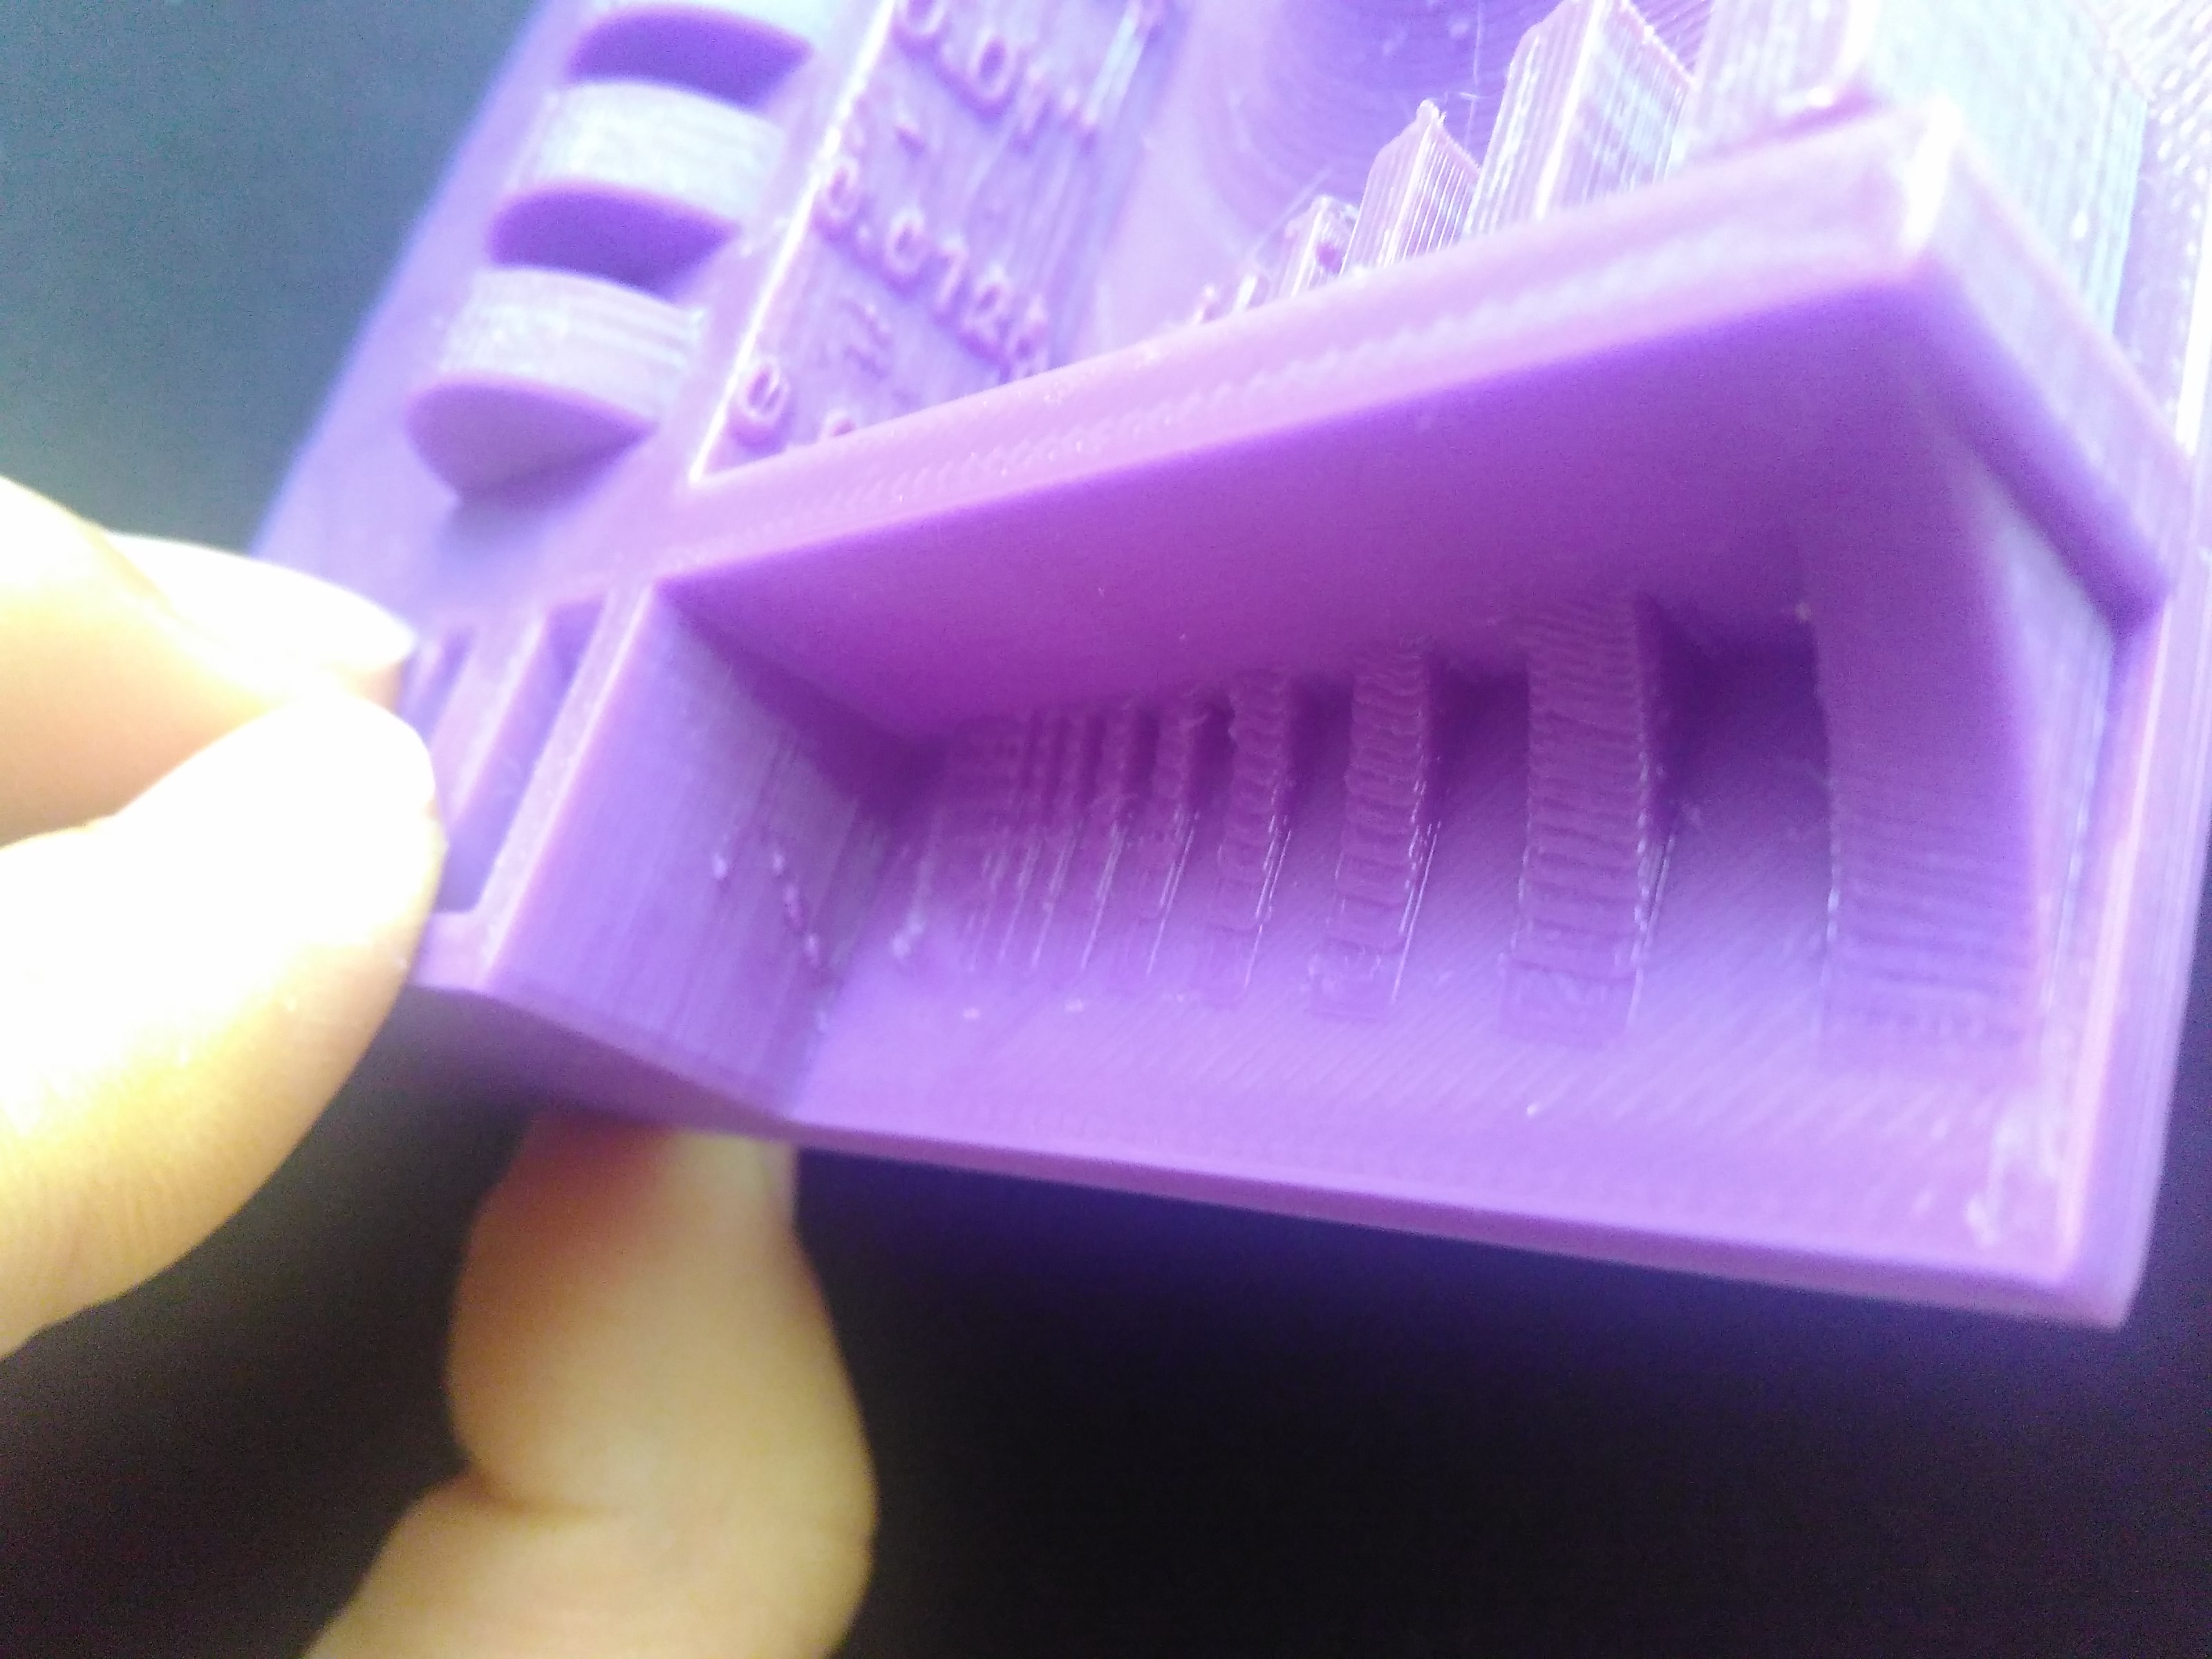
Test on gaps
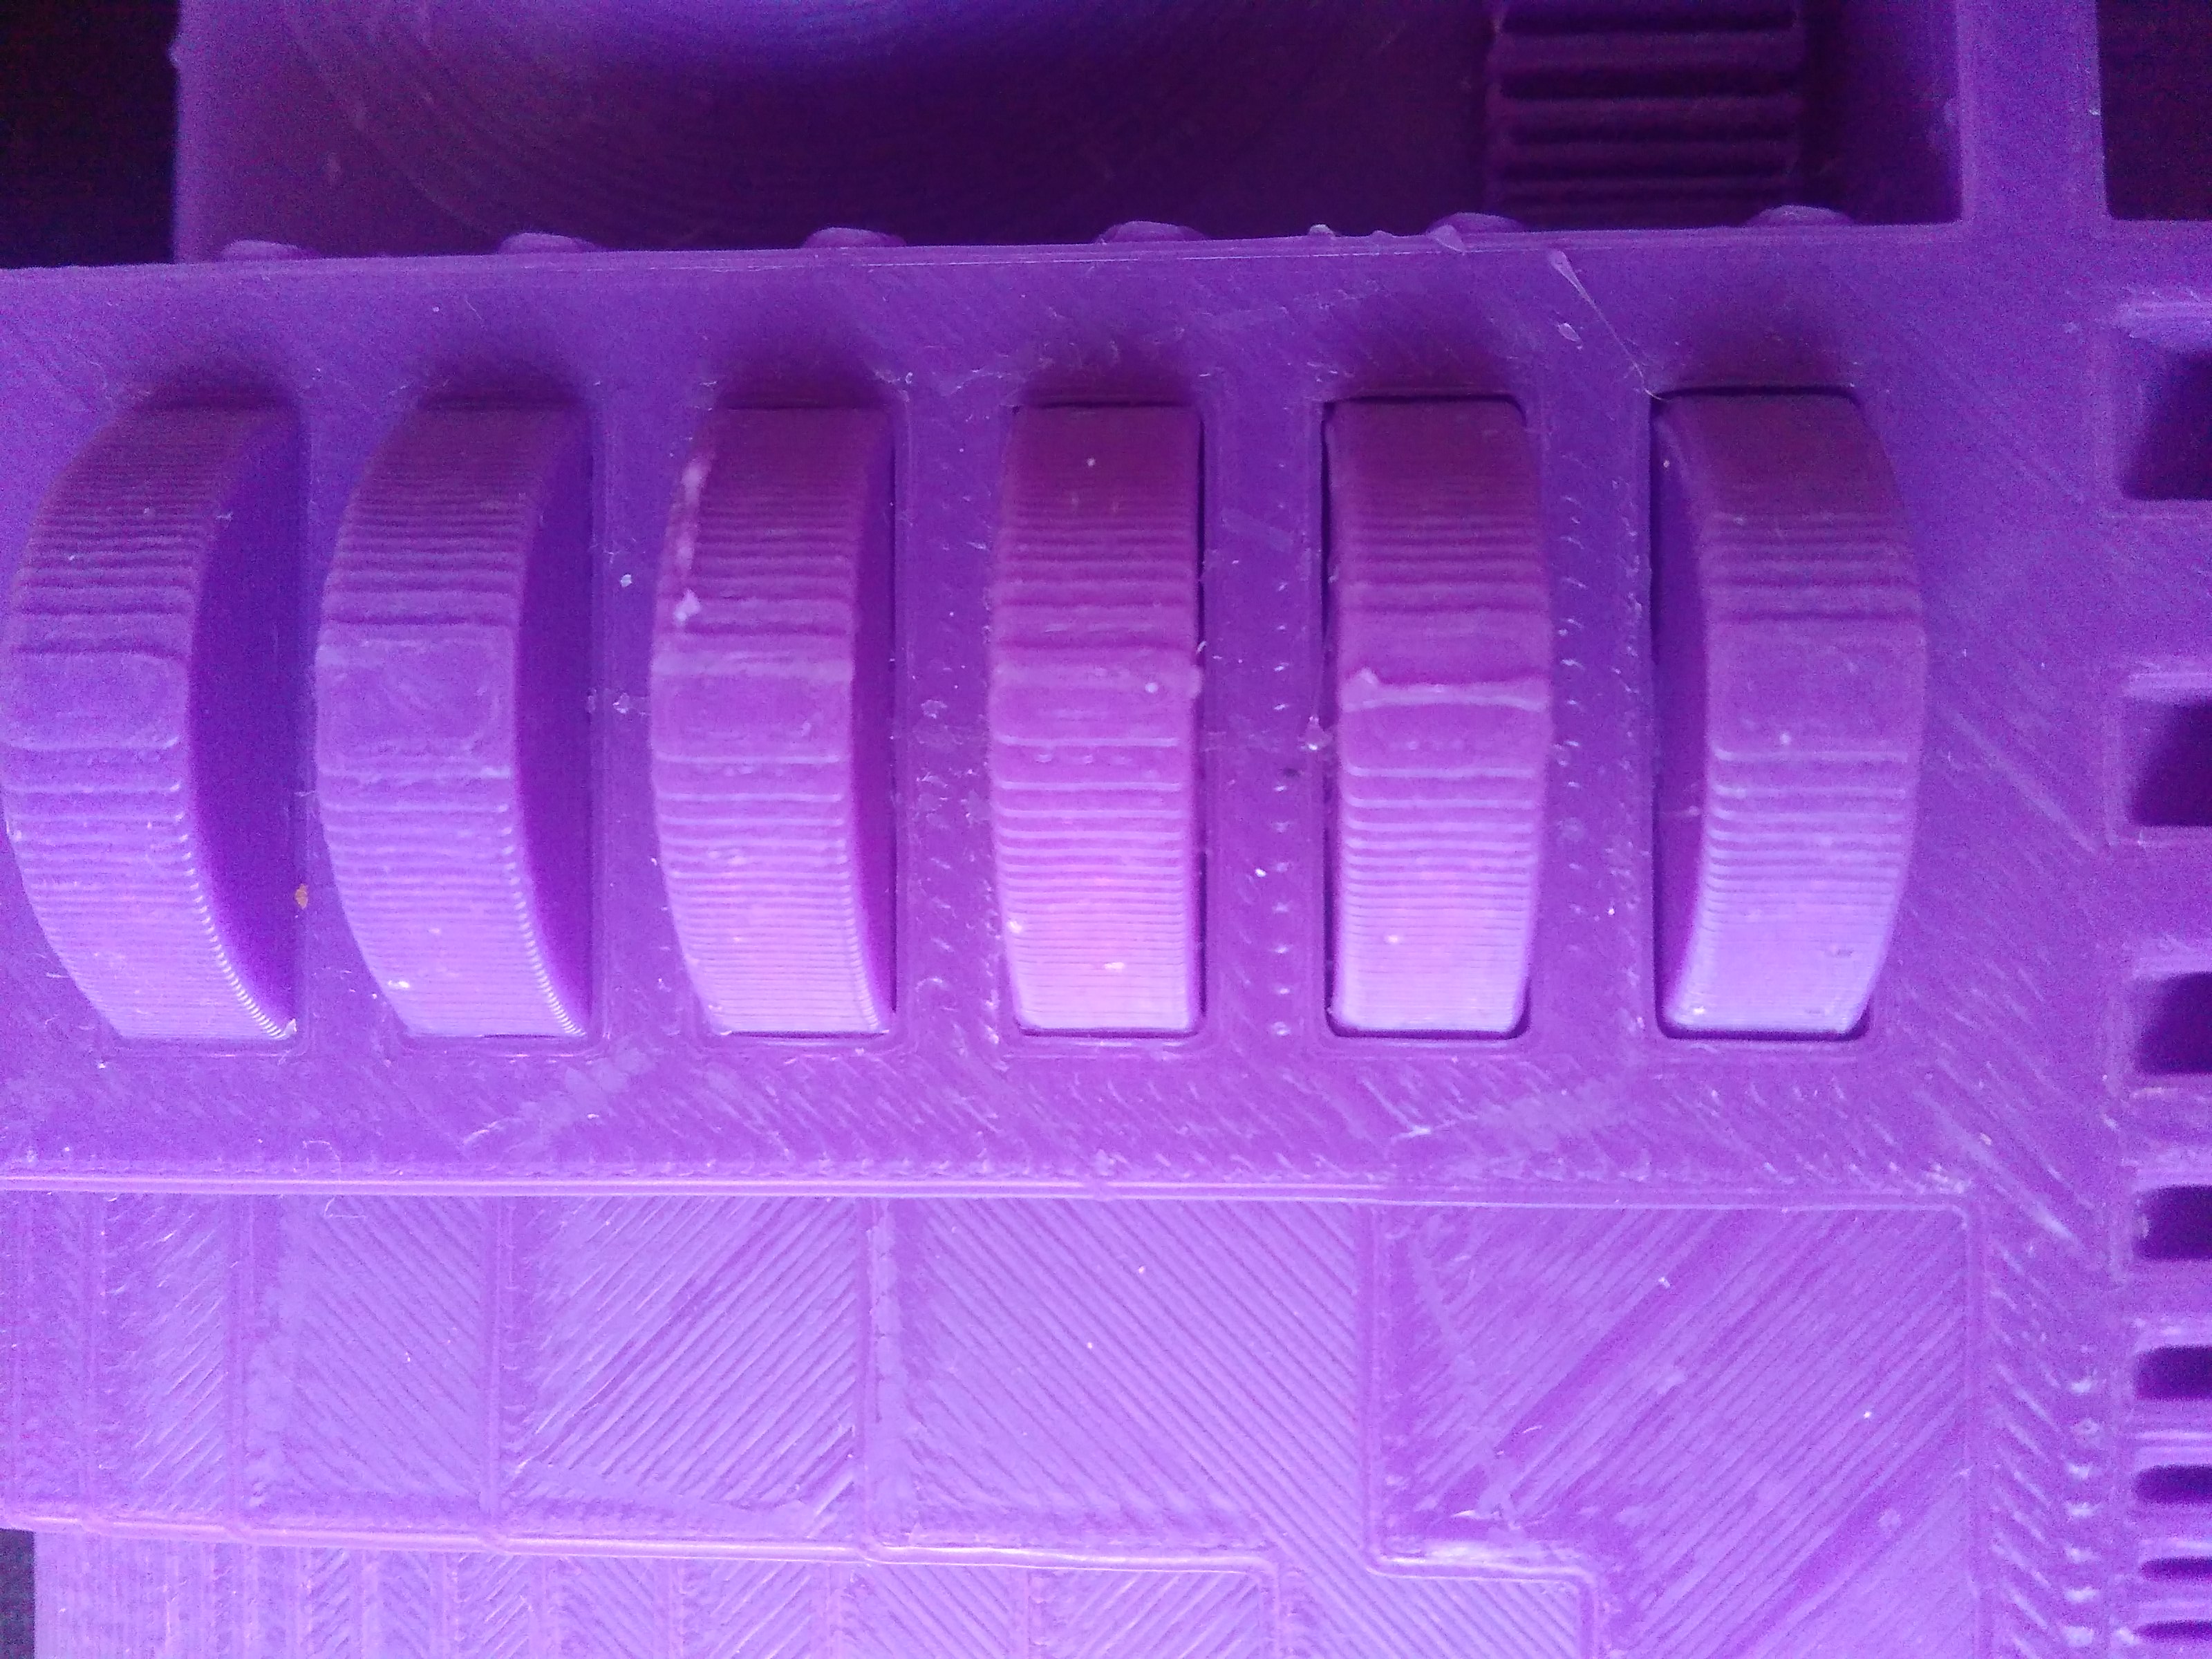
Test on precision

Problems
Before the test begins, I tried printing a test model using the default settings yet manually altering the layerheight to 0.4mm to shorten the process timelapse to 2.5 hours. Then I encountered the problem that lines printed were not attached to the bottom.
Other Tests
· Gyro
The gyro tur·ned out to be very loose.
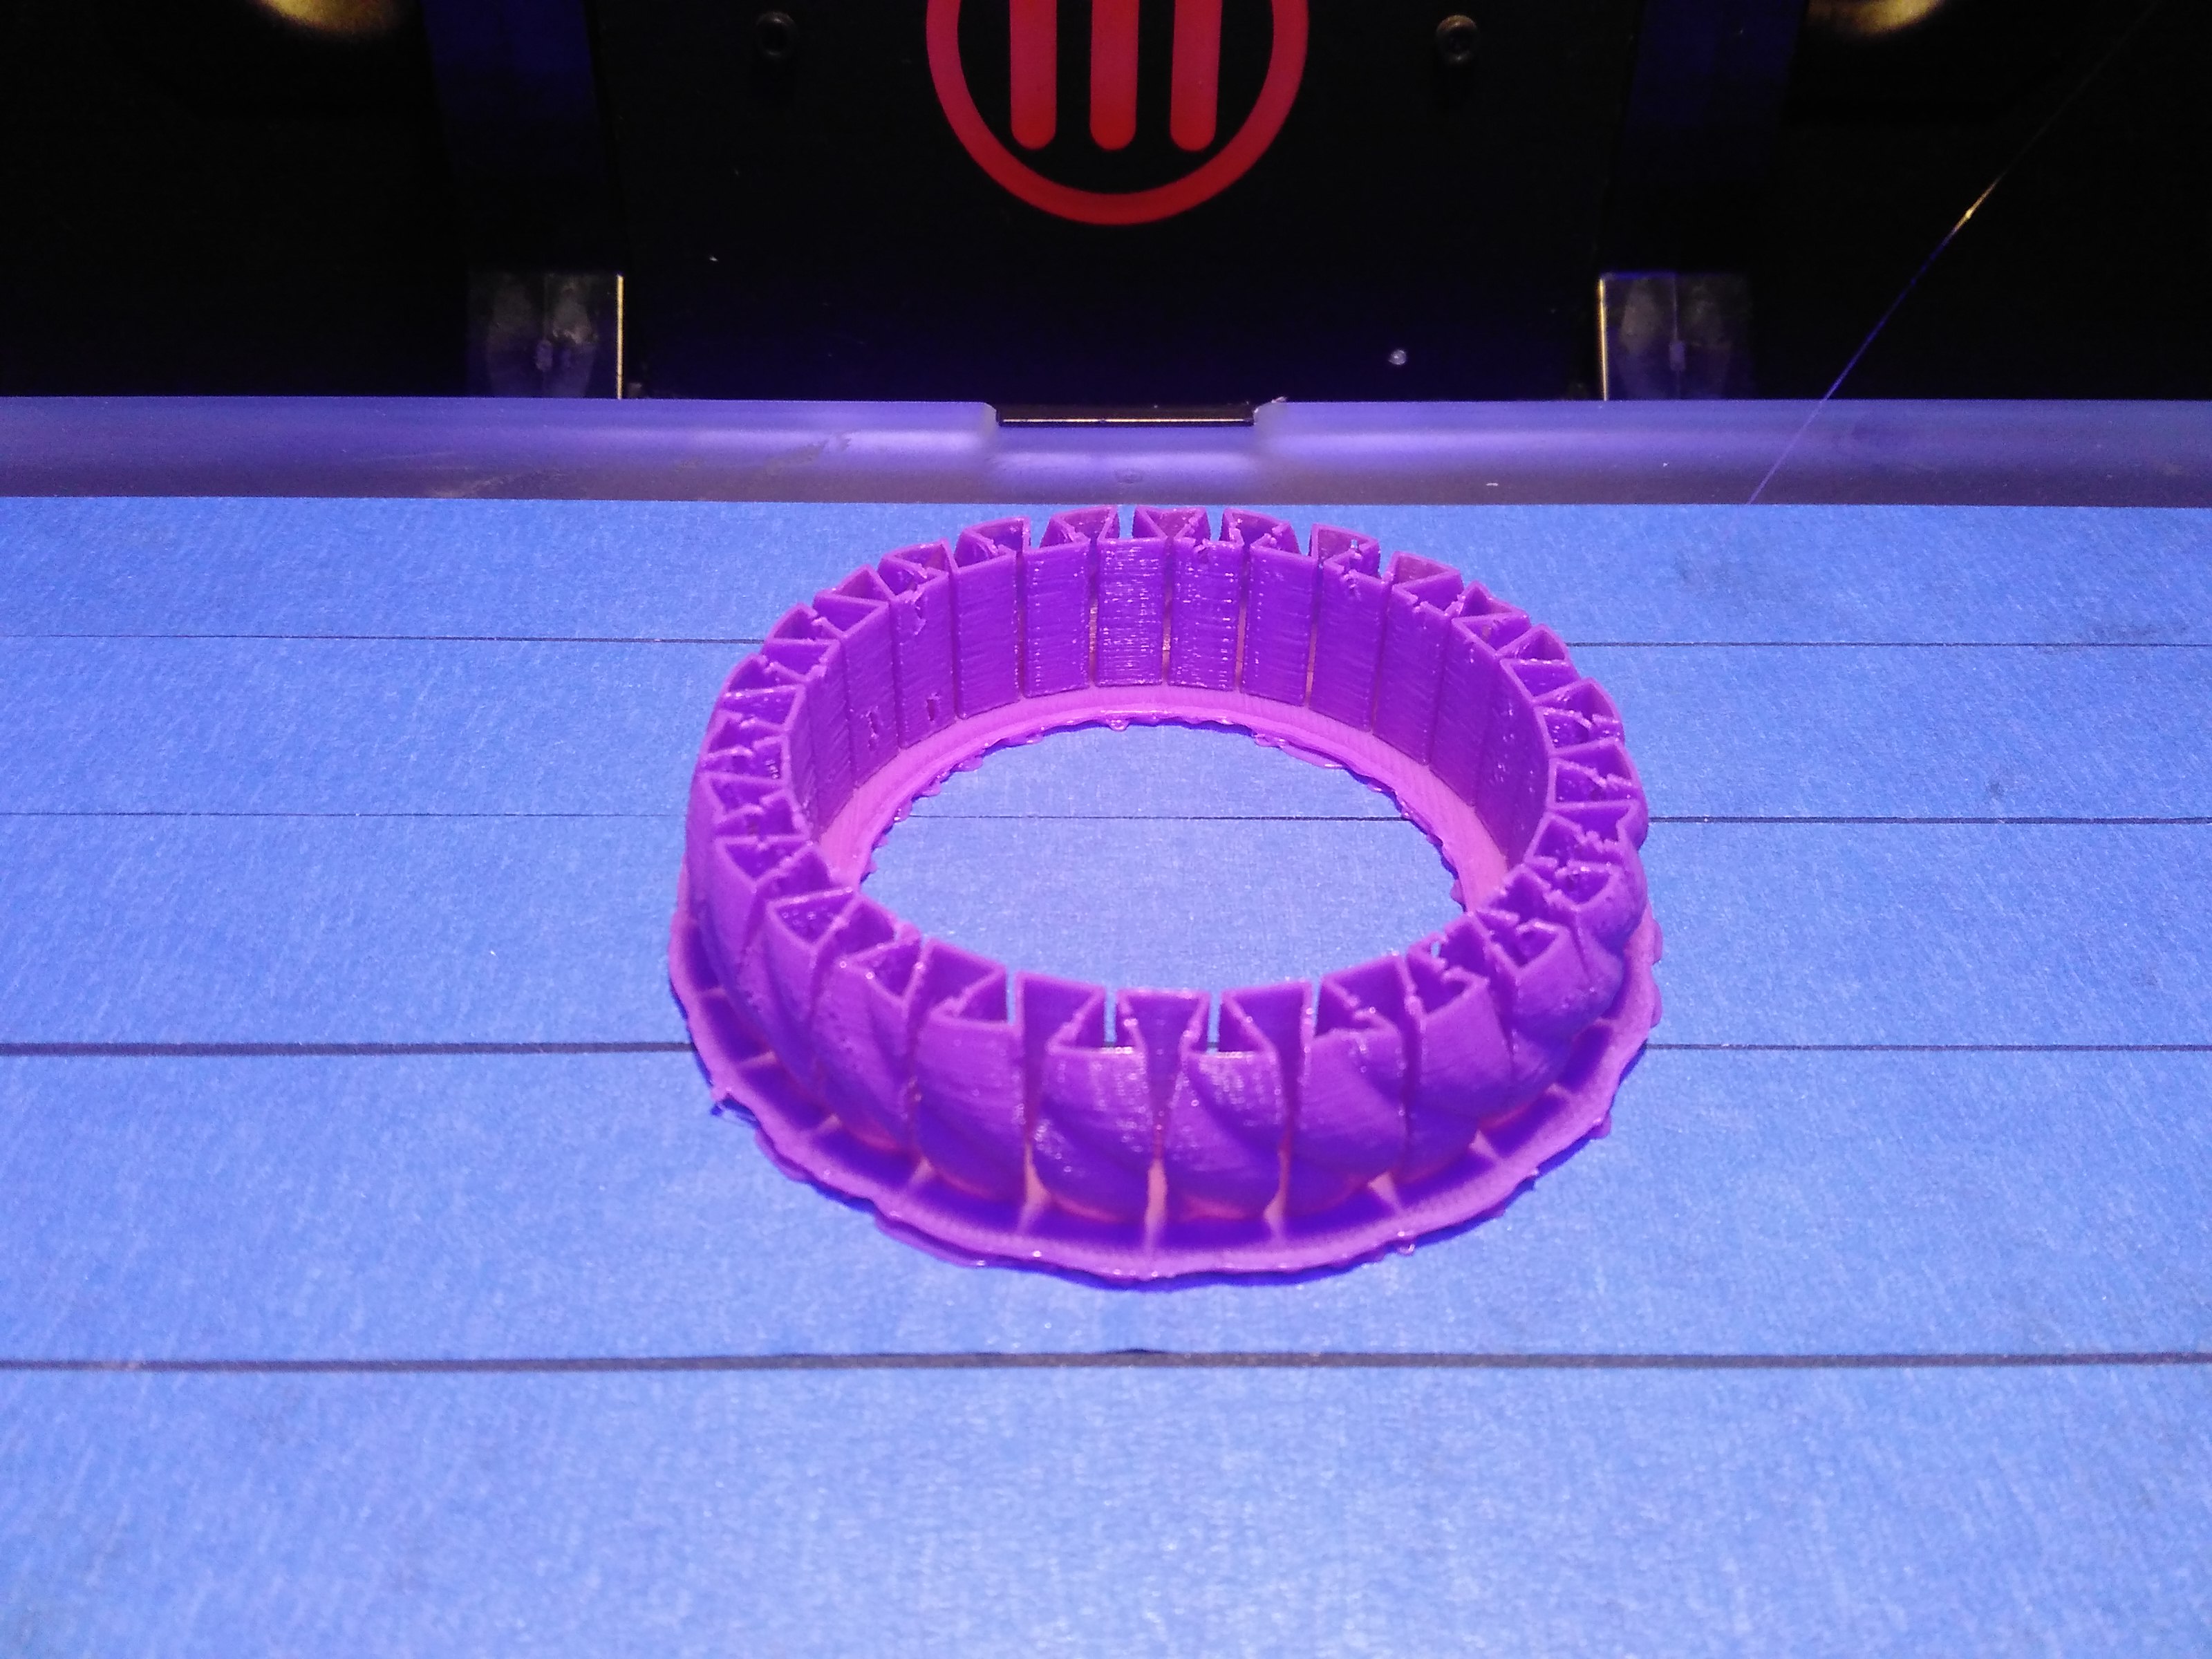
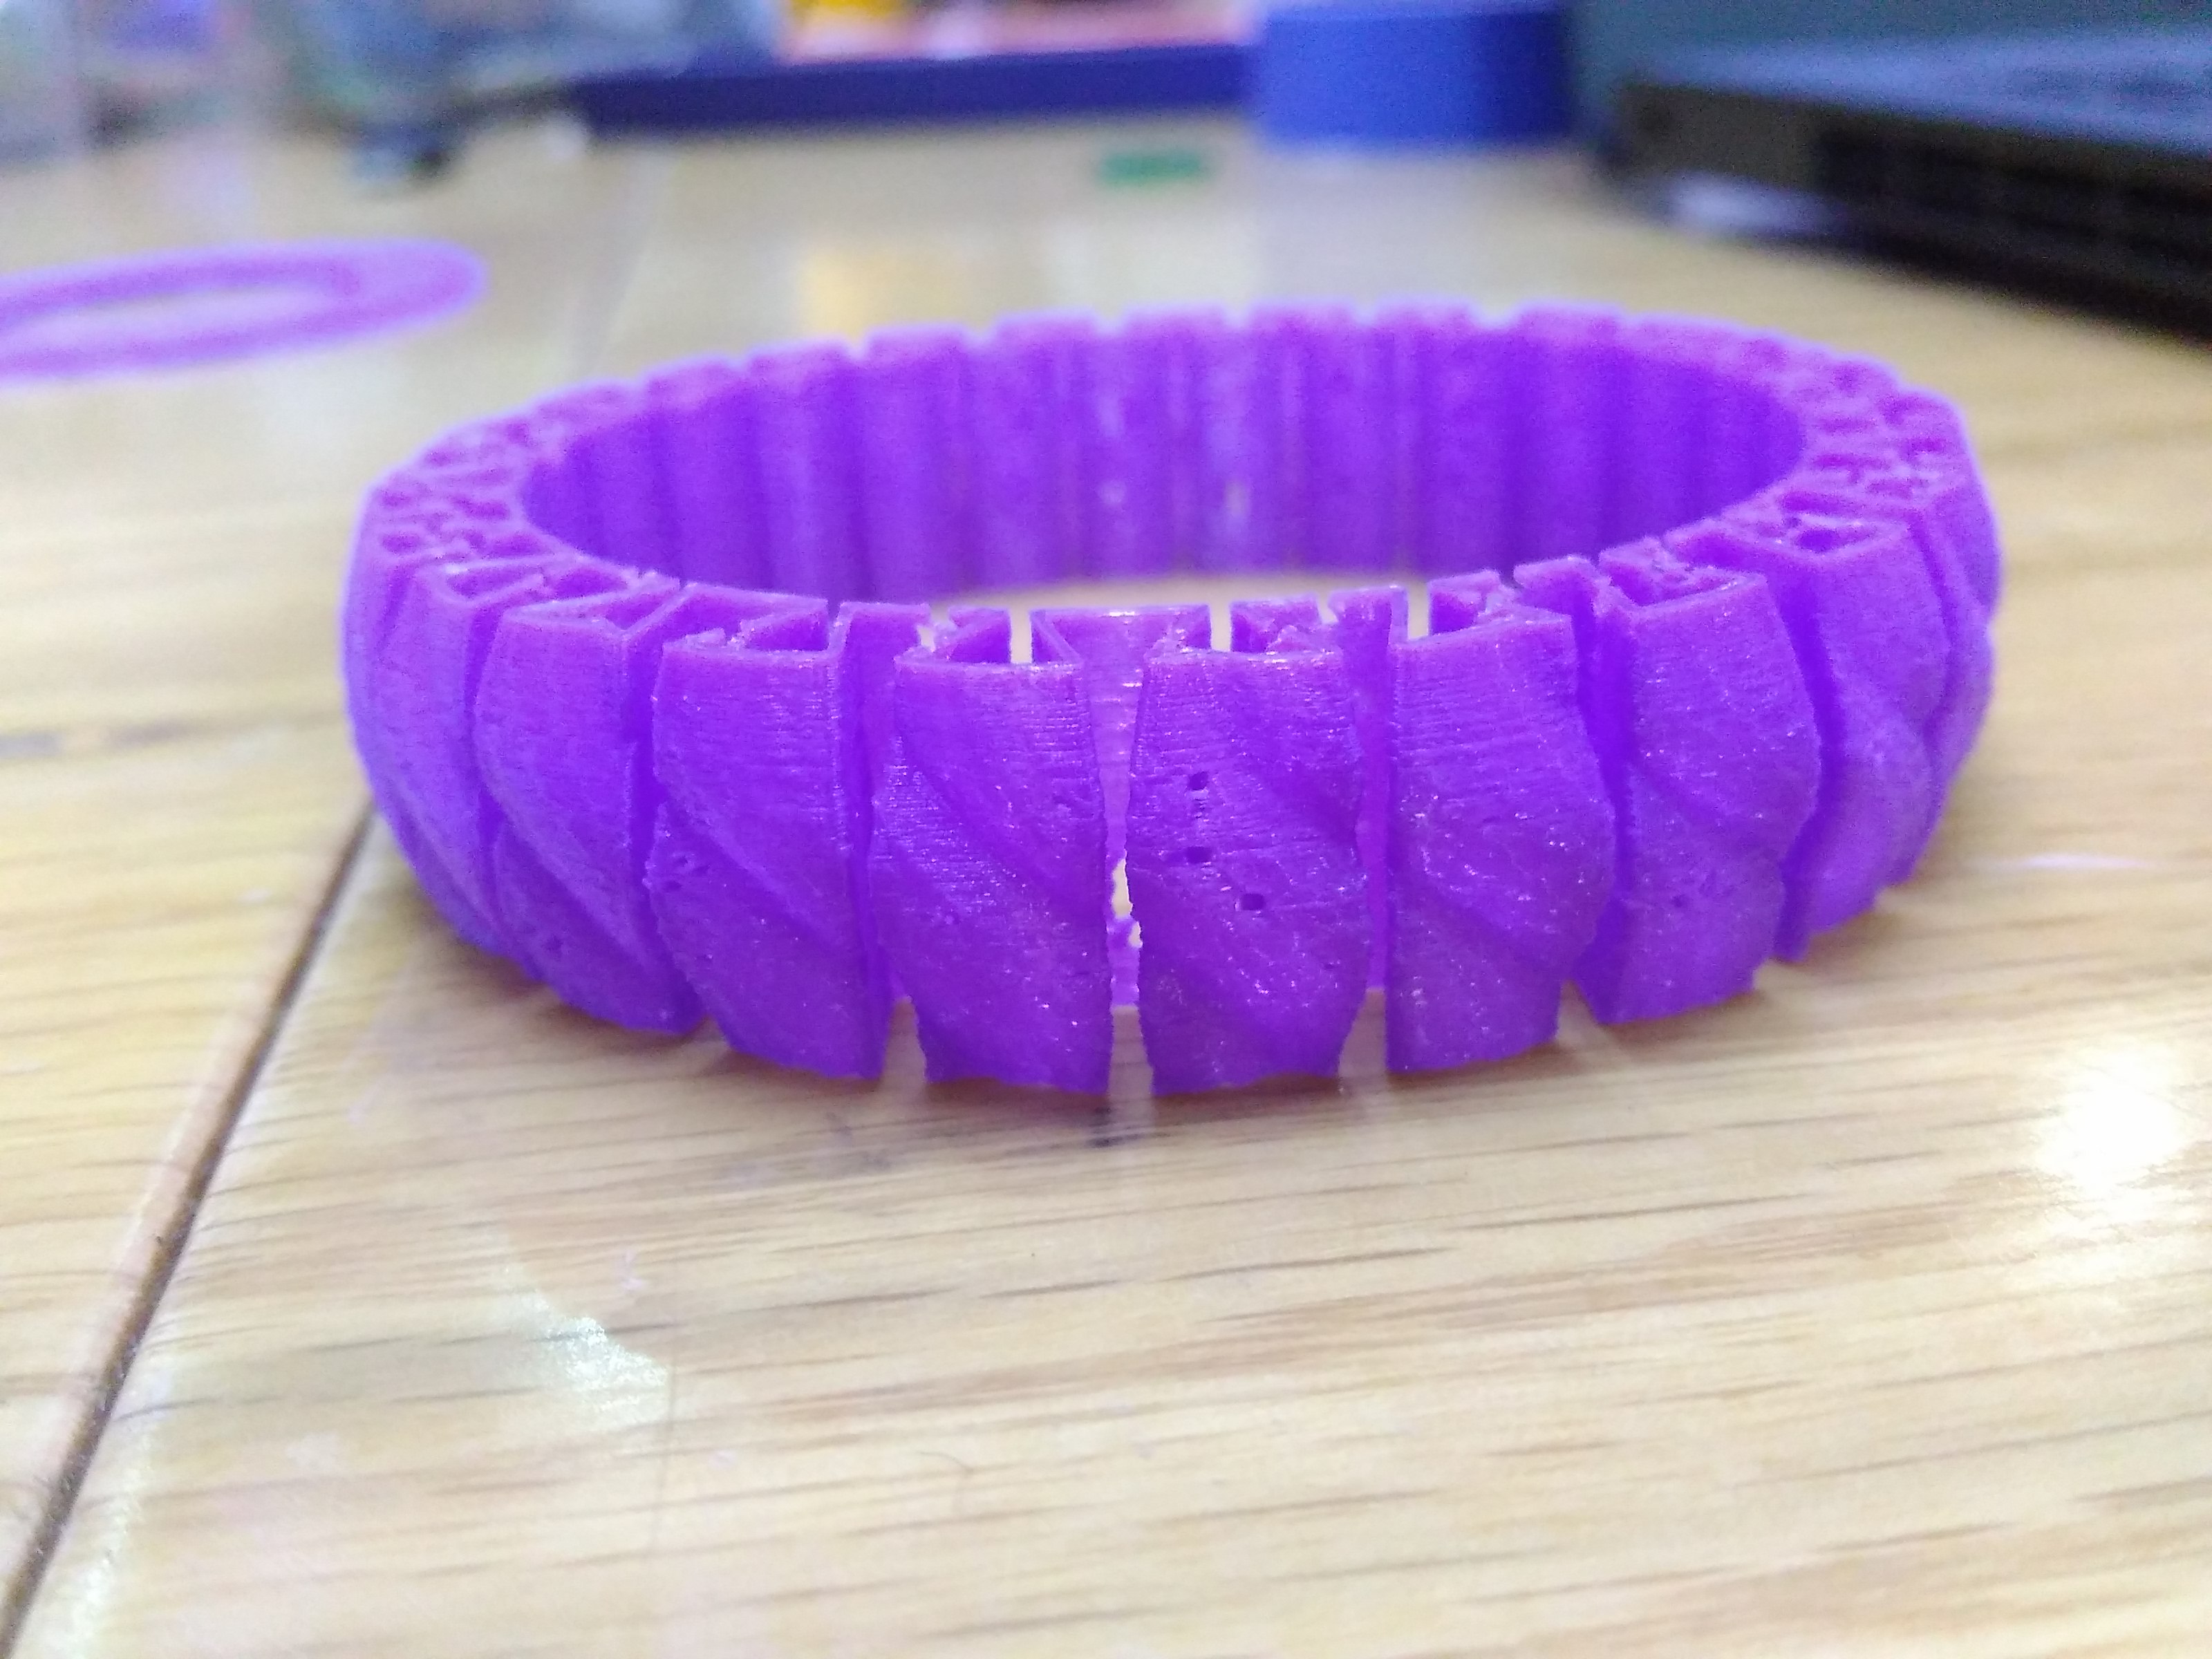
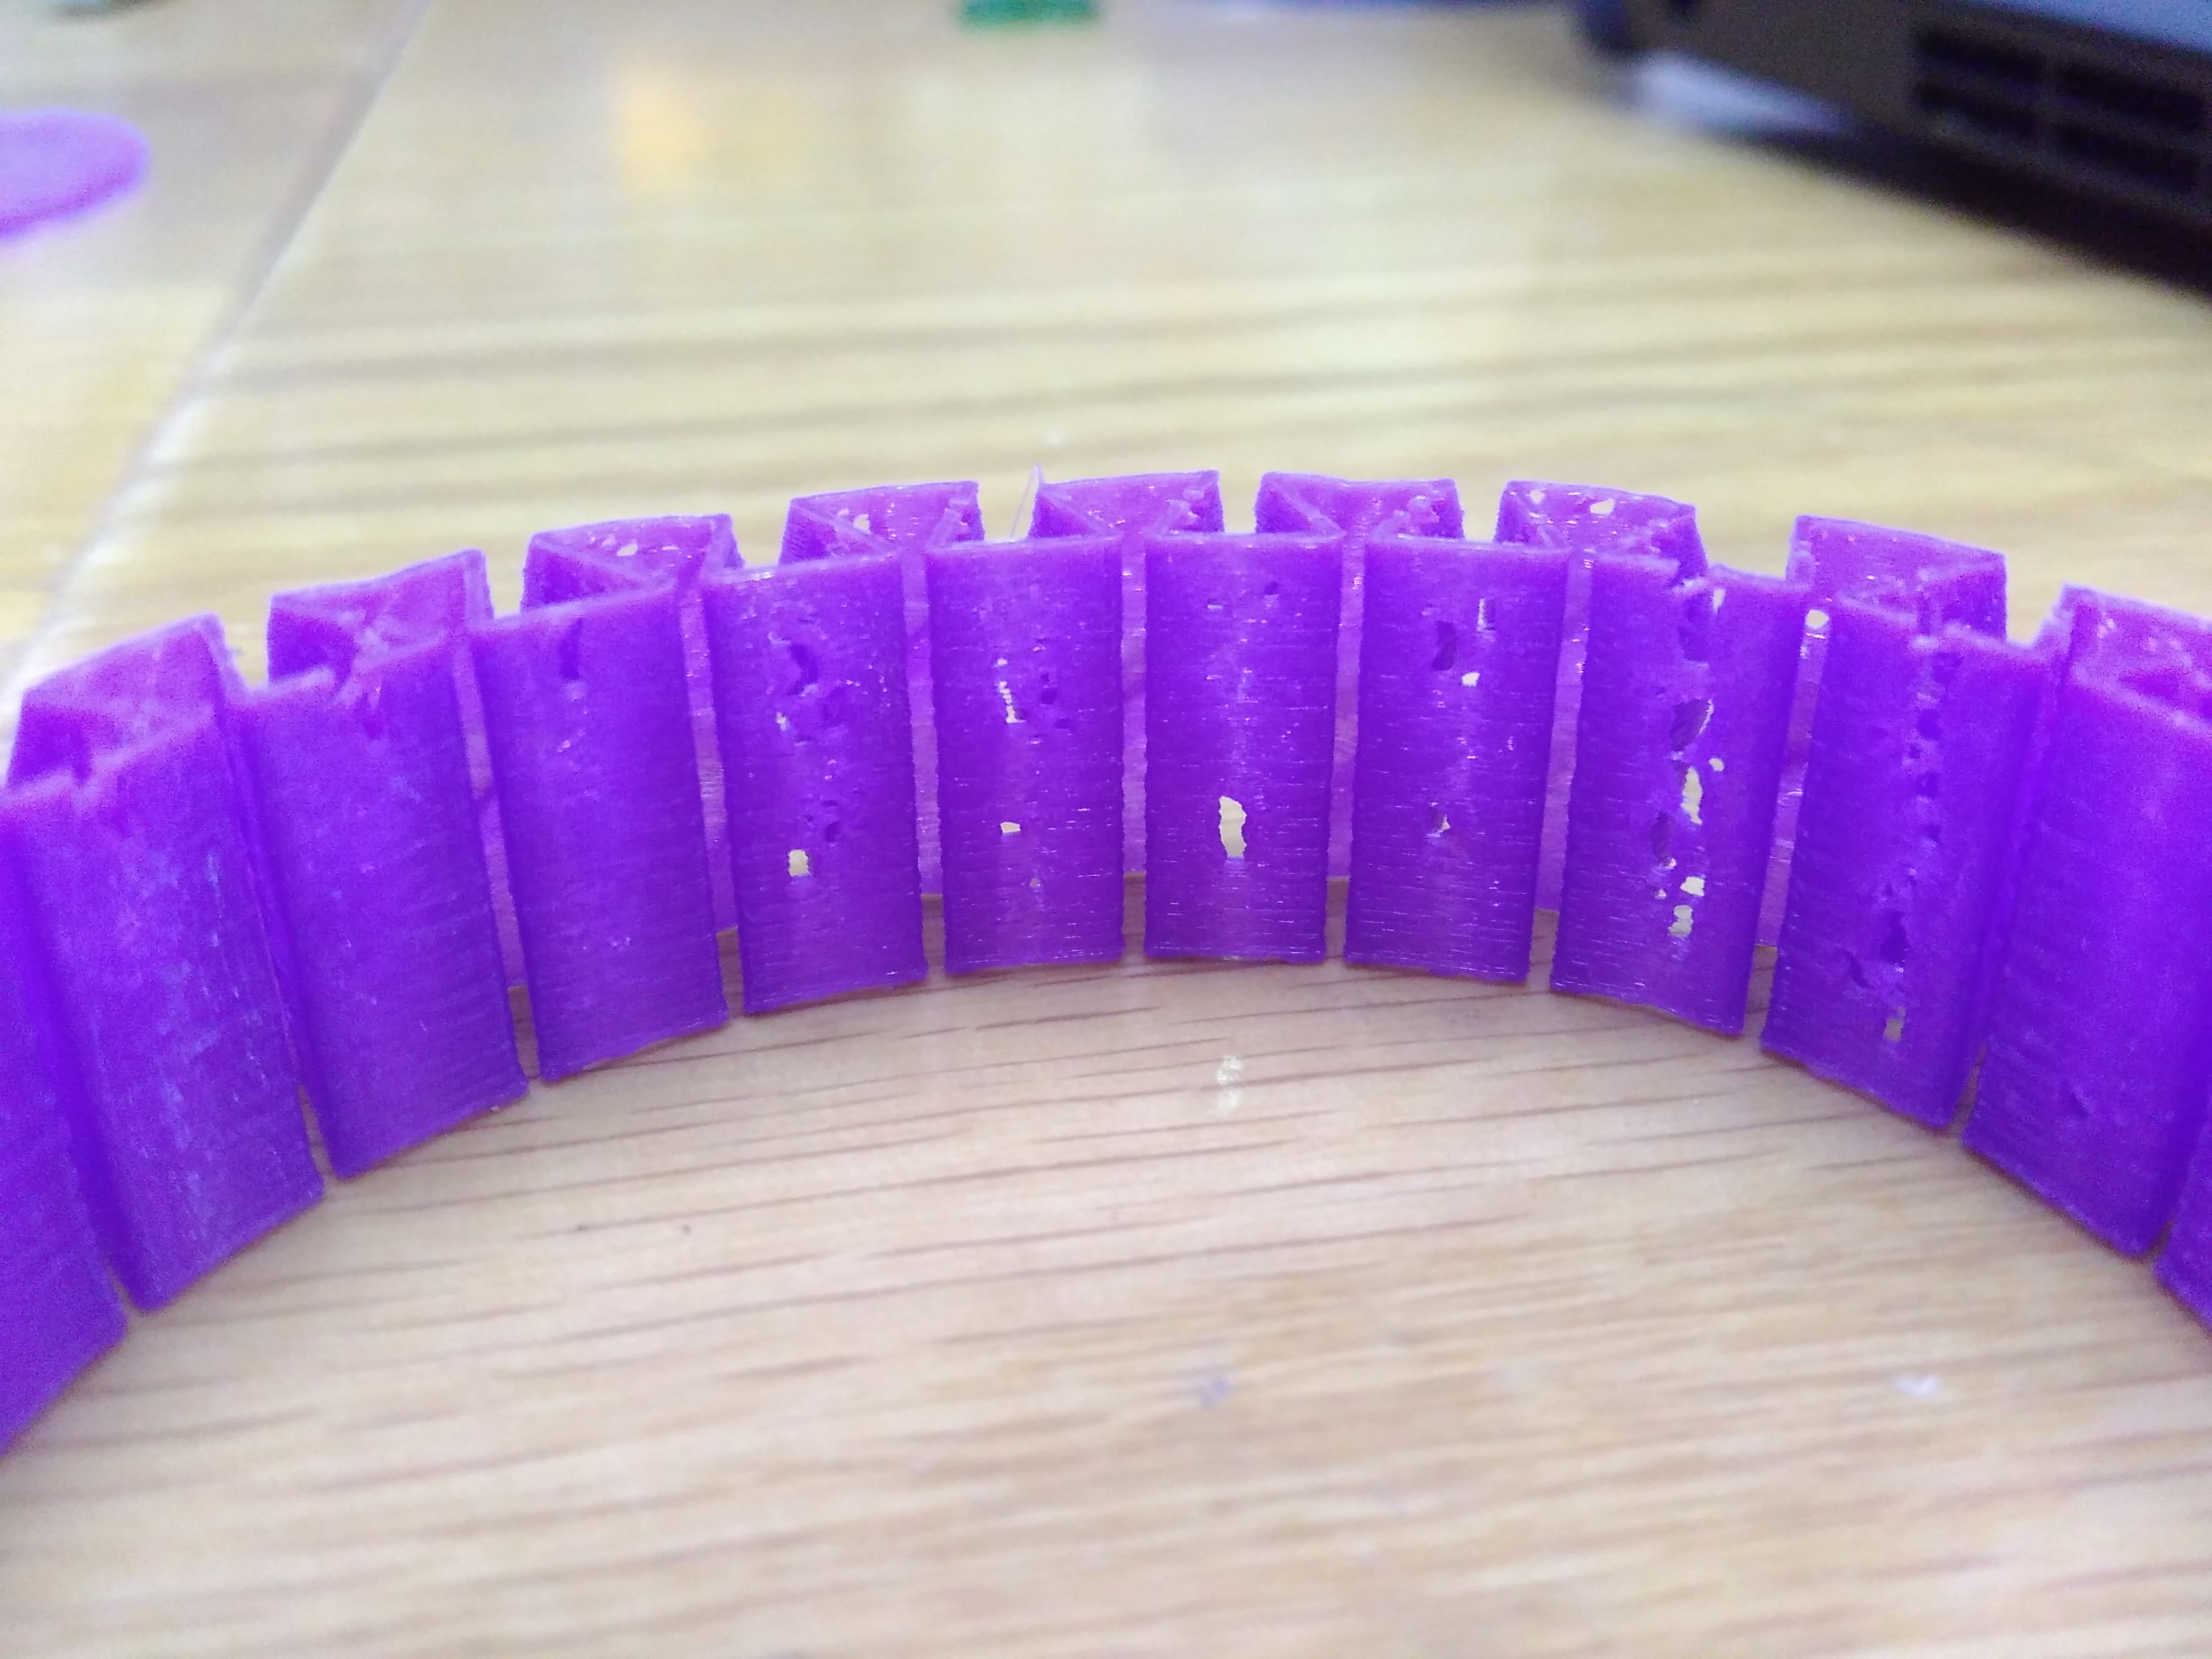
· Stretchable Bracelet
The structure was very fragile and holes can be easily depicted when printing thin walls as such.
☞ Tips
1. Lay a layer of paper tape on the build plate if there is no heater below the build platform.
2. Re-adjust the level of the platform after the paper tape is laid on surface.
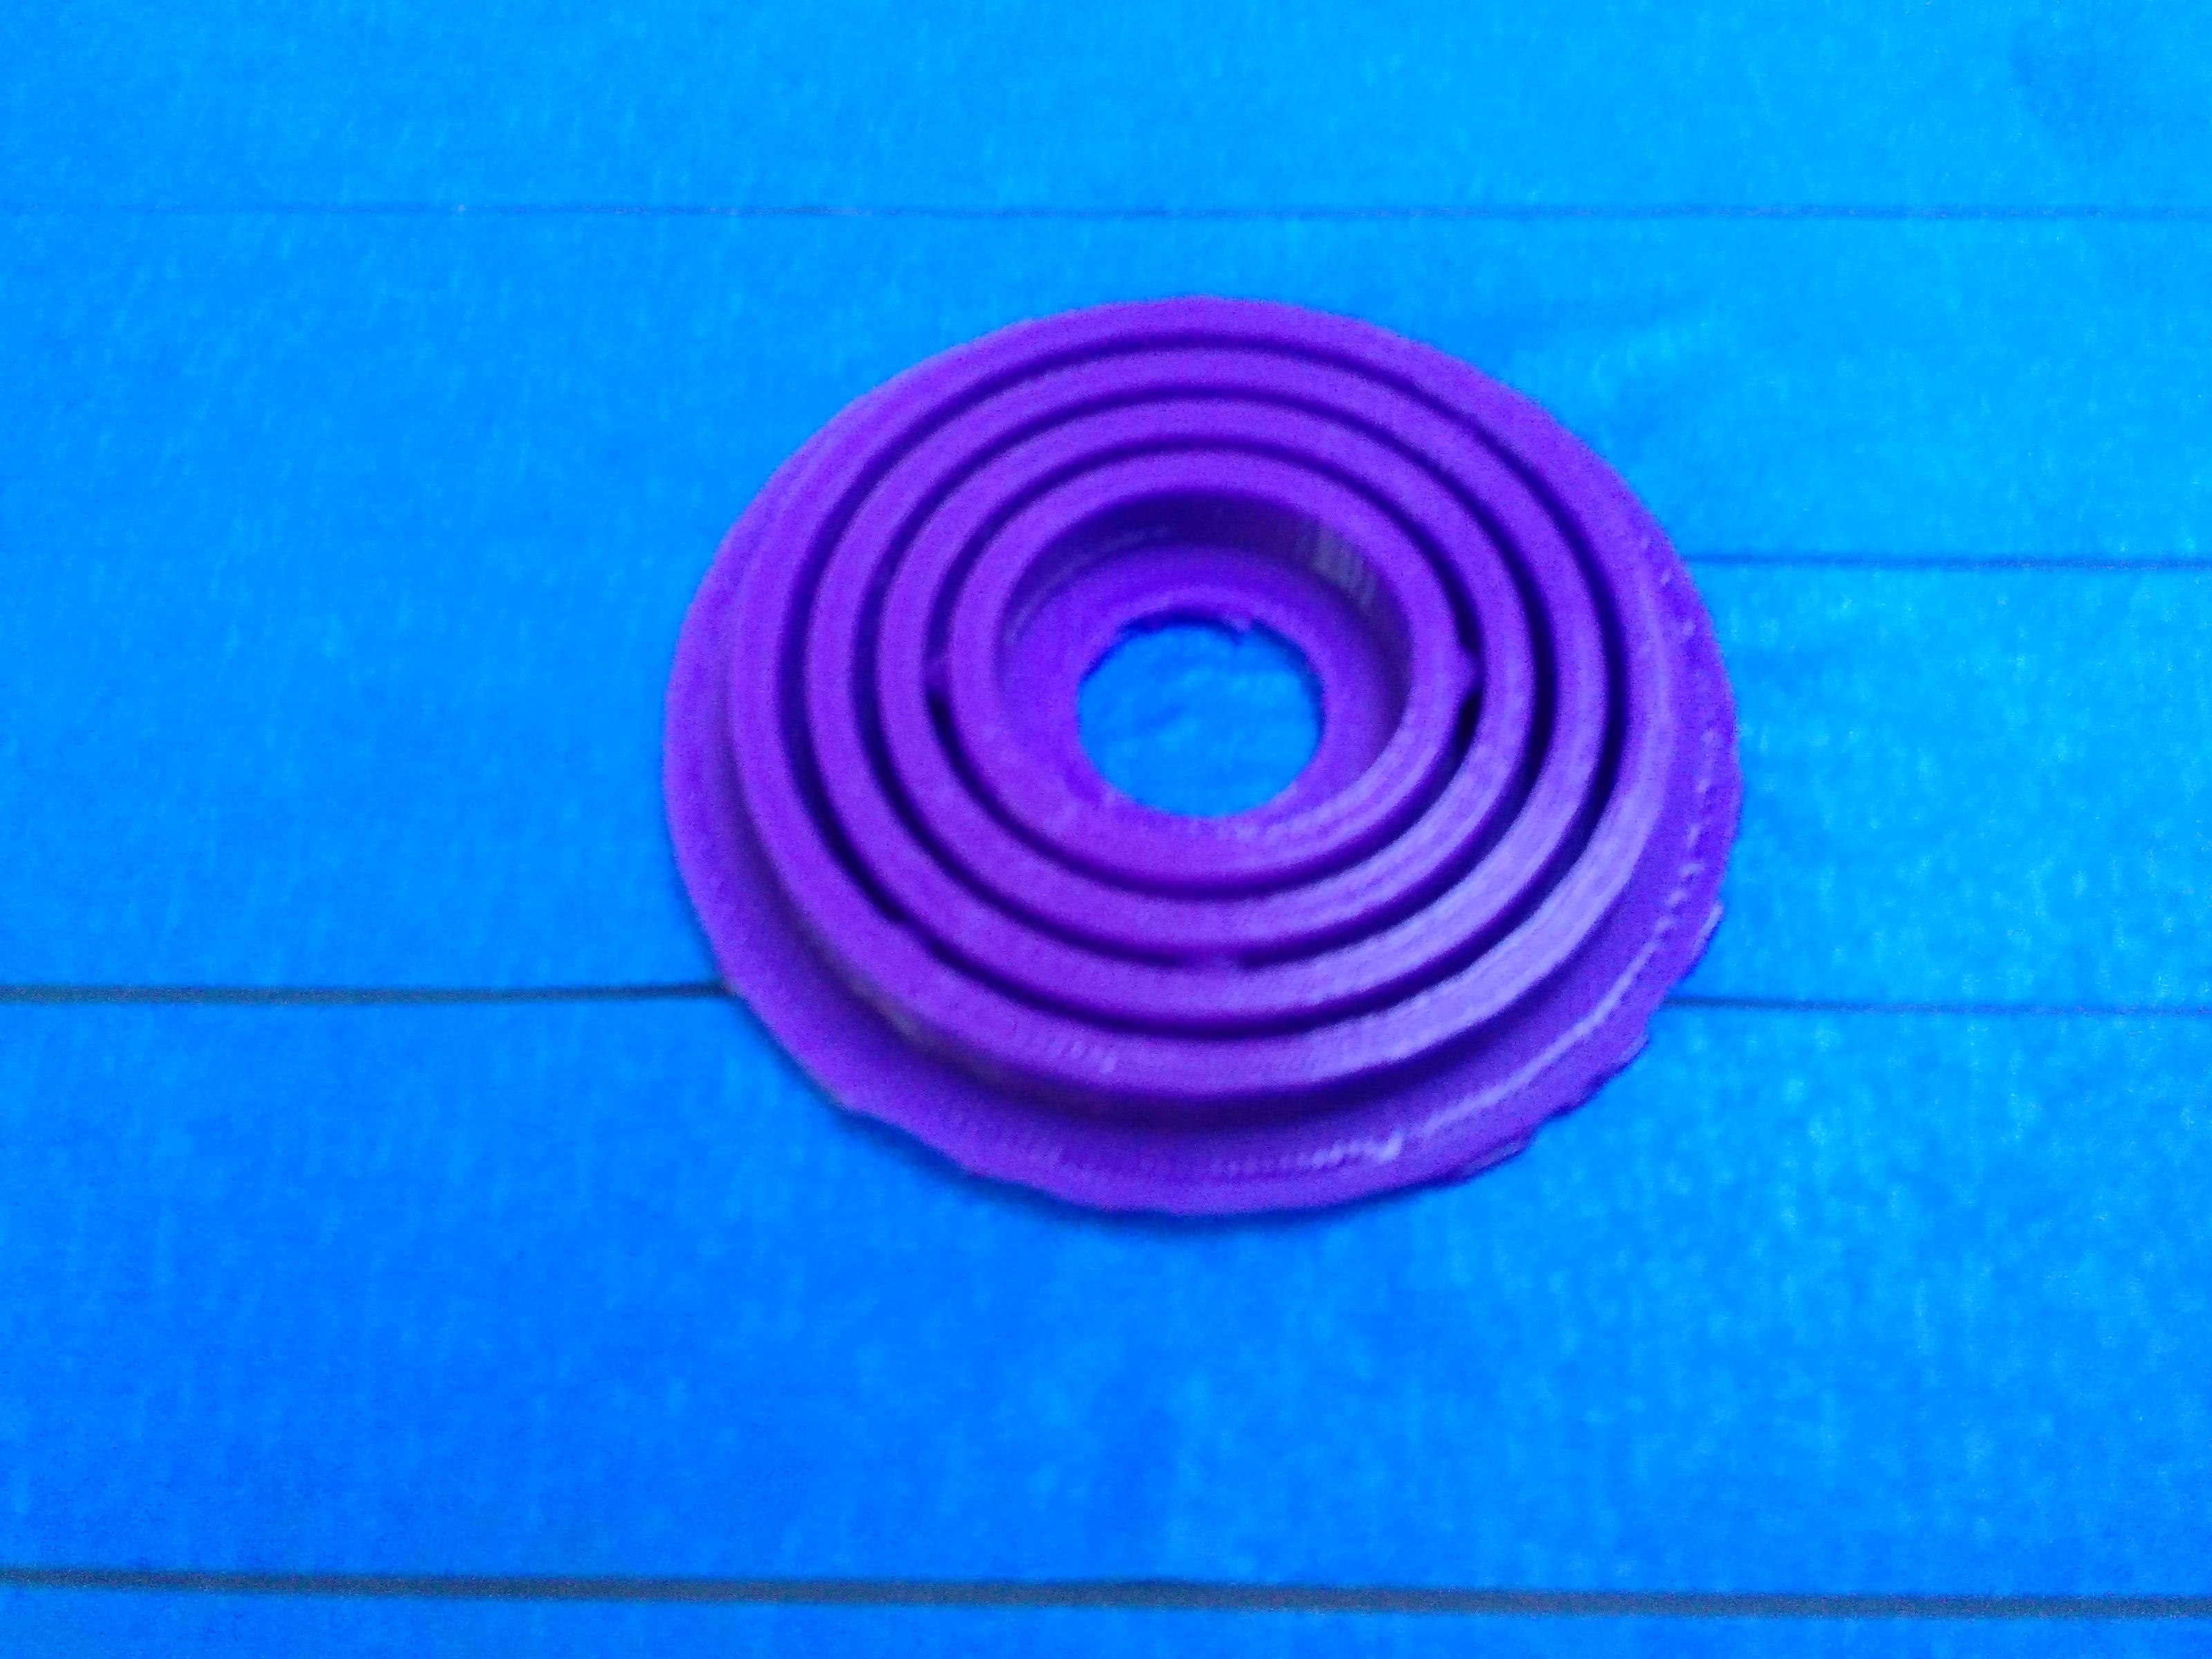
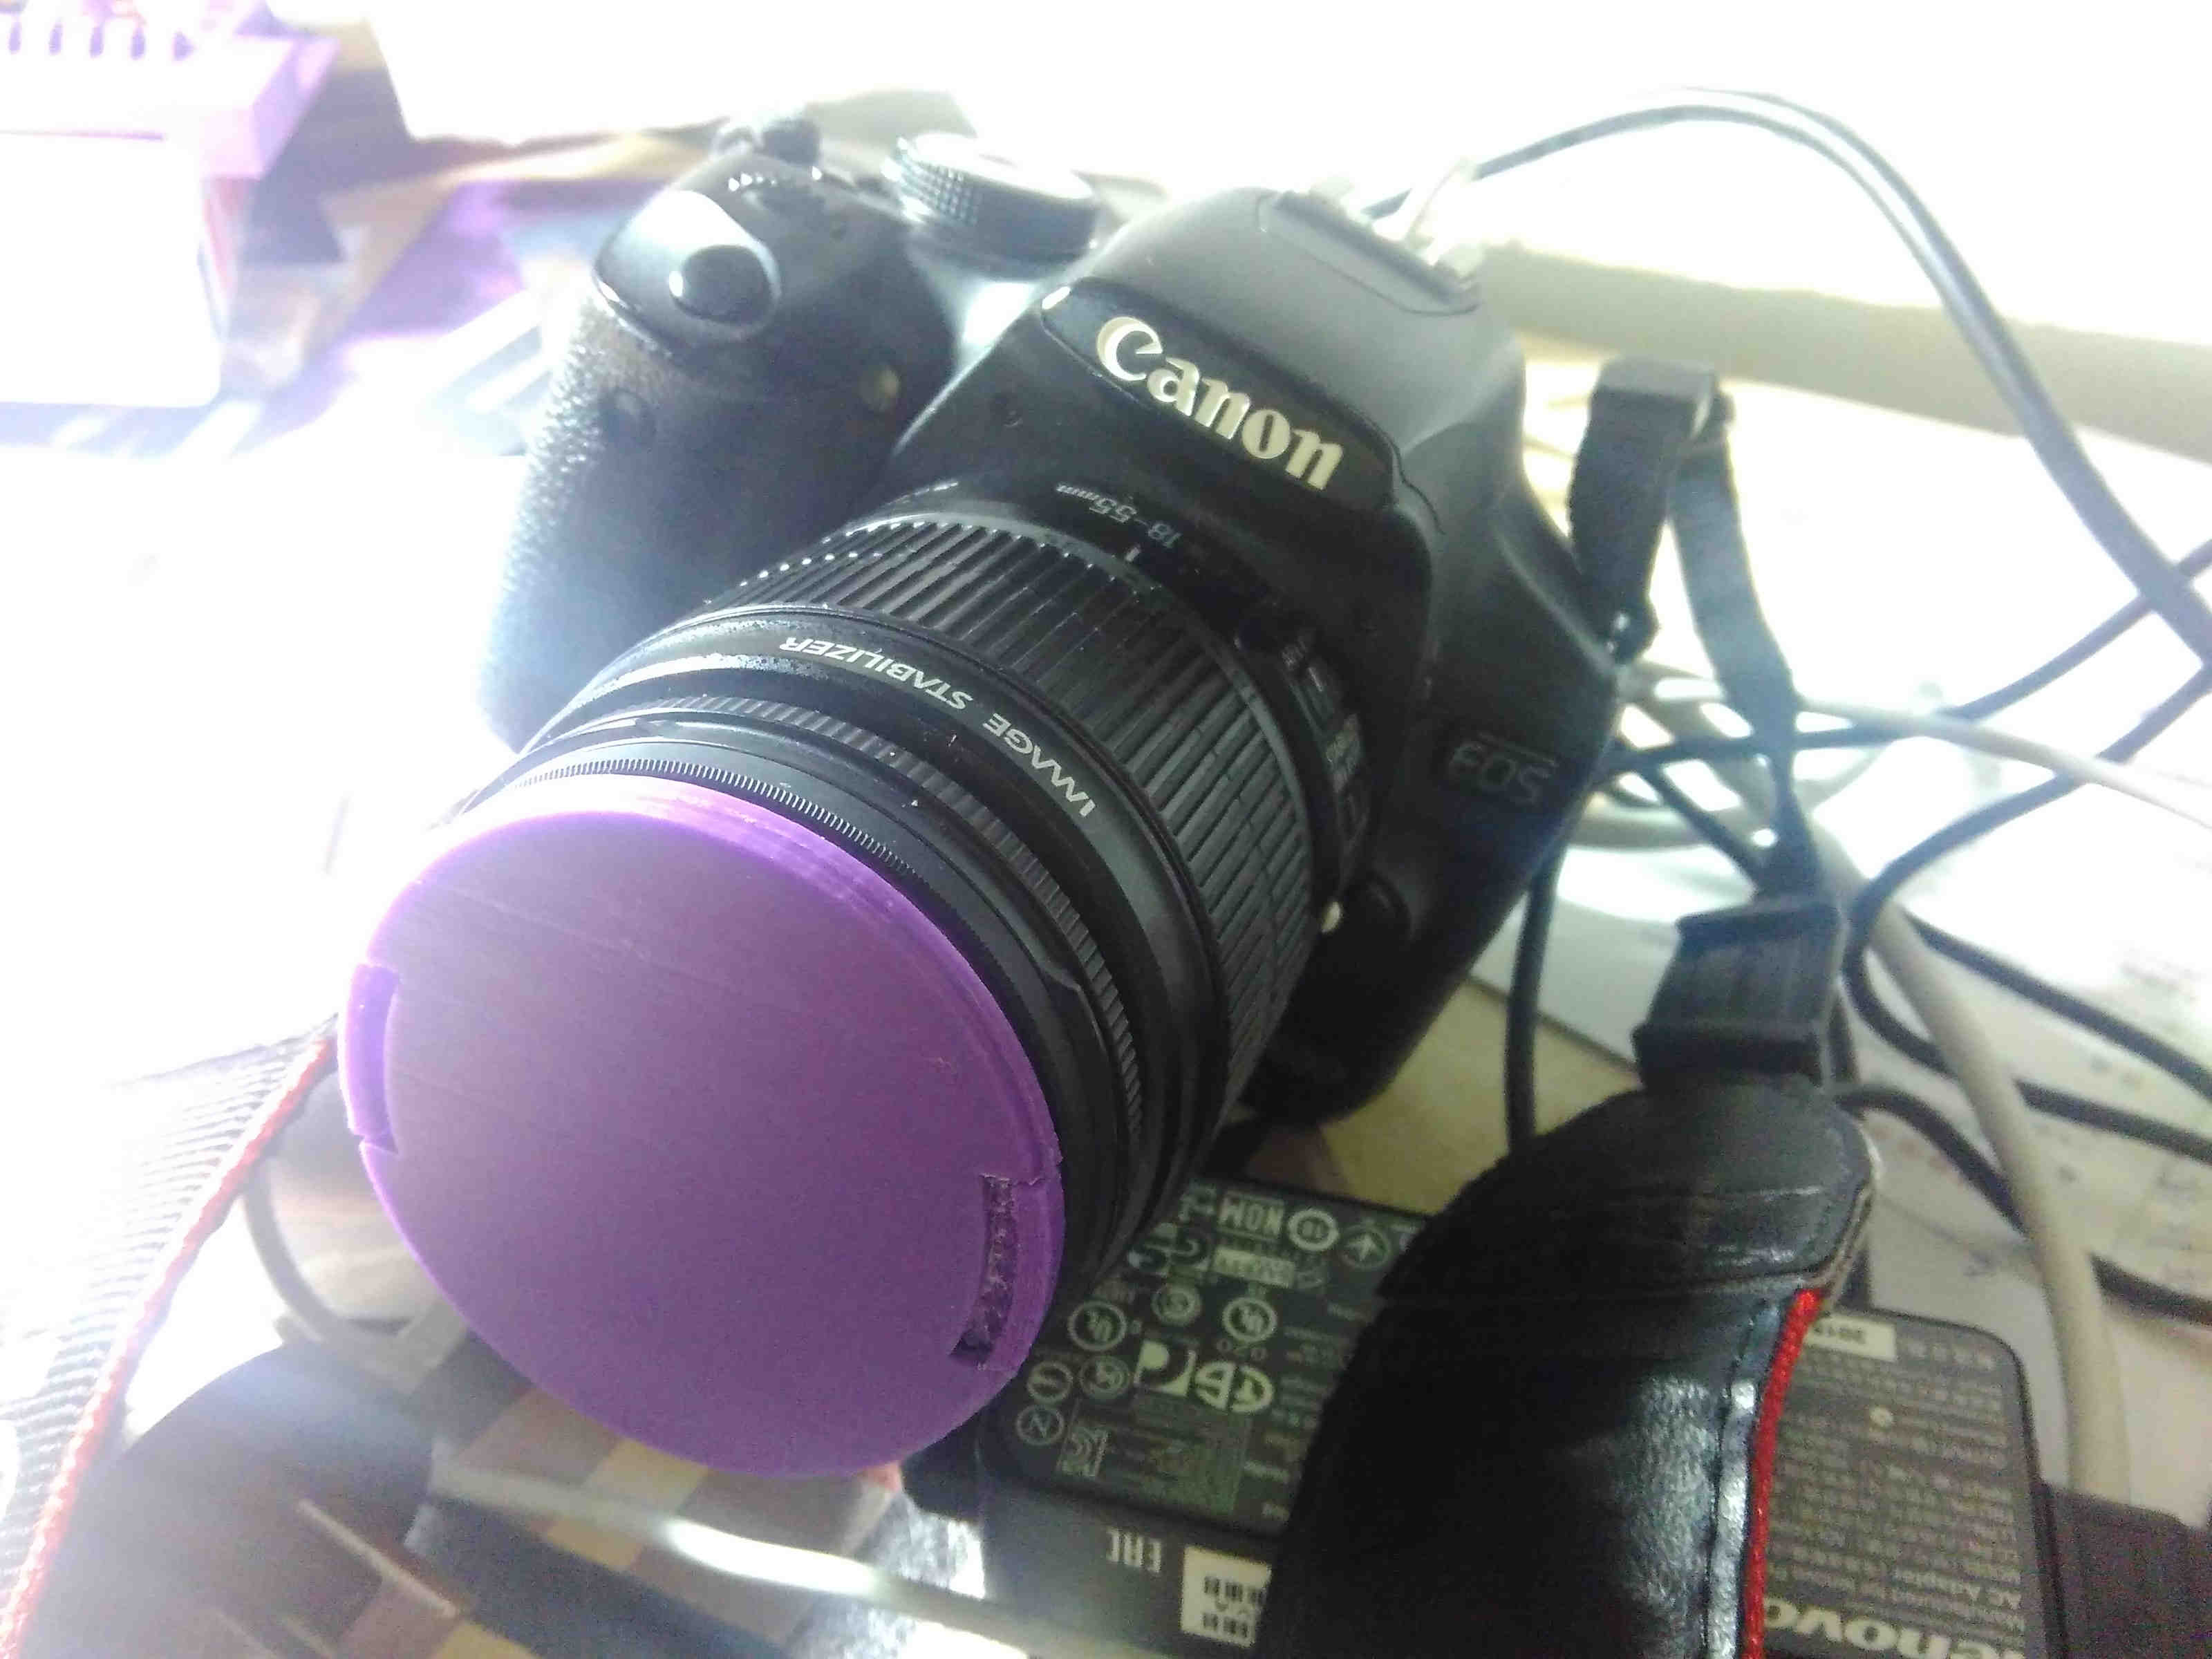
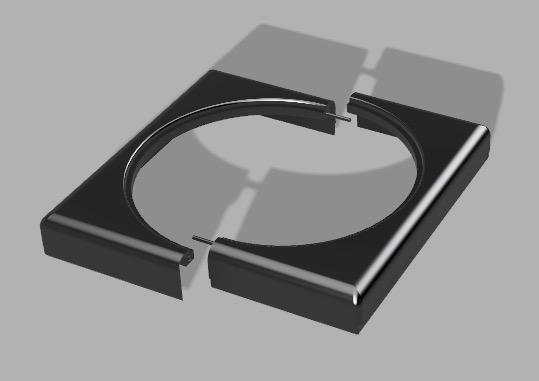
58mm Canon Lens Cap
25 Feb
Week5 3D Printing; MakerBot Rreplicator 2
The design of the lens cap consists of two parts, the cap and the inner ring. When I print the two altogher, the two stuck to each other and the ring became no longer pressable.
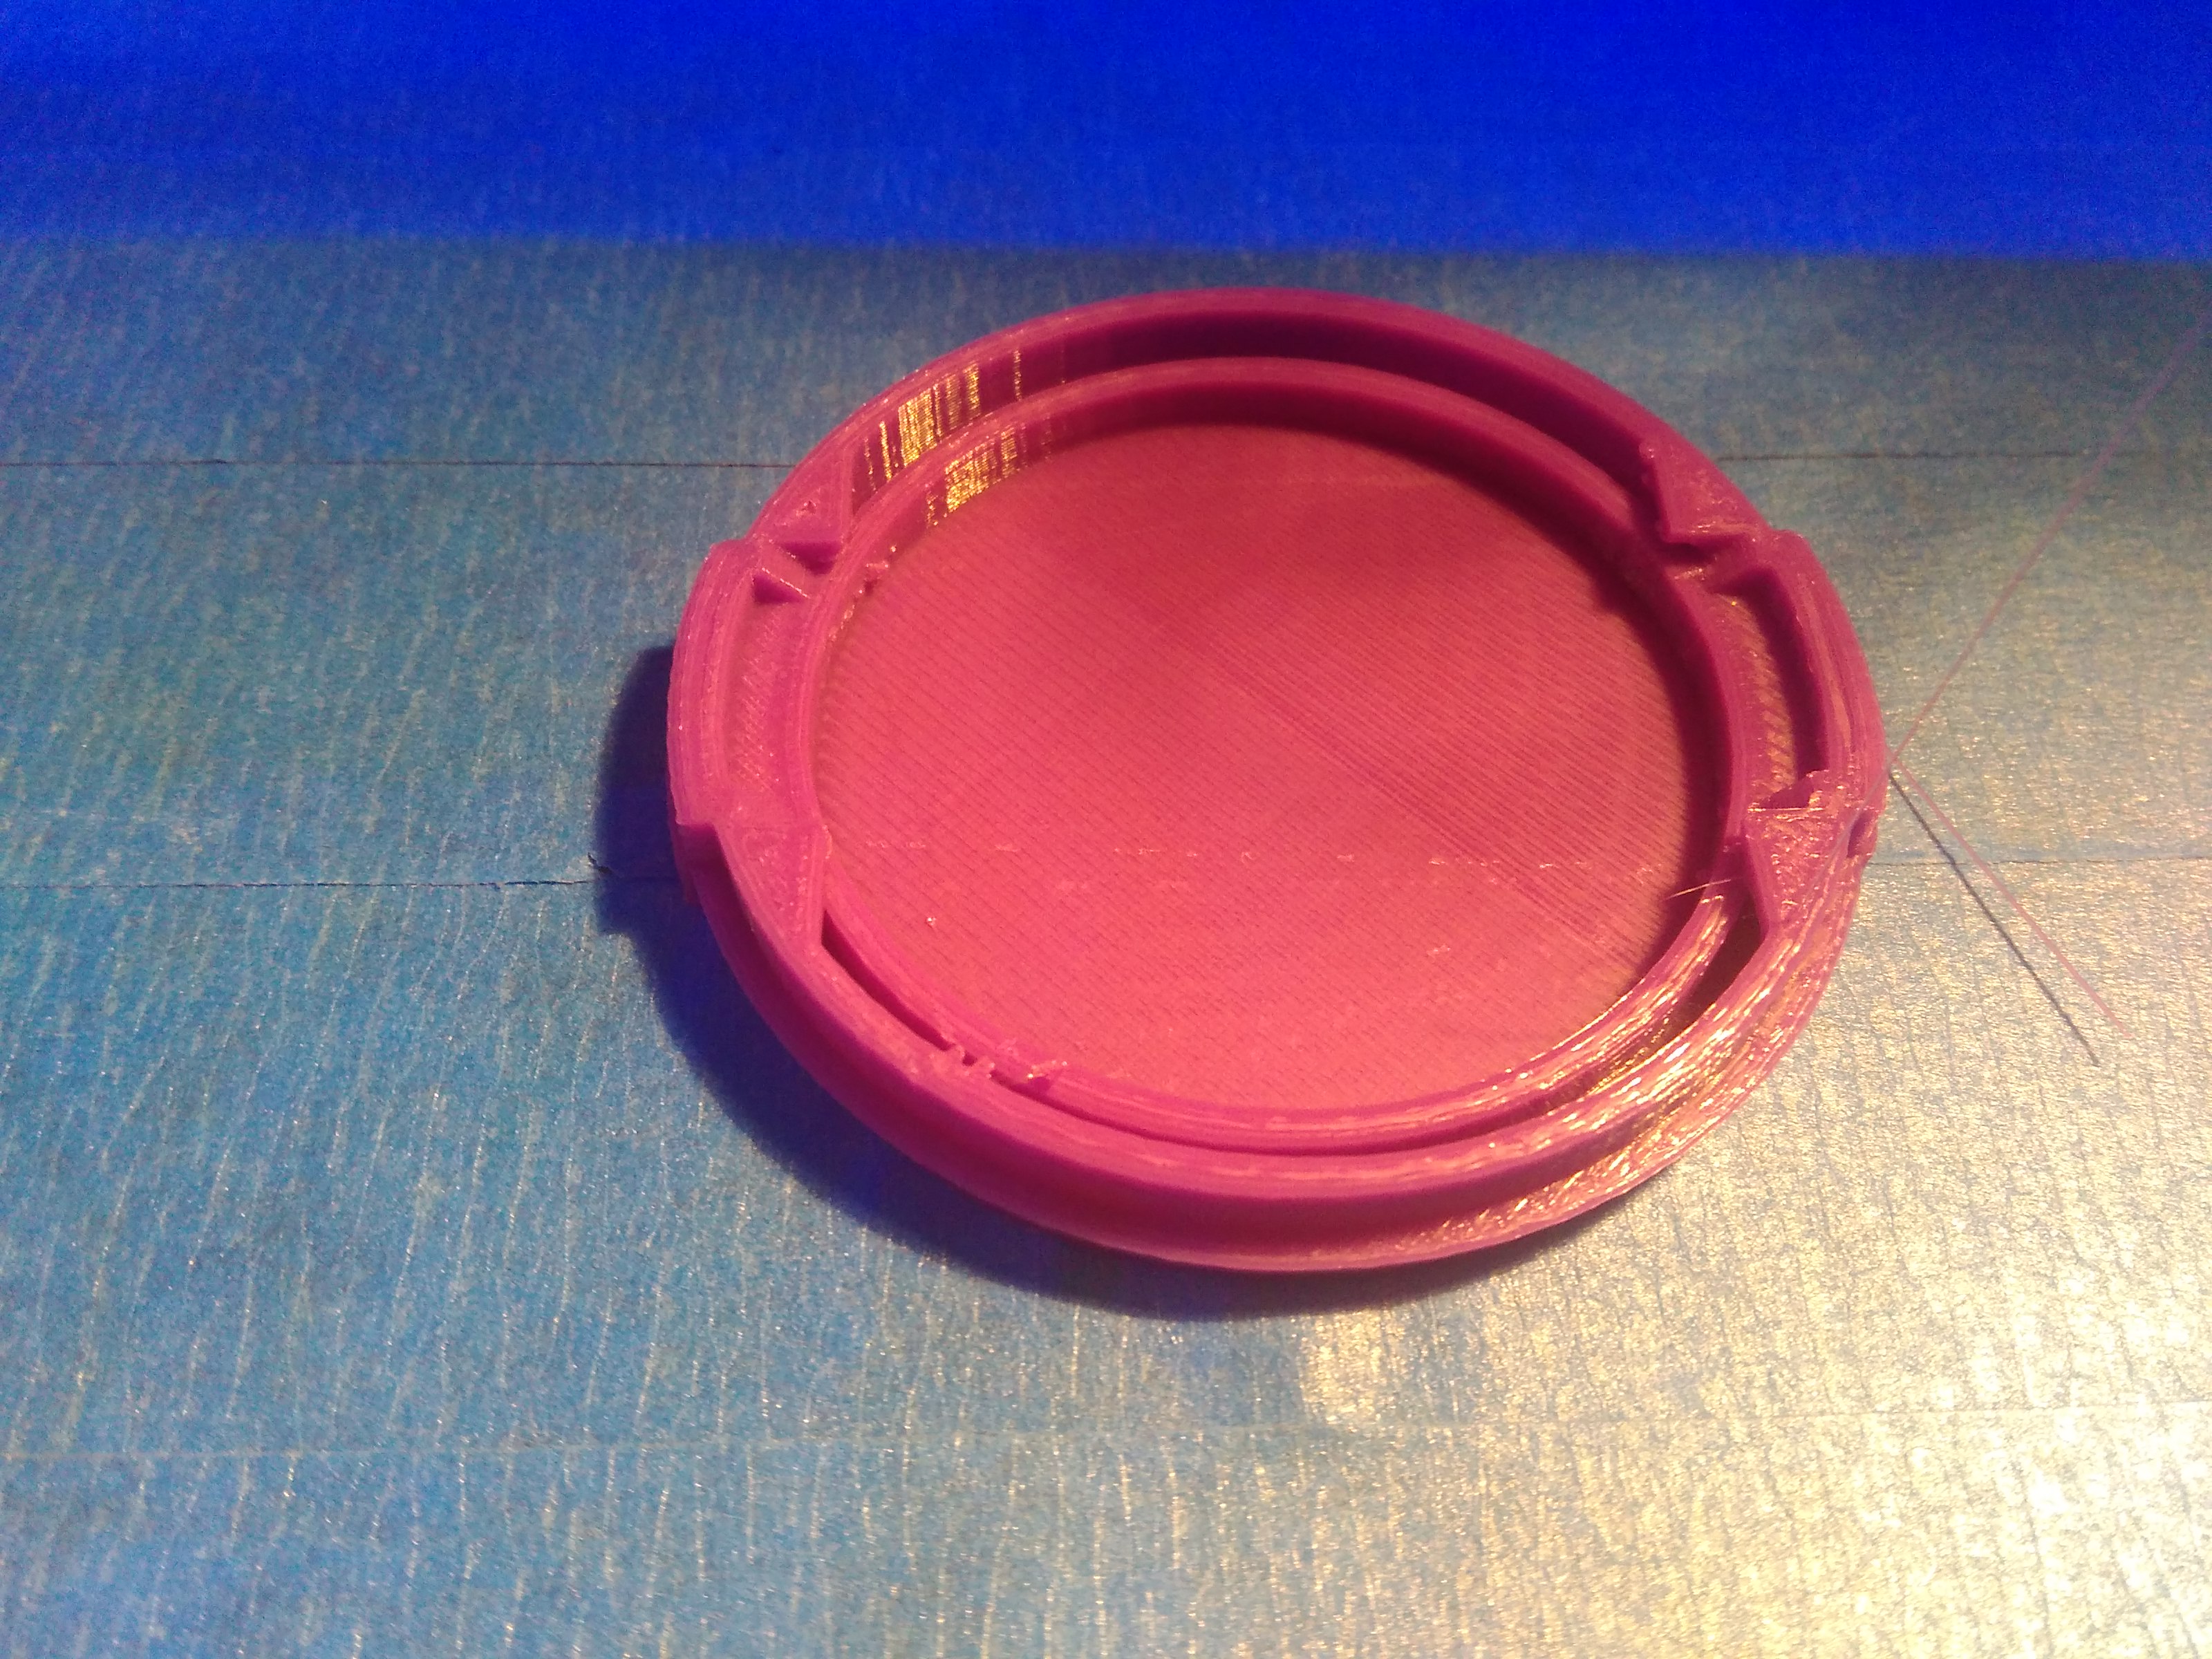
Then I tried laying the two next to each other at the same time in order to save time. However, a lack of supports made the inner ring undesirable.
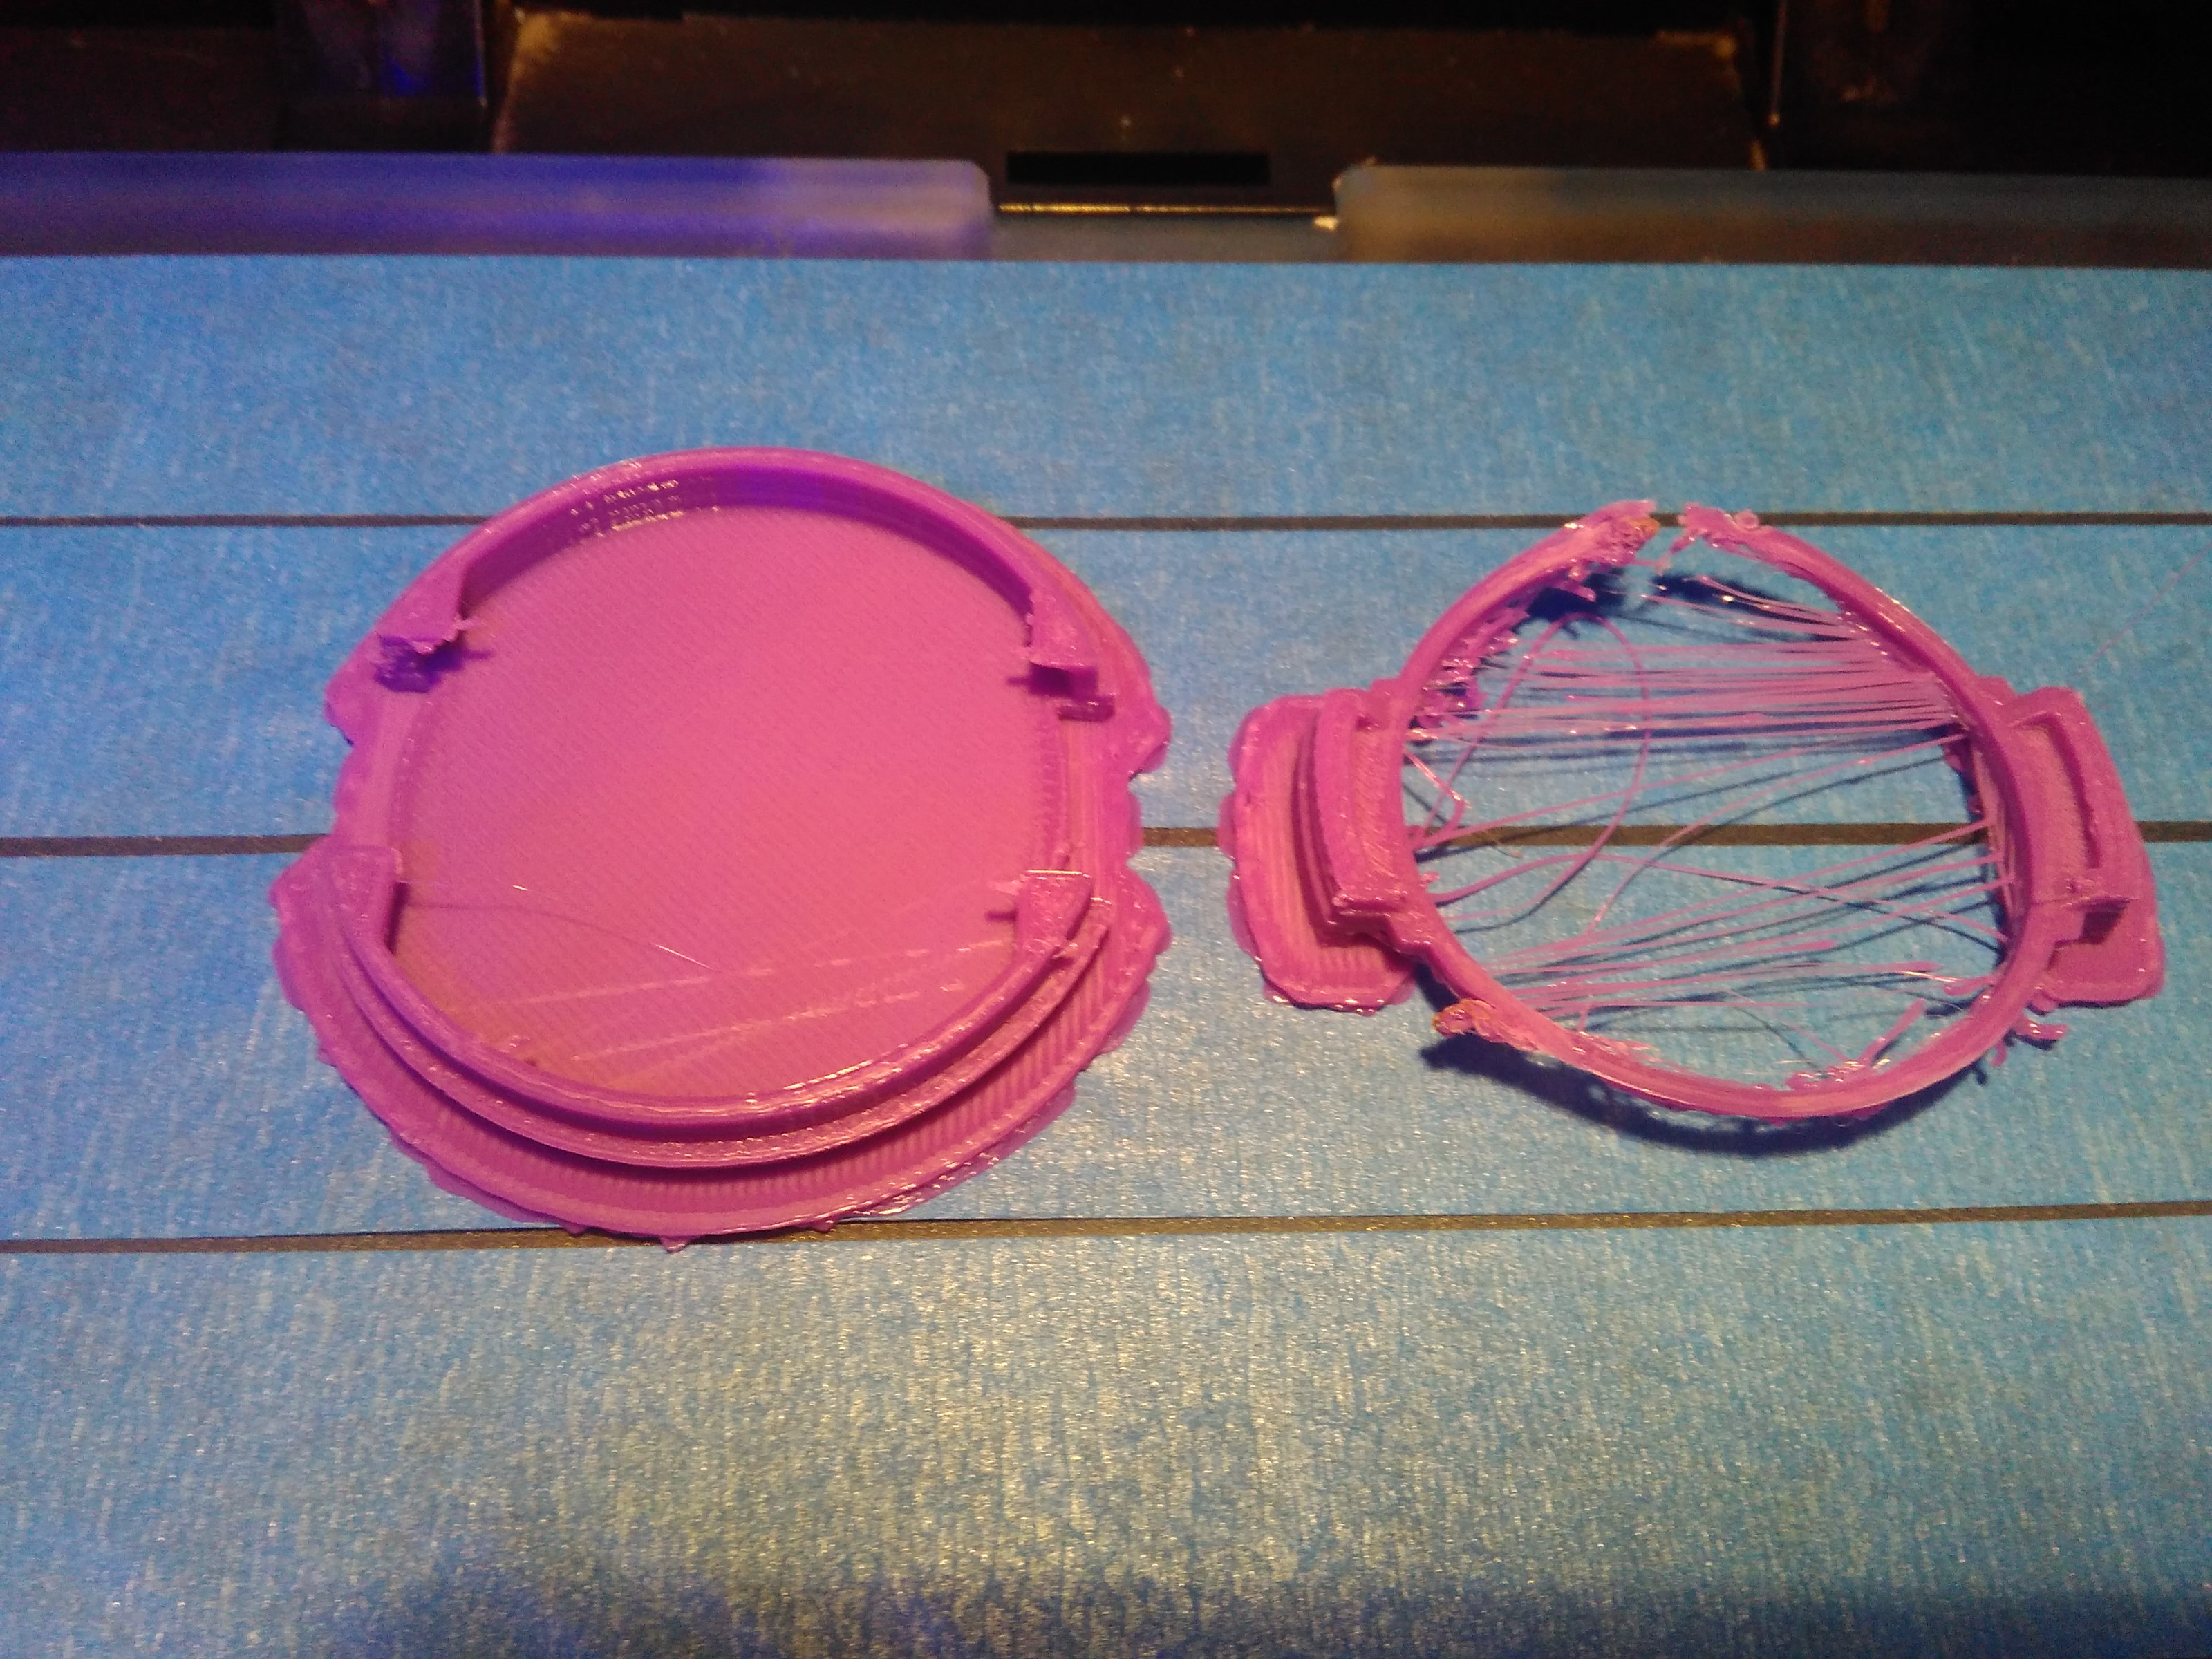
In the end I printed the two separately with different settings. The inner ring requires support however it unavoidably became rougher when I took them off.
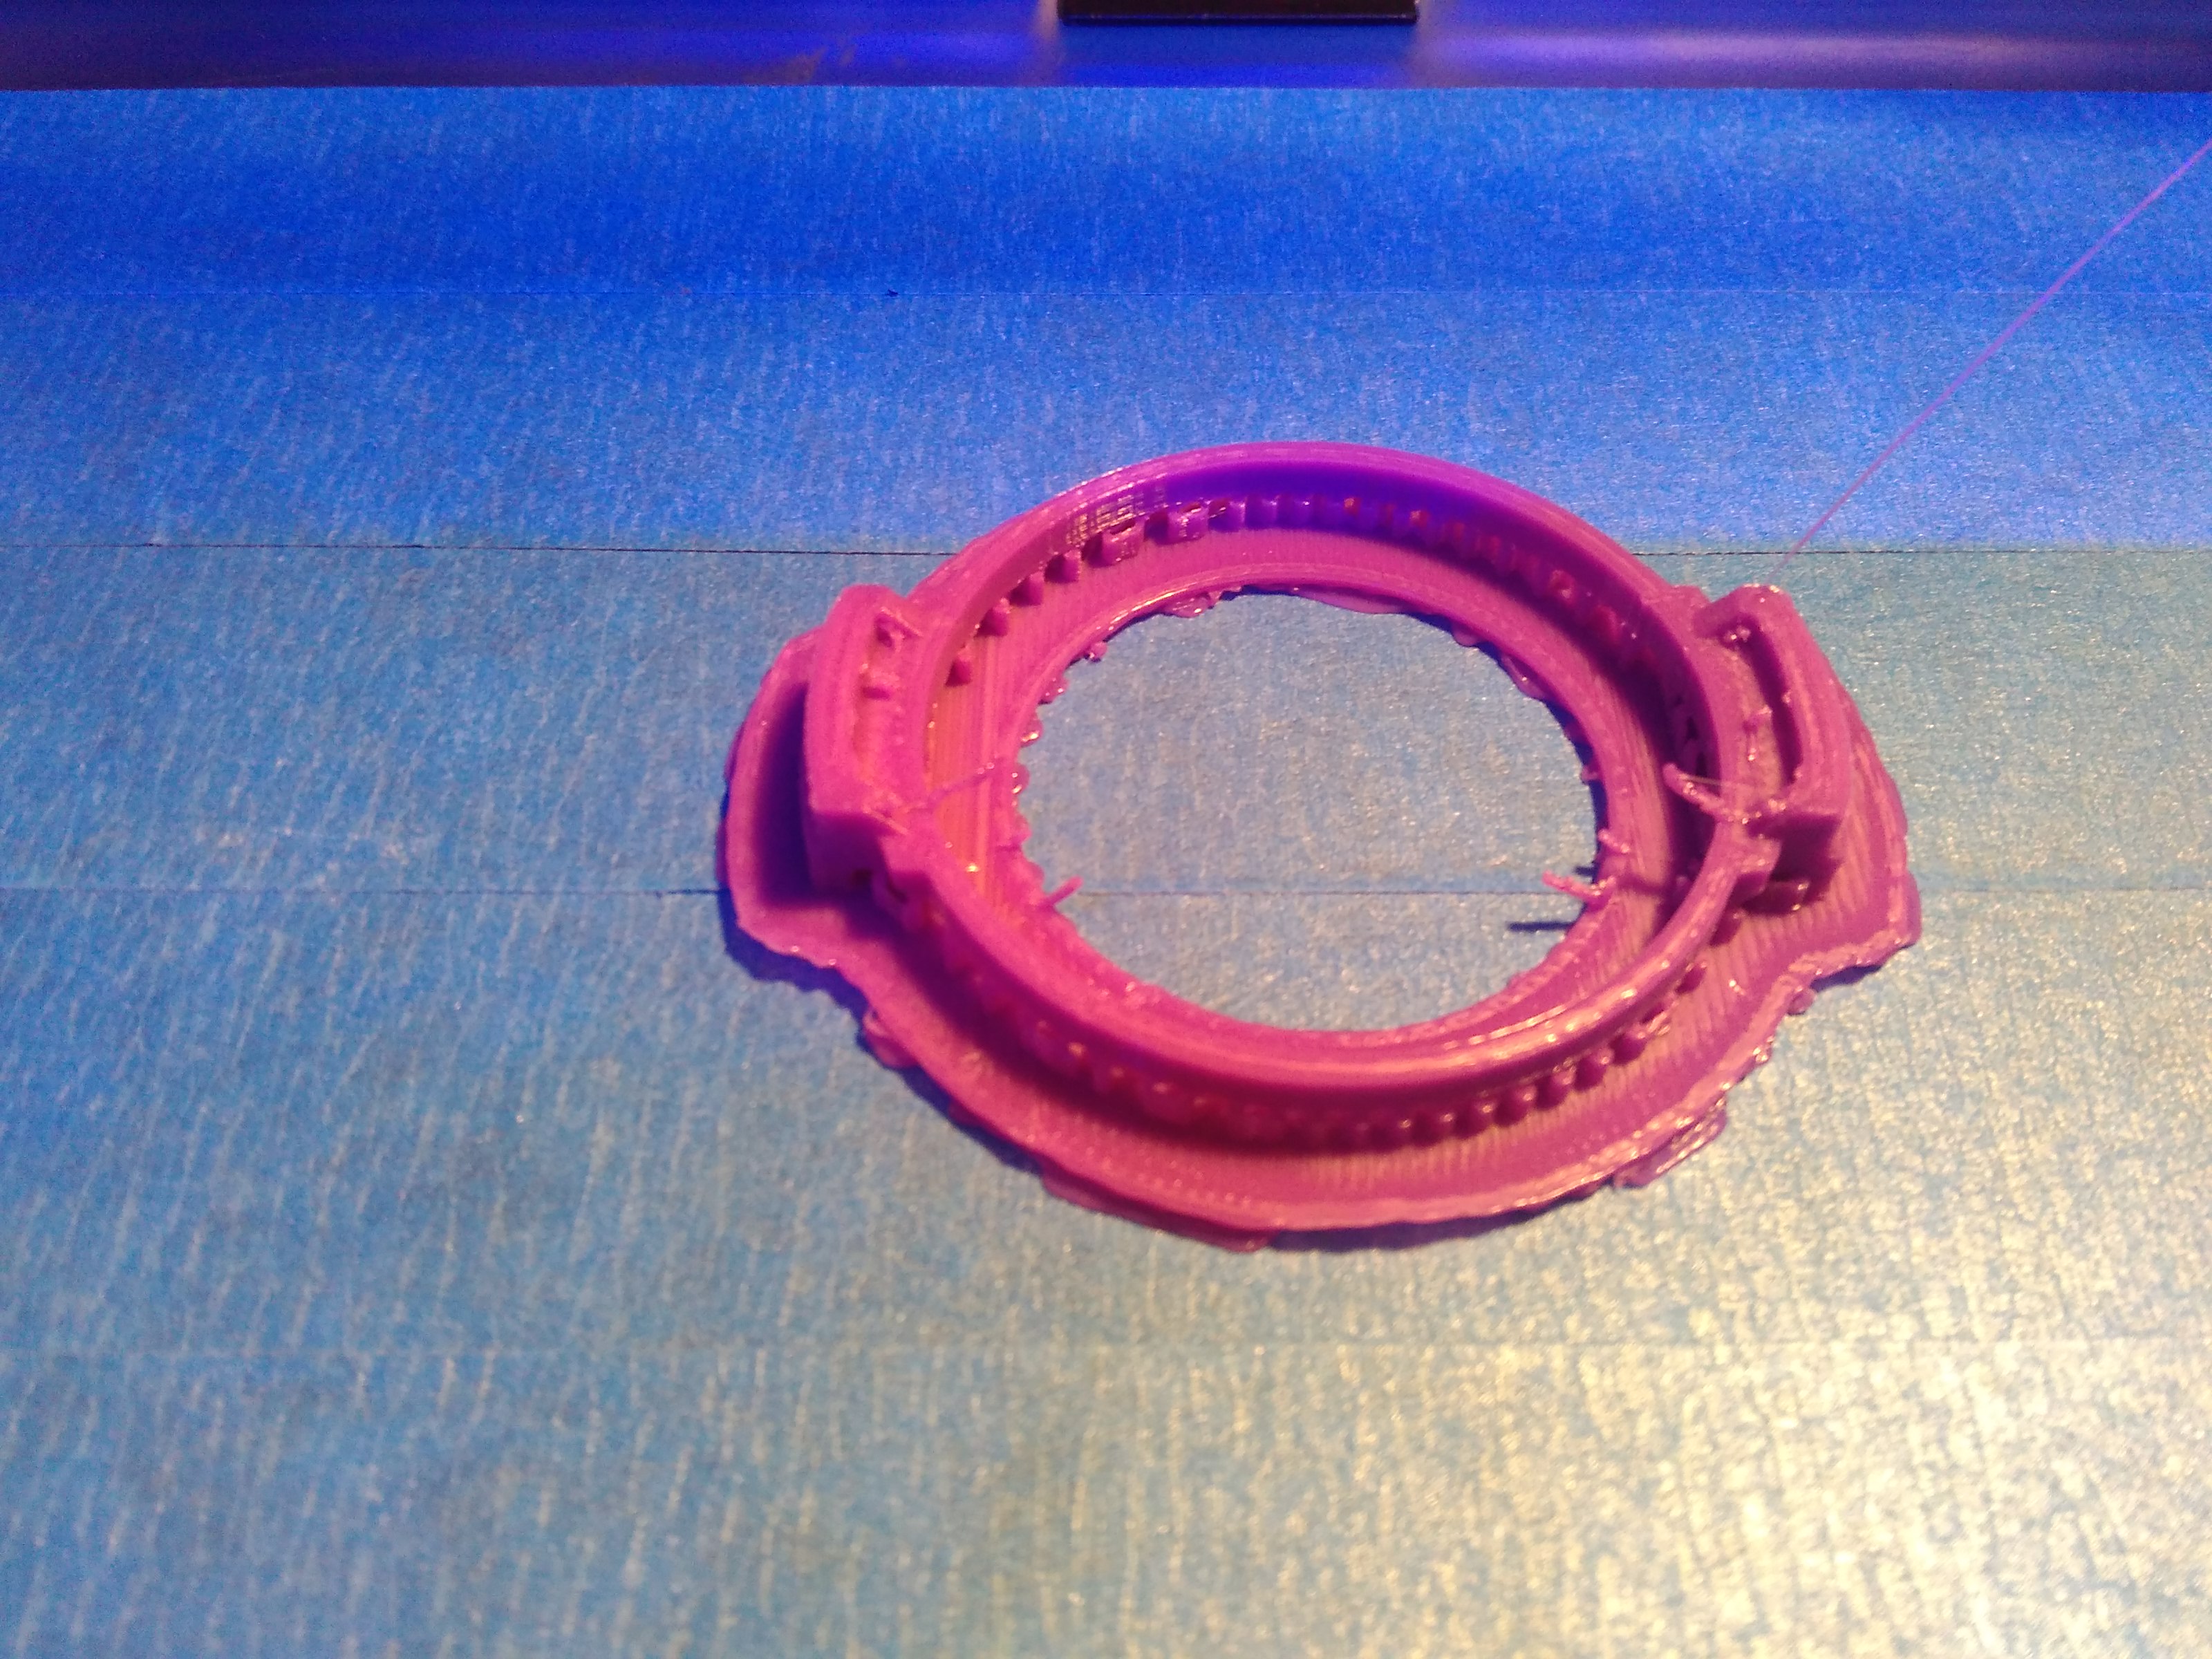
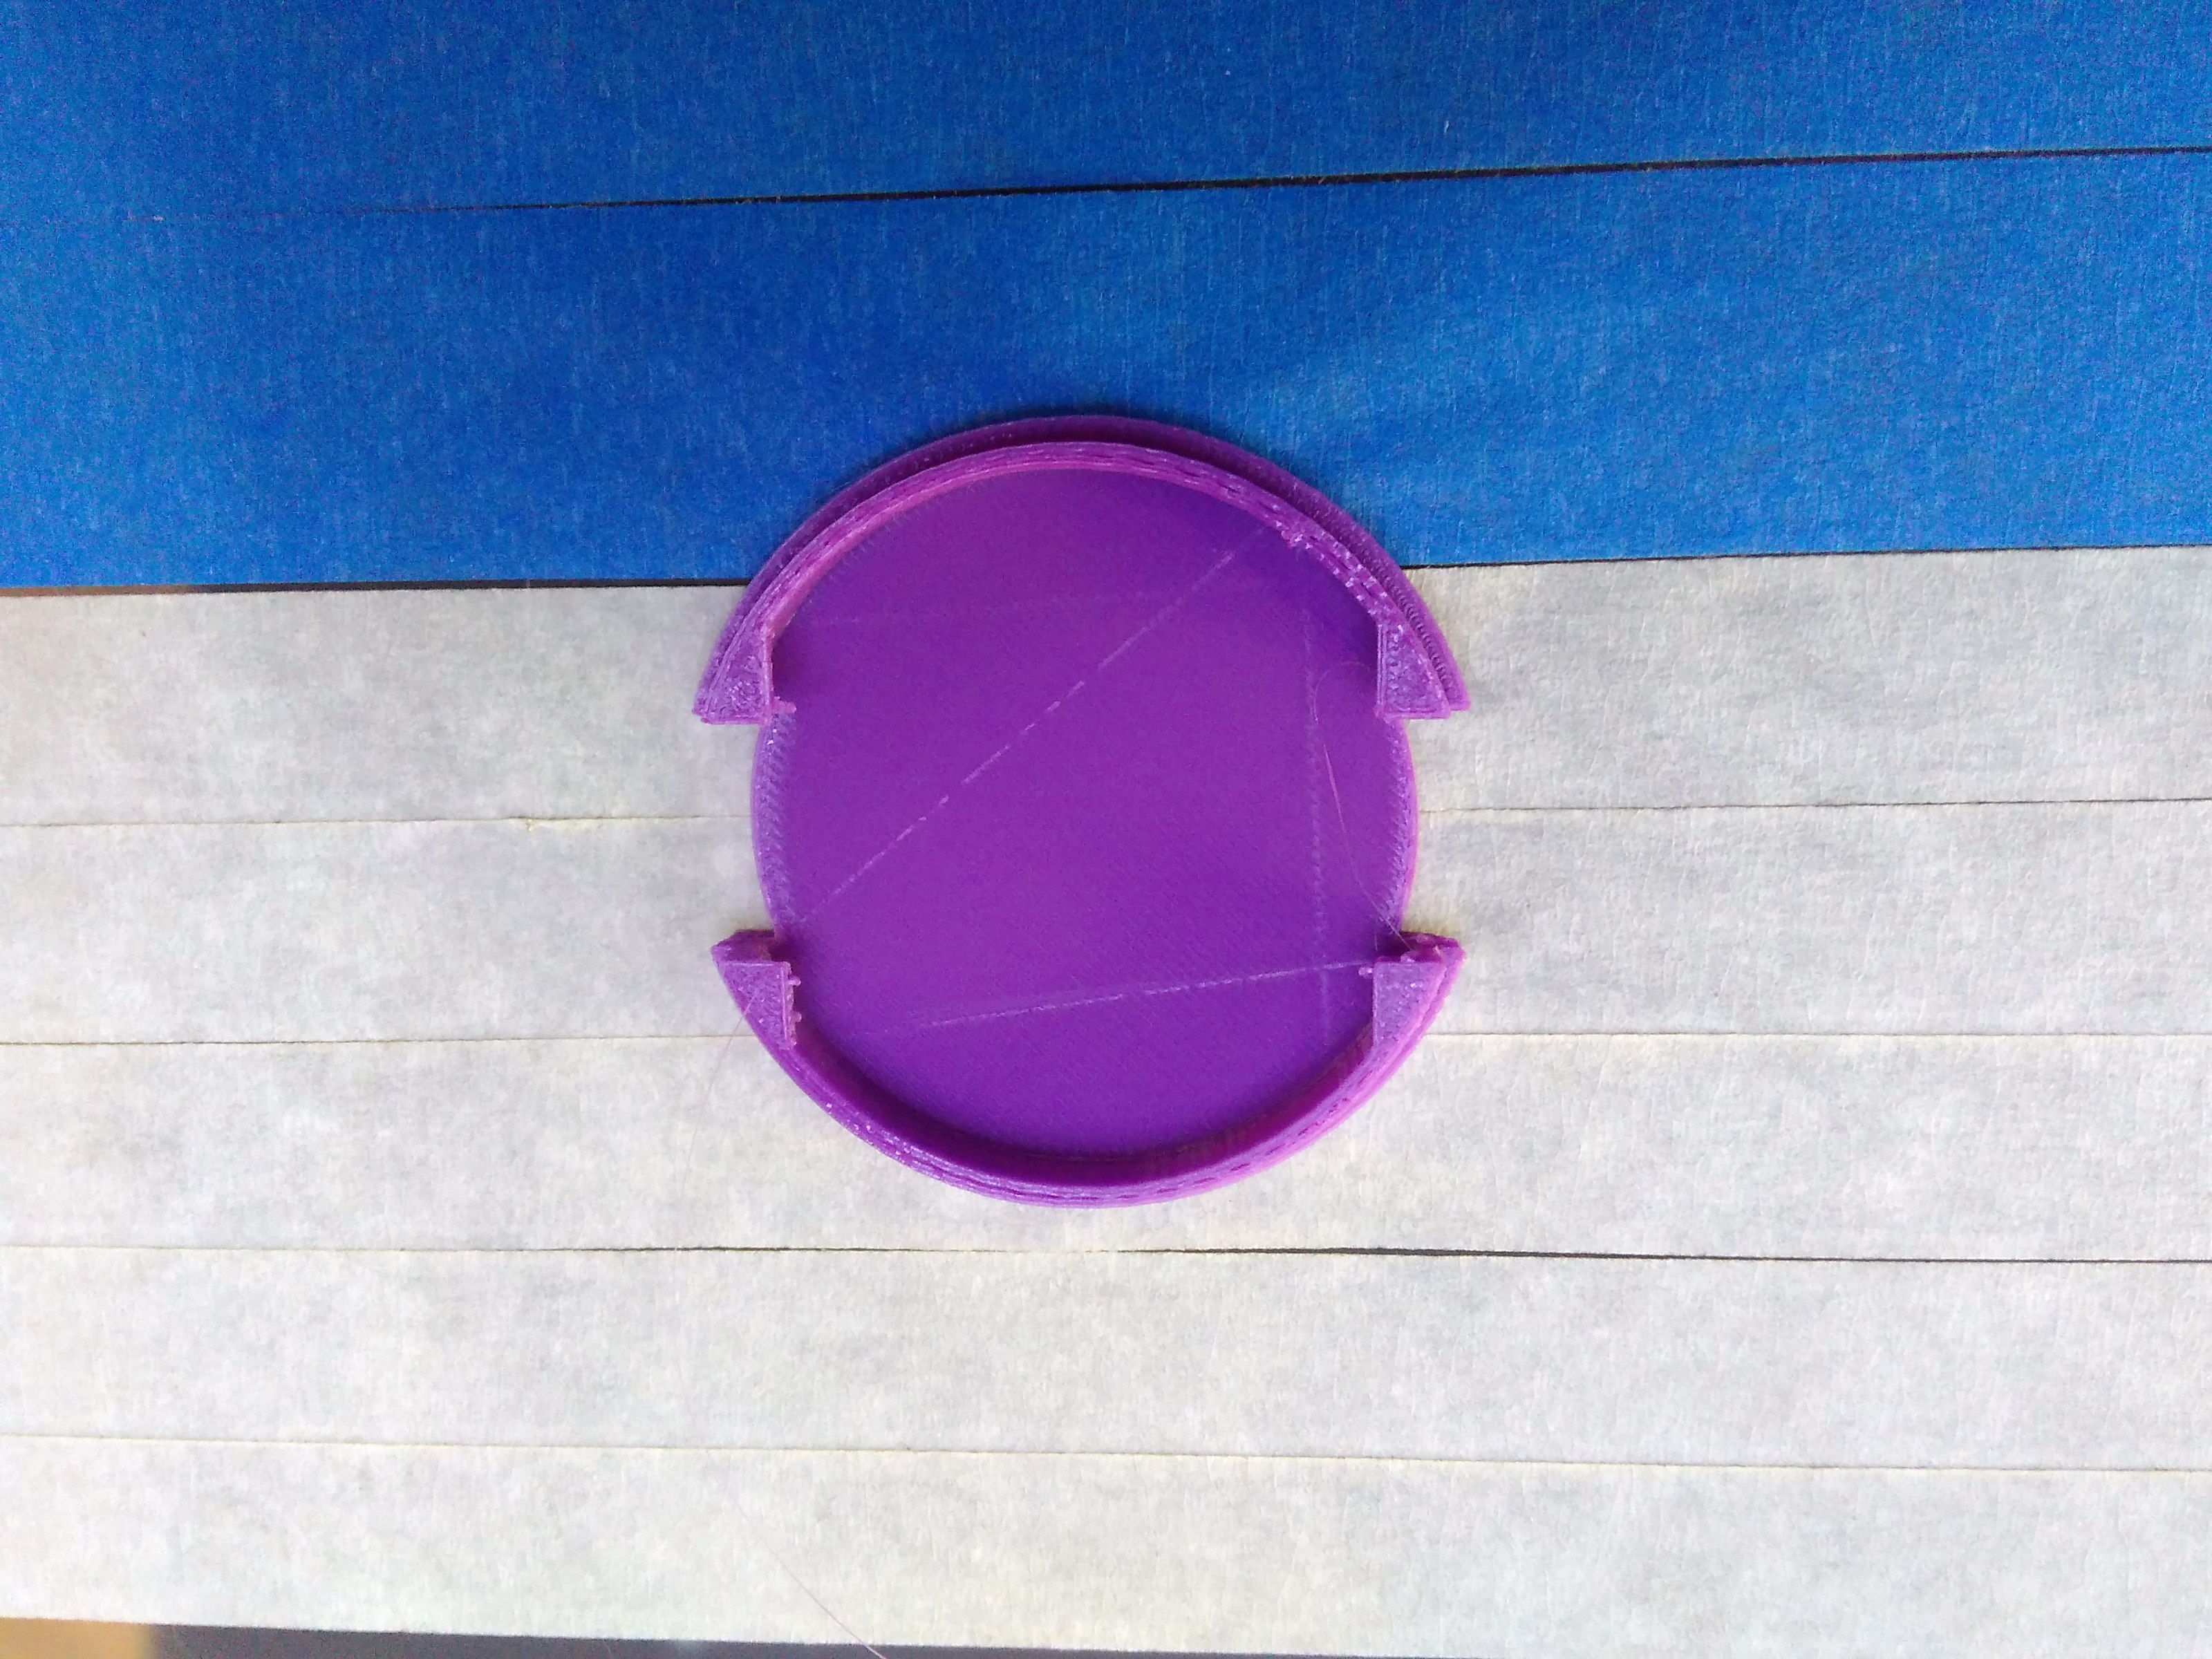
I used a knife to smoothen the surface of the inner ring. Then I put the two together.
Final product
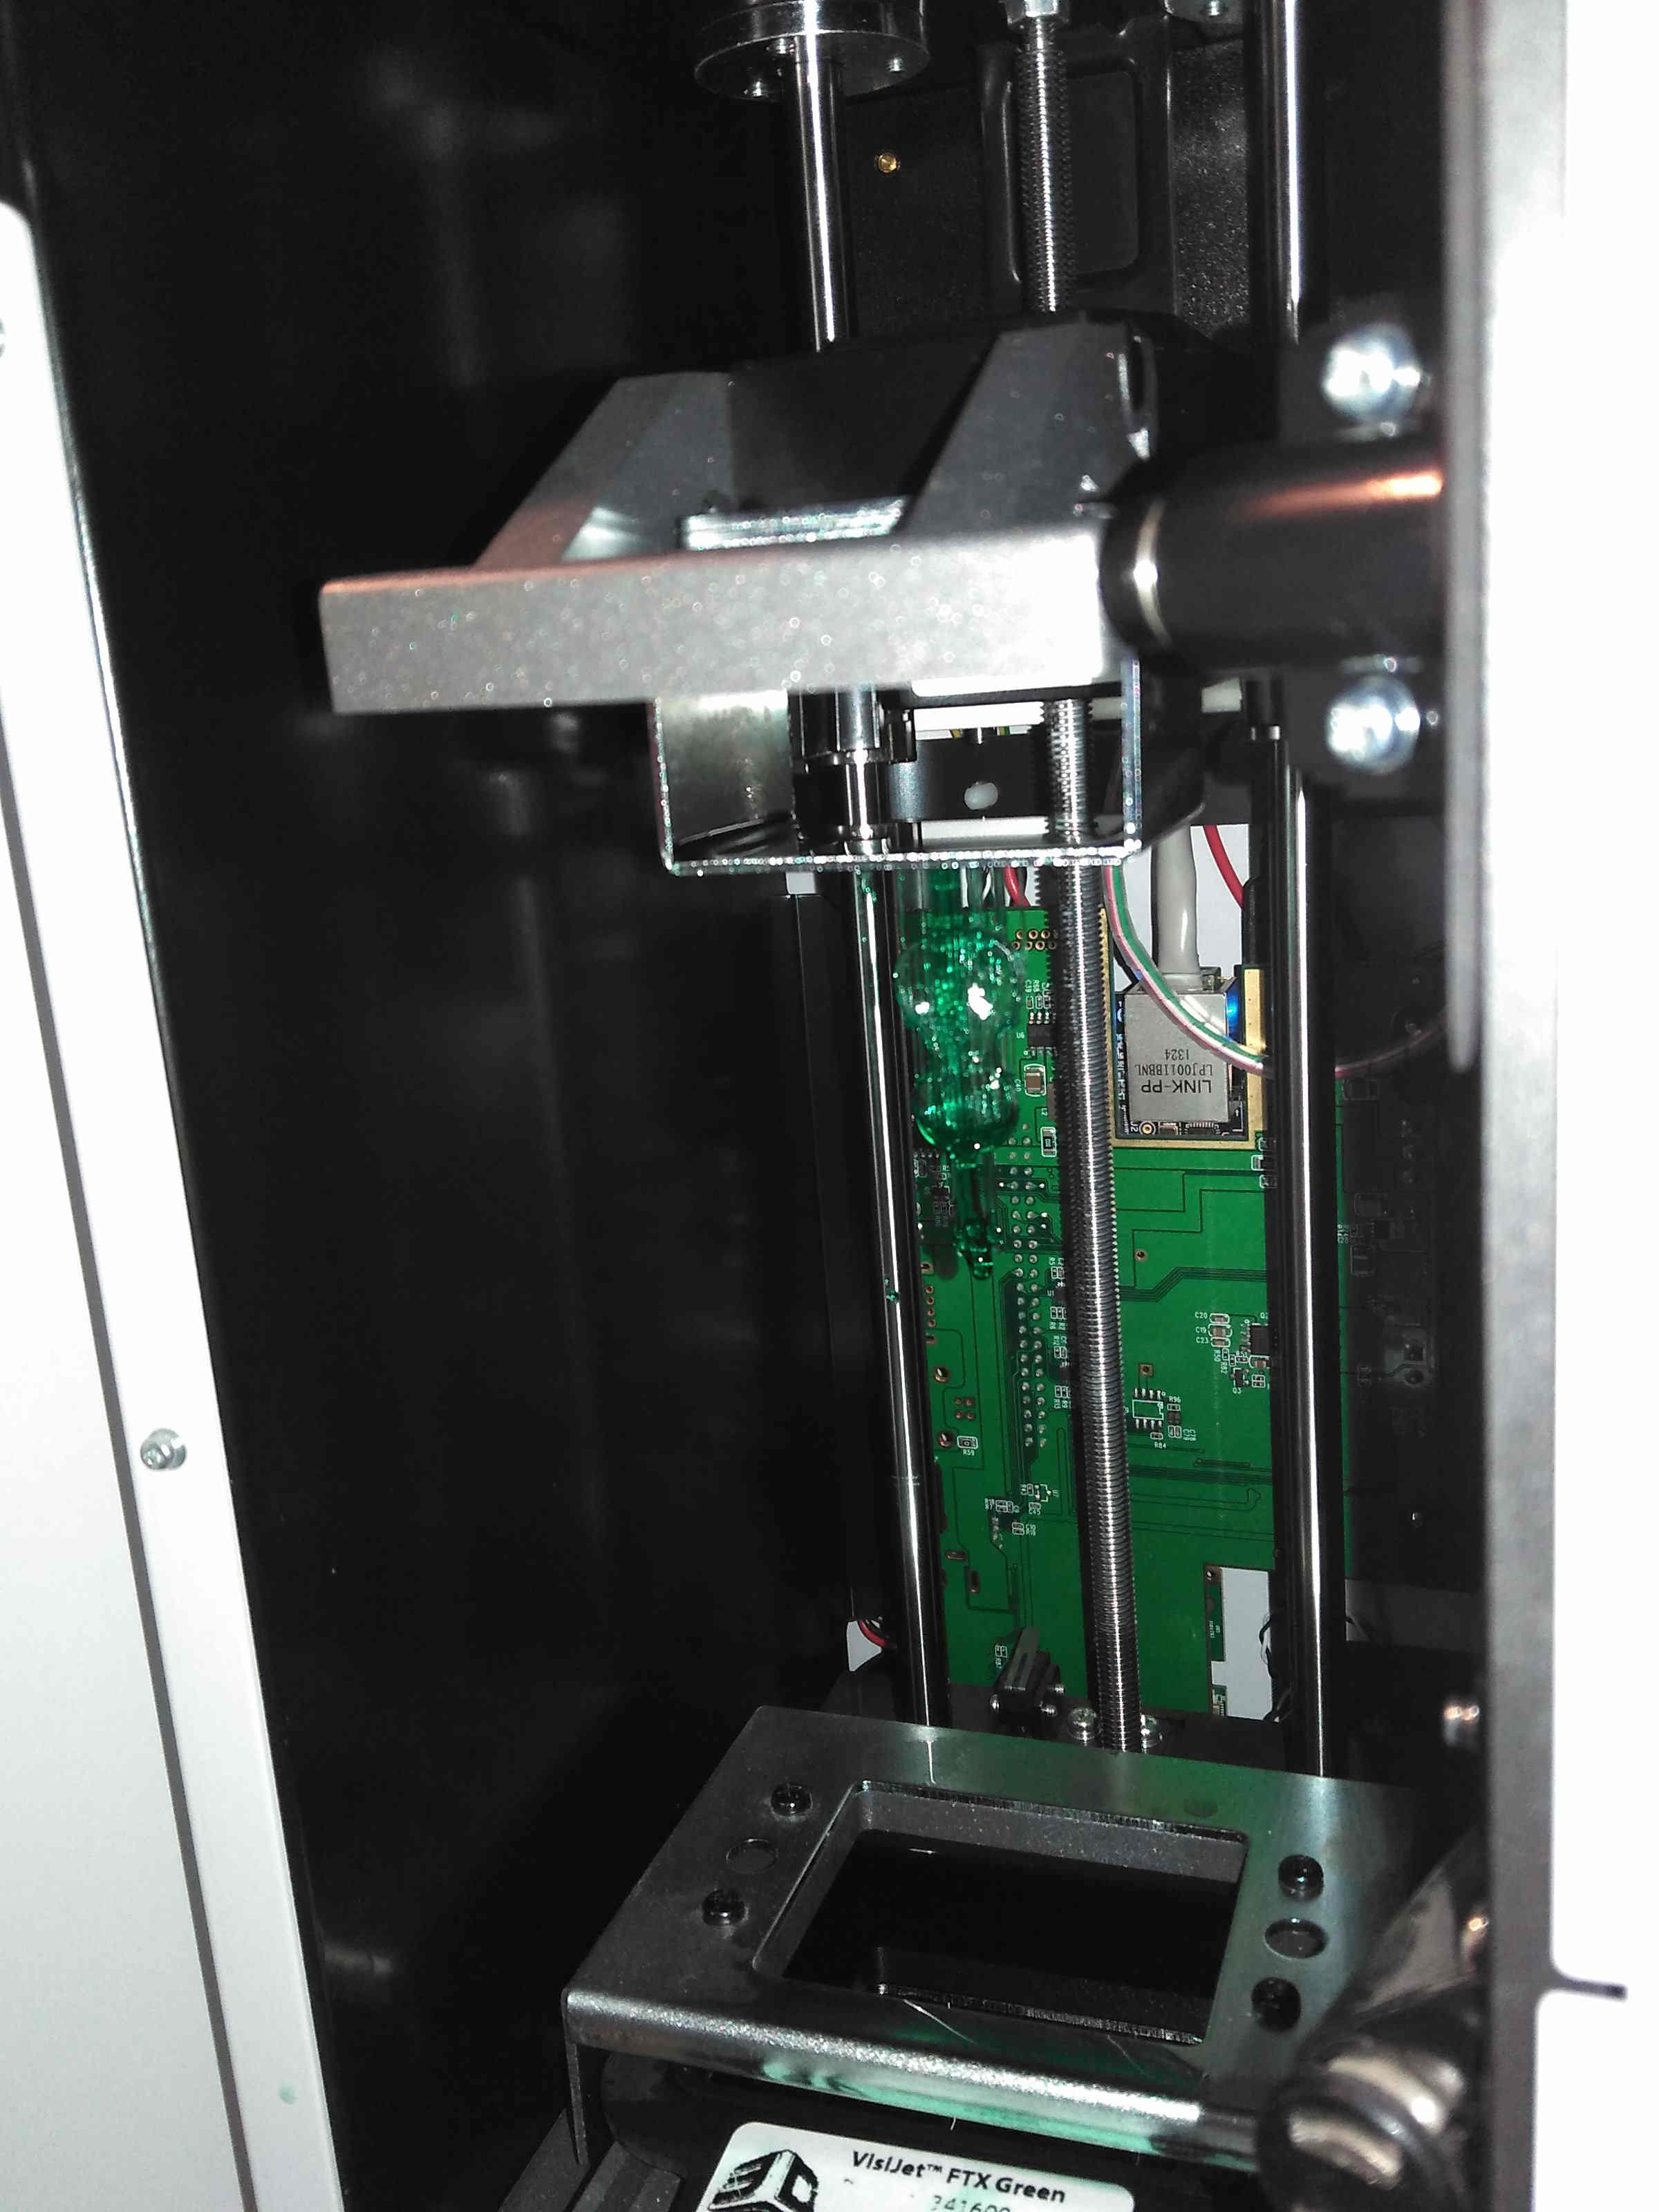
Projet 1200 First Attempt
25 Feb
Week5 3D Printing; Test
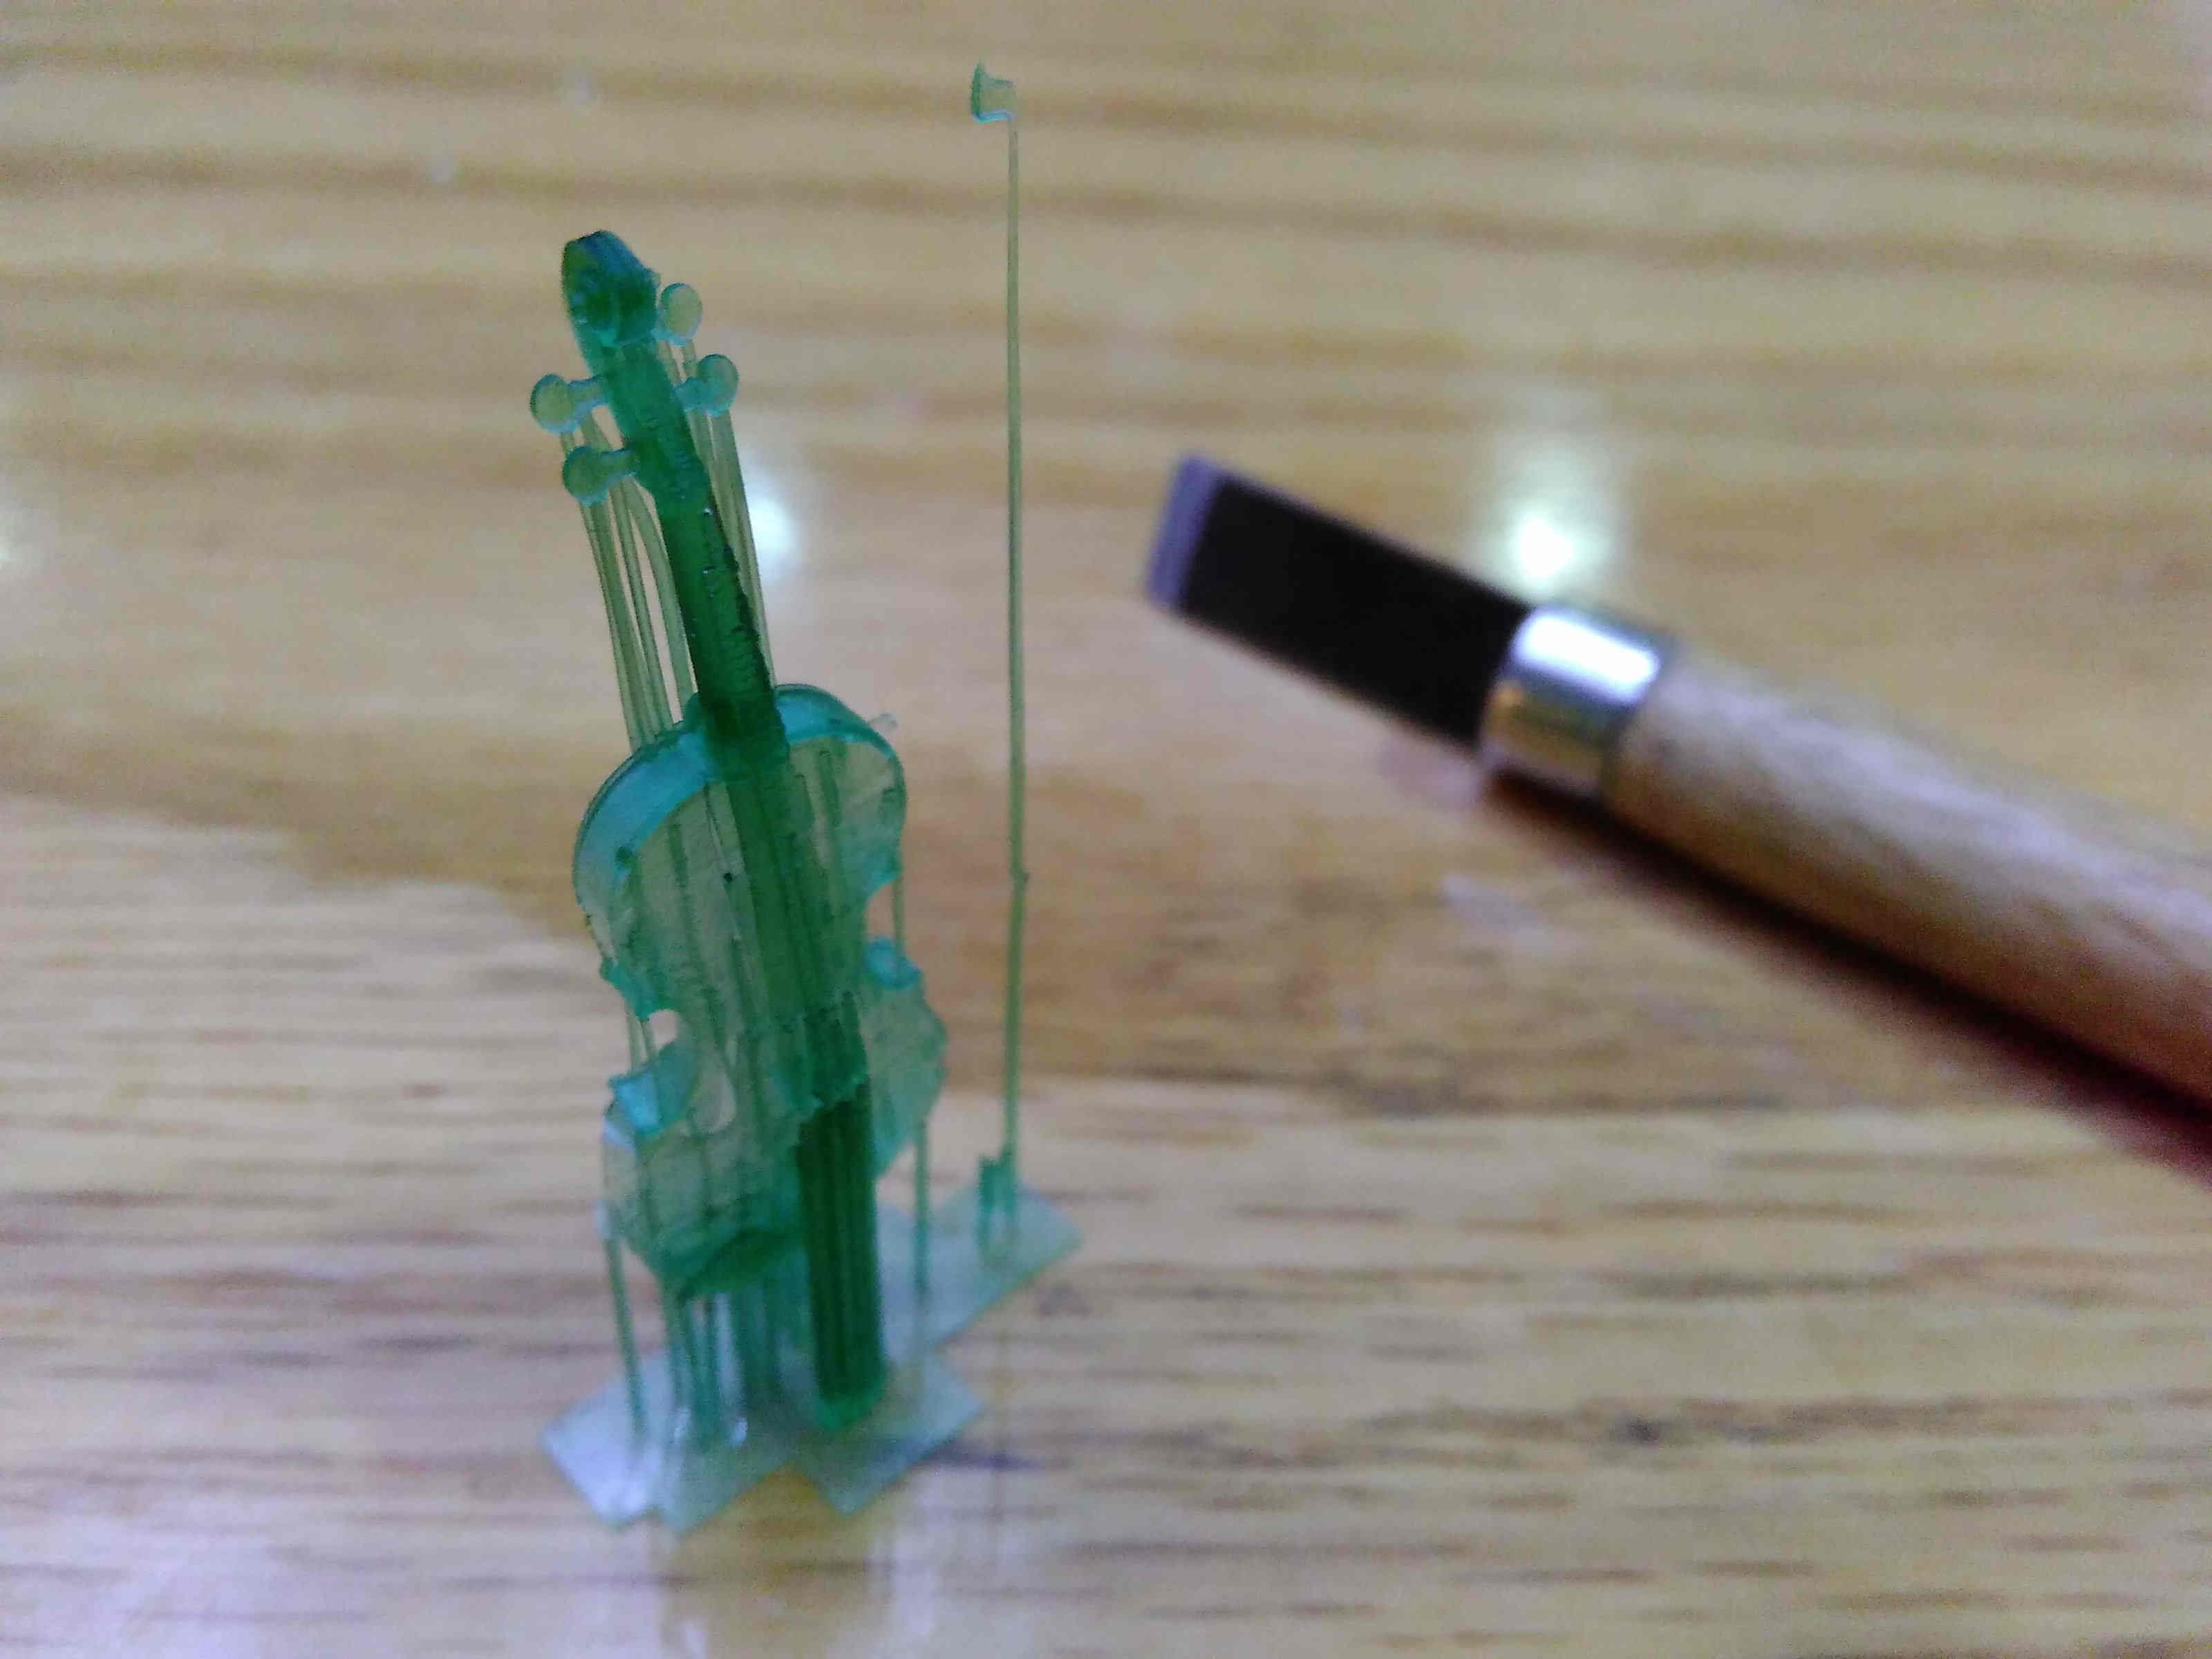
Projet 12000 is a stereolithography printer which aims at modelling delicate small plastic items. The filament I used is FTM which comes with the same company. I tested it using a violin design.
Import the STL file into the software, arrange the position , and add support. Note that SLA printers make models from upside down therefore It's important to rearrange the orientation of the before you print it out. The final result would look like this.
It took me around 3 hours to print a 2cm*4cm violin model with resolution of 500 psi. The next step is to transfer the model into the right box for post cure. After the post cure, remove the printout from the metal board and sink it into the ethyl (around 90%) after the supports are taken off.
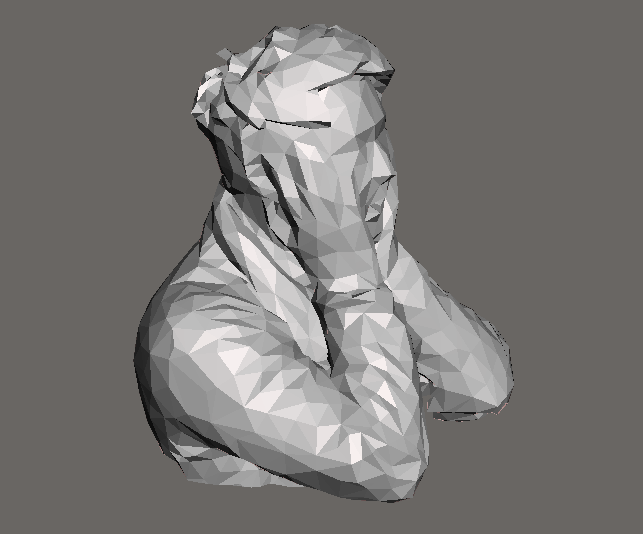
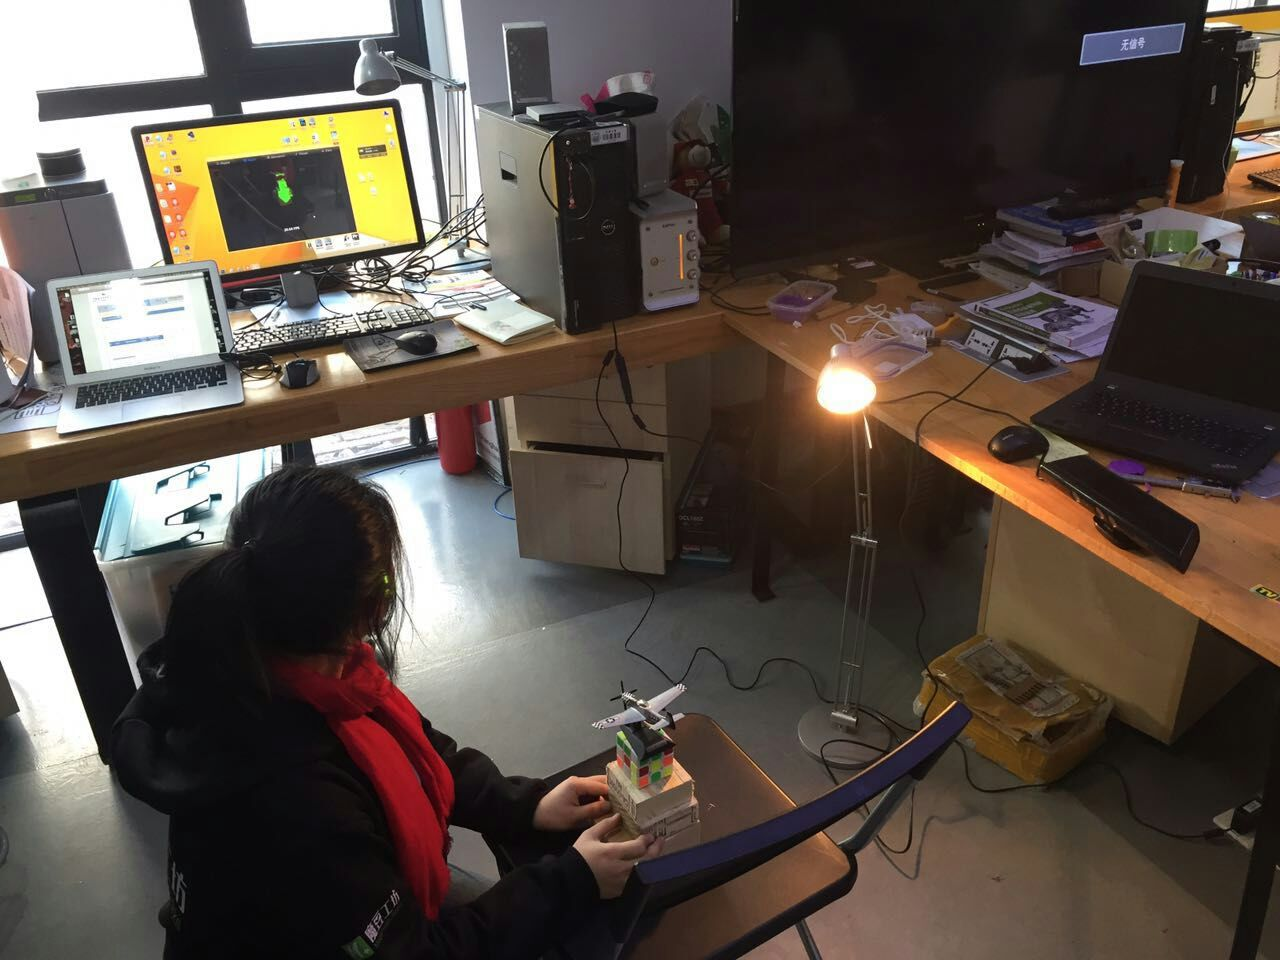
3D Scanning with Kinect
25 Feb
Week5 3D Scanning
· George's Bust
I walked around my colleague George, keeping a distance at about 80-100cm away, holding the kinect and finally moved the scanner on top to add data from top of his head. The results was quite decent.
· Models Smaller Than 20*20*20cm
Kinect somehow didn't scan however I adjust the lighting and distance from the object.
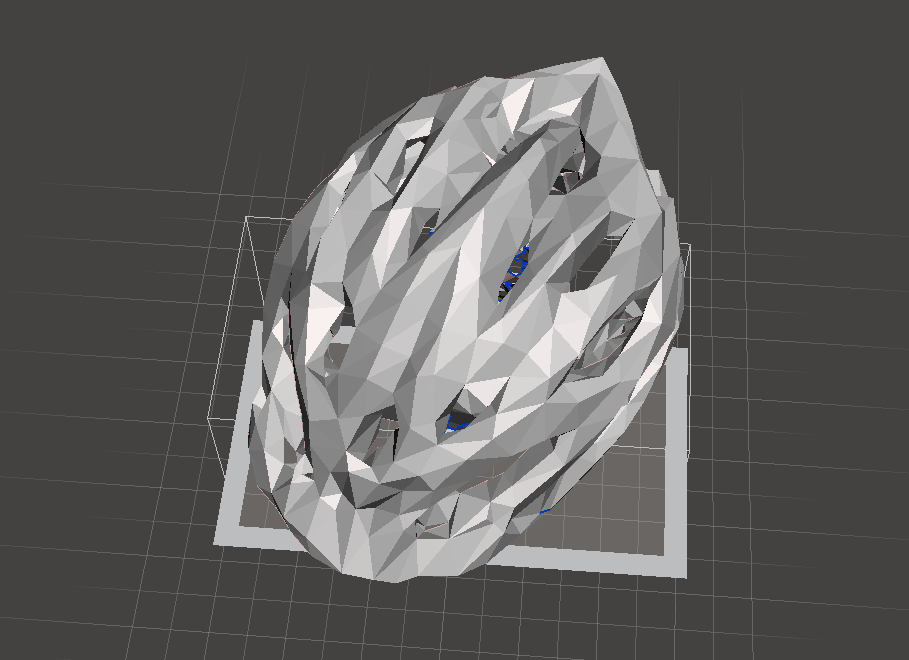
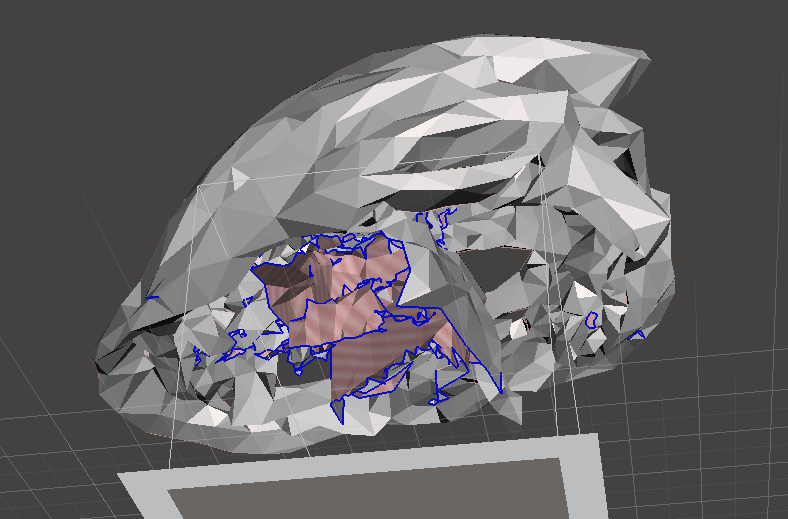
· Helmet
I placed my helmet on a rod to minimize the distractive objects while scanning. To get rid of unnecessary parts I processed the mesh in Meshmixer after I exported the STL file during the scanning process. This is how it looks like.
3D Scanning with 123D Catch
25 Feb
Week5 3D Scanning
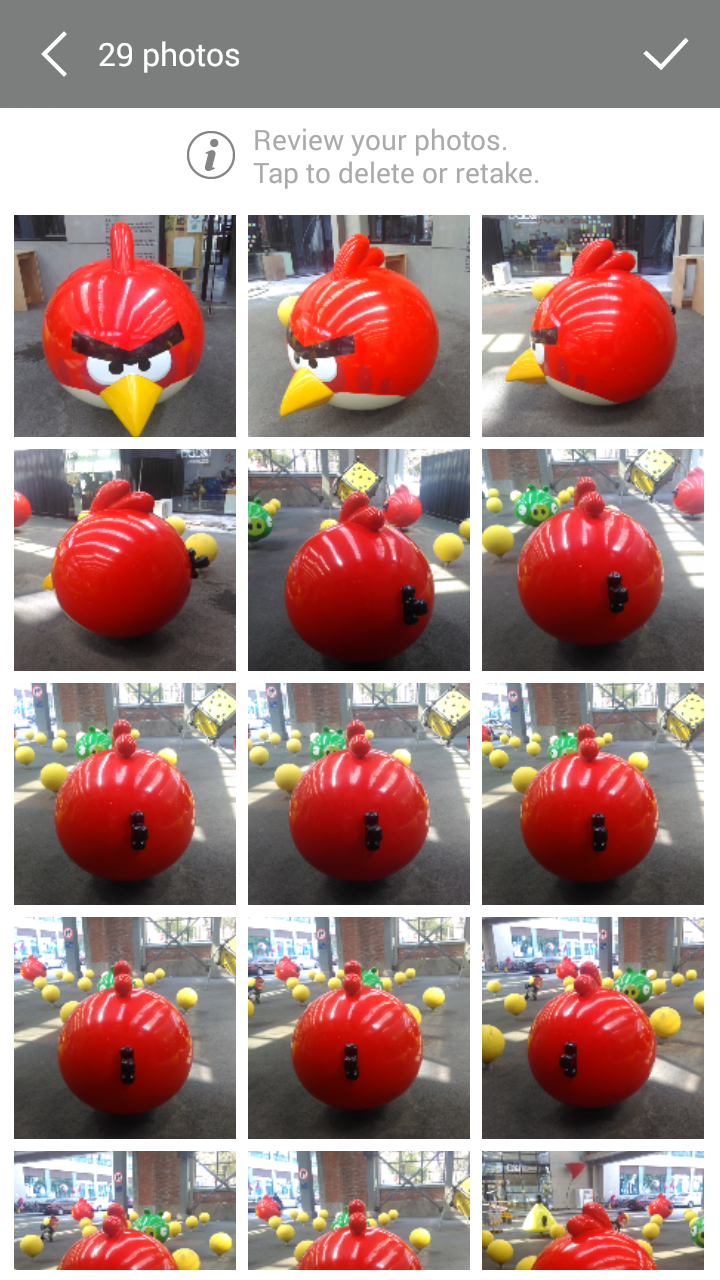
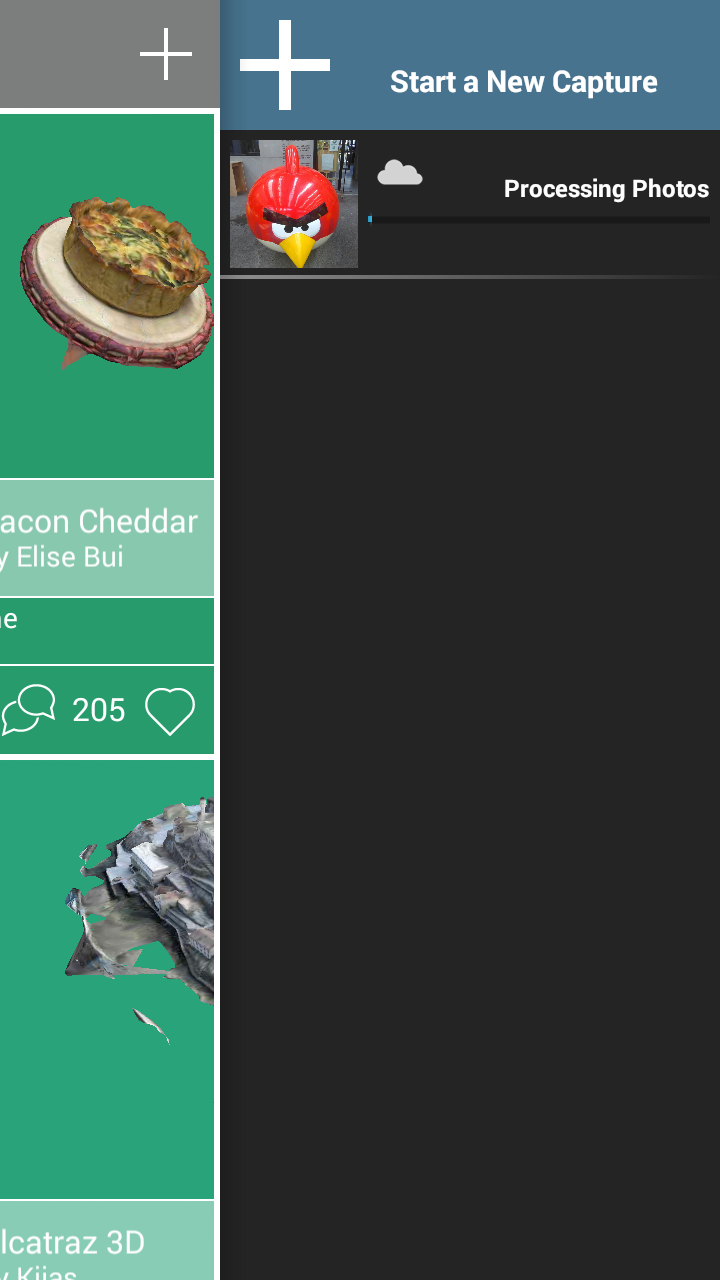
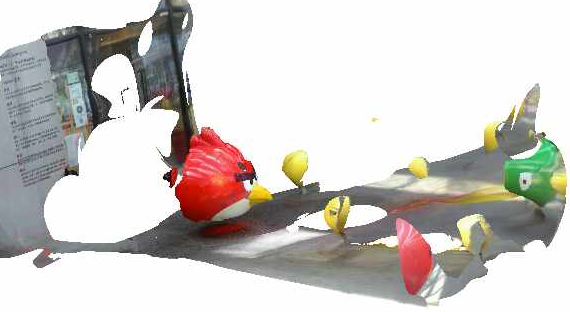
123D Catch is a 3D-scanning mobile app developed by Autodesk. I tried it on an angry bird sculpture outside of Fablab Shanghai. To generate the 3D file I took 20 pictures according to the instructions on the phone. Then the app will send all data to the cloud and process it. It took a while to get the 3D file and it's crucial to keep the angle still when moving from place to place.
Pictures I took
Data sent to cloud
Final result
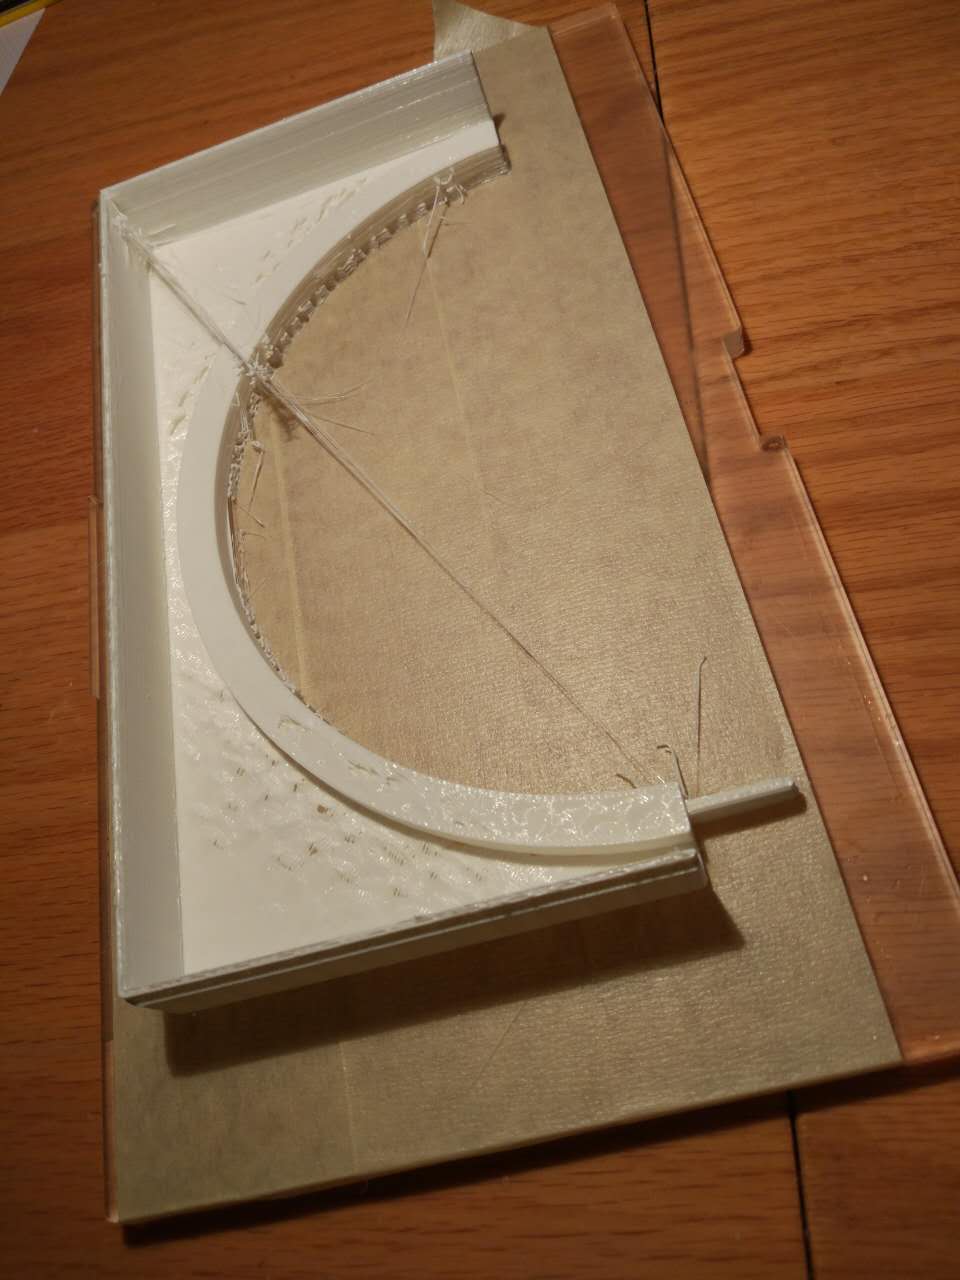
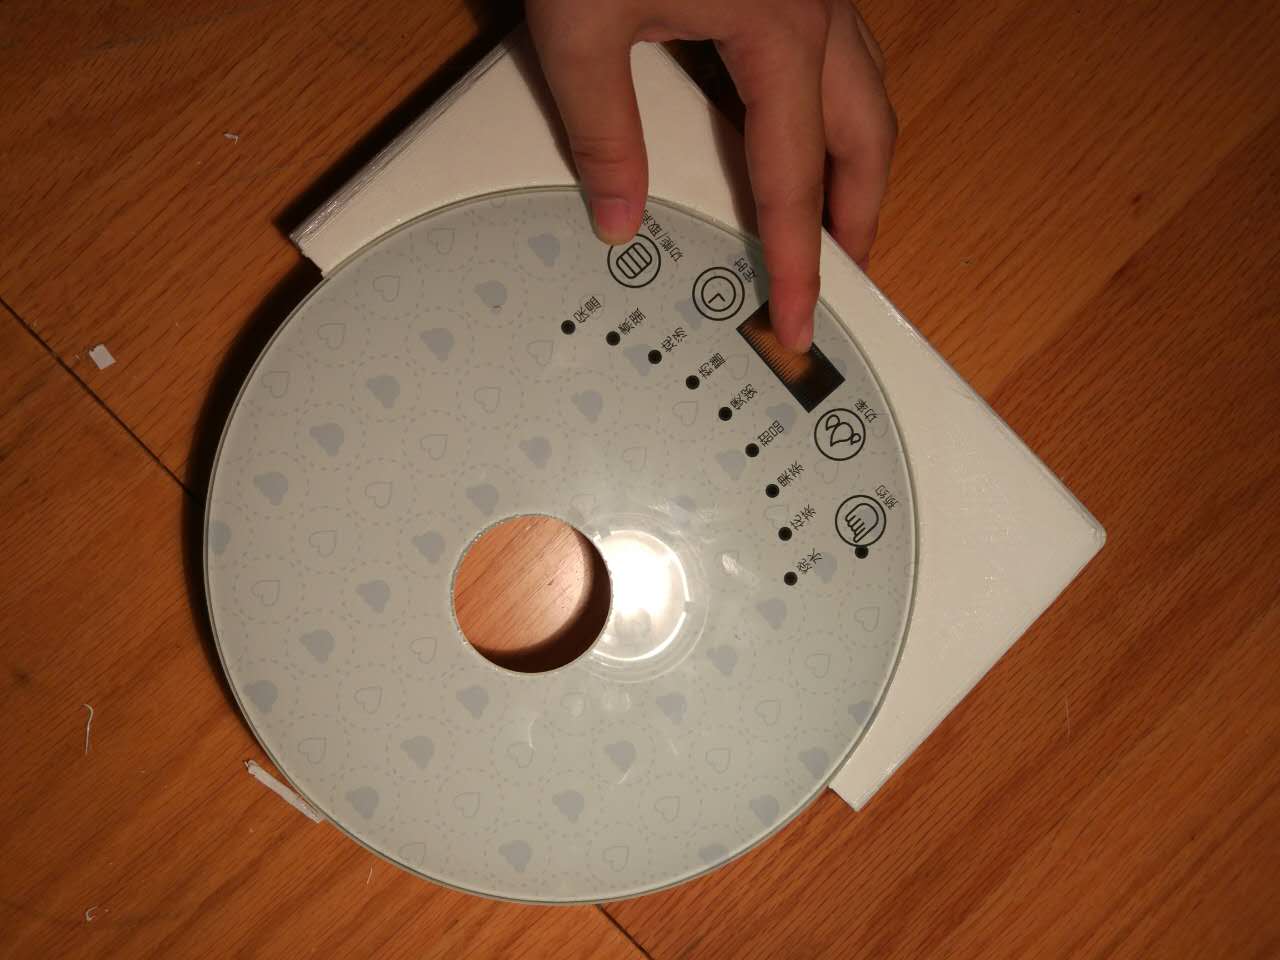
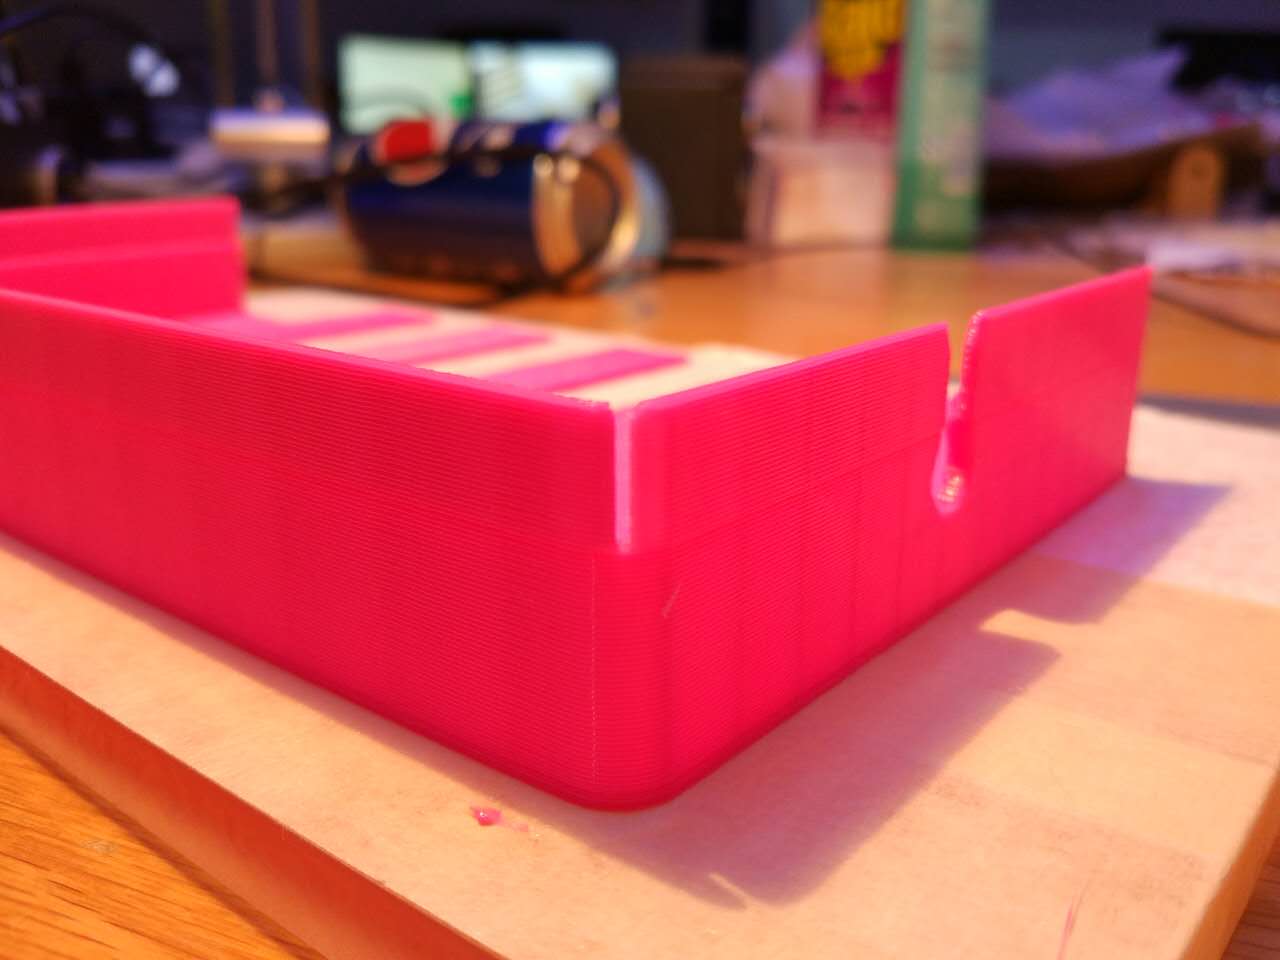
Box for Tea Brewing Machine
1 June
Week5 3D Printing; MakerBot; Makerware; Replicator2
This cannot be made subtractively due to the limination of the axis of the milling machine.

☞ Tips
I had encountered a problem that the design is larger than the limination of the 3D printer in the lab. I solved this problem by cutting the design into four pieces. Two top and two bottom. Therefore I designed a linkage part for the two splitted parts to fit perfectly. This part can only be made by 3D printing since there's a hole on the XZ plane which normal CNC machine cannot process.
The design file can be downloaded here:keychain-thickness-adjusted.f3d