A Press-Fit Harp Design Process
14 Feb
Week3; Fusion 360; Press-Fit; cardboard
This article is documenting an overal process of a press-fit harp design. Details of some tips and tricks are broken down in short posts following this article.
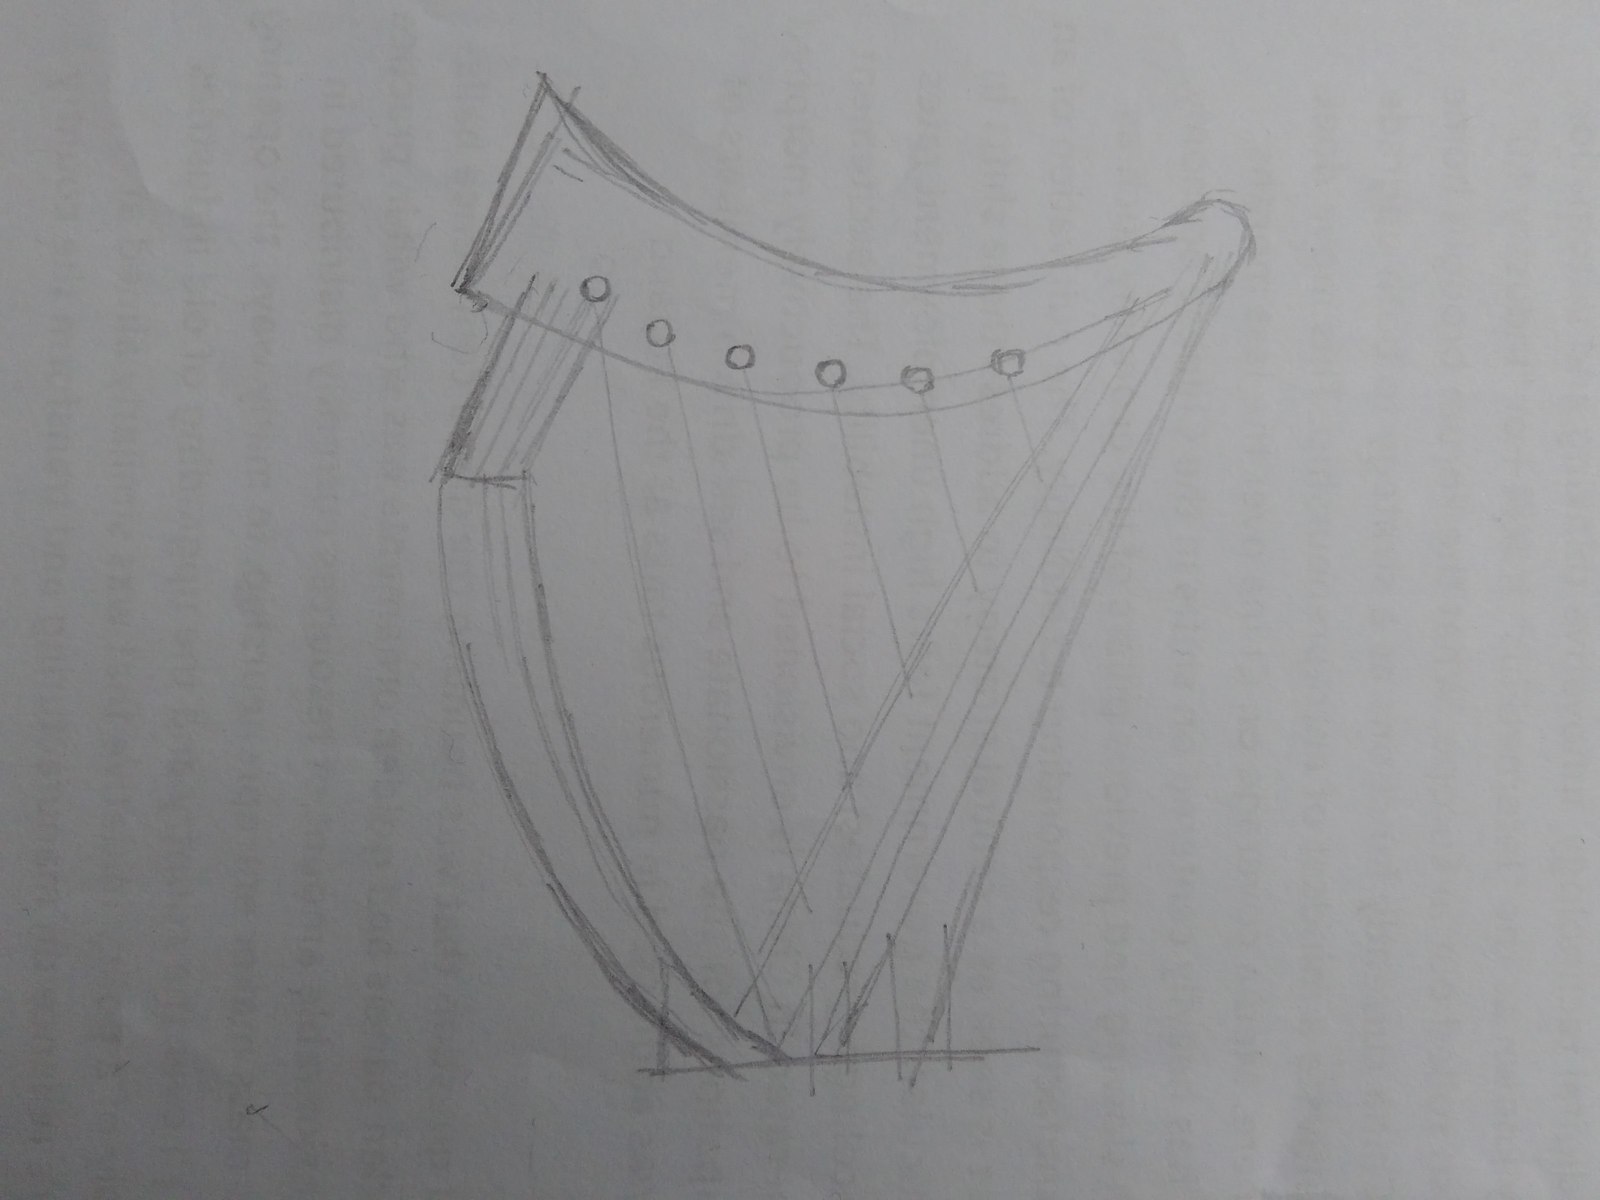
I redesigned the shape of the harp with regard of the limination of the material we can use -- cardboard. First I ketched a harp with pencil.
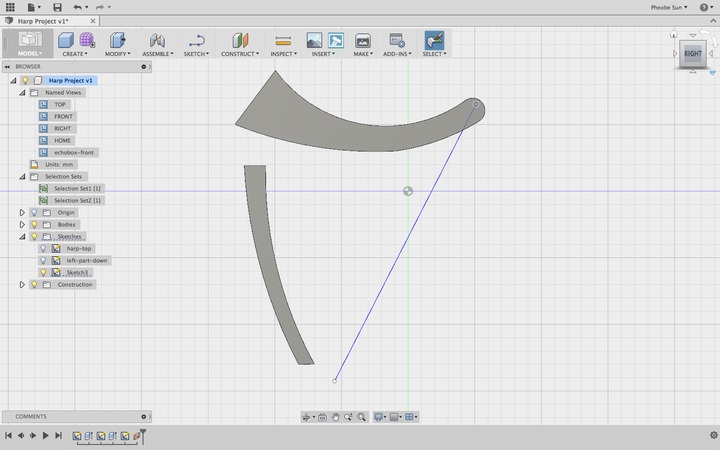
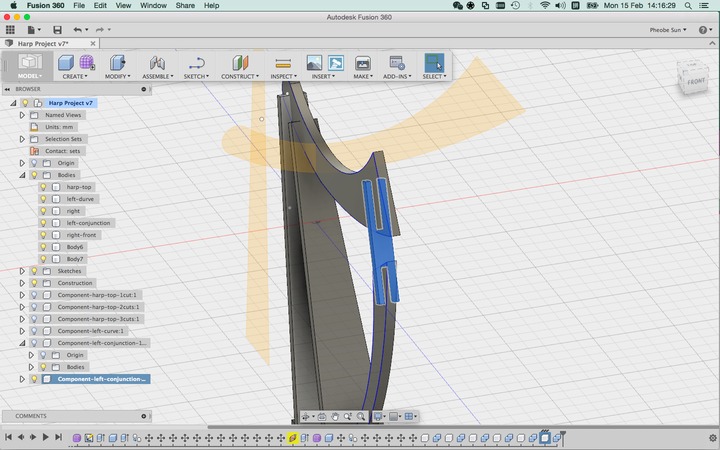
· Component Design from 2D to 3D
The program I'm using is Fusion 360. It's important to select a right plane to draw the 2D sketch upon. When the shape is drown, I then extruded it. I could define the extent of extrusion by typing 'thickness' after creating a user parameter from the 'change parameters' function under 'modify'. This allows me to adjust the thickness of all components in one go. After that I put together the components to form a shape of a harp.

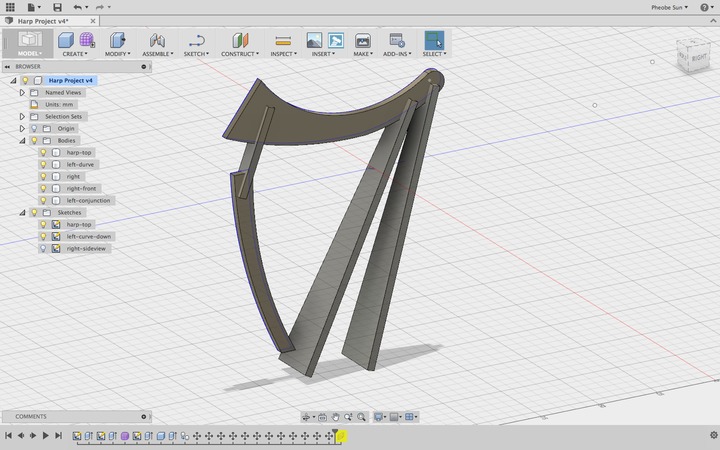
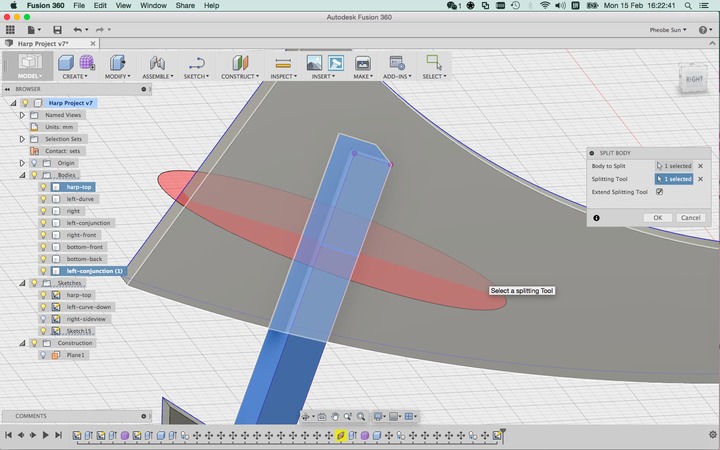
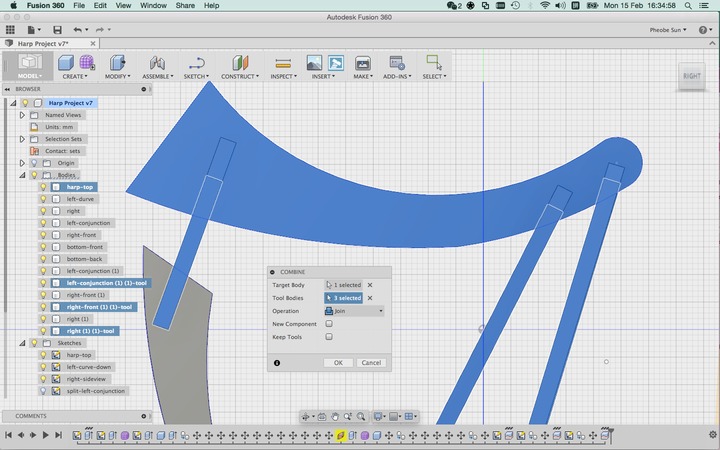
· Press-Fit Pieces Design
To make the components into press-fit pieces I applied 'cut' effect on pieces connecting with each other under the 'combine' function. Before that I made some 'tools' used to cut a notch for splicing, each of half the length of the overlapping area.

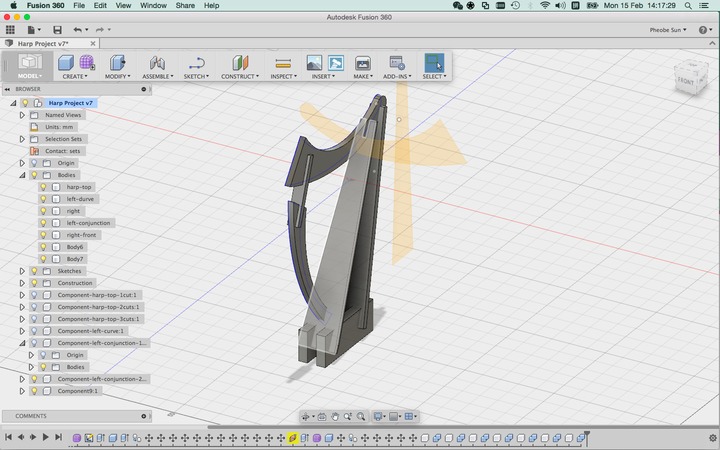
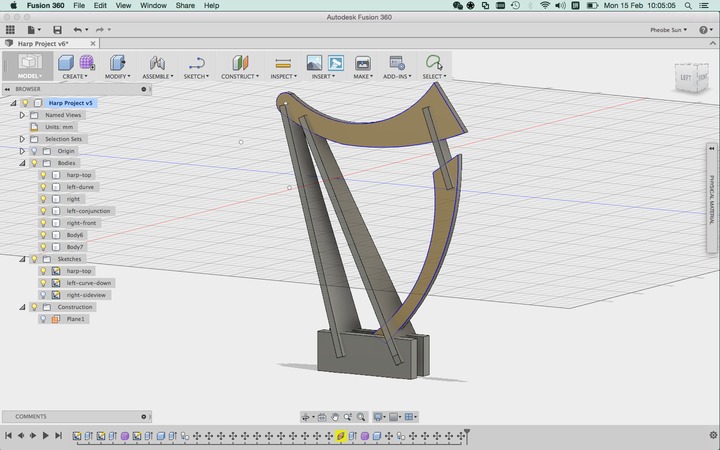
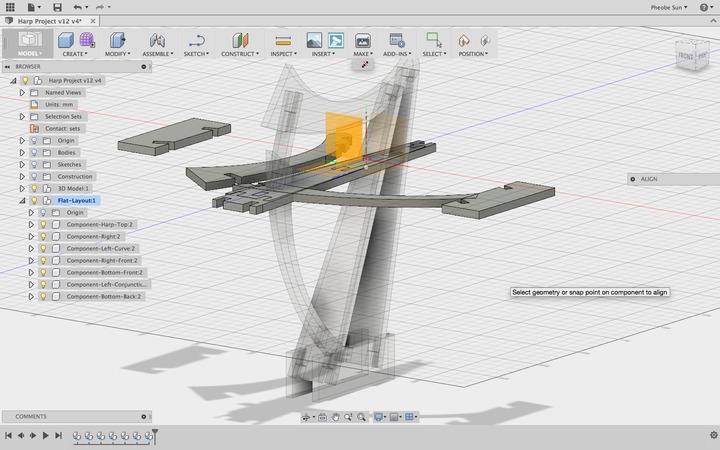
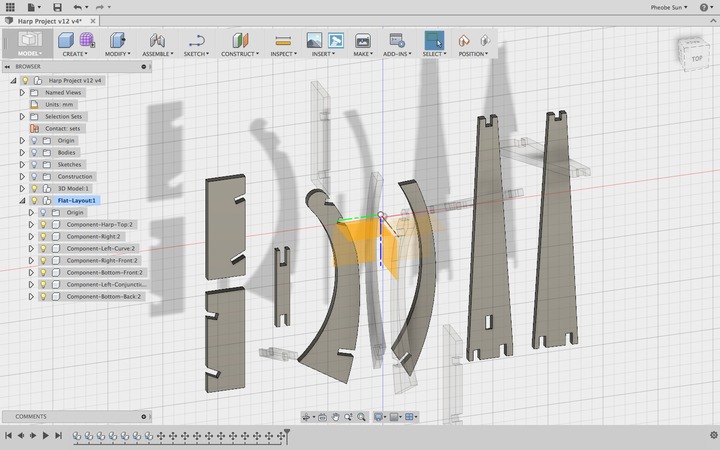
· Flatened-Layout Making
I used 'align' function to flaten each component by clicking the front surface of a body and a surface I want it to be aligned to. When all components are on the same surface, I only need to tweak a bit to get my final arrangement to print.
Download the design file: Harp-design.f3d
Download the ready-to-print file: Harp.svg
Press-Fit Gauge Making
15 Feb
Week3; Laser Cutting; Press-Fit Design; Fusion 360
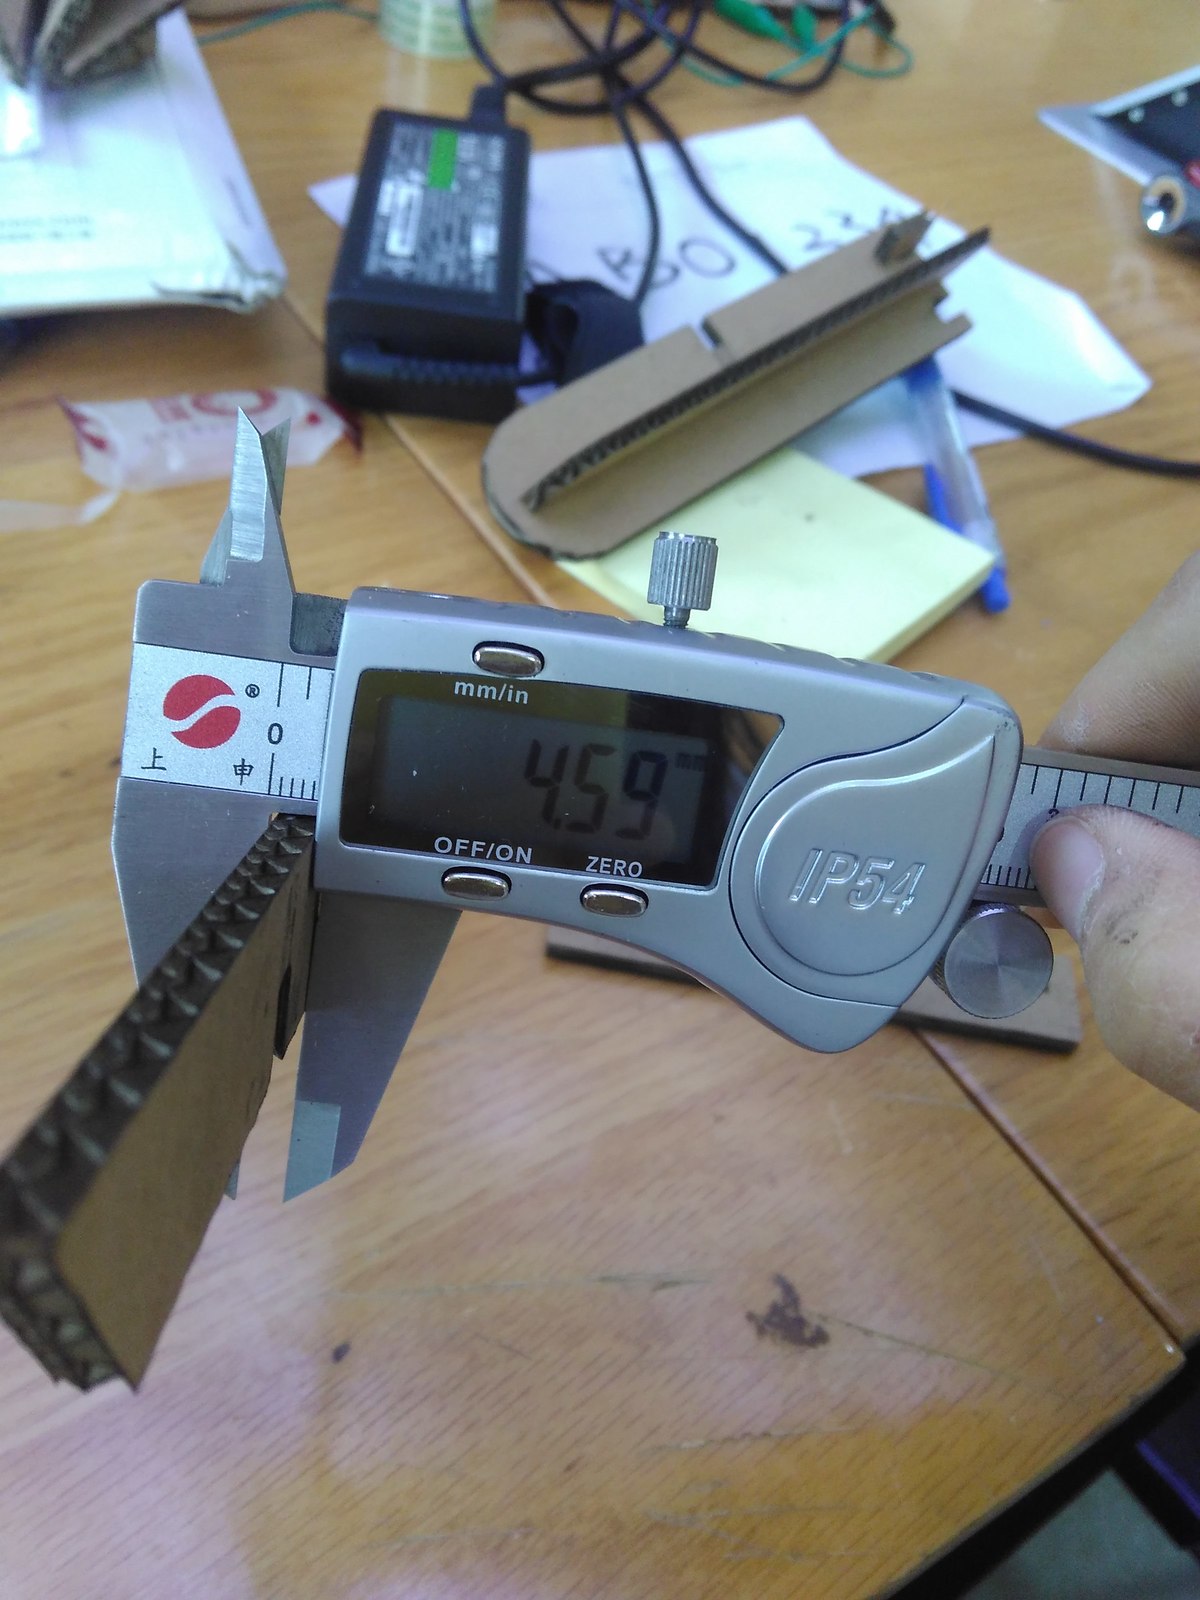
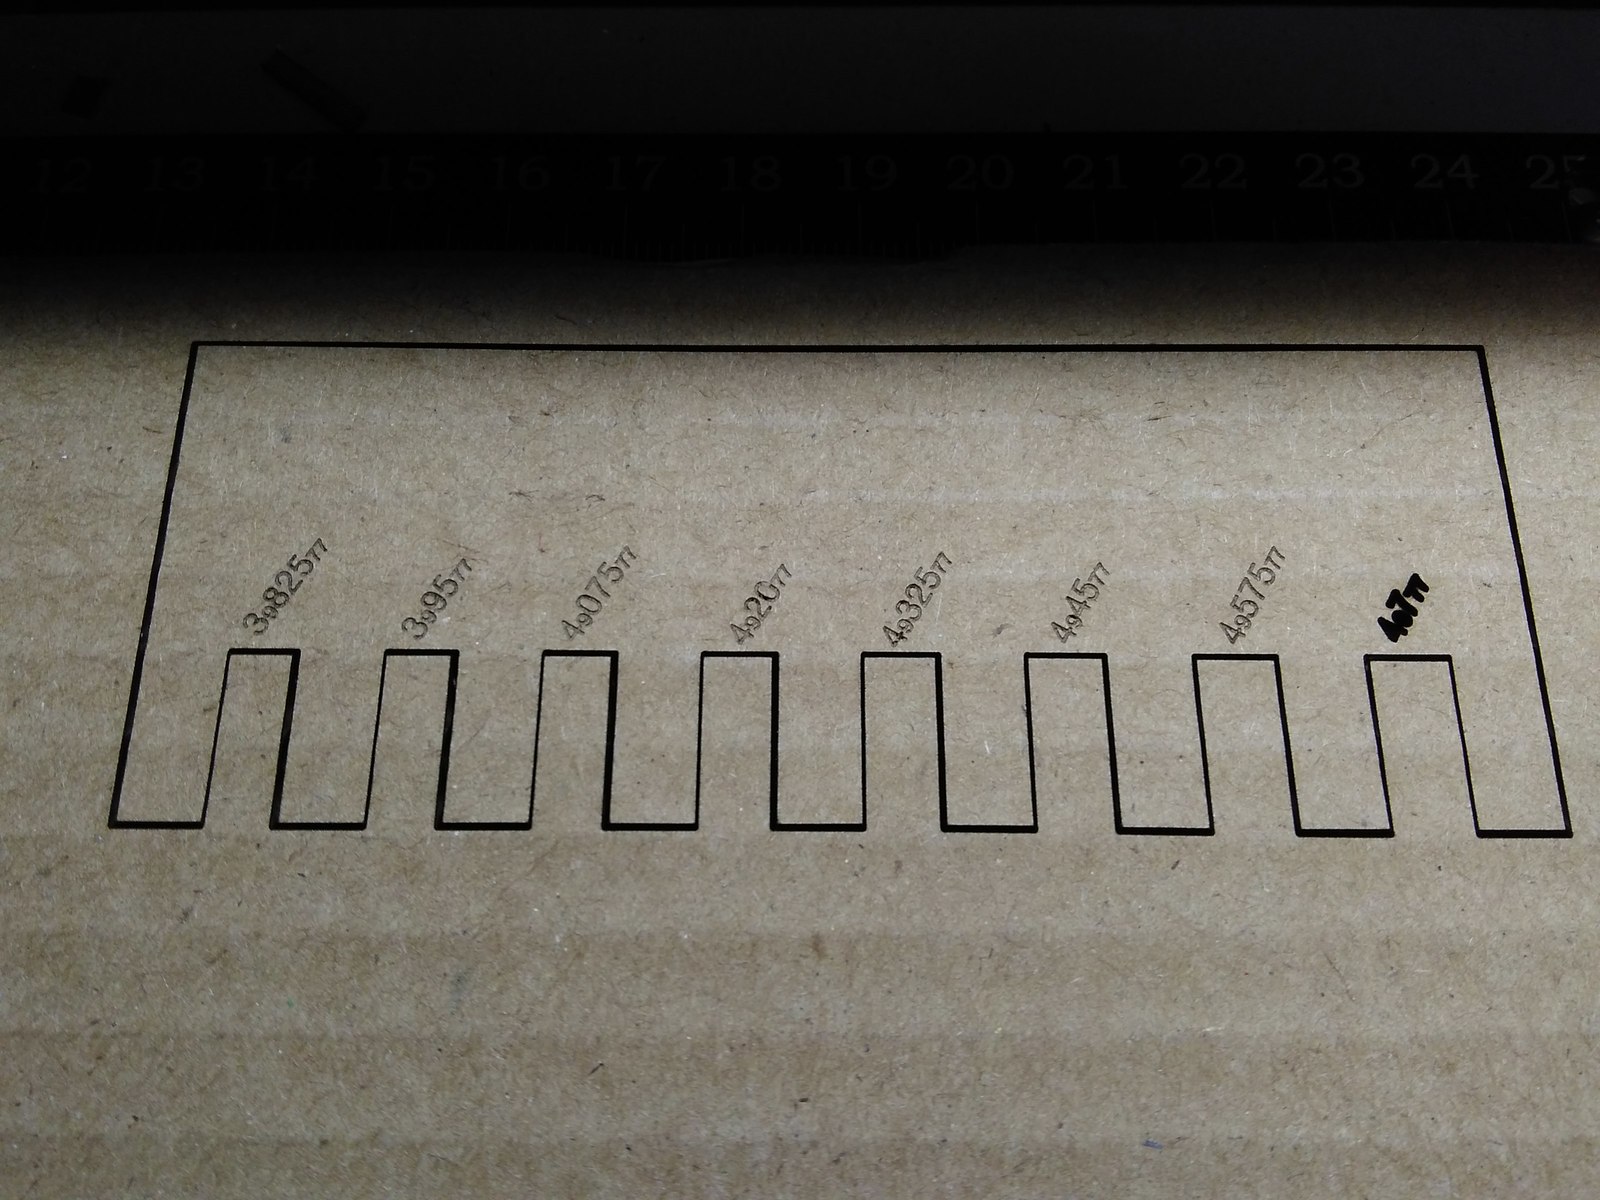
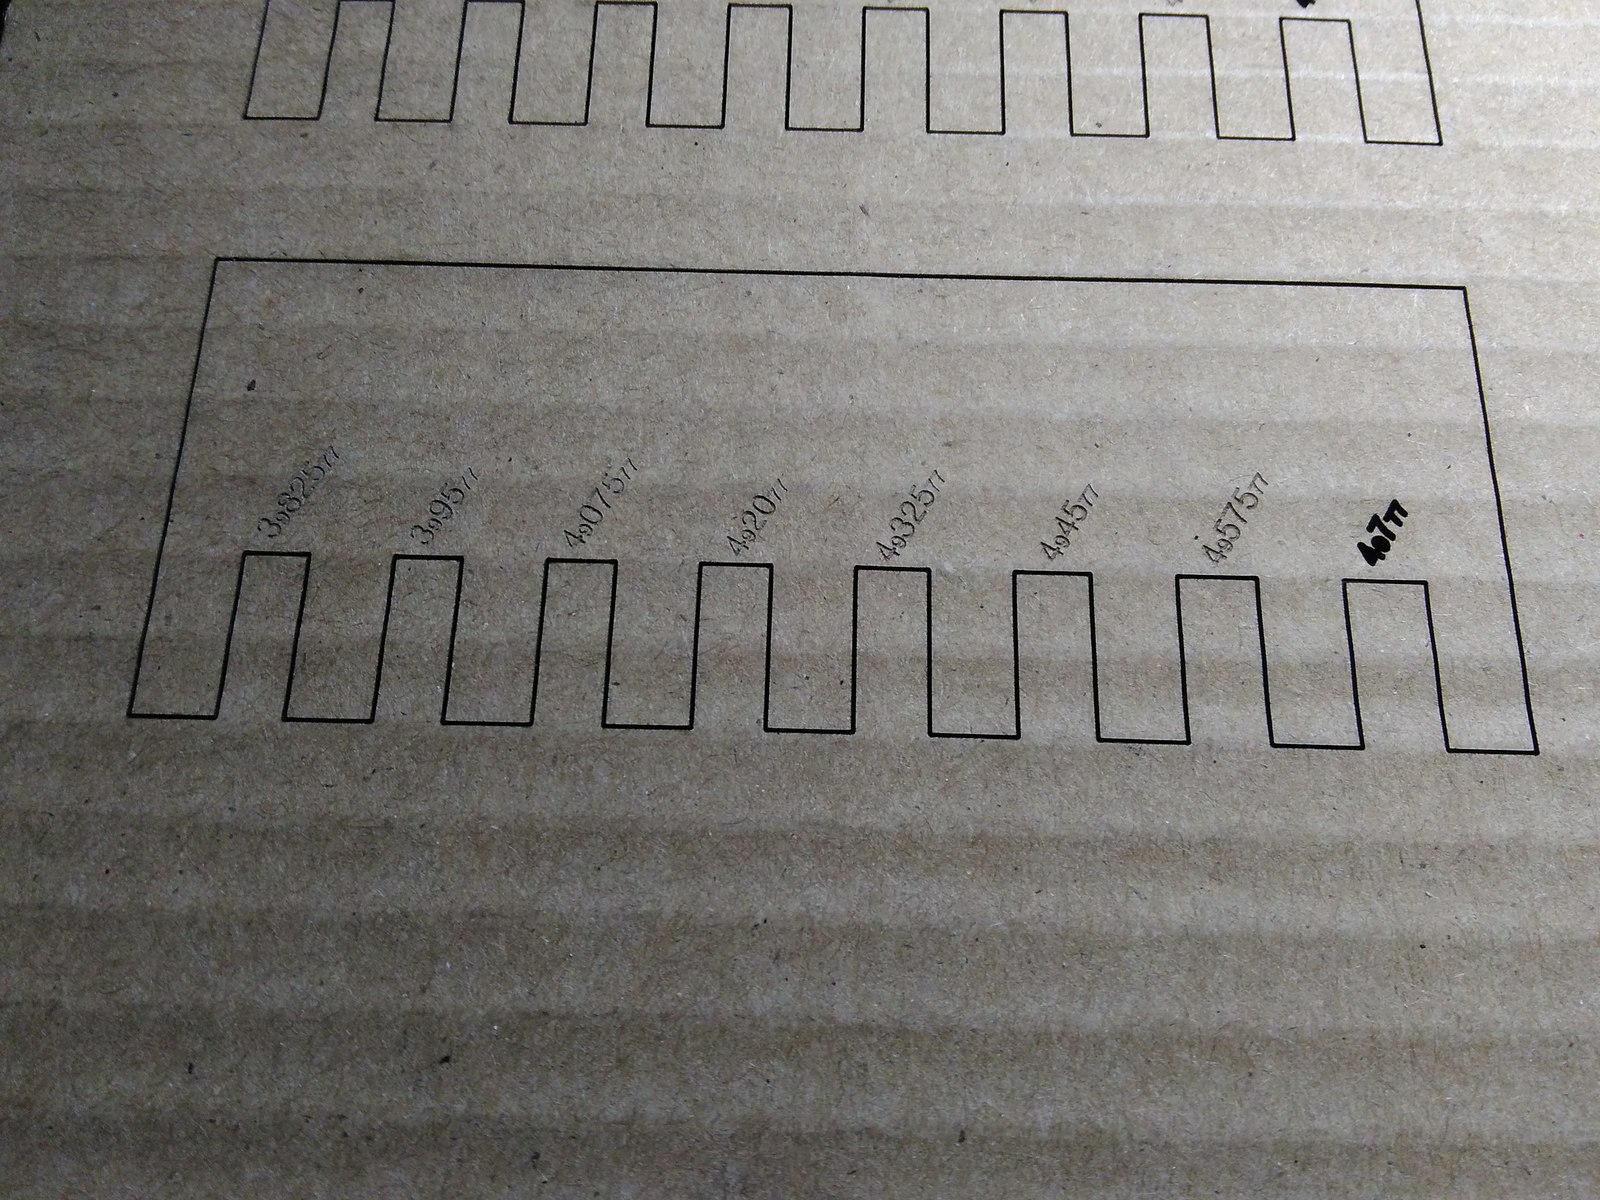
Press-fit gauge is needed in the process of the design cause it helps testing the ideal gap of each teeth. If the joints are too loose the model wouldn't stand whereas if they're too tight they just don't fit. The material I used was cardboard. It's about 4.5mm's thick.
· Gauge Drawing
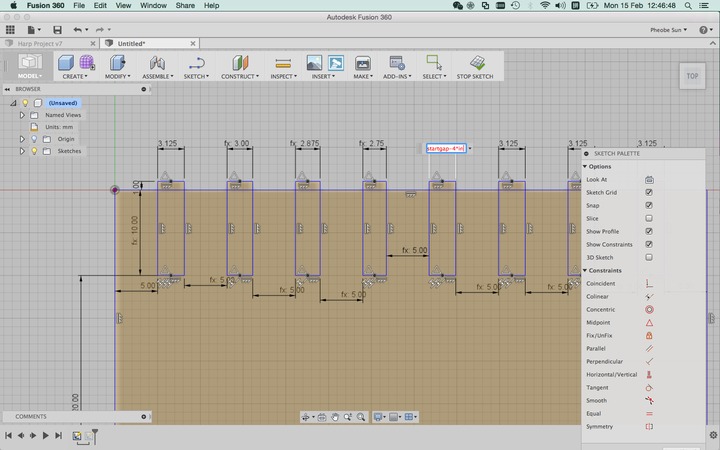
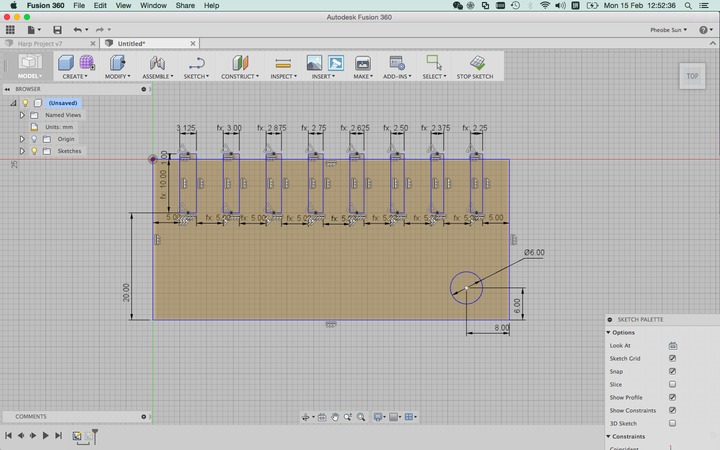
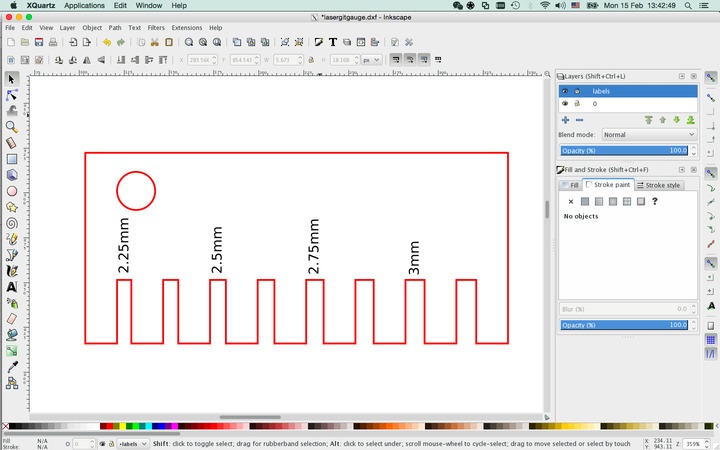
I designed a comb-shape board of which the gaps ranged from 3.125mm to 4mm. The program I used was fusion 360. I mainly used 'parallel' and 'equal' constraints which can be found from the sketch palette.
Setting parameters saved me a lot of hassle where I simply needed to type in the name of the parameter and multiple lines could be modified in a blink of an eye accordingly based on the change of the paramter.
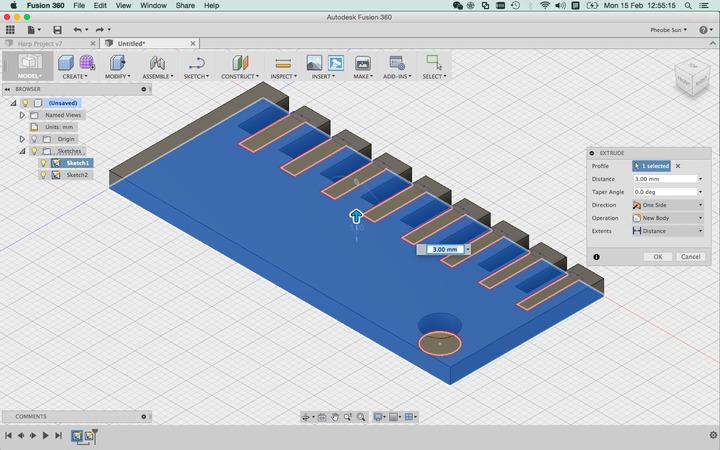
To export a 2D sketch from Fusion 360 to Inkscape, right click a sketch and save as XDF file. A trick to select a slice of an extruded 3D item is to click on the 'sketch' image and select the surface of the shape you want. Following that I only have to press 'stop sketch" immediately to get the shape I want to export without actually drawing anything in the newly-created sketch.
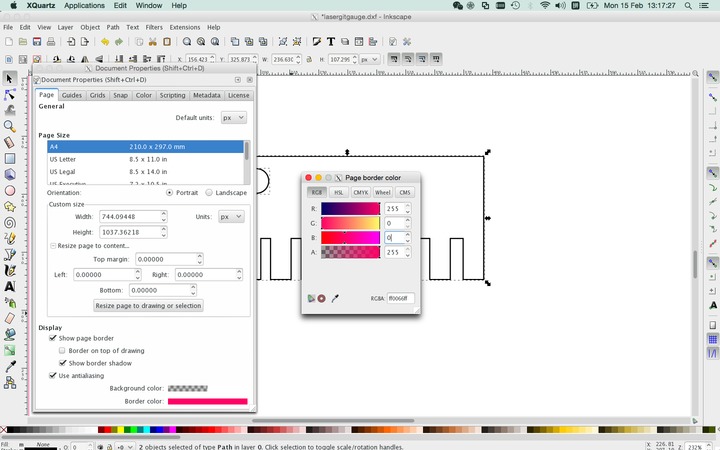
Before I send the file to the laser cutting machine, it's important to select the lines and set the line thickness to 0.1mm so that the machine would regard it as a line instead of a picture. I chose red as the line to cut and black as the color to engrave.
Download the 3D file of the gauge: Gauge.f3d
The 2D file ready for cut: Gauge.dxf
· Print Settings
The edge was burned.
red-line setting: power 100%; speed 10%
Just the right power to cut through the shape.
red-line setting: power 100%; speed 7%
· Pick an Ideal Gap
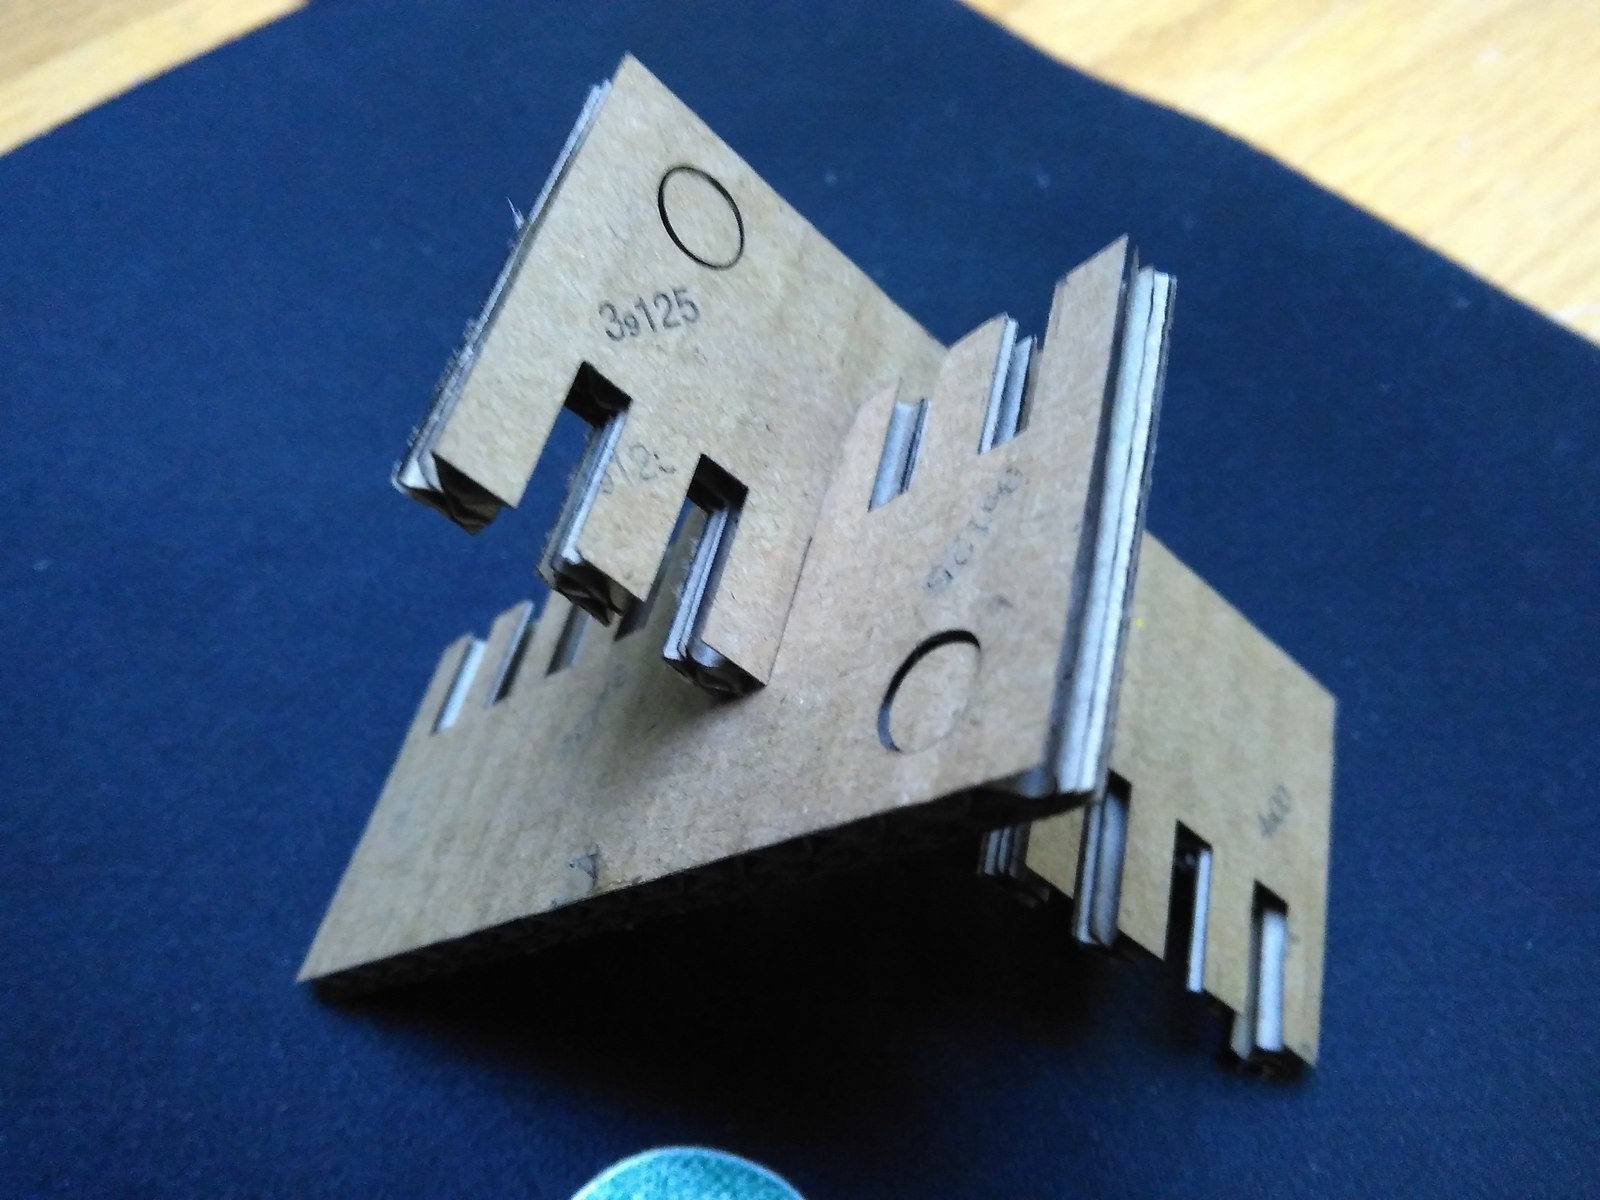
3.175mm-gap works the best for this cardboard.
Laser Cutting
16 Feb
Week3; Laser Cutting
There are a couple of problems I encountered during my first attempt to use the laser cutting machine.
· Problems
The file I exported to Ai was actually pictures instead of lines (vectors). What the machine did was basically engraving each pixels and it took me 6 hours to get my press-fit harp to be cut whereas it took only 90 seconds when I changed the pictures into vectors.
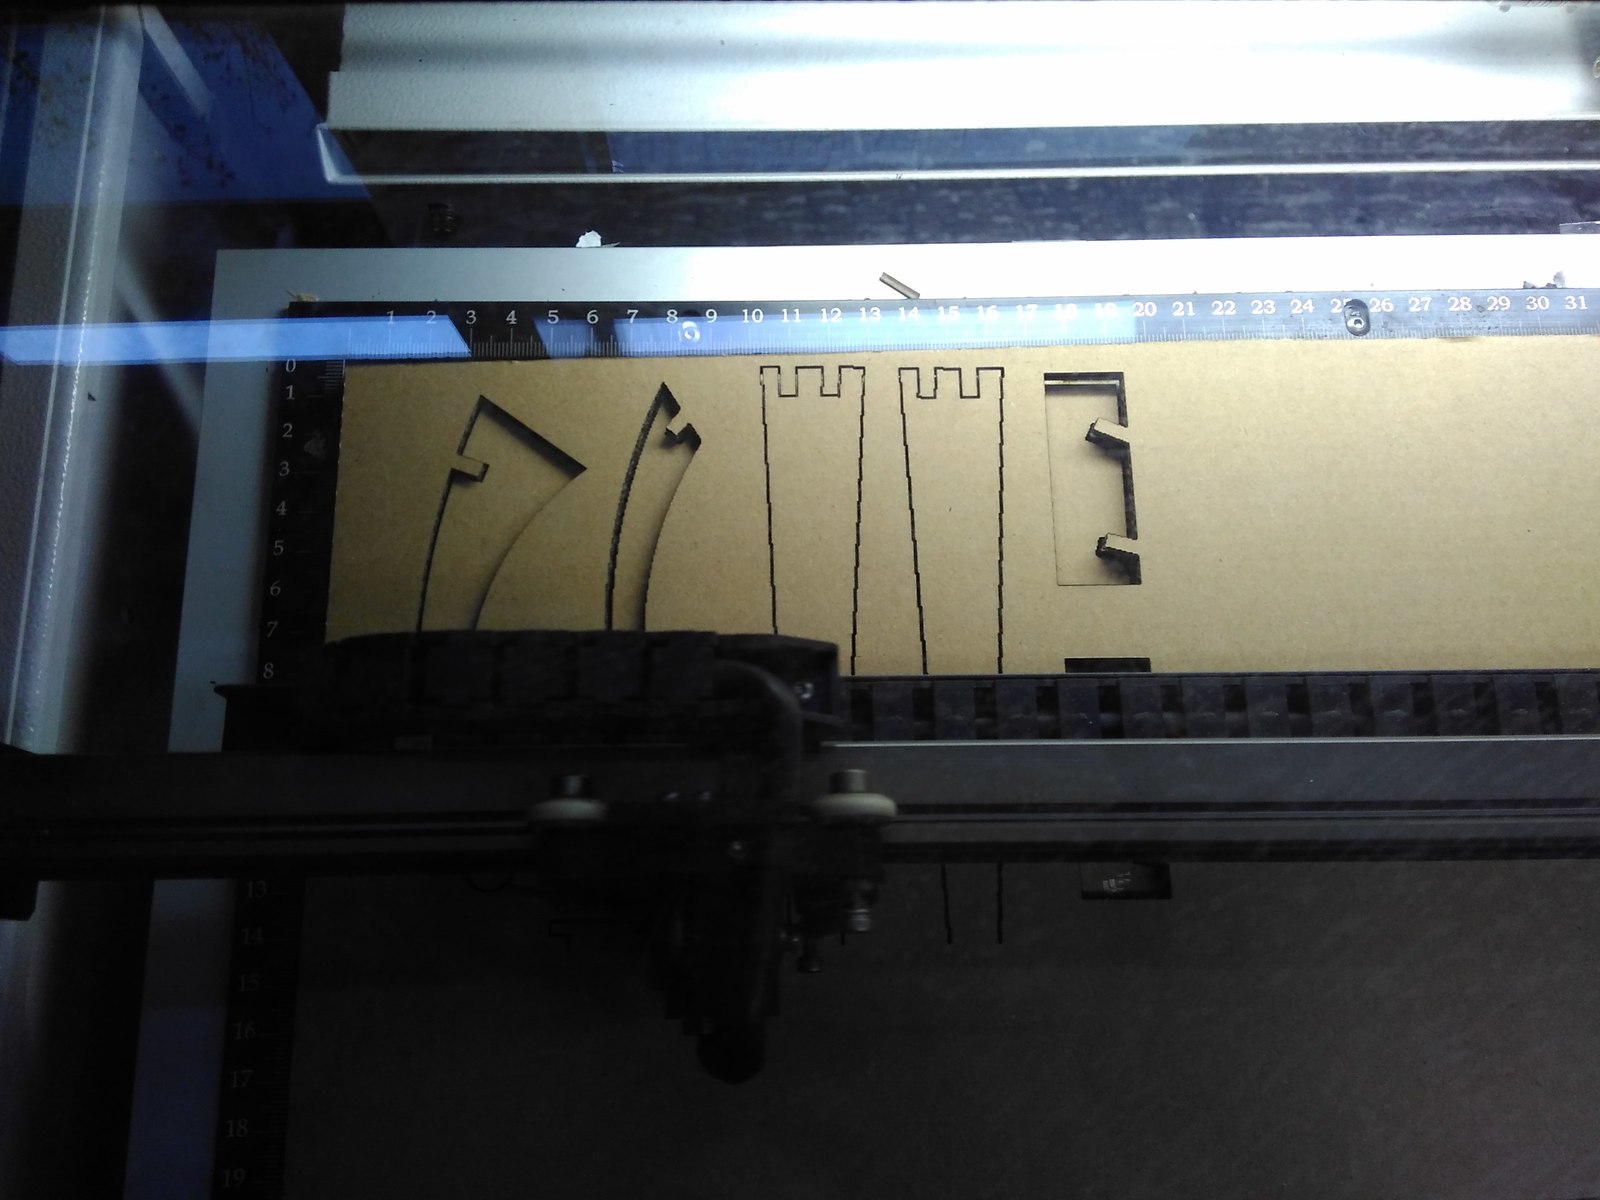
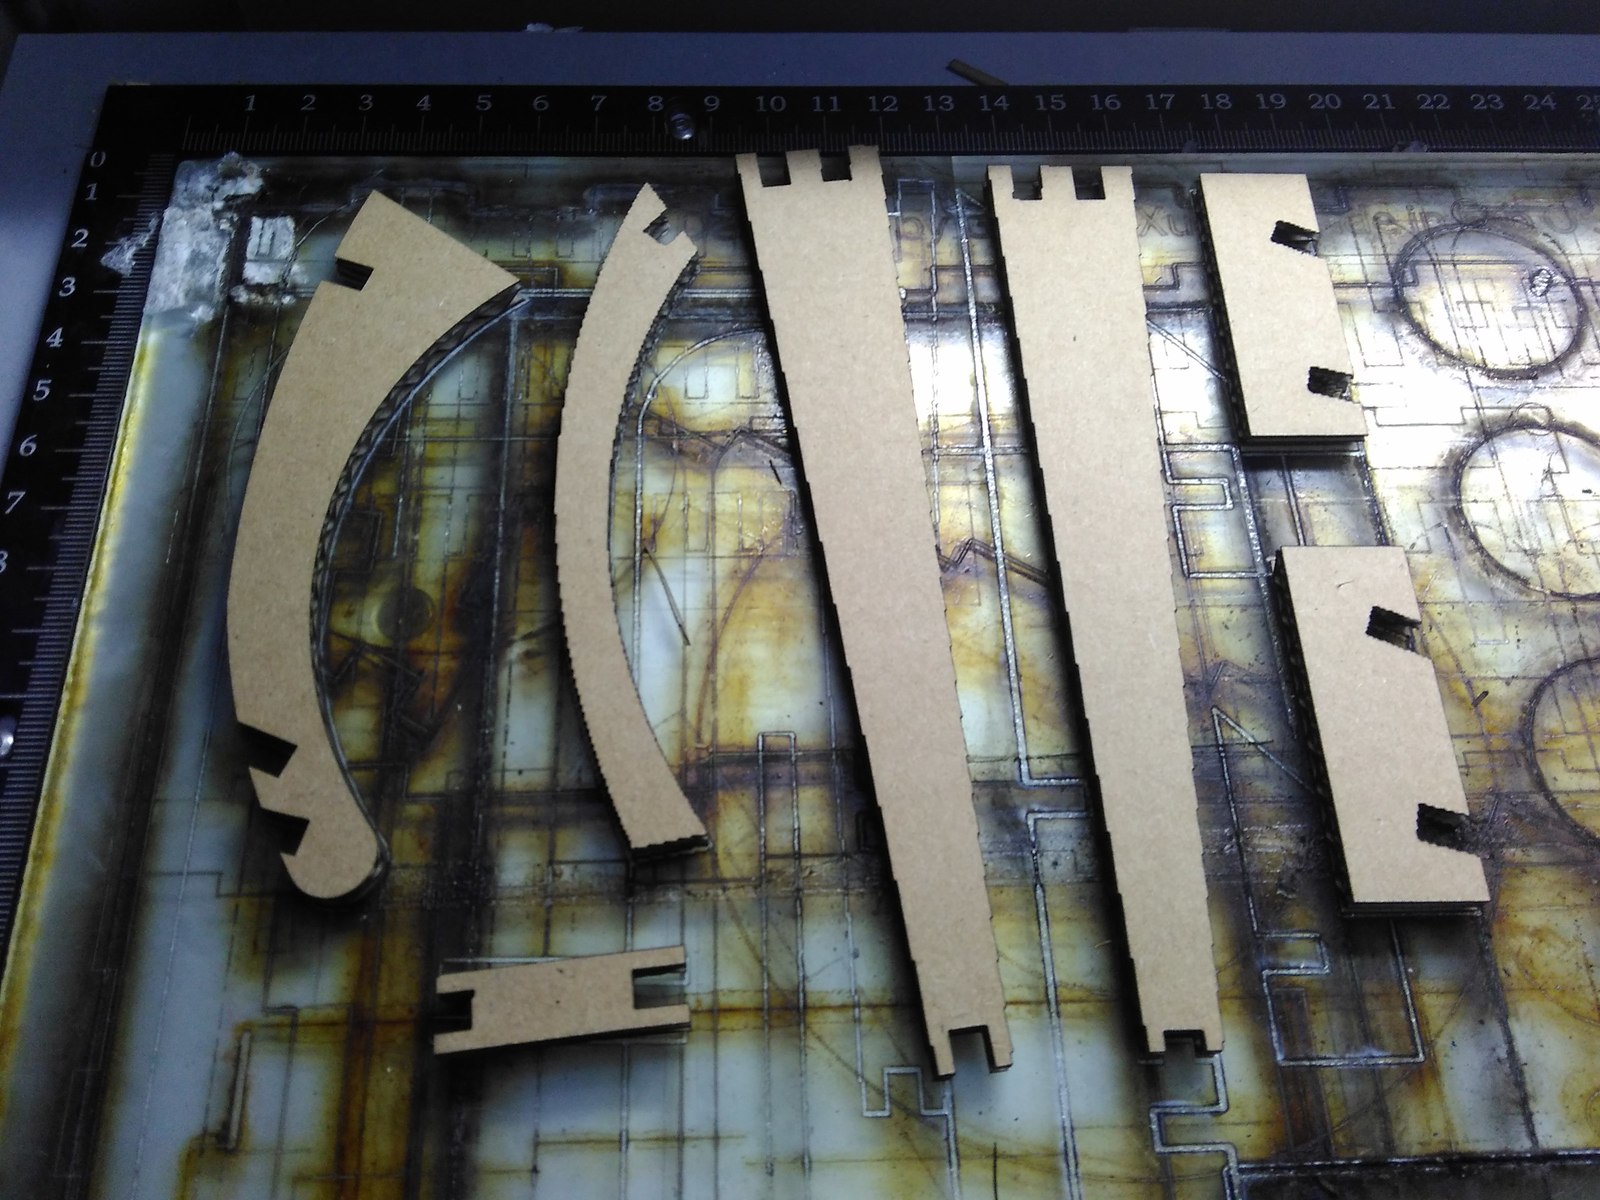
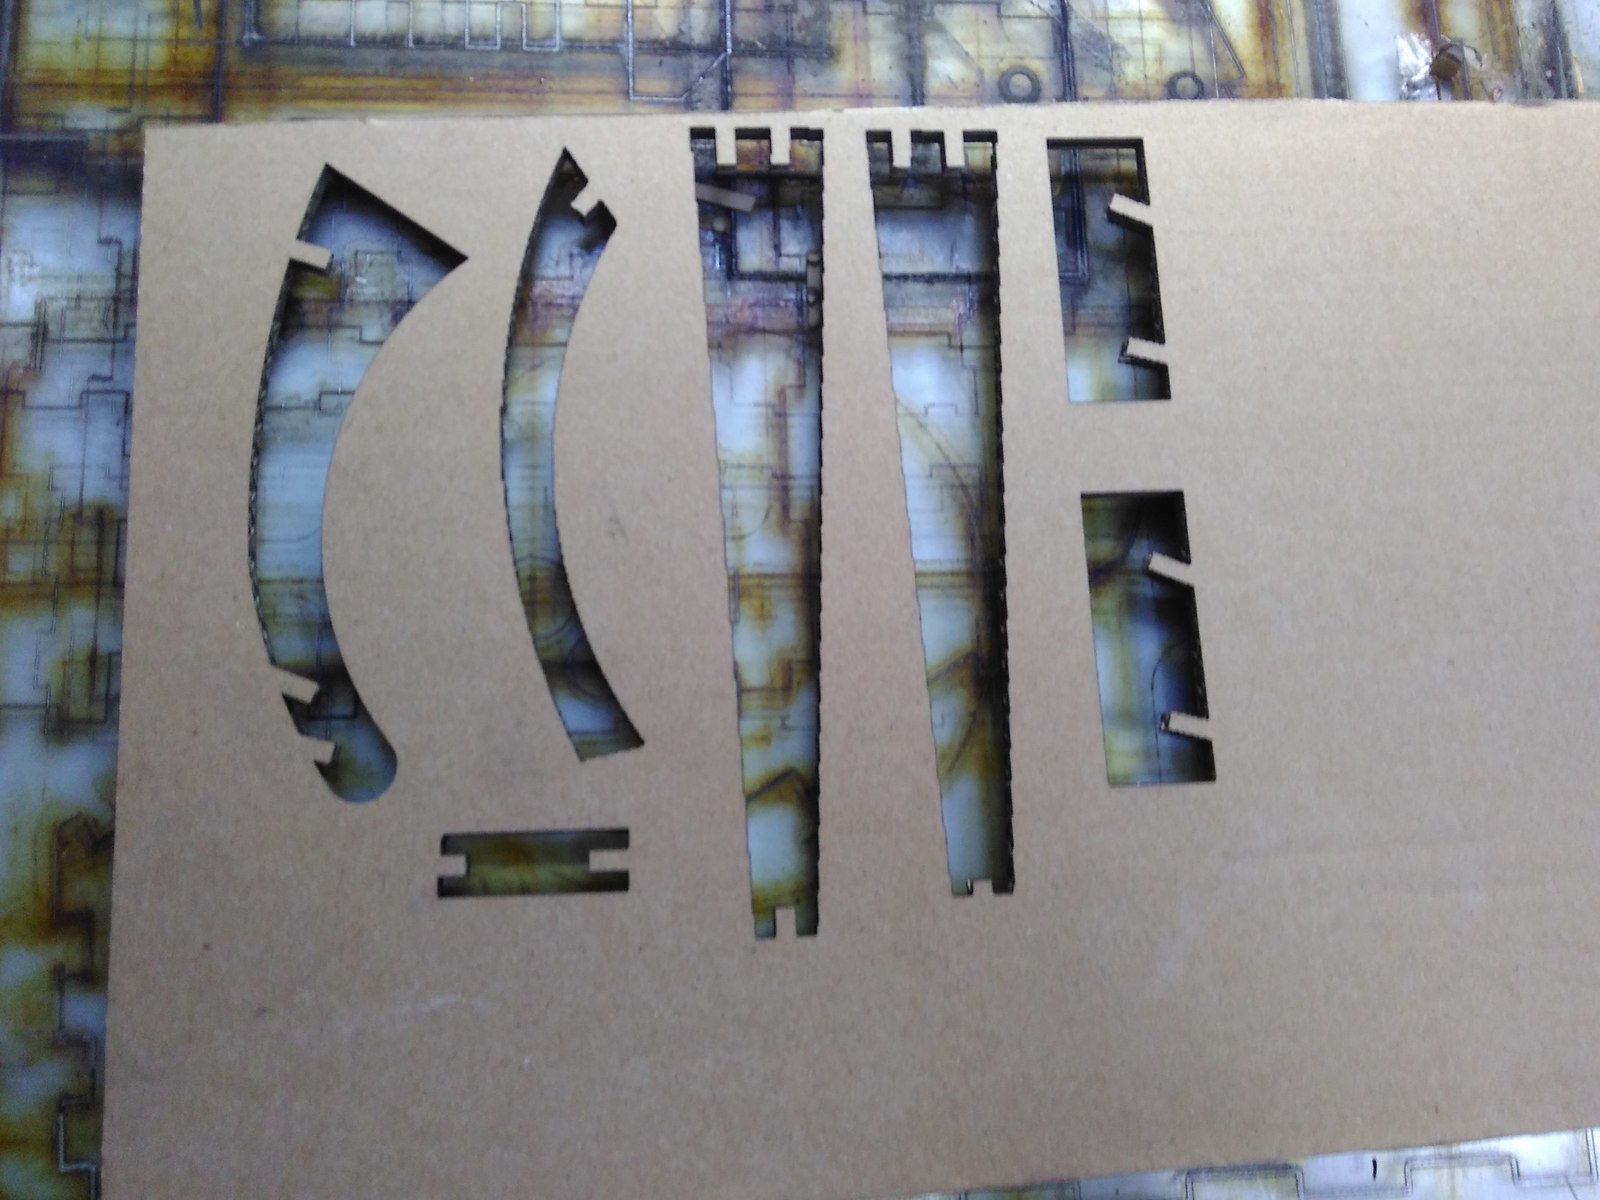
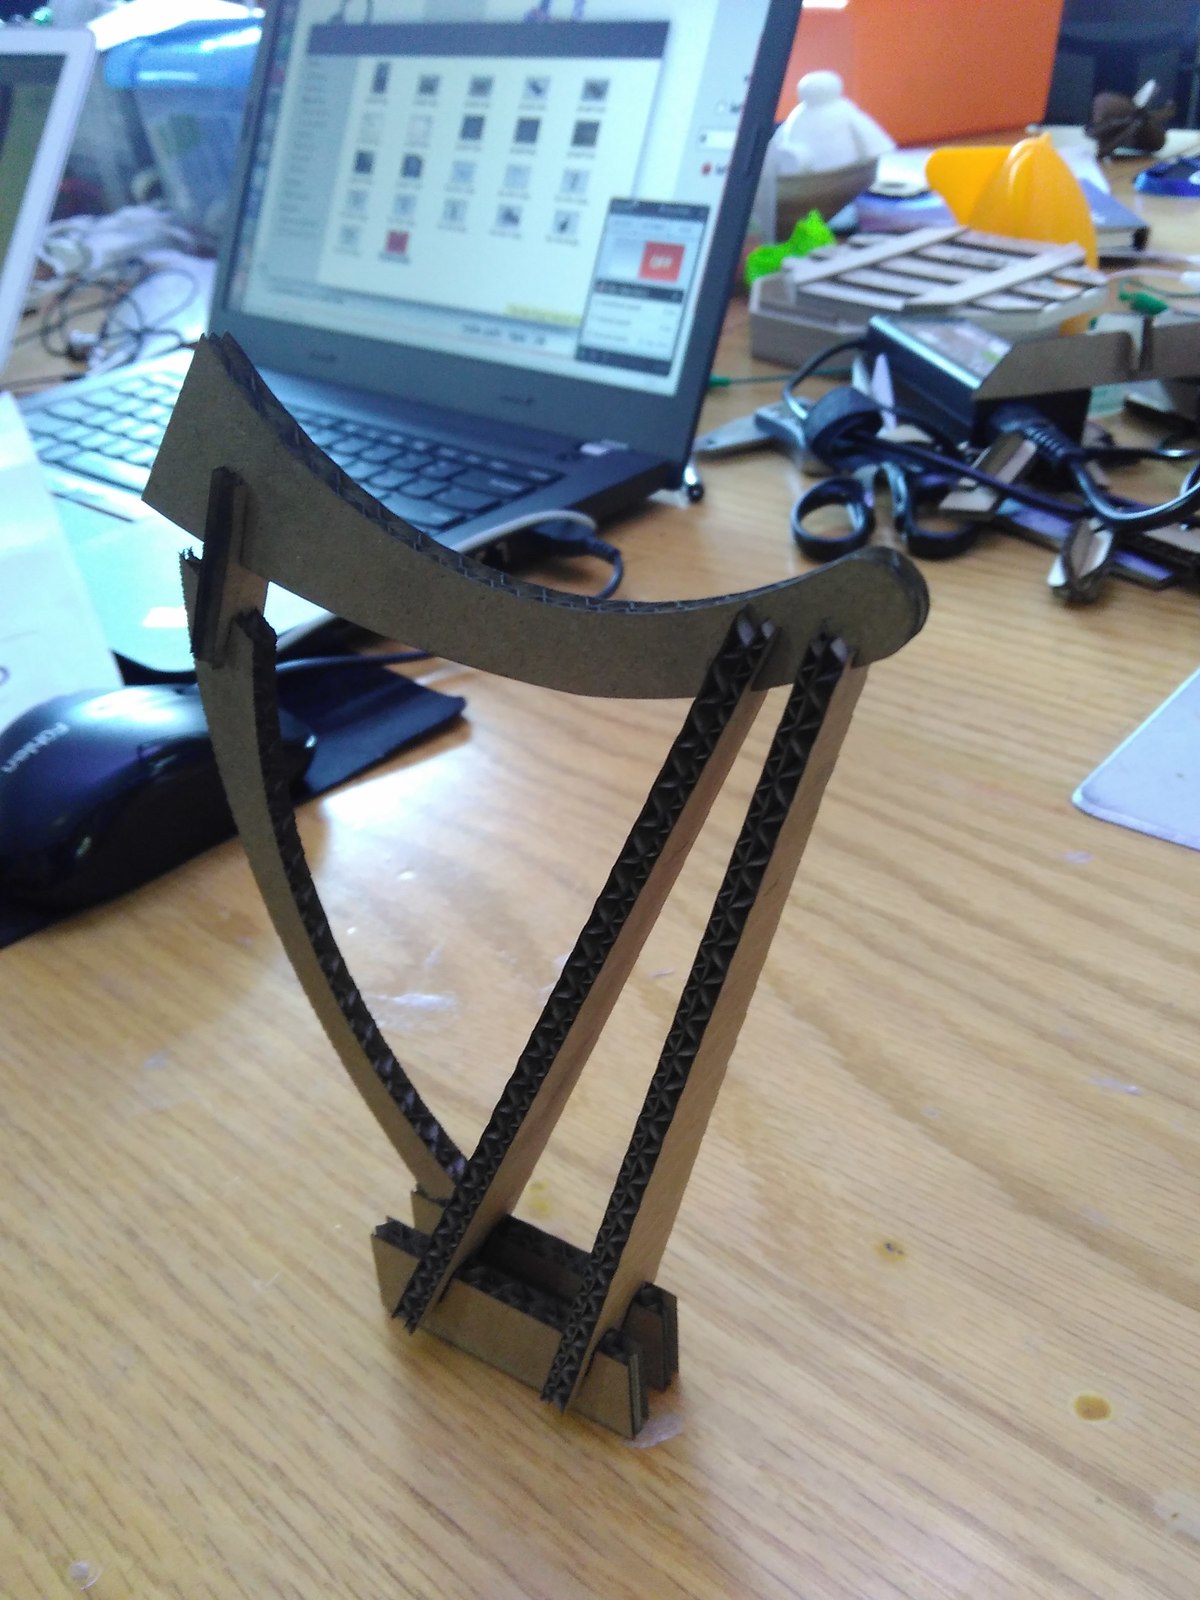
The pictures above show my first attempt where you can see obvious zig-zags along the curves. Below's the final assembly.
☞ Tips (for early-stage users)
1. Trace lines to cut. Do differentiate "cut" from "engrave".
2. Set the line to be 0.01mm
3. Pay attention to the color.
4. layout for laser engraving
The layout to print is really something a first-time user should pay attention to due to. Like a printer, it moves horizontally along the track and vertically it it goes down with help of the rod. That said, avoid putting all non-horizontal items in landscape which will literally make you wait forever to get your laser engraving to be done.
Clef Drawing in Inkscape
16 Feb
Week3; Inkscape
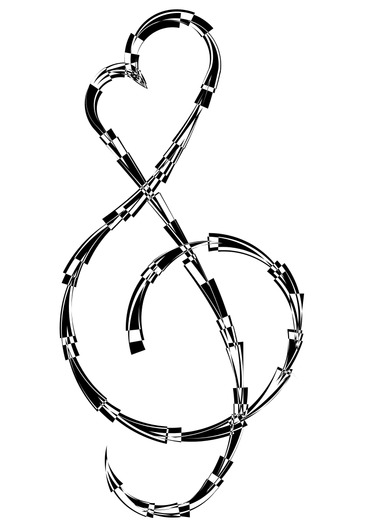
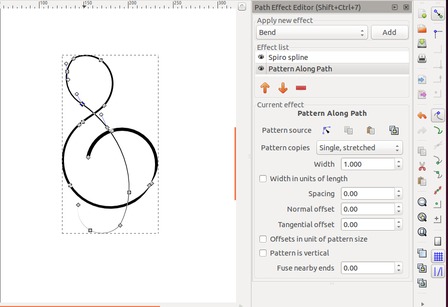
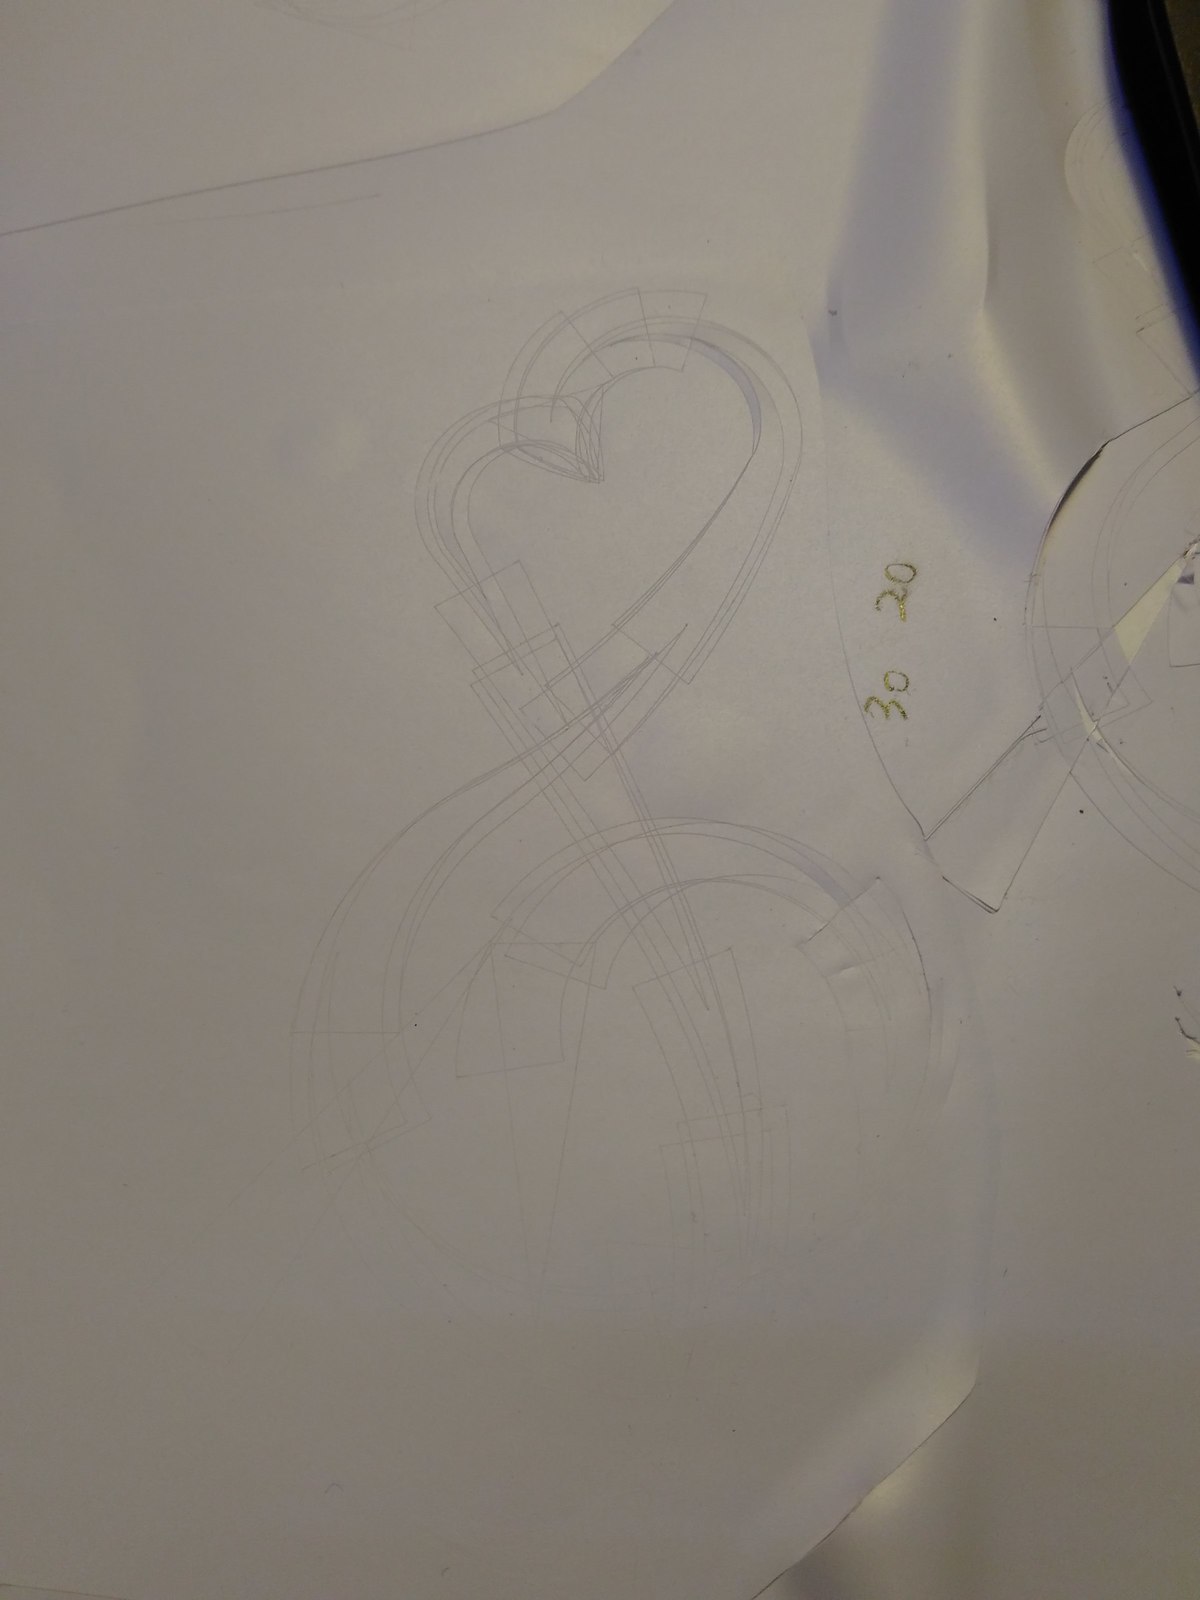
I played around the 'Beizer curve' tool to draw the clef with several curves with the mouse.
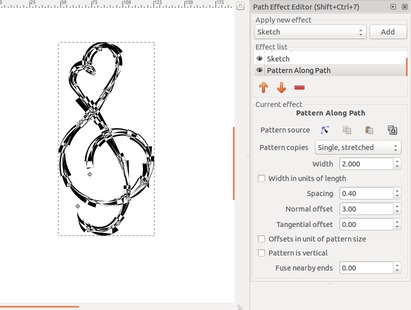
An awesome tool I discovered was the 'path effect editor'. It made me understand how Inkscape applied those effects and by tweaking around a couple of parameters I made a graph like this:
Download the clef design file: Clef.svg
Vinyl Cutting First Attempt
16 Feb
Week3; Inkscape
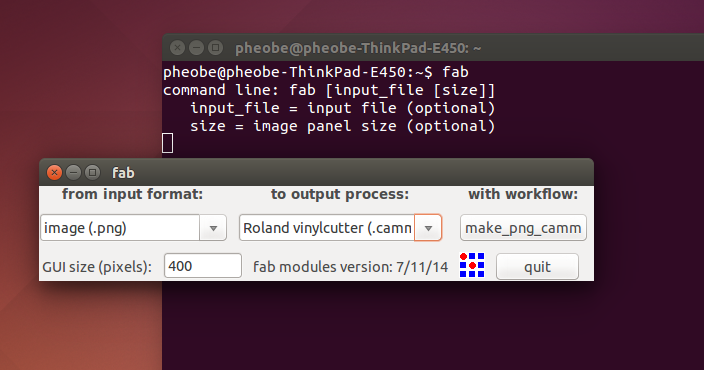
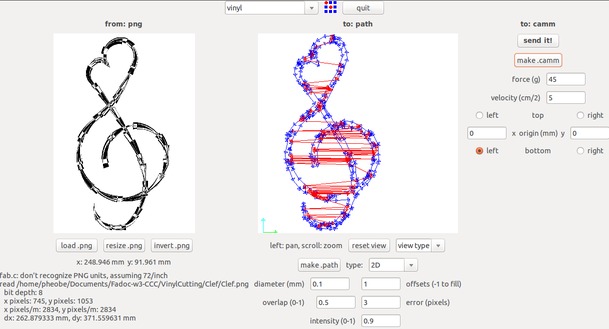
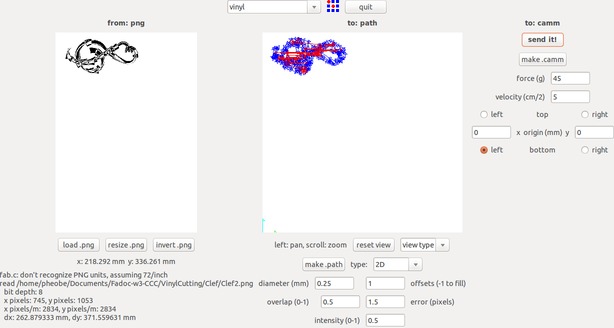
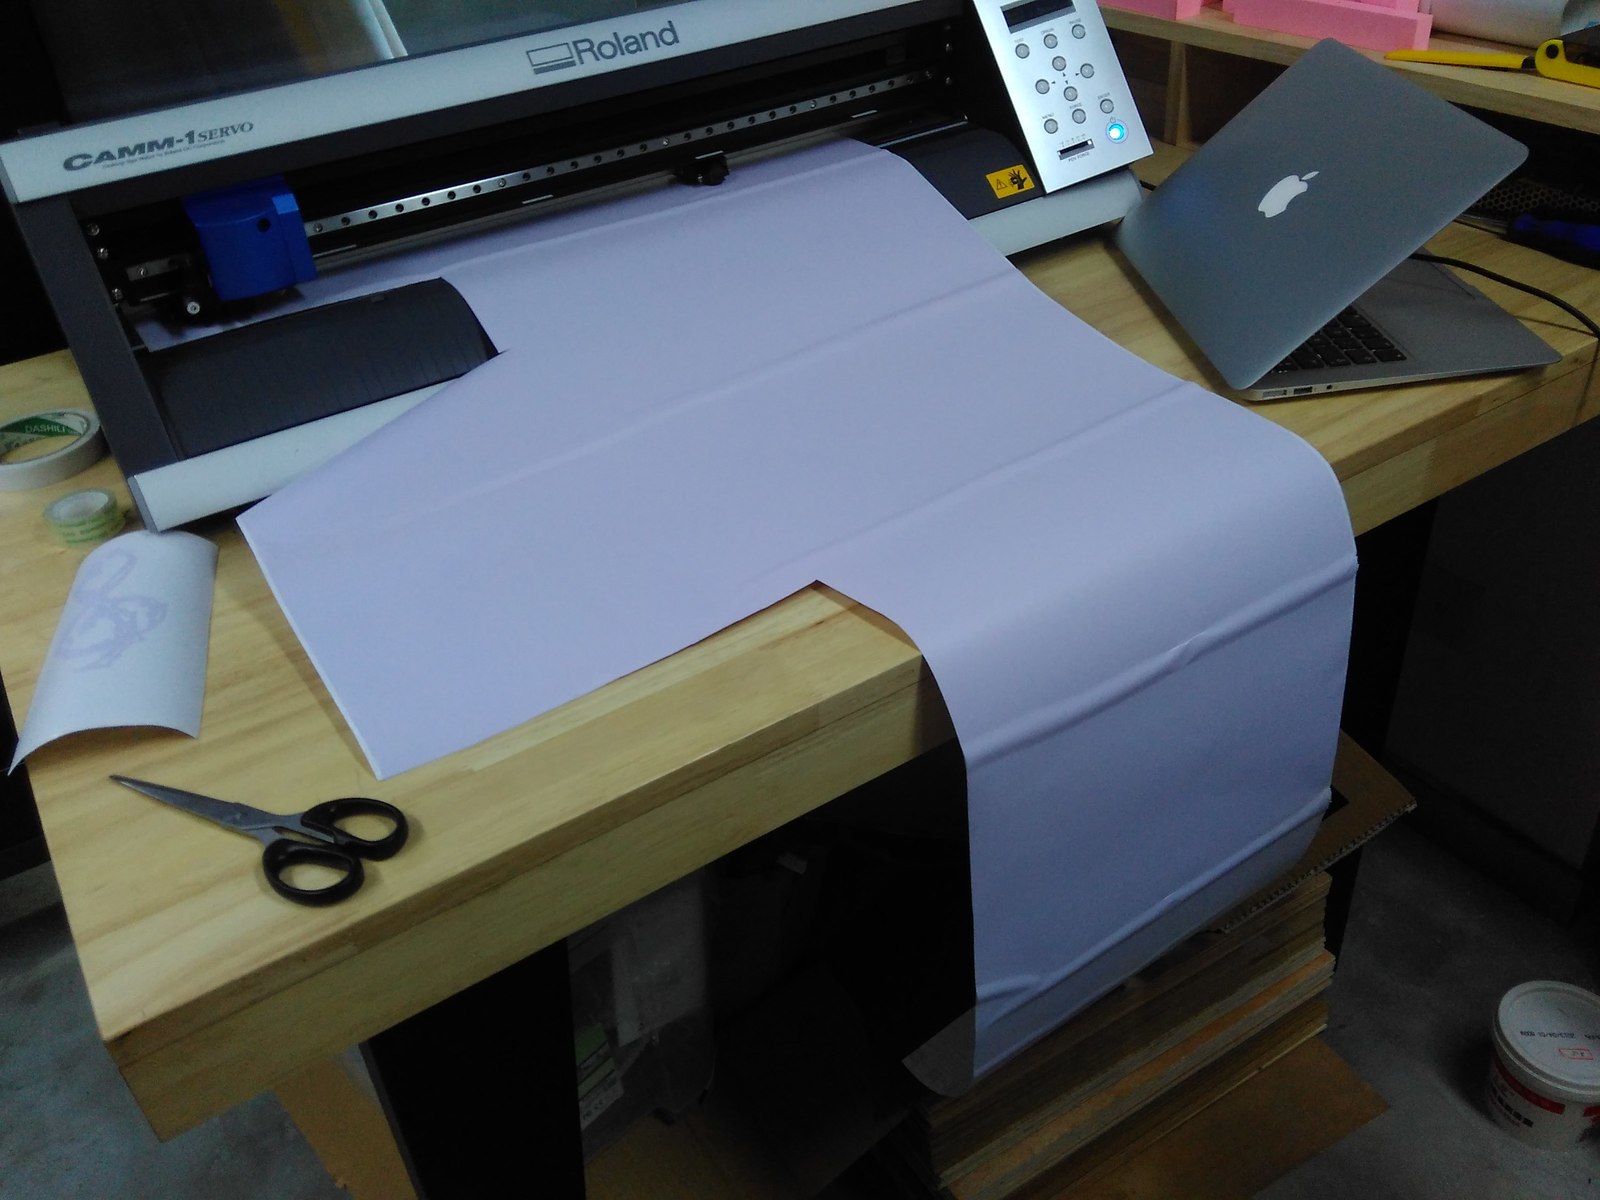
I used fabmodule to calculate the path and send the file to the Roland Vinyl Cutting machine.
After setting up the printer, I played around different combinations of forcce and speed.
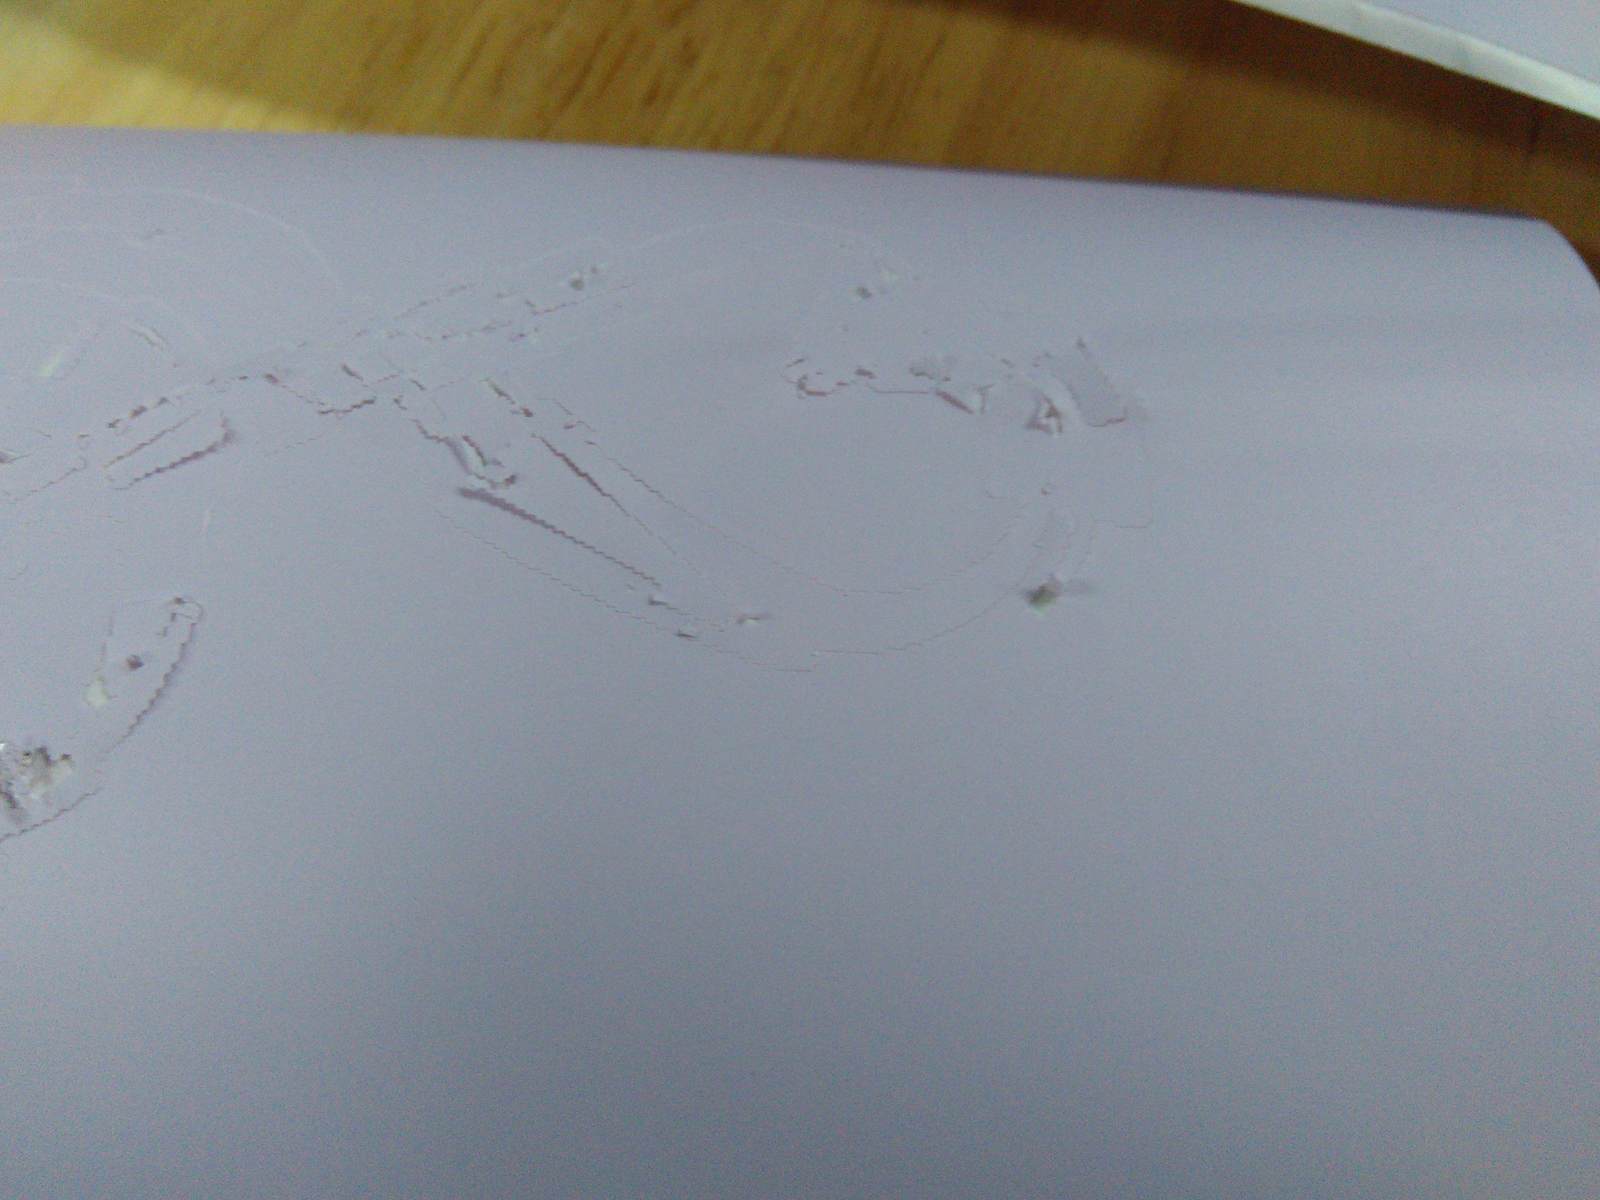
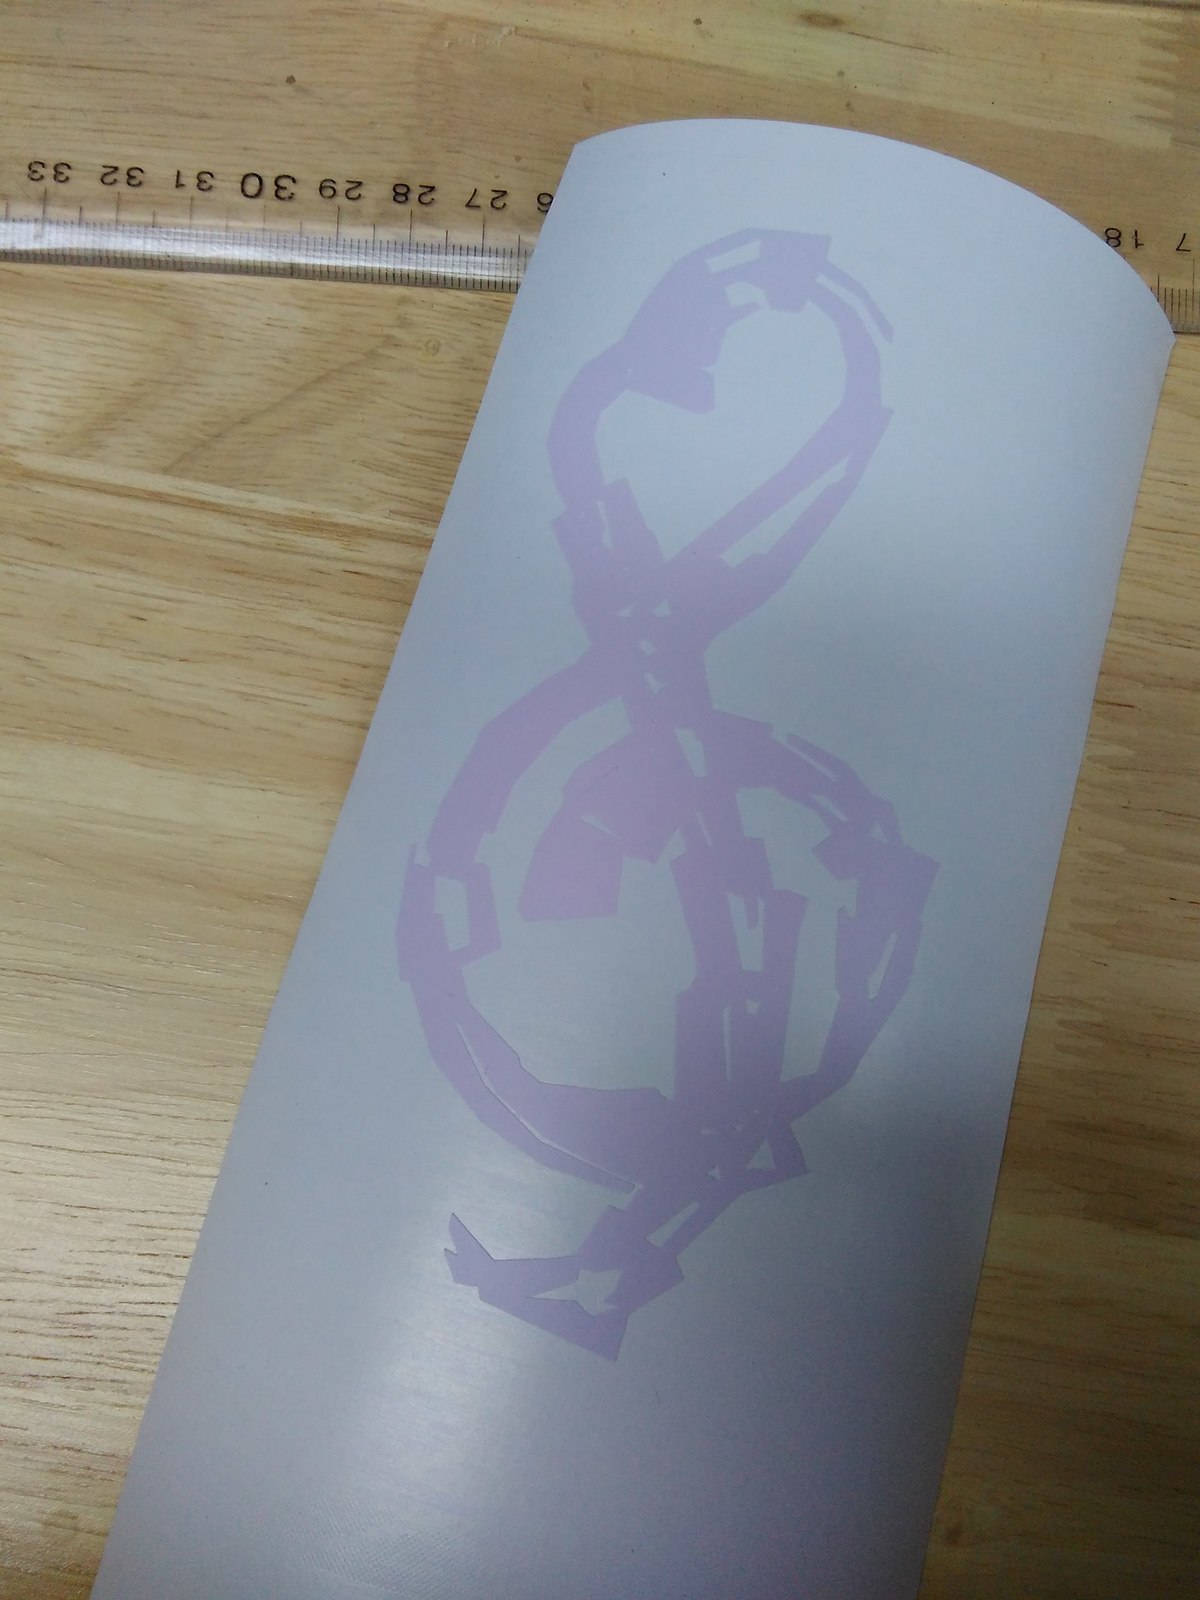
Here's the result generated by difference combinations of force and speed. If too much force was imposed, it cut through the two layers. If the speed is too slow, the cutter would be easily stuck with the sticky vinyl material. Therefore I'm trying to find a just-the-right force to cut the upper layer and impose a moderate speed for the cutter would not destroy the image when going through the fine lines several times.
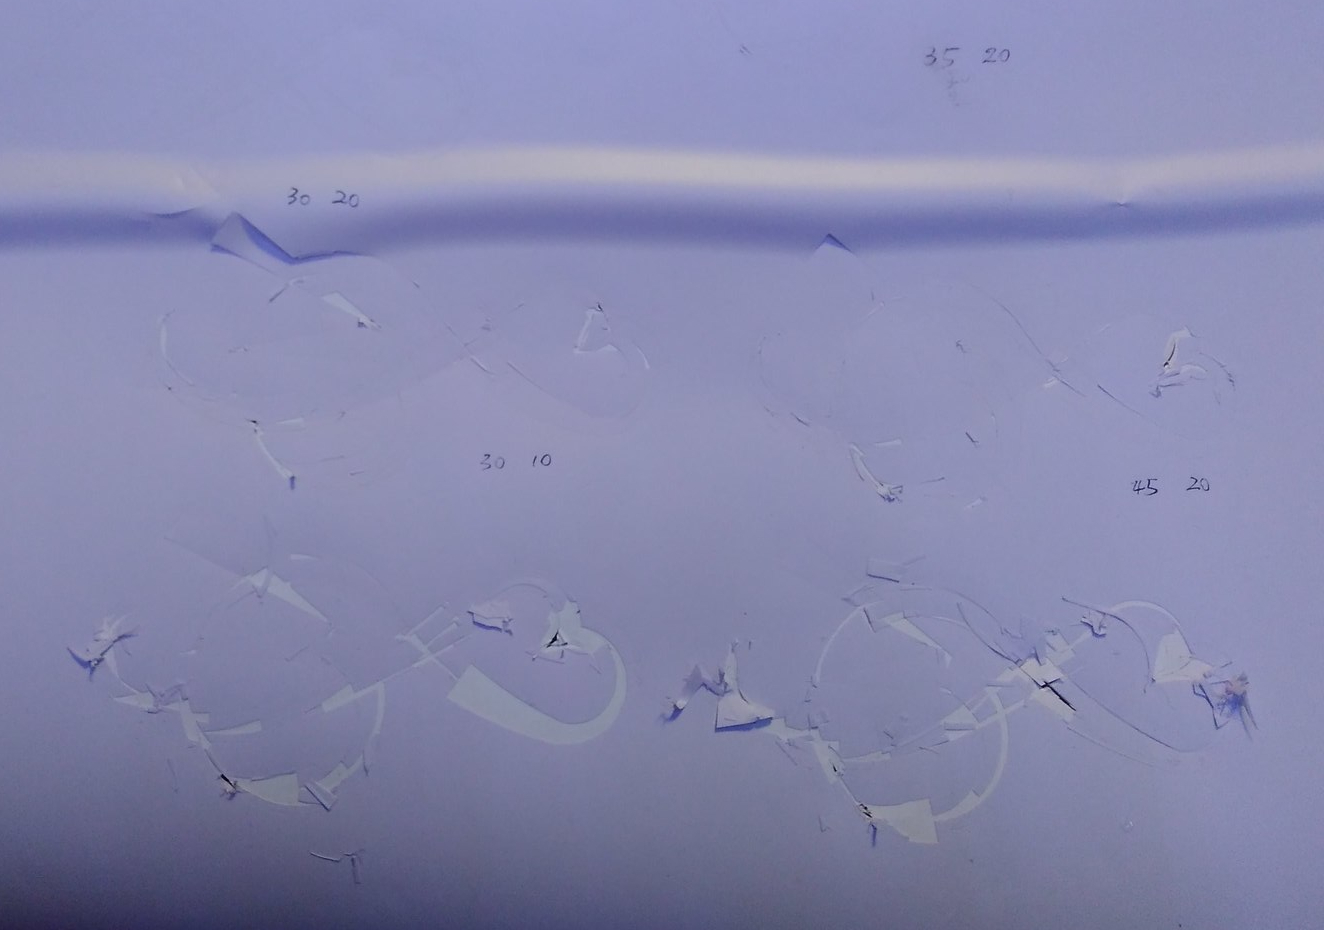
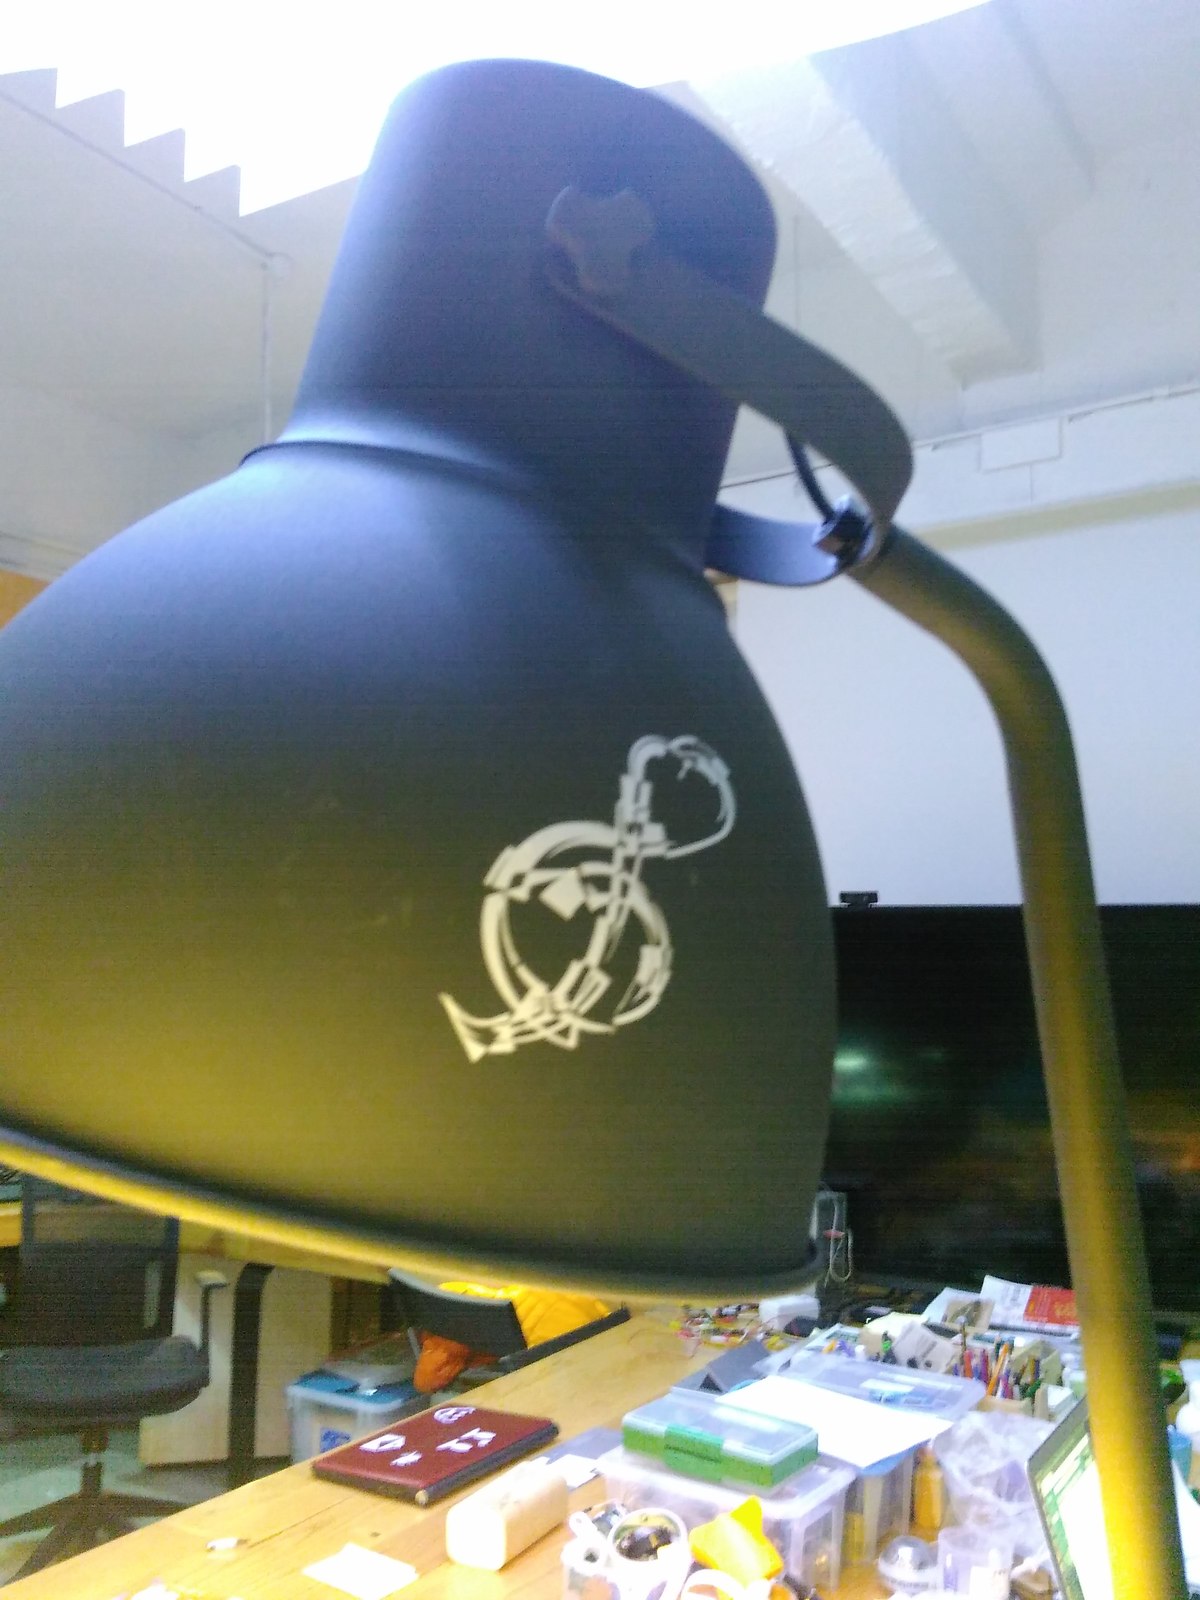
The above picture was the result of force 30 and speed 20. It looked decent yet the upper layer was unfortunately not cut out. In the end, the final product stick on the lamp was the one cut by force 40 and speed 15.
· Problems
1. Forms of file would affect the quality of cutouts
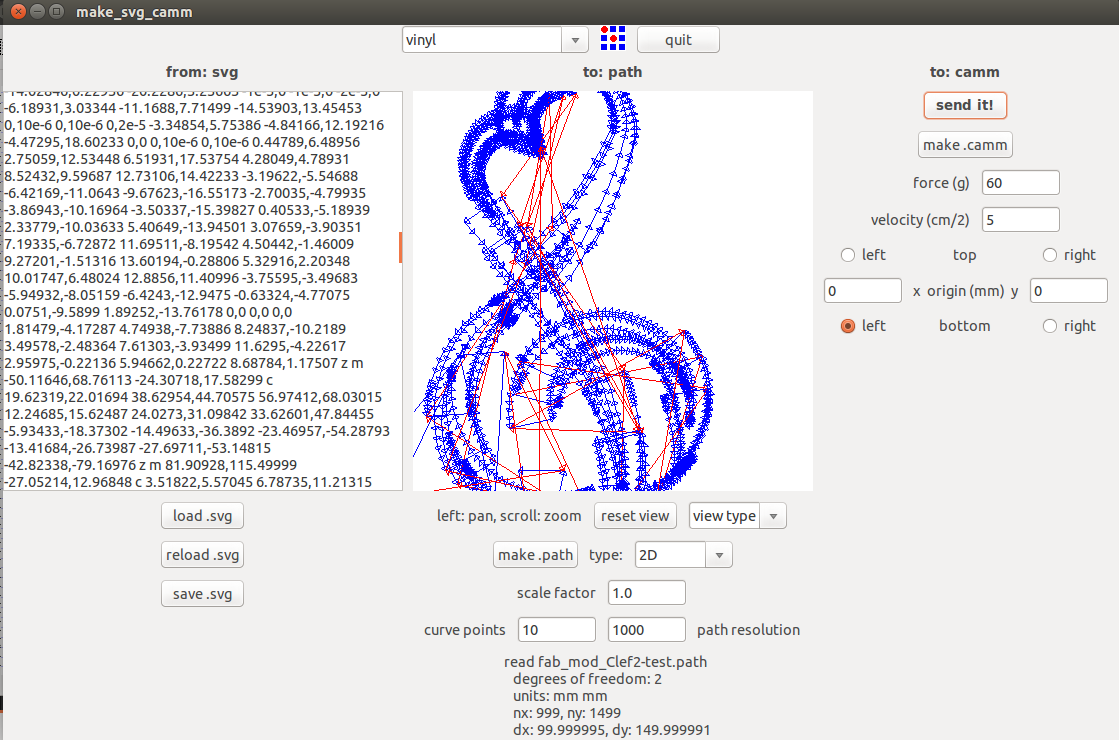
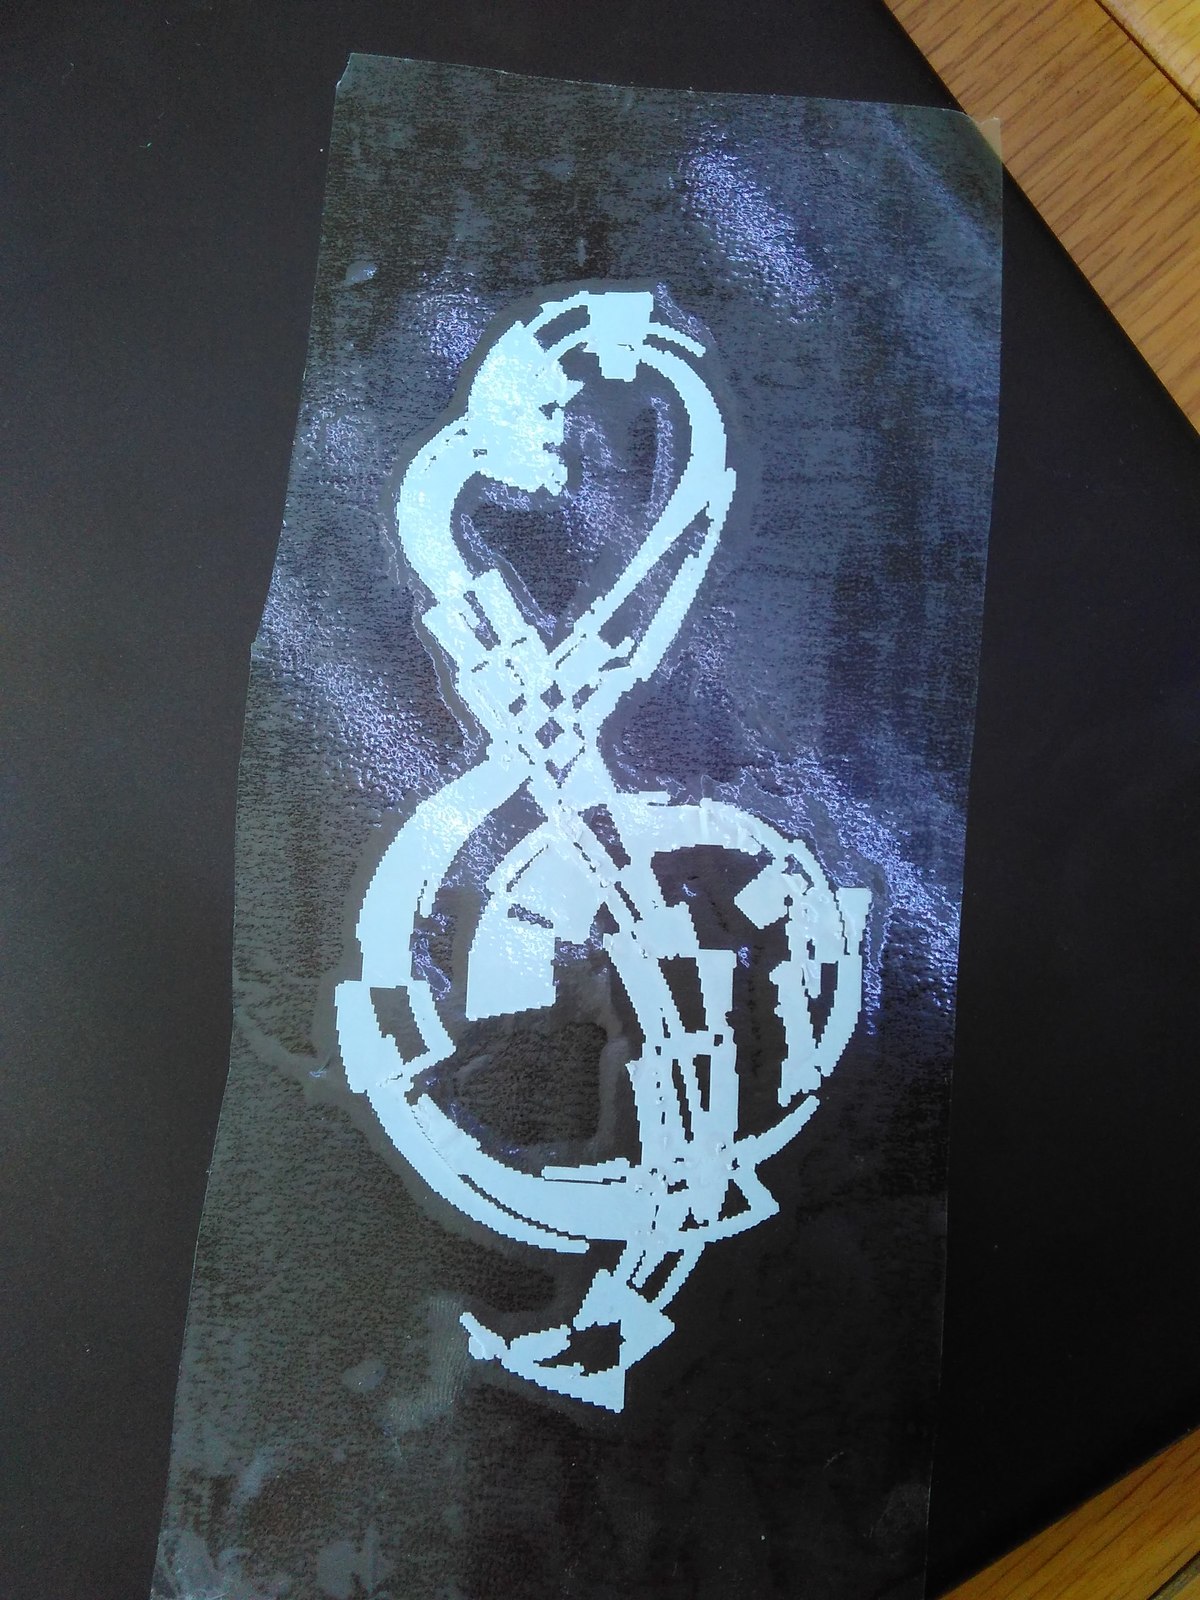
The pattern actually but out looked very different from what I designed from Inkscape. Lines did not turn out to be as smooth as I imagined when I exported it as PNG. The other day when I loaded the SVG file directly to fabmodule, the cutout turned out to be quite decent.
Lines are rough and pixeled where cut paths were calculated from PNG files.
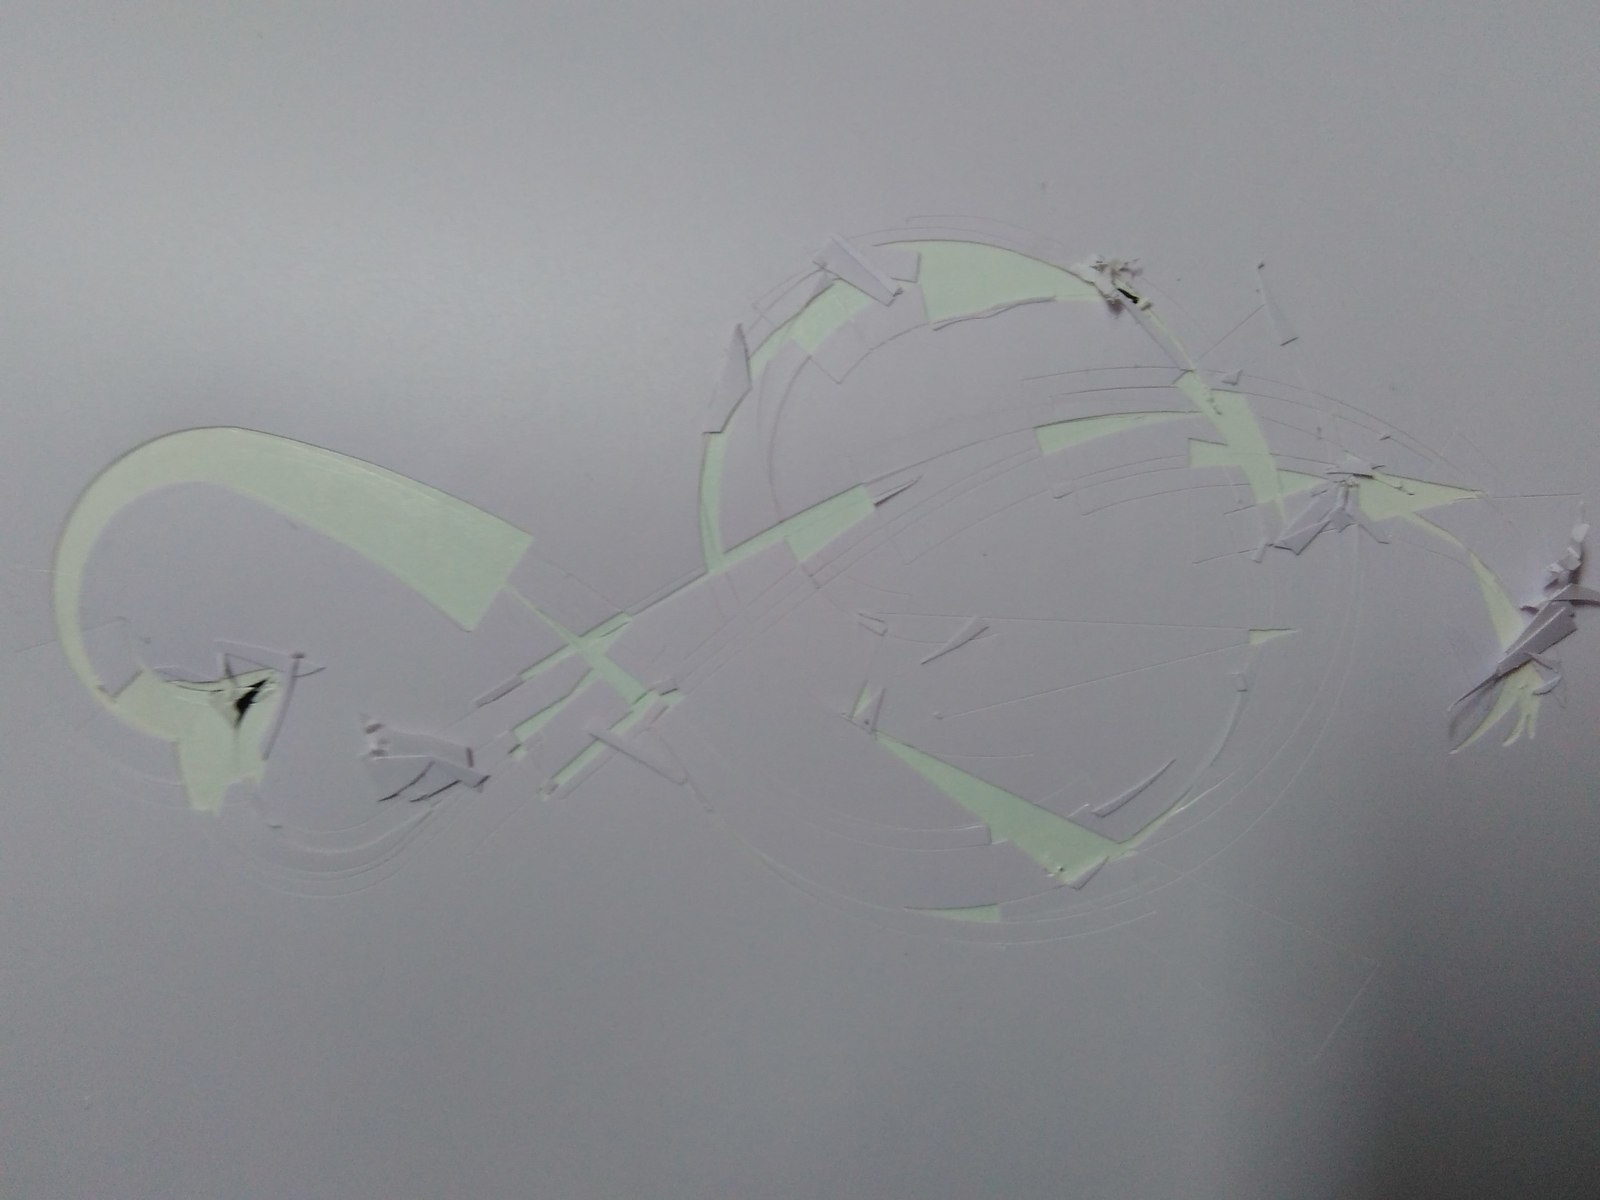
Line are finer when cut from SVGs.
Still there's something else I'll have to work on, such as offsets and resolution, to get a better result.
2. I made a of waste due to lack of arrangement of canvas.
3. The input vinyl always bent which brings unleasant consequences.
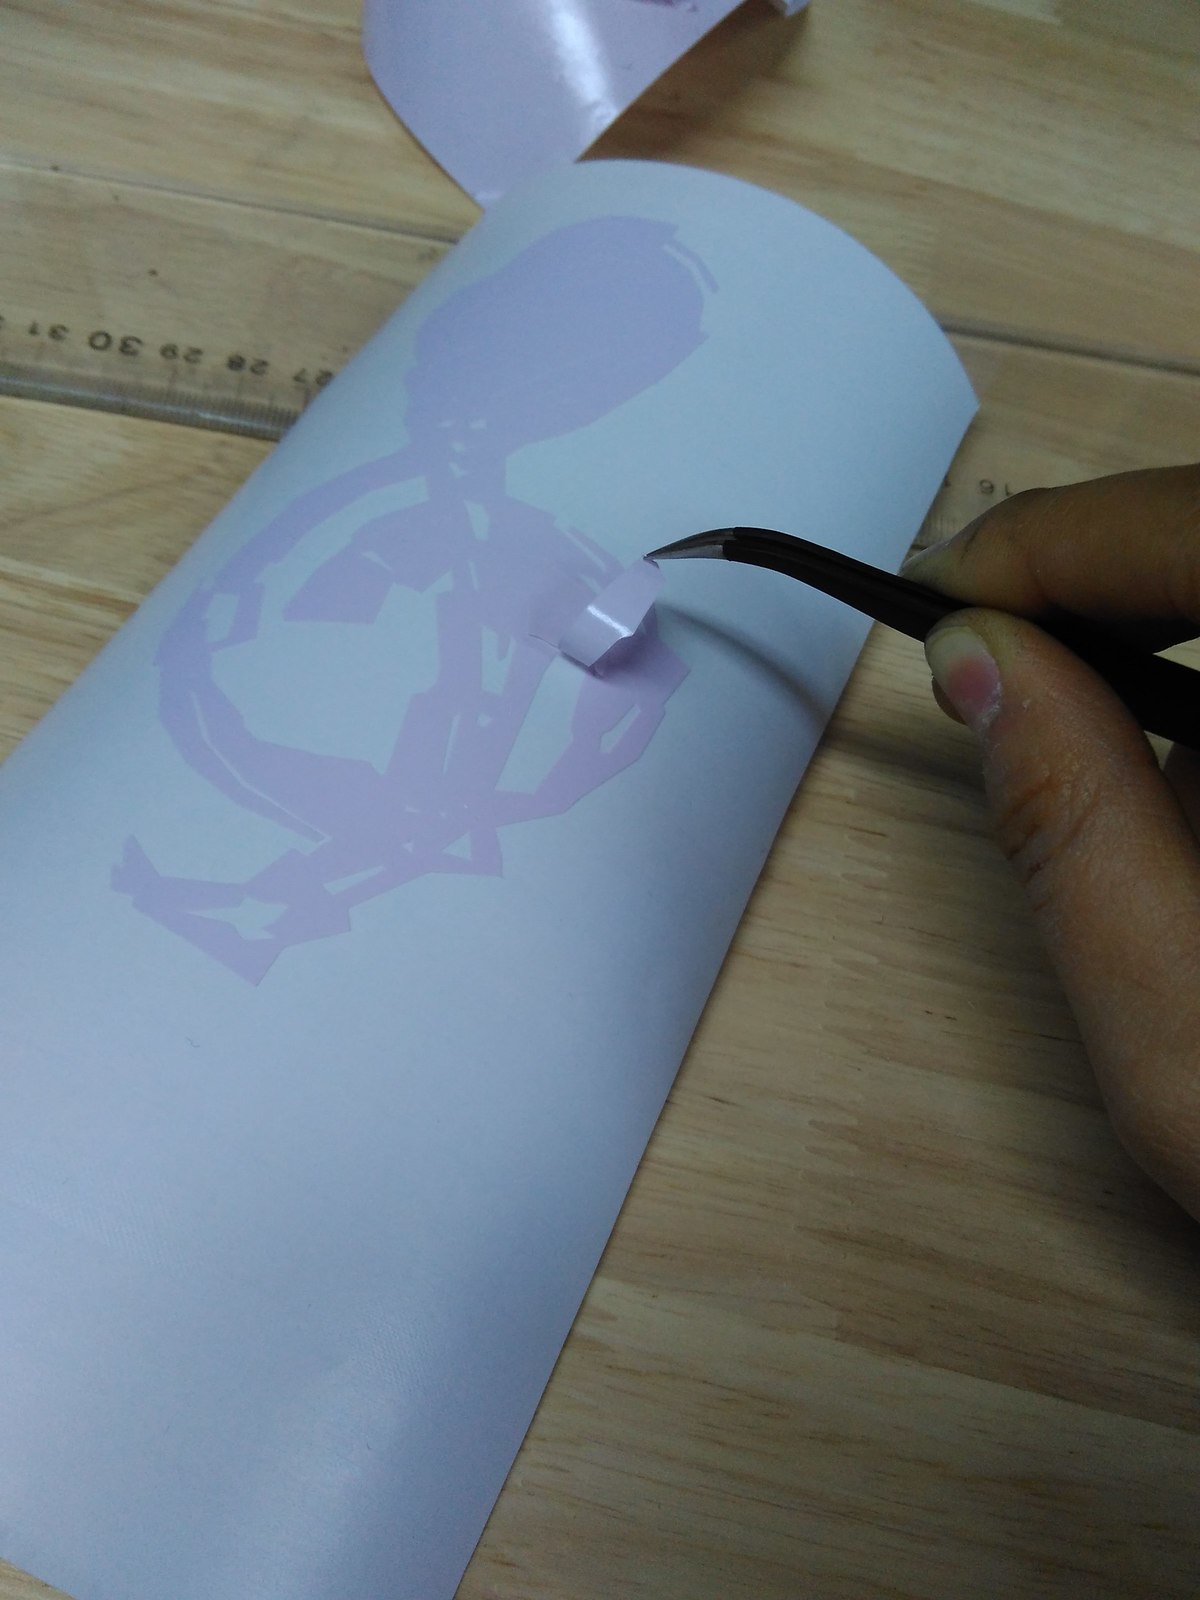
· Manual Work
Tear off the unwanted part and transfer it onto the transparent film. Then you're free to stick it wherever you want to put the pattern on.
