Thermistor with NTC
8 May
Week11 Input Device; Final Project; Temperature; Thermistor; NTC
---Board Design---
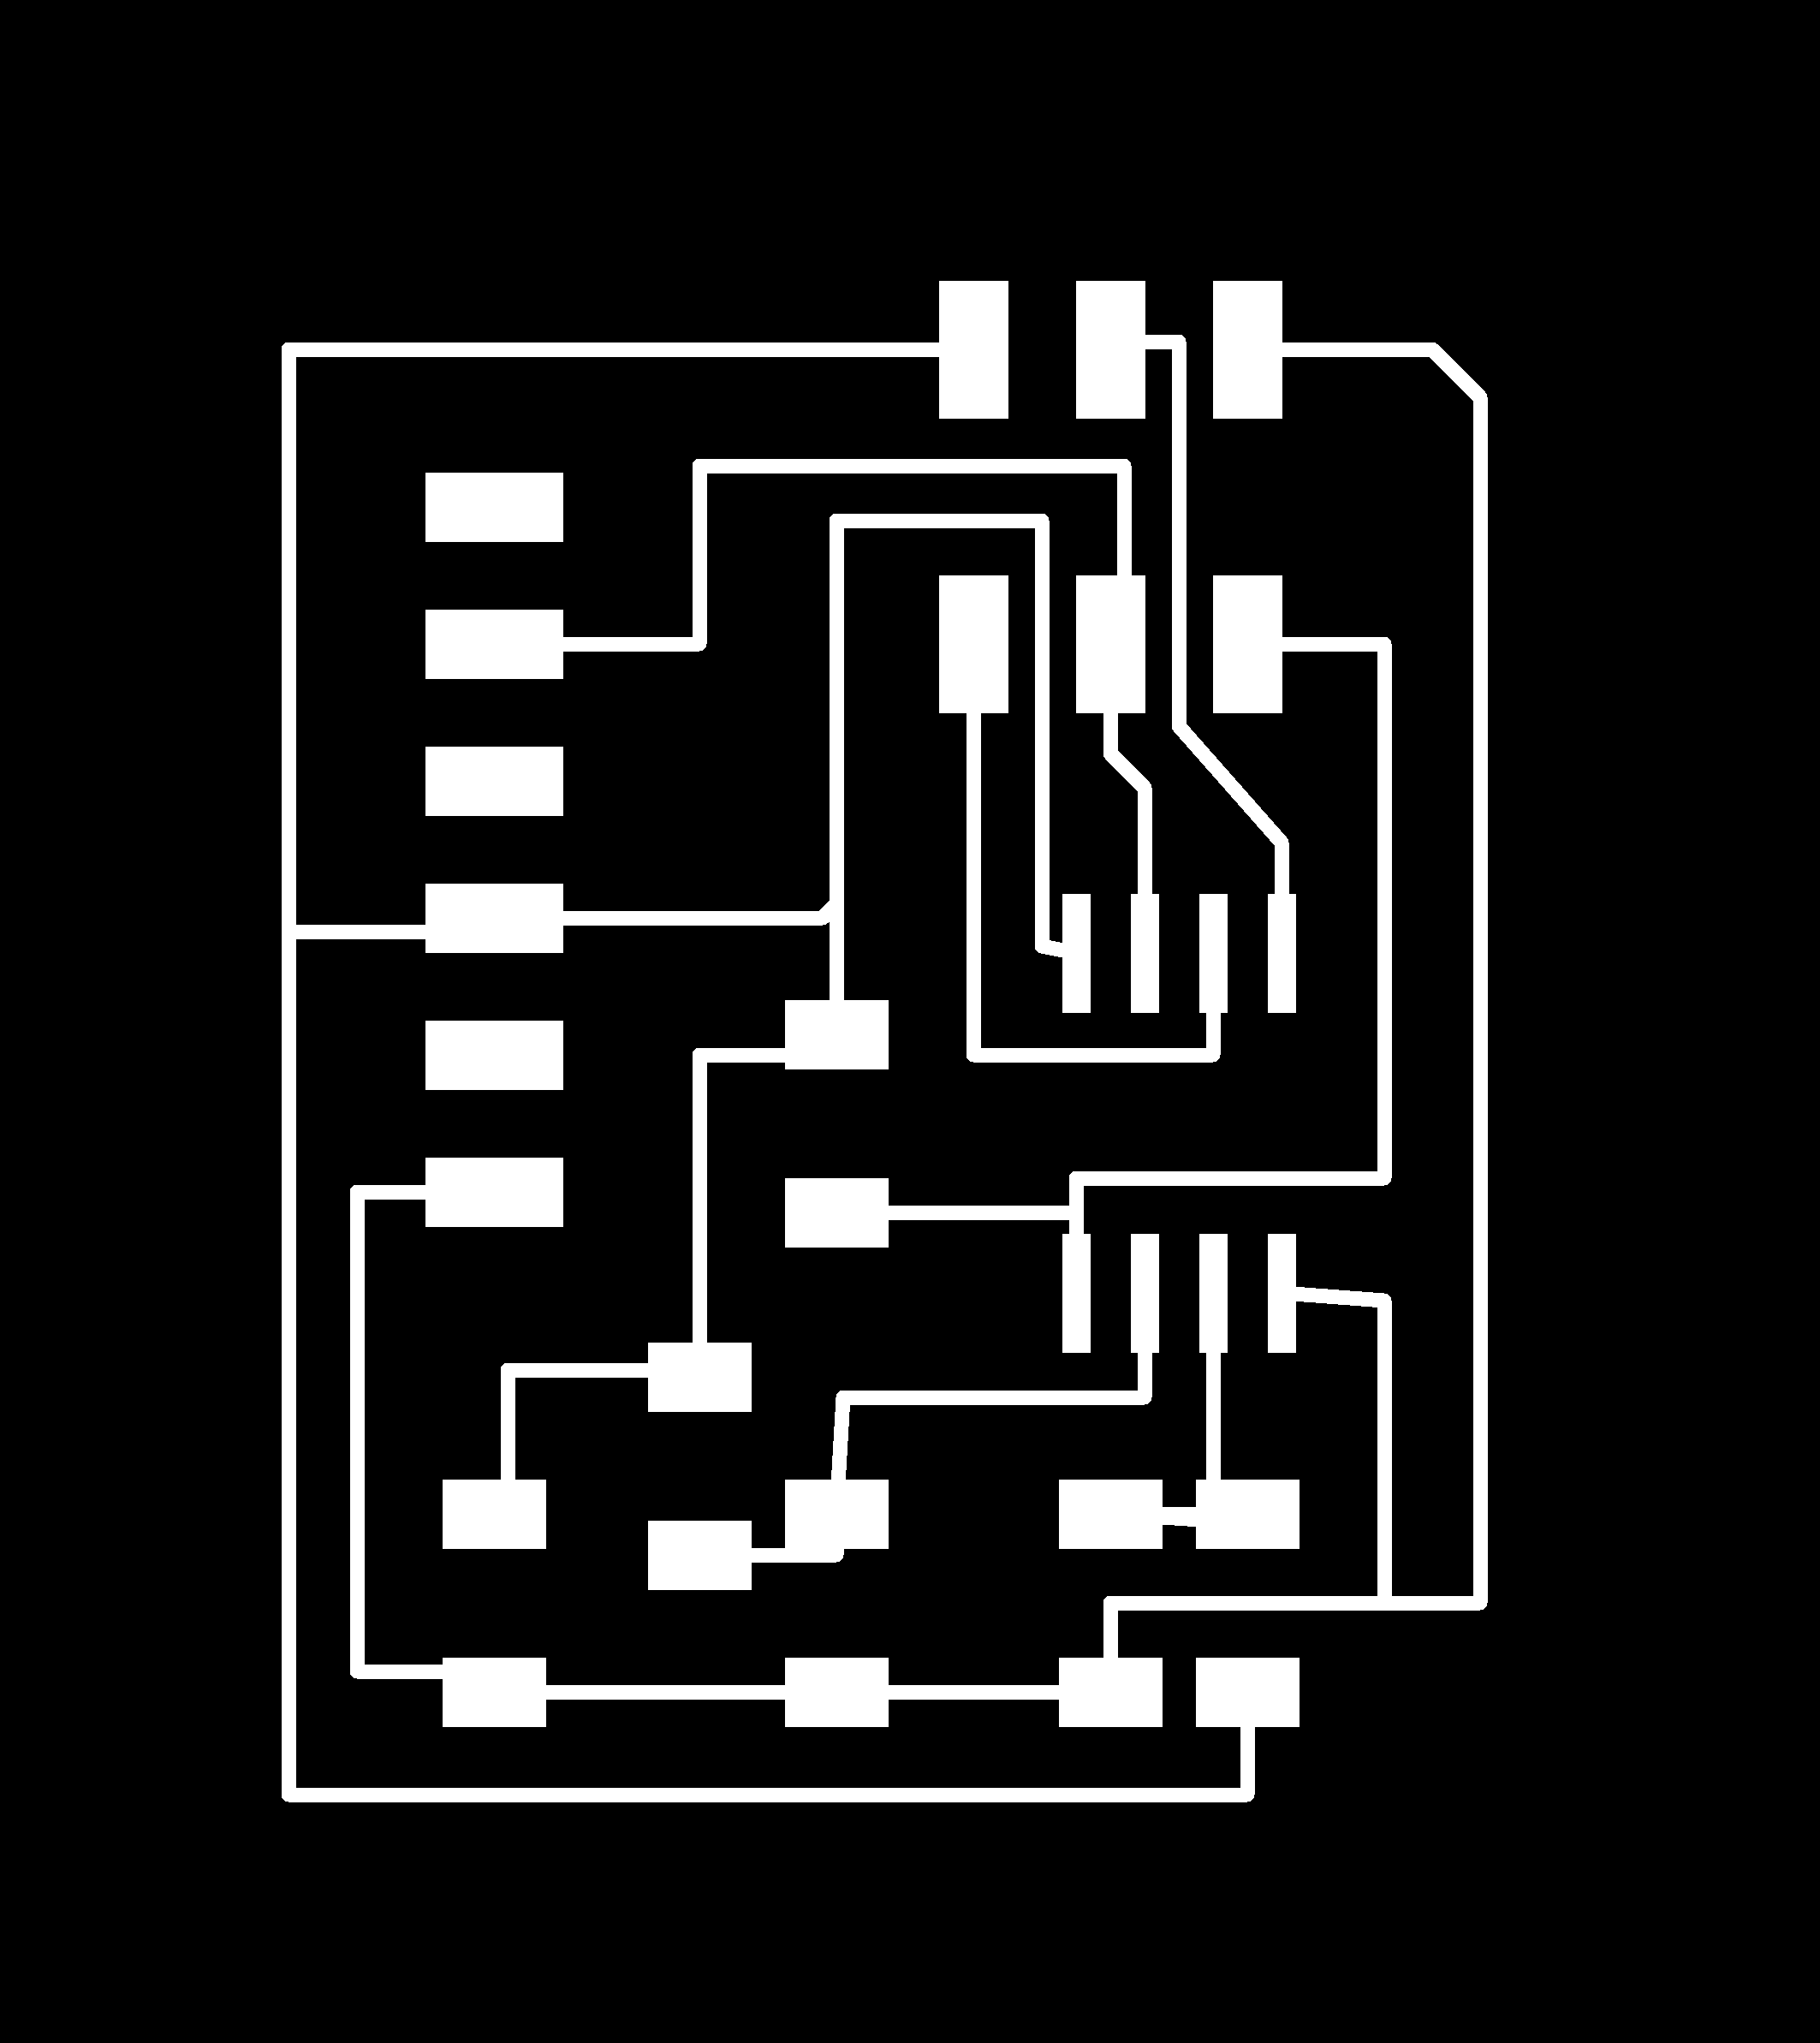
The board was designed in Eagle. Firstly I loaded the fab library and selected components I used in schematic design: an AtTiny45, a FTDI, a 6-pin AVR ISP, 4 10k resistors, 1 10pF capacitor, and an NTC.
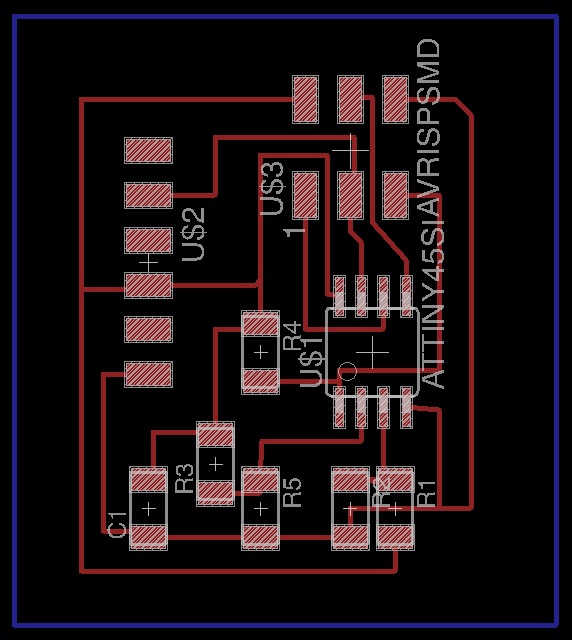
After connecting and naming each pin in the schematic design, I drew rough picture trying to put closer components which shared more connections than others. Following that layout, I started to lay lines precisely in the board design and I left all GND and VCC pins to the end.
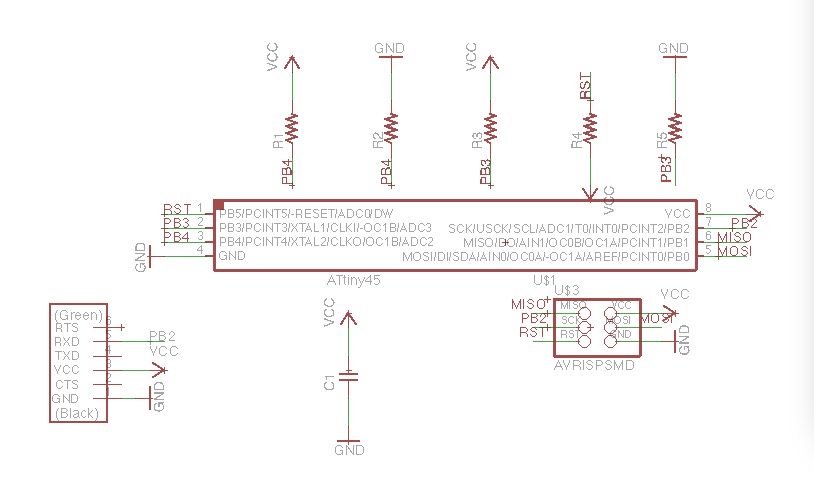
The datasheet helped me to learn the direction of AtTiny and how each pin functions. An easy way if to tell the direction by
To program an MCU I'll have to install the platform for it. Following the process of programming an ISP in previous weeks, I did this week's job from the Terminal on my Ubuntu as well. Make sure to download the FabISP firmware first.
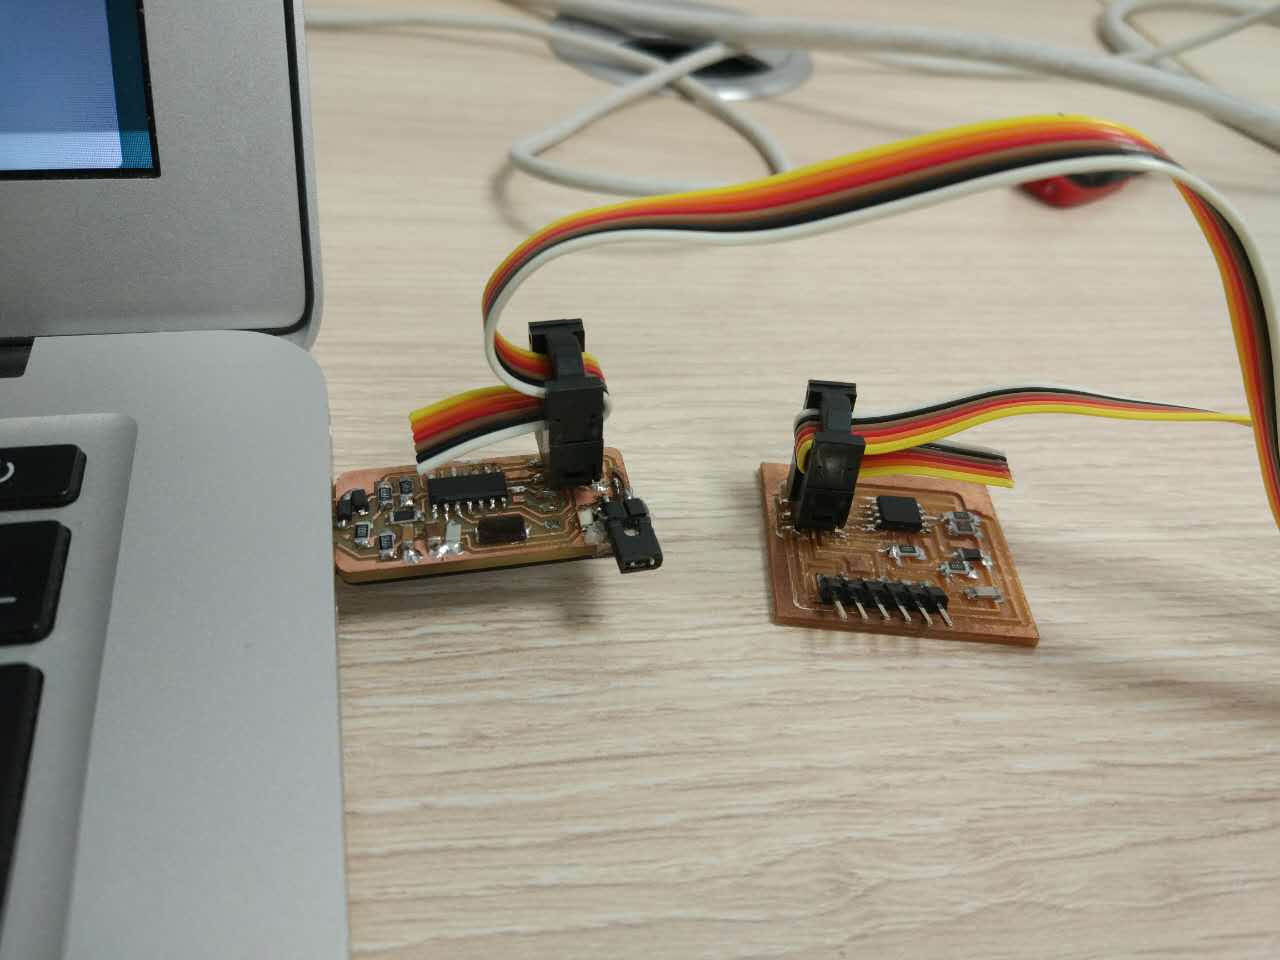
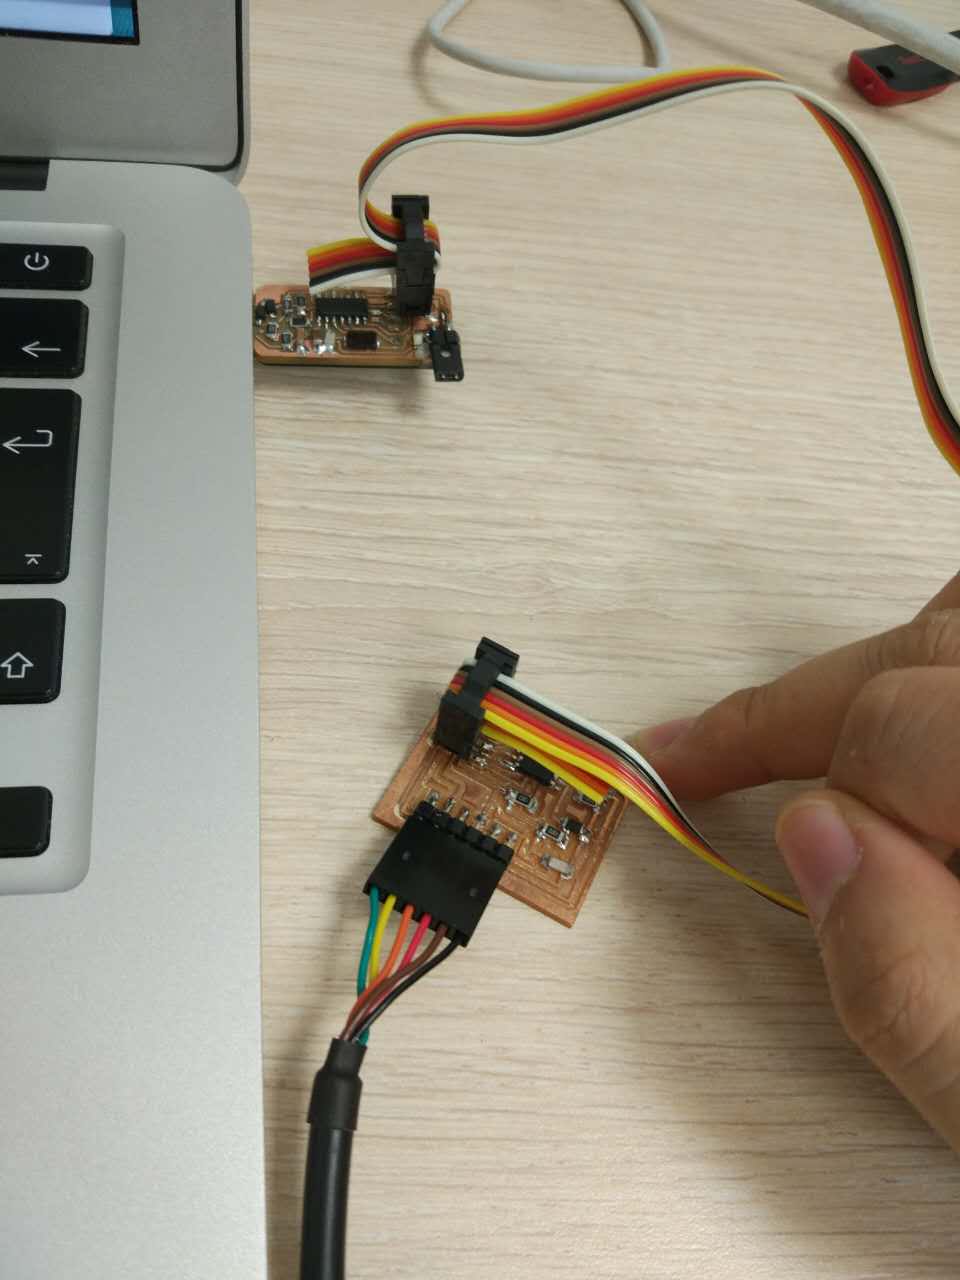
I connected it with the ISP to load the program. When I used the thermistor, I connected the board with FTDI.
To visualize the result, I used the python file instead of the c file.
☞ Tips
1. I cannot find NTC from the library therefore I regarded it as a resistor as their sizes are the same. This is showed in the picture of schematic design as R5.
2. Leave enough space between wires in the board design to ensure a smoother milling process.
3. It constantly showed Error 1 when I programmed it. After the help with the local instructor, I figured out there's a hair connecting two pins on boards which might incur short circuit. After I cut it out, the programm's done.
The design file can be downloaded from below:
The code files can be found here: thermistor.cthermistor.make