Let's get it done!
only thing I need in final project was 2d CAD and some of 3d CAD
Here is my gimbal frame plan. with Auto CAD
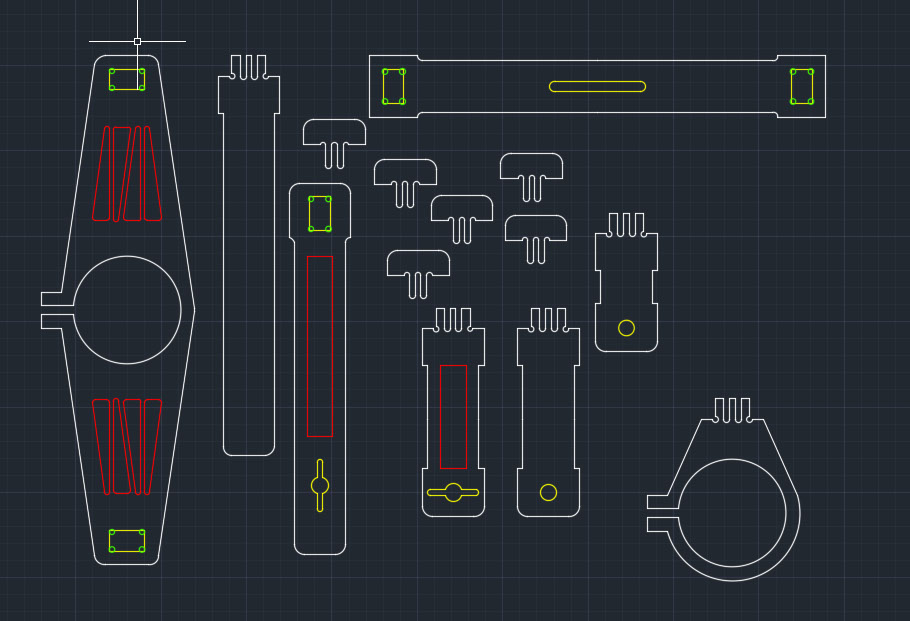
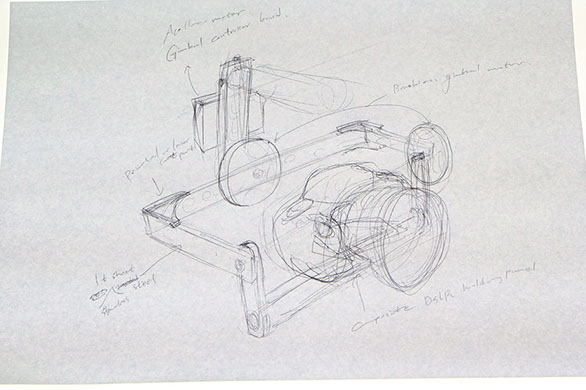
Before I start 2d CAD I simply imagine what the final feature will look like and draw it and modify it .
I wrote down positions of each components.
Like h-bridges goes here, motors are there something like this.
It is very important when you draw something in 3d you have to contain some chocolate to make your brain works faster.
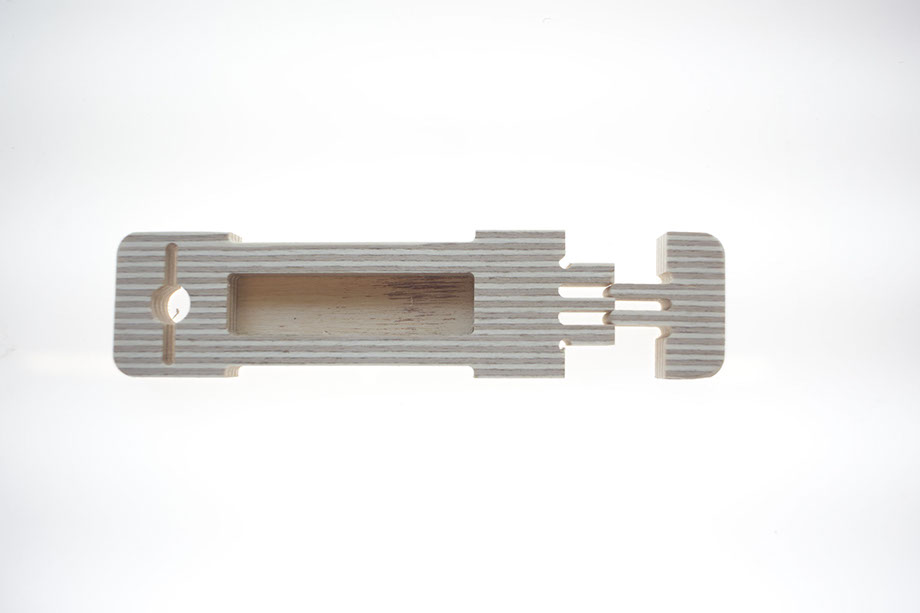
And I cut it.
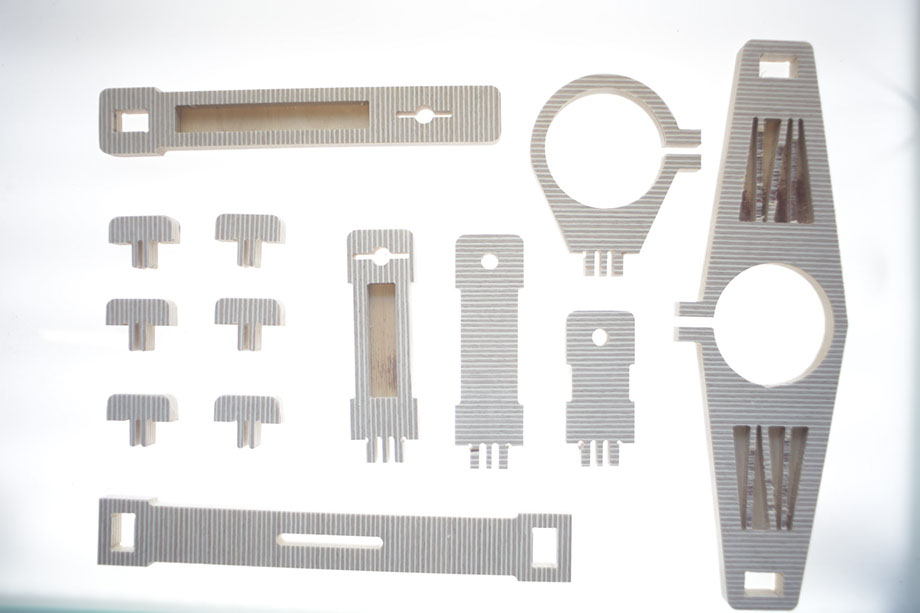
Assemble Frame first.
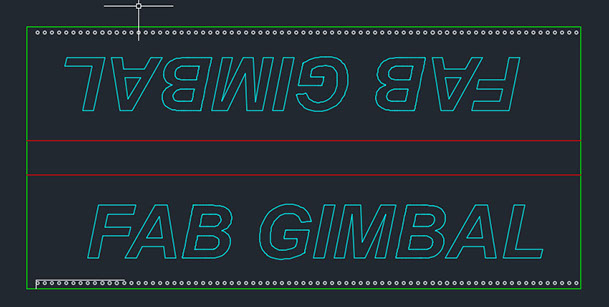
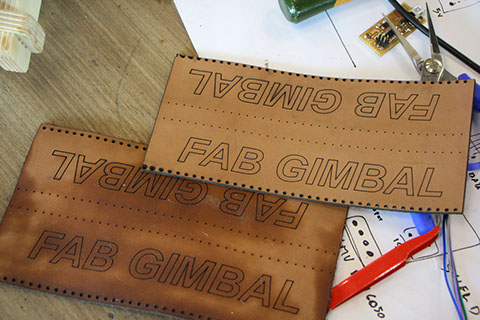
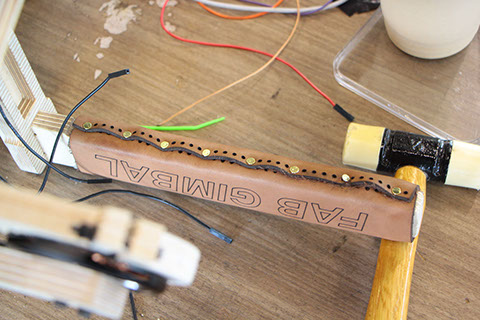
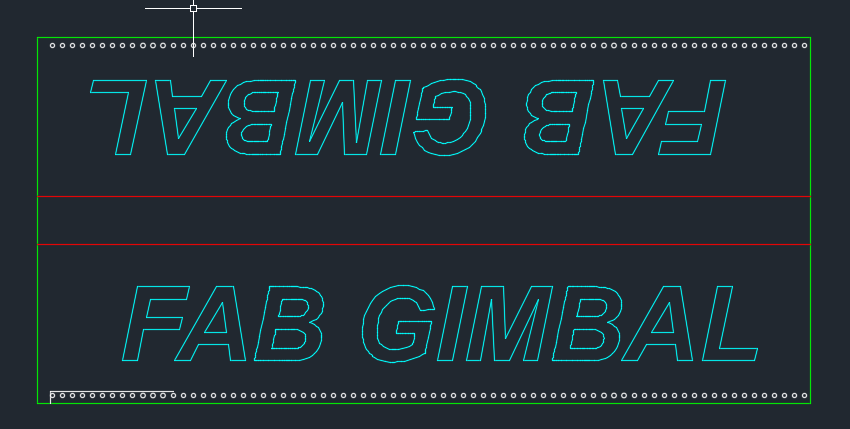
This is the plans for cutting leather with laser.
I used 3 mirror 150w laser
for cutting speed 40 / pwoer 60
for engrave speed 150 / power 30
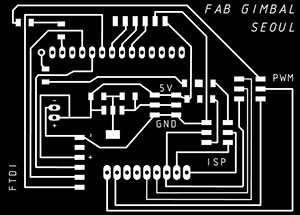
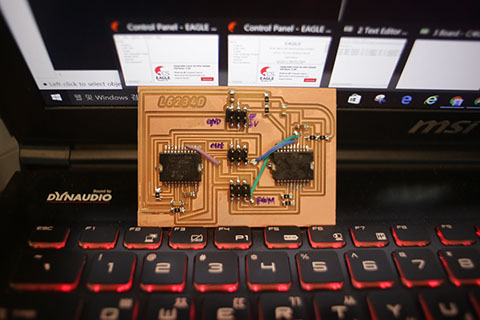
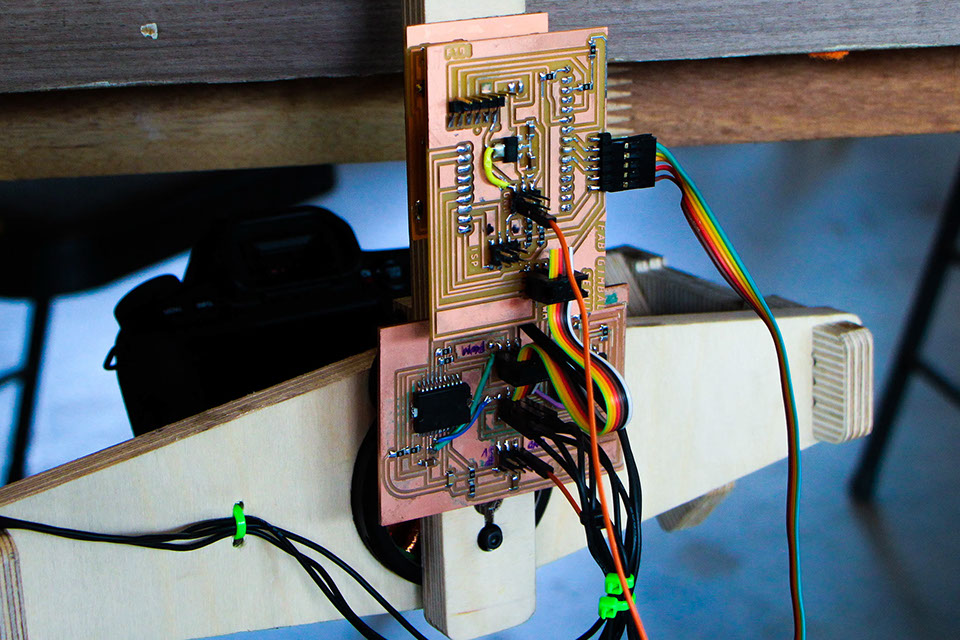
Cut the board with SRM-20 and solder all components.
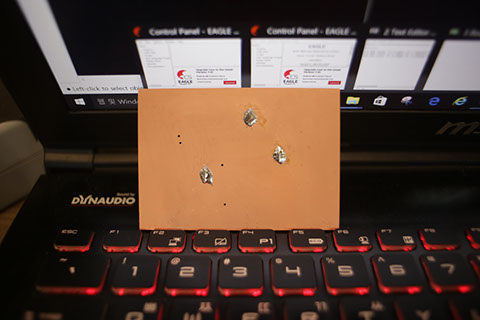
I use whole back panel as a ground because it getting hot when I'm using it.
Also the power comes with 12v so it needs broad wire or it is going to break
Connection for the board
All the resisters are 0ohm resister.
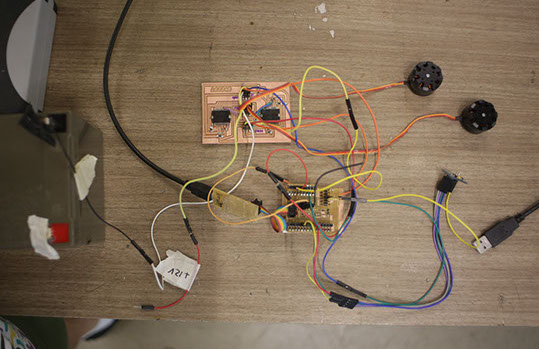
Dry test with bunch of jumpers.
Prototyping / Semi Assemble whole things to gather.
Me and My instructor discussed about why don't I pile the boards up rather than just spread out wide.
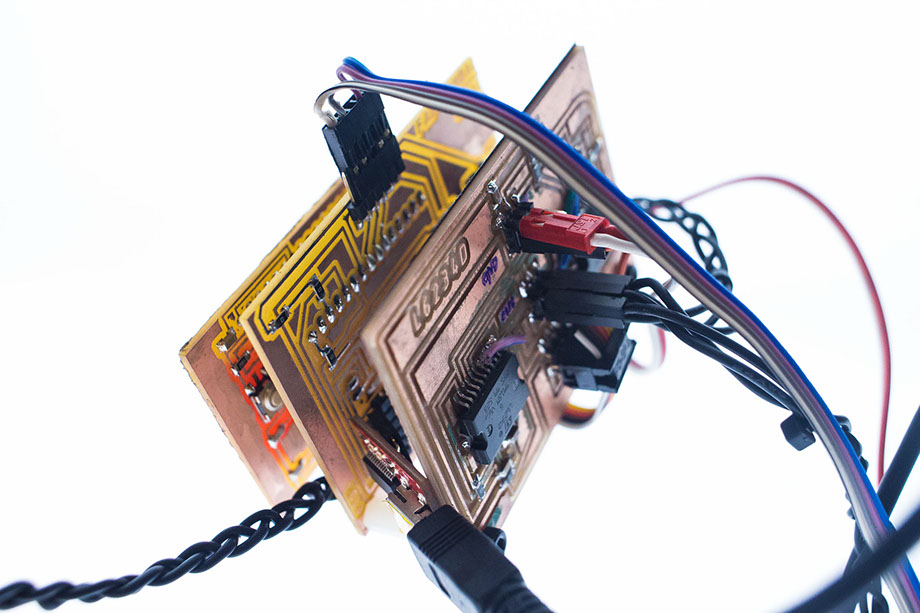
So I use the nylon m3 long bolt to hold all boards to gather
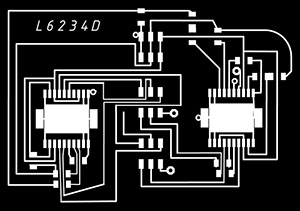
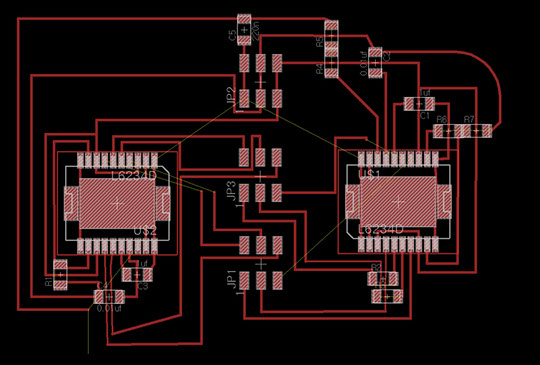
Satshakit -> connecting shield(includes voltage regulator -> L6234D Shield can connect 2 BLDC motor and IMU
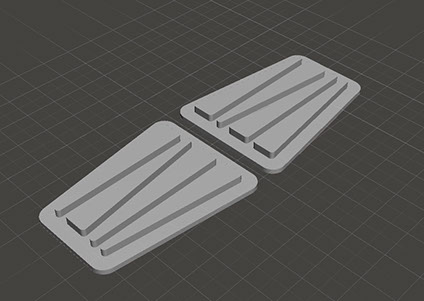
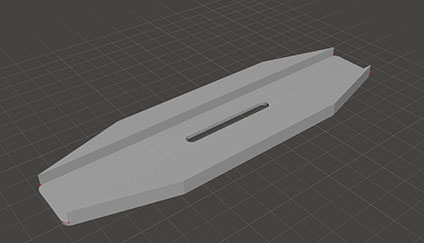
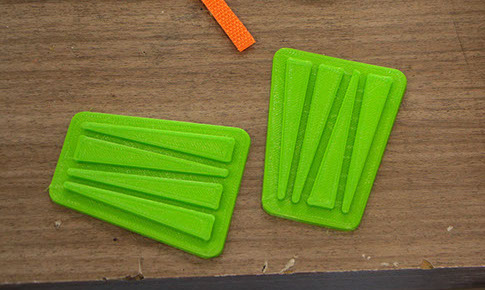
3d model the dress up part for my gimbal.
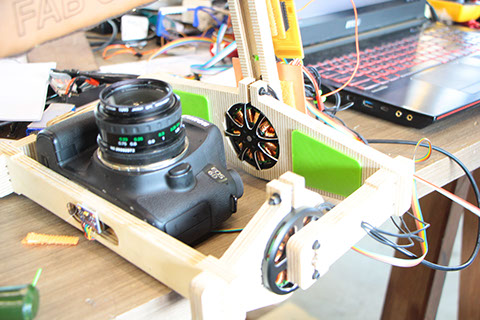
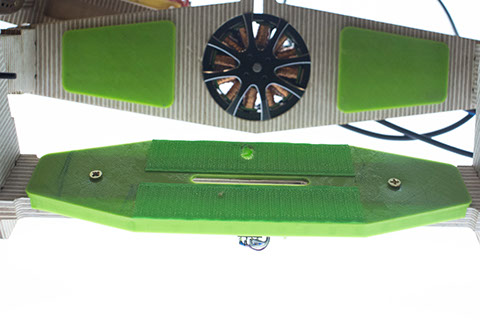
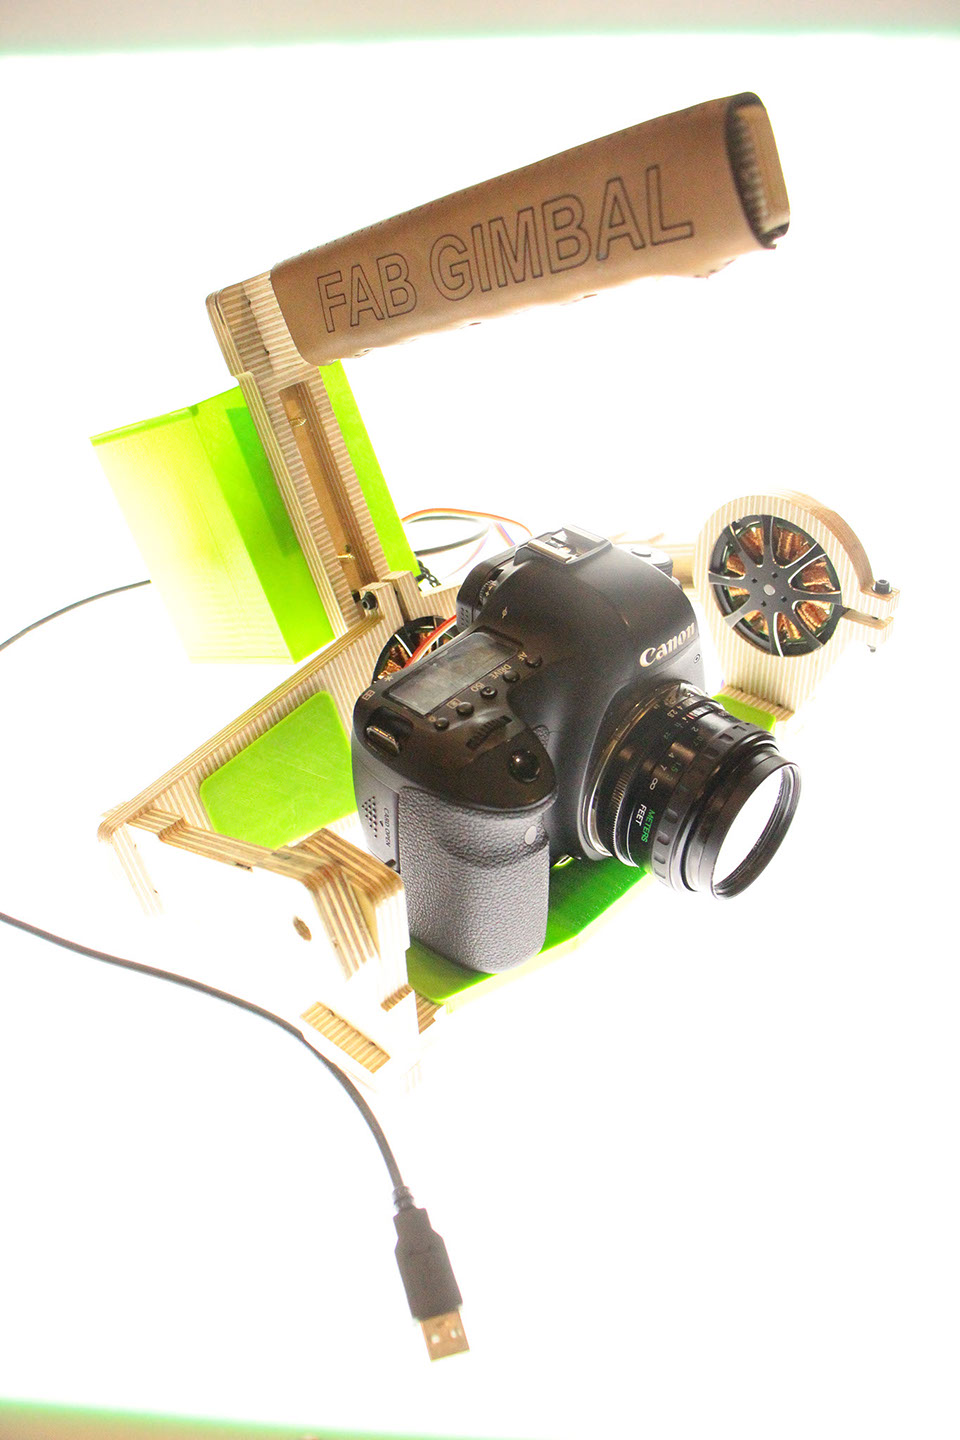
Assemble and dress up.
Balance the gimbal.

HOME
TEST the gimbal.
BOM - Bill Of Materials
What I've learned through Fab Academy
What things to do left?
Files
birch plywood - Buy from local wood shop / 30$ for one whole panel (2440*1220mm*12t)
Turnigy hd 5208 brushless dc motor - Hobby king / 40.88$ * 2ea
L6234D H-bridge - Digikey / 8.25$ * 2ea
MPU6050 - Mechasolution in Korea
Leather - Local Leather shop / 5$(left over)
M3 Bolts and Nuts - Local hardware store / 5$..?
First of all I've learn how time management is important.
I don't know how many times that I saw the sun rise in the Fab Lab.
IT IS VERY IMPORTANT TO LISTEN WHAT YOUR INSTRUCTOR SAIDS.
WHEN HE SAYS YOU HAVE TO DO YOU REALLY HAVE TO DO THAT!
While I'm study about gimbal and related things like BLDC motor, IMU I even don't know what the BLDC stands for. I thought it was Bacon something.
Now I know difference between Brushed and Brush-less motor and knows how to make BLDC control board also can control micro controllers.
From Machine making assignment I learned again how hard to make good team work.
I really enjoyed make something new and I really want to spread out what I've learned so far.
Make as kit and teach how people to make their own 2axis dslr gimbal. and make my own mpu6050 board that can attach in any surface now it is rely on belcro tape and it sometimes makes errors due to vibration.
And I have to figure out how to adjust position of dslr on the main panel now it just a hole and it even cannot change the lense because of the balance.
May be I can combine with this beautiful project from 2015.
2D CAD - Main Frame / Laser Pattern / PCBs
3D CAD - Dress up parts
Software - Simple BGC GUI / firmWare1 / firmWare2 <<<<< use this if 1 is not working