-
Here is a quick video on the Wool Campaign and the felt making process.
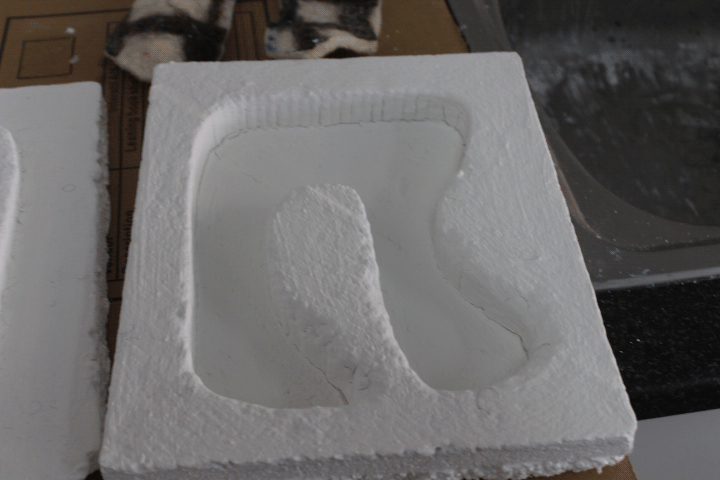
- Polyurethane is extremely hard to come by here in Namibia and as I wanted to use Casting resin with felt I had to come up with another plan. The closest material I could come across that would machine as nicely as polyurethane was polystyrene which is definitely not a friend to casting resin. So I did sum research and found that if I would paint the polystyrene with an acrylic paint it could seal it and hold the resin.

-
I painted really thick layers of acrylic paint: about 2 mm coat and about six layers
-
-
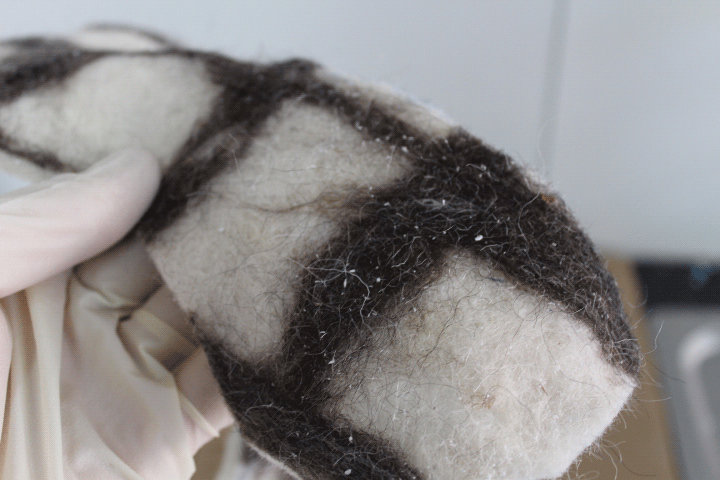
The felt that I made, note the hairiness of the wool.
-
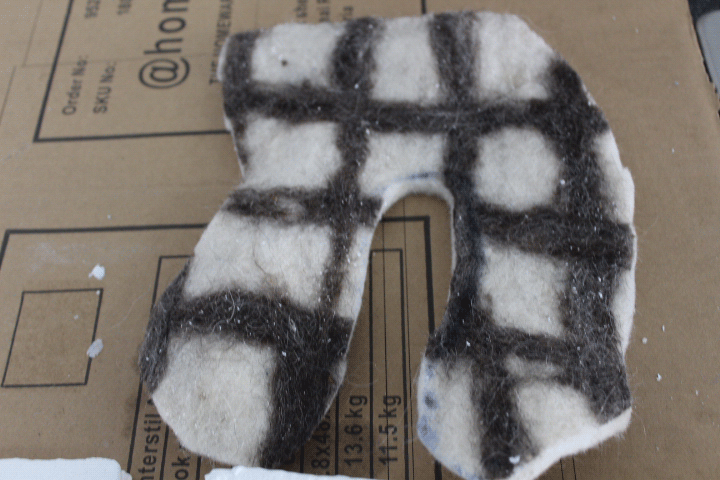
- My cut out template
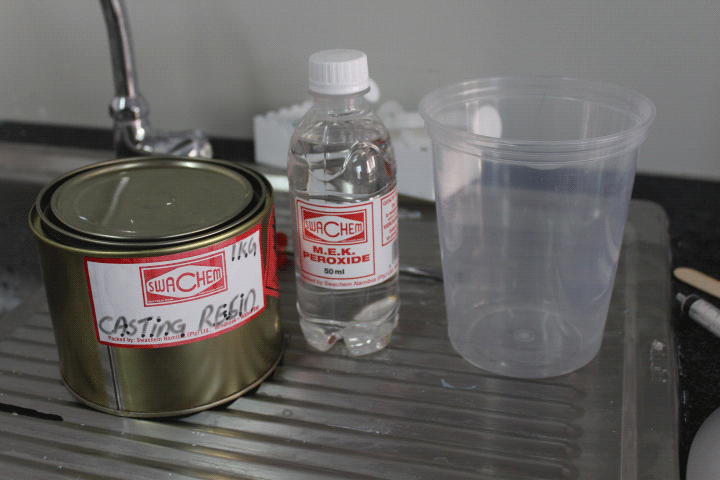
- Clear Casting Resin Mix Ratio is the same as Fiberglass resin 1 to 2% by volume or weight
- Then I dipped the wool into the resin and let it seep in for about 30 seconds to totally saturate the wool and then pressed it into the mould and into the vacuum bag and pumped all the air out of it.
-
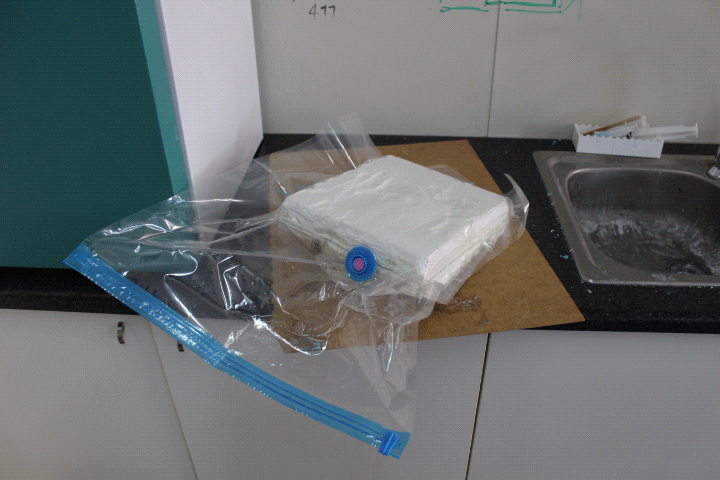
- As expected the resin started eating the mould, somehow the seal of paint must have cracked whilst vacuuming it.
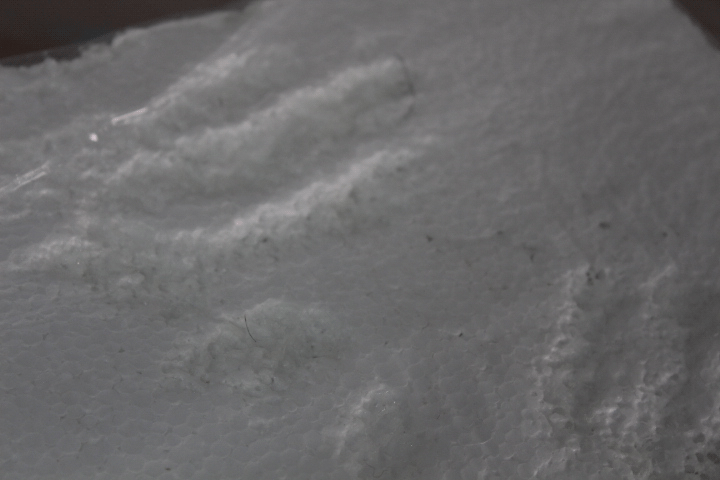
- After about a day I cut the bag open.
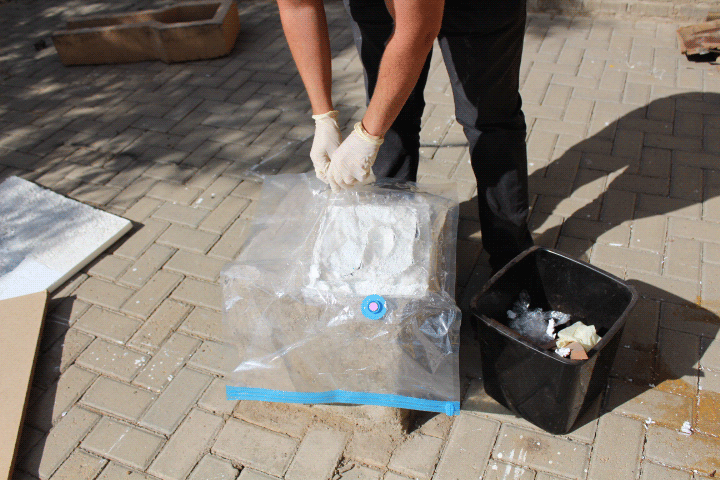
- Peeled away all the molten polyurethane and paint.
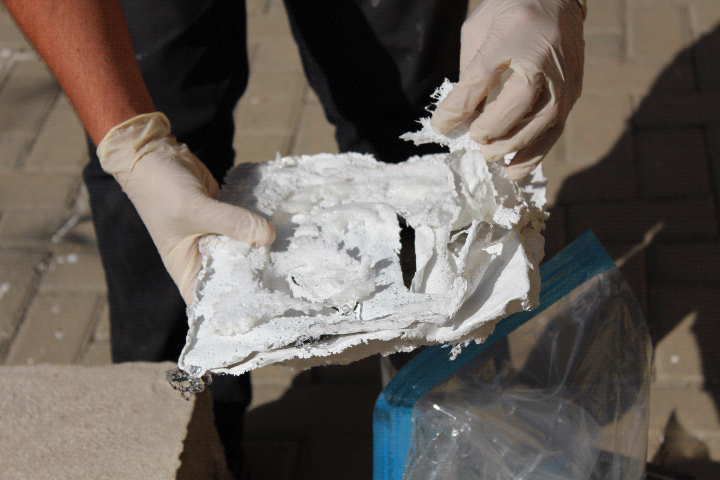
- Still peeling
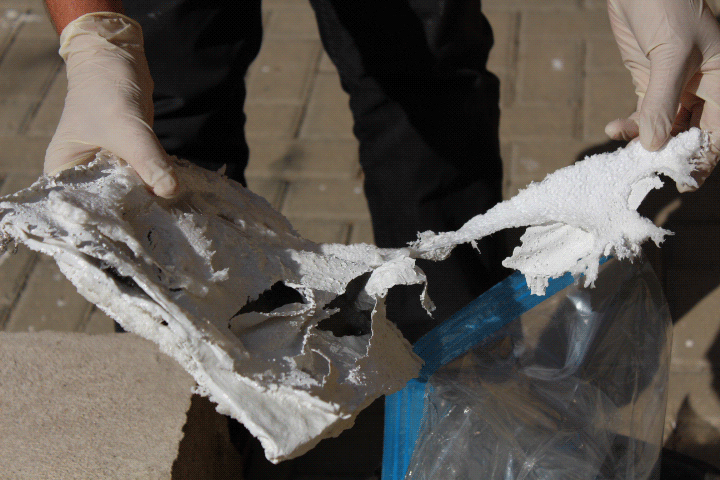
Still peeling
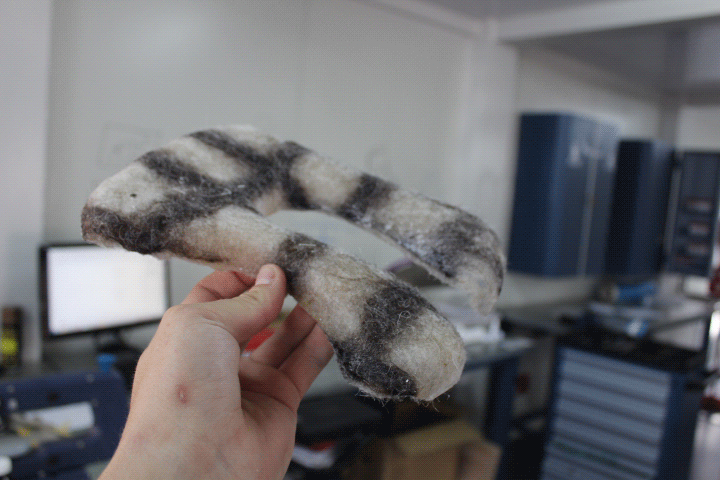
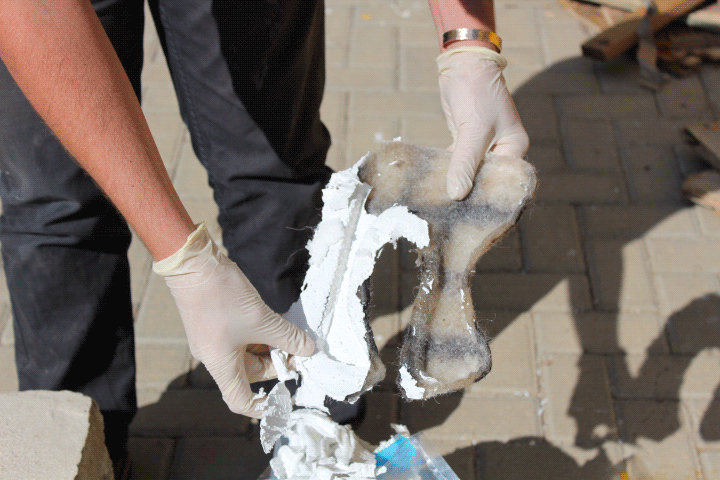 And here it is, It was still not totally dry so I left it out for another day. Looks quite cool though.
-
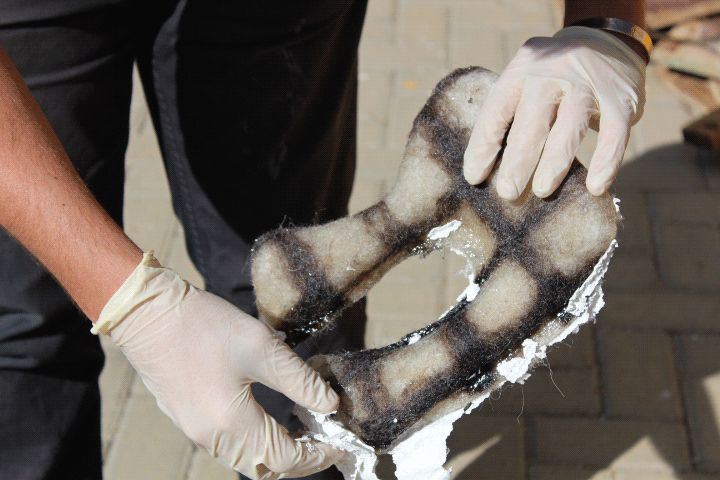 Now I just need to trim all the excess resin
-
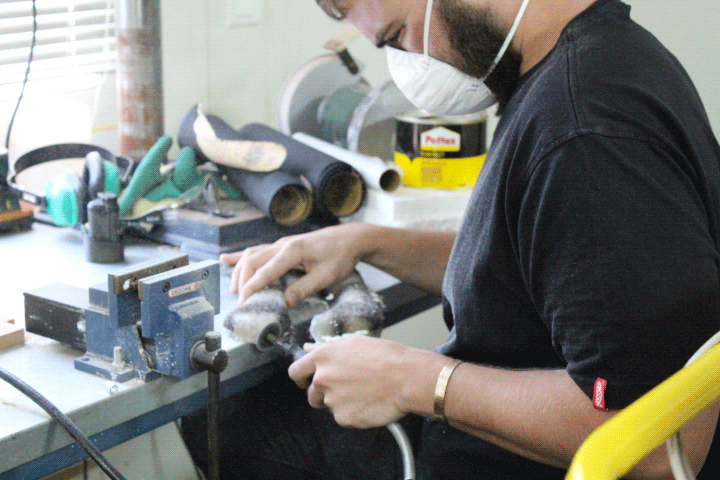
-
After the trimming was done
-
-
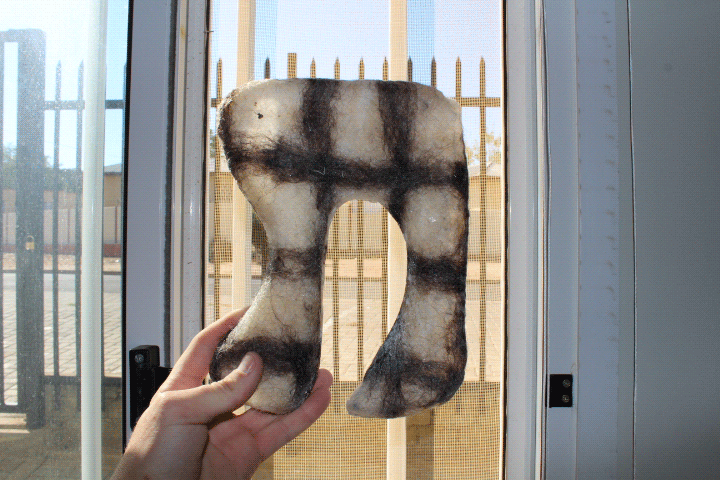
And in the light
-
Process 2: One part mould with Fibre glass resin in a Vacuum Bag(success: 80%)
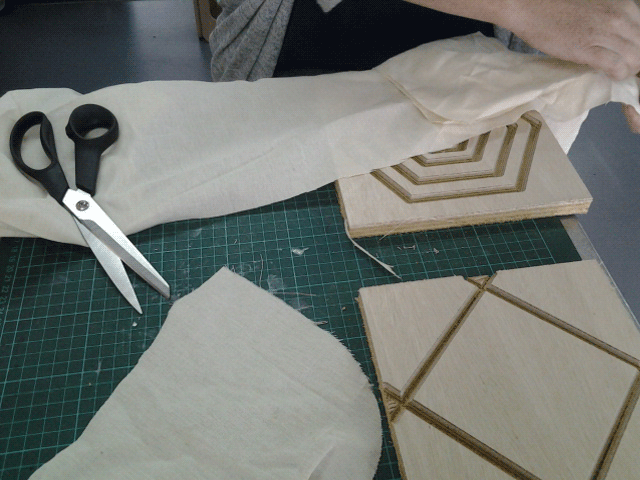
- I cut out a simple profile with the Shopbot out of wood
-
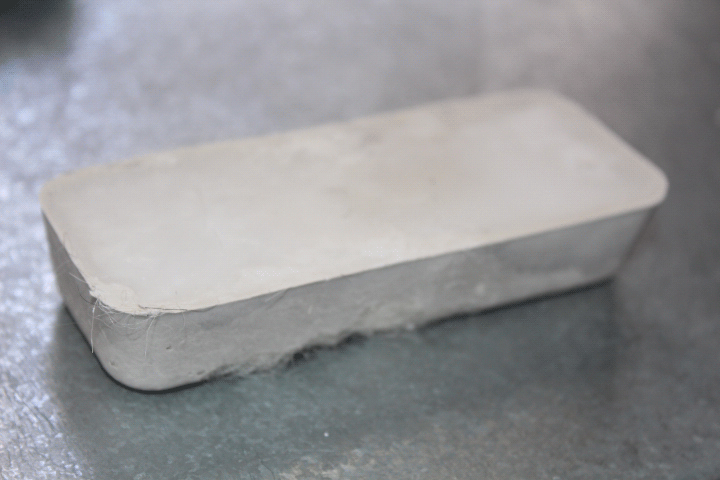
So I wanted to try and make sum small bricks to see how stable I can make the Hydrostone and cement by the use of a fibre. This experiment could help me in the future to make a mould and maybe make something like lamp shades or even furniture.
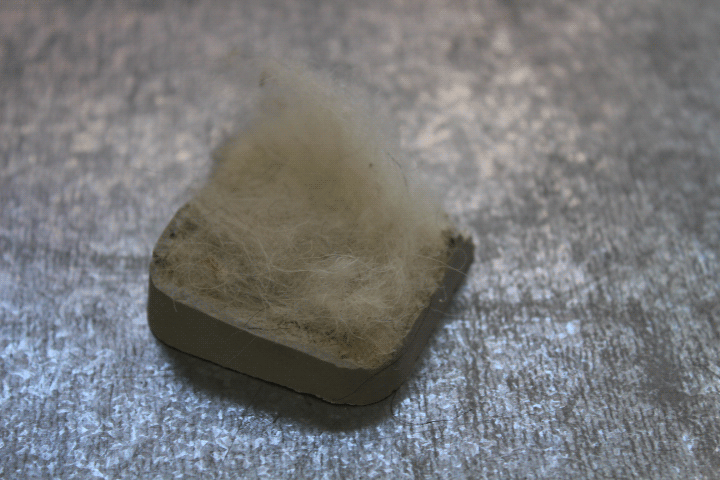
On the first try I used only Hydrostone with felt and another with separated wool as hair layered into the mould. Below is the layered felt
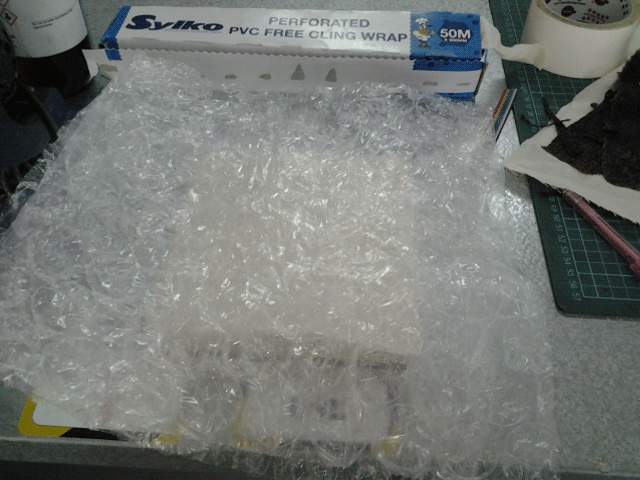
Used Glad wrap to wrap around the wood and used old bubble wrap as the top layer.
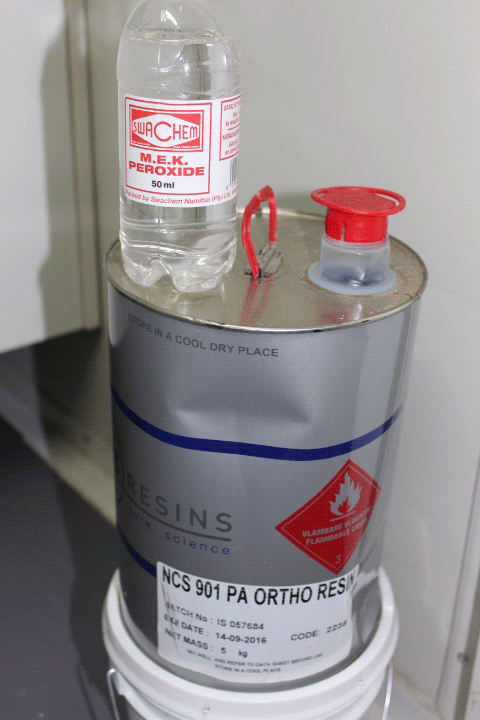
The Fibre Glass rein that we used Mix Ratio same as Casting resin 1 to 2% by volume or weight
And started painting. I made tow moulds so on one I painted and layered normal Cotton and on the second a thick piece of felt which I again drenched into the left over resin to completely saturate.
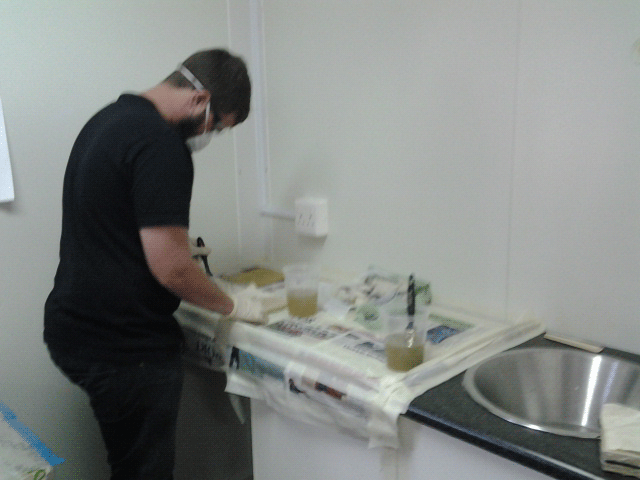
Drenching the Felt
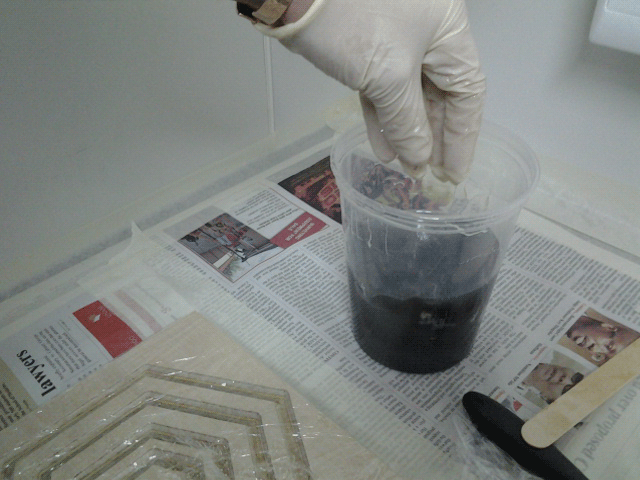
Pressing it onto the wooden mould.
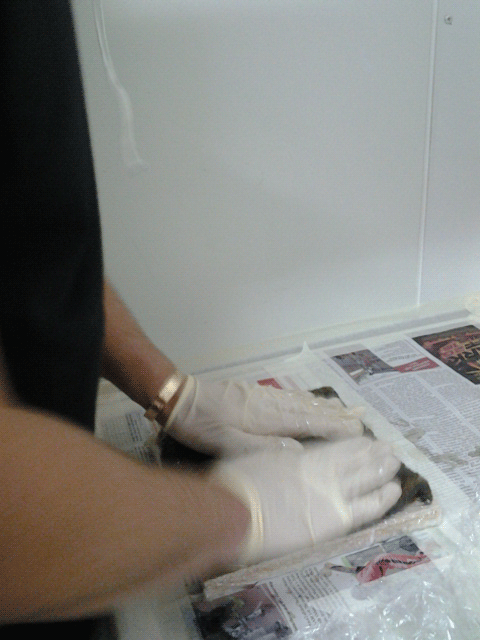
Into the vacuum bag with all the others.
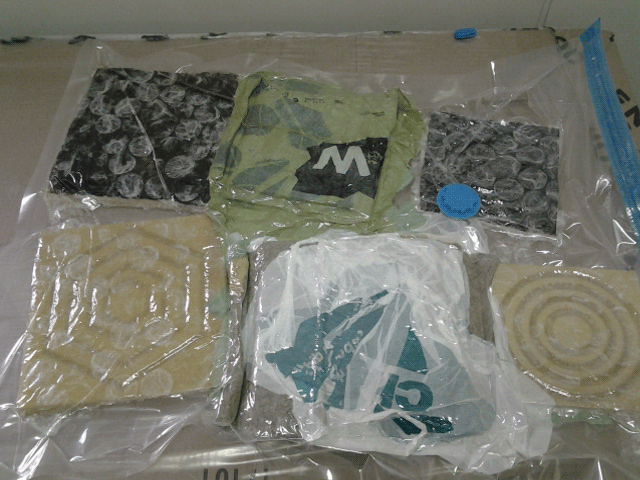
After 16 hours we opened the vacuum bag, a bit of resin leaked out so the bag was destroyed.
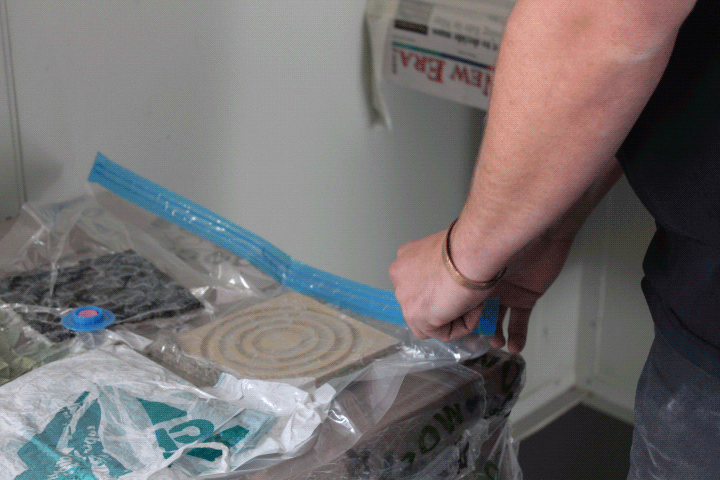
My two moulds, one with normal cotton and one with wool
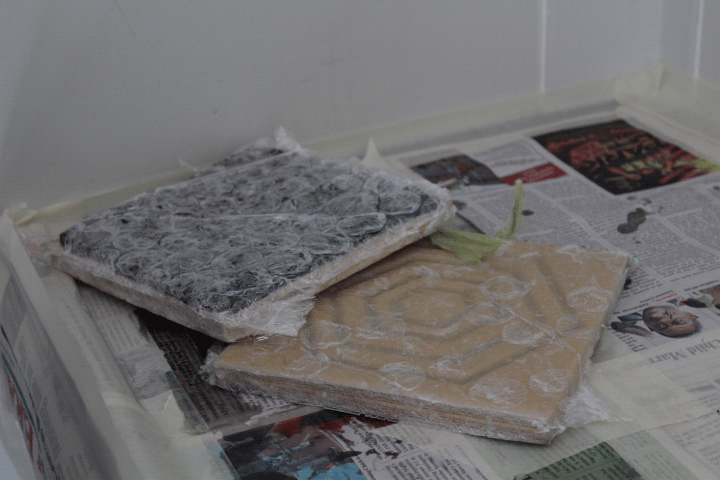
Demoulding time
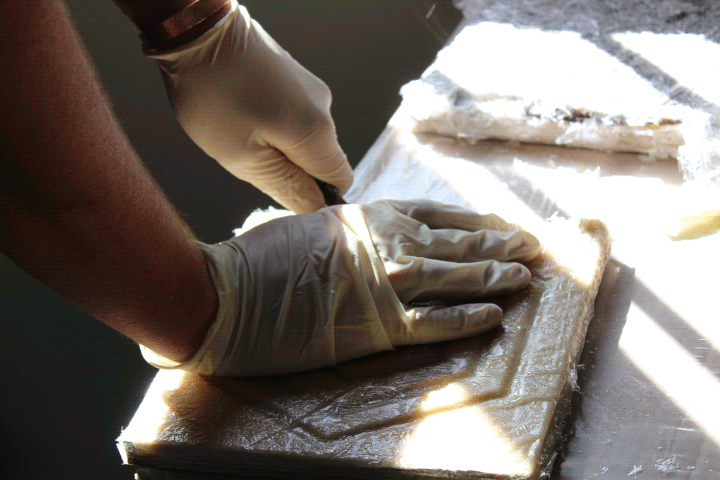
Getting all the plastic layers off was quite a challenge but the cotton one looks pretty good.
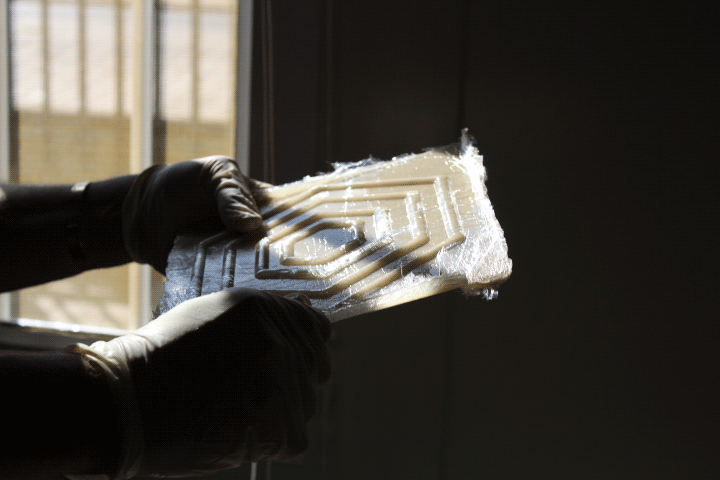
This is the wool tile, worked out pretty nicely except that I could not have removed all the plastic. It looks nice in the light.
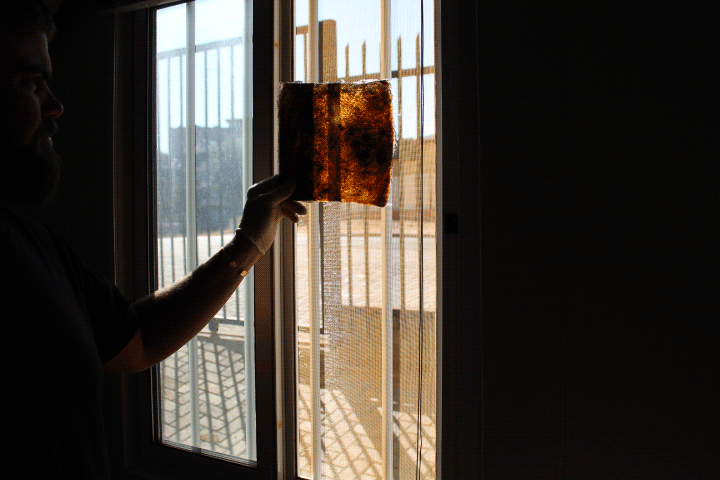
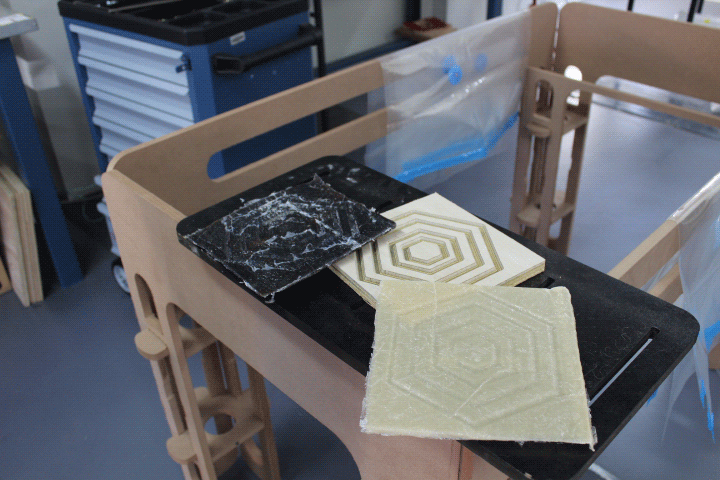
The two samples with the mould.
Process 3: One part mould (packaging from an old printer cartridge) with Cement, Hydrostone and wool (success: ? %)
And the layered wool hair.
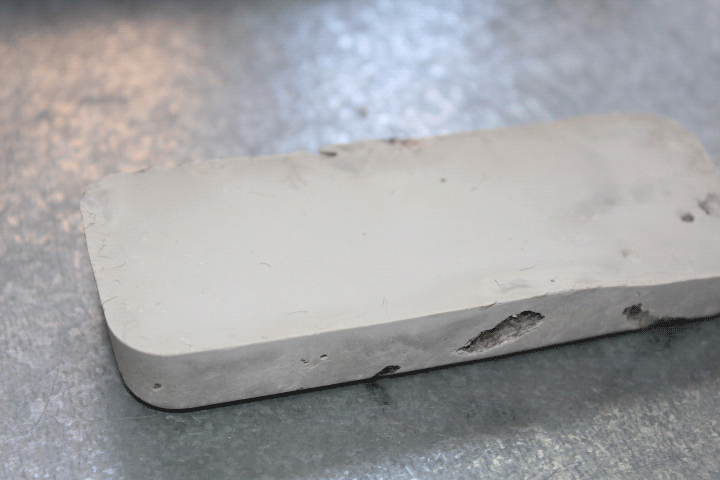
This is one of the outcomes, it would be pretty cool to make a mould of a lamp or something like that which is hairy on the outside and smoother solid in the inside.
My last test to try a few different things. From Left: Cement with wool sheets 10mm, then pure hydrostone and then hydrostone with 10mm wool sheets. The reason to make one pure hydrostone is to be sent to our materials department in the university with the hydrostone wool sample for structure testing. (This will be interesting)
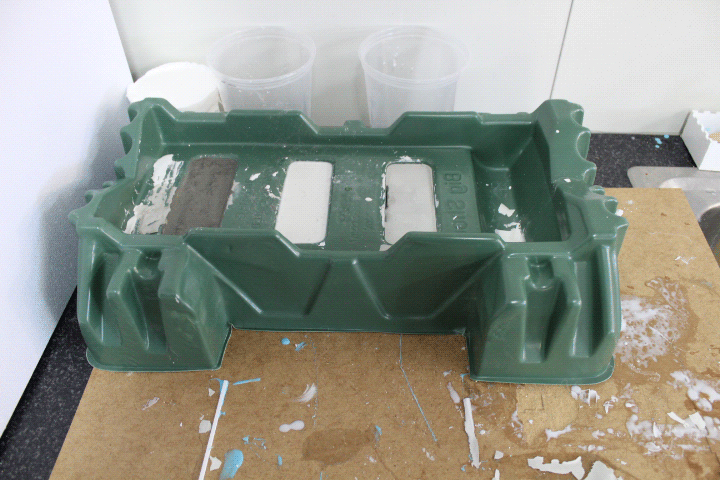
The Cement still to this day has not set, but will keep you posted with the outcomes....
Downloads
