3D Scanning and Printing
During this week it was proposed to use 3D printers and 3D scanning various techniques.
3D Printing
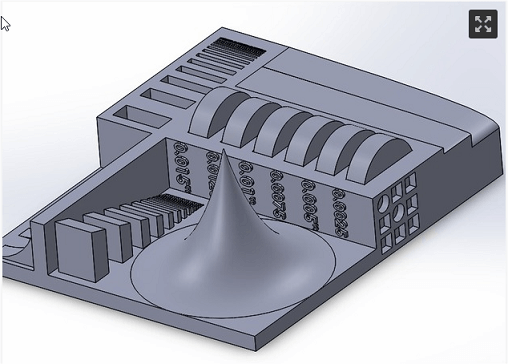
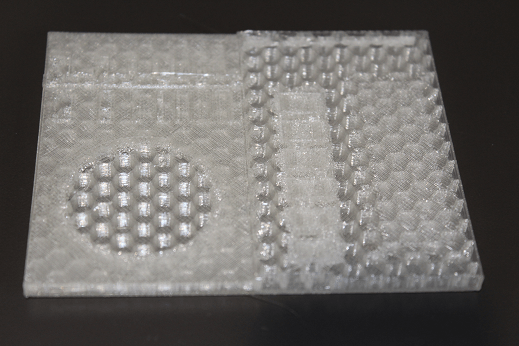
According to my first delusional idea, the most difficult task of 3D printing is the design of the piece. It requires the knowledge about the limitations of the machine and its tolerances in order to work, especially for the printing of moving parts. Therefore, it was decided to initially print an object which purpose was to determine the working parameters of the printer.
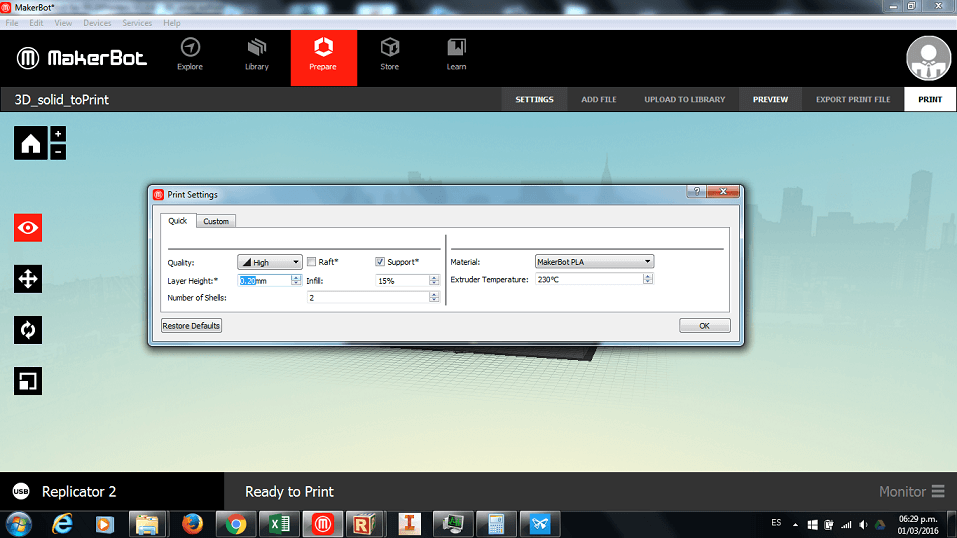
The rest supposed to be easy. Just "clicking" some buttons, some said...And, as Murphy's Law dictates, when something is too simple, the problems begin. Sweet child of summer, the real struggle starts now... Within our laboratory we have two printers: the Replicator 2, from Makerbot, and the Felix printer. The following images show the parameters that were used to print.
Replicator 2 printer
Felix Printer
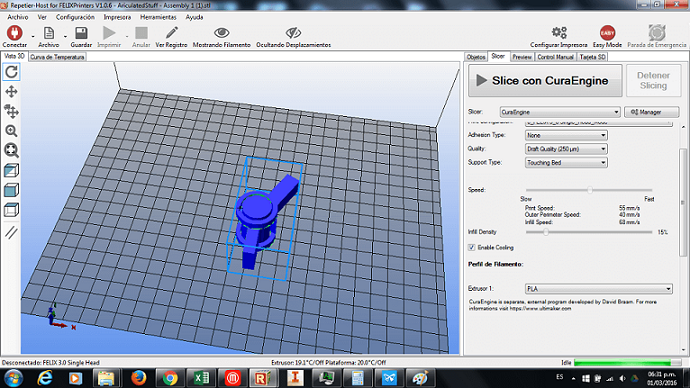
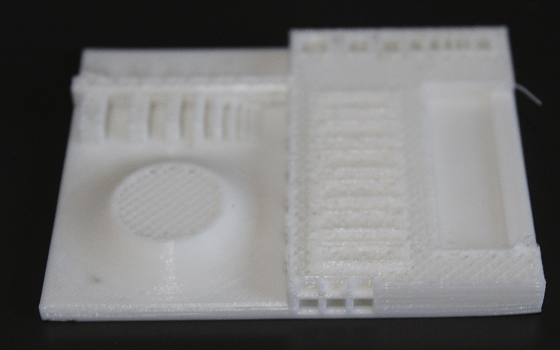
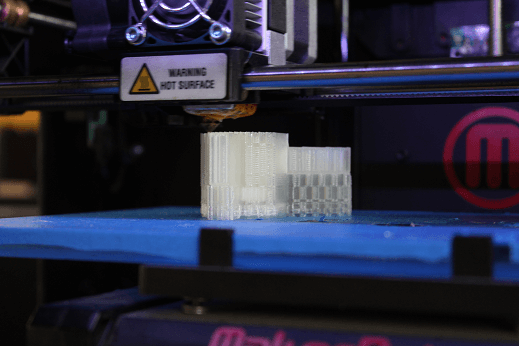
In both cases the prints failed. In the Makerbot they had internal hardware problems that, after each printing, it was needed to upload and load the filament because it solidified inside the extruder, preventing the deposition of material. In the case of Felix the problem was more prosaic: the filament tangled during printing. The following photos show the failed prints.
At this point my patience is minimal, the feeling of frustration reaches its peak and I desire to slowly disarm the printers while listening to their bolts squeak, resembling screaming (Yes, I know this sounds gloomy)...
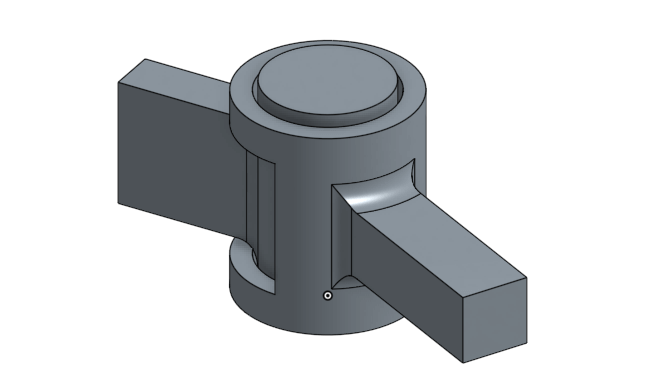
I decide to start the next task, hoping that smaller pieces are going to have less chances of errors. I wanted to make a mobile assembly. Printing articulated pieces interest me beacause they are catchy and useful for mechanical designs. My first design on Onshape is shown in the next image:

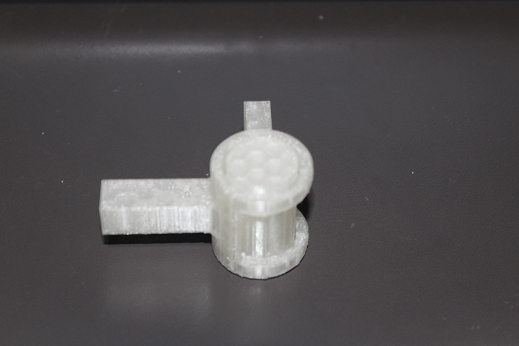
The object was printed with "support" because it had cantilevered parts. It took 1 hour and 15 minutes. Below are the results.
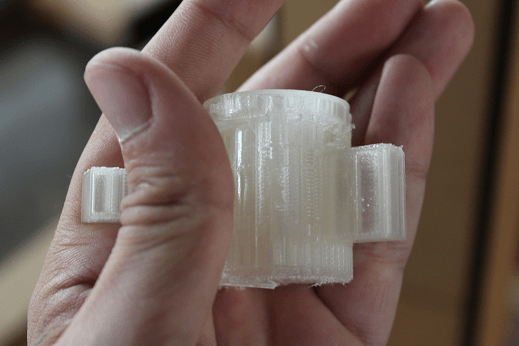
There was no movement between pars. Why? Because of design error. The lateral bases in conjunction with the support anchored the pieces together, preventing them from moving. I redesign the piece:
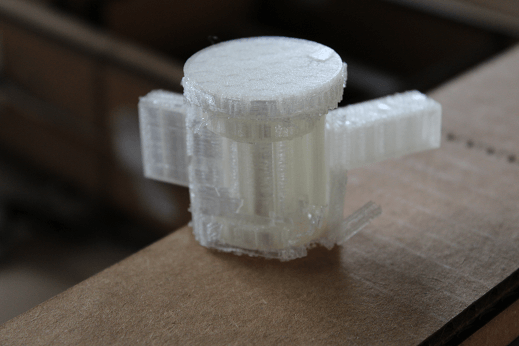
The results are shown below.

I admit that removing all support took time, but the final piece was functional, and serves as a guide to form the backbone of the entire system of the glove, if it is decided to form a solid structure.
3D Scanner
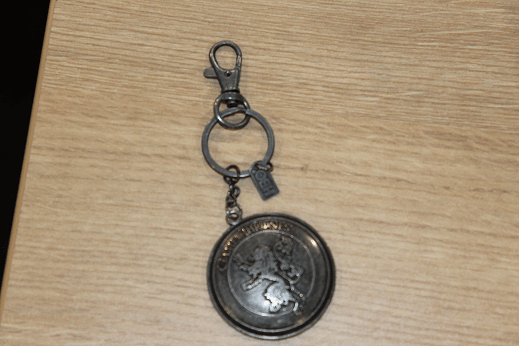
For the scanner you decide to use a keychain Game of Thrones Lannister house (it was a gift, I did not choose ...) as test object.
123D Catch the program is used to perform the scanning process. It is actually quite simple:
You enter the program Download 123D CATCH app to your smartphone/tablet Push the + button for starting the scan Take as many pictures you can with slight different positions. Try to mantain the same amount of light and to keep a constant distance form the object. Once that has been rotated 360 degrees around the object, click button that sends images to the server and is only a matter of waiting for the processing. The final product:
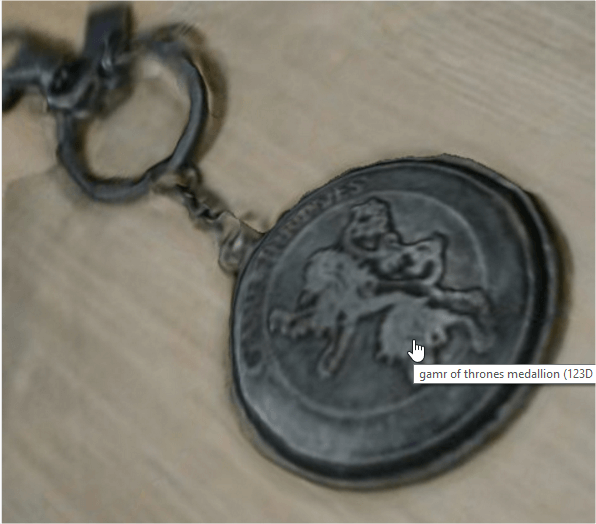
The final product have some level of detail: the lion's silhouette is obvoius and some letters can be easily understand. However, the round shape of the medallion is not always perfect and texture is far from acceptable in some regions.
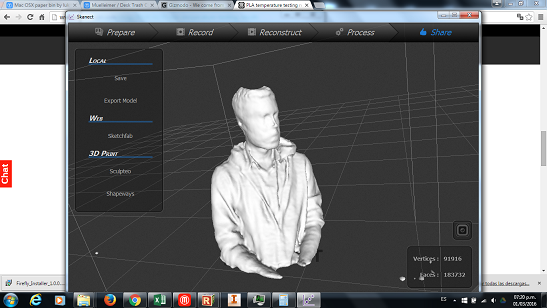
The second technique used for scanning is the XBOX 360 kinect scanner used with the Scanekt software. I scan myself two times. The first file had several holes, so I used "Watershed" method to cover them. The next imagen show its results.
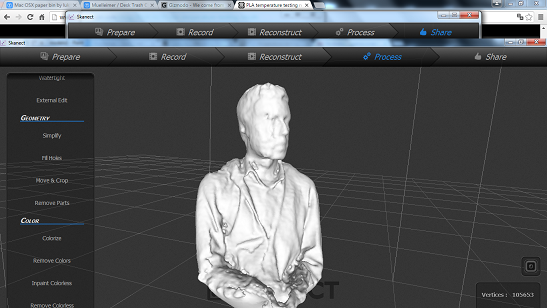
The other scanning test was done similar to the first one, but during the beginning of the procedure I talked with a peer. The consequences are shown in the product. The melting effecto on my right cheek was done because of not being still.
Download all the files from here.