MACHINE DESIGN (week 2 of 2)
The Re-design
Electronics: Ramps 1.6
Firmware and softs: Marlin and Pronterface
Succes!
The Re-design
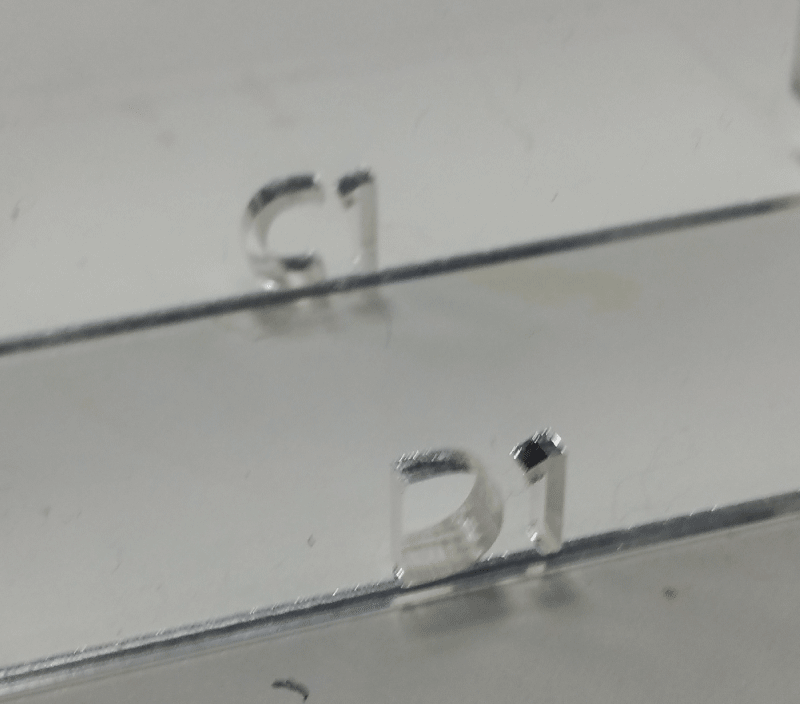
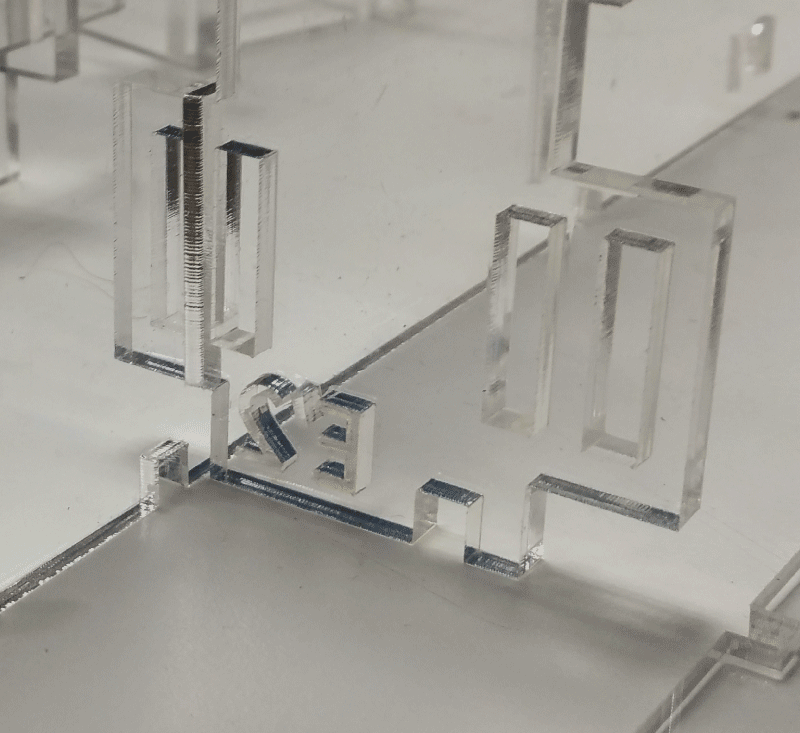
Because we had some problems with the press-fit in our design my teammate Jean Françcois Arruabarena decided to redo the design of the structure.
This time we thought about puting some letters on each piece to easily identify it:
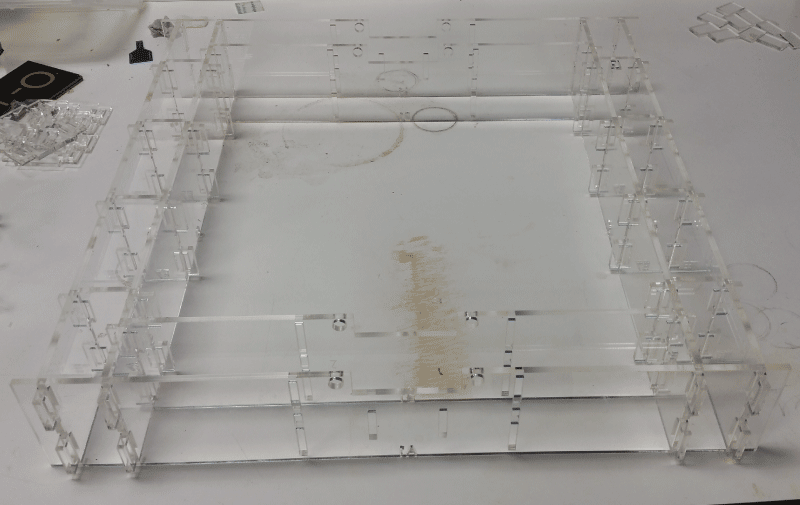
You can follow the assembly that we did when he was finished:
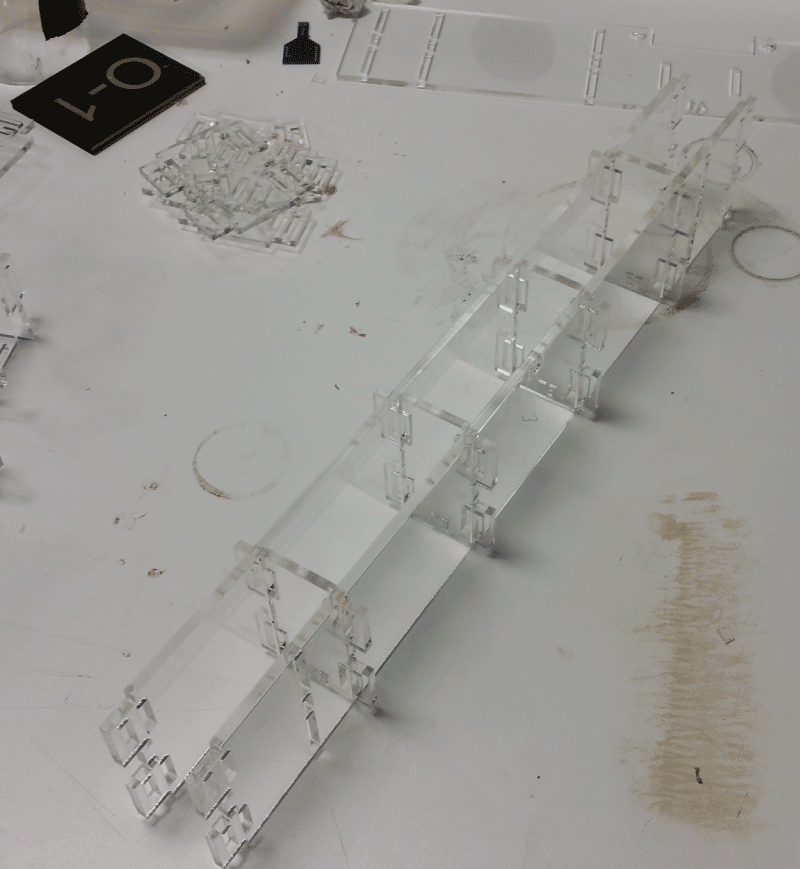
The two sides of the structure:
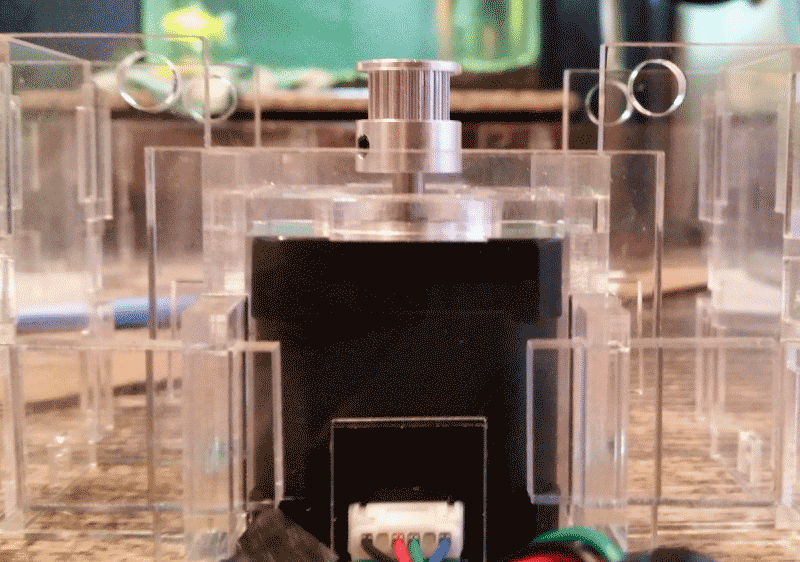
Here is a part that will hold the motor block:
That is the part where the X motor will be attached:
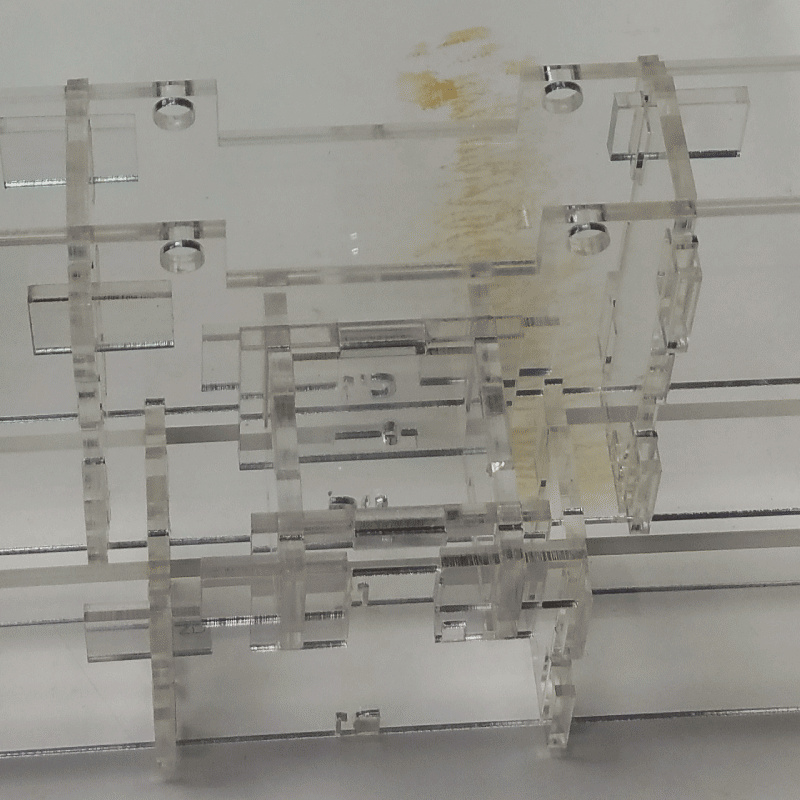
Here you can see the mounted block:
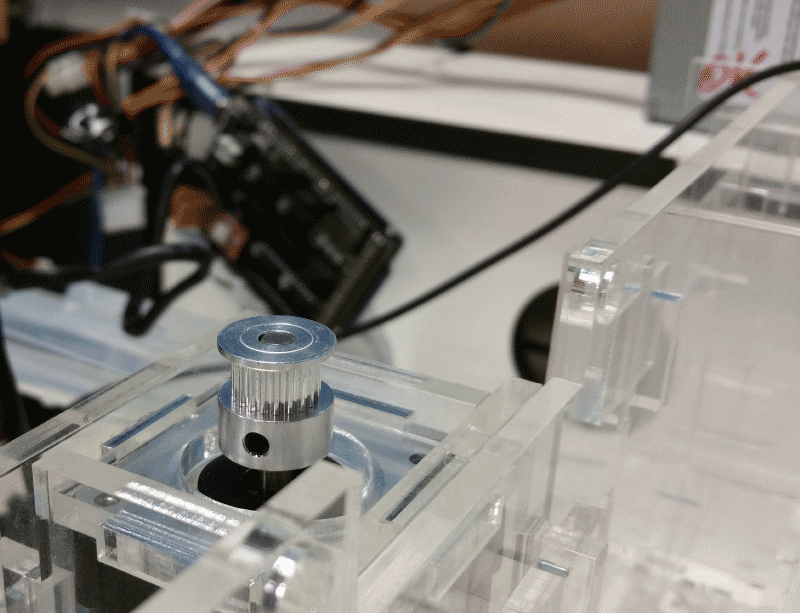
We decided to use standard G20 gears:
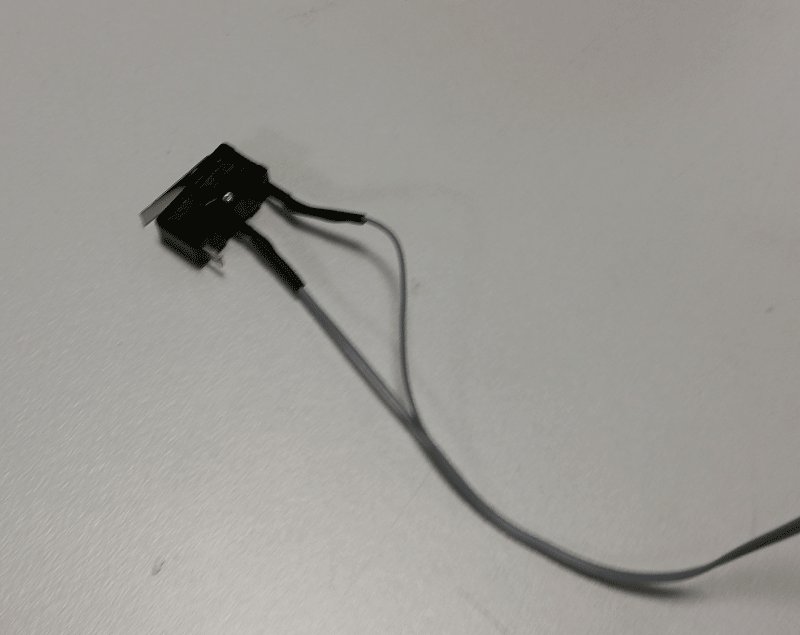
And added endstops:
Electronics
For the electronics, we wanted to do two things:
On one hand, be able to command our machine using the Gestalt kit ( by first testing on Nadya's boxes)
And on the other hand, use an Arduino mega with a Ramps shield, and this for mainly two reasons.
First it is pretty easy to use , espacialy for someone who already built a RepRap, and secondly, we would like to come up with a RepRap type machine but for laser cutting.
So to sum up, we will:
My job was to take care of the Arduino/Ramps part,so here you can see how to wire everything up:

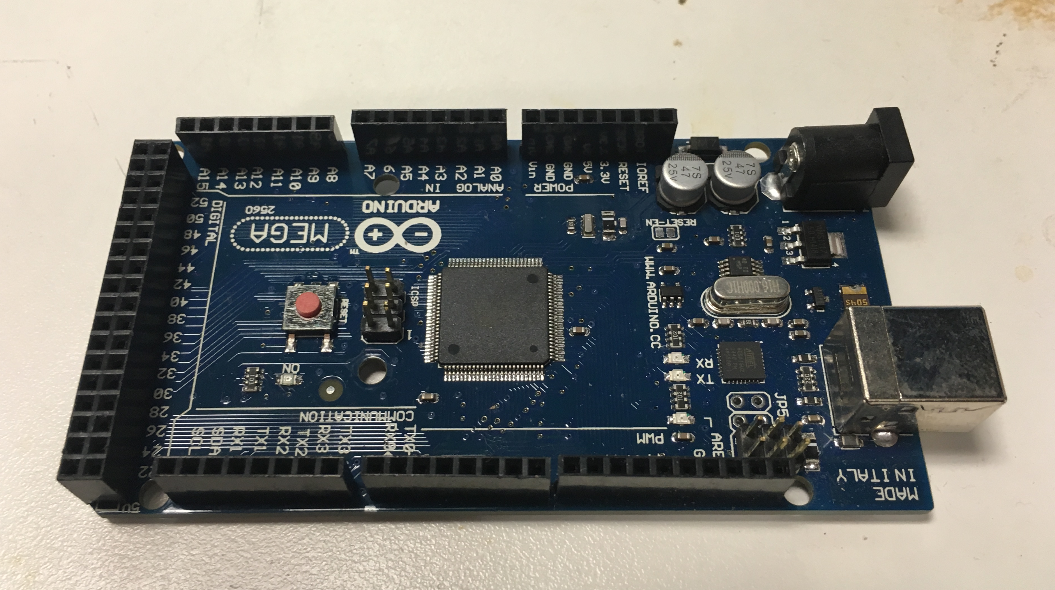
The arduino mega:
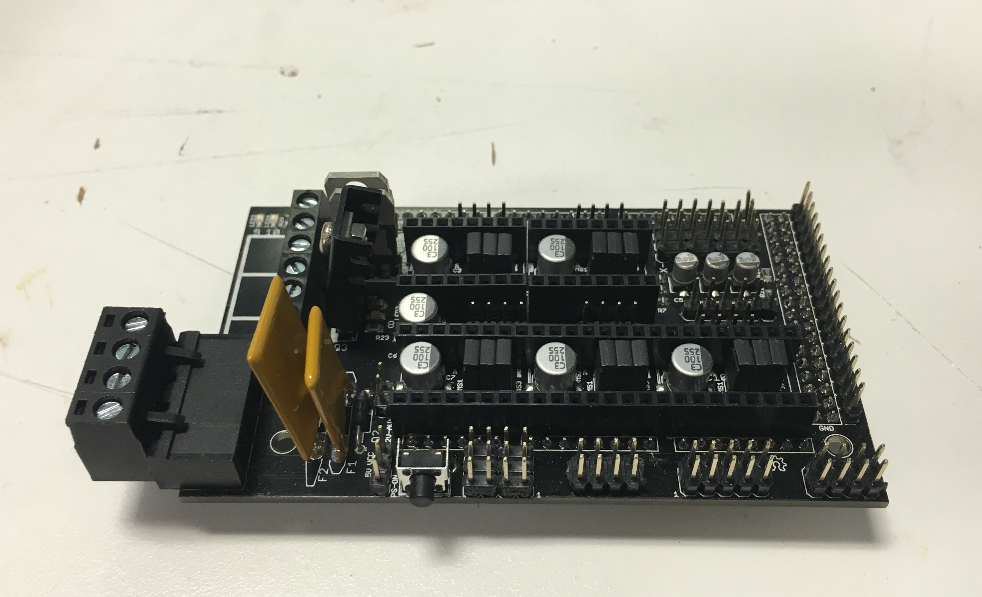
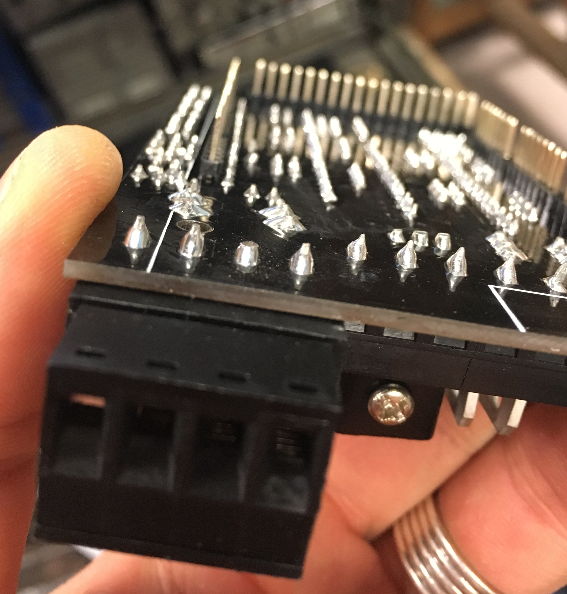
The Ramps SHield 1.6:
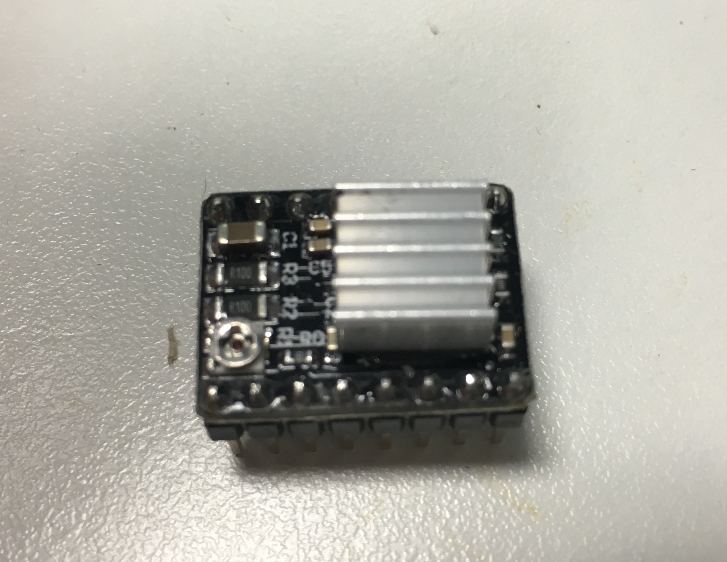
The Pololulu (one for each motor) :
I choosed to power the board with an old computer power suply:
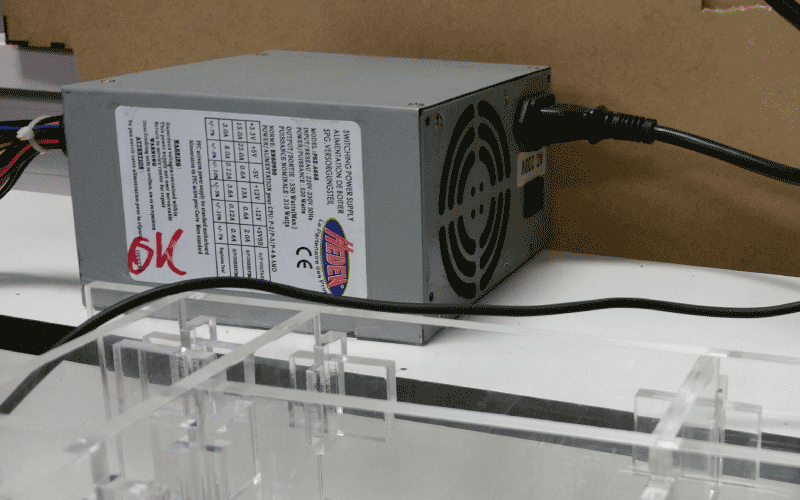
That I oppended to cut off all the cables not needed:

I also had to sand a solder under the Ramps shield to be able to plug it on to the Arduino mega:
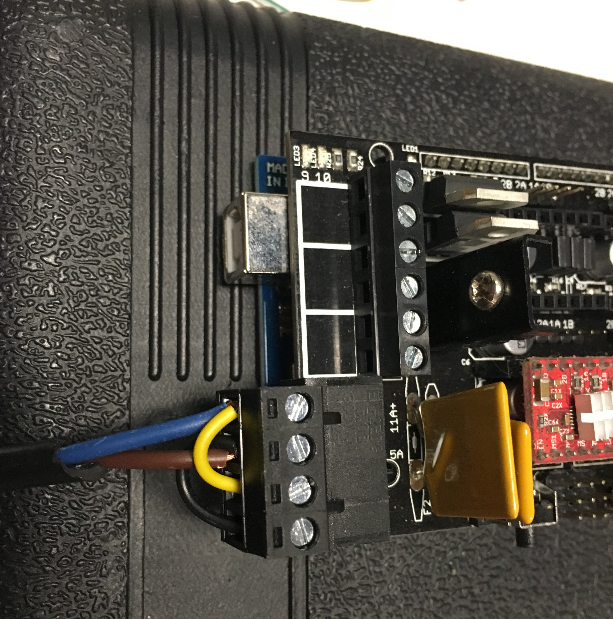
Here is the wiring of the Ramps (YELLOW=phase and BLACK=GND) usually on a RepRap we use one cable for each slot, but since we won't be pulling that much power on our machine (no heat bed and no extruder ) I can just do it like this :
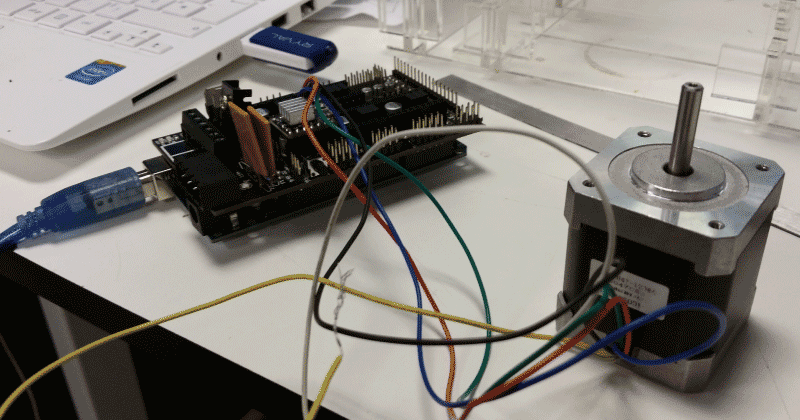
And then I can pluged a NEMA 17 to run the first test:
Just a minute! How does the board know what to do? How do I even control it?
I am going to have to load a Firmware on the board and use a specific software to control our machine.
Firmware and softs
Marlin
I choosed to work with the Marlin Firmware, it is the most common for RepRap printers.
You can get it on GitHub:

Once you downloaded it you need to find the marlin.ino file, you will have all the configuration windows:
I will quickly go true the changes I had to make to be able to control the machine:
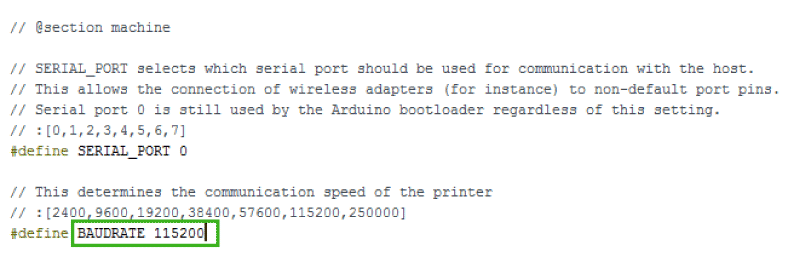
Basicaly it prevents a 3D printer to heat up for ever and to catch fire.
These could come up handy after but for the moment we just want to see our machine moving, so we just comment them.

Pronterface
Once the firmeware is loaded to the arduino mega, it is time to control the machine by using Pronterface:
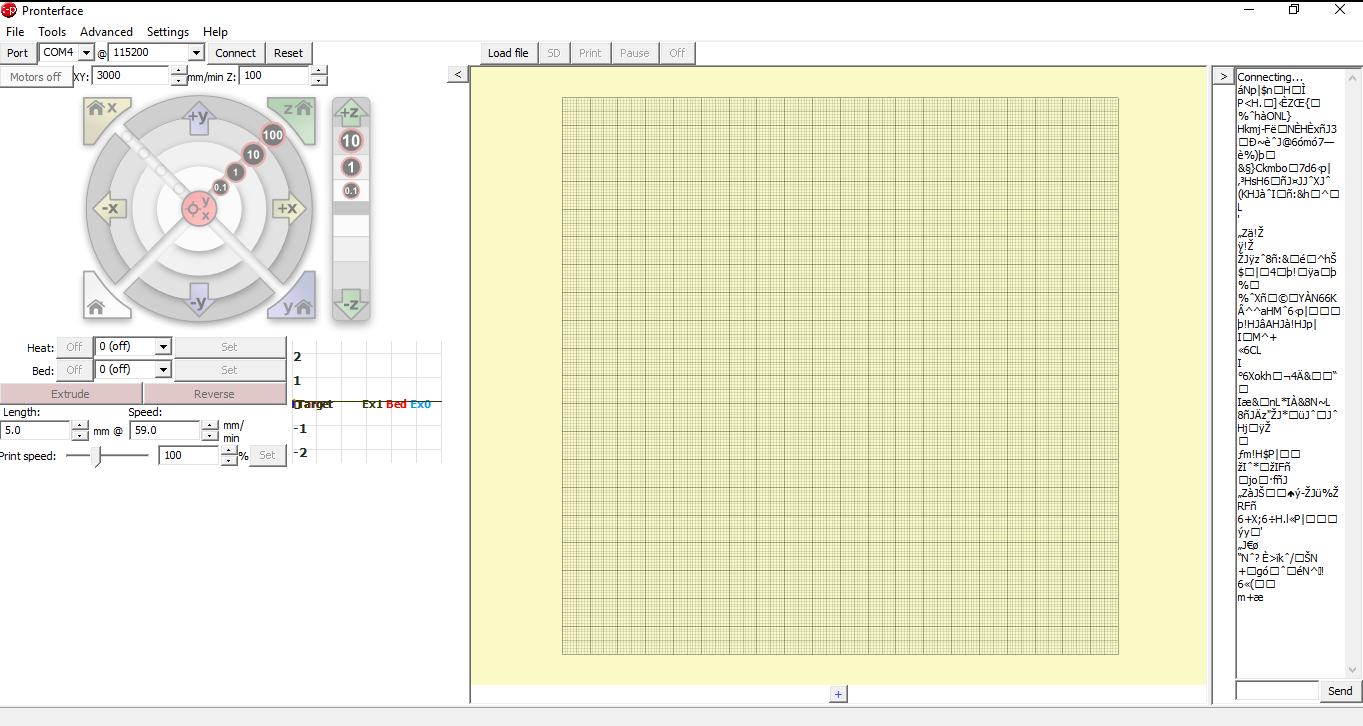
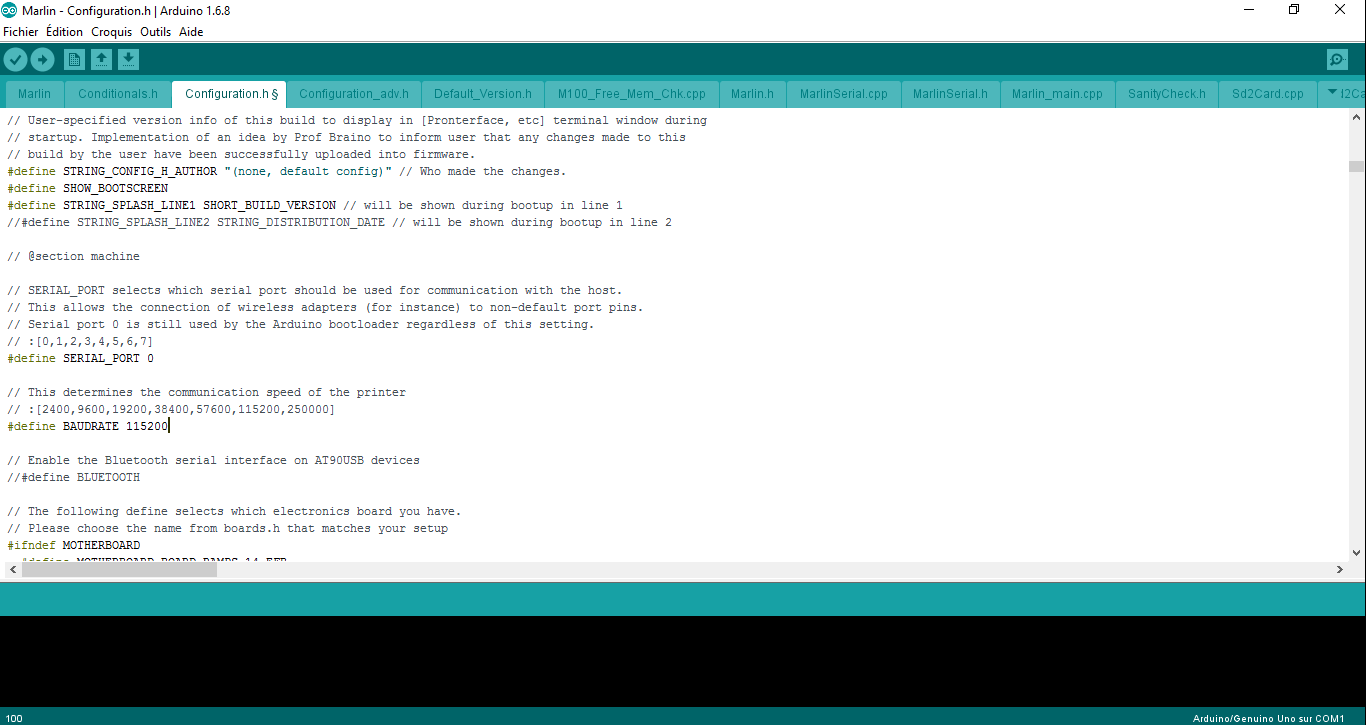
When I plug the board into the computer using a USB cable, pronterface automaticaly finds which port to use, just need to specify the boadrate that we assigned in Marlin:
When first connected the machine I had this error :
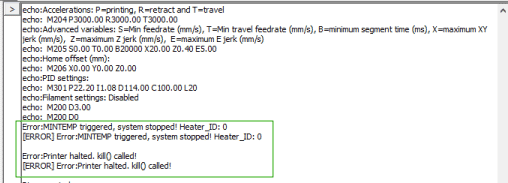
This is because I hadn't any thermistance plugged in so the thermal security of the board was triggered .
This is was solved by doing what I explained in the Marlin part.
I then had problems when I tried moving the axes:
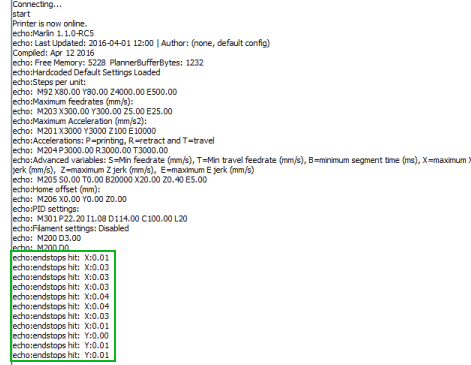
Some issue with the endstops that I hadn't wired properly, the only thing to know is that they have two different configurations.
If you have any trouble finding the correct winding use a multimeter like I did.
The cool thing about pronterface is that you can directly load a Gcode to some tests!
Obviously you might have calibrations issues, but you can already have some fun!
Gcode?
The language used to speak to the machine is called Gcode, it is an ancient format ...
The cool thing is that its pretty straight forward, to do some quick tests you just need G and M commands ( Go and Make).
So imagine you want to draw a line, simply give the coordonates for each point, following this syntax:
G1 X0 Y0
G1 X10 Y0
Links:
Succes!
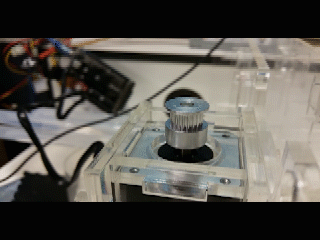
Here we can see the stepper spining:
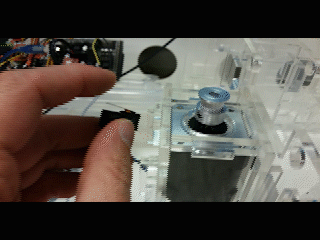
And here we see it retracting after hiting the endstop:
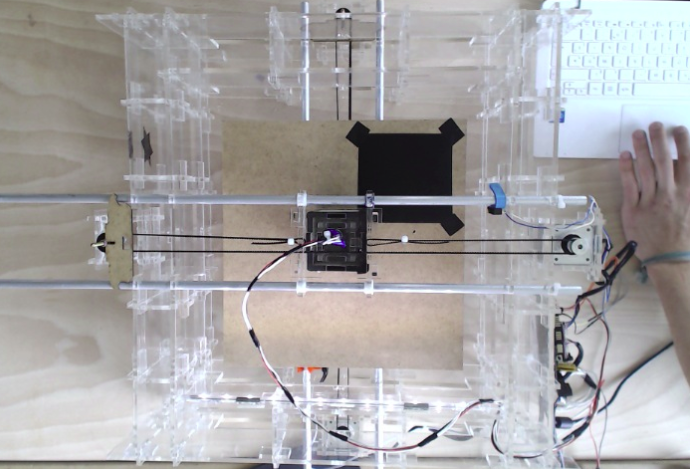
Here is a video of the final machine:
This has been a great project, even with all the problems we encountered, this was some great fun. Being able to design, automate, and use a machine that we made as a group is awesome. But, working independently and then joining all the work and seeing it work was epic!
Don't forget to visit our Group page!