Watch my final presentation video: Video
Presentation page: Slide
The objective
This is my final project page for the FABACADEMY 2016, I decided to continue the group project we started at Fablab Digiscope: a laser cutter.
But I would like to take it a little bit further :
Basicaly I would like to modestly mimic the RepRap project and make a machine that anyone could improve.
The design
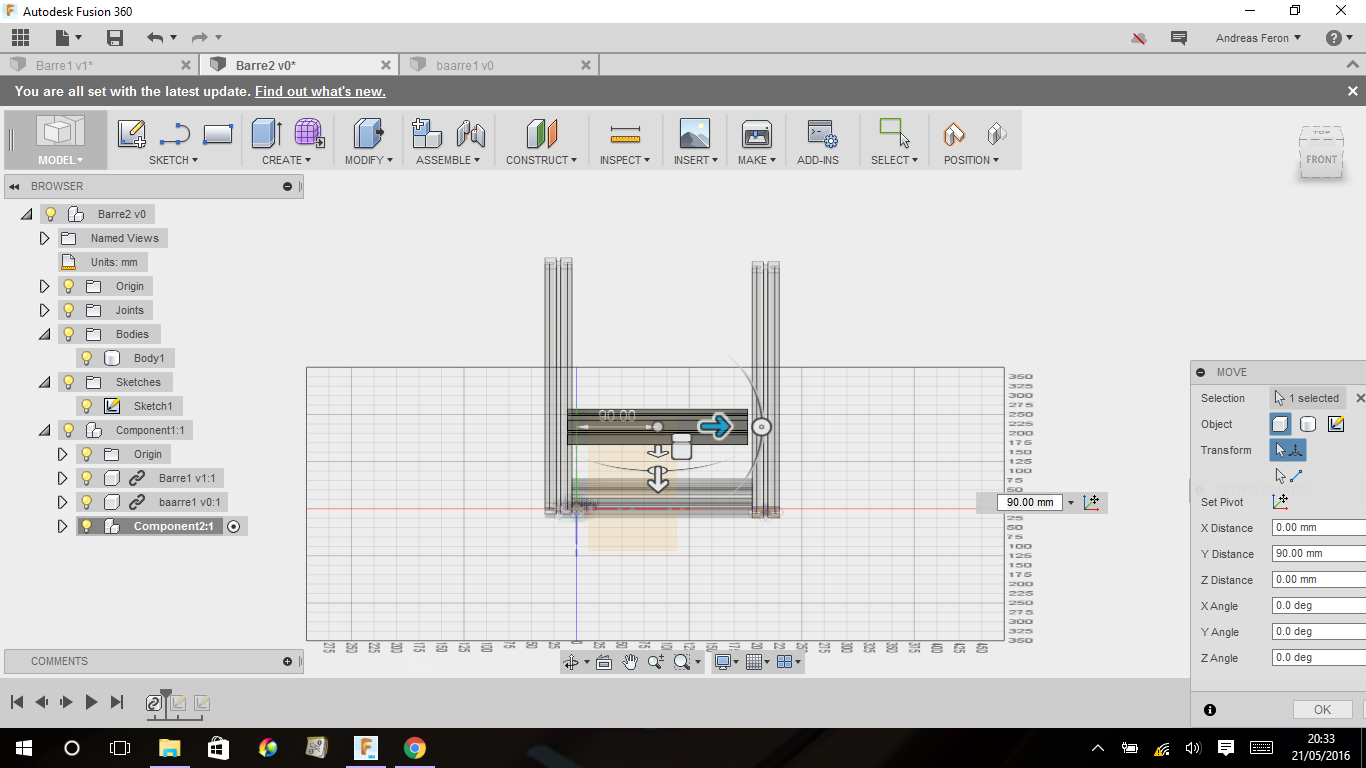
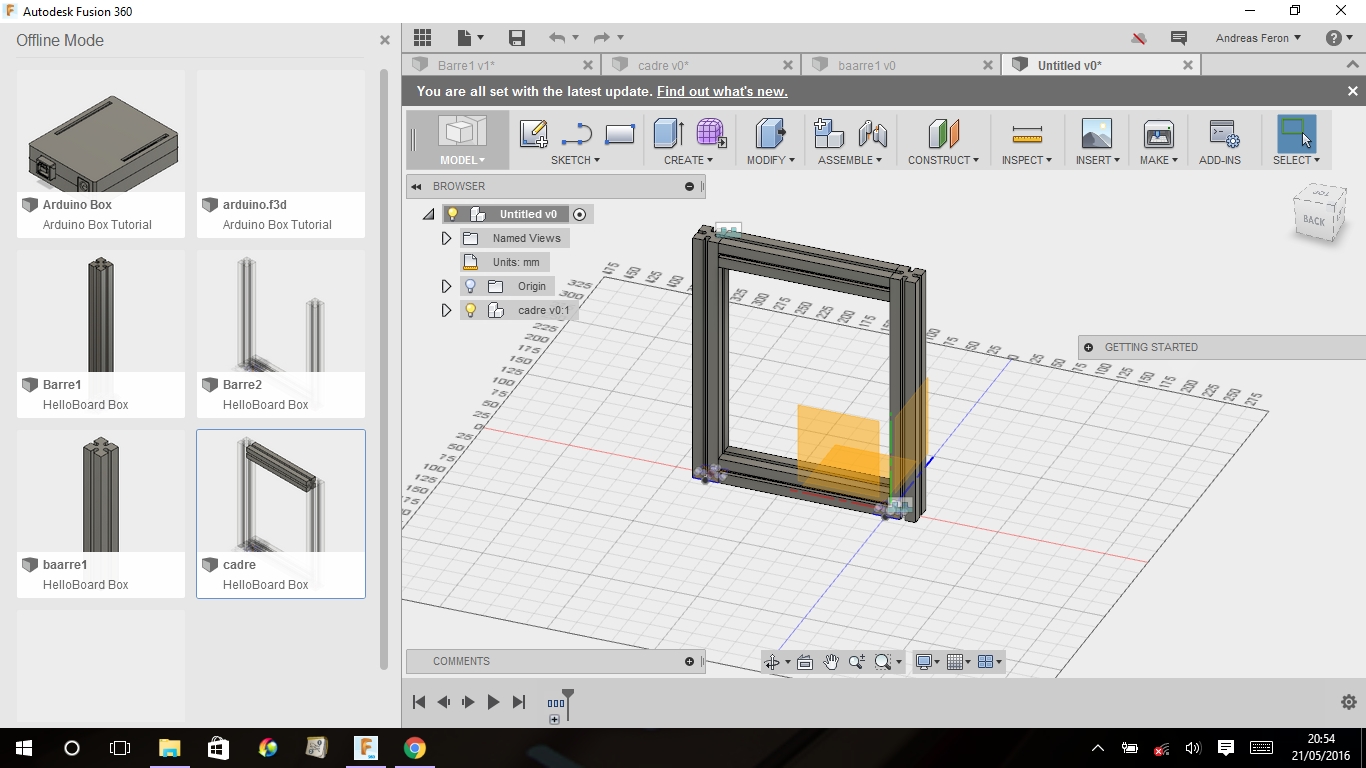
In this part I will explain how I designed my machine, it has been entirely designed in Fusion 360 but I also used Thinkercad and CorelDraw.
Step-by-step
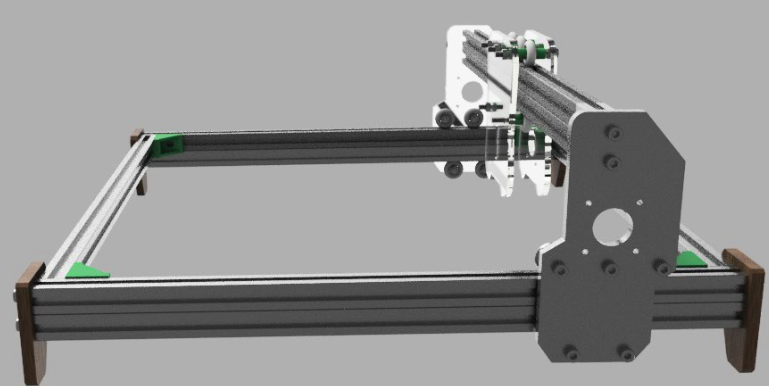
I started by designing the structure with Fusion:
Used the assemblie mode to test everything:
I tried different designs: (here for the corners)
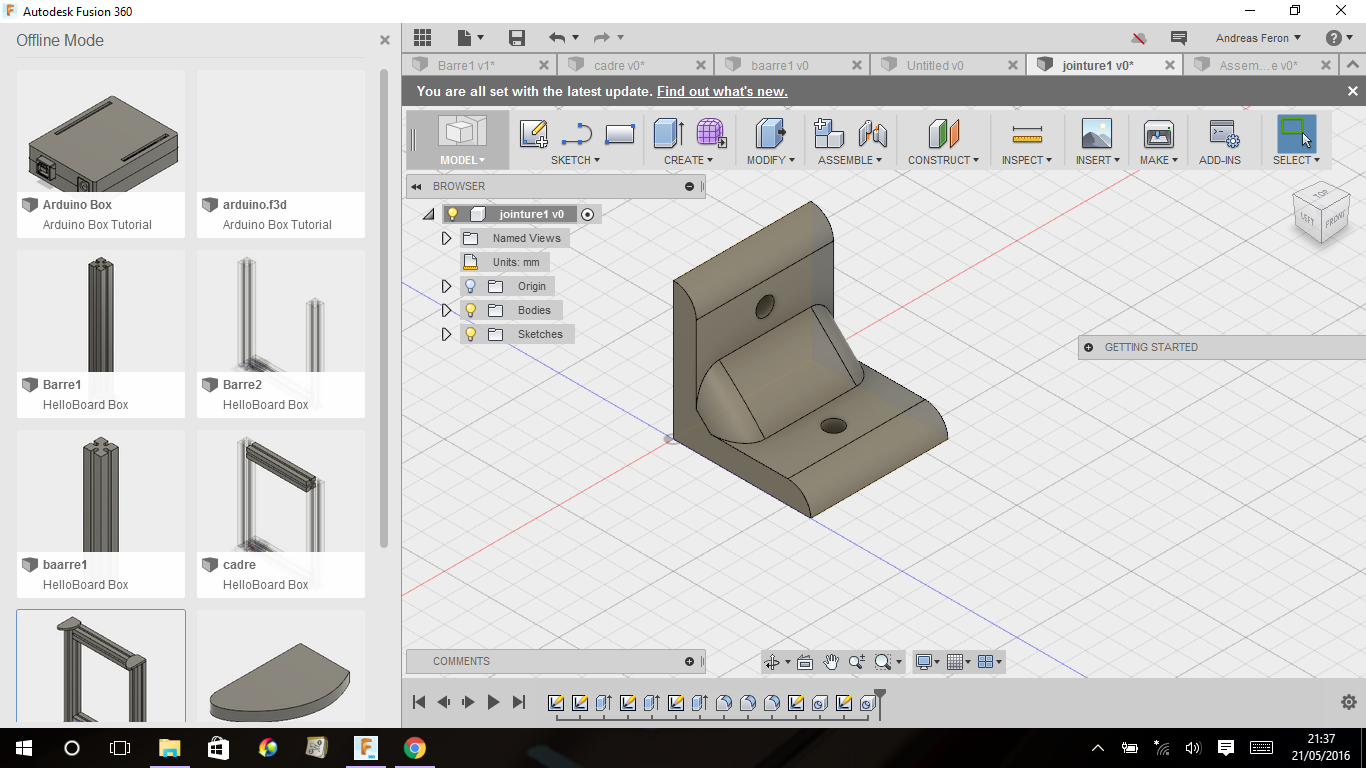
Finaly I chose this design:
And then did printed it:
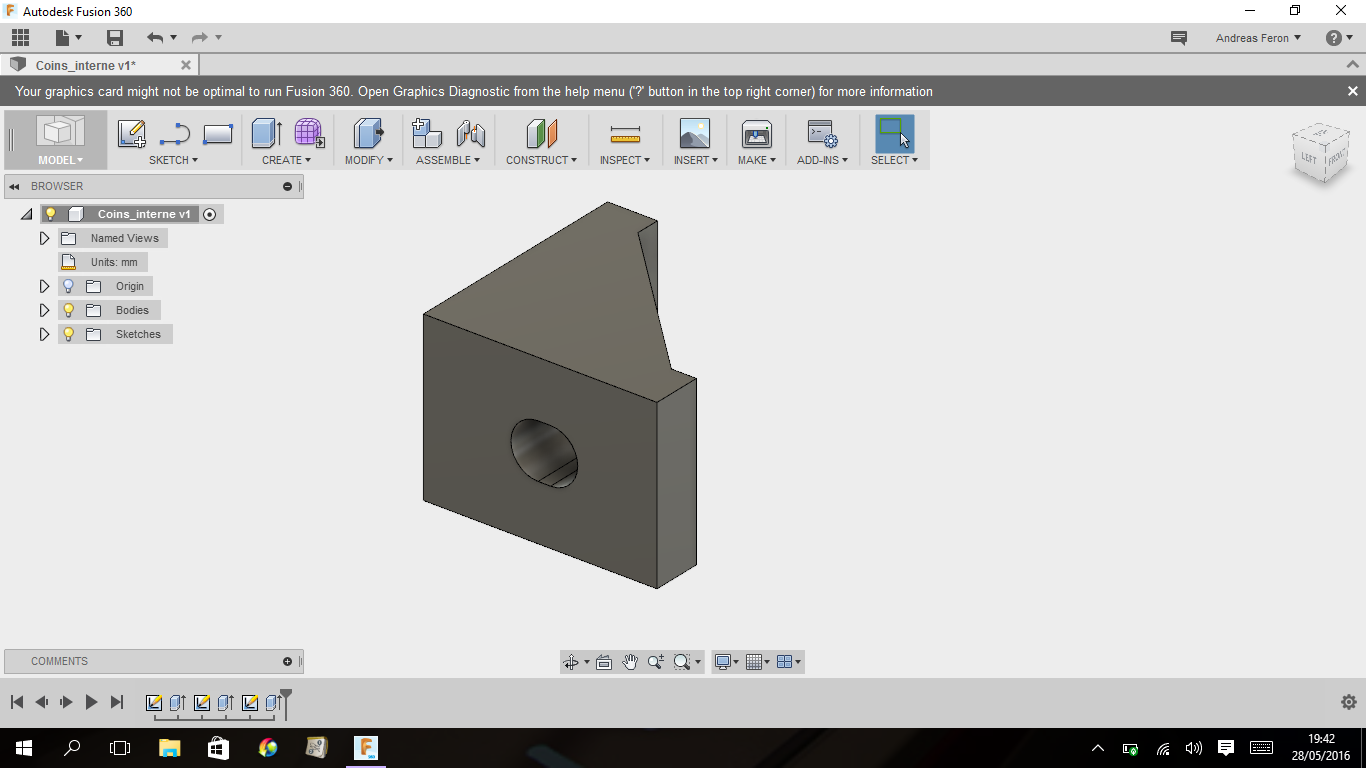
As you can see I had to add a second corner to prevent the structure from moving, this was made in Thinkercad (Just need to delete some volume):
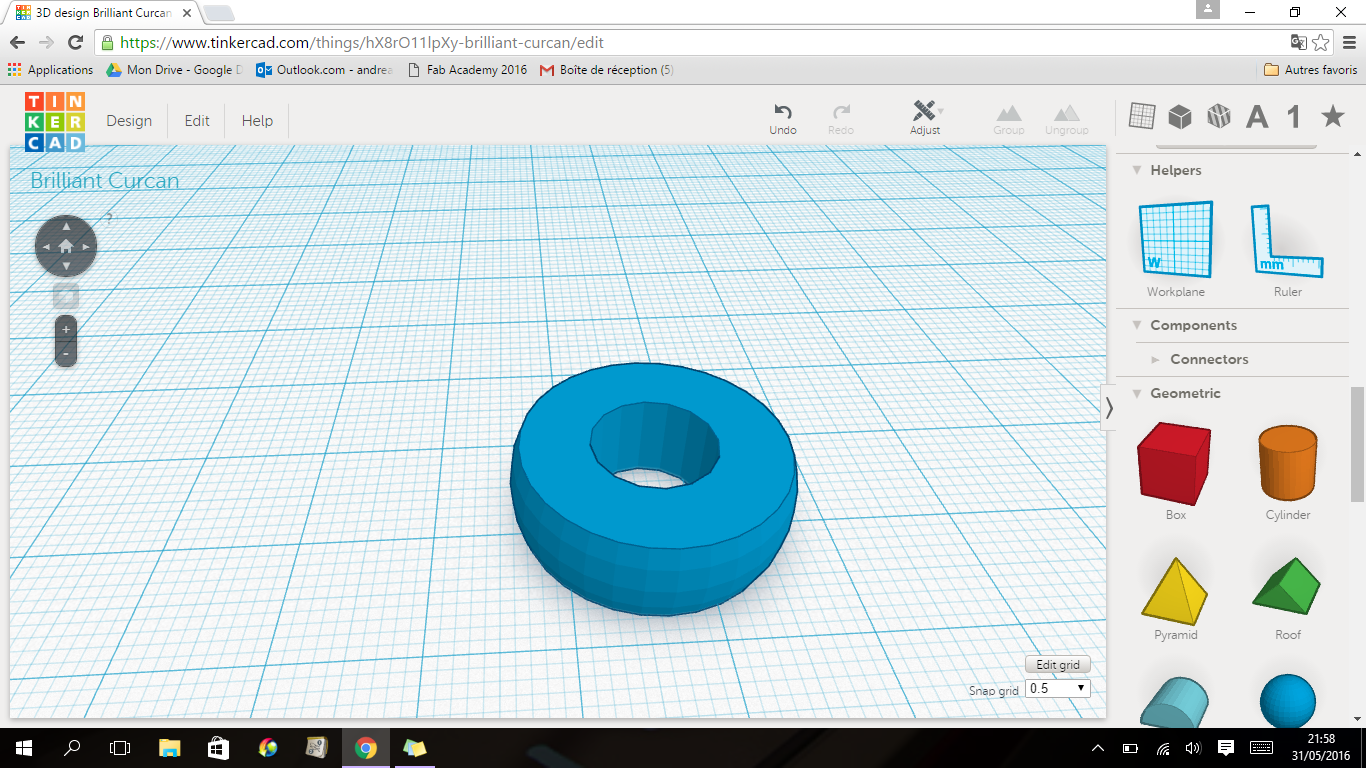
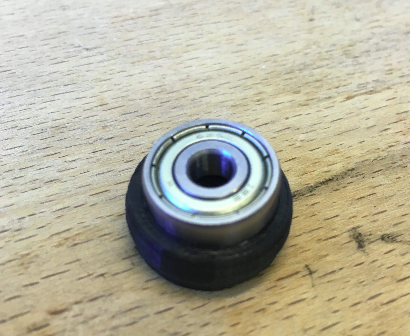
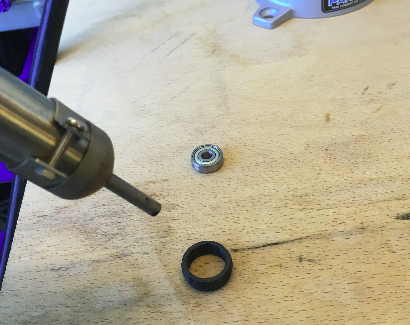
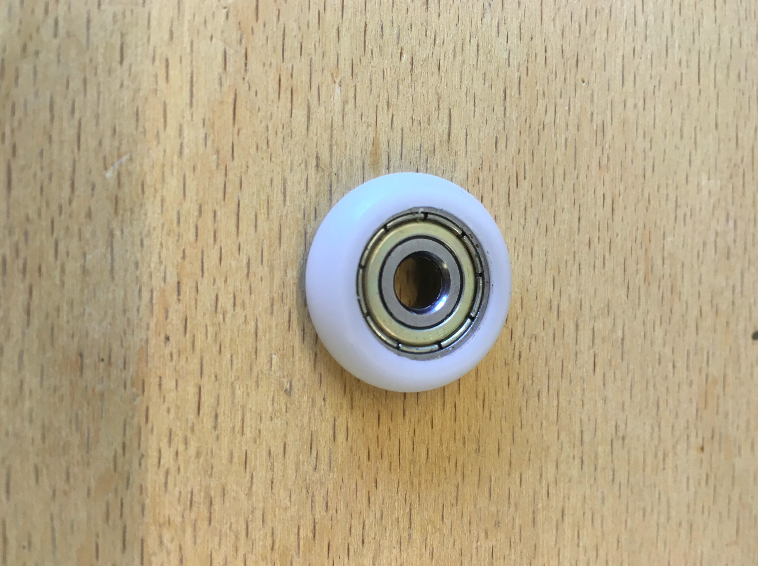
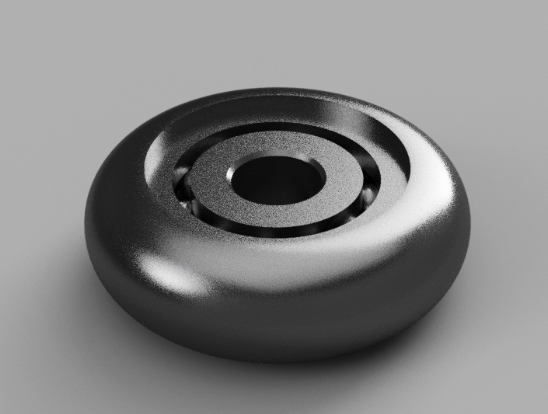
Then I did the same process for the wheels:
I also tried some designs on Thinkercad (to go faster):
I tried all the common plastics: ABS, PLA , NinjaFlex..
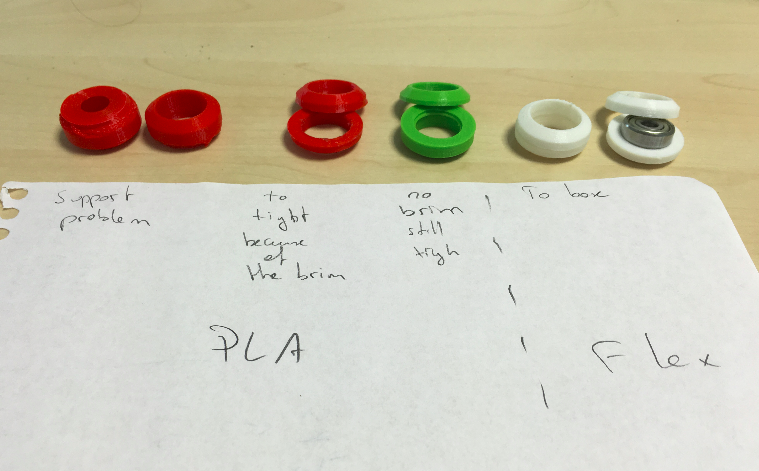
I even tried with the laser cutter, and ended having 11 different model of wheels:
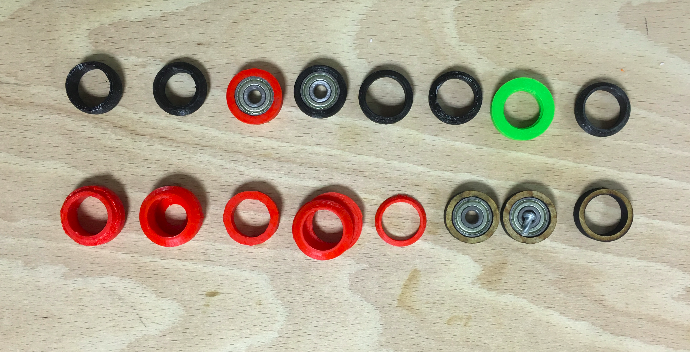
And guess what? I failed! still didnt' find the design that compromises the shape I need and the need for supports when printing.
But I did find an awesome trick to do some inserts in ABS:
Gently heat up your part with a heat gun:
And push it in:
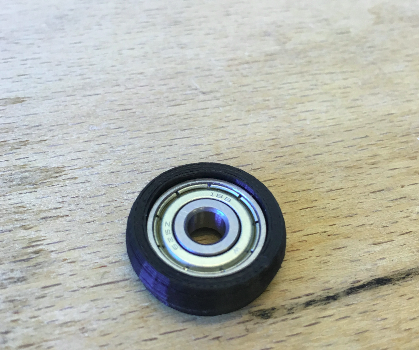
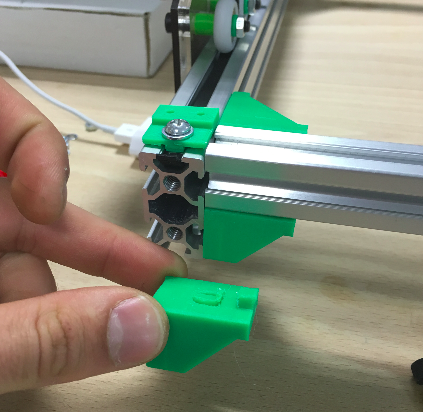
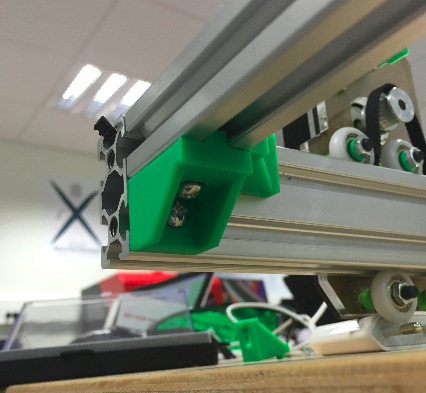
So I ended using the wheels that came with the kit:
First failure, but I'll continue working on that ,I might use a Startasys Conex to print them ,here is the final design:
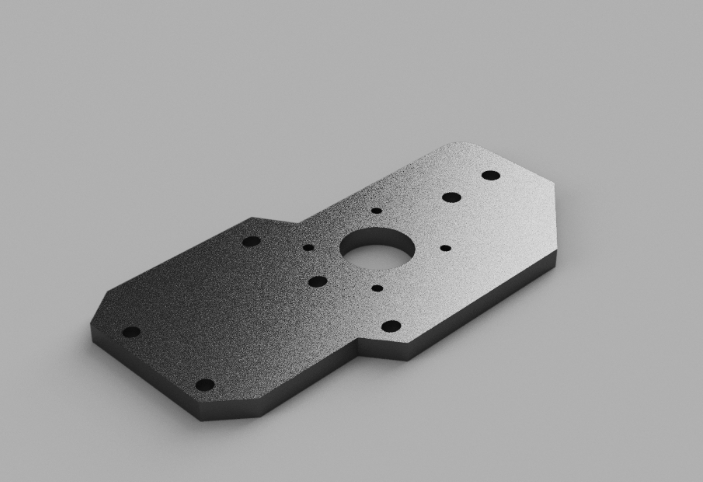
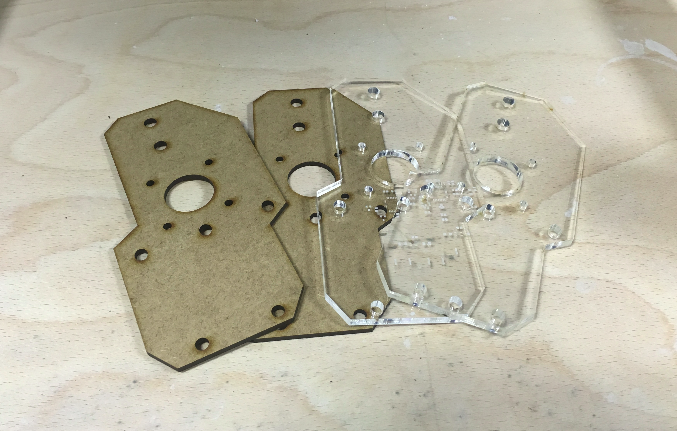
Then using CorelDraw I designed the parts that would be laser cut, but I also used Fusion360 to insert them in my assemblie:
And once again to win some time and materials I protoyped using cardboard
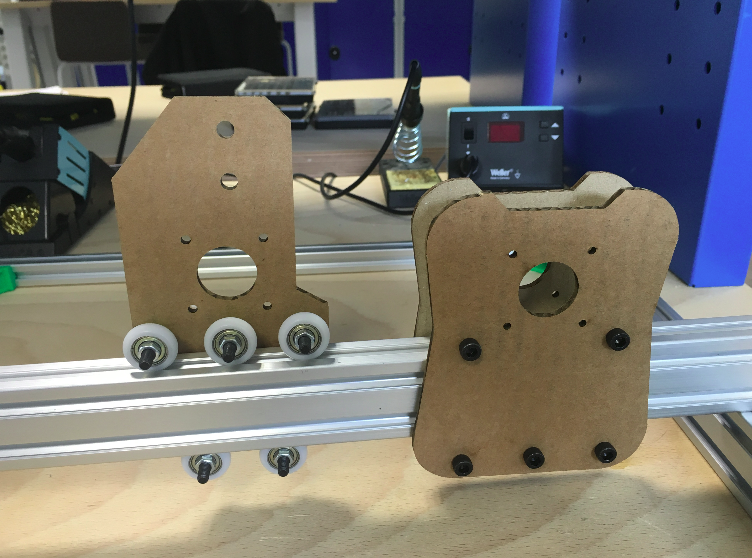
Here I am just testing how the carriages slide freely and if everything is press-fit:
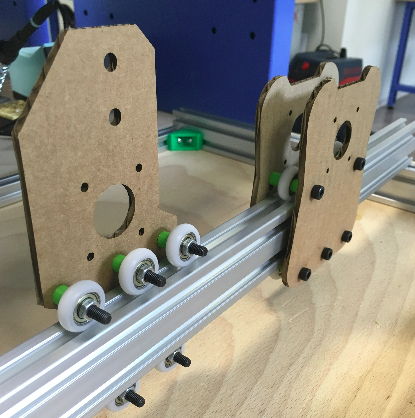
And here is the entire structure made out of cardboard:
Thanks to these tests I corrected a little bit the position of the wholes for the wheels so it would perfectly fit on the rail.
And finaly made my final parts using PMMA and plywood. I want to use 2 different materials and stick them together because it looks nice but also because on one side I have the resistance of the PMMA and on the other the flexibilty of the wood:
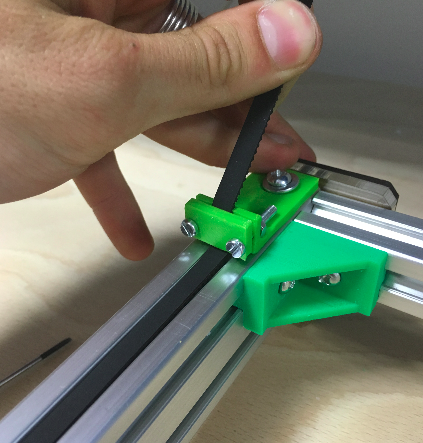
Then I added the belts that I would tight up with a screw:
But I made a part on thinkercad to make it simpler:
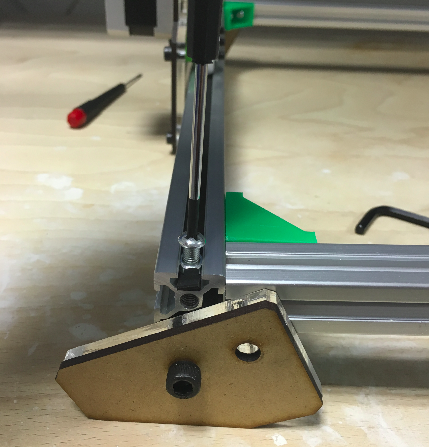
Then did the same for my endstops:

Perfecty in place:
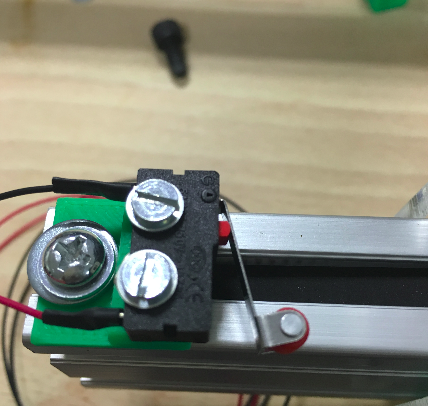
Here is the endstop when triggered:
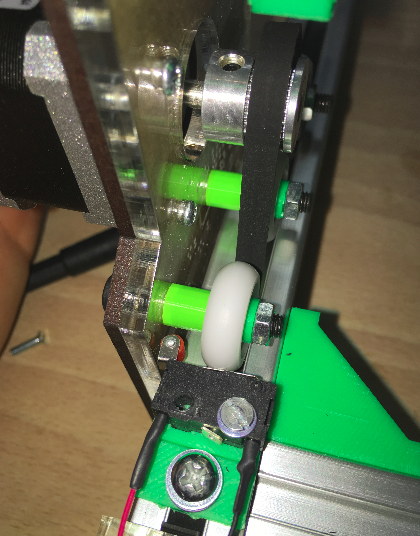
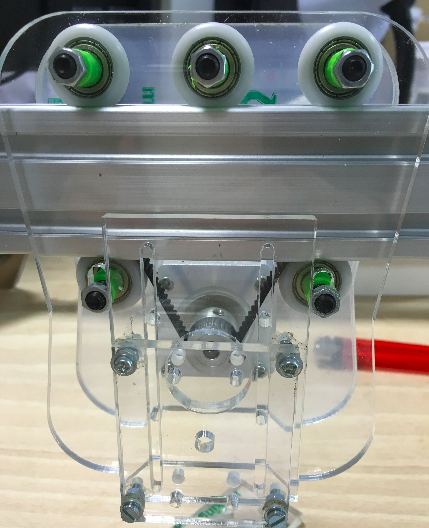
Better look at all the mechanics:
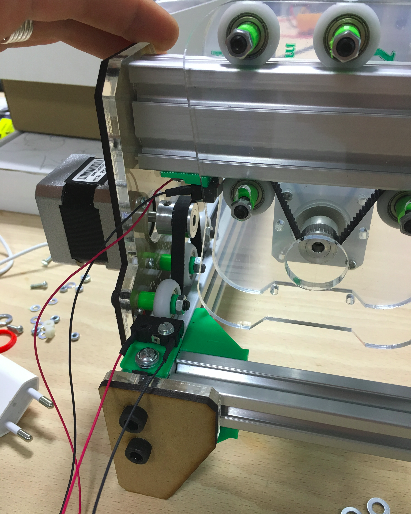
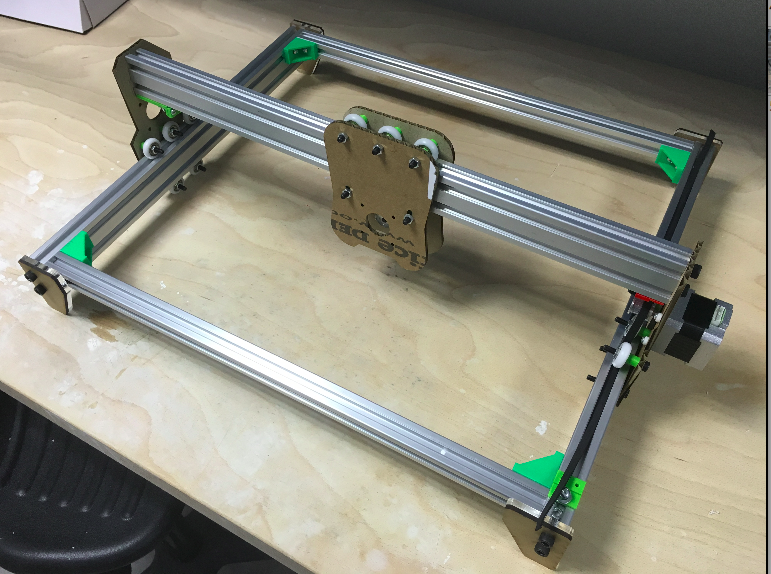
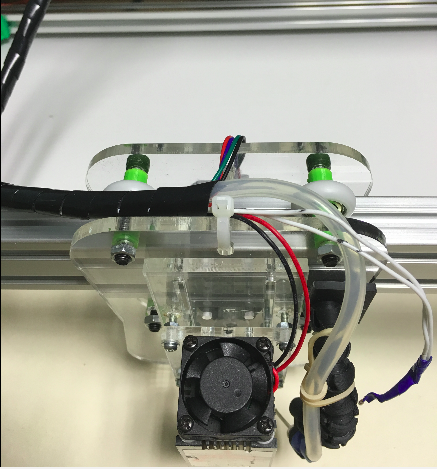
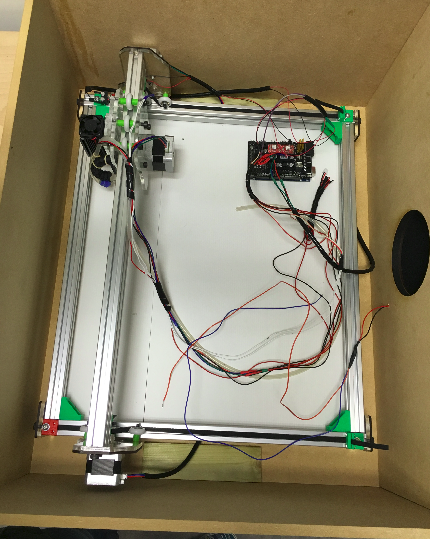
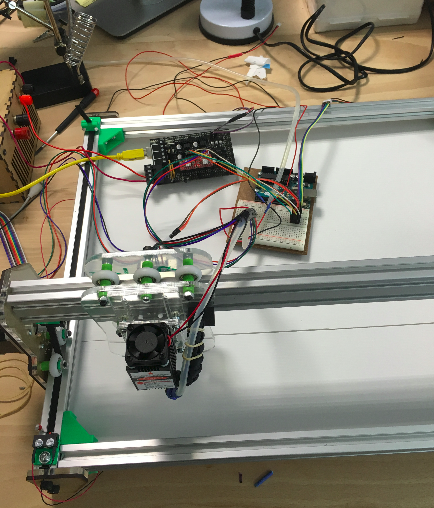
Once I added the stepper motors, this is what the machine looks like

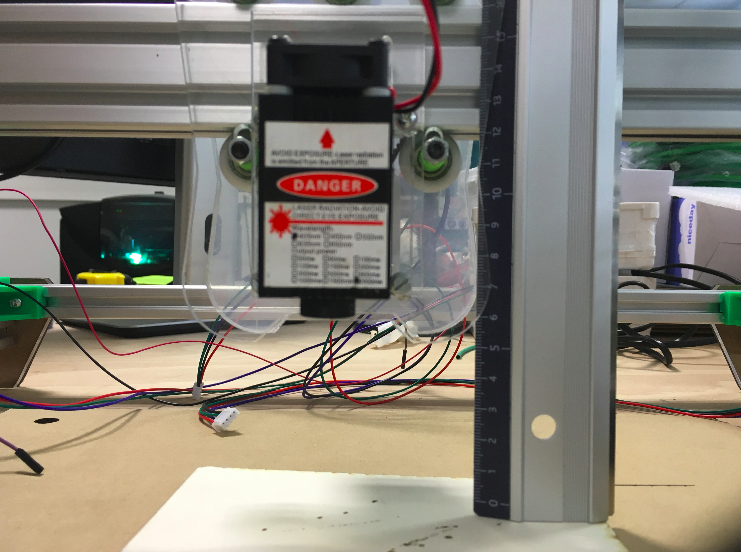
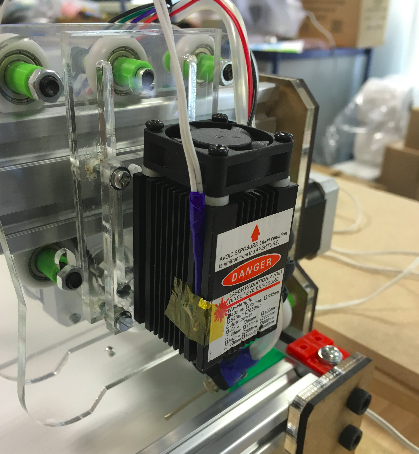
Then I had to mount the laser:
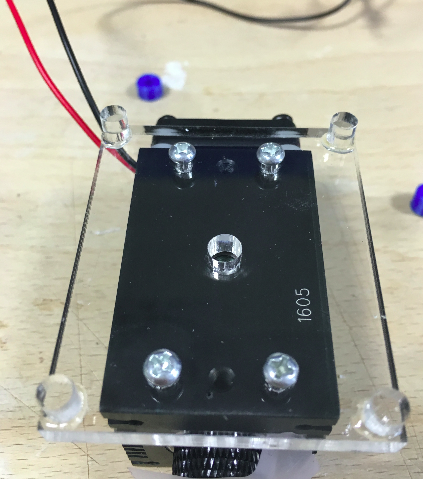
On to the laser block:
For the moment I will adjust the Z by hand, but that's in progress:
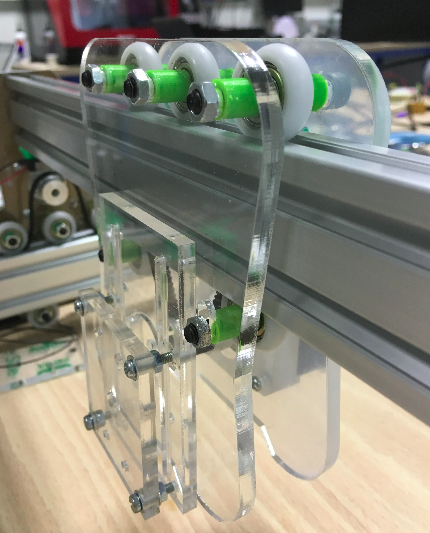
Here you can see the carriage system:
Then I had to find a way to add the air assistance:
So I quickly designed a flexible arm on thinkercad (using a model found on Thingiverse) and incorporated everything together
I cutt the nozzle to have a more focalised air flow:
From there I could test the laser in good conditions:
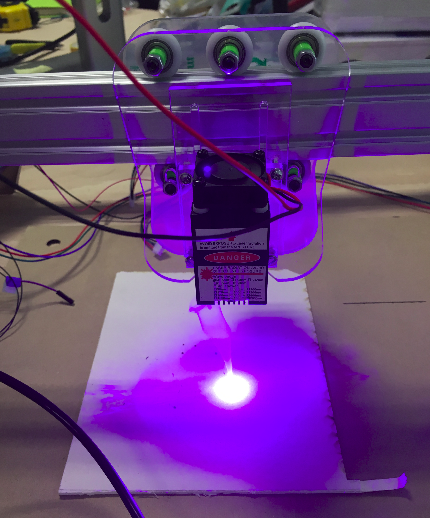
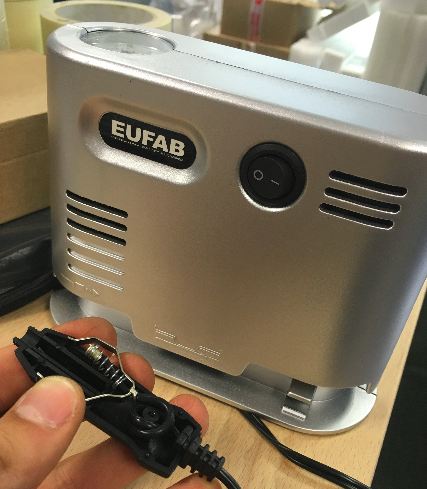
I needed to know what power does he exactly need:
And its focal length:
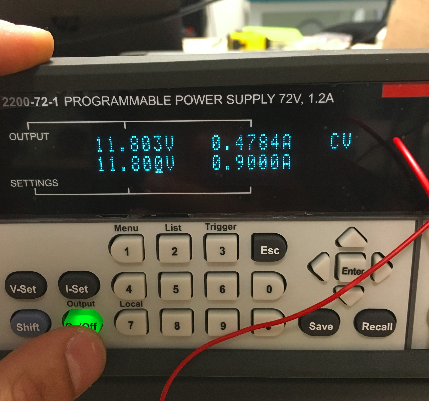
Once I had those informations, I wanted to be able to power the laser with its own driver board, so I first tested a circuit that I designed, on a bredboard:
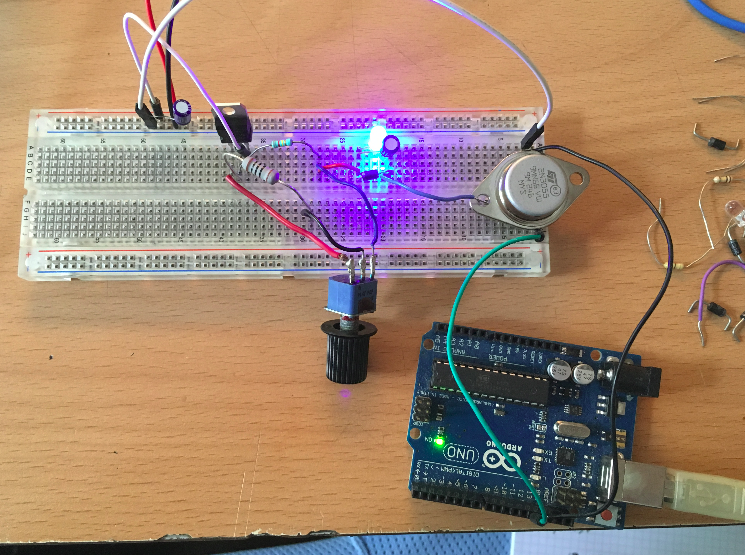
The circuit is basically: a voltage regulator, the LM317 ,that I use as a current regulator and a NPN transistor which is controlled by an analogic pin of an Arduino.
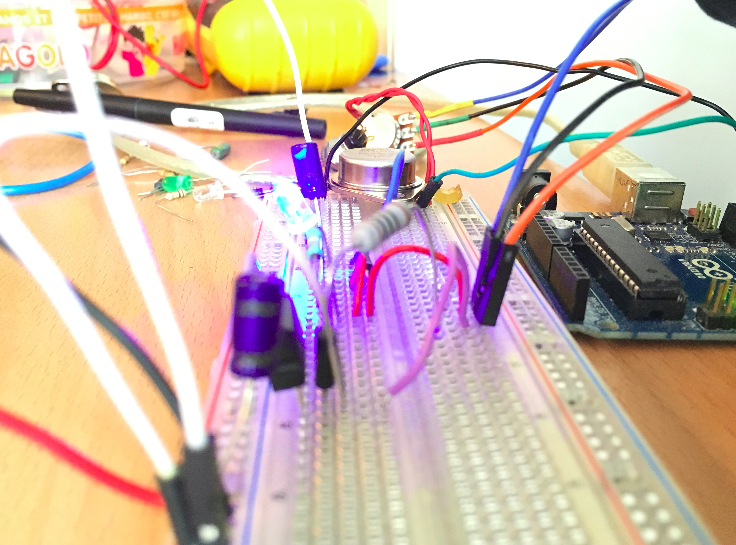
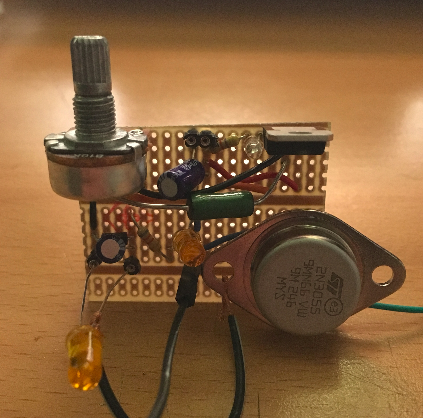
Once I was sure of all my resistor values, I soldered everything on a proto board:
Here you can see a test with a 300mW laser (couldn't risk to burn my 2W laser):
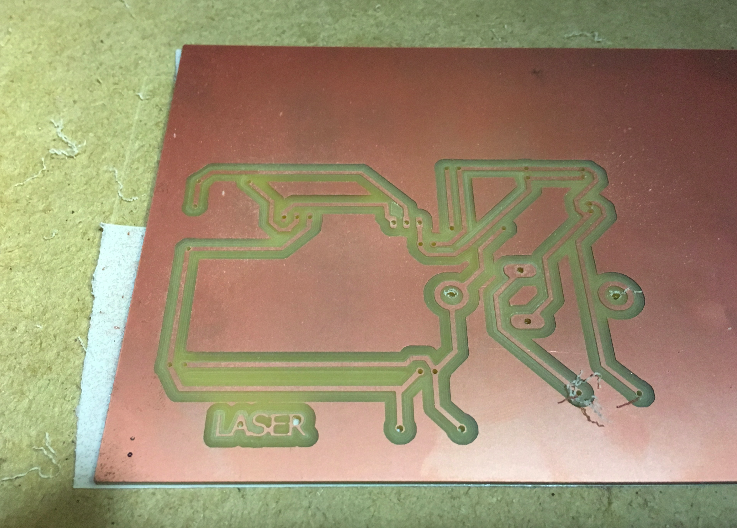
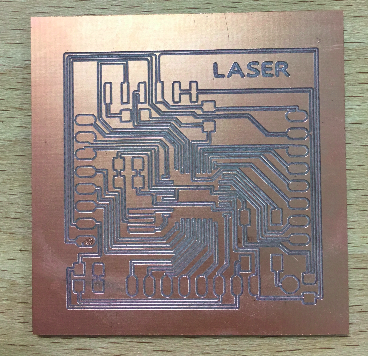
And then I designed the board on Eagle and milled it using the Fabmodules:
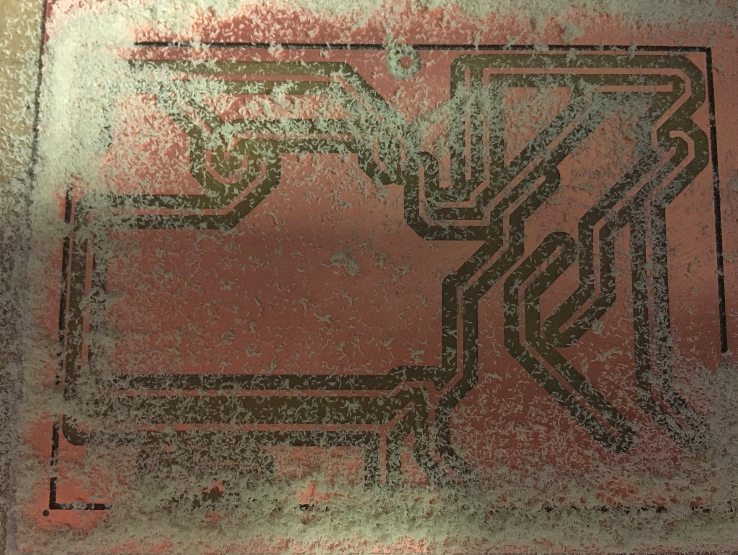
It's huge but that because I only found big components for the moment:
Then I also took some time to mill a Fabkit to try to do something with it, like drive my laser with a PWM signal, but I hadn't really the time to do some progress on that..
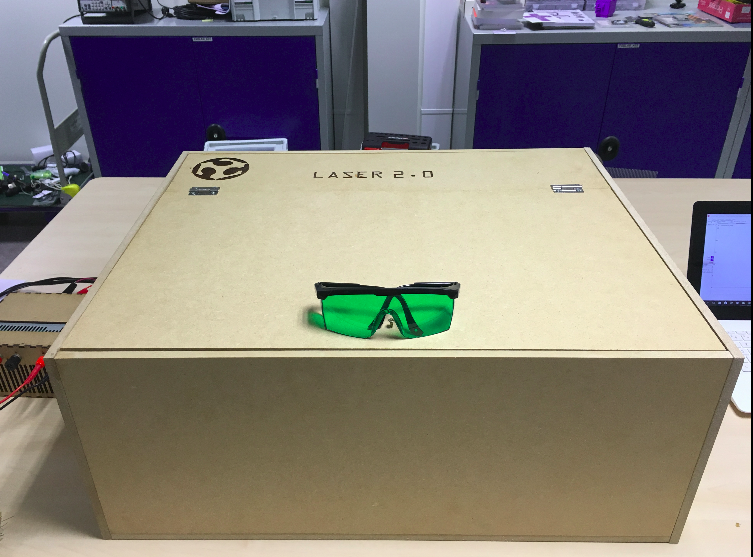
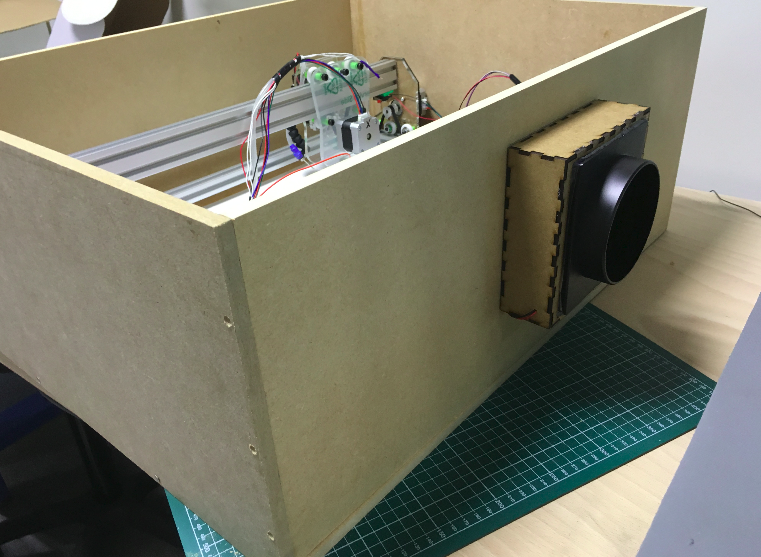
Then I had to make a casing to be able to safely use my machine, but I didn't have acces to a Shopbot again so I had to make it the old style way:
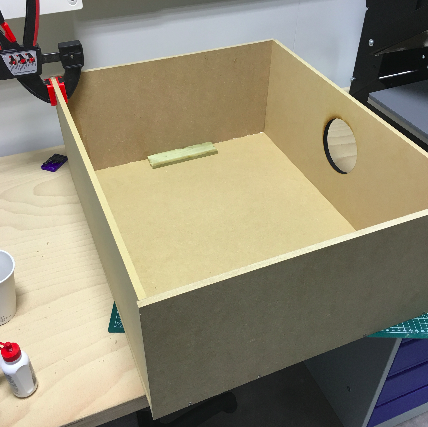
With screws and glue! I would have made my machine smaller if I knew, anyway, I still have the design.
My machne fits perfectly inside:
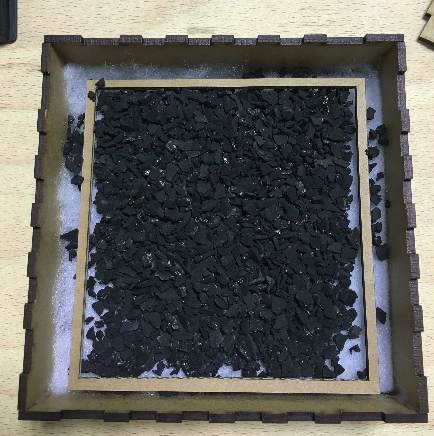
Then I had to design a casing for my air exhaust, and for the filter, for such a simple design I used Makercase for the box and Coreldraw to draw the holes.
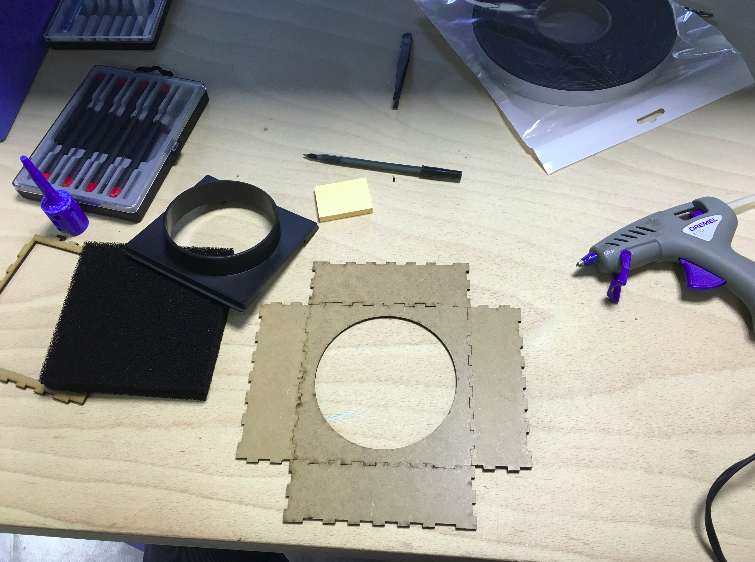
This time I used the laser cutter obviously:
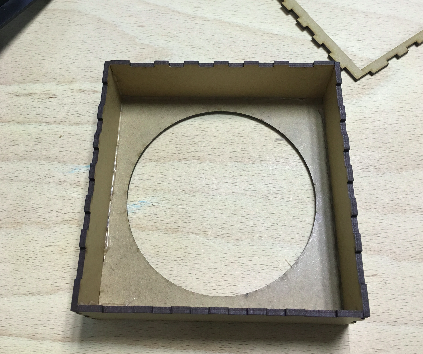
The first filter:
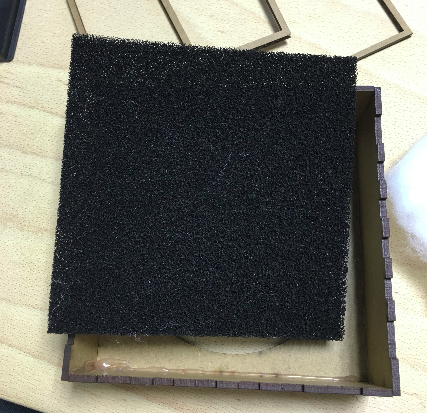
Then added some activated charcoal :
Blocked it with some foam and added the fan:
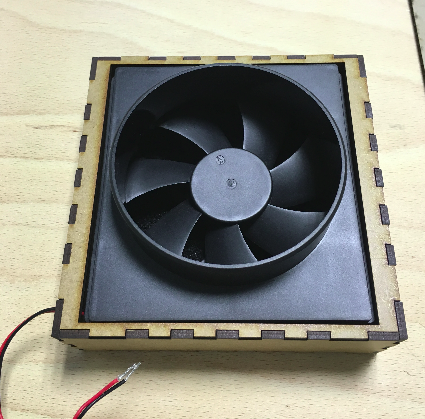
Looks pretty cool!
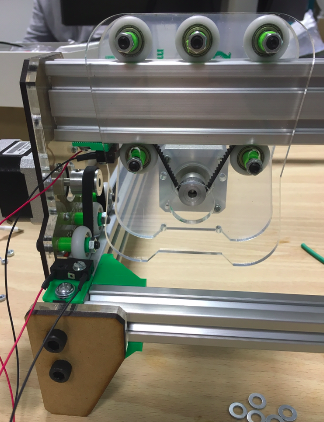
And there you can see part of the electronics I used, I have 2 stepper motors for the "Y" axis but they are wired together on the same driver on the Ramps 1.6.
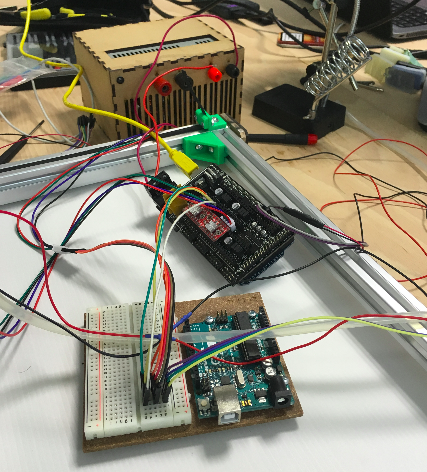
For the moment I was using an arduino to control the laser :
But I will replace that with a Fabkit.
And I added a thermistor to the laser casing to control the temperature, for the moment I was using it on the Ramps to have a visual feedback, but once I'll control the laser with a Fabkit I'll remplace that by an automatic shut off if it over heats.
I could simply use the pin of the Ramps to do everything, but as Neil said, our project needs to be as modular as possible, so if I do this whith a Fabkit, anyone that has a 3D printer can quickly tune it!
So this is where I'm at for the moment, but I will continue working on this project until I reach my goals!
