Week 5
3D Printing
The assignments for this week were to test the limits of our 3D printers, design something that can only be made additively (and make it) and to 3D scan something. We had a lot of fun this week pushing our printers to the limit!
Testing the machines
We have a few different consumer-grade 3D printers in our lab, a Makerbot Replicator 2, a Rostock Max V2 and a Printrbot Play. All of them work fairly well as basic workhorses but do require quite a bit of calibration to maintain quality prints. Unfortunately, the nature of our lab is such that they are probably a bit more neglected than would be best for them, as such our test prints did not come out beautifully. We used the test model suggested by Neil last week and ended up with roughly similar results on all three printers.
Printrbot Play: The printrbot is a great little machine at only $400. Most of the prints have been beautiful off this printer, but we unfortunately had a Y-axis step skipping issue on the test print. Otherwise, this piece came out great (the wheels do not turn due to a lack of support structures.
Printrbot Play Test Print
Rostock Max V2: The Rostock is great because it has an extremely large build volume, is very fast and more flexible with materials since it has a heated build platform. Unfortunately, keeping it level is quite a challenge and the large open build volume often leads to delamination issues. We had exactly this issue at the central platform on the test print, where it broke in two pieces (not pictured.)
Rostock Max V2 Test Print
Makerbot Replicator 2: The makerbot in our lab is the most commonly used 3D printer and its extreme durability/limited need for repairs have resulted in some very nice prints. I have no qualms with the test print from this machine.

Makerbot Test Print
3D Design
I decided to play with two new 3D design tools to expand my expertise this week. I ended up using Autodesk 123D Design and Meshmixer to make a simple tall torus with a voronoi pattern embedded. The hollow torus would be impossible to manufacture by traditional means and the voronoi pattern would be prohibitively difficult to pull off with machining.
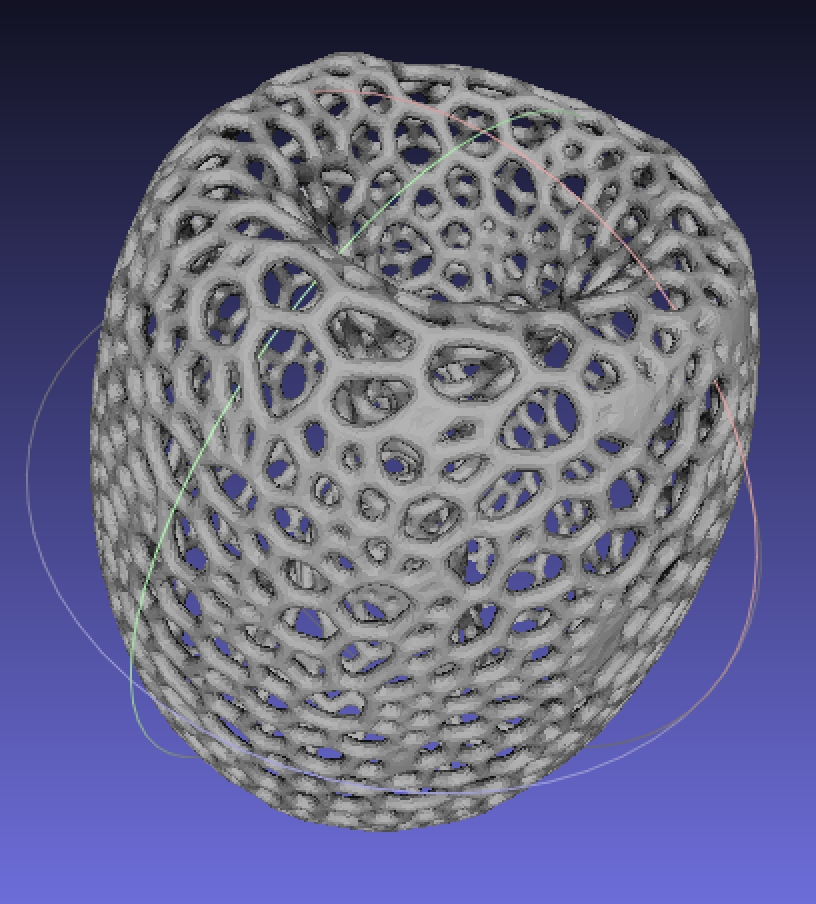
Rough Voronoi Model
123D Design is a nice, free, introductory 3D modeling tool from Autodesk. I didn't need many of its features, I simply created a primitive torus and stretched it in the Z axis to make a tall sleeve. You can access this file at this link
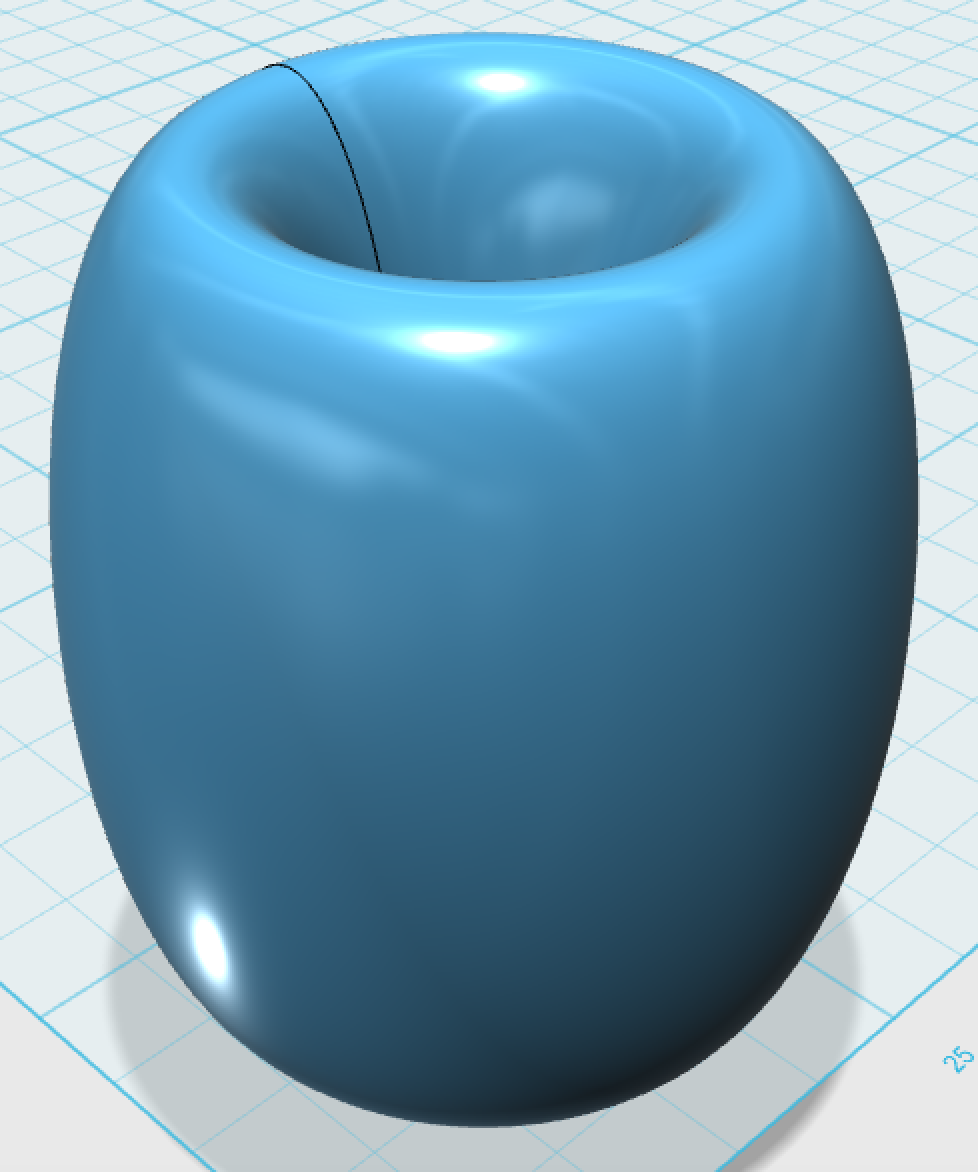
Smooth Torus
I then started playing with Autodesk Meshmixer, a nice utility for editing point clouds in some creative ways. Specifically I found a video by Adafruit industries explaining how to make voronoi patterns in 3D models quickly. I have gone through the labor intensive process of doing this manually in MeshLab previously, so I thought it could be a great test for a different piece of software.
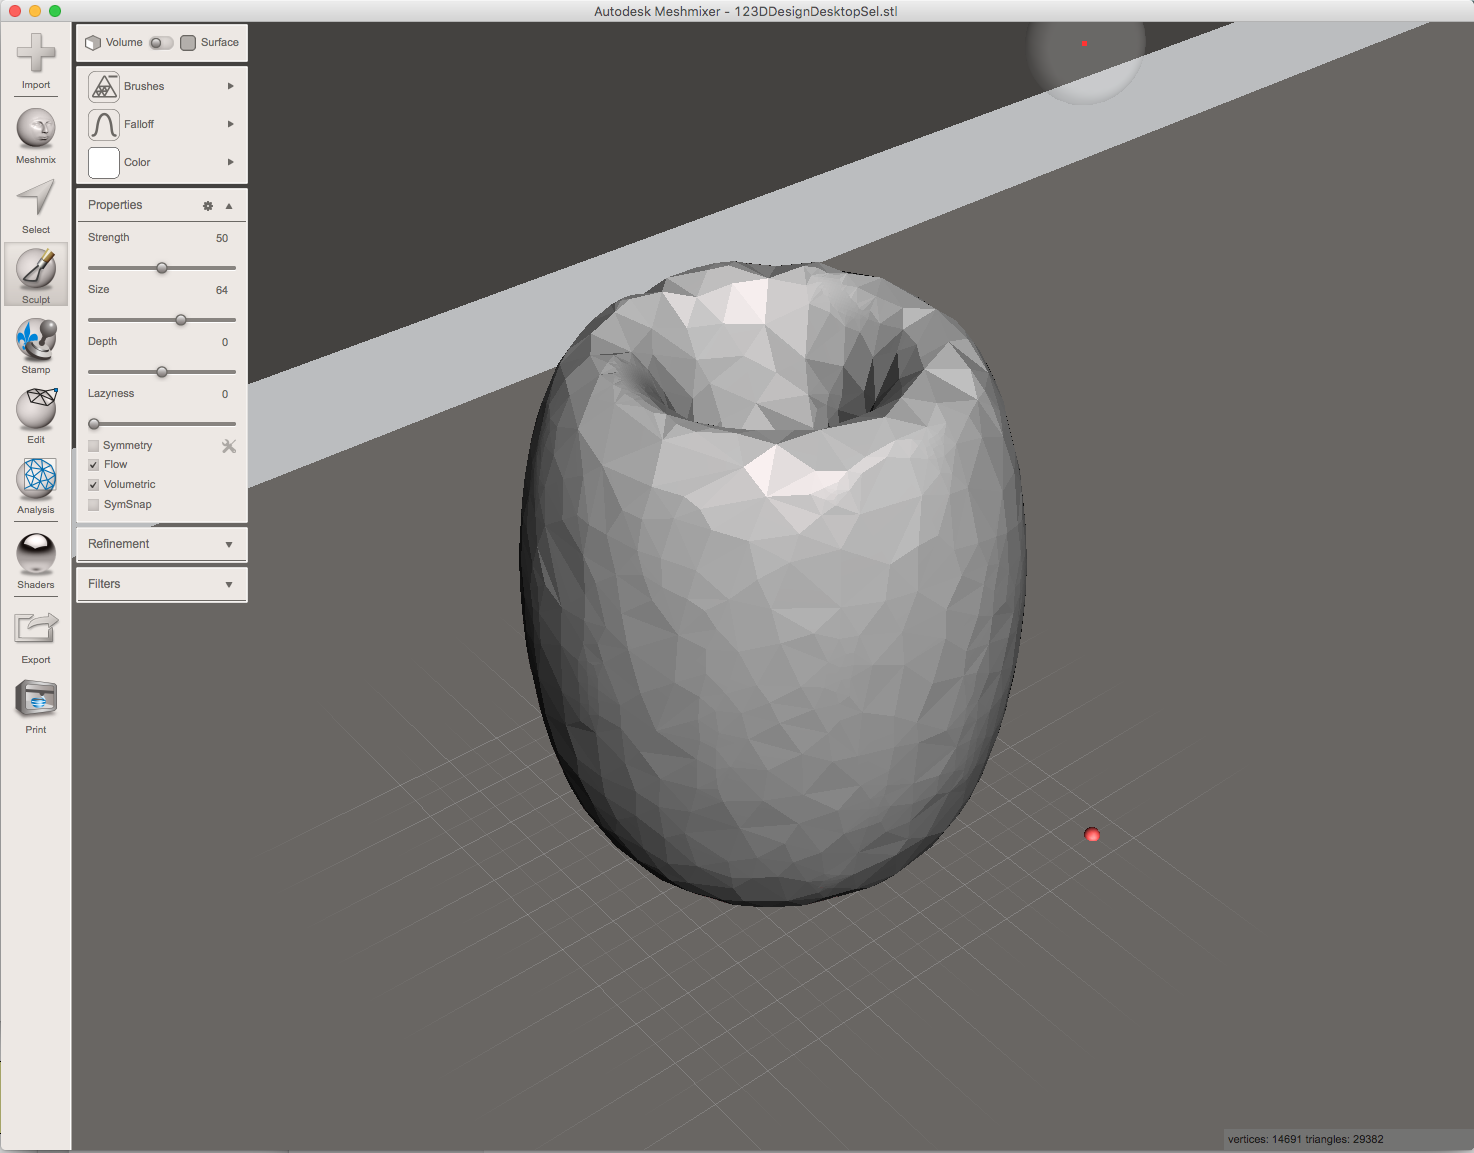
First you reduce the number of triangles using the reduce brush
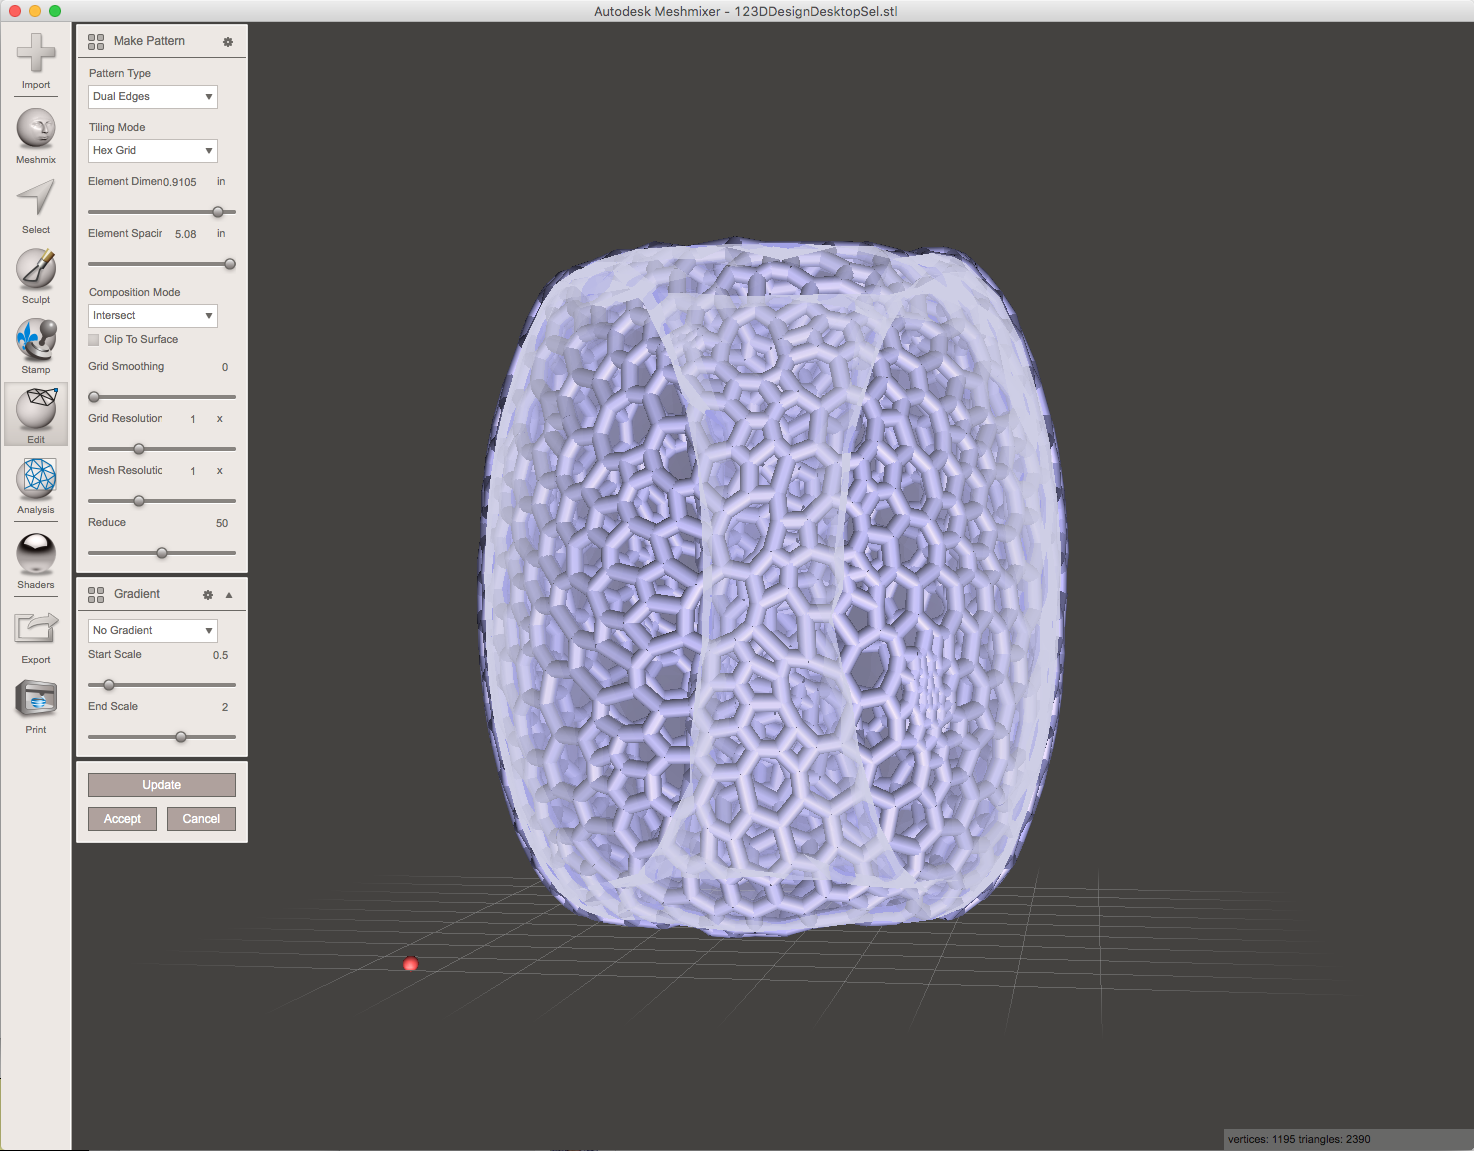
Then you make a "dual edges" pattern and tweak the settings
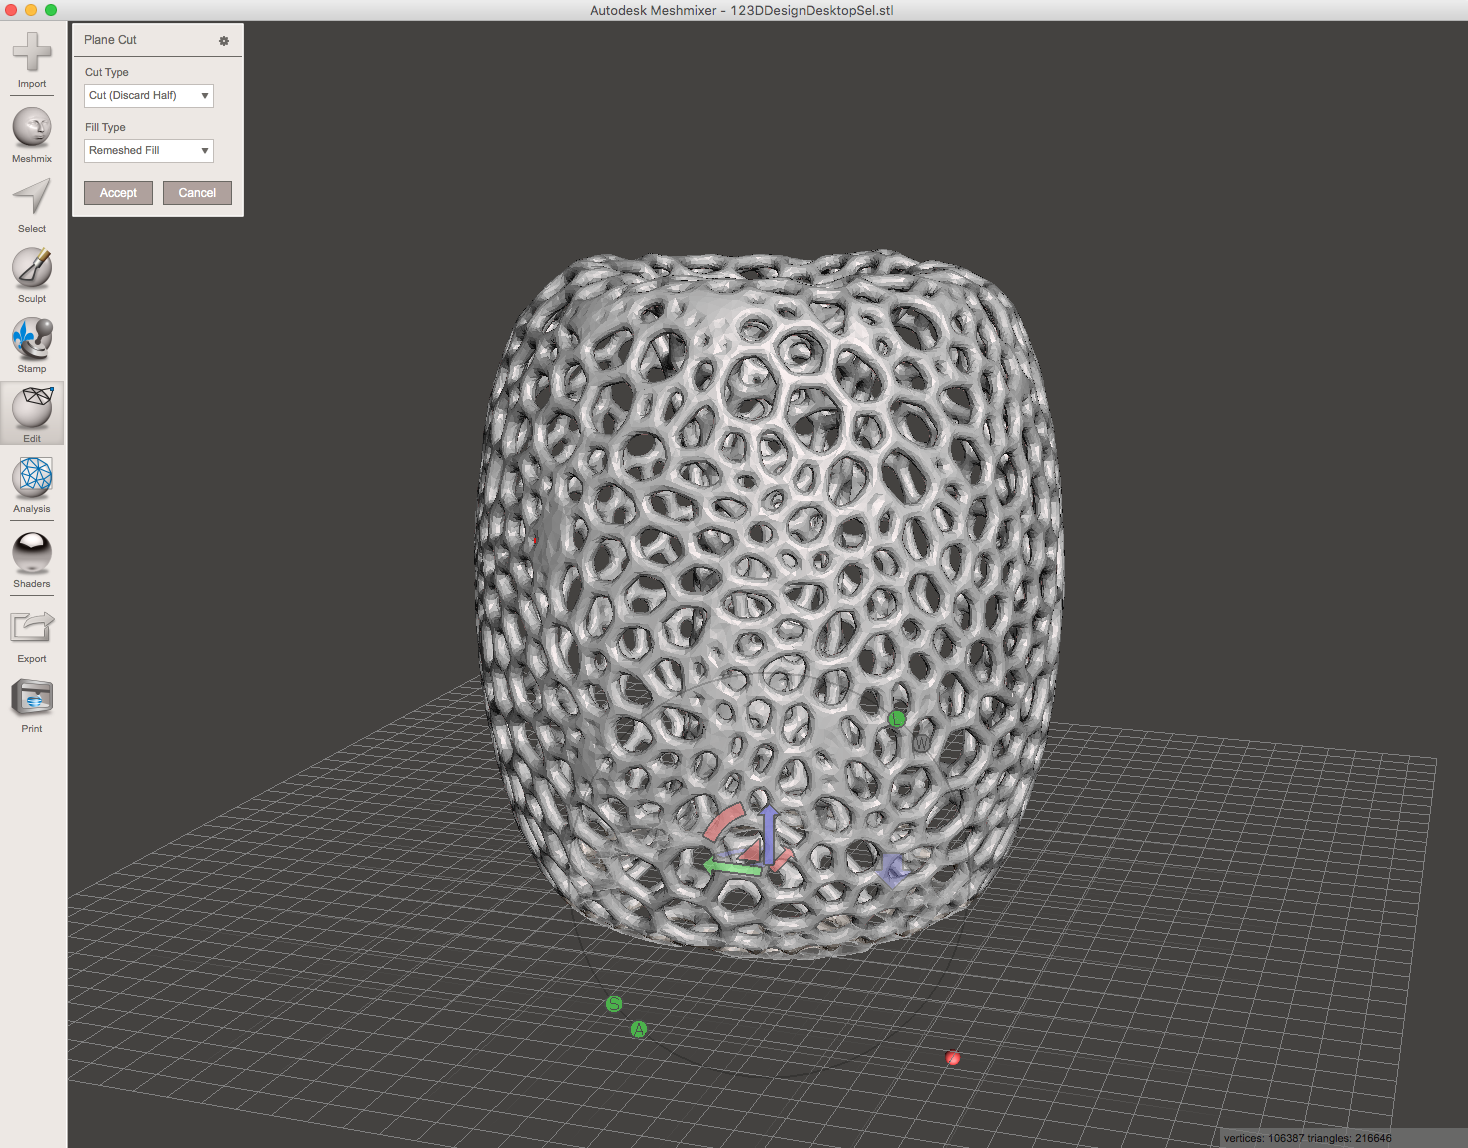
You then export the STL file with a reasonable resolution. My initial export was ~57MB.
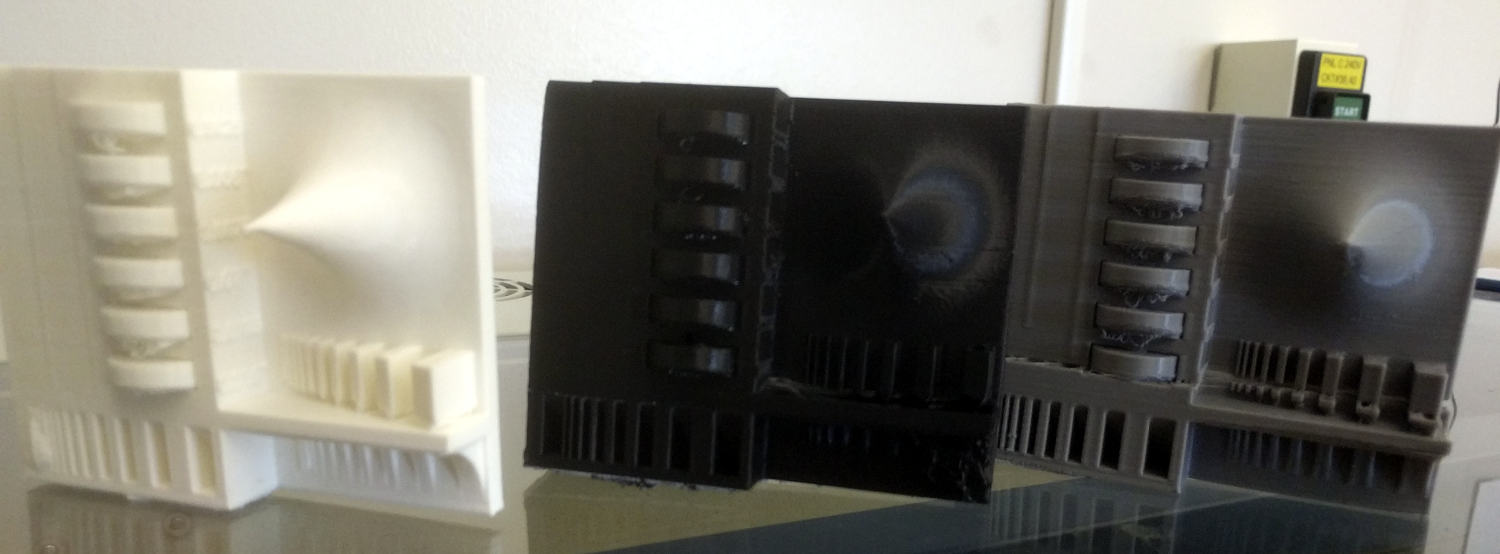
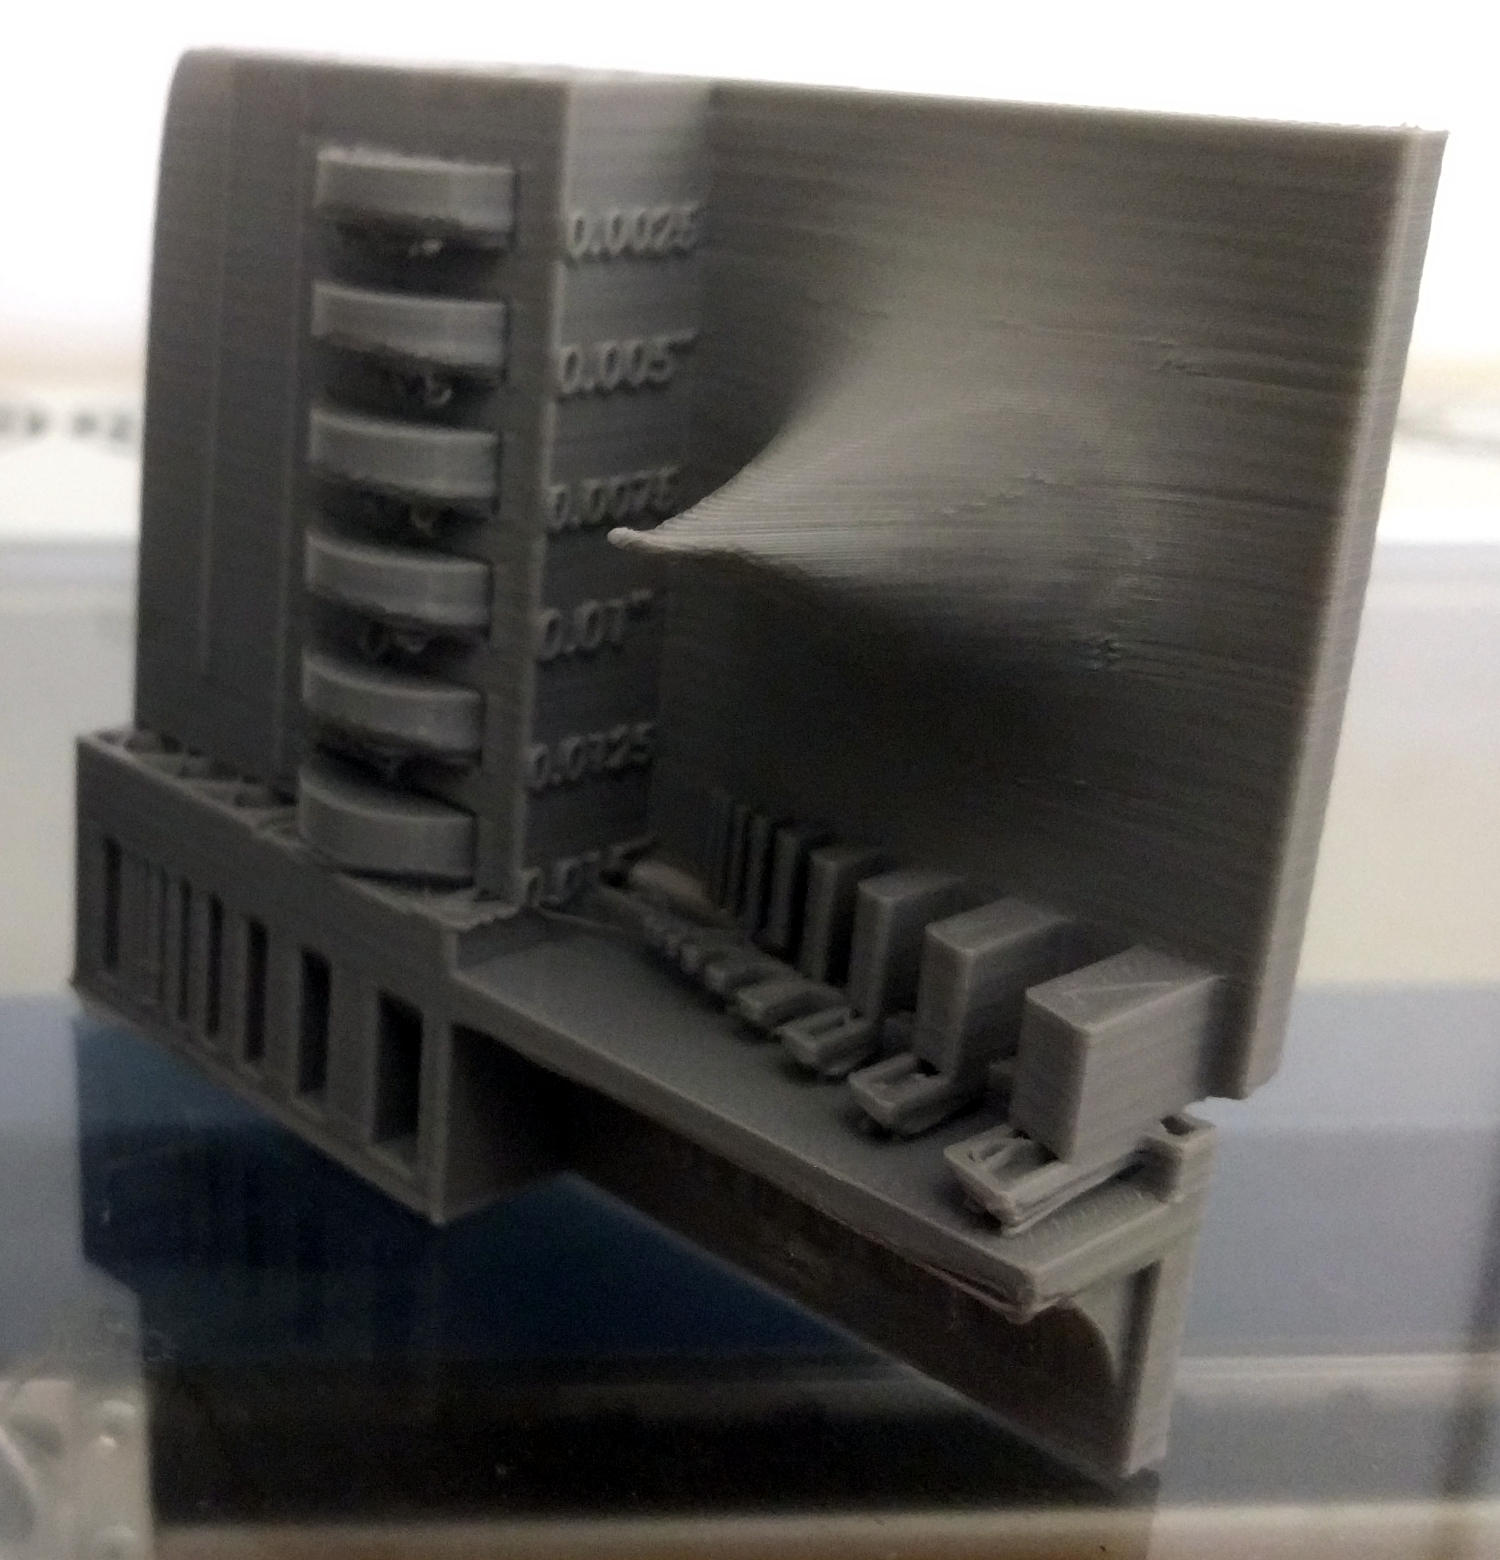
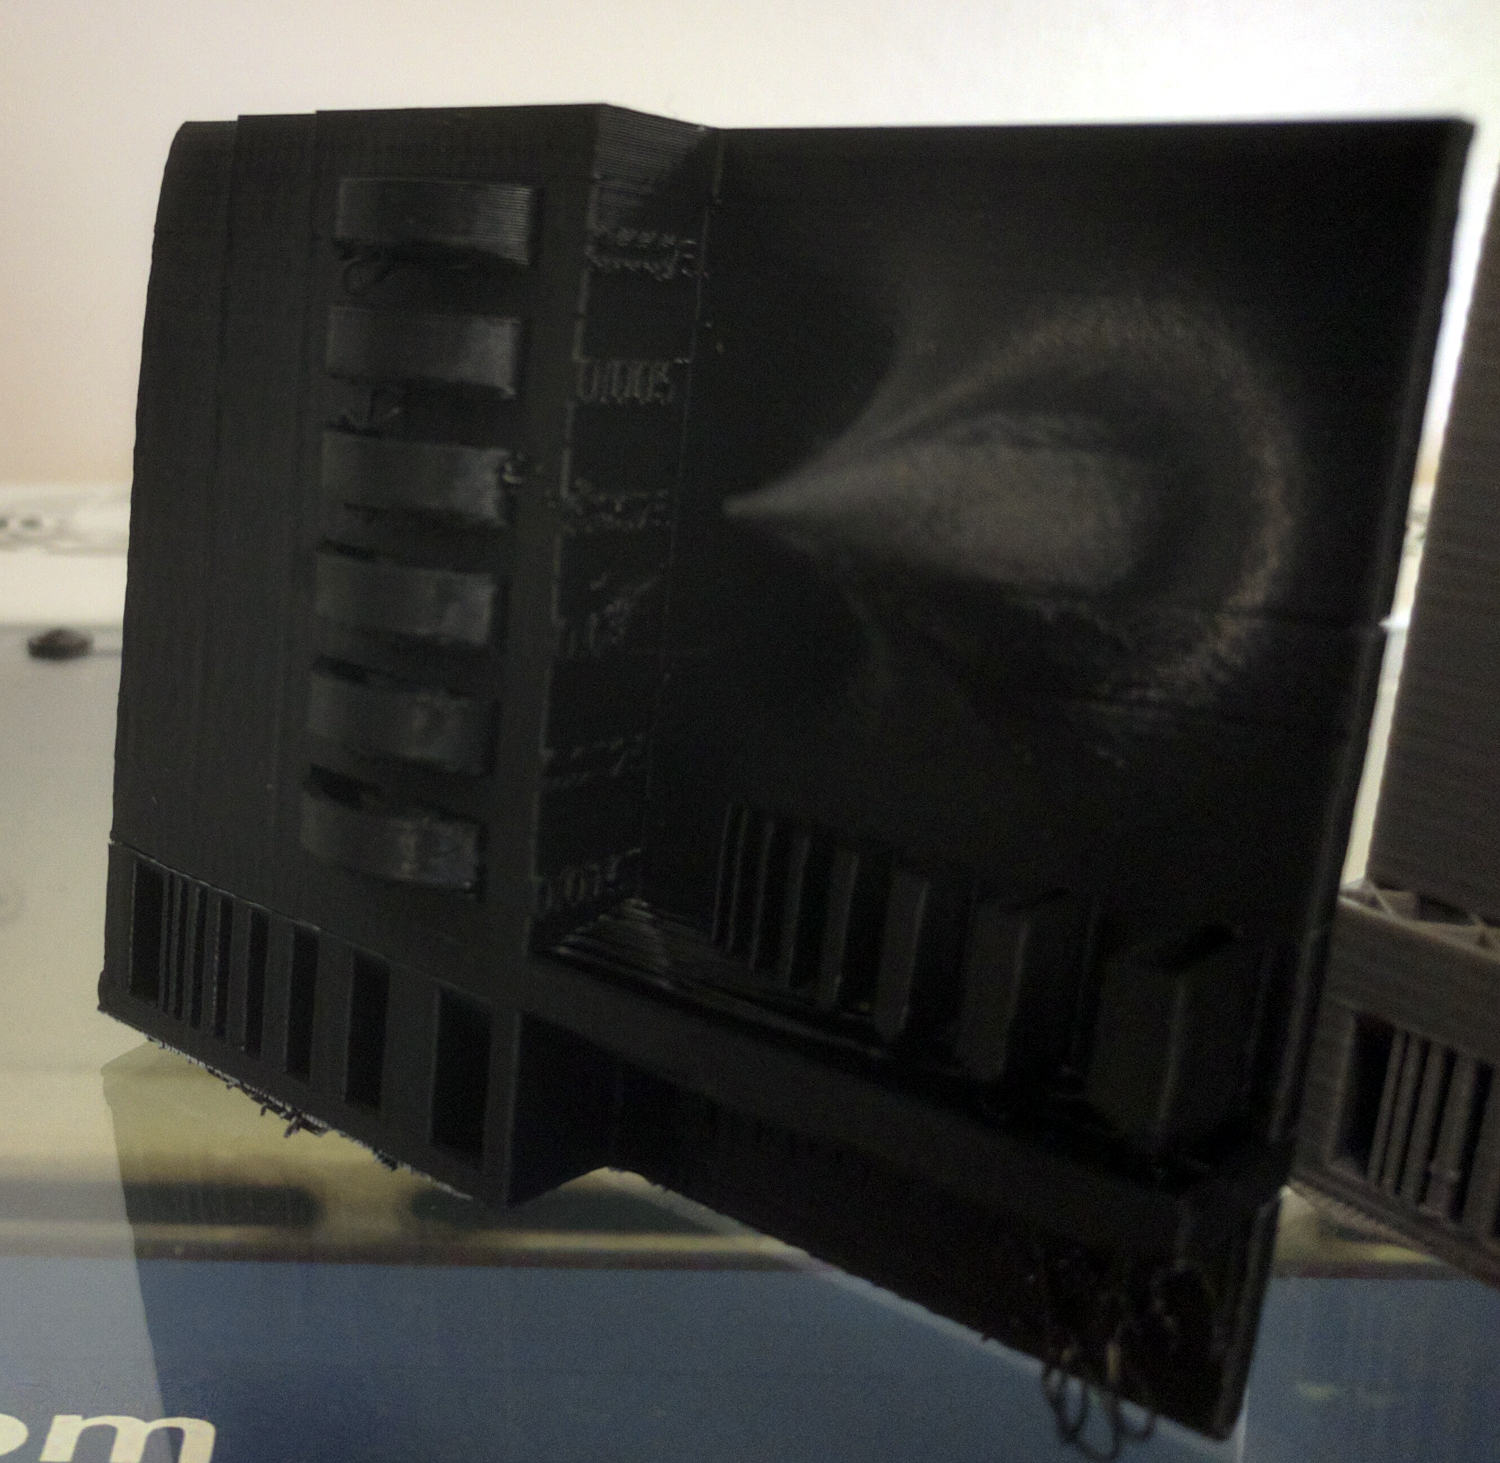
I printed the model out on both the printrbot play and the Rostock Max V2, ending up with nice models from each! A reduced triangle STL is available at this link
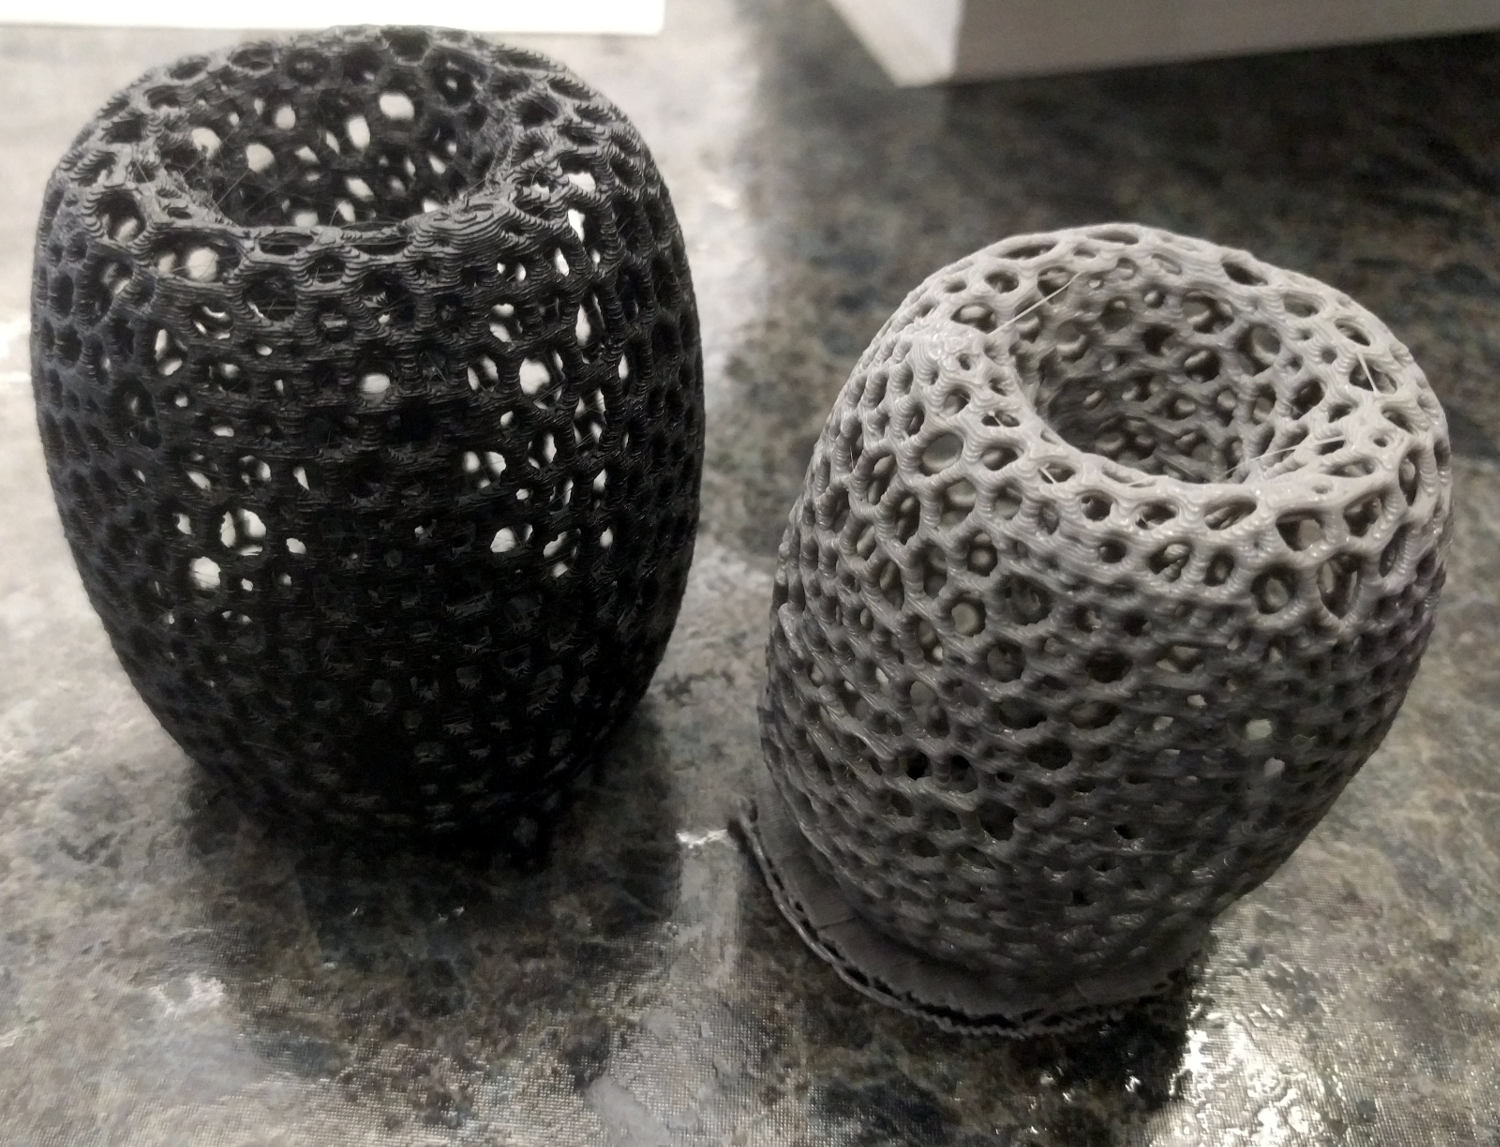
The grey is from a Printrbot Play, the black from a Rostock Max V2.
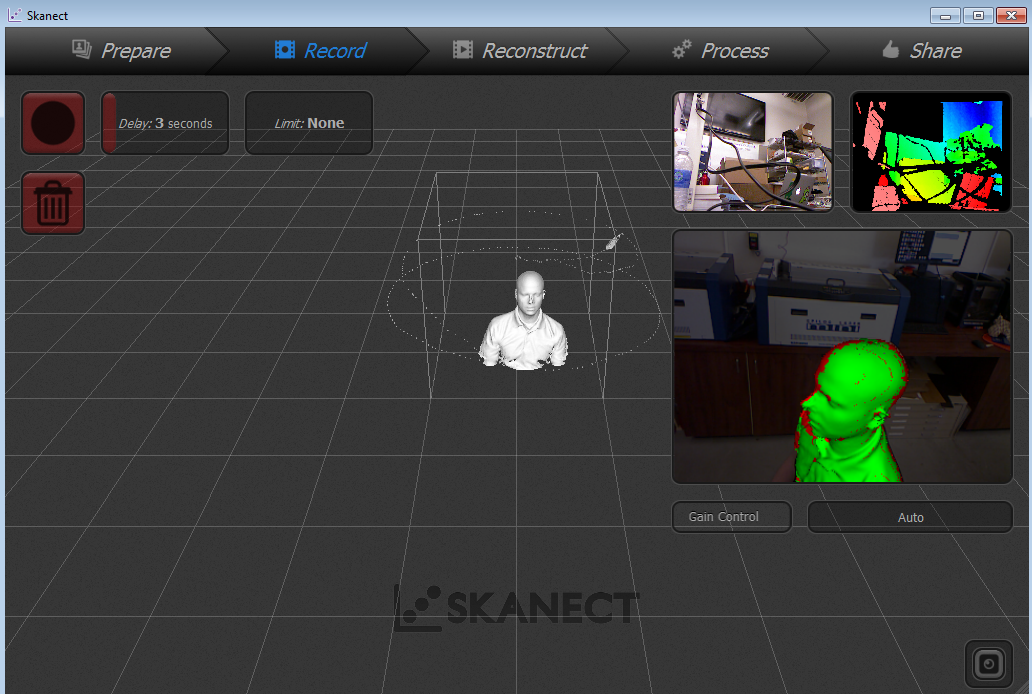
3D scanning
In our lab, we 3D scan with Xbox Kinects and Skanect. It works extremely well for large items (like people) and has a pretty low learning curve, so we often have full classes of children scanning each other at the same time!.
An example scan of myself is available here.