Week 3
Computer-Controlled Cutting
The third assignment for this course is to make a press-fit construction kit using the laser cutter and to experiment with the vinyl cutter
Press-Fit
I have many fond memories of playing withK'Nex as a child. The defining feature of K'Nex are the long, thin connectors that enable large, rigid constructions to be put together rapidly. I have also been experimenting with repeating patterns like sin waves in my personal art lately, so I decided to combine those two concepts into my press-fit kit
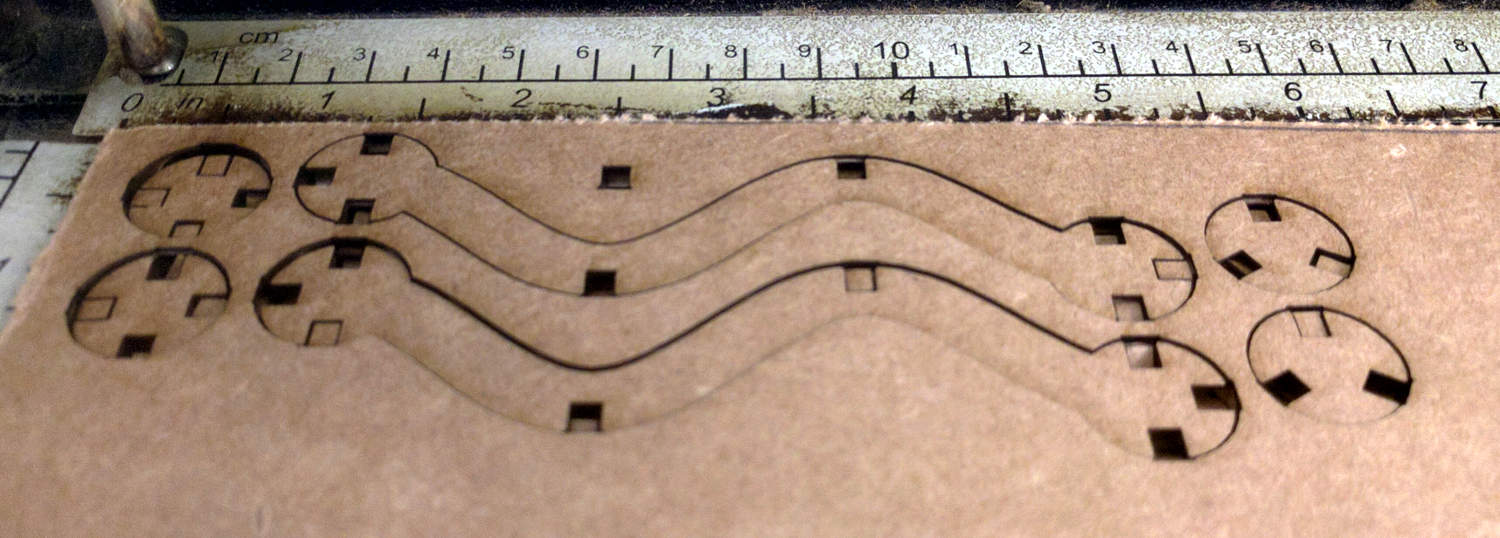
I started out with a basic sine wave drawn in Inkscape. I then added a small circle on the ends of the wave and cut out notches at 90 degree angles around the circle and the peaks of each period. I created each notch using a clone of an original small box with integrated chamfers, which later proved invaluable. Check out my test here
Test Cuts
Initially they didn't fit!
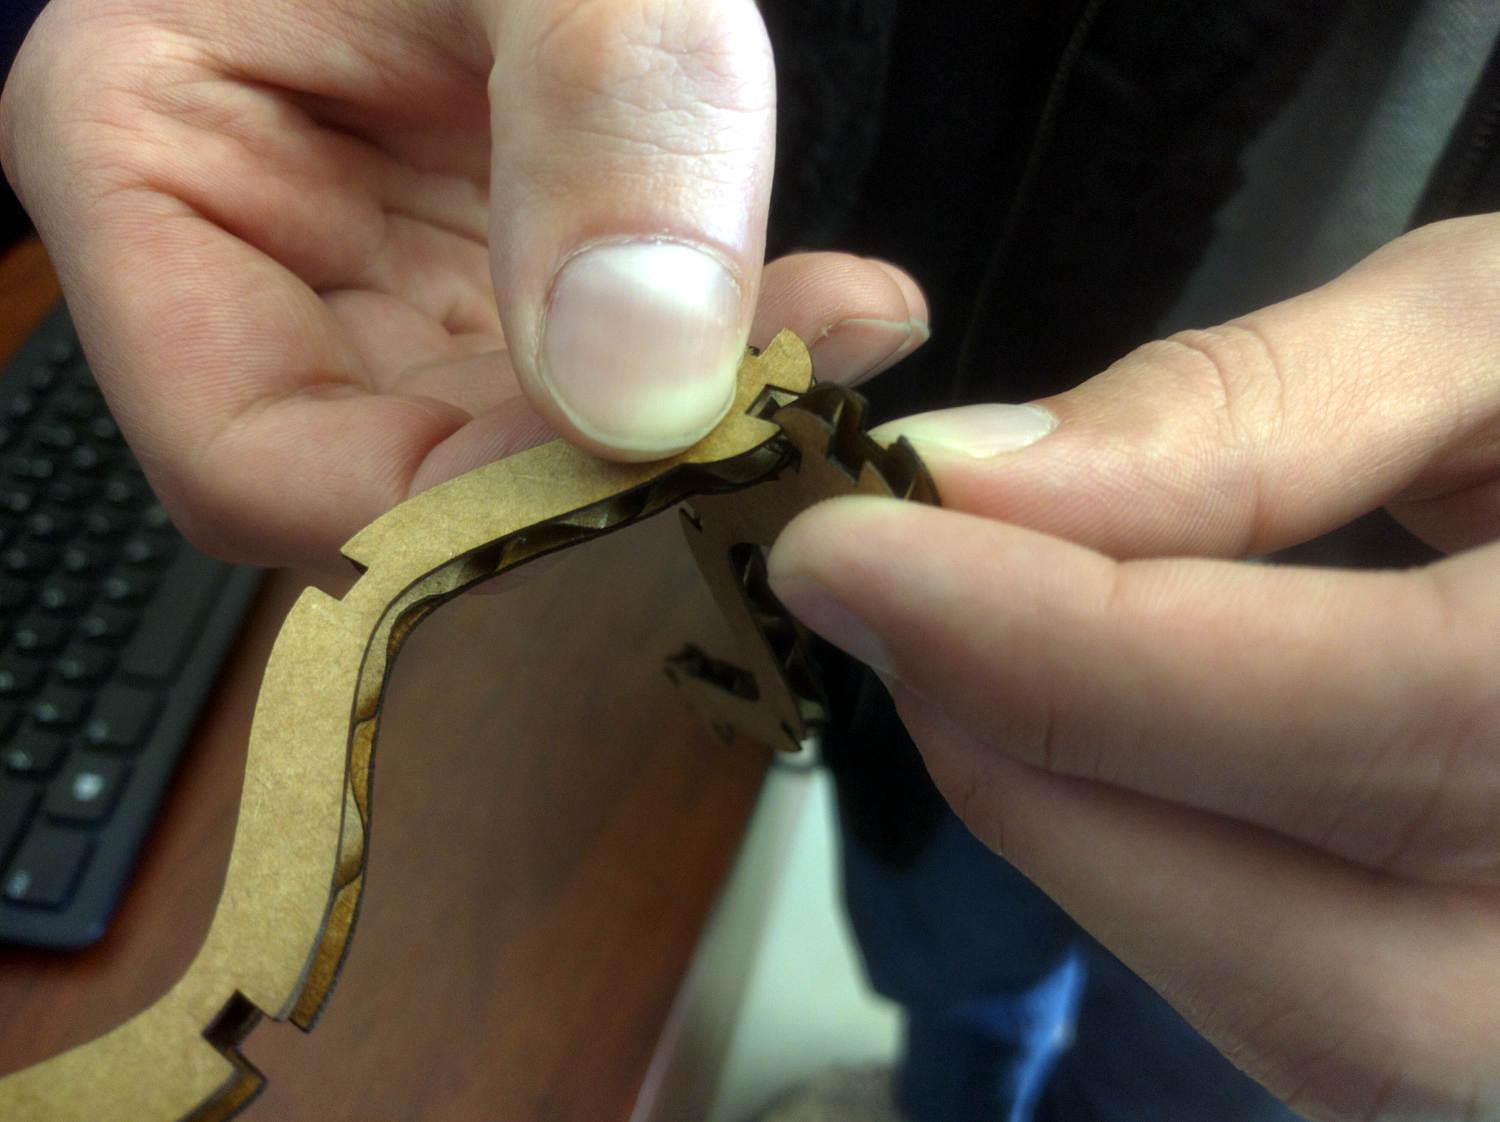
I increased the size of the cutouts and chamfers using the clone tool (thank heavens for parametric design!) and retested the cuts. My design file is available here
They worked!
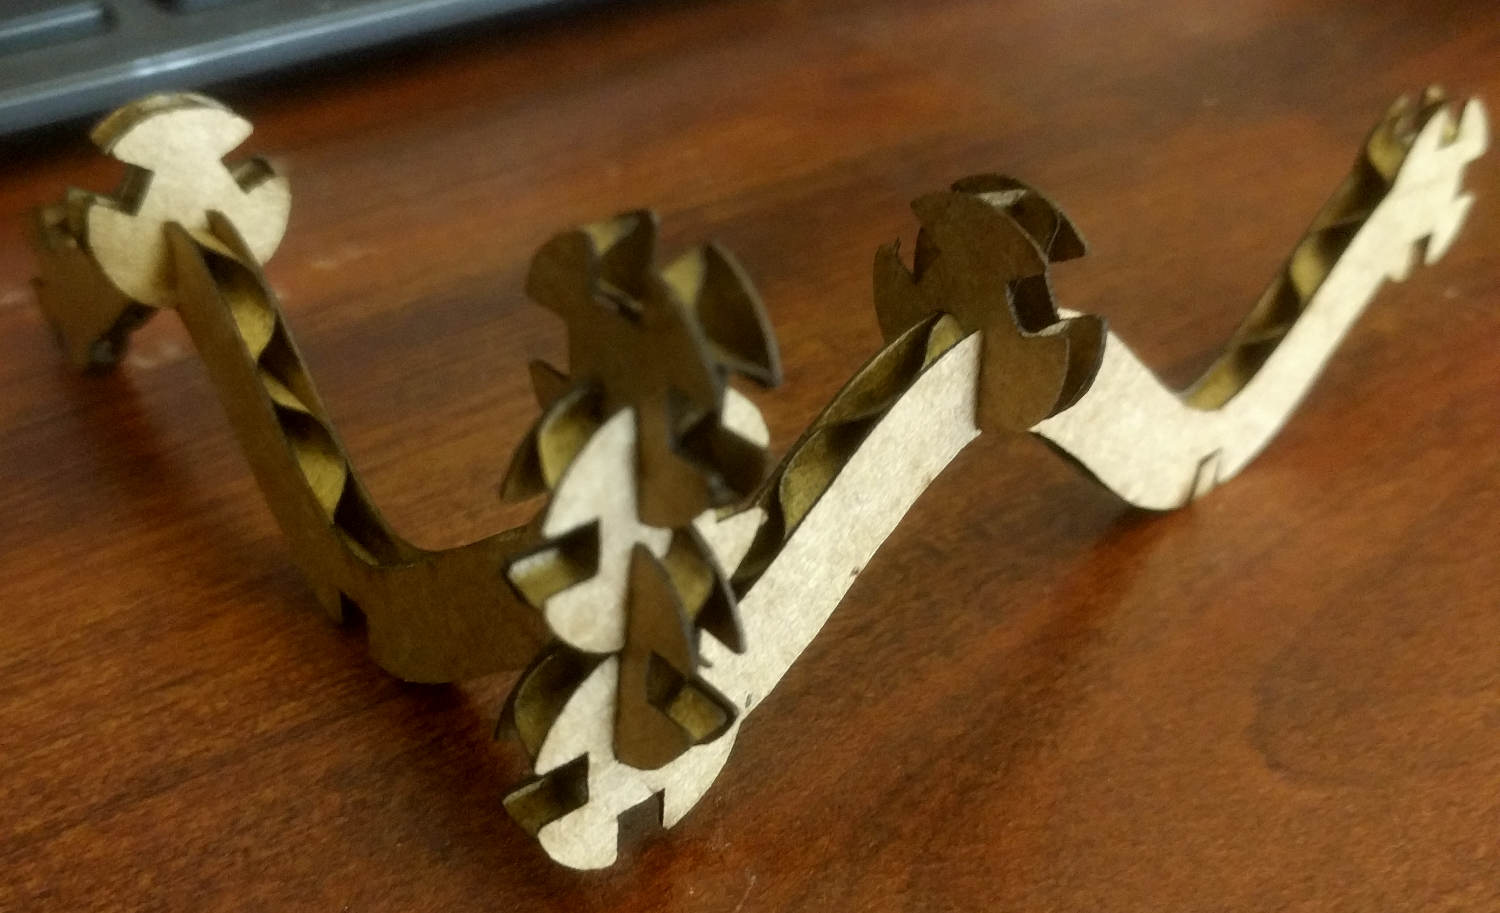
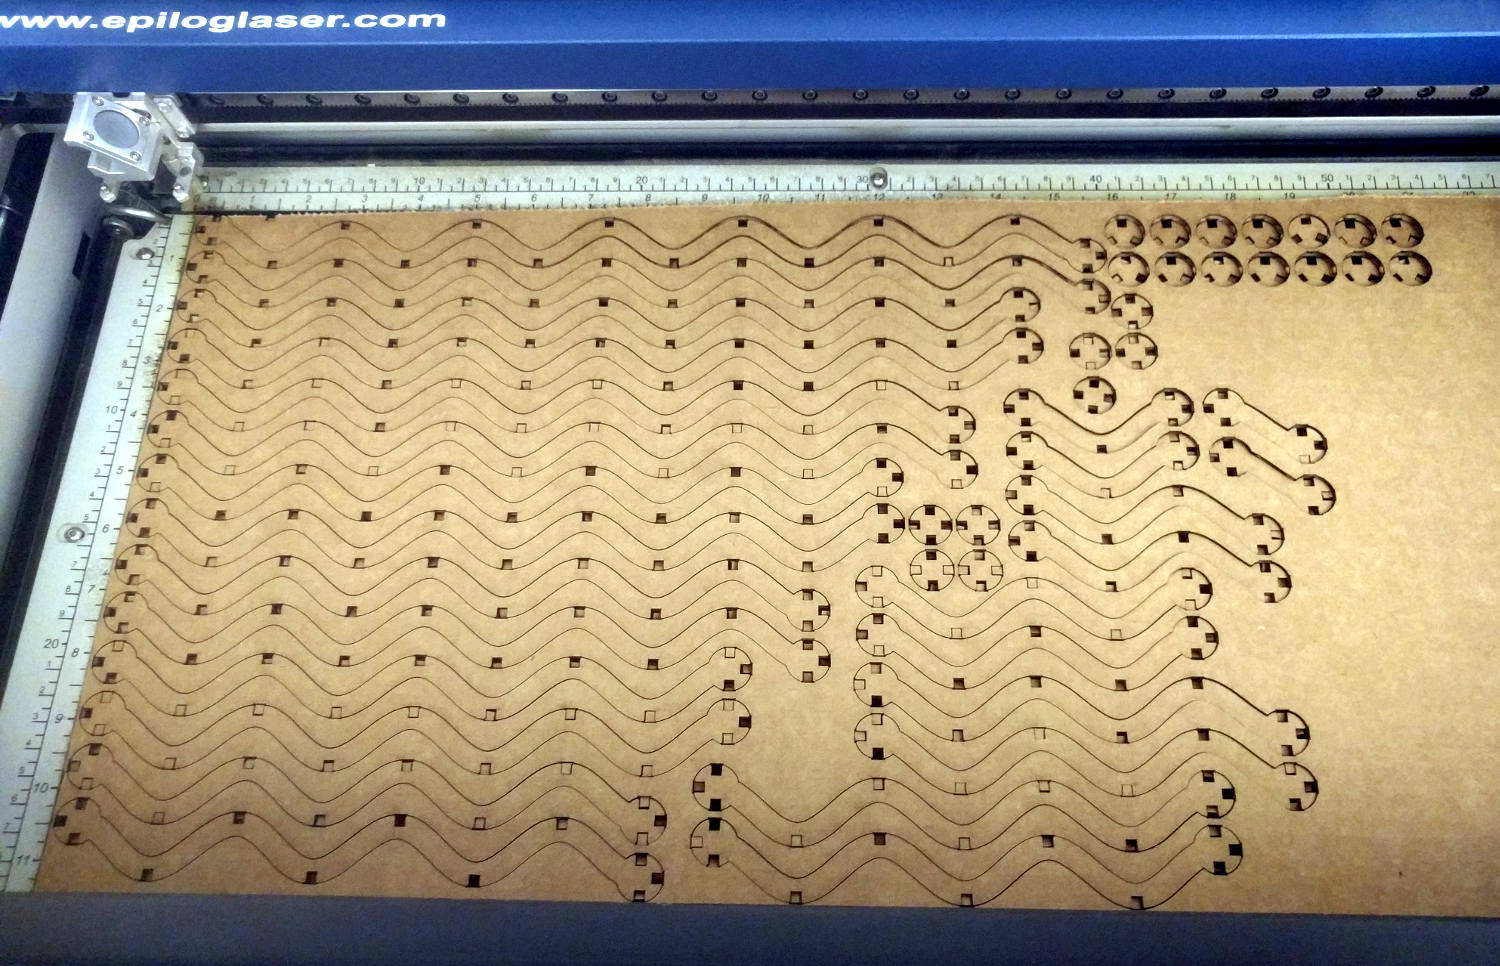
Finally, I cut out a full sheet and started playing around to build some fun things!
Our laser cutter is a standard Epilog 40W 24"x12" model common in many Fab Labs. Loading material is simple with the upper lid open, it is held in place by gravity and the auto-focus with the powered bed means we don't have to waste time with tweaking those settings. While I do almost all of my designing in Inkscape, it does not talk particularly nicely to the laser cutters (specifically, it sends all print data as raster information) so in order to actually cut something out, we save it as an intermediary .pdf file, open it in adobe reader and send it via the normal print dialog. Our Epilogs are relatively well dialed in, so we simply use the default feeds and speeds for both cutting and rastering objects.
Full sheet
I also experimented with generating this design in Antimony, requesting some help from Matt Keeter who figured out how to get the basic shape. Unfortunately, I ran out of time and have not been able to completely pursue this technique but I hope to have a chance to explore more in the future. The design file is available here
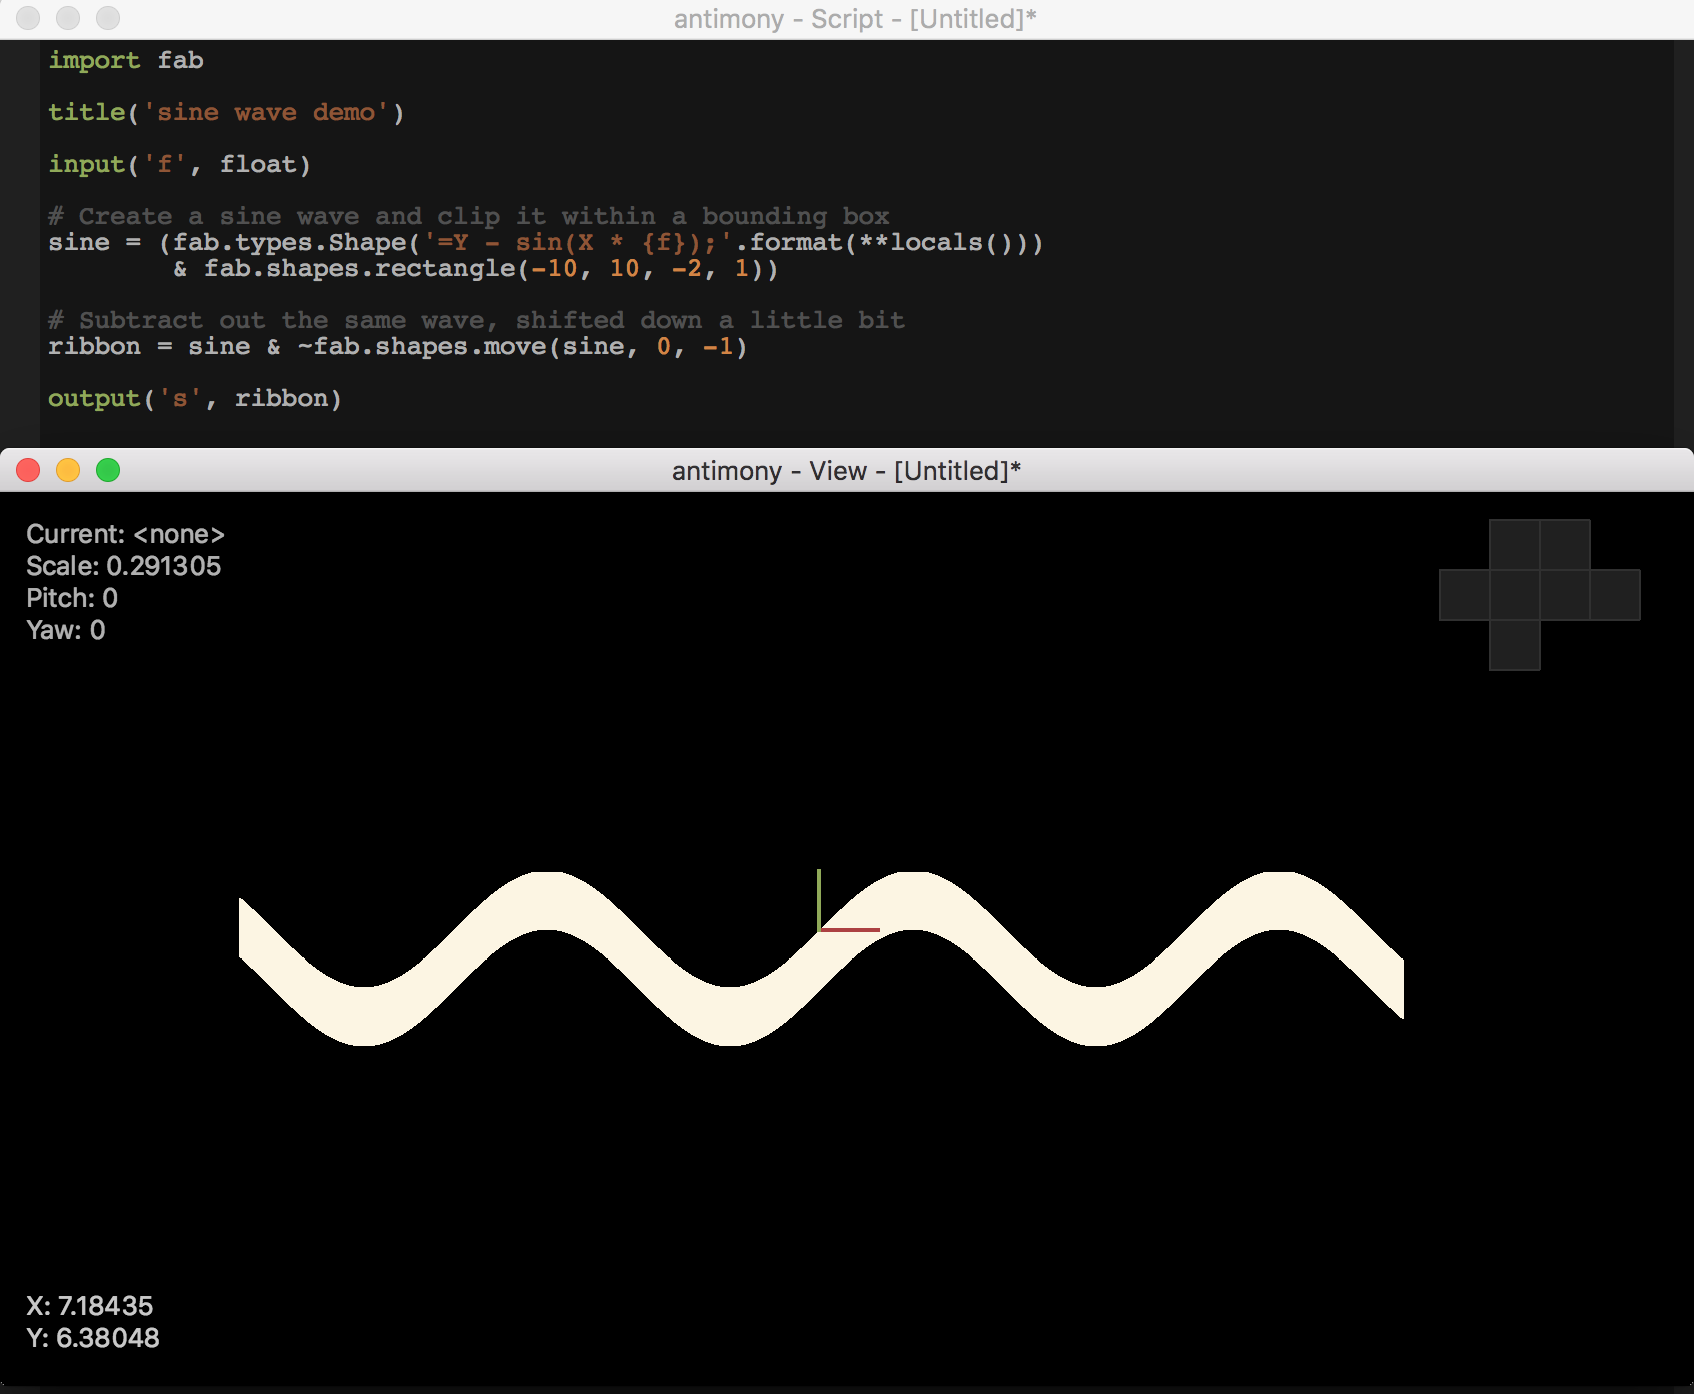
Antimony Sine Waves
Vinyl
Without question, my favorite tool in the Fab Lab is the vinyl cutter. You can make some absolutely beautiful pieces with a vinyl cutter and they are wildly fast, so the prototyping cycle is much quicker with it as compared to other machines.
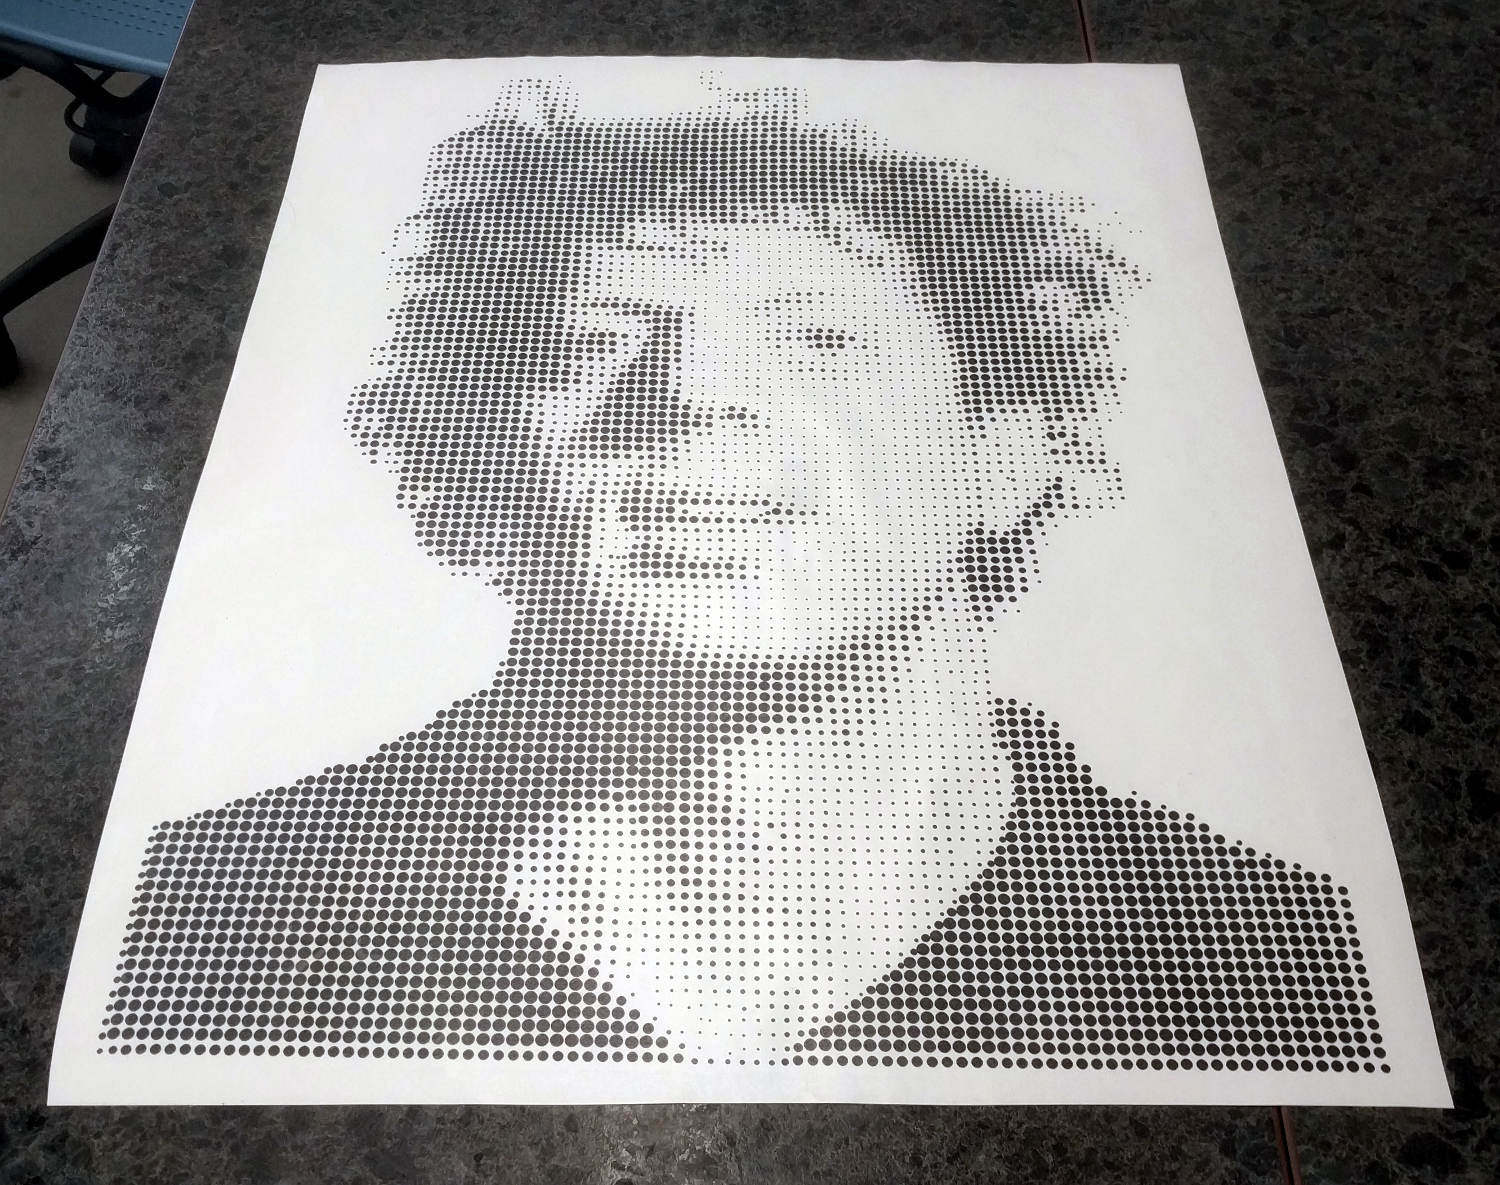
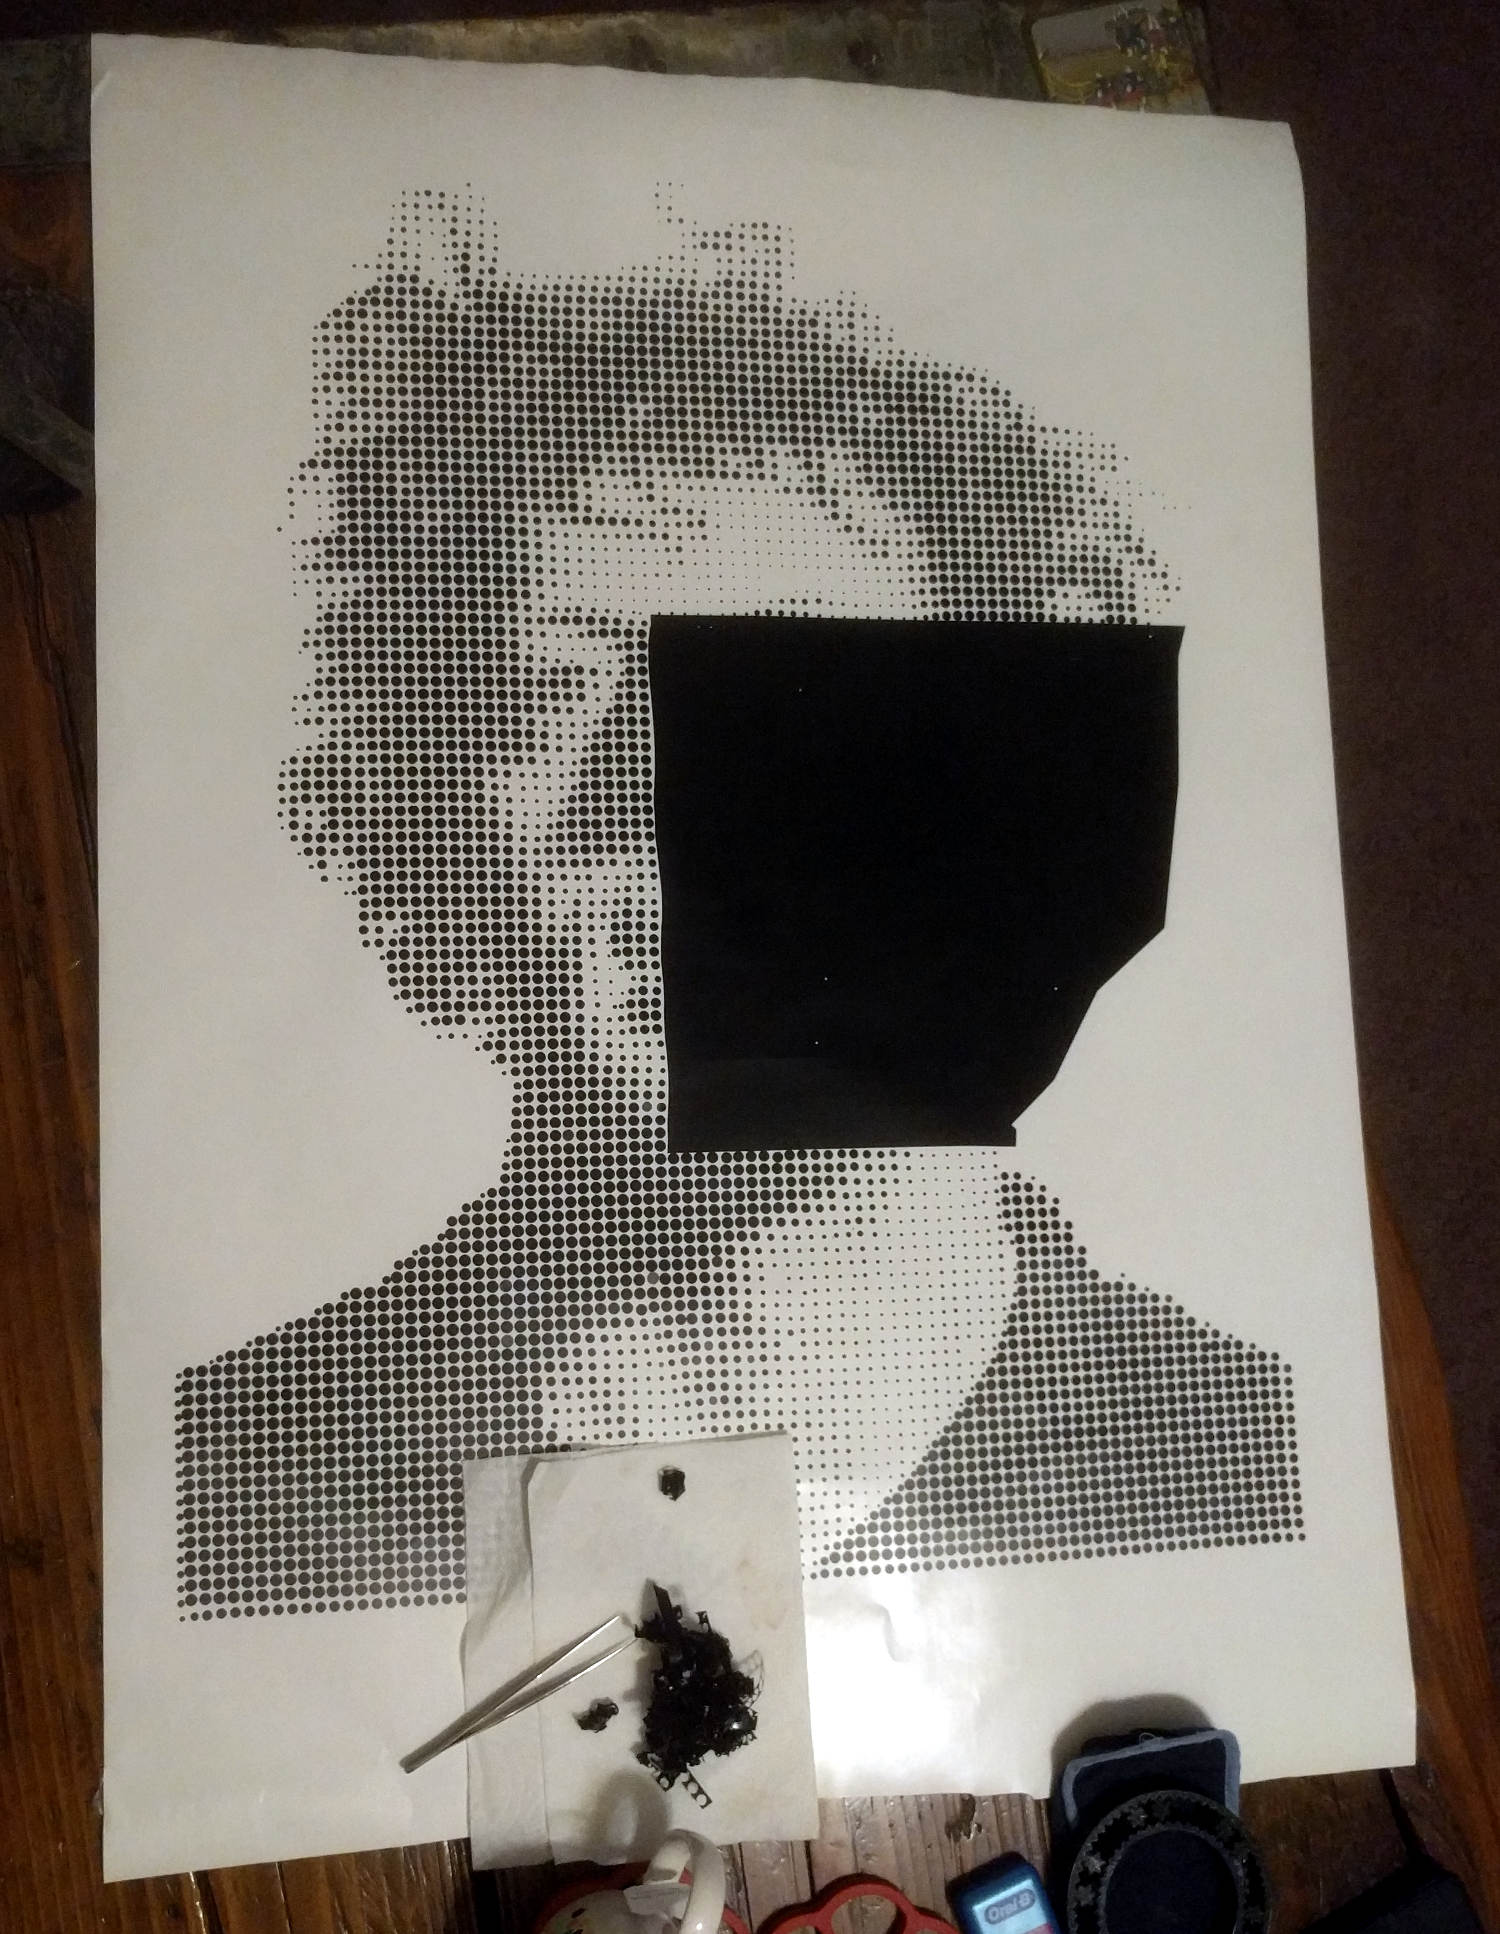
In particular, I love making recreations of famous art pieces with the vinyl cutter. In the past I've focused on Roy Lichtenstein pieces. Neil's discussion of halftone operations on the laser cutter reminded me of Chuck Close's work. This got me thinking and I took it upon a challenge to myself to recreate a famous painting of Philip Glass by Chuck Close in halftone on the vinyl cutter.

"Phil" - Chuck Close, 1969
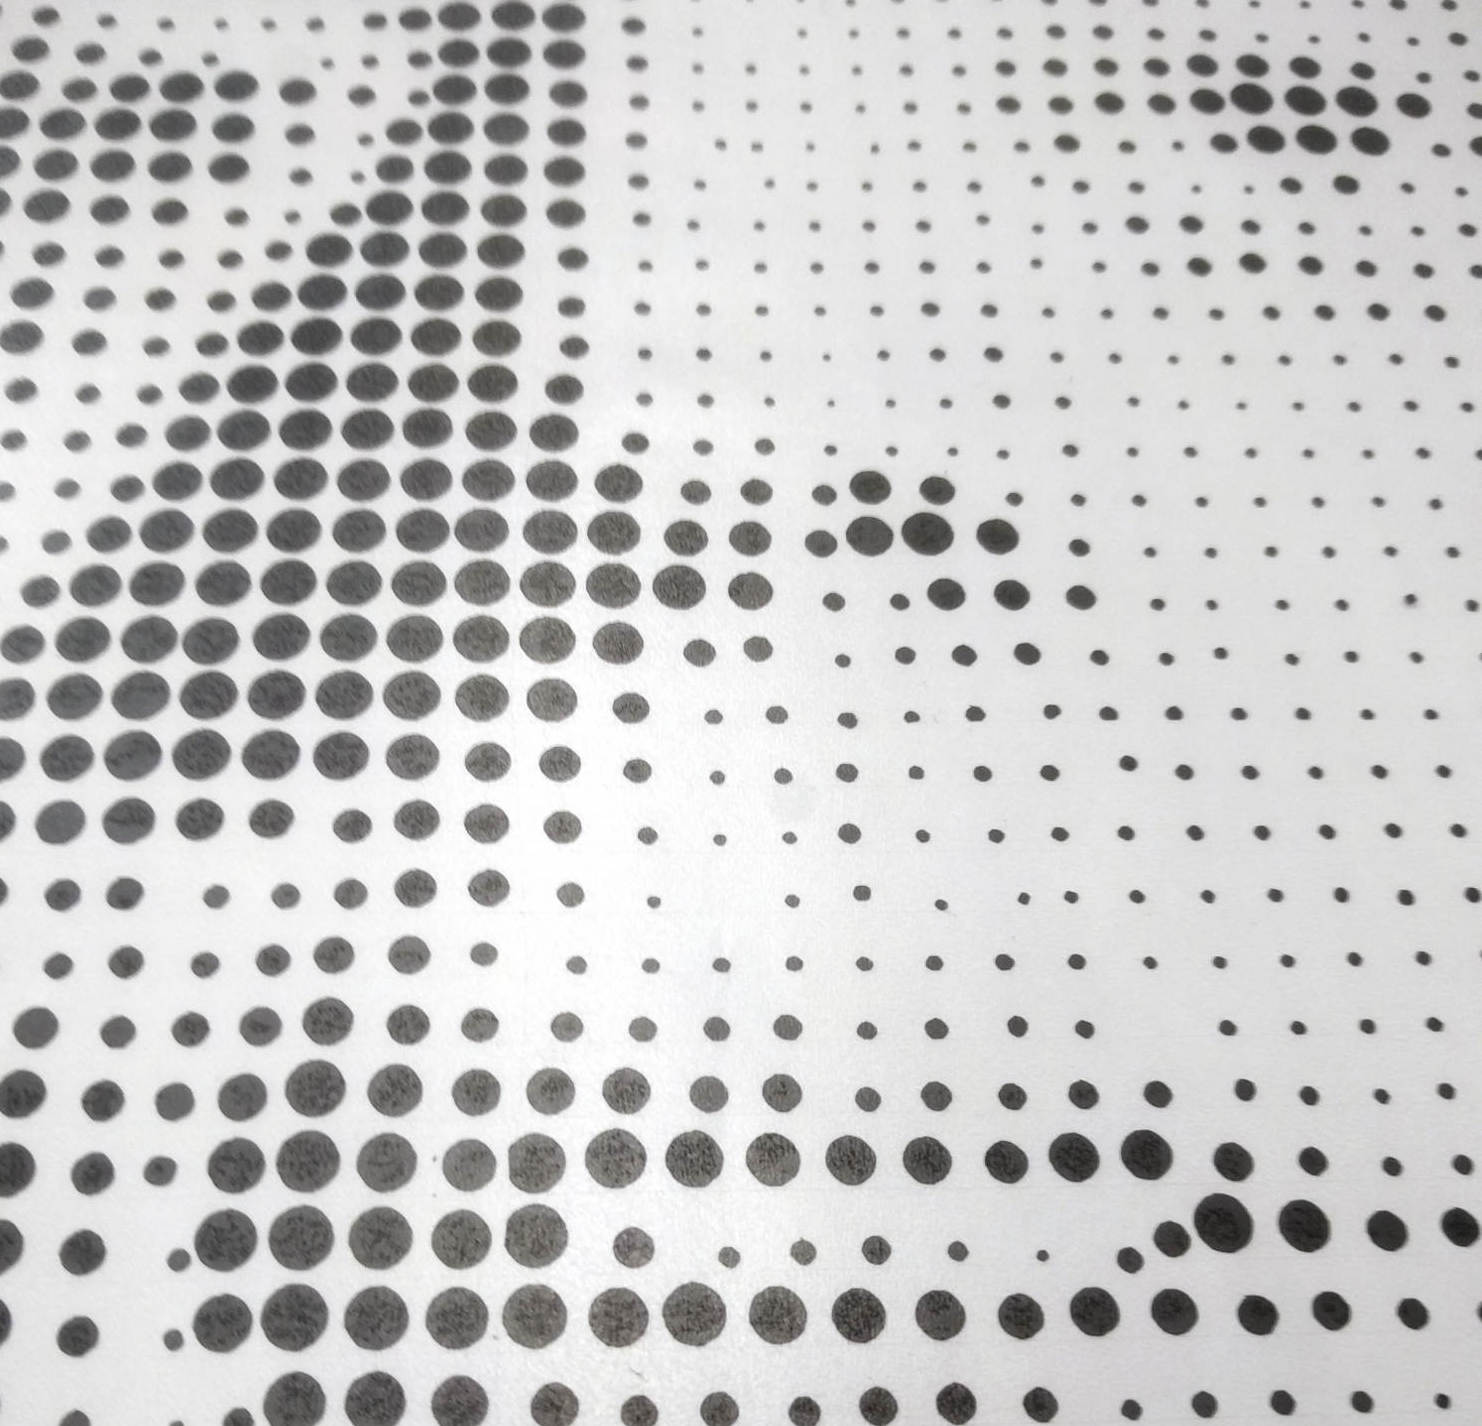
I first tweaked the image a little in GIMP to increase the contrast, then used the tiled clone/trace tool in Inkscape to produce a halftone image based on the original
I then took the raw svg file ( Available Here.) and tried to use the Fab Modules to cut it out. Unfortunately there were some errors, I believe due to the incredibly complicated paths. Instead, I converted it to a high resolution png file and allowed the Fab Modules to trace the image and generate the paths on its own. This worked and the resulting cut took approximately 2.5 hours to complete!
Weeding this sticker was quite the adventure, but one trick I have developed is to segregate each section while weeding. The most frustrating part of weeding a large sticker is when you accidentally drop the weeded vinyl onto the remaining vinyl, wrecking the complete design. I separate the sections by manually cutting lines in between each section.

Lines for weeding
Partly weeded decal
Weeded detail
Once finished weeding, it can be difficult to get transfer tape onto large decals. I find it is easiest to apply the decal to the transfer tape rather than the other way around.
First cut the tape to size and affix it to the table, sticky side up
Then apply the decal upside down onto the tape