Week 1
Principles and Practice
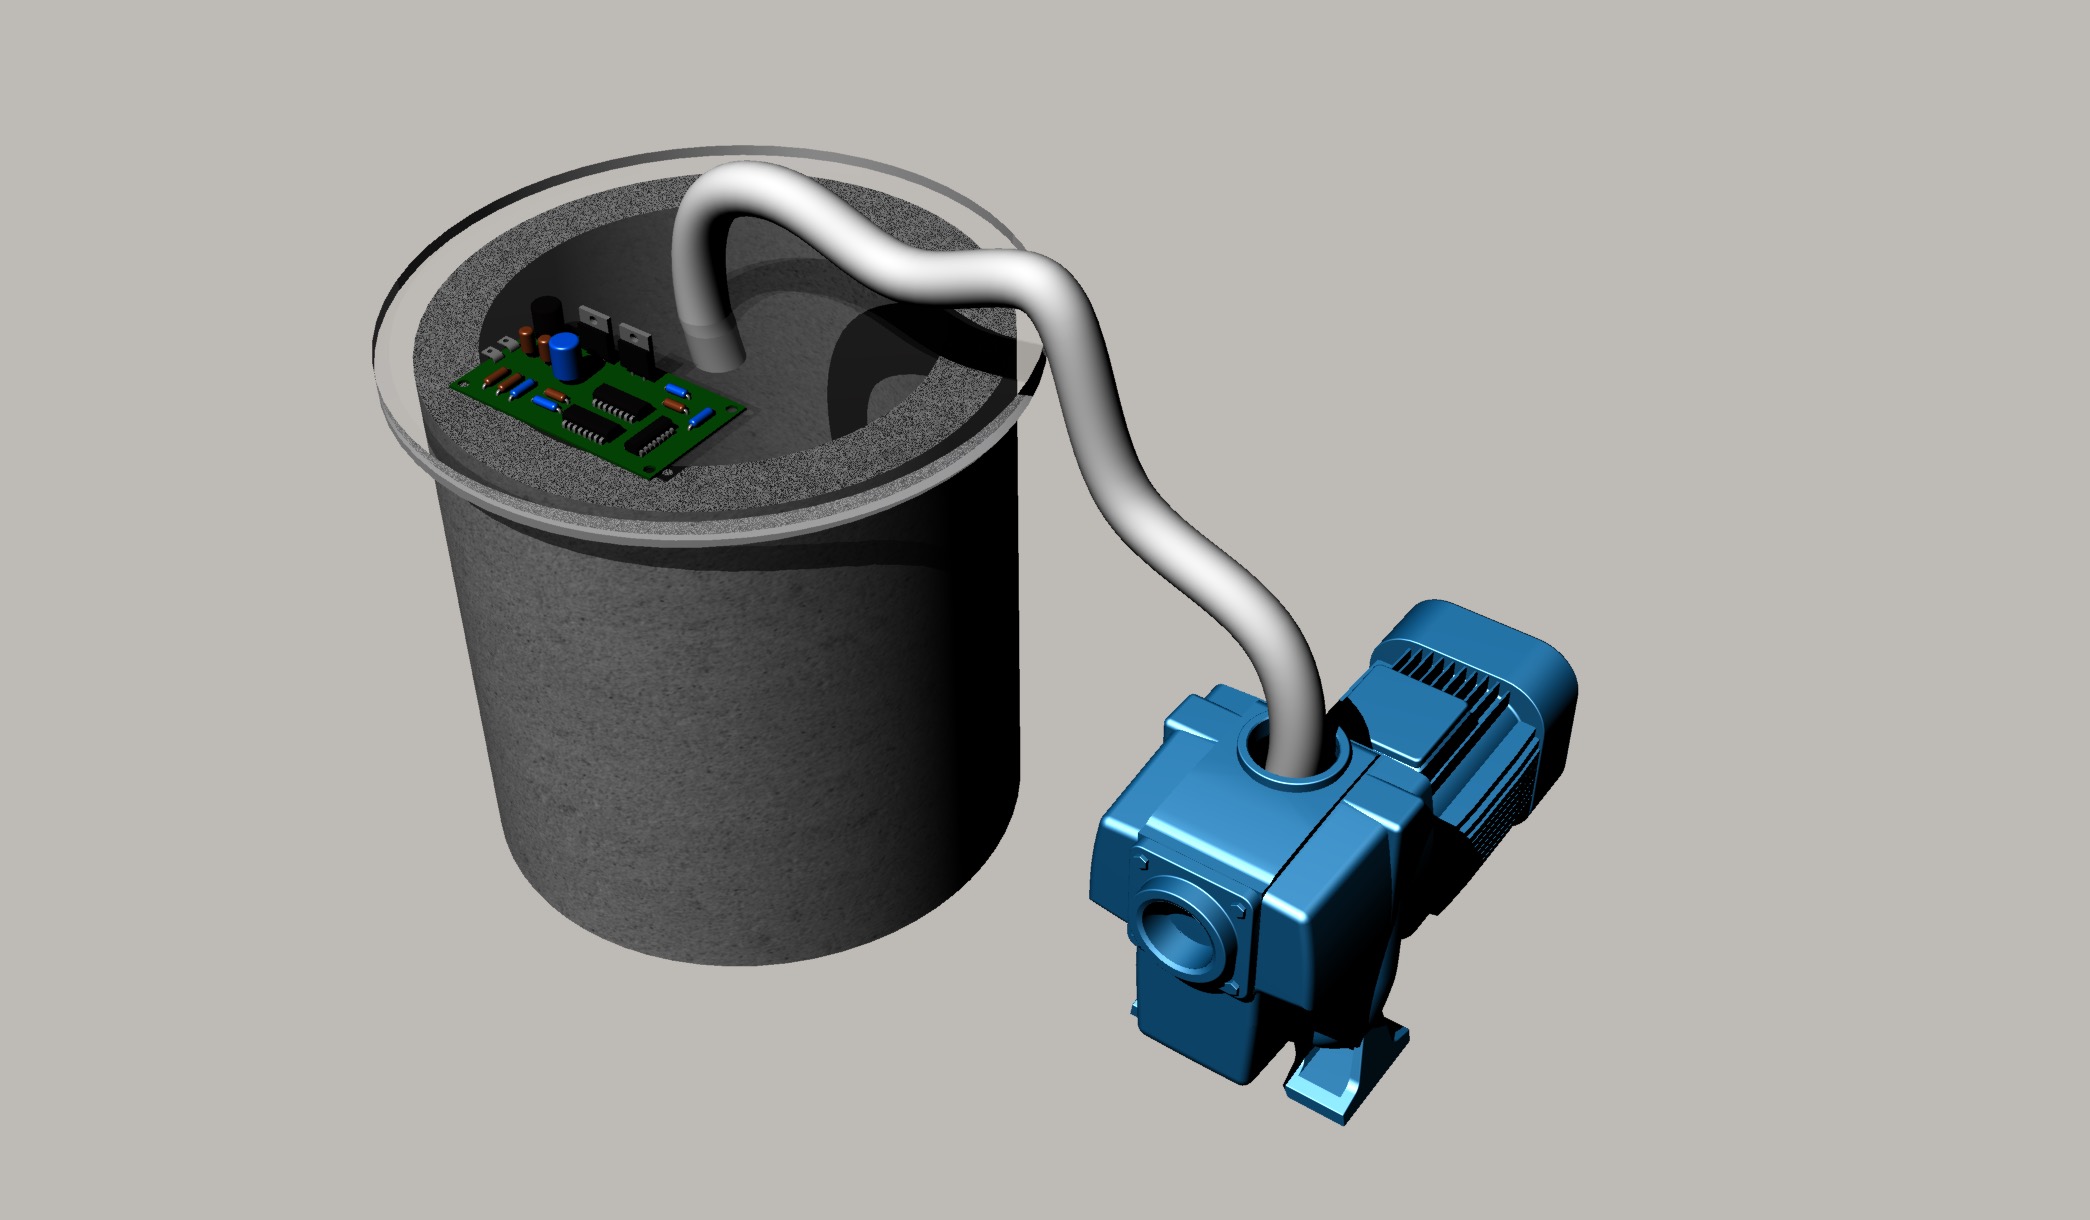
The first assignment for this course is to come up with a rough project proposal. I am proposing to make a smart/connected vacuum chamber, with as many of the components capable of production in a Fab Lab as possible.
The vacuum chamber fulfills two niche applications in Fab Labs. Each improve the quality of items made in the Fab Lab and one improves the sustainability of labs.
1) Vacuum chambers can be used for degassing molds. Bubbles are a common problem in molding and casting (particularly with clear compounds) and eliminating them can be quite a headache. The easiest way is to put the casting in a vacuum chamber after pouring and let it cure under vacuum. This way, the reduced air pressure forces the bubbles to grow and ultimately rise out of the cast model.
2) As Fab Labs become more self-sufficient and produce things made from locally-sourced products, labs will inevitably be interested in utilizing locally sourced wood. Unfortunately, freshly cut green wood can damage equipment and products made from green wood can fail due to shrinkage or cracking as the wood dries to match the ambient humidity. Commercially sourced wood is dried in massive kilns over the course of days or weeks. Equipment like a building-sized kiln simply is not within the scope of a Fab Lab. As an alternative, some people use vacuum chambers to dry wood. In a vacuum chamber, the boiling point for water is extremely low, so any water trapped in the wood will readily evaporate at ambient temperatures within a few hours.
Traditionally, vacuum chambers have fallen into two categories: expensive or dangerous. As the surface area of the chamber increases, the overall pressure put on the unit increases rapidly. At sea level, this pressure approaches 14.7psi/101.3KPa. A surface area of only 2 square feet/0.19 square meters would exert a force greater than the weight of a standard car! Thus, even relatively small chambers, large enough for a few small planks of wood or a few molds, must be extremely strong.
Commercially available chambers tend to be made of thick-walled metal extrusion, similar to large pressure cookers or very large diameter pipes. While fabricating the chamber from one of these components will remain an option, I would like to produce the pressure chamber from standard Fab Lab materials (such as Hydrostone/Drystone.)
Finally, I would like to incorporate various sensors and microcontrollers into the project to enable remote monitoring and control. Planned electronic components include a pressure monitor, temperature monitor, wood relative humidity monitor and automated vacuum pump control (to turn on/off when pressure levels hit a certain trigger and save electricity/pump life.)
References:
Vacuum Degassing Molds by Smooth-On
Wood Drying Wikipedia
Kiln Dry Lumber At Home Instructable by buildalongwithbrian
Vacuum Kiln Instructable by CWKr
Project Management
The second assignment for this course is to setup a website and experiment with git and mercurial for project management. Instead of reinventing web design, I used a freely available, responsive HTML5 Template called "Prologue" from html5up.net. Hopefully it looks great on any device!

The Raw Template
I have been designing webpages and basic mobile apps in HTML for several years and prefer manually editing the code over struggling with wysiwyg interfaces. My favorite text editor when I'm on a Mac (as I am now) is TextWrangler.
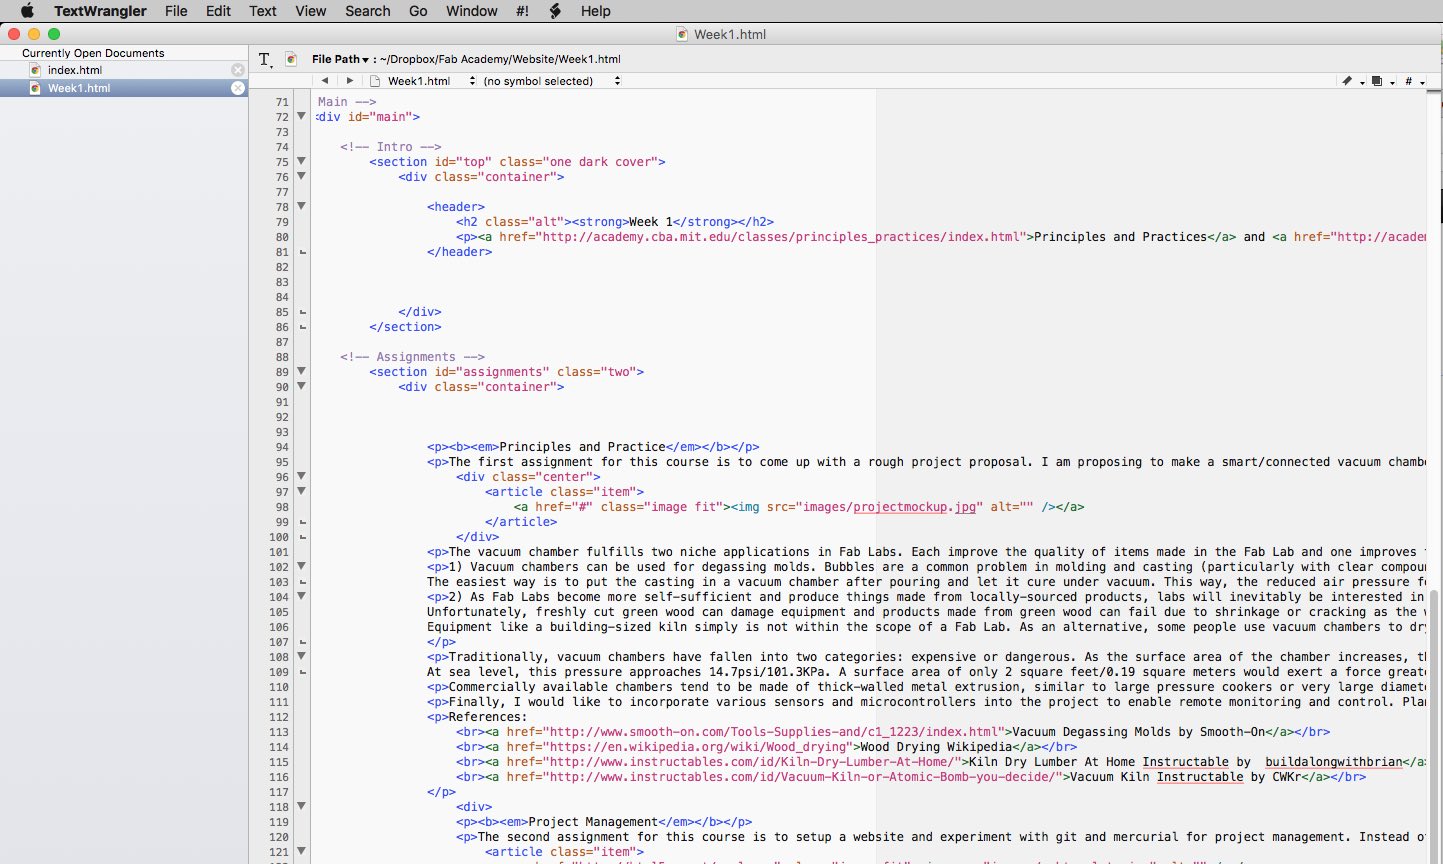
Text Wrangler
I've been keeping all my files locally and when I want to preview the site, I just open the index.html file in my browser.
Git & Mercurial
I have played with Git in the past (check me out on github!) But haven't spent any time with mercurial. After going through the tutorials, I definitely prefer git (if only because I am used to the commands!) and plan on continuing to use it throughout Fab Academy.
I'll plan on working with my website in a local folder and then syncing to the fab academy repository via git. The process for doing this will be:
- 1) Transfer to the git cloned folder on my local disk.
- 2) Sync with the remote repository using the "git pull" command in a cli
- 3) Add my new files to be synced using "git add *", with * representing all new files in the directory.
- 4) Commit my changes and annotate them with a message using "git commit -m 'message'" where message changes depending on the contents of the commit.
- 5) Physically send my changes to the repository using the "git push origin master".