3D Scanning and printing
Assignment:
1. Test the 3D printer2. Design and 3D print and object.3. 3D scan an object (and optionally print it).Test the 3D printer.
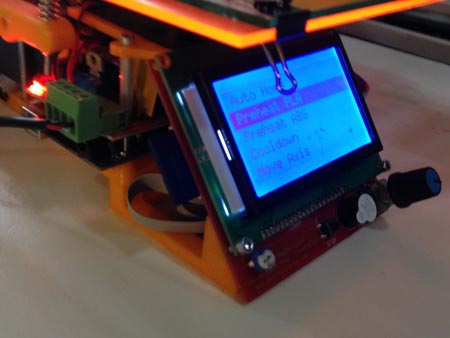
At the lab in Barcelona we have been printing with the Formbytes 3D printers:
The process of testing begins with a knowing the basics of the printer, the preheating and the cooling procedures.
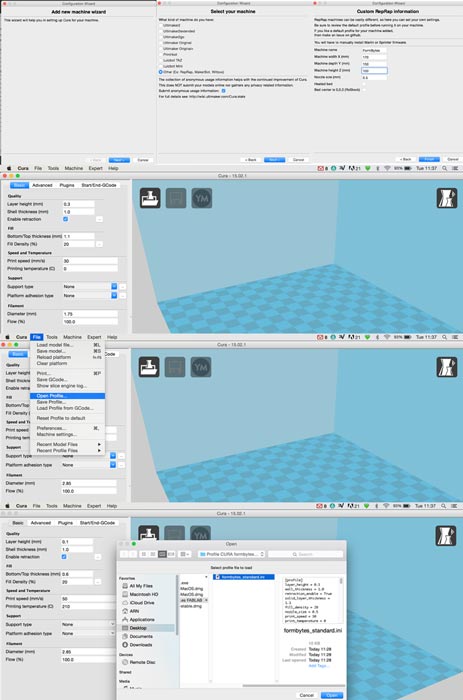
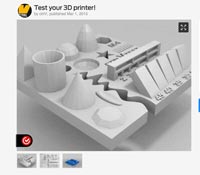
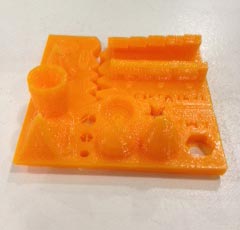
After knowing the basics is time to set up the Cura in the computer. For doing this we installed Cura 14.02, because the last version does not work well with the Fombytes printers. Then we loaded into Cura the standard.ini profile from the Formbytes website.With all setted up is time to try with the first test, for doing this we downloaded a file from thingiverse.comThat is the result from the Formbytes 3D printer.
The model took 53 minutes to print.
The printer has the axis mirrored because the firmware, the 0,0 in the Formbytes is on the top left corner. We should consider when printing, with Cura we will have to mirror our model befor generating the gcode file and send it to the printer. Size: the object is 4 x 60 x 60 mm (baseplate)
Hole size: 3 holes (3/4/5mm): Holes look good.
The letters and numbers are hard to read
Fine details: pyramid, cone, all numbers: The shapes look nice and smooth.
Rounded print: wave, half sphere: No split polygons, everything looks nice and rounded.
Minimum distance between walls: Good distance between walls.
Overhang: 25°/30°/35°/40°/45°: No overhang found on the test, maximum angle is 60 degrees.
Flatness: We found some warping in the pyramid corner.
The noozle is 200 units.
The fan speed is 35 units.
The acceleration is: 1000 units.
vxy-jerk: 15 units.
vz-jerk: +000.40 units.
ve-jerk: 5 units.
3D scan an object (and print it)
We have been doing different scan techniques:
Kinect scan it works great with big objects, we set up the Skanect software to body and scanned manually with the kinect moving the around the model. At first we had some problems with the movement and the detenction of the model. Perhaps because we were trying to do it a small object (15 cm).
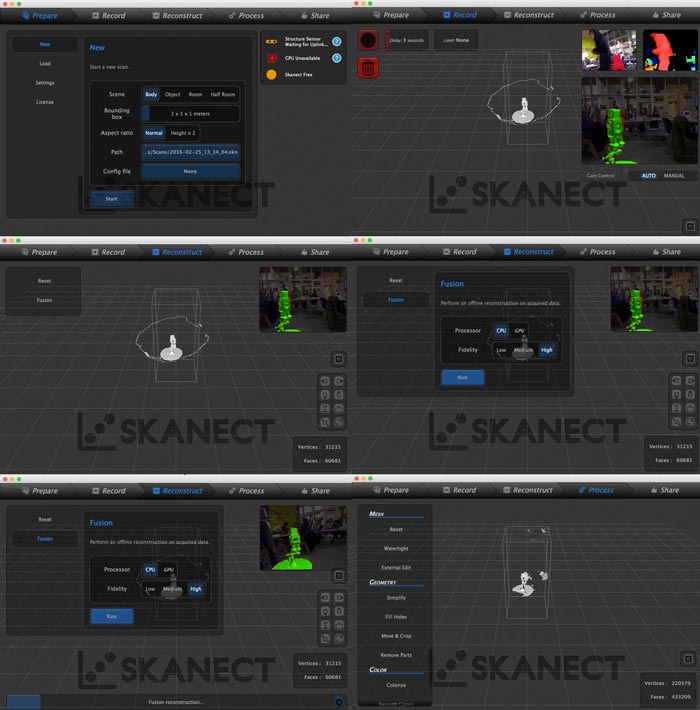
We were always dealing with this message. Doing the kinect scan manually is harder than it seems. The most precise method is with the CNC robotic arm, but it was alwyas in use.In the next image you can see the sixth screens of the Skanect software. The problem here is that we used the configuration as body, we forgot to set up as an object.
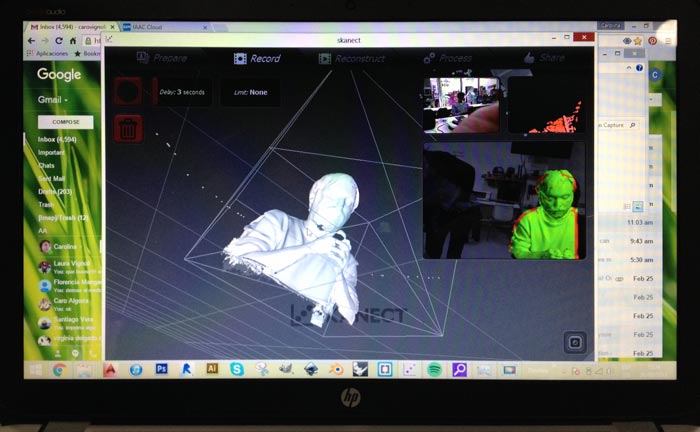
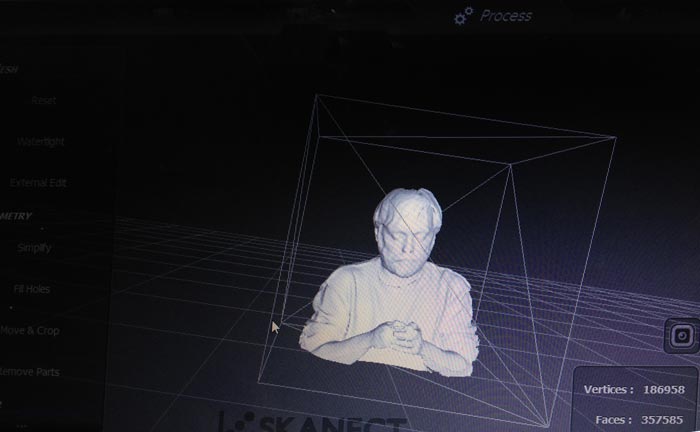
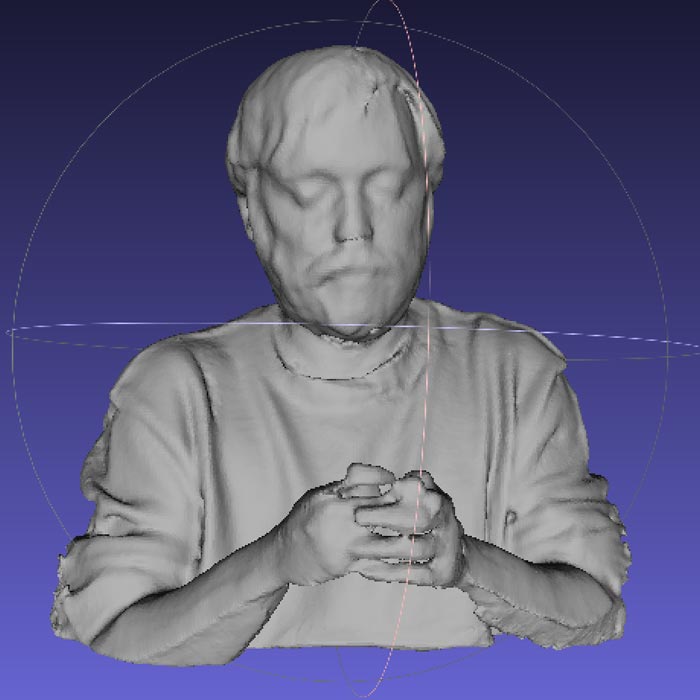
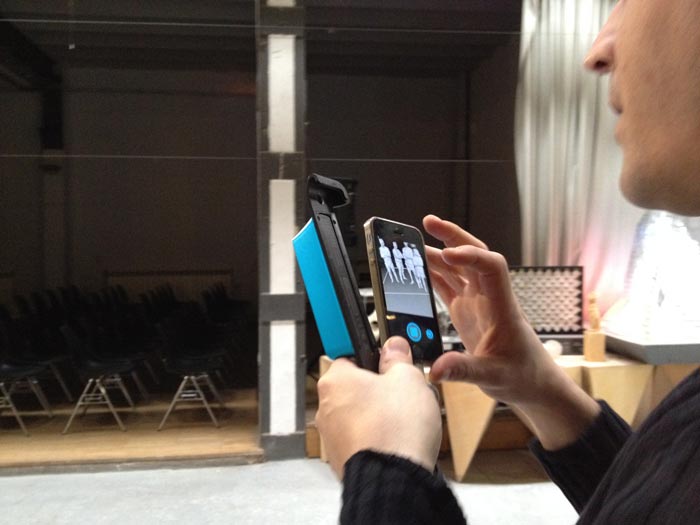
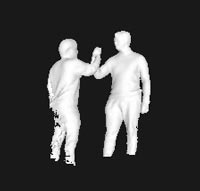
The next scan we tried scanning ourselves with the set up as body. This scan was easier and we had much less errors during the process. The mesh was quite realistic.The next image shows the mesh exrtacted from the Skanect & Kinect.Later we decided to try Donato's Structure scan. This is a really fun toy. For a few hundreds of dollars you can buy this scan, you plug it into your smartphone and scan around the object really fast, maybe is still a little bit innacurate.
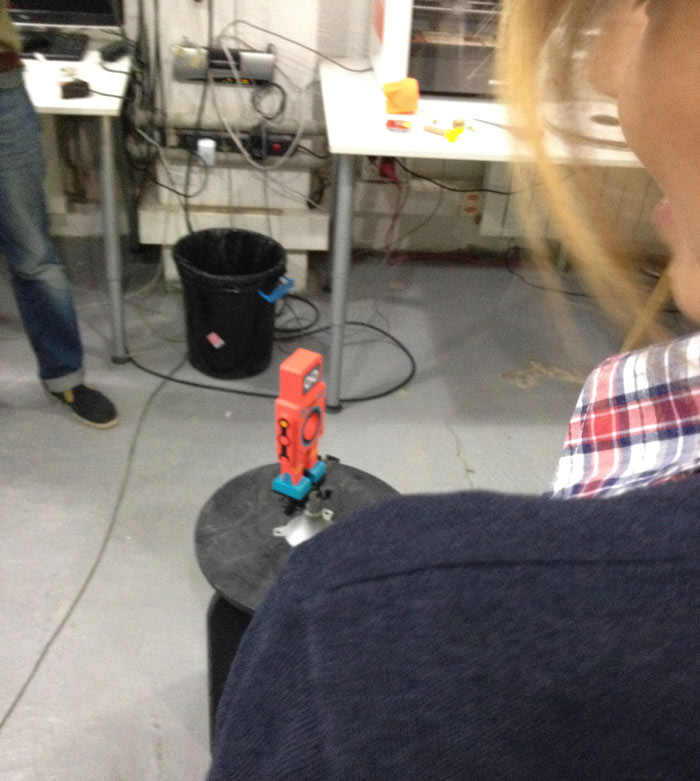
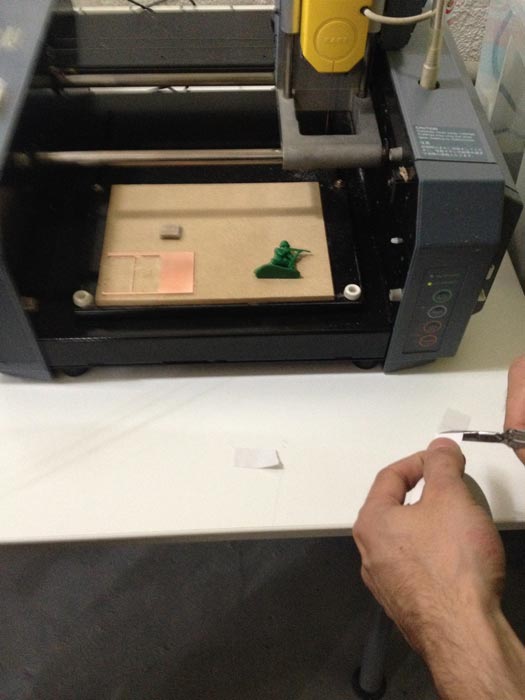
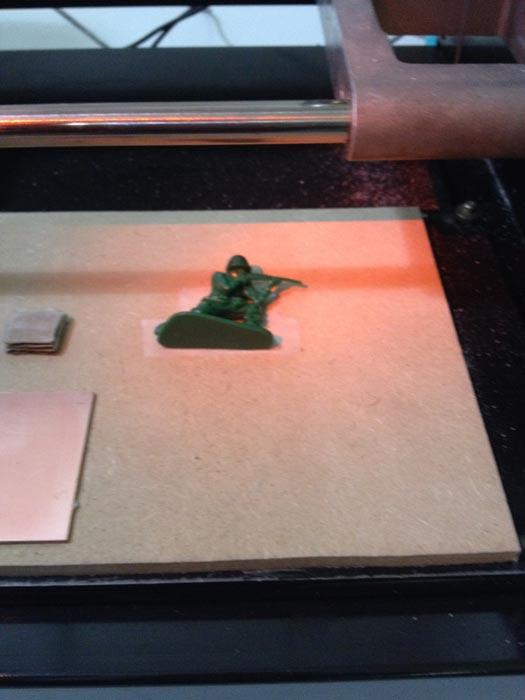
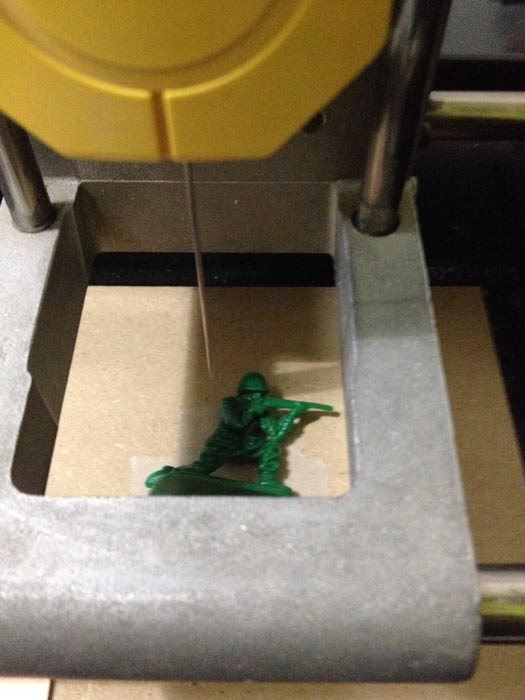
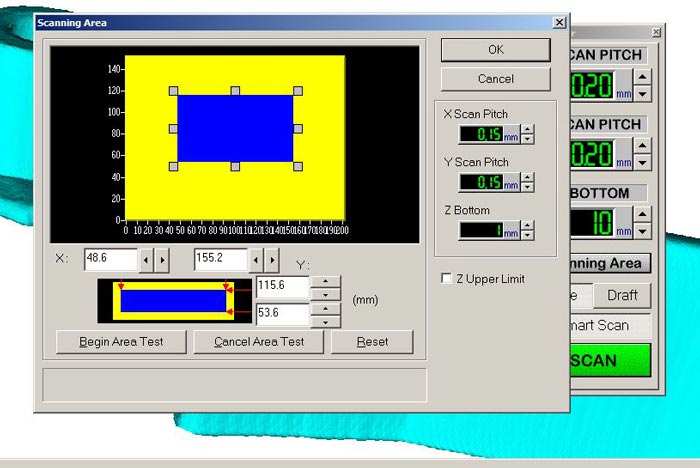
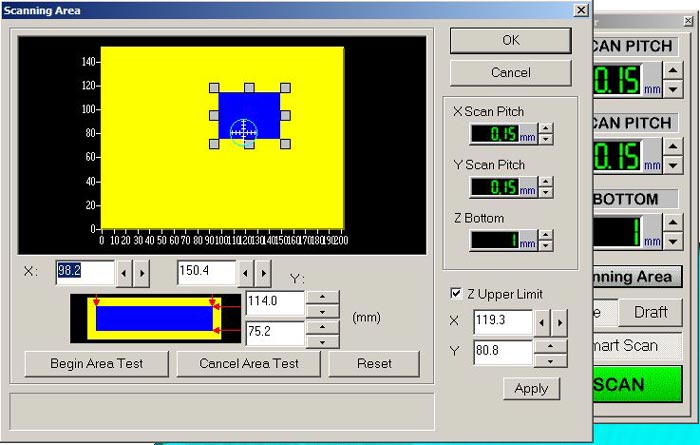
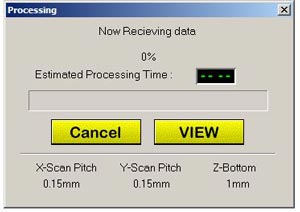
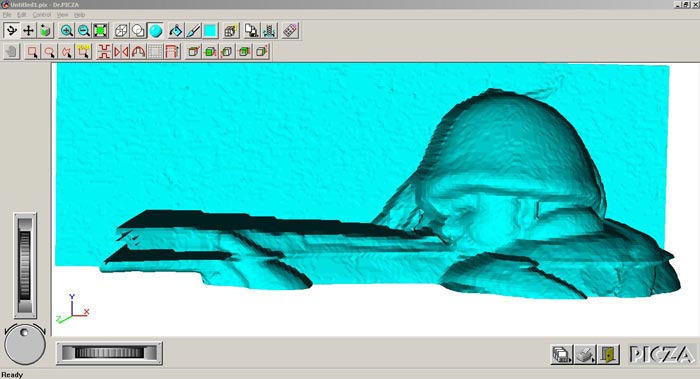
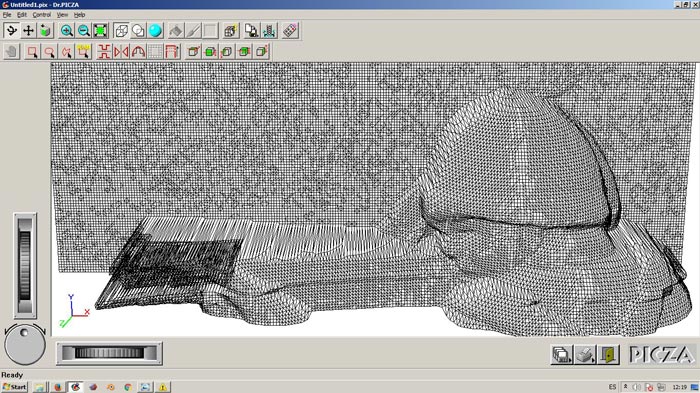
The technique is to walk around the model and capturing the data, just like Donato is doing in the picture.Here is the resulting mesh with the Structure scan.After all this techniques, we wanted to experiment with a more precise scanner. Using the Roland Milling Machine as a scanner with the Picza software is a good technique and quite precise. The problem is that it takes so long to finish the scanner, for this toy soldier it took ten hours for one side and ten hours for the other side. Depending on how you set the milling bit in the software you can adquire more or less resolution.
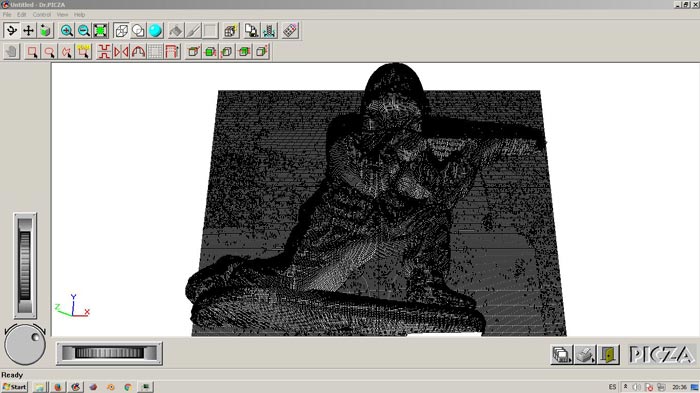
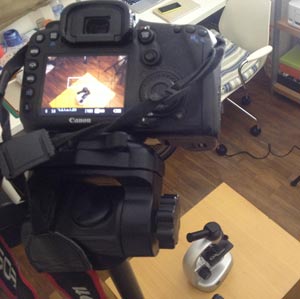
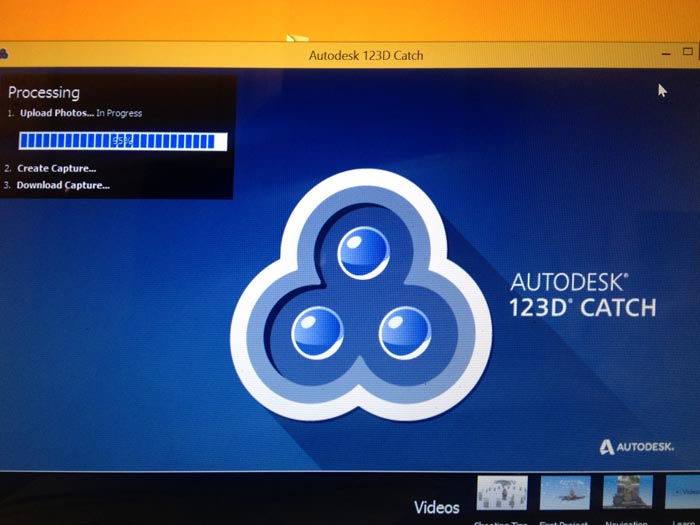
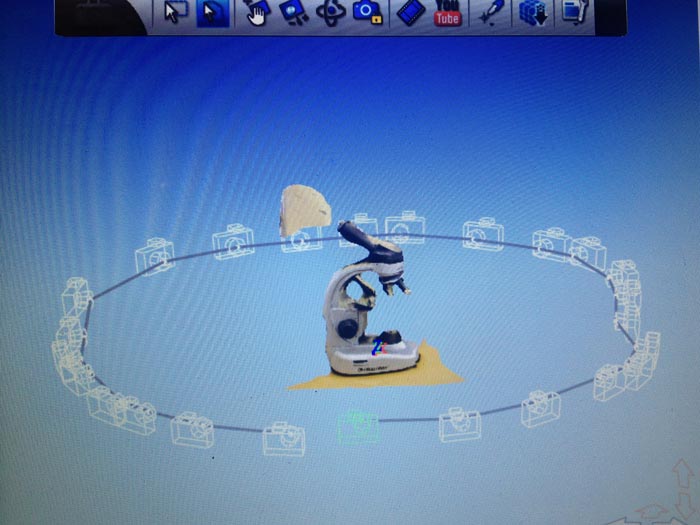
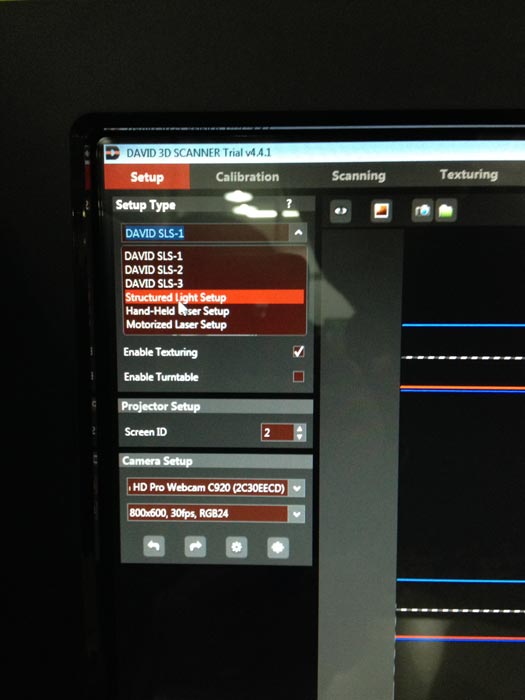
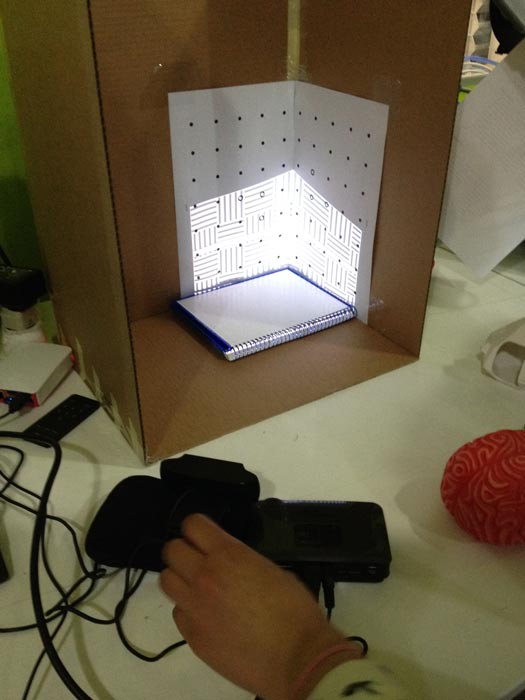
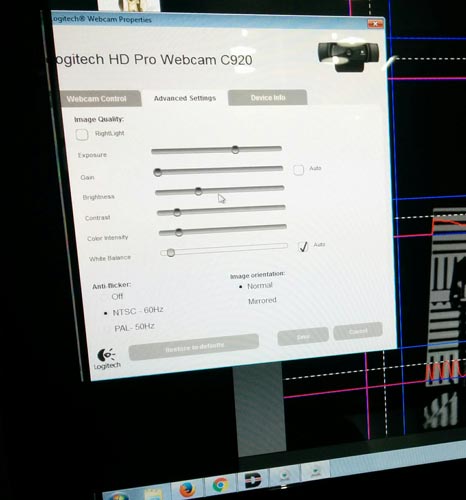
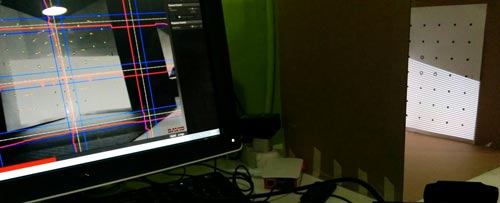
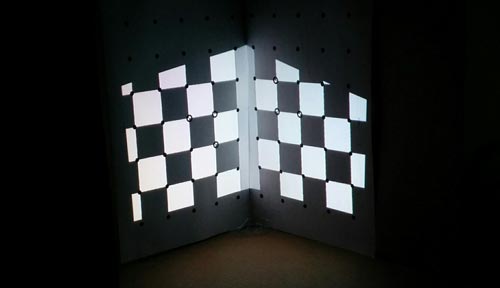
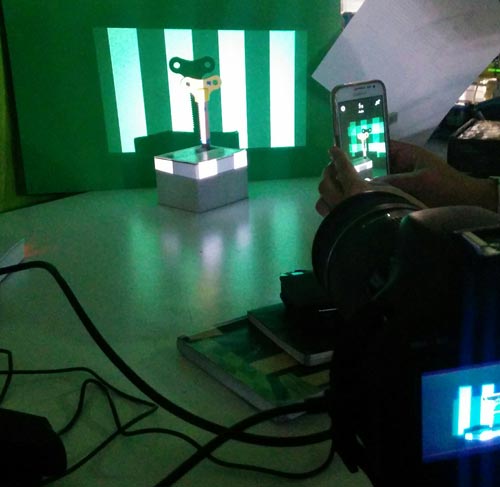
The tricky part is to adjust the scanning area (blue square) to the object you want to scan, even a centessims of a milimeter count, because the Roland can be so accurate that need a lot of time for scanning. Here you have to use the DrPicza Software for 3D scanning. You have to do a lot of trial and error, moving up and down the milling bit, until it is adjusted.Here is the resulting out of the Roland Milling Machine & Picza Software.At my studio I decided to try the Photogrammetry technique with Autodesk 123D Catch. Despite all the efforts the result was not as I expected, a funky-weird scan. I took fourtyseven pictures in three different heights around the object. The first height was a frontal shot, the next a little bit higher and the last one an inclined plane point of view.The last technique we tried was the Structured Light Scan. We used David 3D Scan Software running under Windows and a pico projector.We set up a scene, printed the control points for caliber the projectors and the camera. The problem here was using the webcam. It is better to use a DSRL camera with more definition. THe main goal is to make the software recognize the camera you are using. In case you can't there´s an option using the software extrawebcam, to use your DSRL camera as a webcam, then the software can recognize the camera.
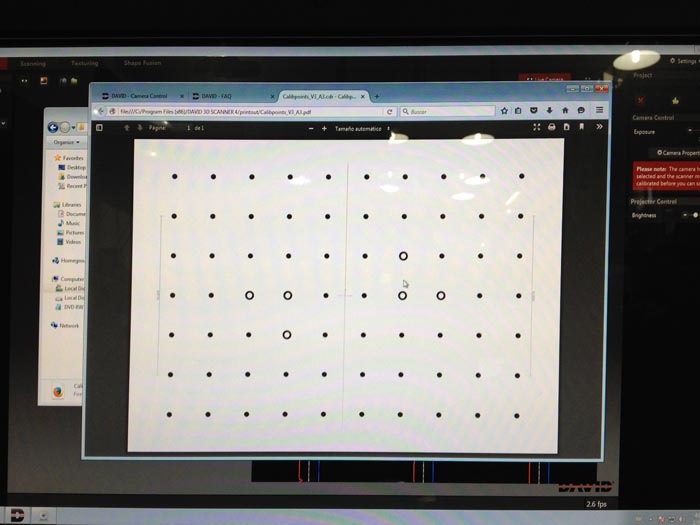
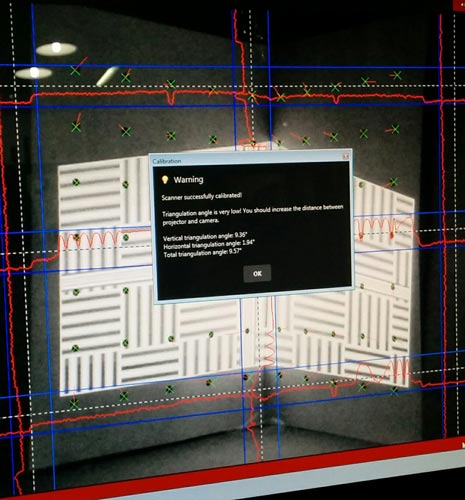
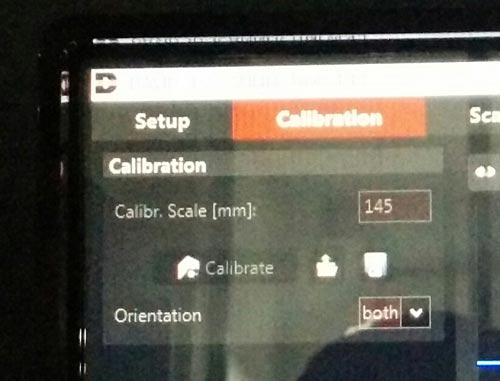
Those are the control points, for calibrate the projector and the camera.
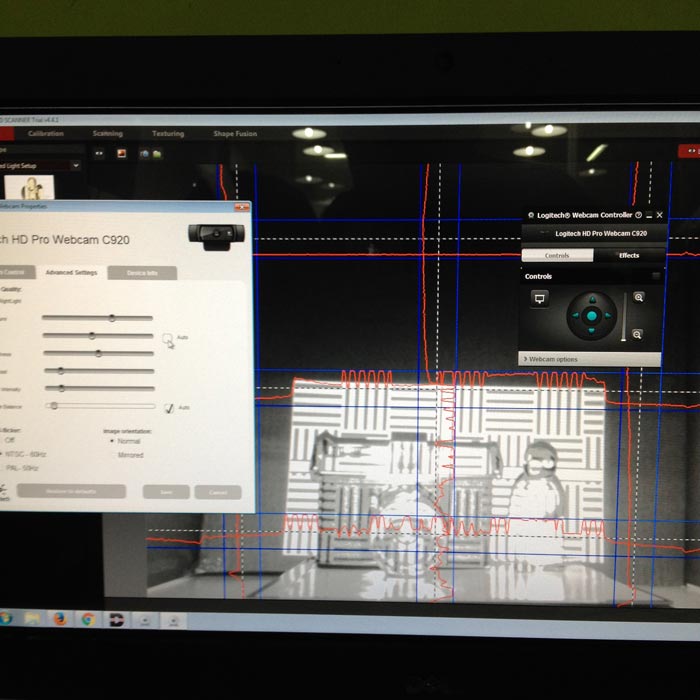
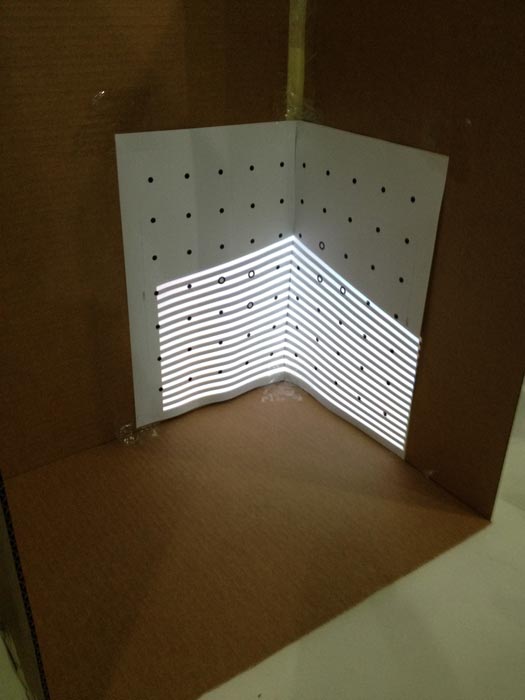
Finally we calibrated the camera and the projector.
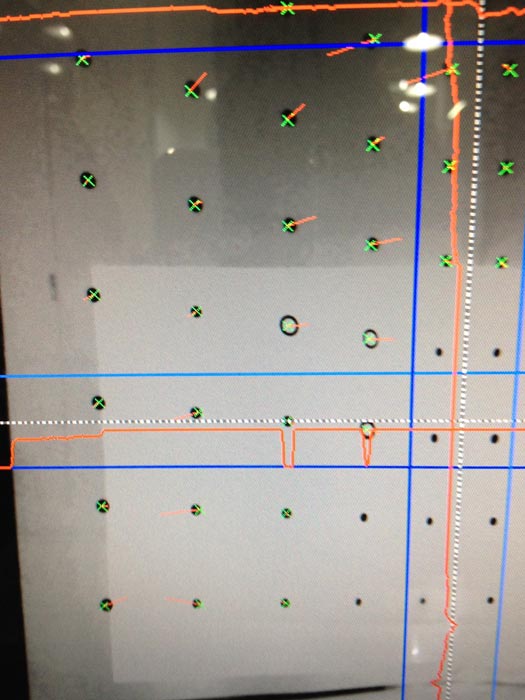
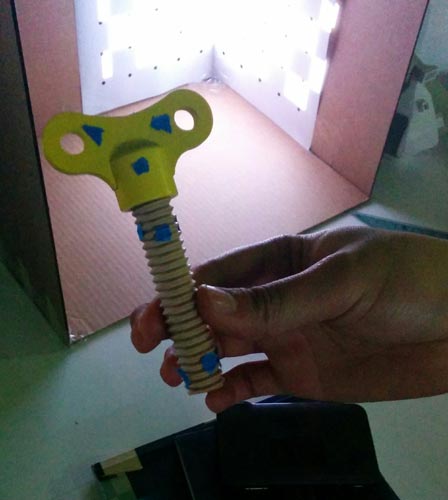
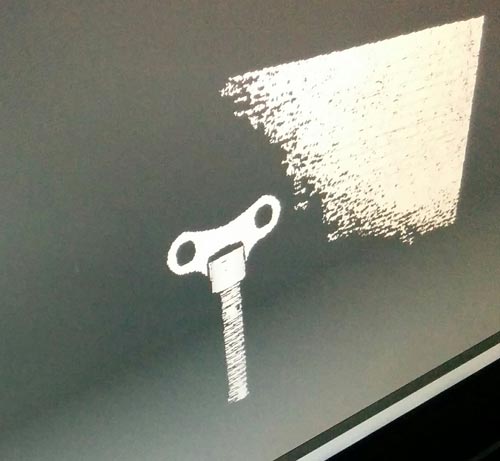
This is the model we tried to scan. We attached some control points for the software to detect the different sides of the shape.
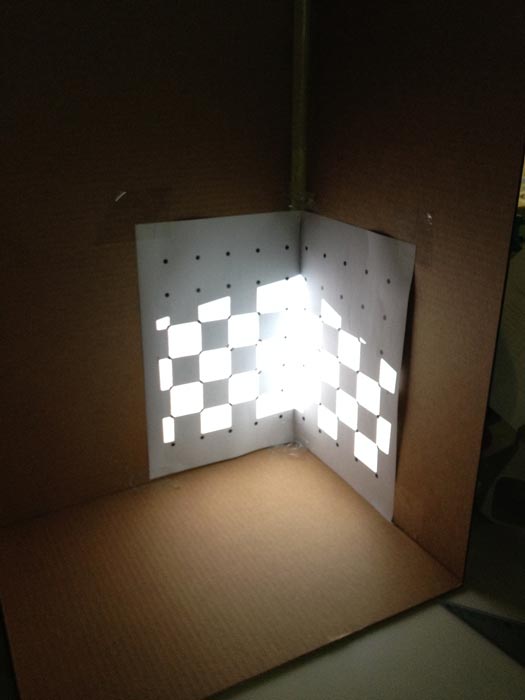
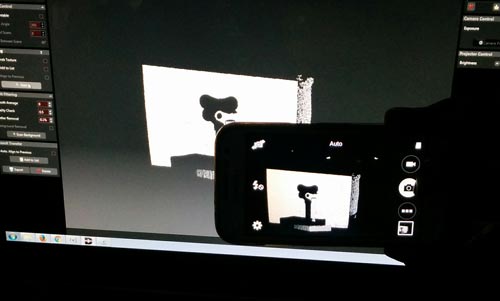
The scanner is detecting the background so we scanned again and used the remove background function. This function first detects the background distance, color, texture... and then remove it once you scan the model.
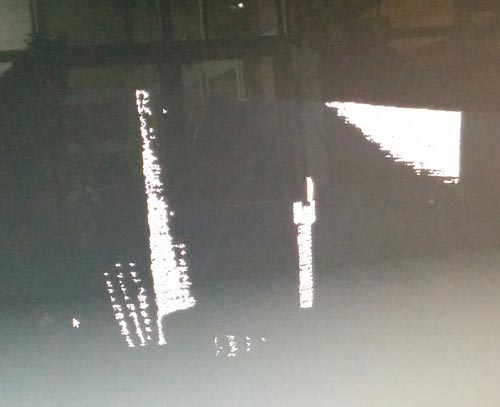
This is the final result, is flat no 3D information, because we were using the free version, and there's no merging between the different captures. It generates different files. Good software once you get involved in it, it is pitty it has a comercial version, though.
Design and 3D print and object.
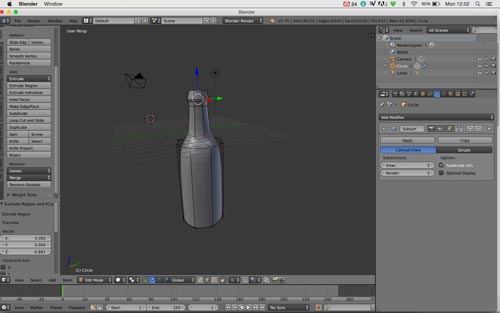
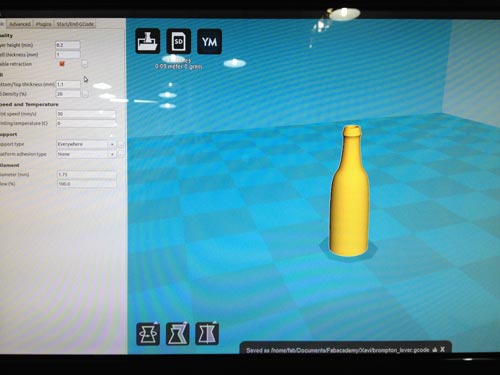
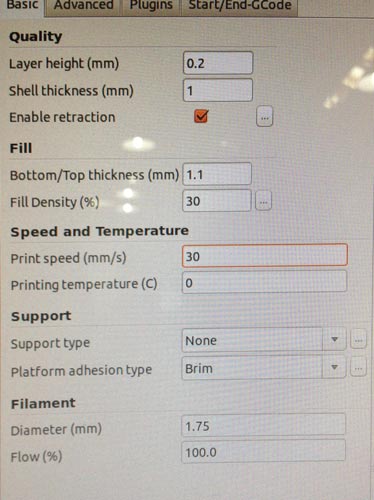
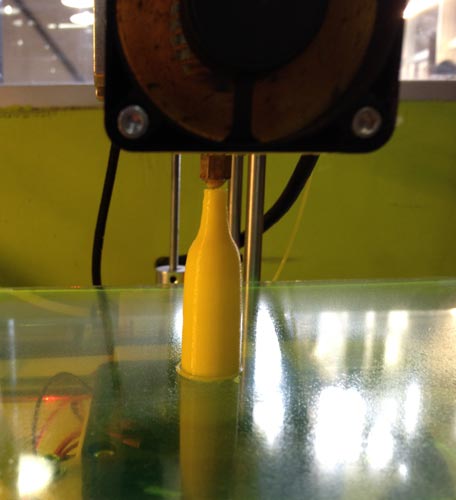
I designed a simple bottle in Blender and send it to the 3D printer. In Blender I was working in a scale 1 and in Cura I specified the scale for printing. I also added Brim for the base to make it easier to print and remove the final object. From Blender we export an .stl file, for the mesh information.
I decided to scale the model in Cura, and print a tiny bottle.
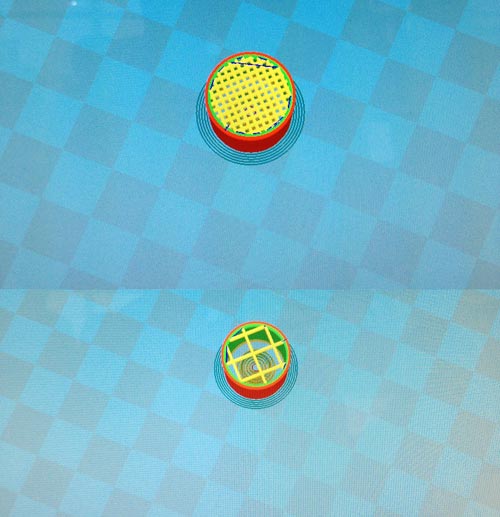
Here are some examples of the fill density. I used the one in the bottom.
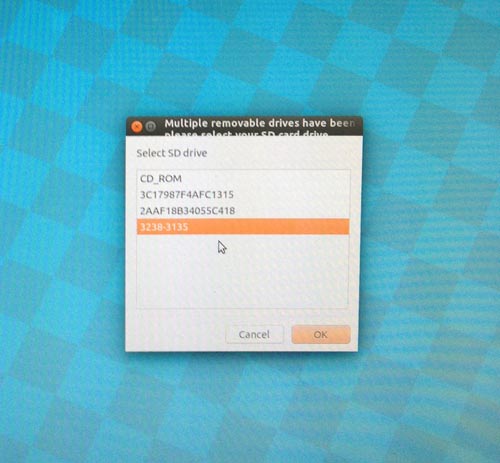
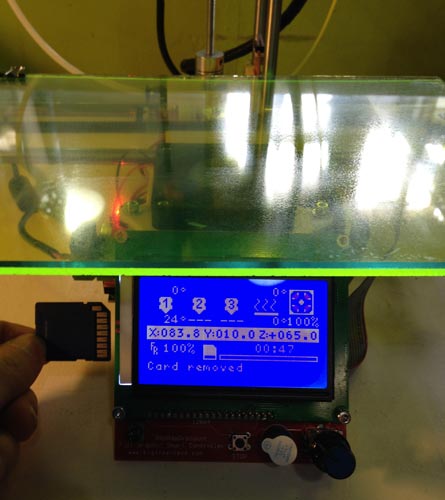
We load the .stl file into the SD card.
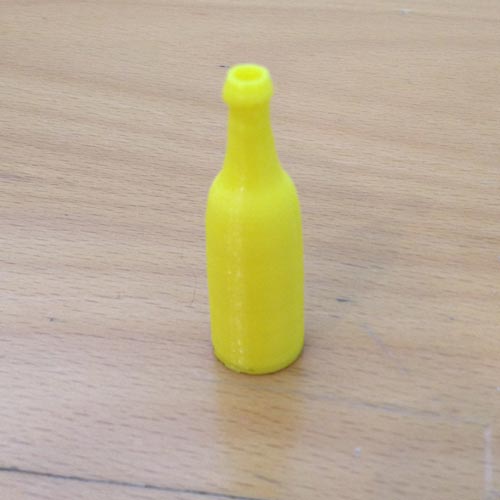
The bottle is smooth and clean.
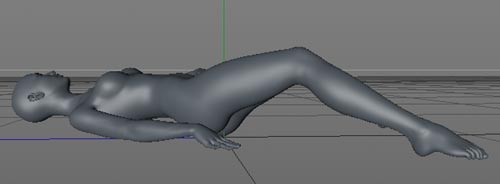
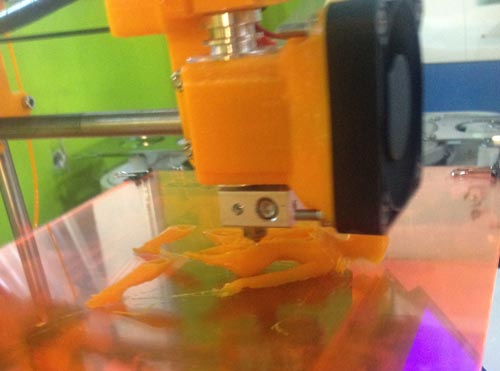
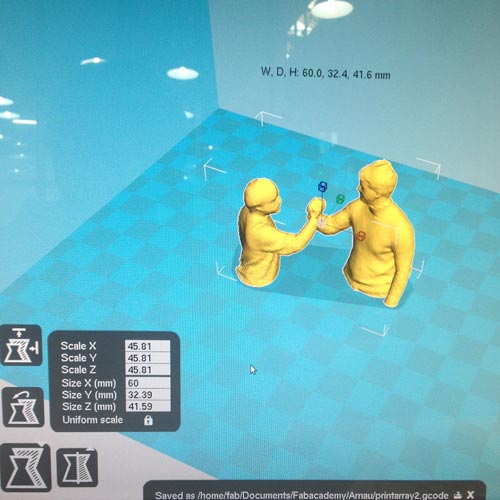
After printing the bottle I decided to print a human shape. I designed and modelled a human body with Cinema4D & Blender, and send it to the 3D printer. The size was so small and some parts of the model (like the face or the fingers) did not get the definition they should have.
This model could be better, some imperfections on the surface are visible.
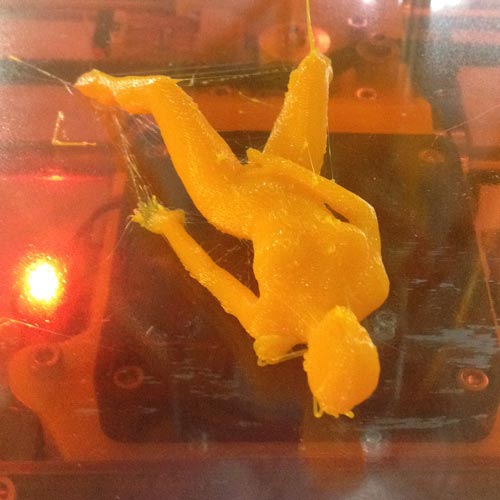
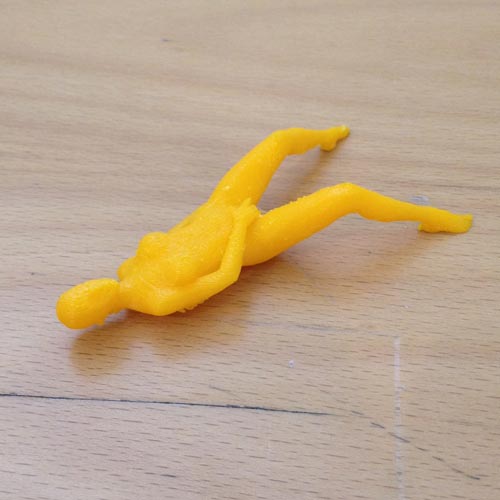
I also wanted to print a small size model of the scan.
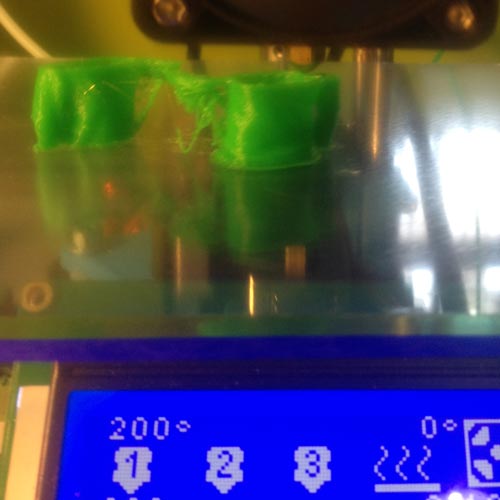
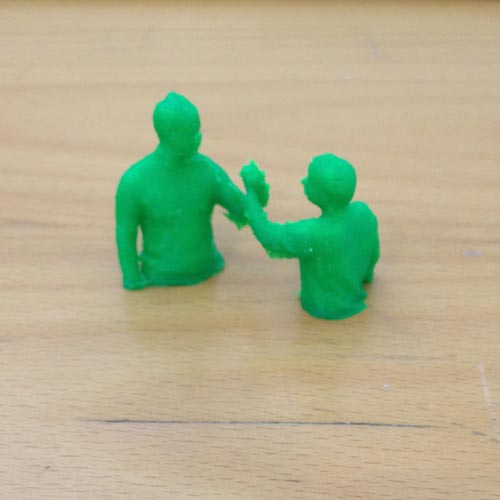
These figures are not smooth and clean
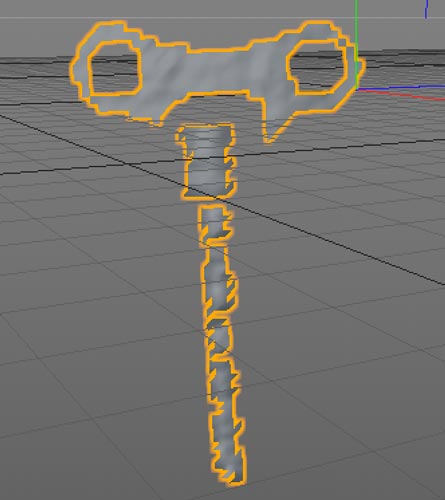
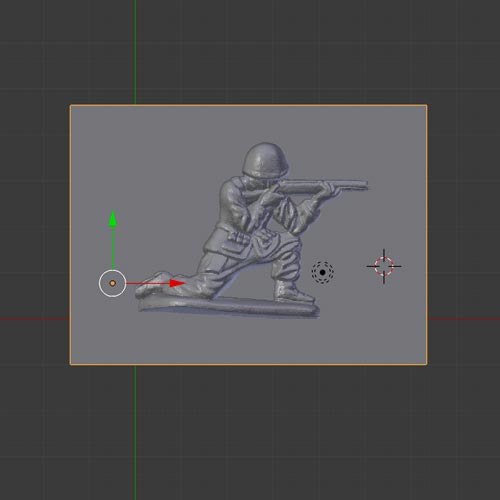
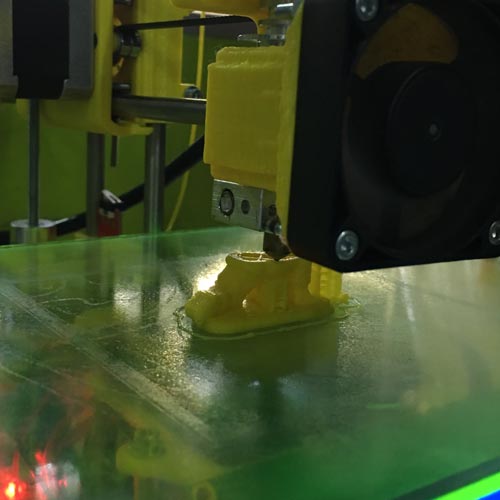
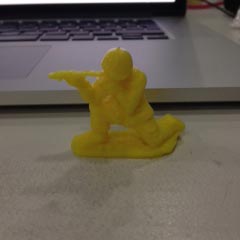
We used the 3d scanning of the soldier toy for printing it. We had to do some tricky boolean operations in Blender. And after this, we created the gcode with Cura and print it.
I'm quite happy with the soldier, no imperfections are visible, the surface is smooth and clean.
Download the files here