* make something big
Assignment:
* make something big
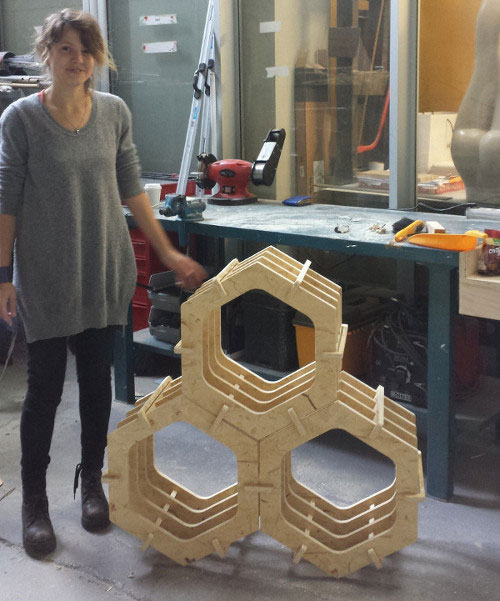
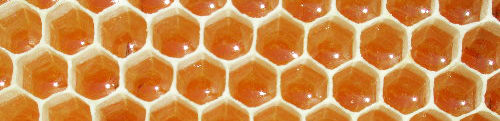
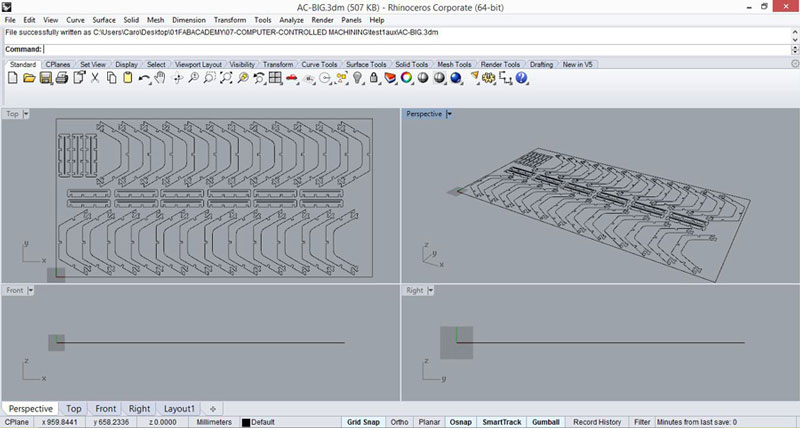
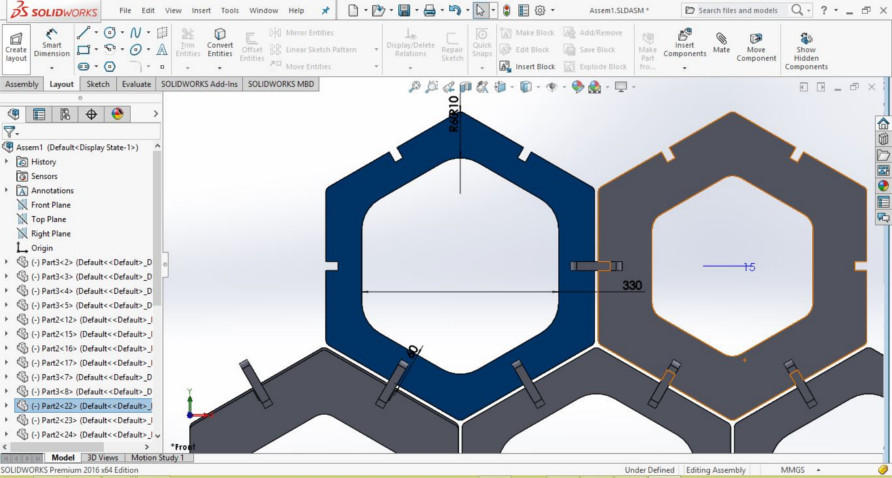
For this assignment I was inspired by the geometry of the honey, I wanted to use this geometry for making something big. At first I started drawing something by hand, then I made the model in 3d switching between Autocad, Rhino and Solid Works. This week we had a class of Solid Works by
Ferdi
so I wanted to use it.

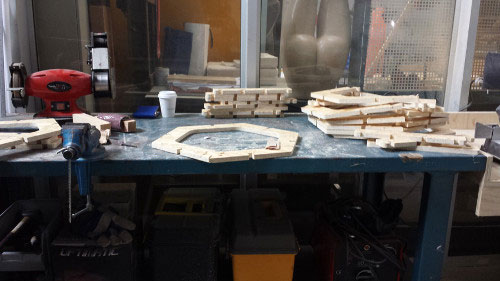
LASER CUTTER TEST
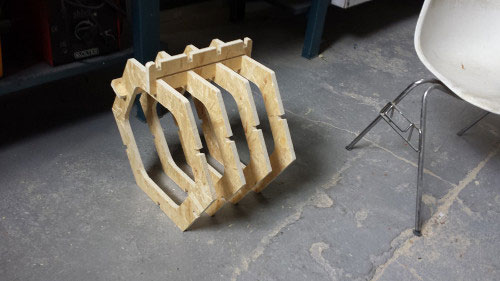
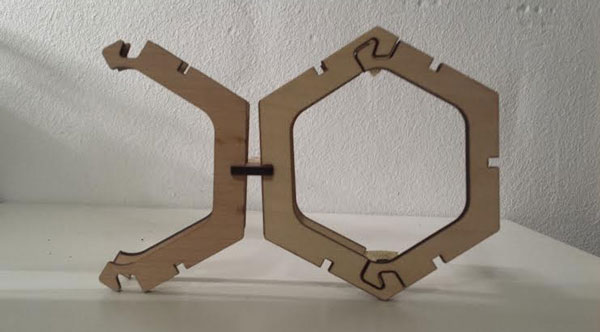
The milling machine was not working yet, so I did a test with a lower scale in the laser cutter to check the proportions.
G-CODE JOINT TEST
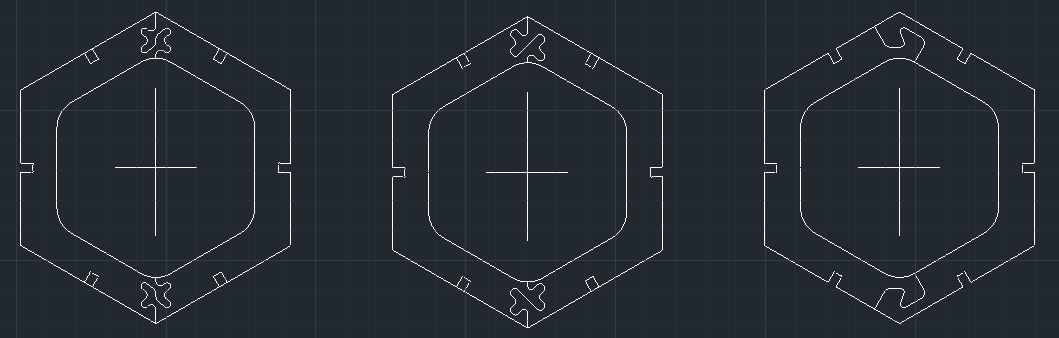
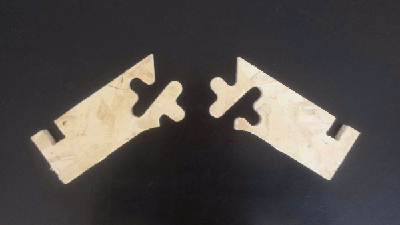
I have been trying with several joints, this video from
www.instructables.com, and this PDF Joints that Arnau sent to the group helped me with the design.
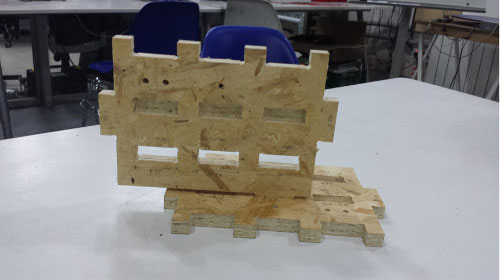
Finally I decided to do something similar to the joint of the video but more simple because the OSB is very nice but it doesn't has a very good quality like plywood.
With one of my classmates
(Cit)
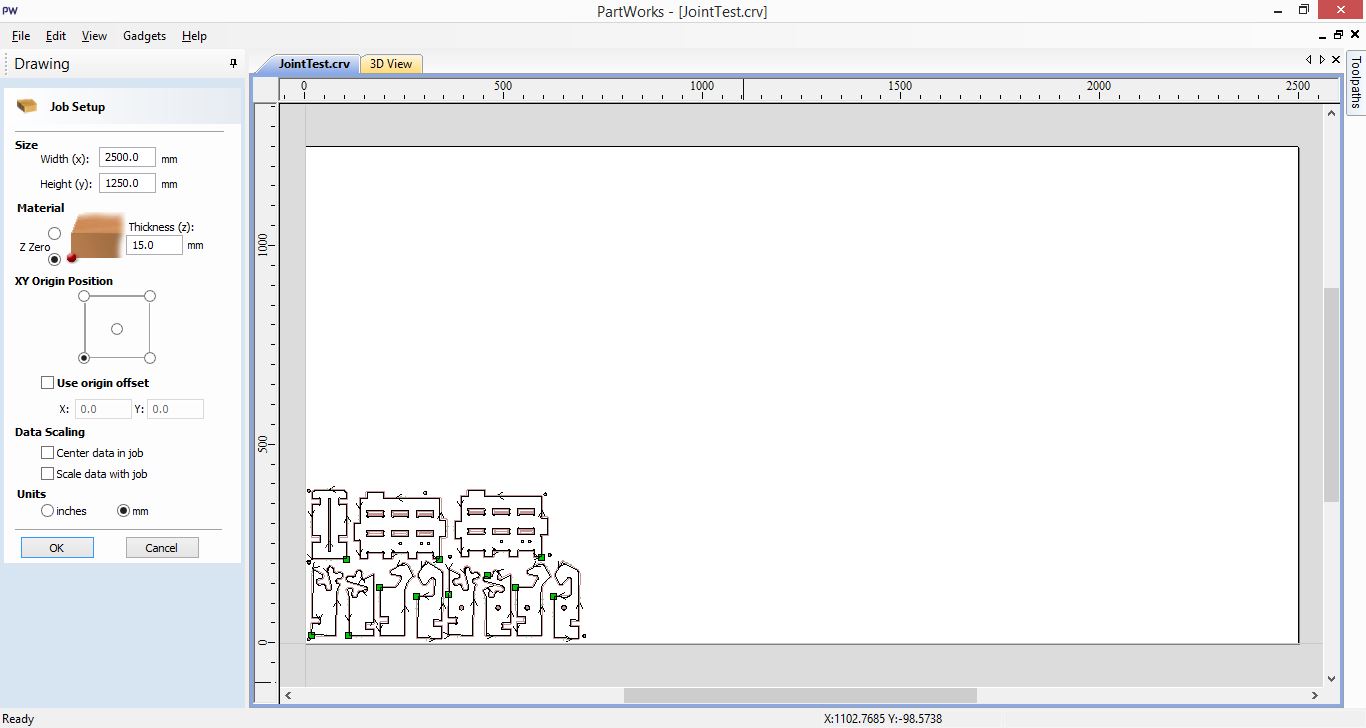
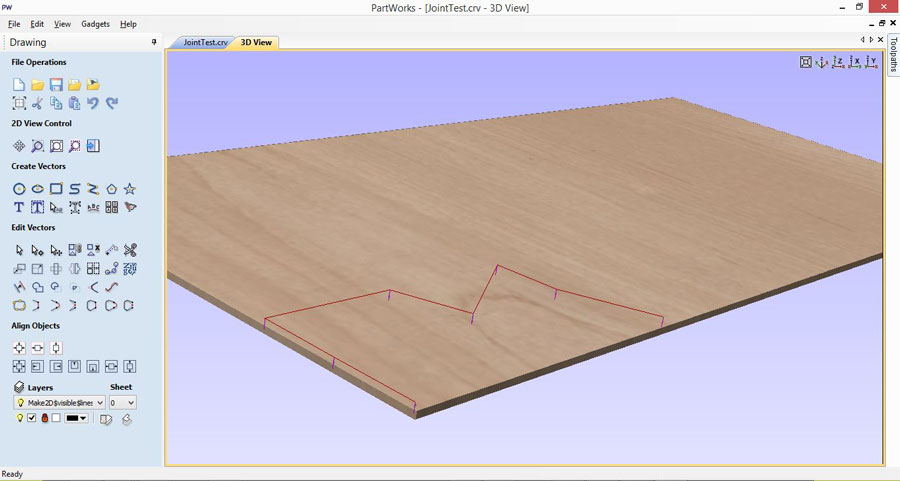
we made a joint test before sending the whole design, to check different kind of joint and the 15mm OSB board thickness. We prepared the file in PartWorks:
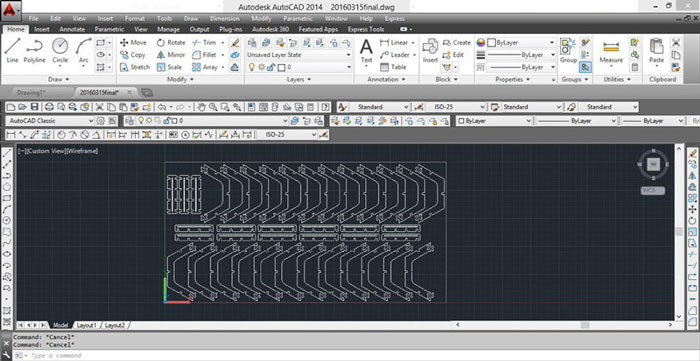
* Exported the file from rhino as a dxf file and opened it in Part Works:
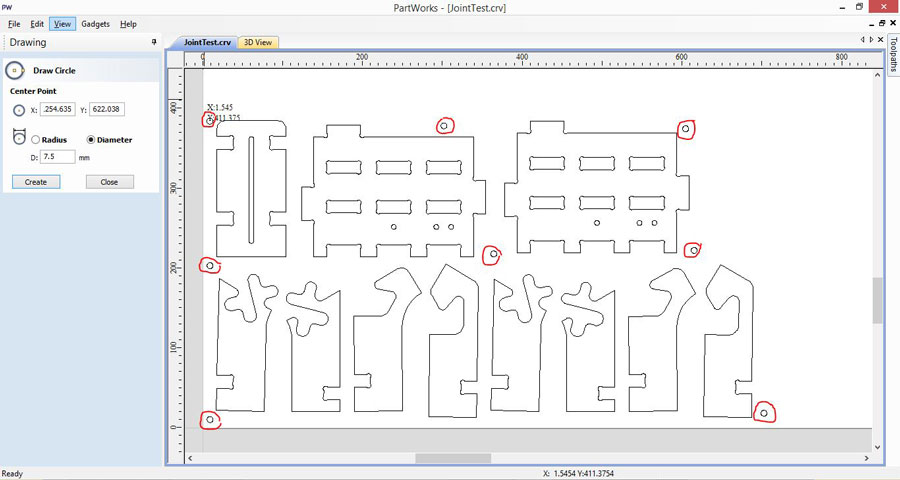
* Making the holes for the screws (for fixing the osb on the base of the milling):
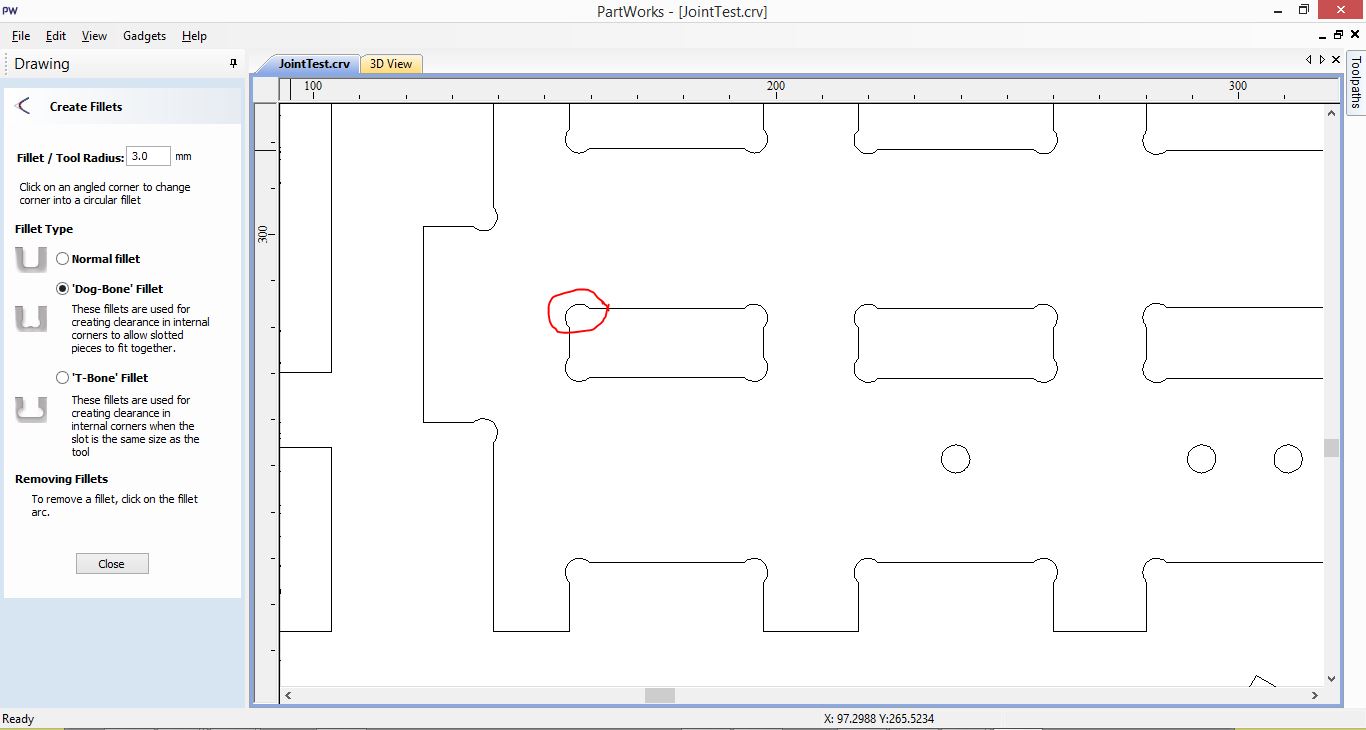
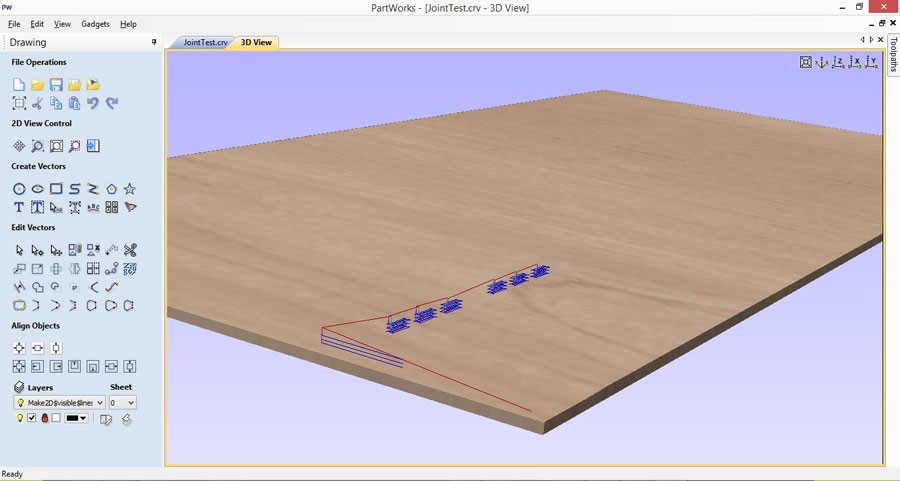
* Adding the dog-bones, you can do it in Part Works or in your design:
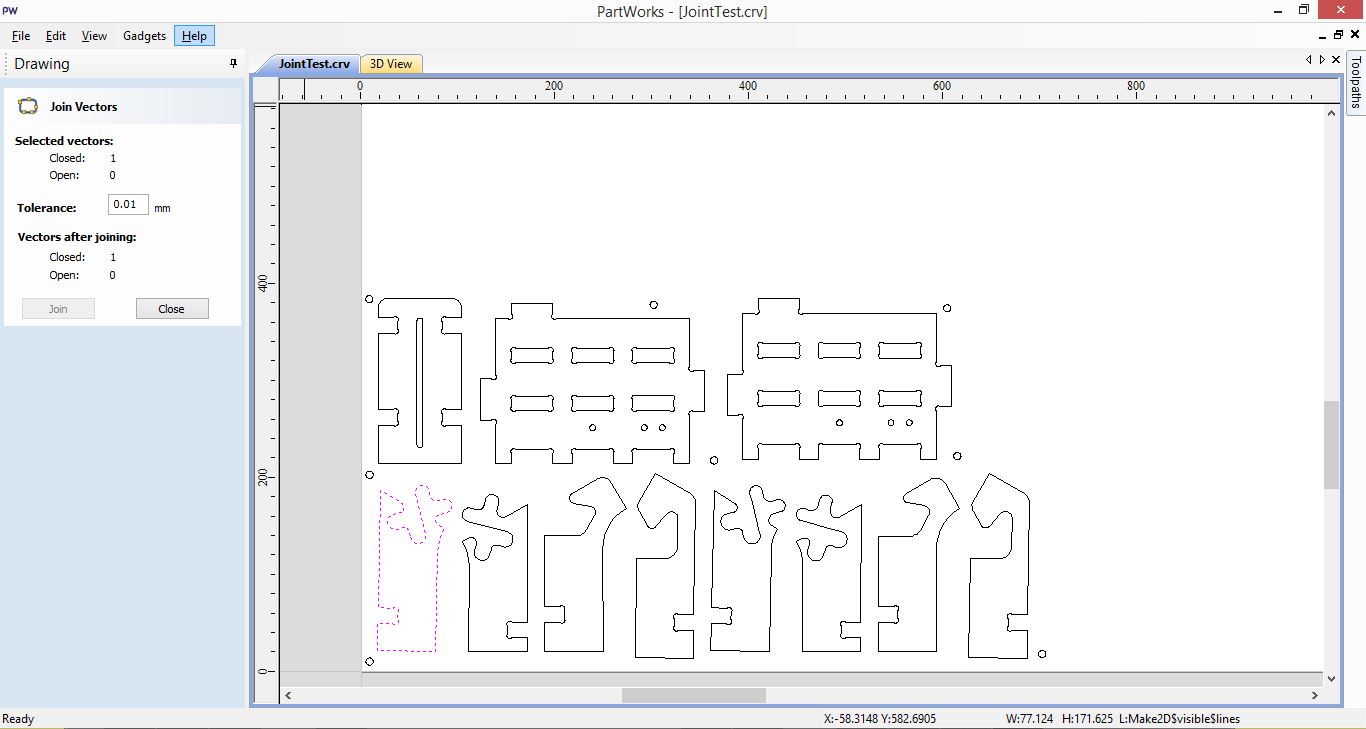
* In Park Works you also can join the vectors that were open:
* Making the G-CODE for the screws (DRILL):
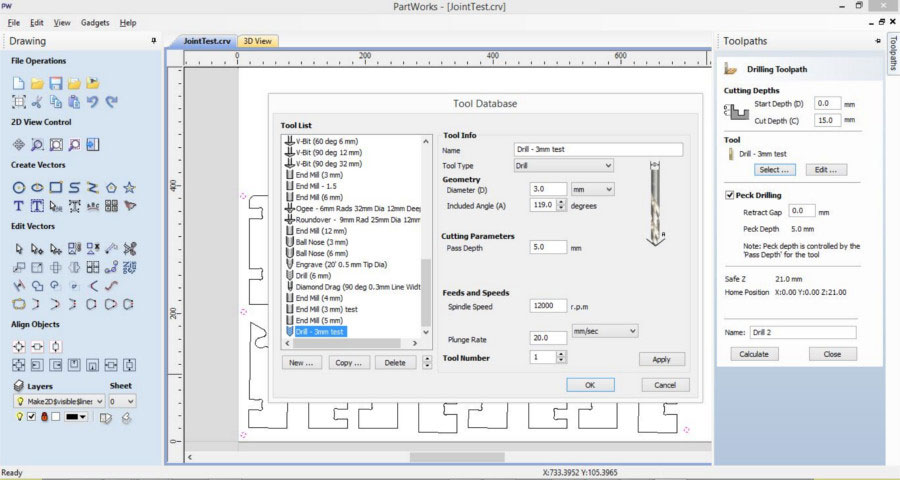
* Calculate:
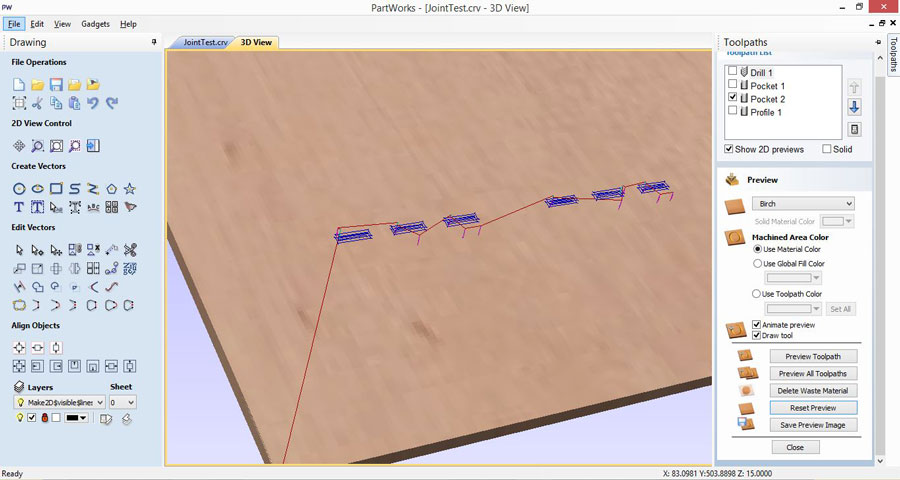
* Making the G-CODE for the pockets (1):
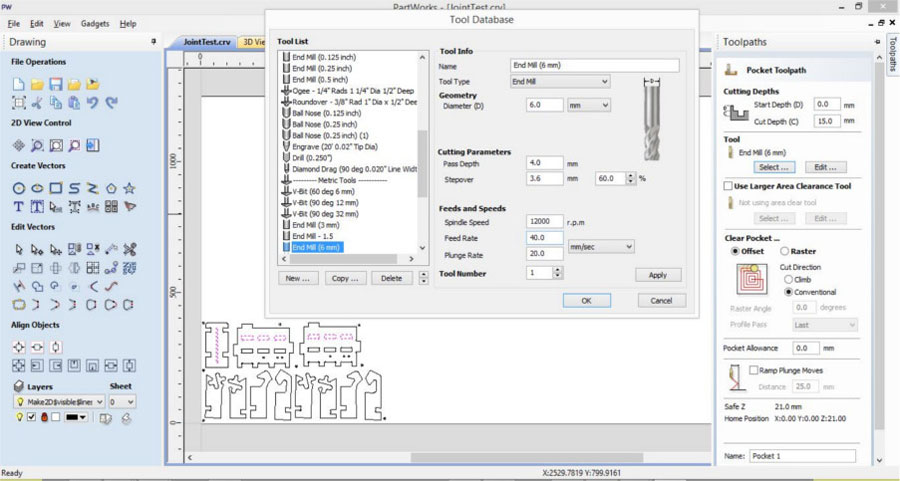
* Calculate:
* Making the G-CODE for the pockets (2):
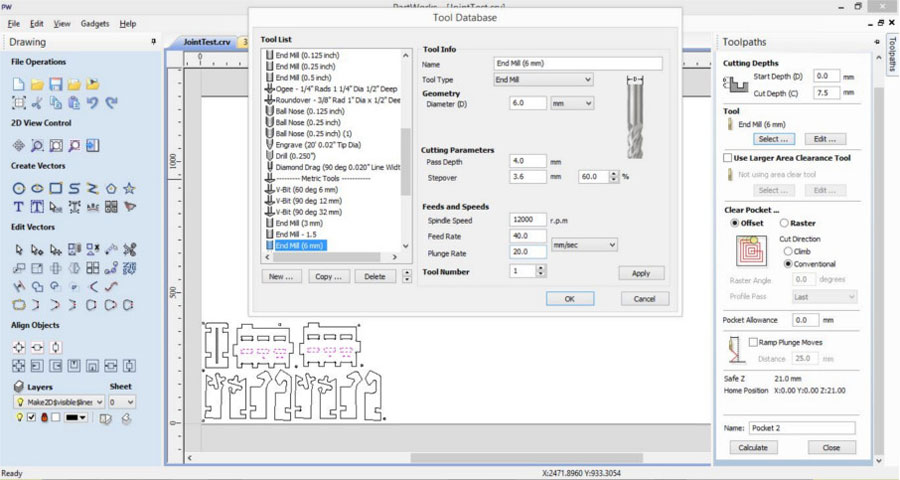
* Calculate:
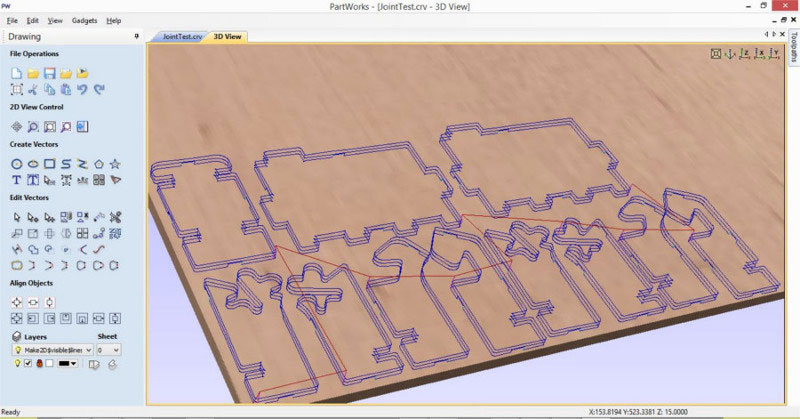
* Making the G-CODE for the profile and adding tabs:
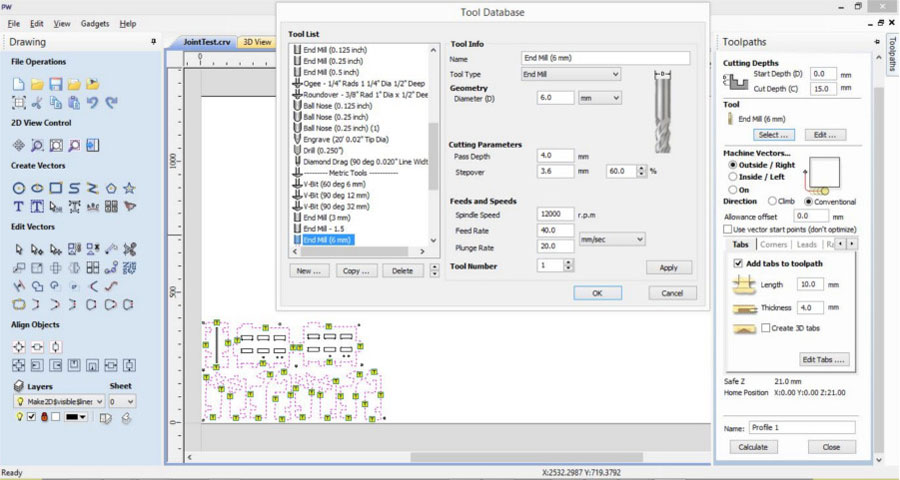
* Calculate:
Saving the files:
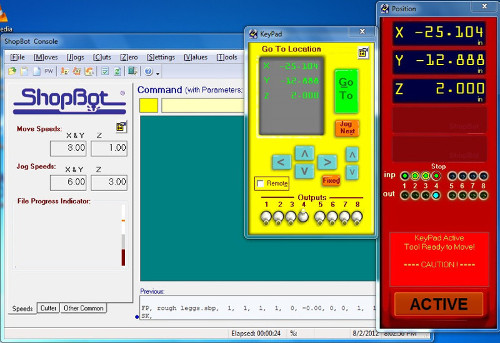
The order of the G-CODES is very important, that is the order how the machine is going to drill.
1-Drill
2-Pockets
3-Profile
My first experience with the machine wasn't good, I had a problem with the G-Code, I selected some holes for both files, drill and pockets.
For this assignment I used the SHOPBOT:
* Set up the "Home" by moving it to the 0 position in X/Y (using the arrows from the shopbot console, it is important giving a safe height in the z-axis so it can be moved without touching your board).
* Set the Z axis (using the arrows from the console).
* Remove the tabs using the hammer and the chisel.
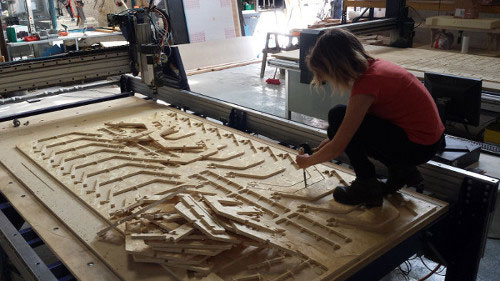
Sanding:
1 Module (the idea is that you can mill many modules as you want):