Week 5#
3D Scanning & Printing
Preamble
Thanks to my Computer Vision project I have had some exeprience with Kinect, as a matter of fact I posses a Kinect for Windows, which I will use to scan.
However I had never scanned nor used a 3D printer before.
Our Fifth Lecture
Neil introduced us the 3D printers starting from their birth. He showed us the different existing technologies to "3D print" (which by the end of the lecture was made clear to be an ambigious, catch-all, terminology for machies that produce object by making layers), and how we cannot afford 90% of them. He then explained the software available and gave us a short introduction on scanning.
Tools & Assignment
The assignments for the first week were:
I.Test the design rules for your printer(s) [Group project]
II. Desing & 3D Print a small object that could not be made subtractively.
III. 3D scan an object (& optionally print it)
Extra credit: make your own scanner
Highlighted necessary tools:
>> A 3D printer & the means to scan an object
Testing The Limits
The group project was fun. Since we had two printers I suggest we split the groups in two to test the functonalites of each seperatly.
Sander and Marije used the Ultimaker Orignal, while Eva, Shun & I used the PrinterBot Metal plus.
Using The 3D Printer:
Cecila thought us how to use the 3D printer, and I discovered it was quite a tideous process. She thought us how to use Cura, a free software that controls both 3D printers. The Ultimaker is more difficult to use then the Pritnerbot, several rules need to be followed when using it and changing the filament.
PLA is the filament material we use, optimum temperature ranges from 210 to 240 degree celsius.
First Try:
We decided we would test the PrinterBot by using the model that Neil had shown in the lecture, so we downloaded it and loaded on Cura.
We started with making the smallest and shortest time-consuming model we could make, so our first model was set to: ( I have to go from memory since all pictures taken were blurry)
Temperature = 210 degrees
Bed Temp. = 50 degrees
Speed = 80-90
Estimated time = 8 min.
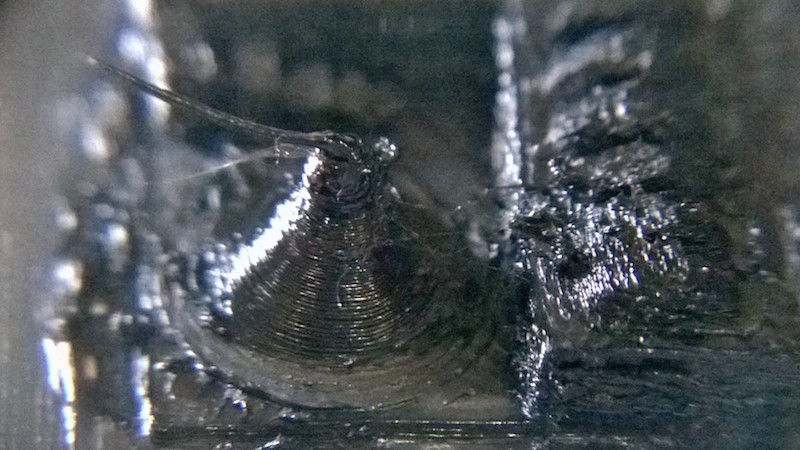
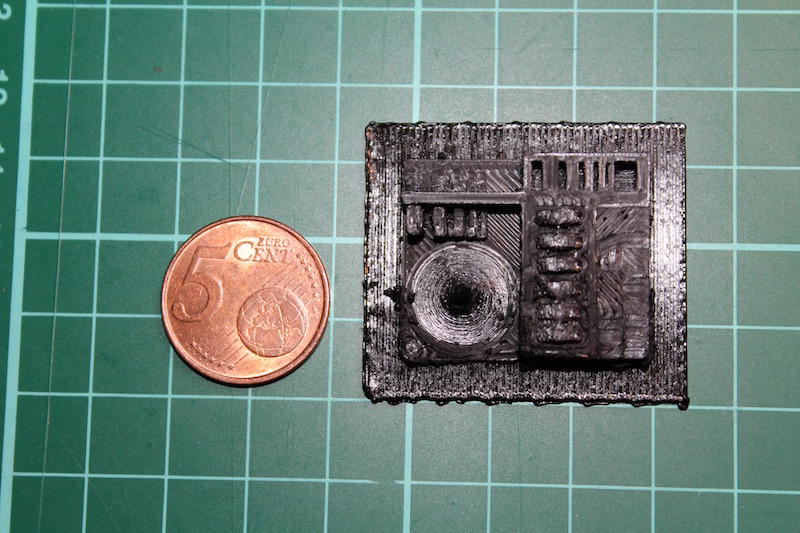
This printed rather quickly, but it became pretty evident quite quickly that this model was not going to be very pretty, and thus our.. My.. First ever 3D printed object looked like this :
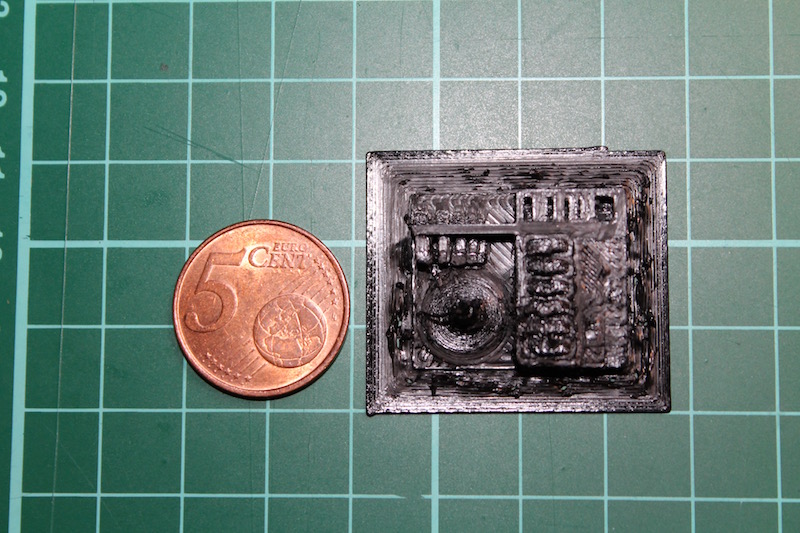
However we must keep in mind that this model was barely larger then a coin :
Second try:
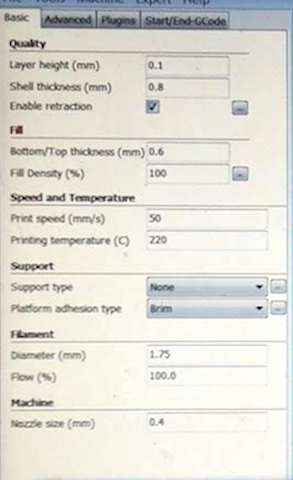
We decided that probably the best way to improve the looks of our model was to make it larger so we did (increasing the estimated time to 22 minutes), we also added a Brim platfrom which helped the model stick better to the heated-bed, the setting we used were:
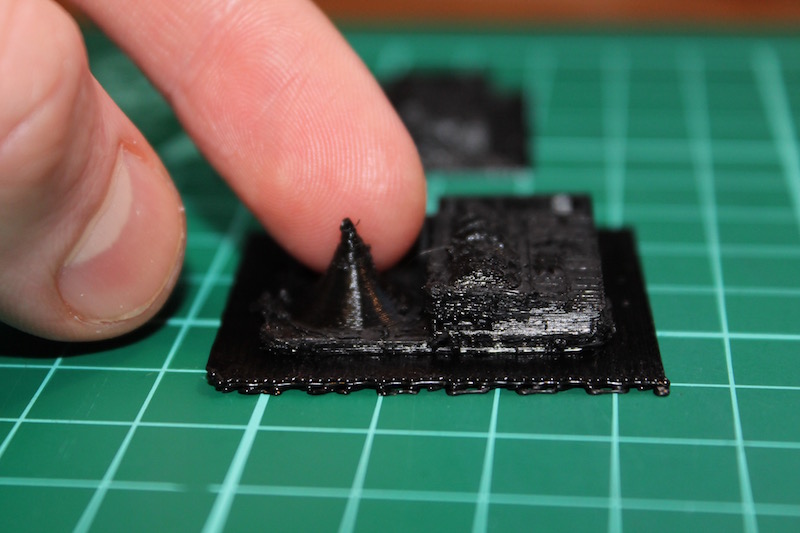
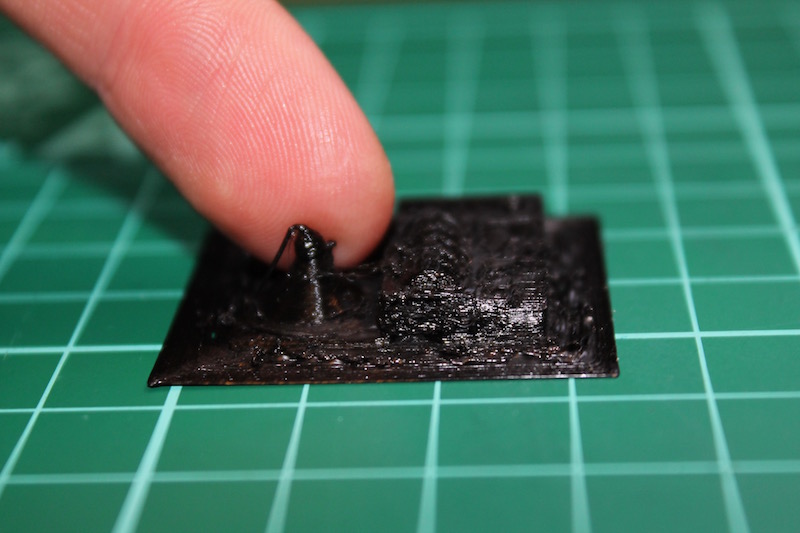
Still the results were pretty bad. I guess we are indeed testing it's limits .
Third Try:
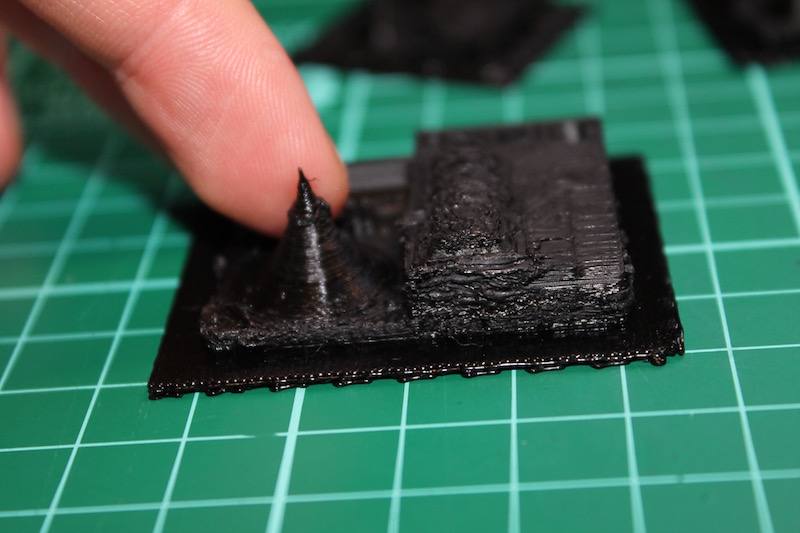
On the third try I decided I wanted to go wild with the setting and checkout the results (my team-mates agreed) so that I could learn more of how the plastic works at its extremes.
I decided I was going to increase the
temperature of the bed from 50 (which we used for the other models) to 60.
I increased the size of the model once again, increasing the estimated time to 1 hour and 12 minutes.
I also chose raft for the base.
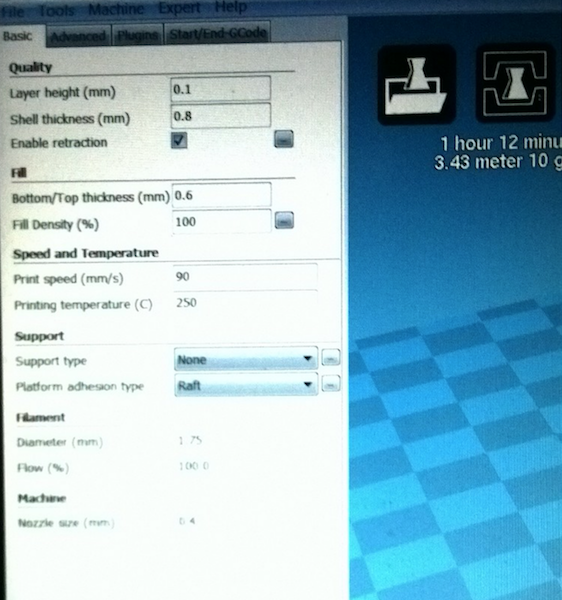
The printing was not looking very nice, so I decided midway through to drop the priniting temperature to 210.
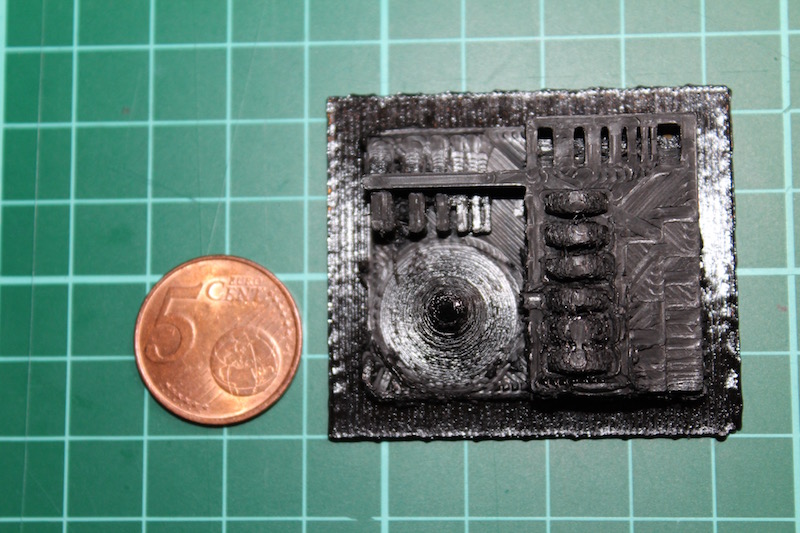
This actually yeilded a great
outcome, resulting in a really sharp and precise top half... I settled on 210 as temperature for PLA from then on.
What I learned:
Experimenting and observing have been my most important tools in understanding the limits of 3D printers.
The most important realisation I made during my learning was that the plastic is fluid.
This may seem to be an obvious statement, but it holds the eniterity of the weaknesses and limits of the 3D printers I was able to use.
Fluids do not have a shape and can take any form of their container, which is what allows us to mold the plastic into what we wantotherwise the nozzle will smear the plastic through-out the entire deisgn., but because of this, the melting process of the pastic requires specific conditions, otherwise the nozzle will smear the plastic through-out the entire deisgn; these conditions can be summed up with a single sentence; the plastic needs to stick to the diseried surface. This, sadly, is not always the case... And when the model is too small, the nozzle it self will not be able to produce the smaller details... When this is transelated into layers by the software it removes essential parts to mantain the required distance between lines and line thickness, this leads to missing parts in the design, thus for each shape there is a limiting "minimum size", the more complex the shape the larger the object must be. In addition, due to the heat and speed of the nozzle, small walls and tiny parts will be dragged and deformed unless extreme care is taken. In addition, if a surface is too thin it won't withstand it's own weight.
3D Printing
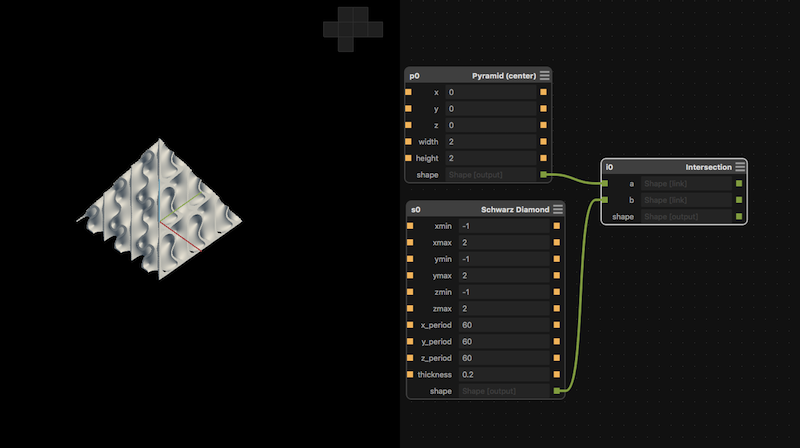
So now we had to go make a 3D model which could not me made subtractively. Thus I open my trusted Antimony, and with a few simple commands I was able to make a complex subtractive deisgn. Originally I wanted to make a sphere, but this was impossible due to the nature of the Schwartz Diamond, which is constructed by thing ondulating waves, and can only be printed if the base is wide and solid.(Download the Antimony file by clicking here)
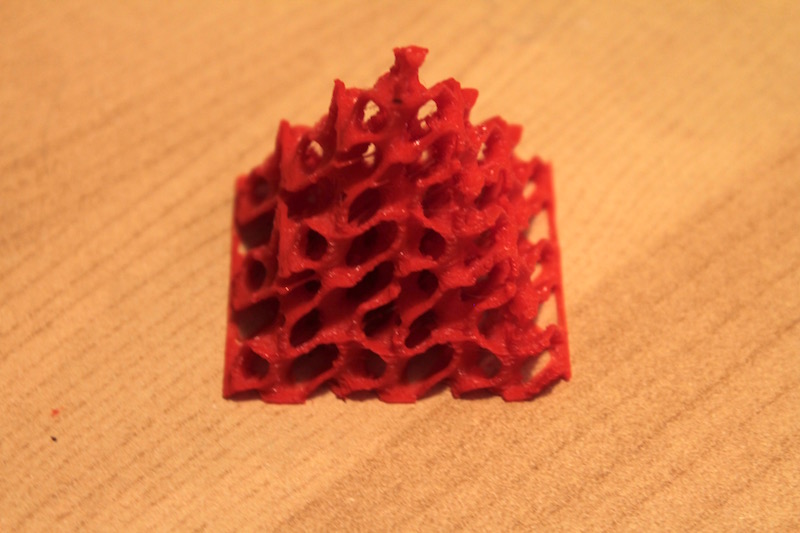
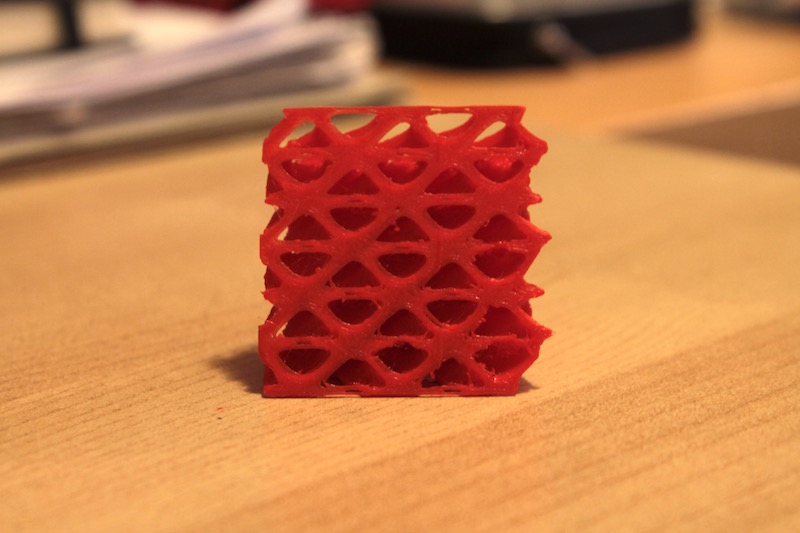
I used the Ultimaker Orignal to print, this model. The phots below show the pretty, yet not perfect, models I created. I also think it's a perfect example of something which cannot be made subtractively. I had to clean off some residue filamenet and the enitre construction is 3cm tall, and took 1 hour and 15 minto make.
3D Modelling
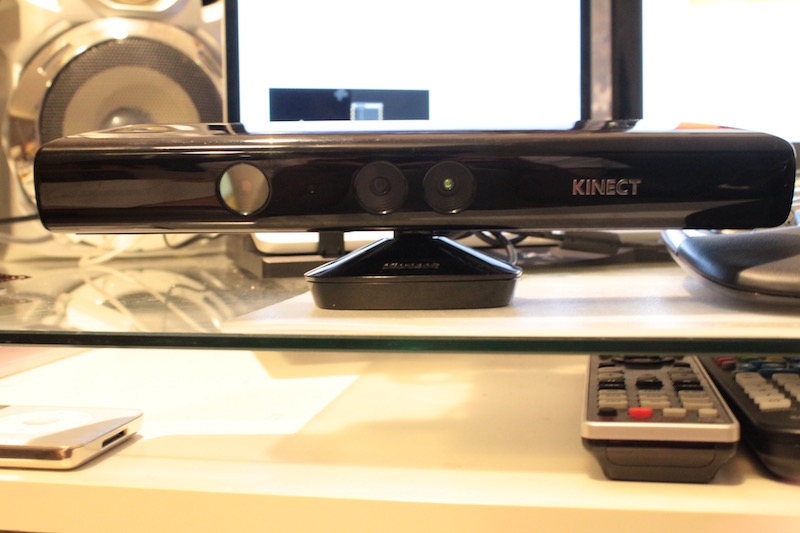
I chose to make a 3D model of a small statue named "Gruff", I used my Kinect for Windows, which is the official device for testing and developing, as well as having better sensors then the one for the Xbox.
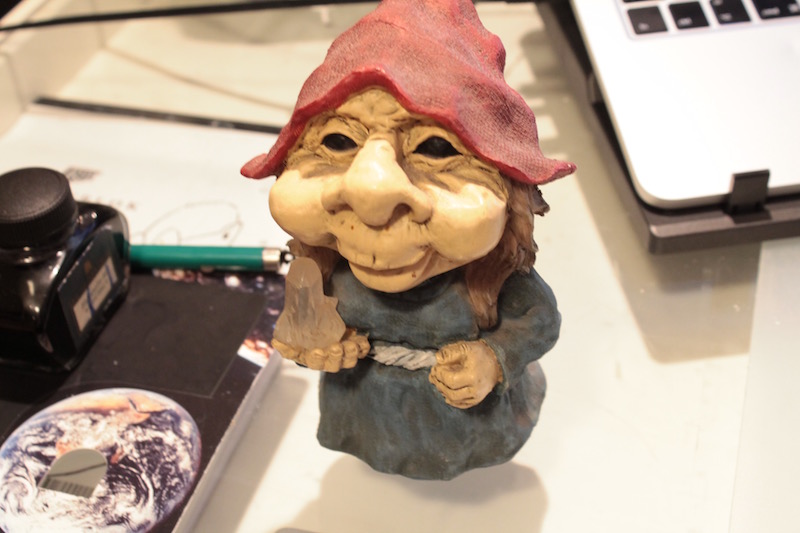
I used Skanect to make the model, which is free-ware and is very simple to use. However finding a rotatory base is quite difficult, and getting the kinect to go around the object is not so easy when you are confined by a wire. All that said, I am pretty happy with the results.
Ectra Credit
I recieved as a gift a linear laser from the director of the Minifablab.nl with the purpose of making my own 3D scanner, however this is quite a taxing activity and will take some time to complete by myself, I will work on it as a side project and will update on this page along the way.