The aims for this week were to:
1. Test the design rules for our printer(s) - a group project but I am the group!
2. Design and 3D print a small object that could not be made subtractively
3. 3D scan an object with an option of printing it
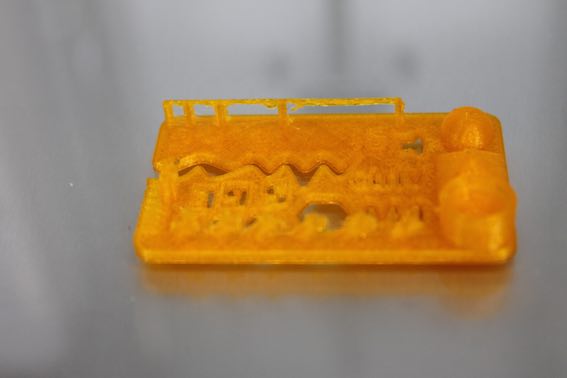
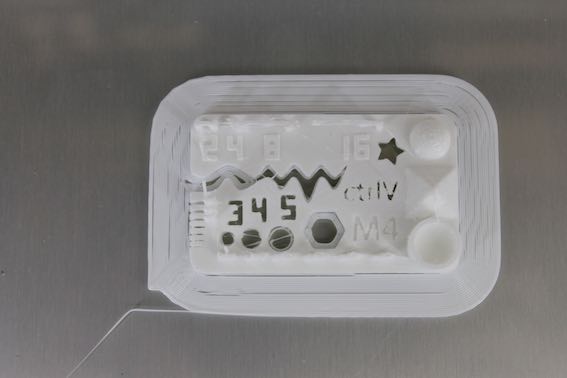
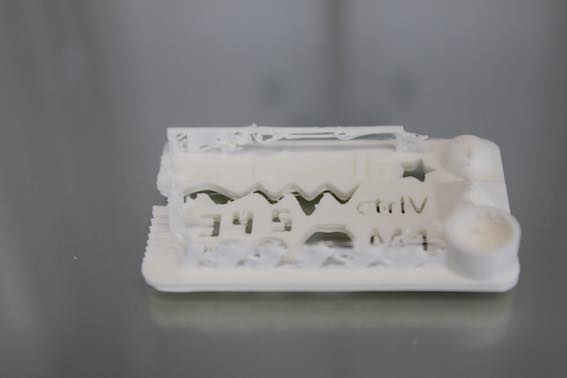
I downloaded a perimeter testing file from Thingiverse. That helped me start to understand what the Ultimaker can do. I tested two files without altering the default settings (basic mode) but the amber version I printed used retraction and the white didn't use retraction.The difference is notable. Then I tested the other white test model in advanced mode with the speeds set to maximum. The results of these tests showed me 3D printing is a craft. Lots of testing is required. This is similar to the test tiles that ceramic artists make when preparing to fire a new glaze or clay body in a kiln.
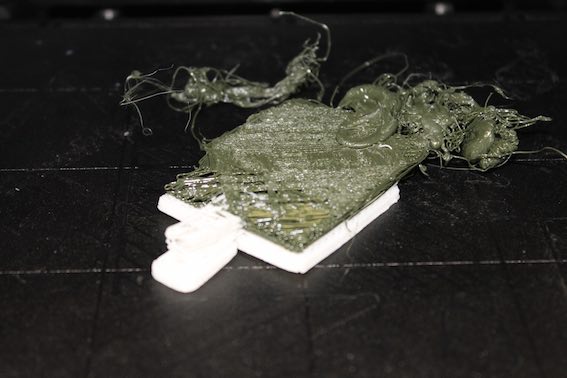
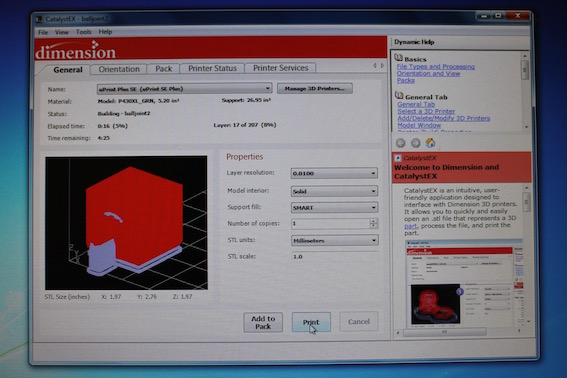
I used our UPrint SE Plus This machine has two extrusion heads. It has the ability to deposit a water soluble layer between parts, which is helpful for making objects with multiple moving parts. I attempted to get it to make a ball joint but at some point in the operation one of the extrusion heads picked up the project and made a huge mess. It's given me yet another problem to solve for the future! This disaster caused me to examine the machine for possible damage. The manual instructed me to use selection options on the hardware to get into maintenance mode and access to the heads. Luckily there was no damage.
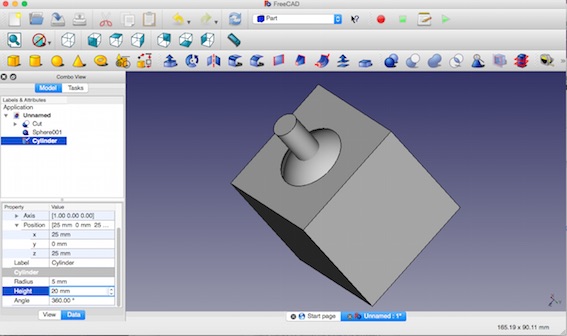
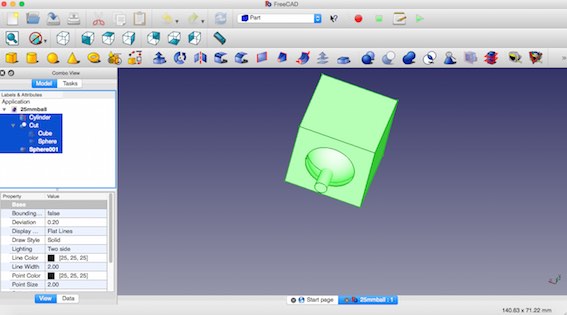
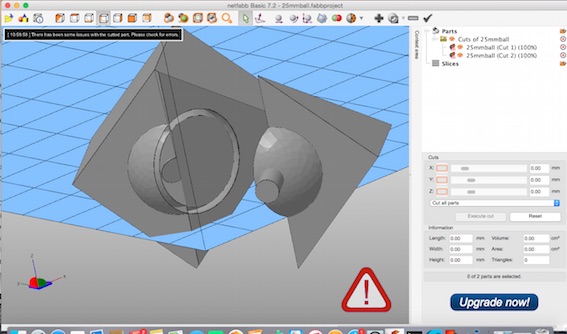
Freecad had me frustrated again. I made a simple primative and boolean subtraction model of a ball joint, saved it as an stl and processed it in Cura which is the software programme we use for the Ultimaker. here. I then took it to the Ultimaker. The Ultimaker made an acceptable job of it, except the space between the ball and joint was too narrow.It was .5mm So I went back to Freecad and made some adjustments.Made the tolorence 1mm then sent it back to the Ultimaker. This time, for some reason, Cura produced Gcode that told the Ultimaker that my ball joint was only one part.

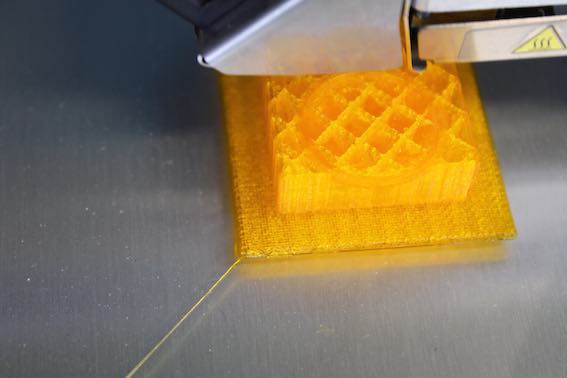
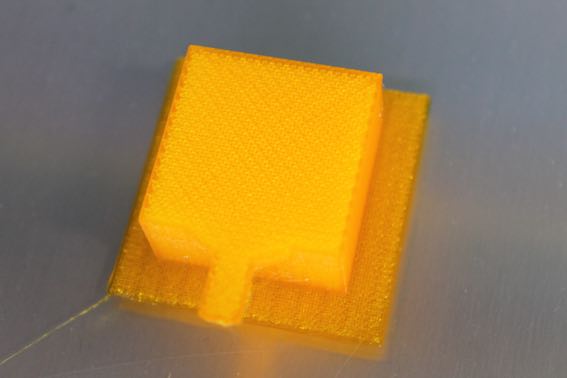
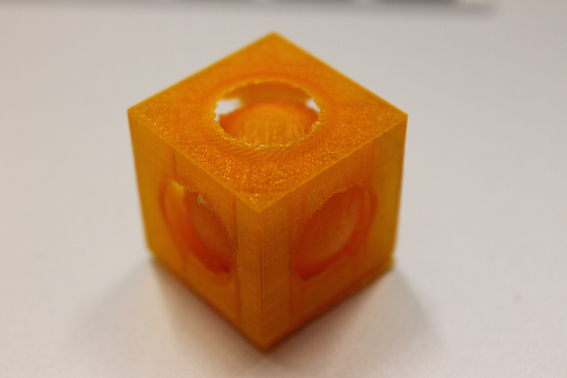
At the last minute I managed to get the machine to produce a sphere inside a square. At the Recitation Edwardo from Seoul pointed out that my sphere/square looked to have been suffering from too much heat. So I will play with those settings in future.

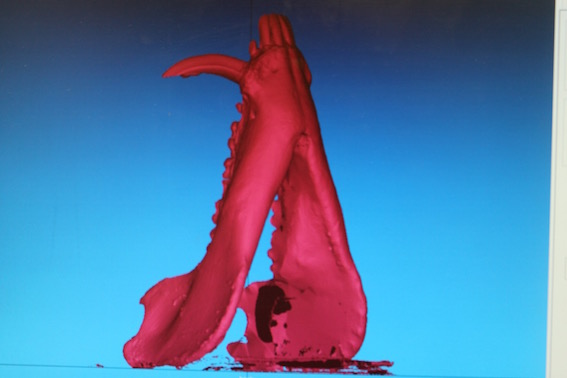
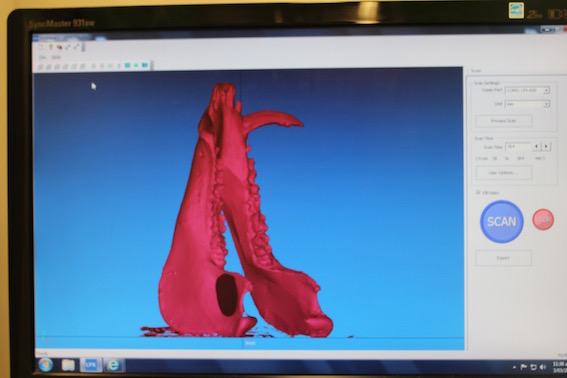
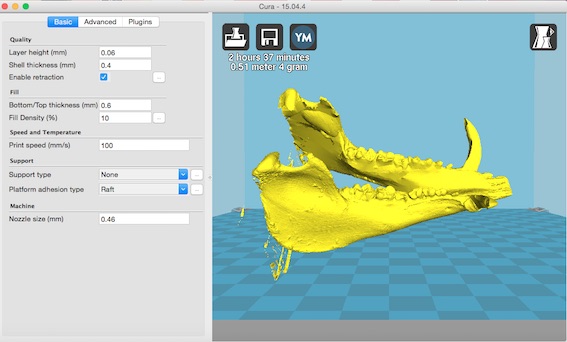
We use a PicZA LPX-600 the control software is LPX EZ Studio.This software did a reasonable job at prepping for post processing work. This post-process is mentioned at R-world: "EZ Studio automatically eliminates extra polygons and fills holes for smooth, continuous surfaces".Files can be saved as stl, but interestingly, also 3DM which is the Rhinoceros file format. We have Rhino available at our Fablab so I will be doing some work on this file when I get a bit of spare time.

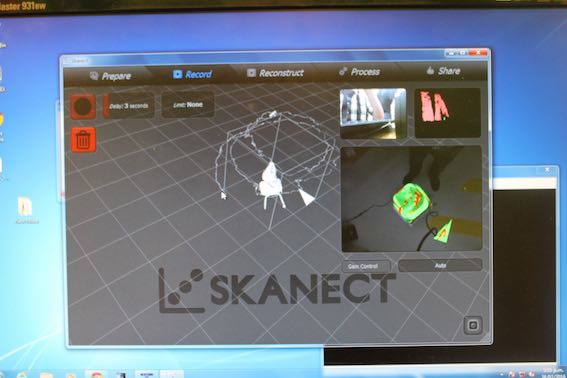
I had a lot of fun playing with the Kinect and Skanect software.I like the potential mobility of this scanning technique. Ours is fixed to one desktop computer with a grunty graphics card but there is no reason why it couldn't be plugged into a modern laptop. That would enable scanning the interior of a space such as a cave and that's on my bucket list.