Exercise 3. Computer-controlled Cutting
Vinyl Cutting Workflow
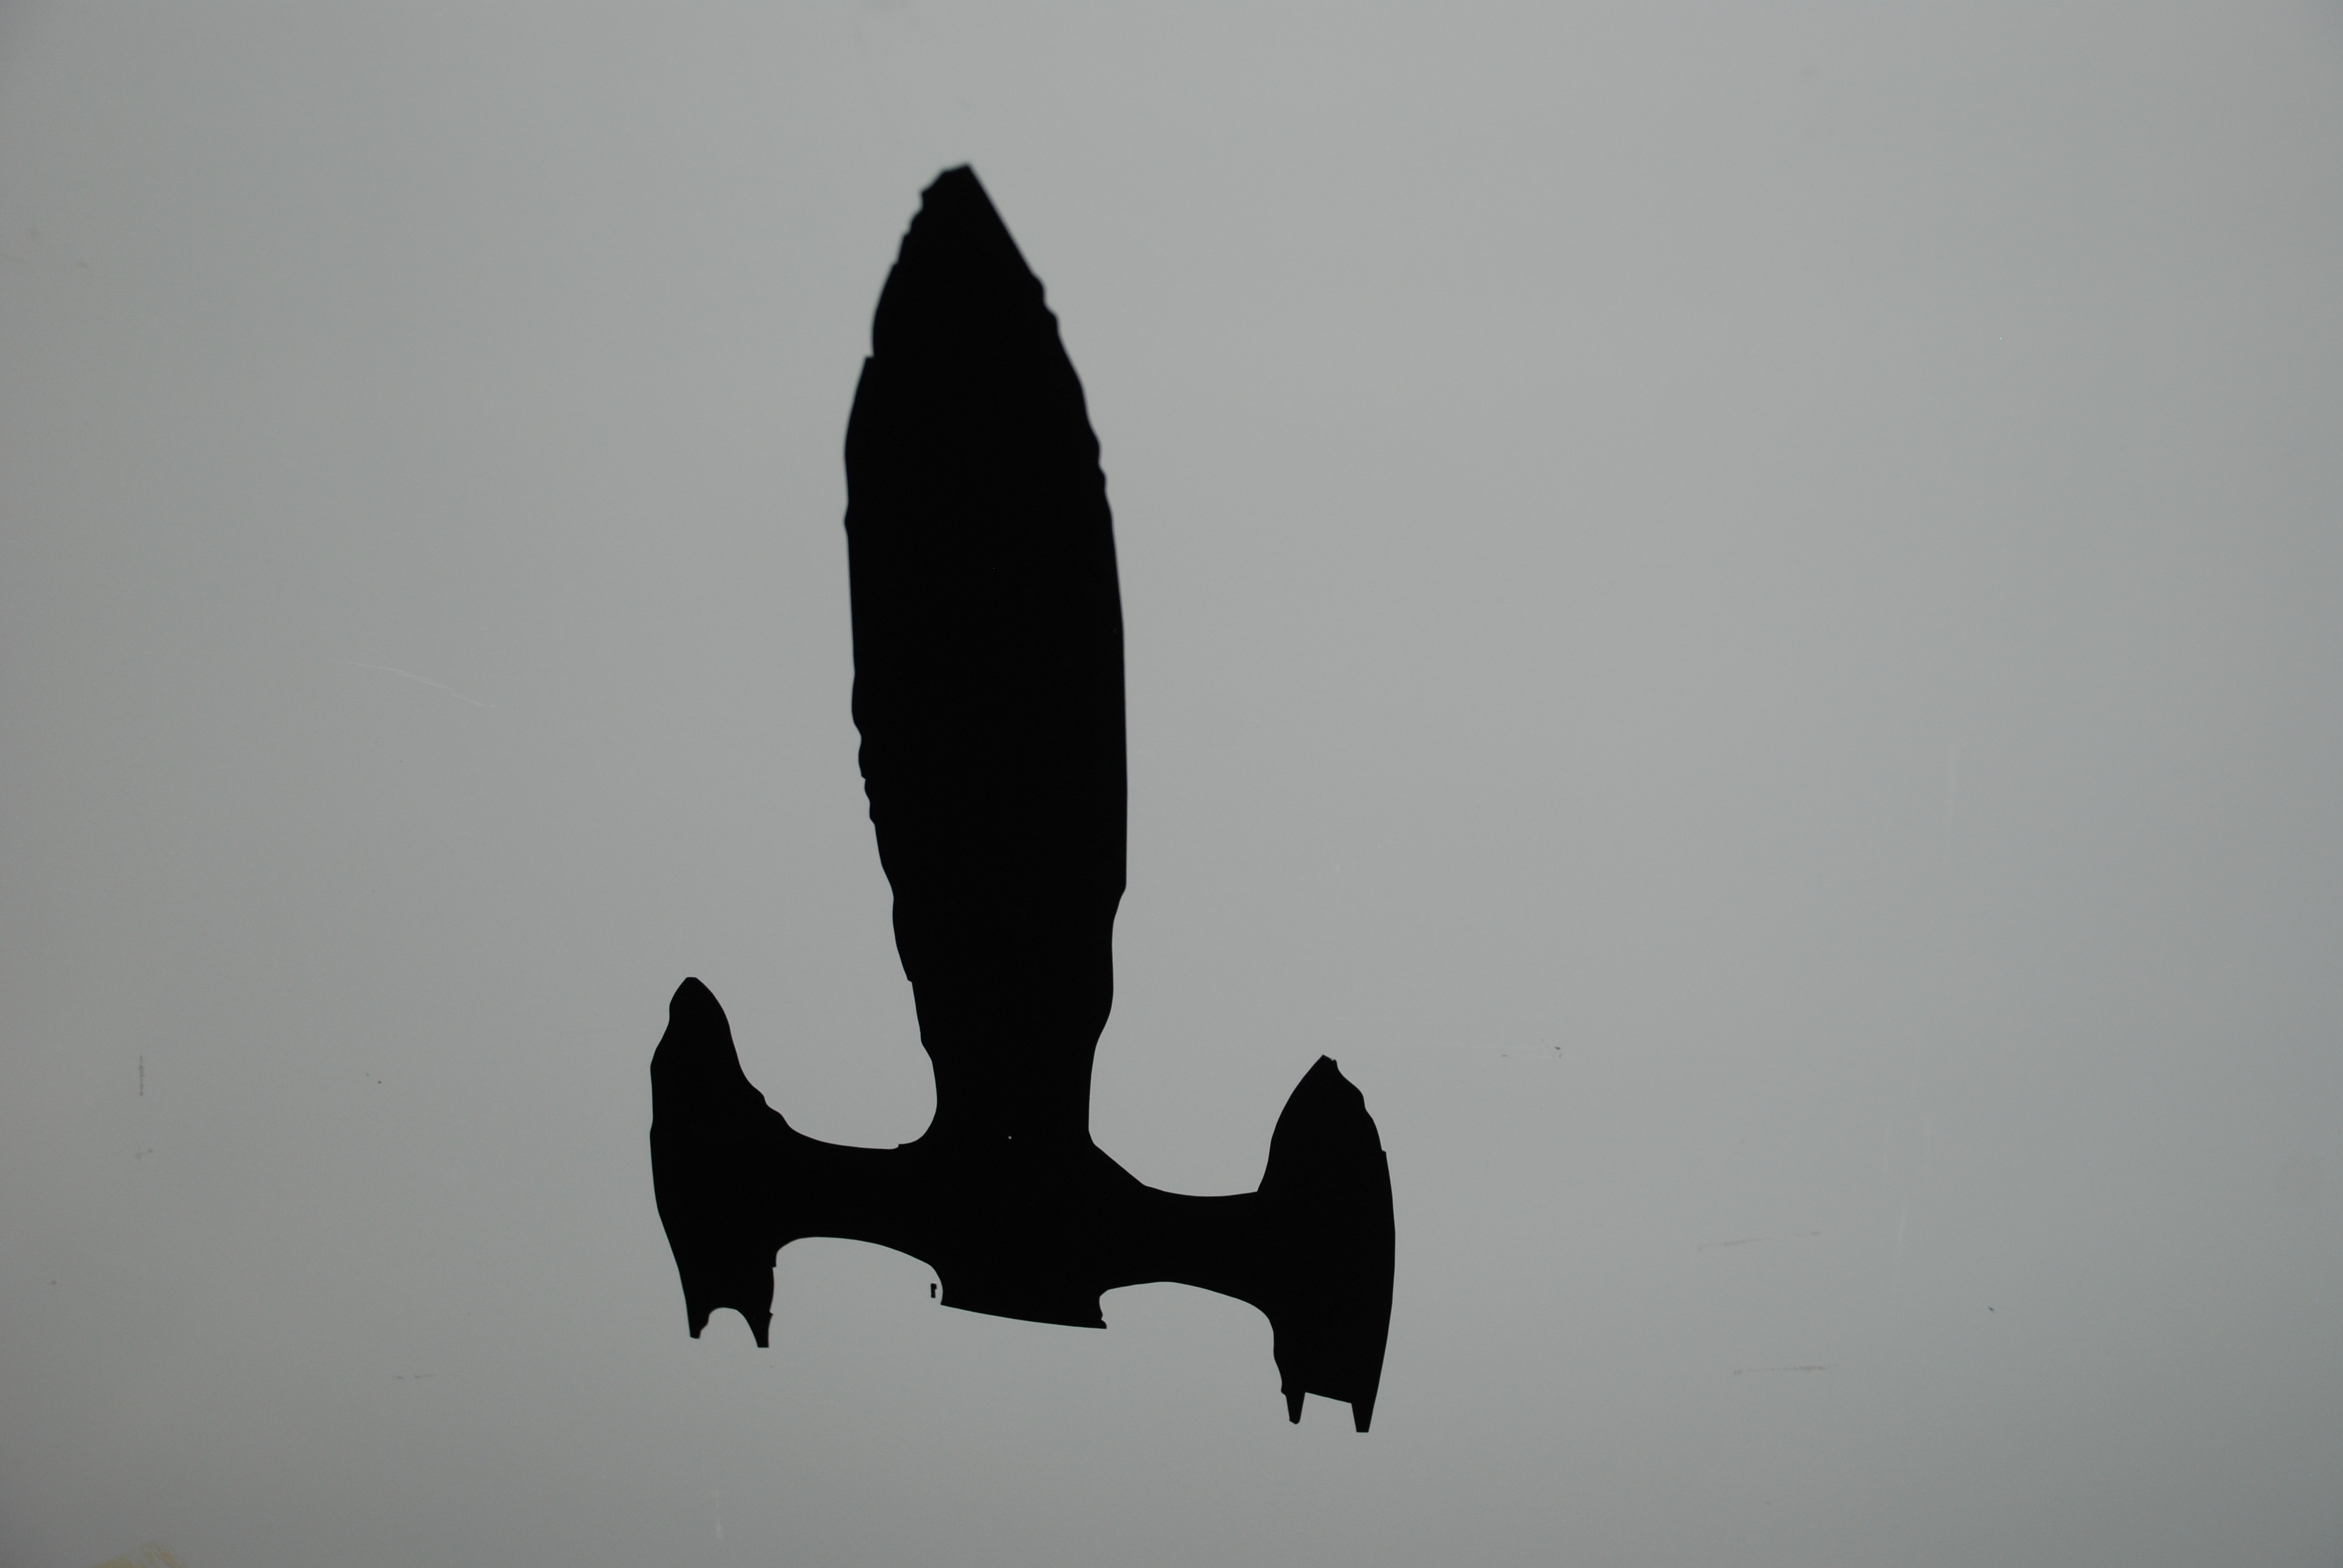
I decide to use a rocket design that I created Inkscape. I began by converting the file format from svg to jpg. I use web-based program called Cloud Create.
Using Roland Vinyl Cutter - Hardware
- Turn on Roland Vinyl Cutter.
- Select Roll or Sheet
- Press Enter
Using Roland Vinyl Cutter - Software
- Import your file in JPG format
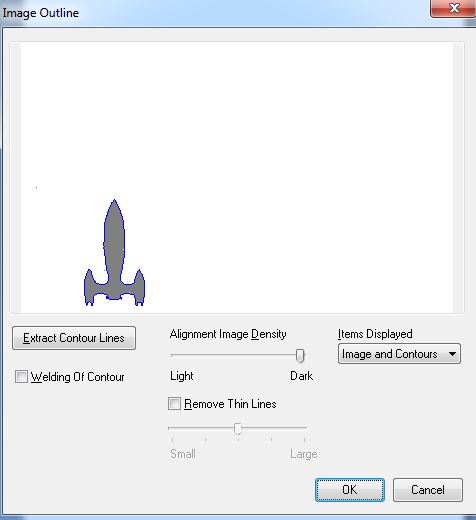
- Right click on image
- Select Image Outline
- Extract Contour Lines
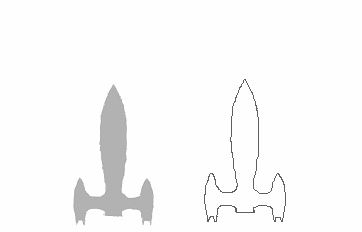
- Move the extracted lines (blue lines)
- Delete the original image
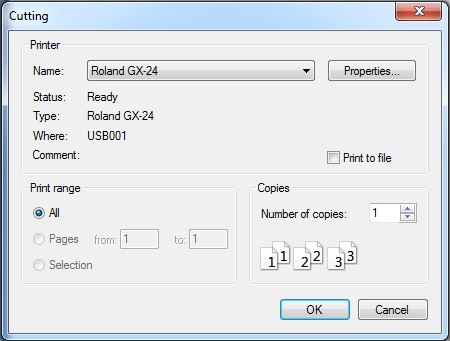
Cutting
- Select Cutting from the Menu
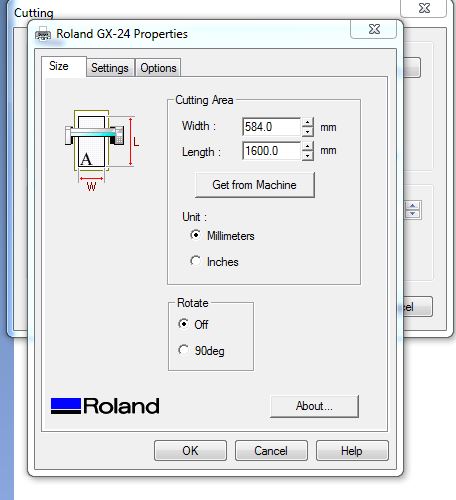
- Determine Cutting Area by selecting Get from Machine
- Click Ok
- Click Print
Applying a vinyl sticker
- Applying the vinyl sticker
- Lower handle
- Pull out vinyl from behind the cutter
- Cut out vinyl square that contains your sticker
- Cut out a transfer tape square that is larger than the vinyl square
- Put your vinyl sticker down on the transfer tape - be sure to avoid wrinkles
- Use a flat edge to “rub” the vinyl sticker down on the transfer tape
- Peel the the excess vinyl away from the remaining vinyl sticker
- “Transfer” the vinyl sticker from the transfer tape to the final location of the sticker
- Remember the sticky side of the vinyl sticker is attached to the final location
- Rub the the transfer tape side of the sticker down on the final location
- Peel back the transfer tape and your are done
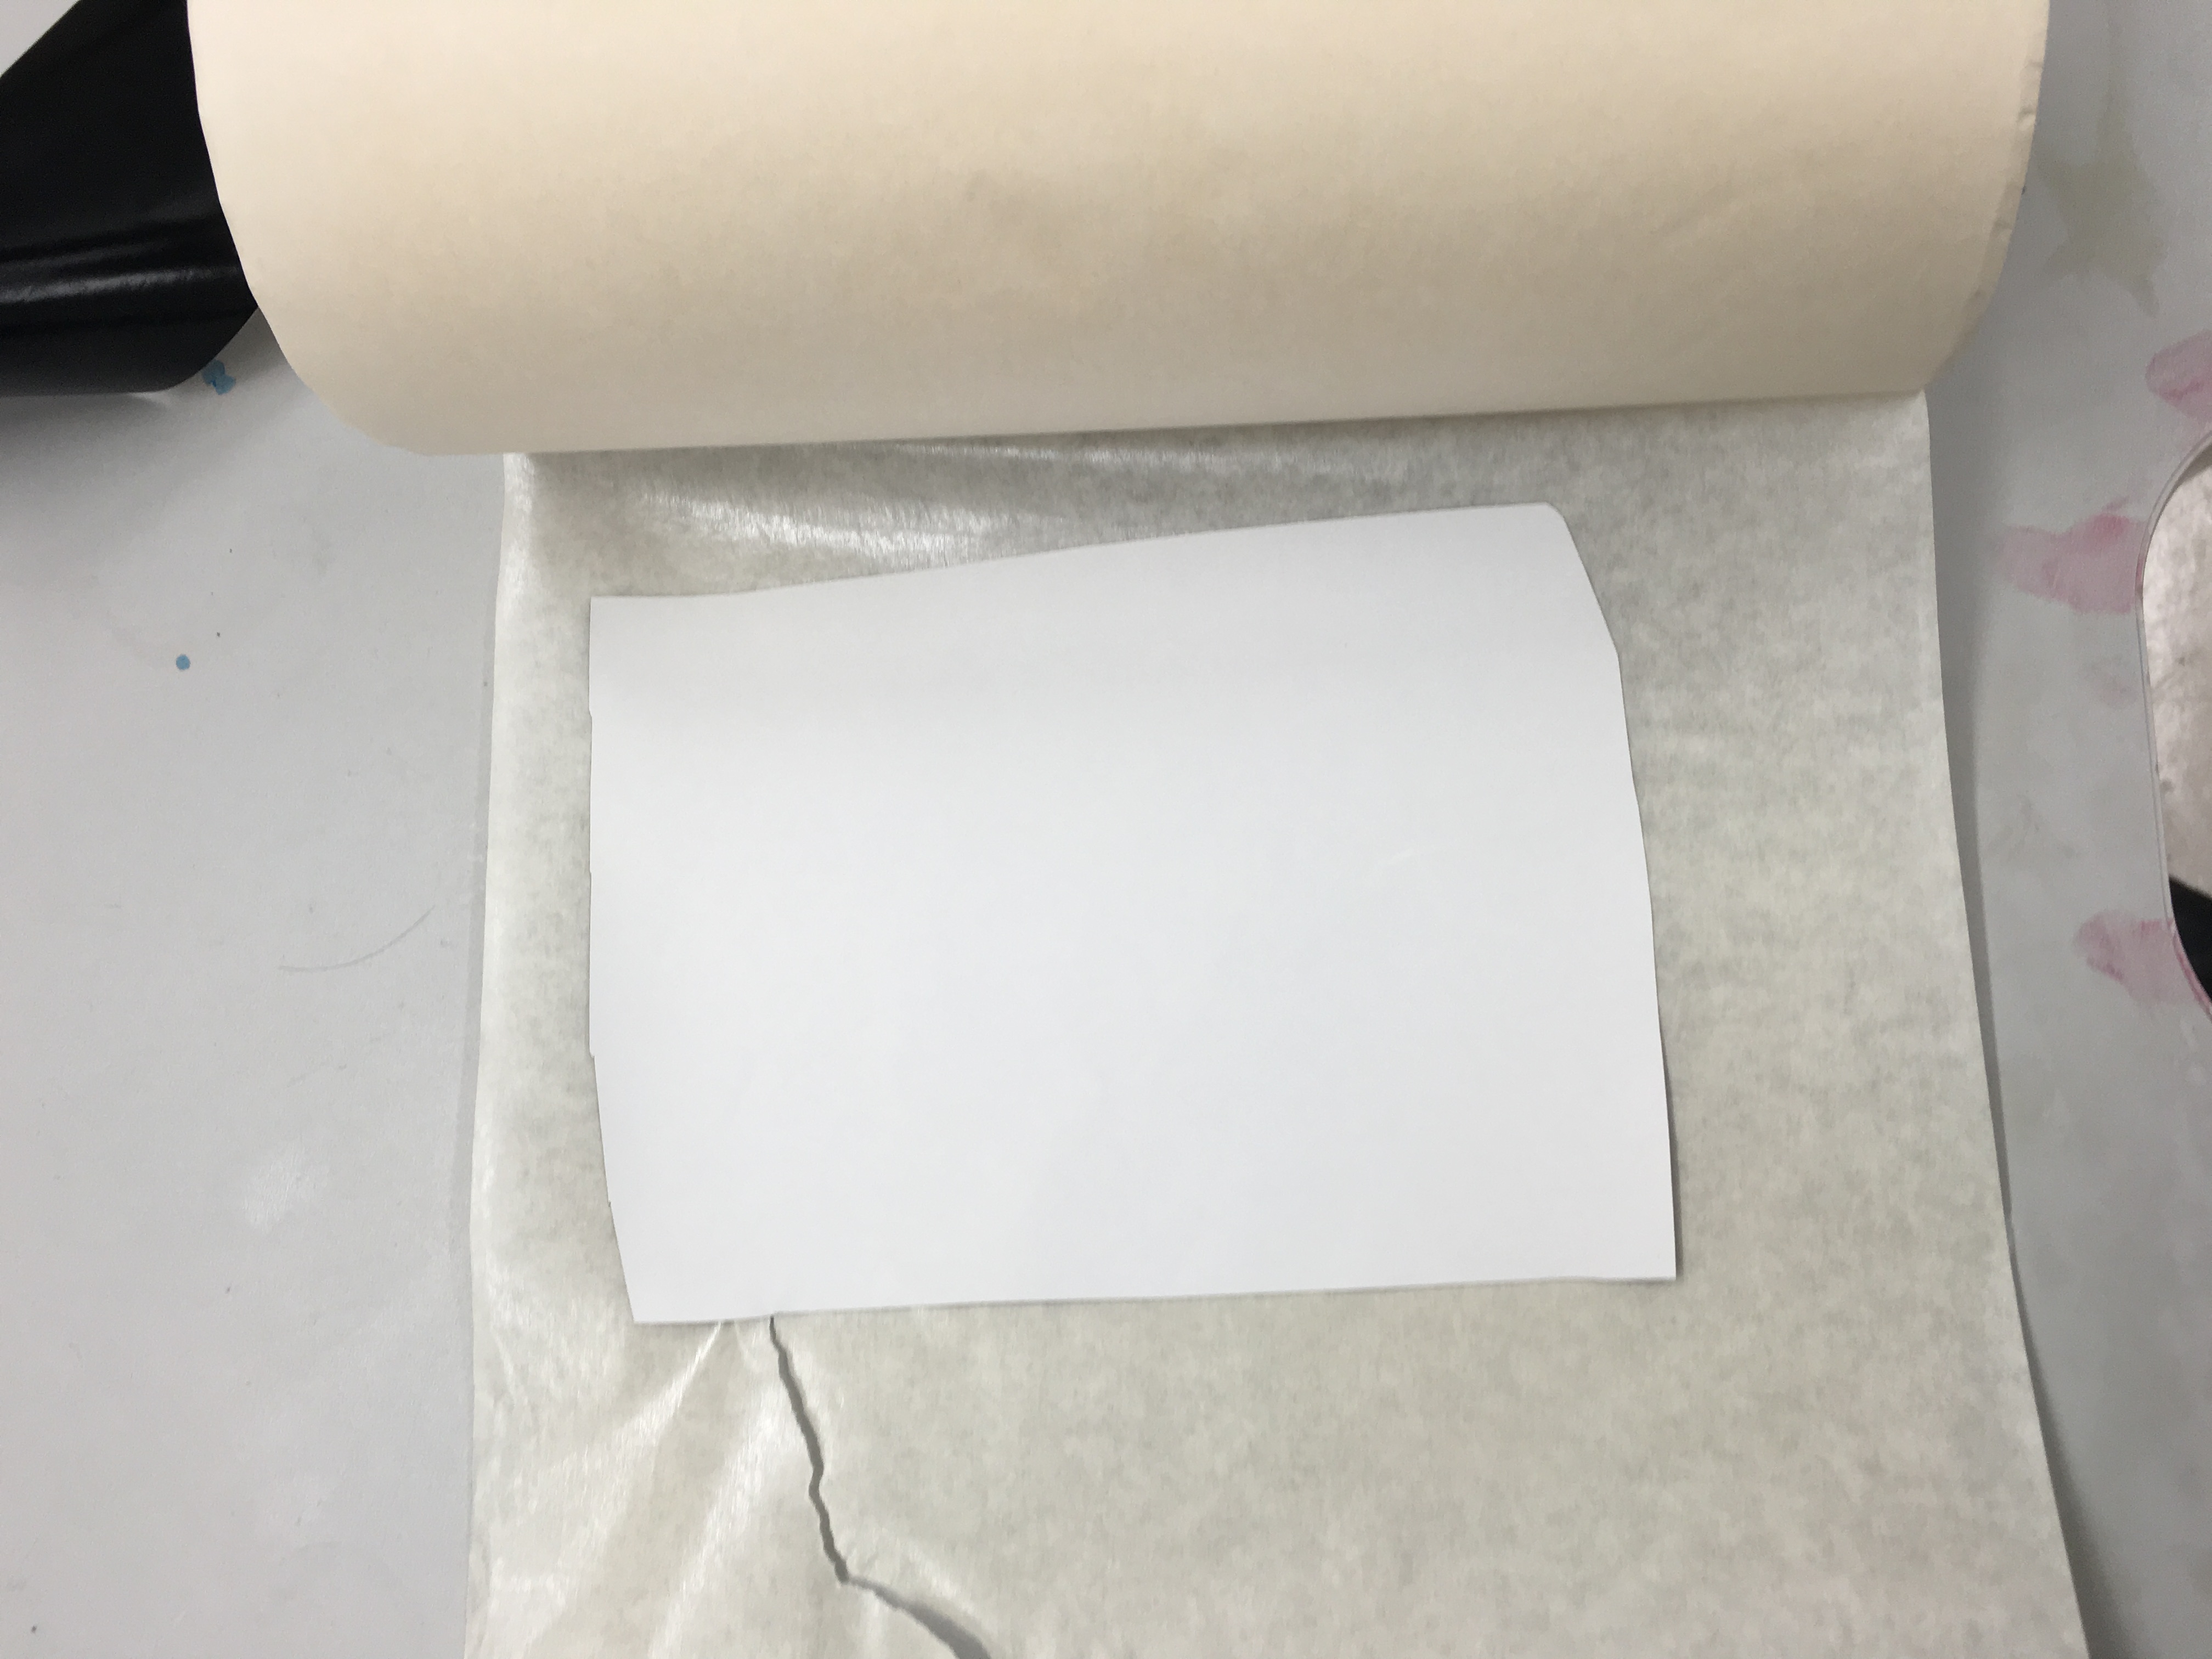
My rocket drawing in jpg format.
Once you import the JPG file and select image outline
Next we setup the size of your printing by selecting Get From Machine.
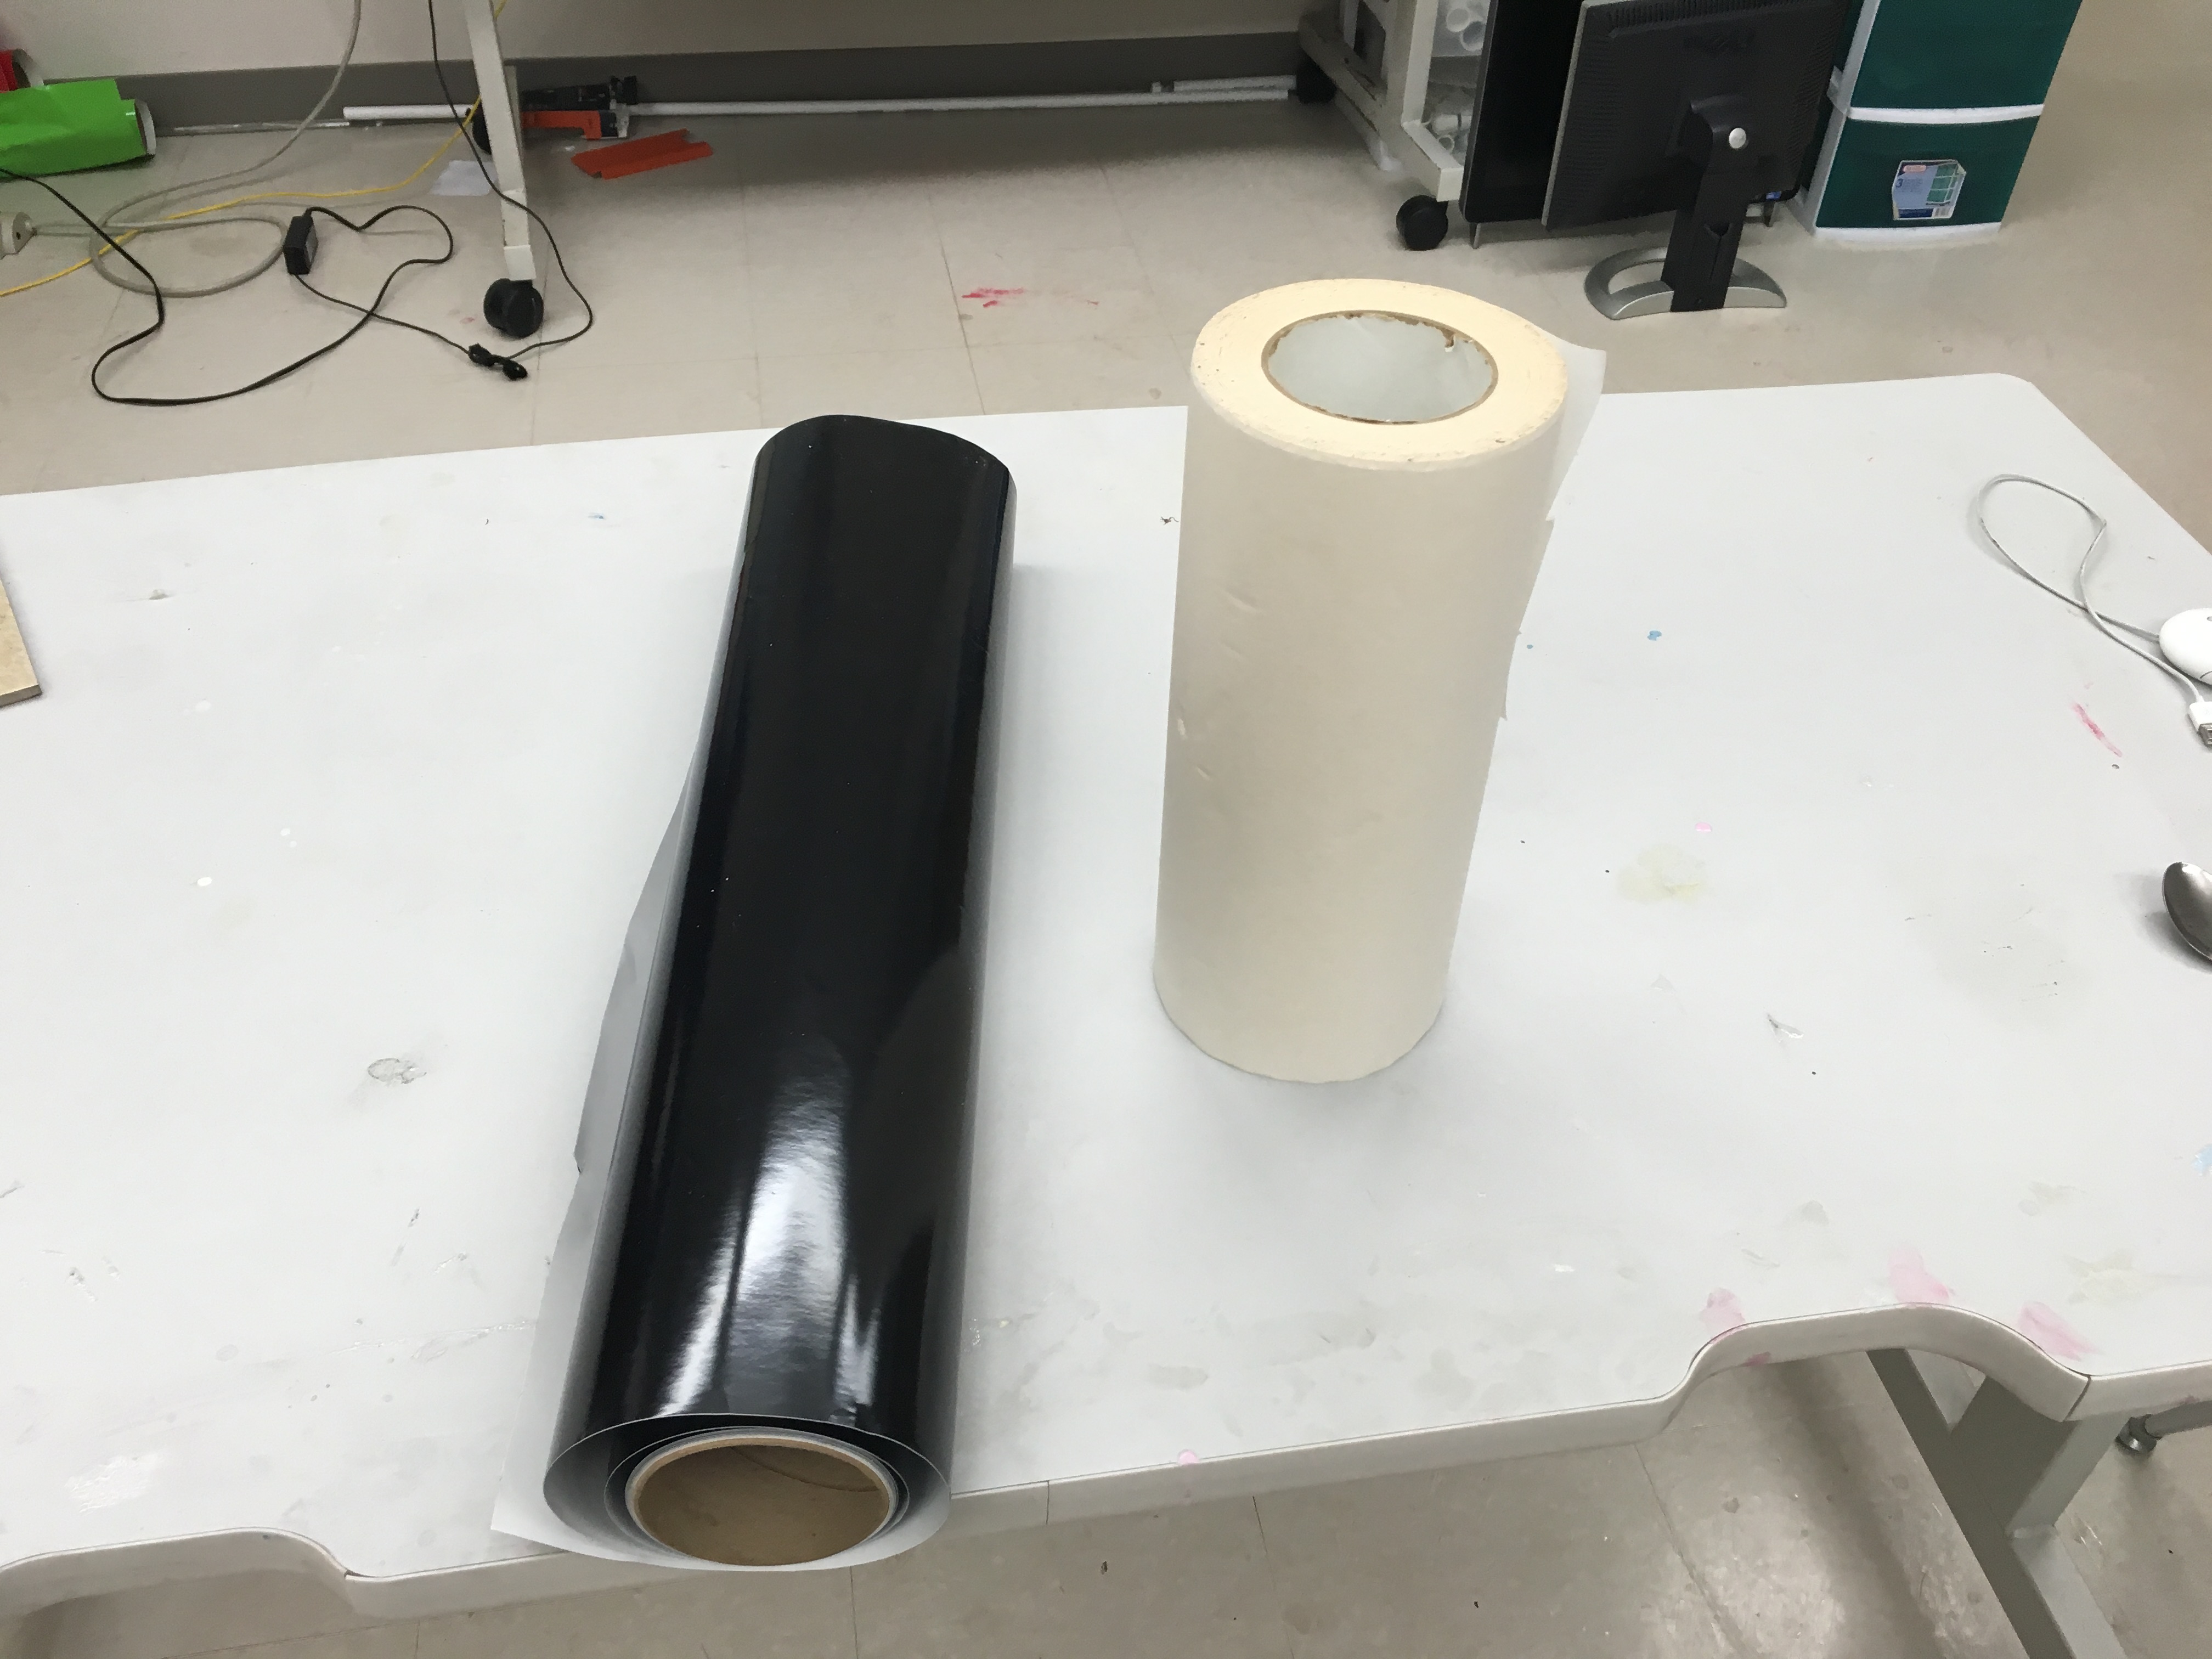
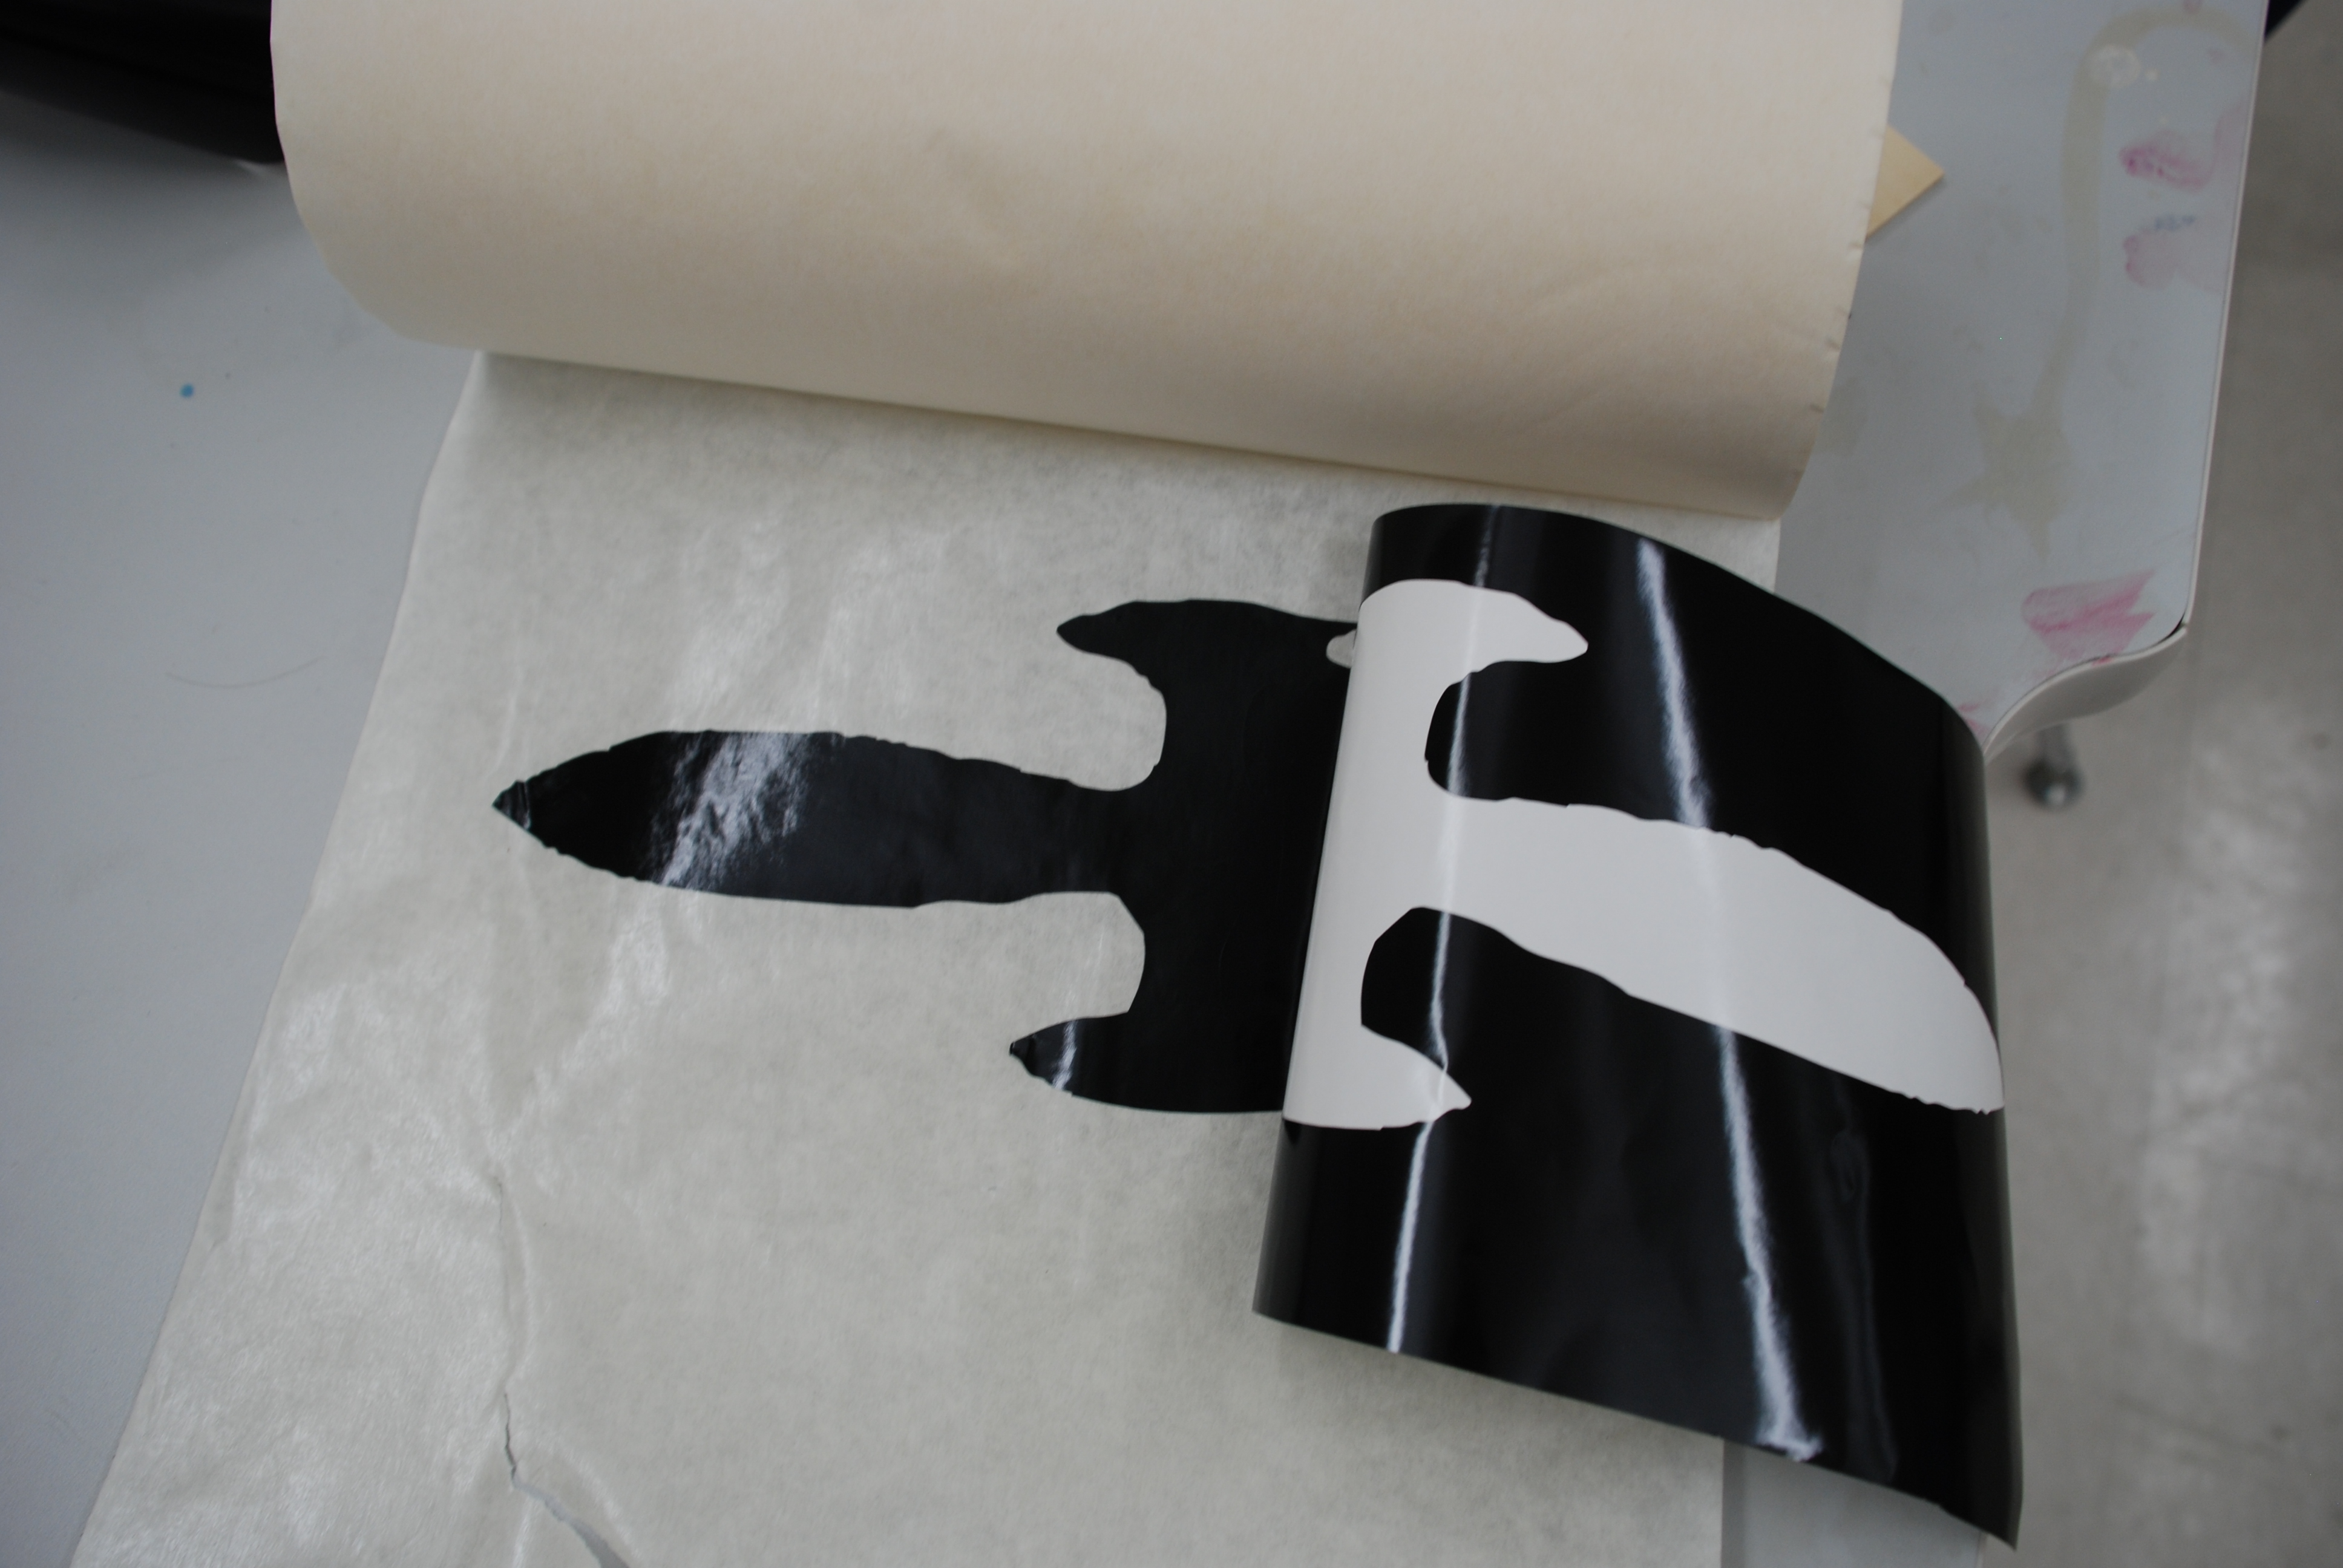
You will need to both vinyl and transfer tape. Be sure the vinyl is placed according to the white tabs
After you the vinyl, place it on the transfer tape and peel
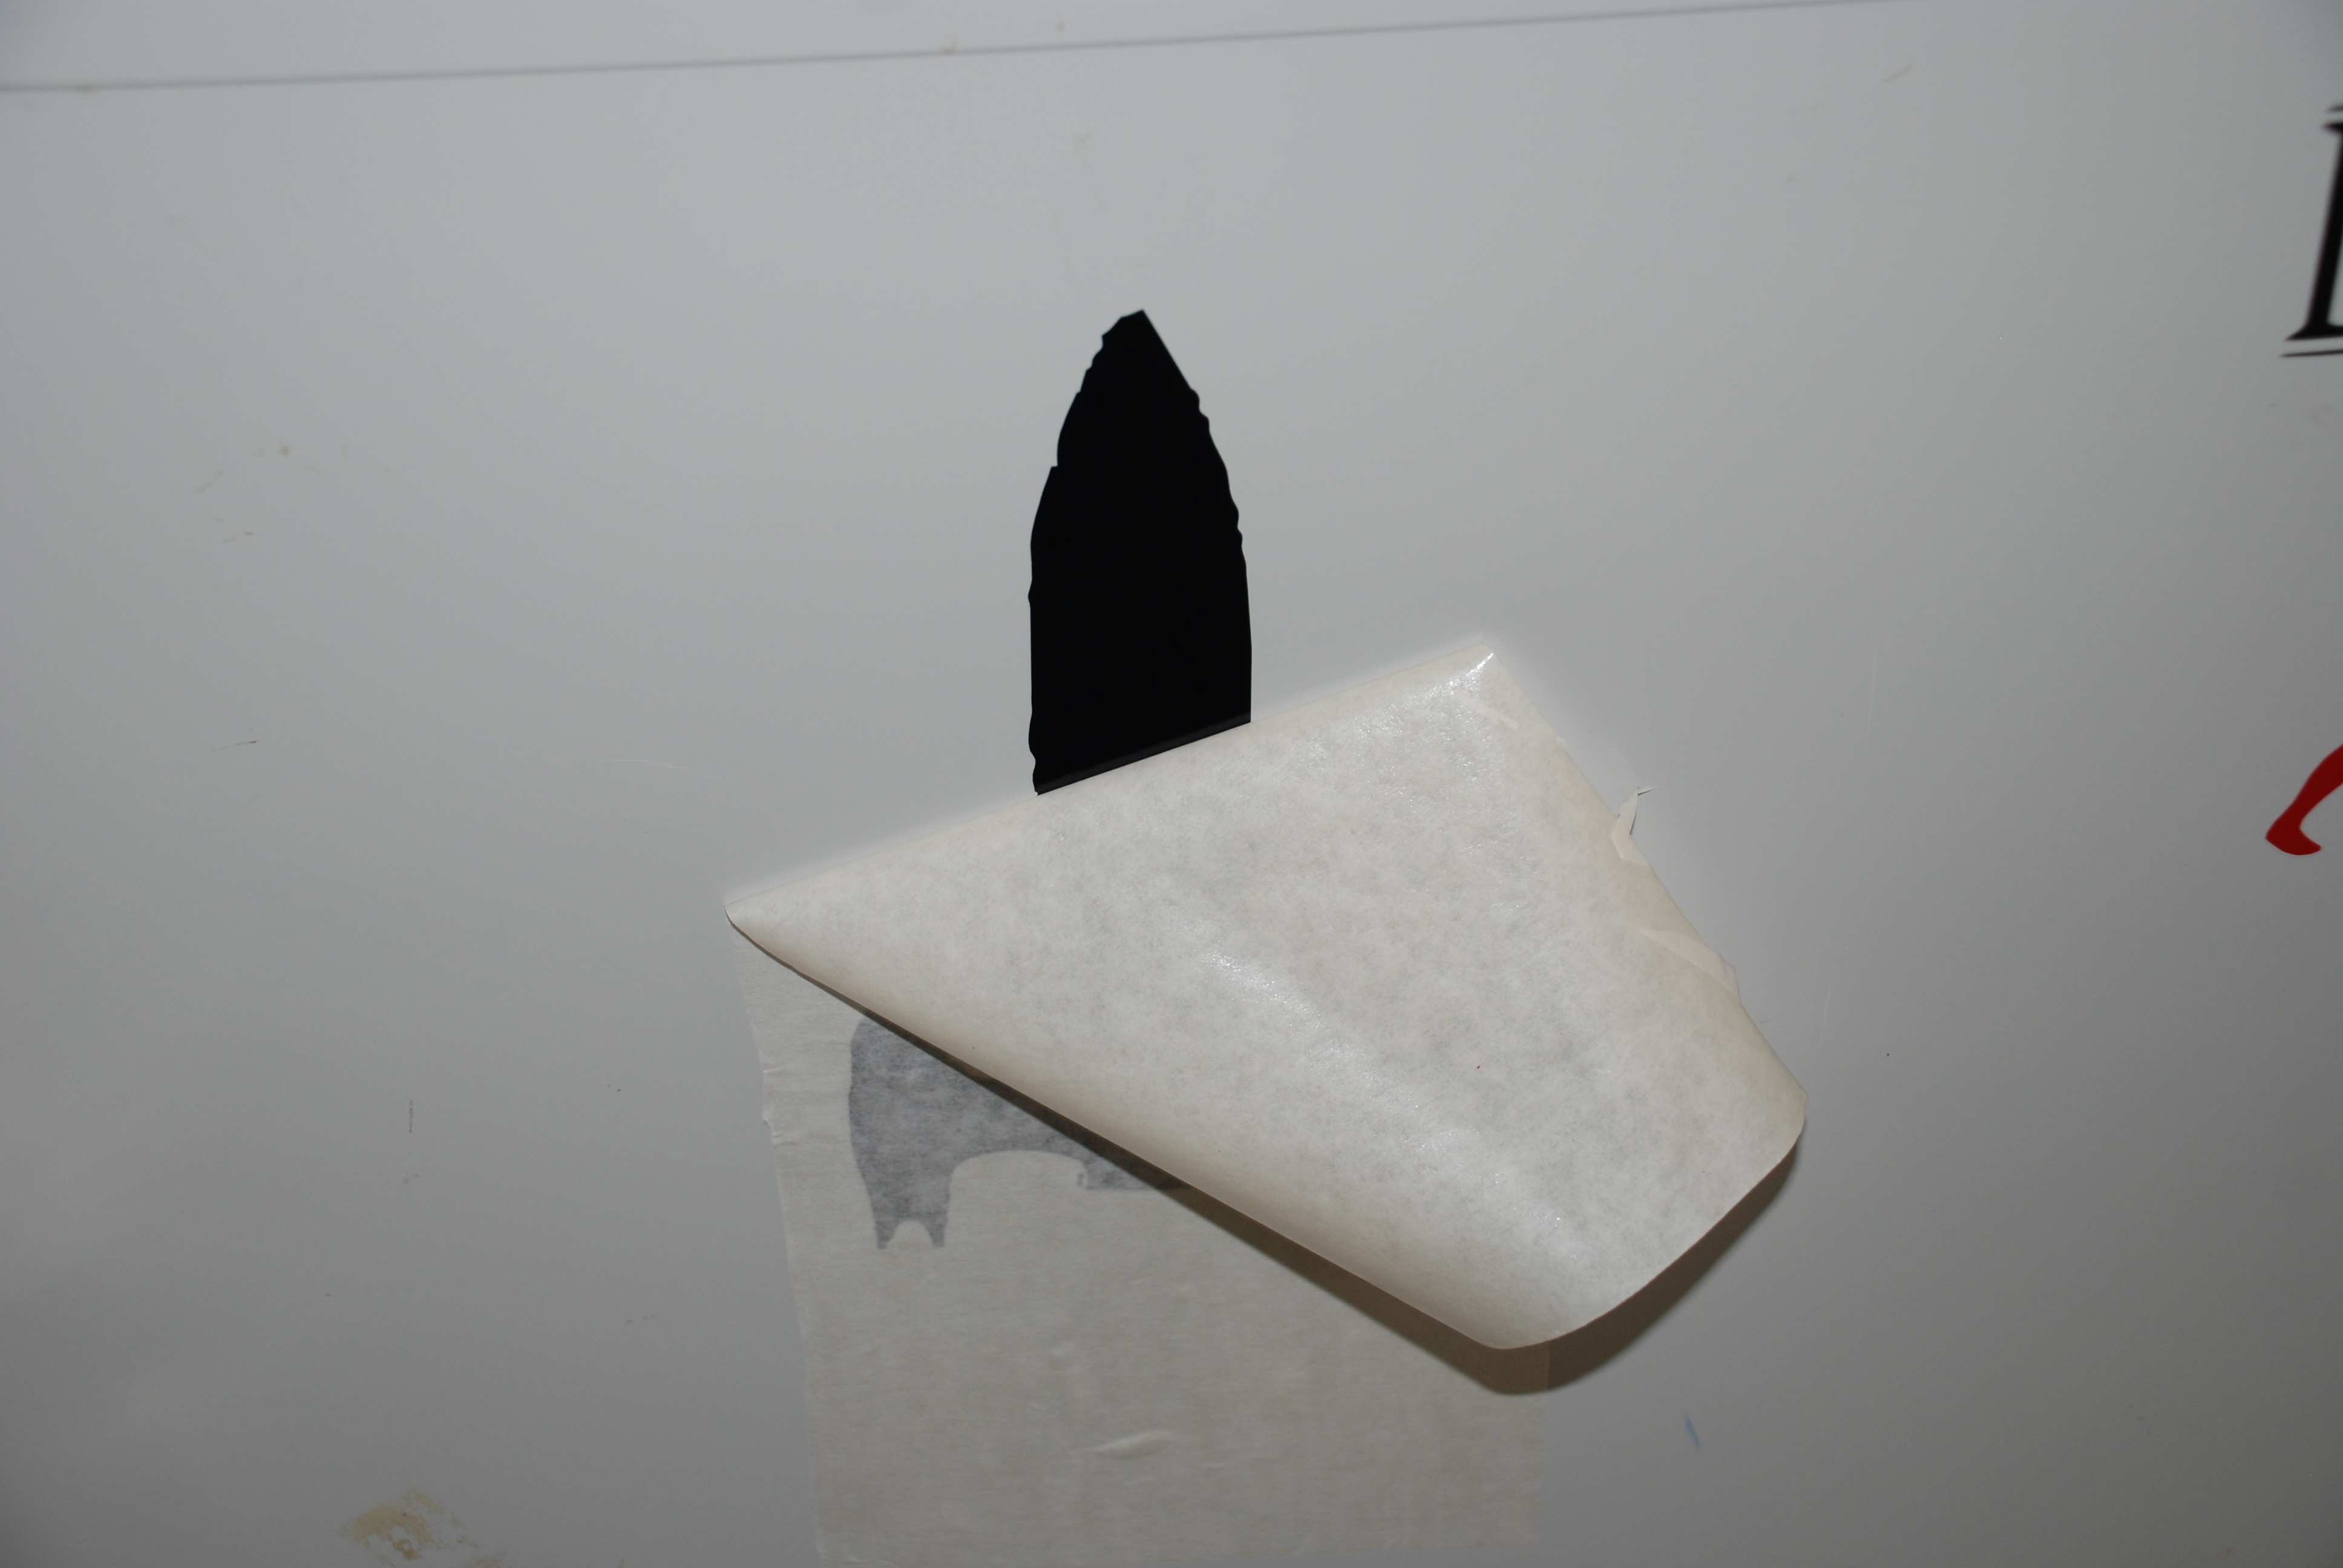
Once the vinyl is on the transfer tape, place it over the final location, press and peel.
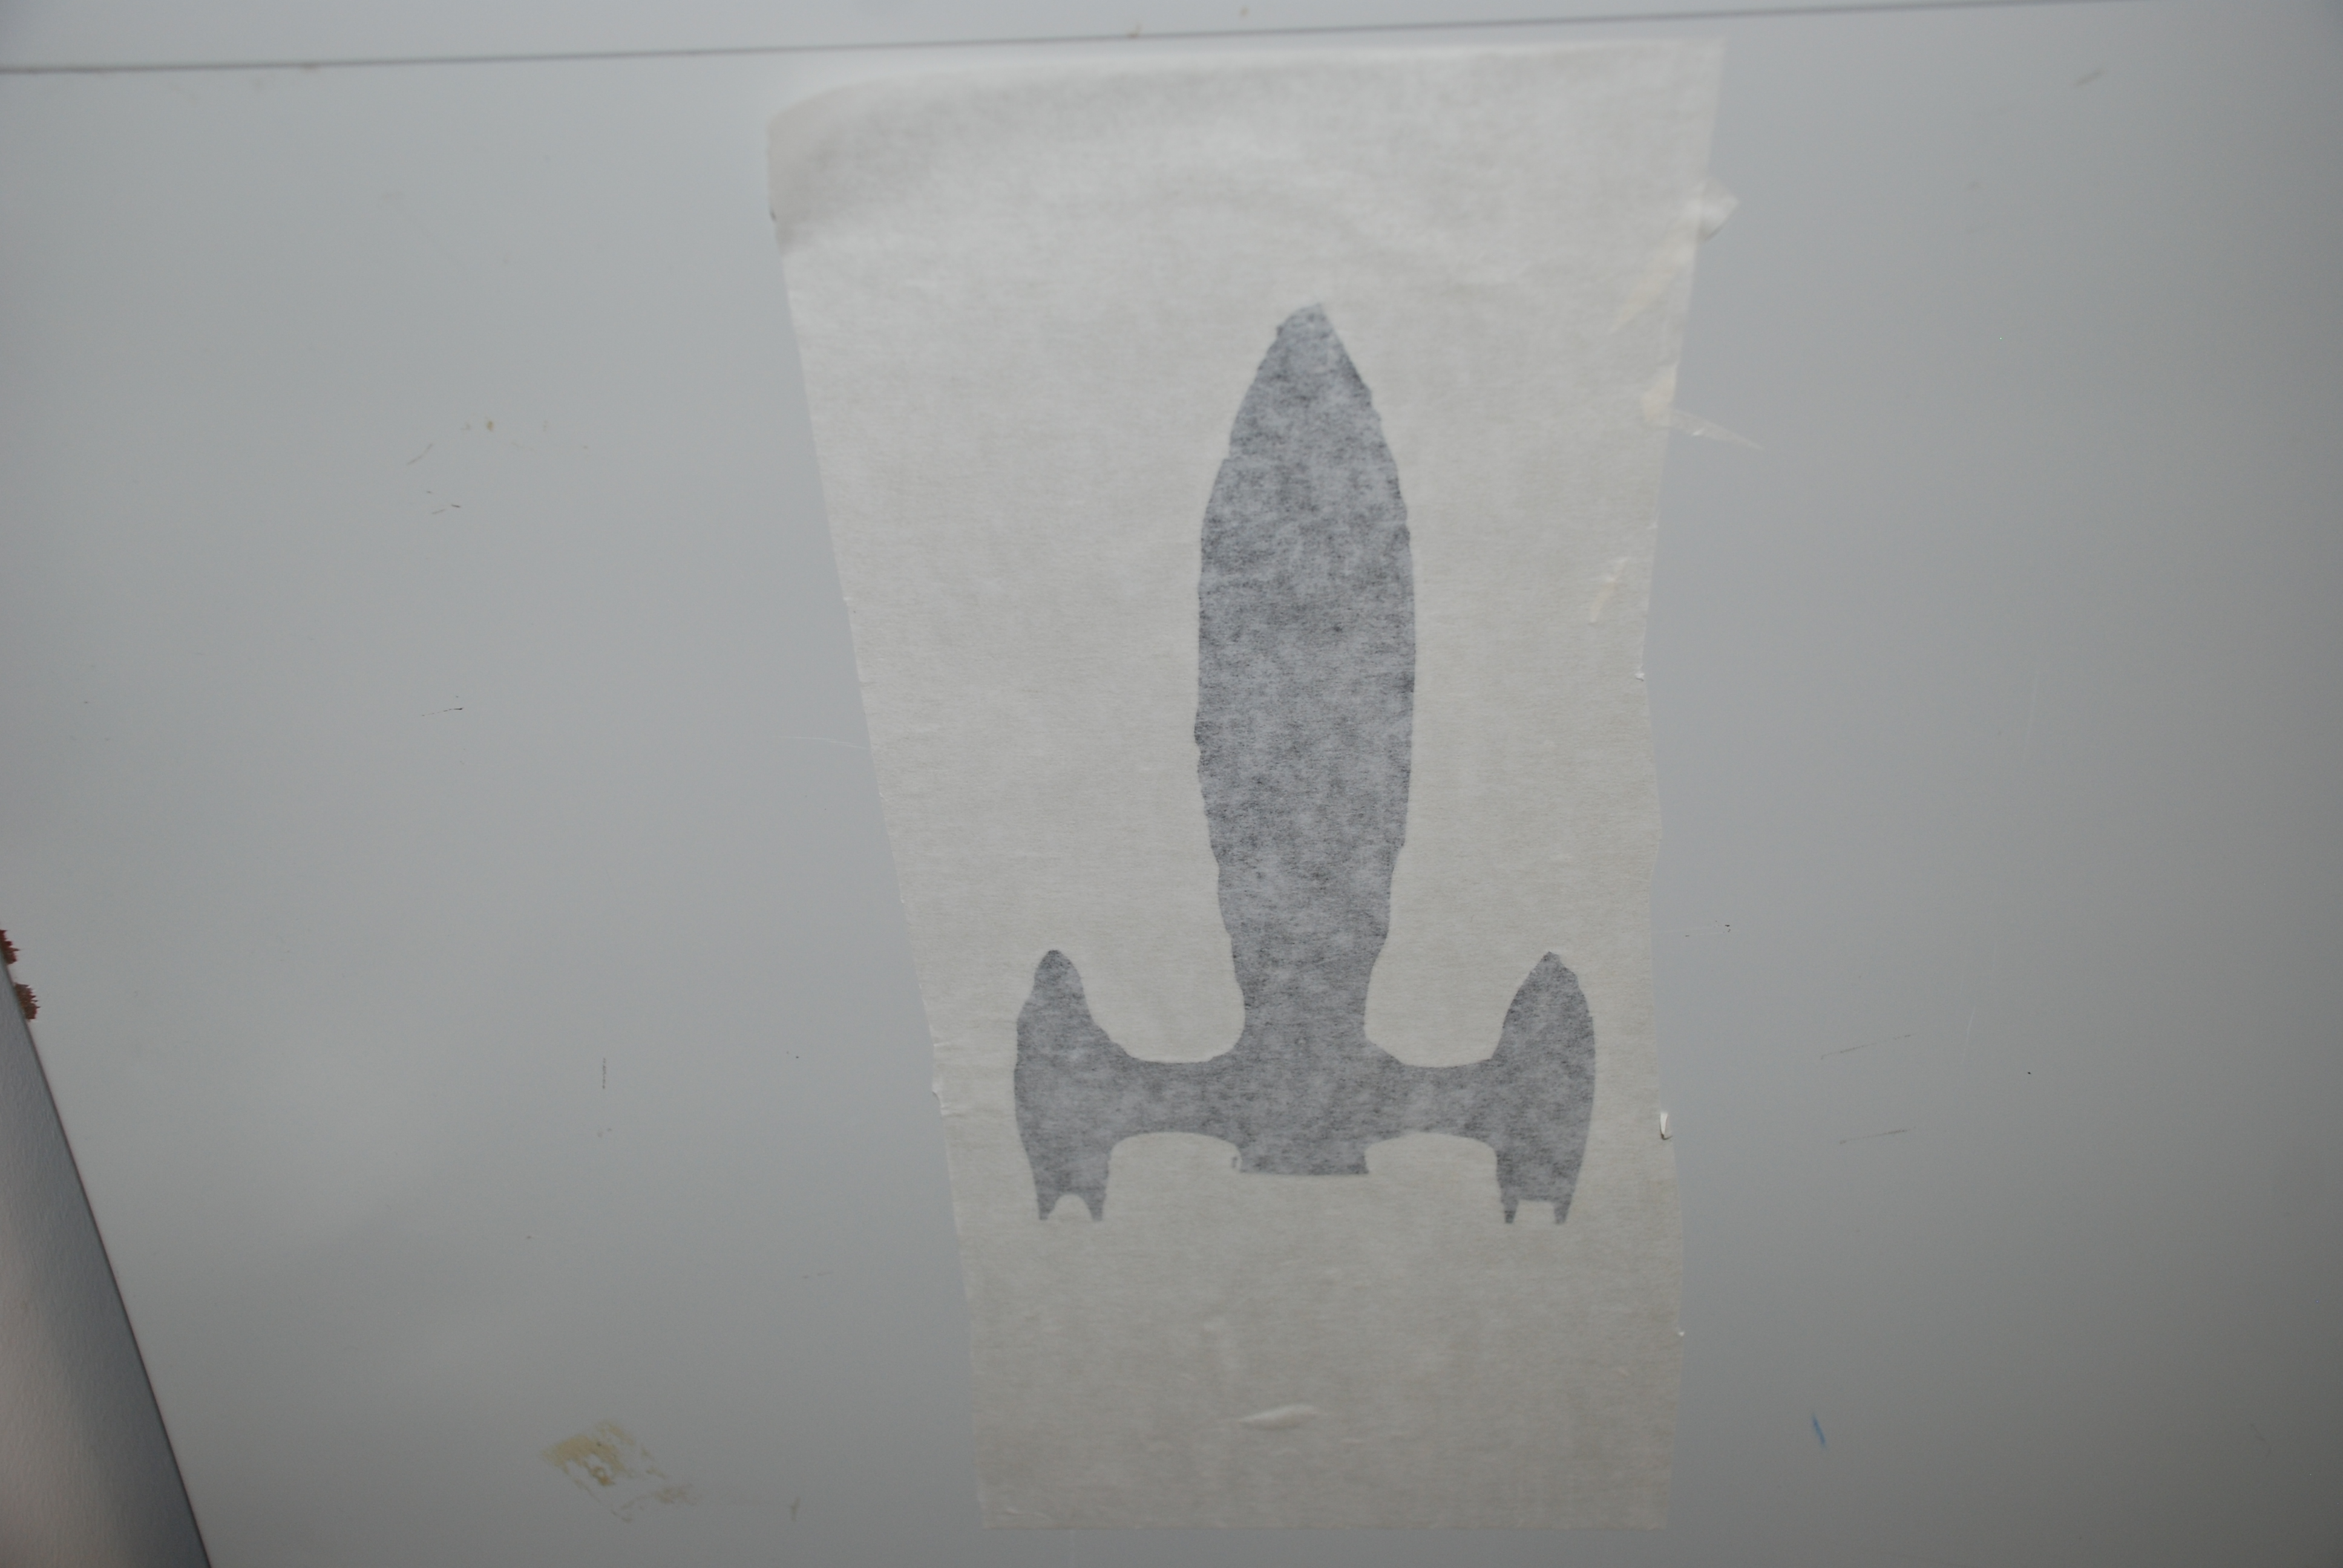
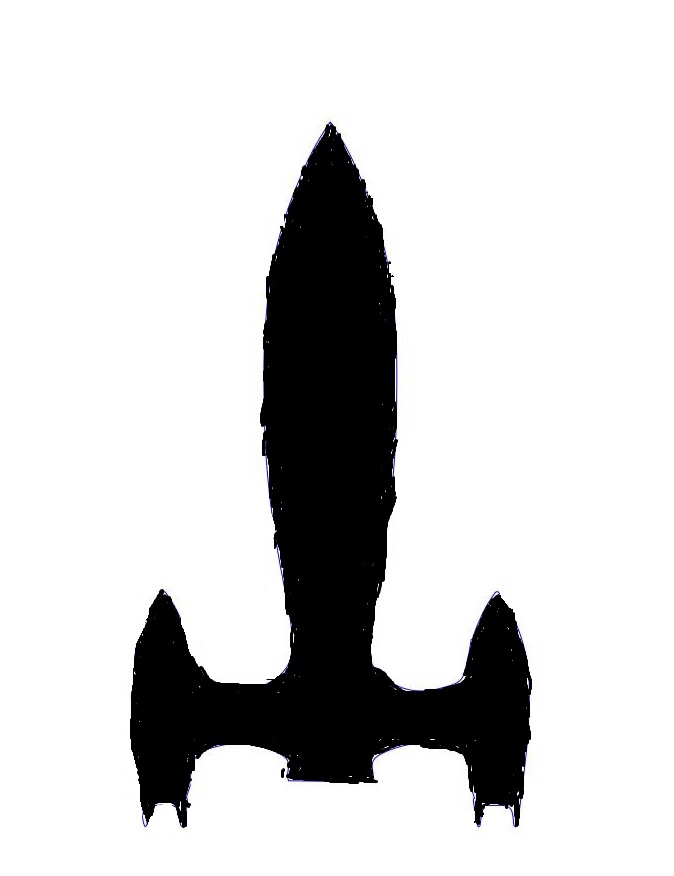
My rocket drawing in jpg format.