Machine Team Build
The team is made up of Tom Dubick, Ian Brauner, Richard Fletcher, Brian Sossamon, and David Taylor. We tasked Brian Sossamon to create and document this Machine Page for our Group assignment.
In preparation for this exercise, we spent time reviewing the machine design module information as well as the extra documentation on the process.
Next, We found the rhino file .3dm. We gave this to Brian due to him having prior experience with Rhino. Brian and David researched different ways to convert the rhino file into a format that the epilog laser cutter would be able to read. After different file saving attempts, suchas .stl, .dwg, .ai, . svg, and .dxf. Finally, we were able to export it from Rhino as a .eps file.
Ian began going through the equipment once they came in. Ian and Tom did research the day before on creating a agitator for our biology and engineering courses here at our school. For example, it could be used for agitation of yeast and for etching PC boards. The following links were used to help support this idea: Cheap and Easy Lab Agitator Shaker Great for PCBs, Open Agitator Your Personal Chemical Lab Shaker, Complicated Device on YouTube, The 5 minute circuit board agitator, and DIY benchtop cd rom agitiator.
Richard, Tom, Ian and David brainstormed creating the agitator by having the X and Y axis move back and forth quickly. We want to be able to create a code that allows for the option of two modes: aggressive mixing, and smooth, consistent movement.
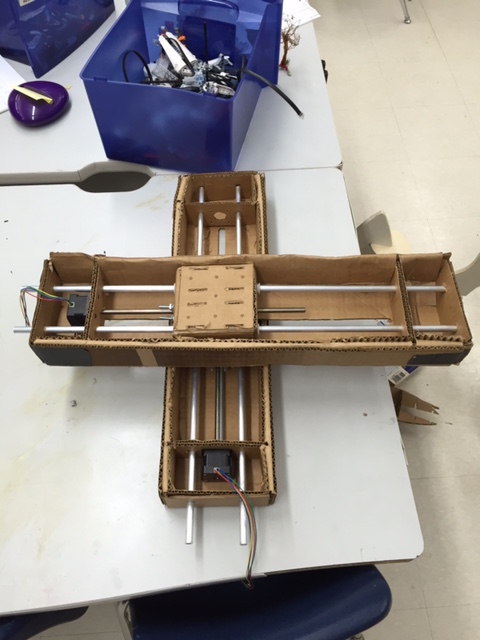
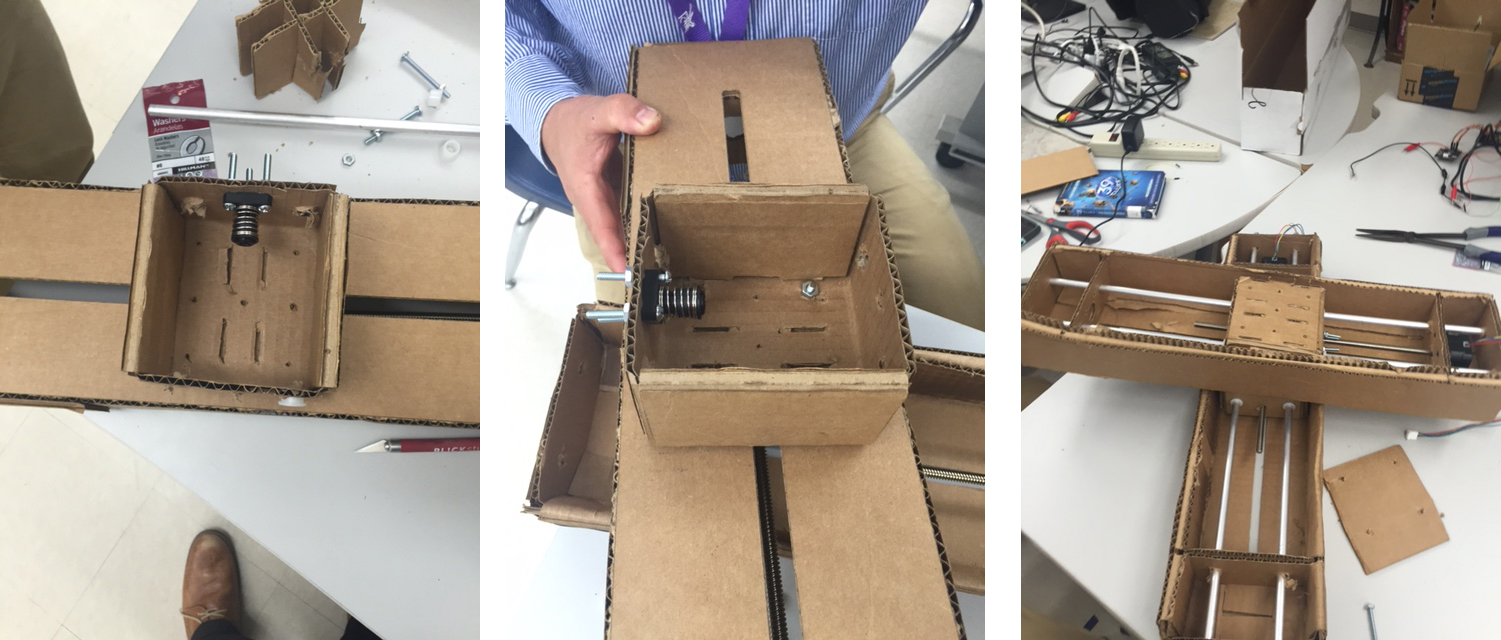
The project was finally completed and put together with a lot of hurdles due to the laser cutter not working correectly. This was defiently a team effort as well as Ian was the key to our success. The image below is our assembled machine.
Machine Team Programming
We went to the Fab Lab Tutorial Getting Started With Gestalt Nodes.
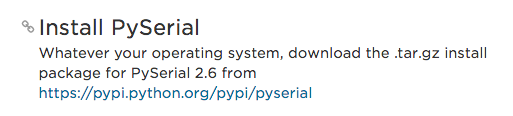
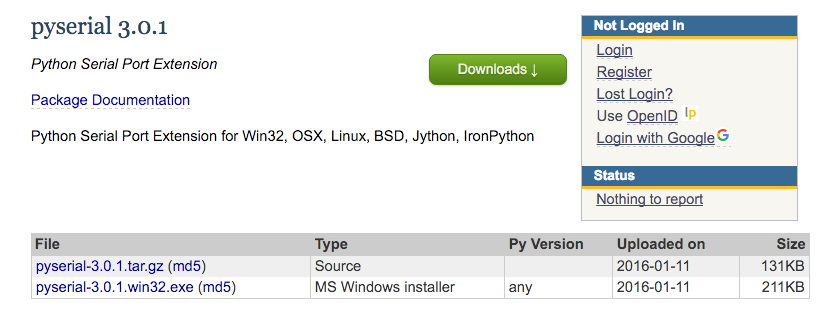
We then clicked on the link at the bottom of the page for the AAdafruit Python tutorial and downloaded the zip file from the pyserial zip file from the adafruit page. Next, we moved the pyserial zip file from downloads folder to desktop. Then installed nadya/pygestalt GitHub page and installed the unzipped folder ondesktop. We then used terminal to complete the following unzipping process and installation process:


Lastly, the video shows the code working.
Completed Machine 2.
 Machine 2 Added
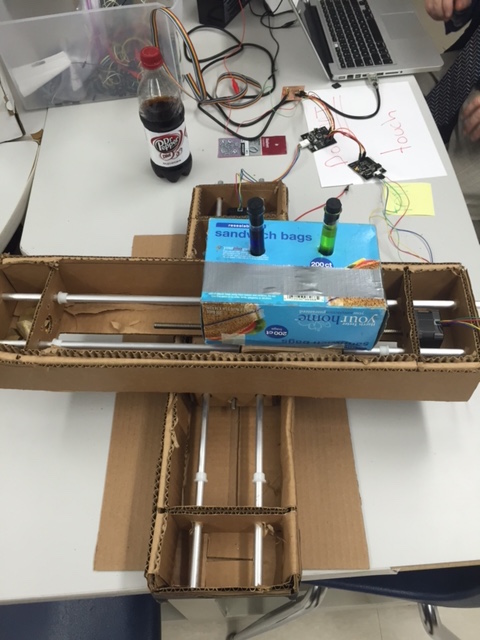
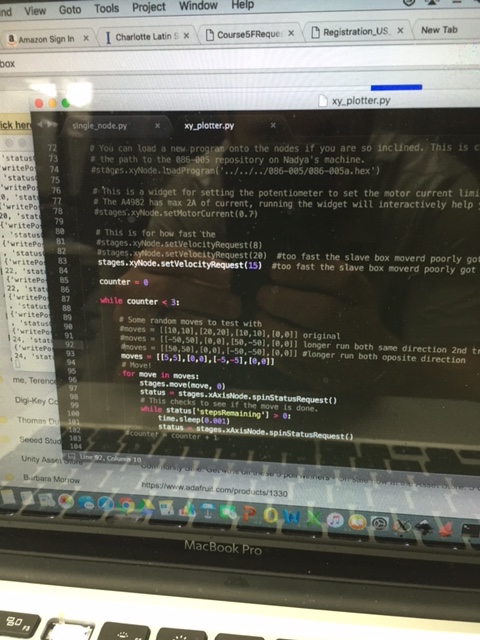
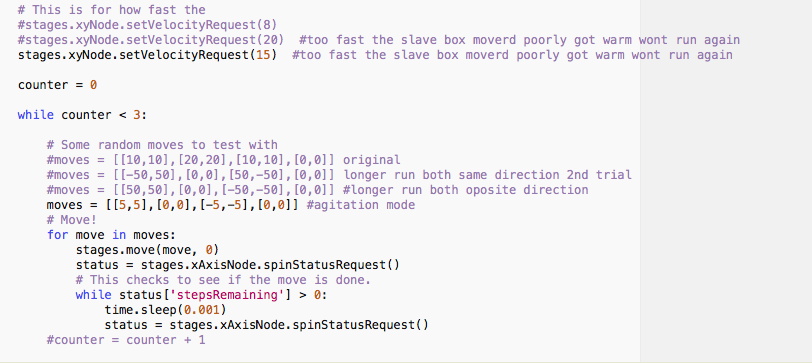
We took a small box and attached it to the agitator and cut 2 holes for our test tubes. We added some weights to the other side of the top piece to counter balance the stepper motor. We than opened the xy_plotter.py file and made changes to it. Next, the velocity was set to 20 in line 83, because, 20 velocity was to high and it makes the rod slipped and jam. The moves = [[5,5],[0,0],[-5,-5],[0,0] was set after some trial and error to get the two stepper motors moving in short movements to agitate the liquid in the test tubes. These values controlled the accerlation and the coordinates on the axis. We learned that making the steppers move less witha start and stop process, we could make the liquid move more. The test tubes were filled with water and food coloring for our test, and the box had holes put in it to the size of the test tubes as well as the box was attached using velcro. I have attached the single_nodes code to show the practice we did building up towards the agiator xy_plotter code. Below you will find a video of the agitator working, images and a zip file of the code:
Download File Here agitation_code.zip
 If you Build It They will Learn!!!