Embedded programming
Assignment for week eight (March 19, 2014)
This assignment for this week is to read a microcontroller
datasheet and to program the board to something, with as many
different programming languages and programming environments as
possible.
I opted to use the Arduino IDE to achieve my assignment. I found
Arduino to be easy to learn, considering that I am not a fan of
programming and haven't done it in a long time. I tried C
programming language in the assignment, however I ran into issues
and errors and found it too frustrating - thus I stuck with
arduino.
1. Downloading & Installing
Arduino IDE
- I made use of Anna's tutorial
(fabacademy.org/archives/content/tutorials/09.Embedded_Programming/Programming_ATtiny_with_Arduino_IDE.html
- Went on http://htl.media.mit.edu/?p=1695 to get downloading
instructions for required files/ software
- downloaded Arduino 1.0.5 for Mac OSX
- Unzipped the files & installed the software
- I needed to a Java SE6 runtime, to anable access to
Arduino.app
2. Downloading the ATtiny board files
& FTDI drivers
- Initially, I couldn't download the Attiny board files from the
gitHub repository - got an error
- I reviewed one of the 2013 students site/ archives and managed
to download the files from his link
3. Locating Arduino Sketchbook folder
- This was under the "Documents" folder on my machine
- I then created a new sub-folder called "Hardware"
- Restarted Arduino development environment and I could see
ATtiny entries in the Tools>Board menu
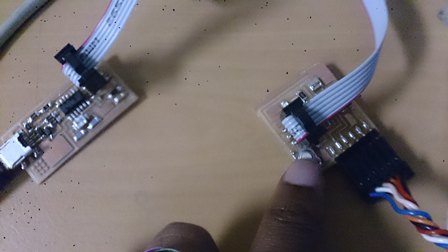
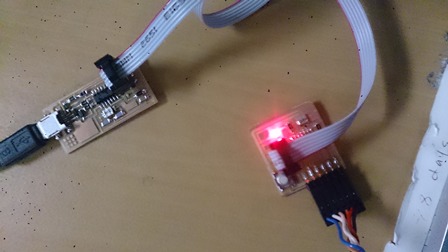
4. Connecting ATtiny
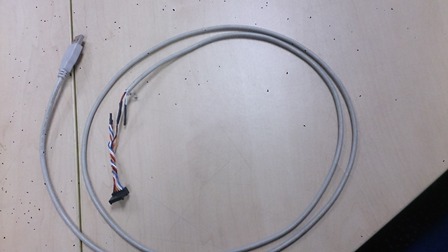
- Since well I did not have the FTDI cable, I used the standard
USB 2.0 A cable, which I modified to power my Hello LED + Button
board.
- I connected the programmer to the ISP header on the LED+Button
board
5. Configuring the ATtiny to run @
20MHz
- By setting the "ATtiny 44 20MHz Clock" from the board's menu
on Arduino
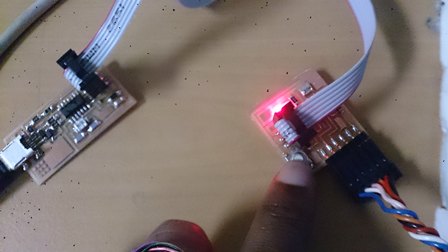
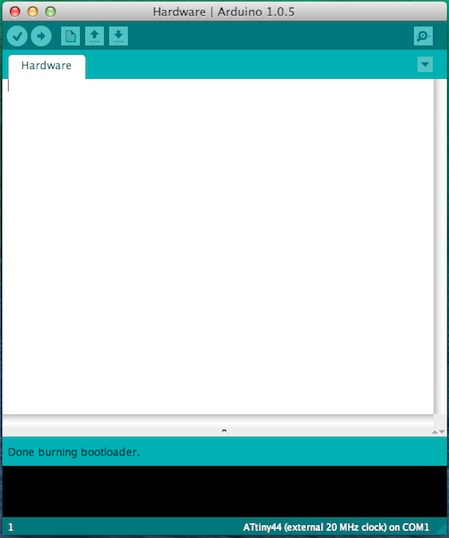
6. Burning the Bootloader
- I used my Mac book for this process
- I ran the "Burn Bootloader" command from the tools menu, which
ran successfully
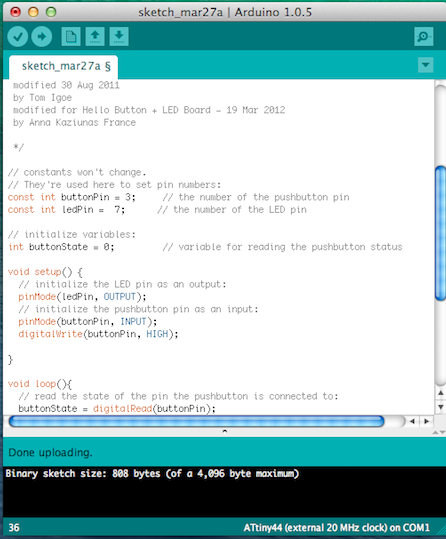
7. Programming the ATtiny
- Opened the "Button Sketch" from examples to modify my code
- Changed the pin numbers on the code to correspond to that pf
my board (i.e. LED - pin 7 & Button - pin 3)
- Selected the appropriate programmer from Board menu (i.e.
USBtinyISP)
- Uploaded teh sketch to my board
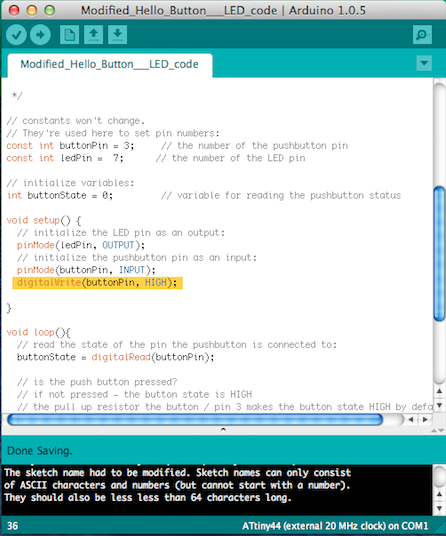
8. Modifying Code
- I modified the code so that the LED only goes ON when the
Button is pressed
- This was achieved by copying the "LED OFF until Button
Pressed" code from Anna's tutorial and including the following
line on the code:
- "digitalWrite(buttonPin, HIGH);