

I designed a tile in
Inkscape using the robot face from my final project as a
starting point and followed the tutorial Molding & Casting
using Machinable Wax. I designed the tile using shades of grey
(grayscale) to define the different heights. Black being
bottom of the part and white the top, then exported as a .png
image. Save as STL file for 3D models and 2D save as PNG
files.
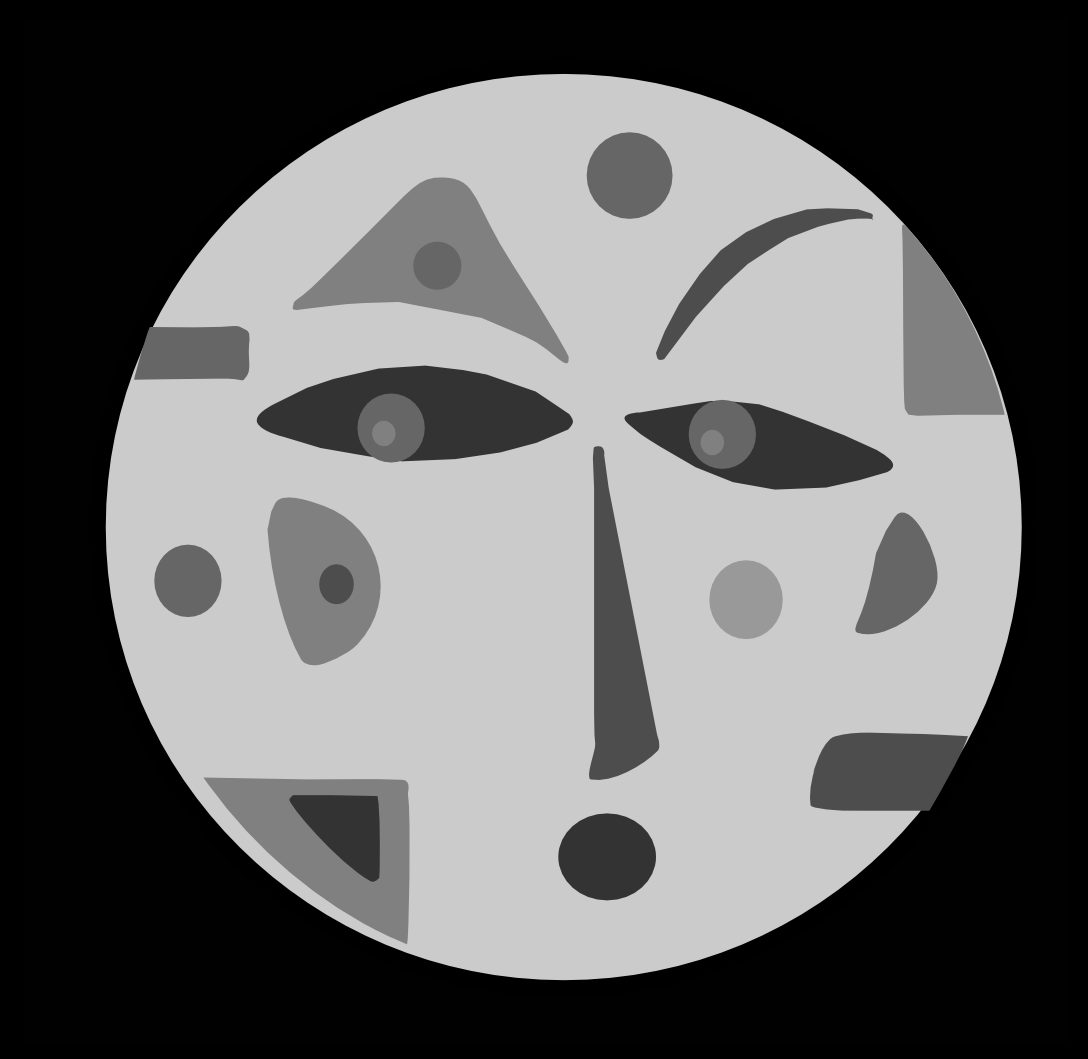
My designs below
showing the grey scales, the first one I changed as not enough
grey scale. Second shows more grey scale to create depth and
third shows inverted gray scale to make it easier for the
1/8th bit to access the detailed shapes. This did help and I
managed to cut a successful mold.
settings for
make.path on larger scale design
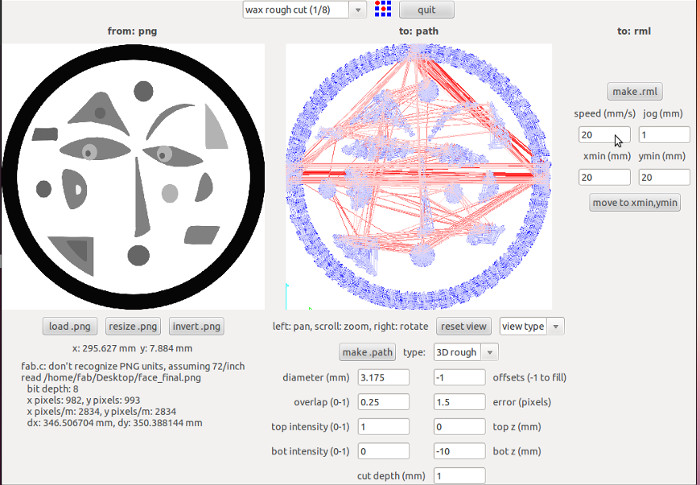
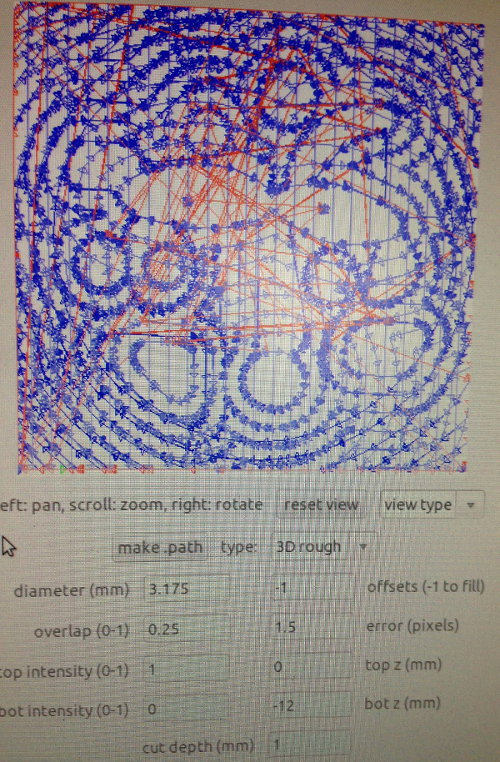
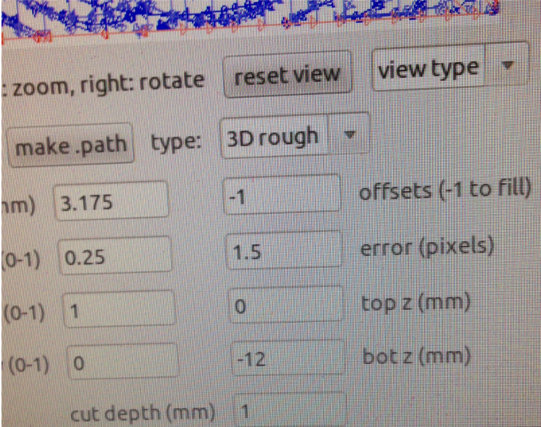
final settings below
Mill the wax on the modella
Having set up the wax for milling I choose the
bit. Selecting the appropriate bit I originally thought of
changing to a smaller 1/32 as my pattern is detailed but
having thought it through was unable to do this as the drill
bit could not of managed the depth. Having chosen my drill bit
an 1/8th inch endmill for the modella I used the
Fab Modules and set x y z zero settings and checked my design
would fit on the wax with a little extra space. I had to get
the settings exact because my wax block was small in
dimensions. At this stage I set my pattern to fit the wax
block several times which became time consuming. Having scaled
my design to fit the wax block and set xyz, I choose wax rough
cut and went to make path.
At this stage I hit problems
At first I thought there was something wrong with my design
but after lengthy problem solving and advice we realised the
design was too small for the 1/8th inch bit and was why
some of the cutting paths were not showing. At this stage I
inverted the gray scale ( see image above) to make it easier
for the drill bit to access the more detailed shapes. This
worked well for the rough cut.
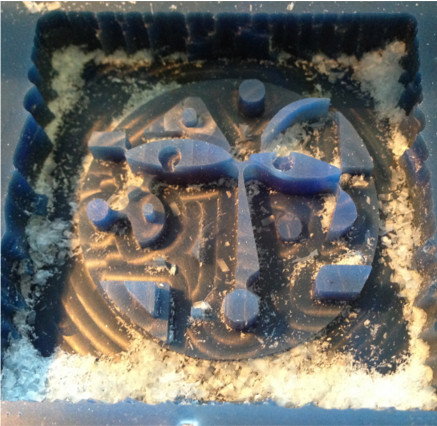
At this stage hit another problem
When pressing view to to see the wax block the drill cut
through the wax block unexpectedly and I had to hit the stop
button. This was annoying as I lost all settings and had to
kill the setting in terminal to reset. Having lost all the
settings I did try to reset them but it didn't work. I have
now used the first rough cut quite successfully to create a
mold and caste. ( try not to turn the machine off between cuts
as you loose the settings)
wax roughcut below
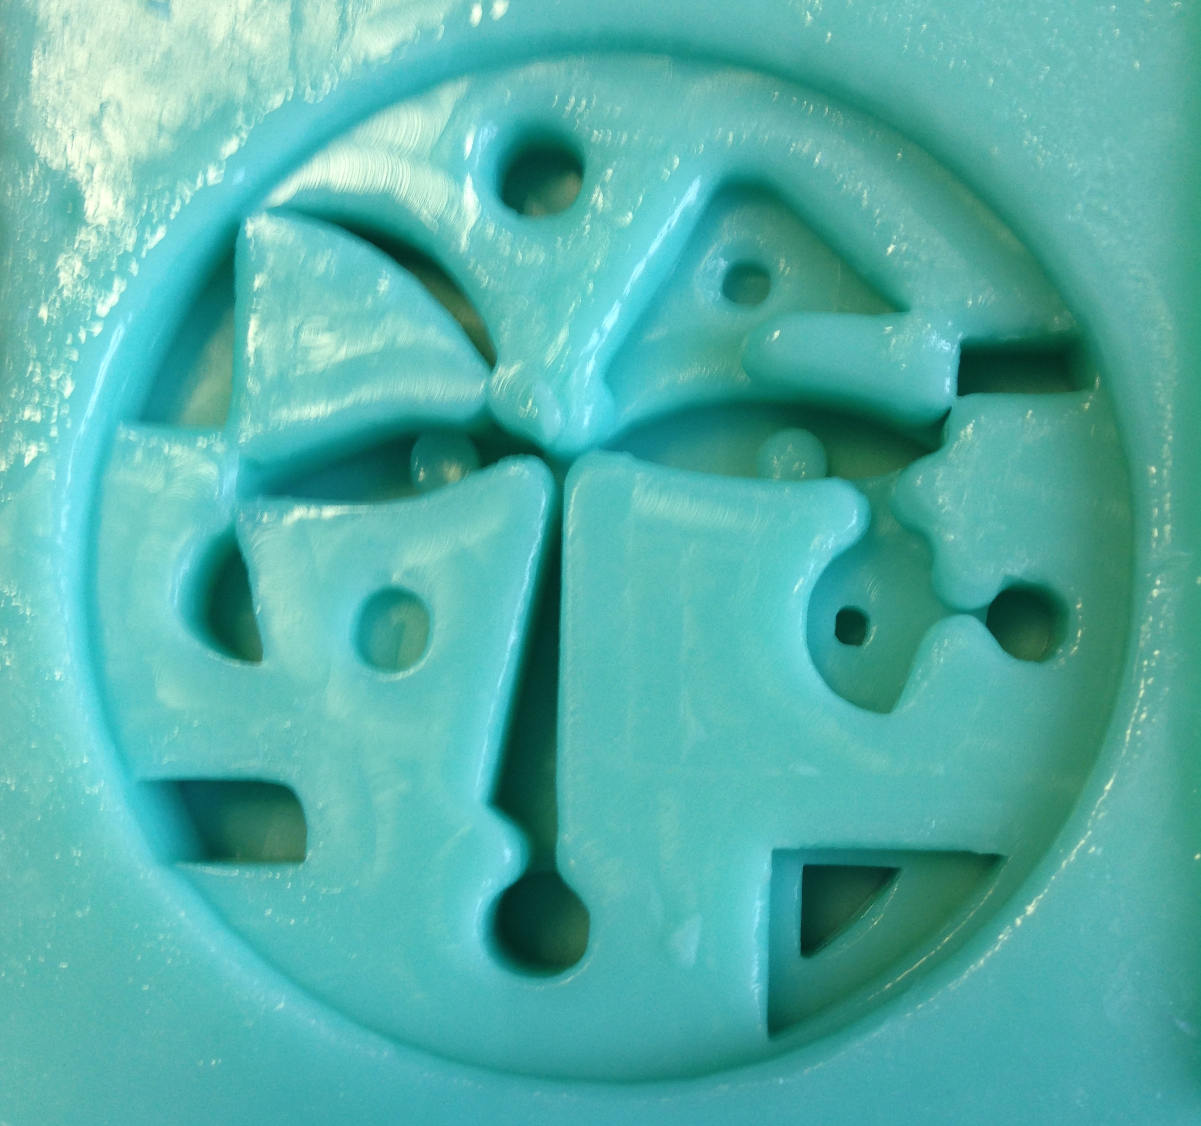
Things Learnt
I enjoyed this process and would like to experiment with it
further. I was impressed by the quality of the wax mold made
on the Modella but not by the time it took to cut!
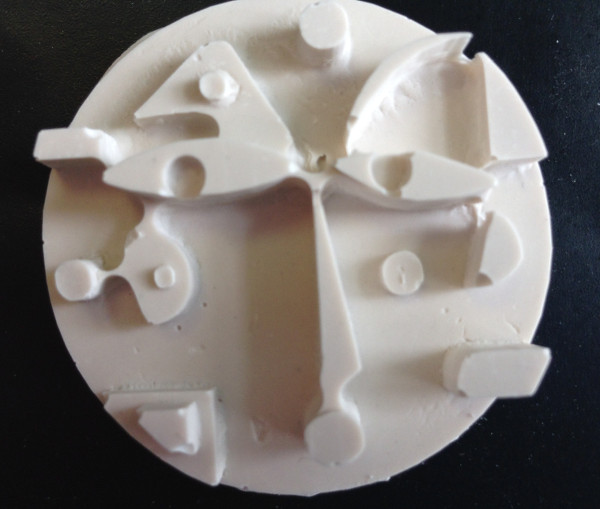
I went on to make a mold and take a cast from the above.
Knowing more about the process I would have chosen a different
design for the tile and made it double the size suitable
for a 1/8th bit. Fit the design to the process.
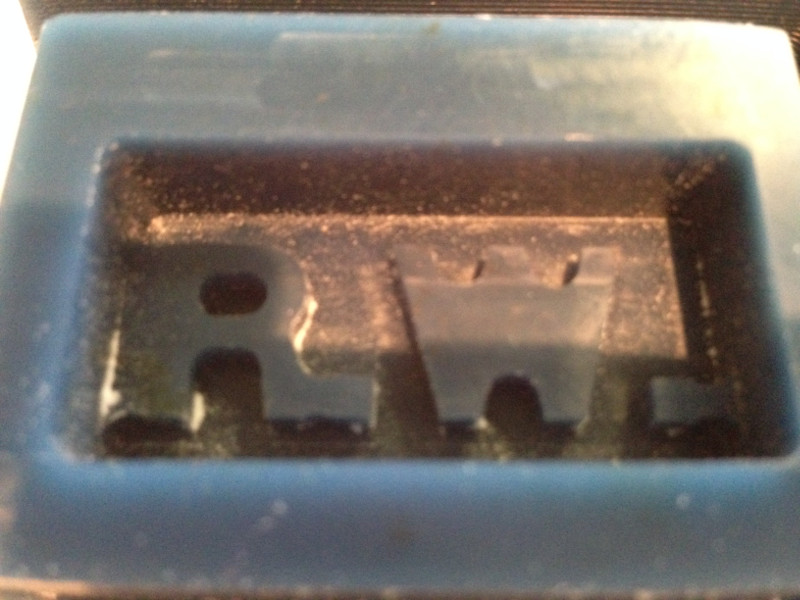
I made another simple 3D model using the modella
Files