Exercise 12 - Moulding and casting
Design a 3D mould, machine it, and cast parts from it
During this week I felt quite stuck
At the beginning I felt this week's assigment very difficult. Then I realised that it could be done quite easily with PNG files and Fab modules. But I take a while to understand that...!
After looking at what other students did during past years, and after trying to find something useful for my final project I just started from doing something simple.
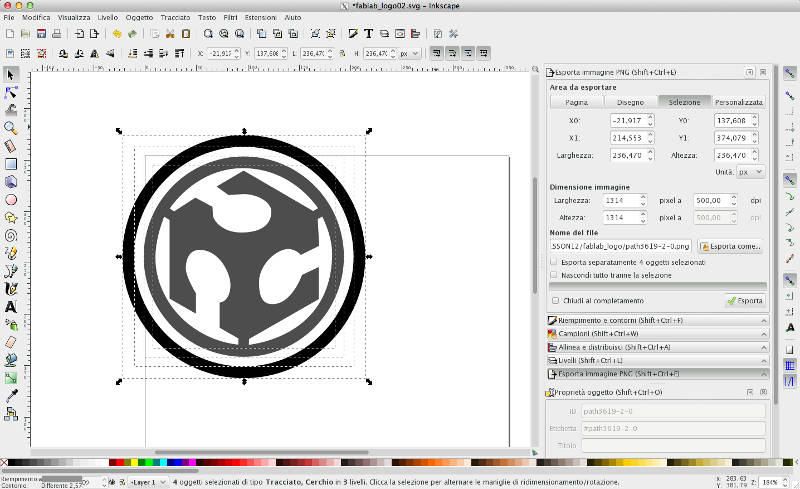
From PNG to Roland with Fab Modules
I followed the tutorial Molding and casting tips in the Fab Academy's archive. That tutorial saved me from desperation.

I had to think carefully the gray colors of each part. If I did everything black and white, I would had four separate pieces at the end.

I gave a gray color to the connecting element, this way every part would be holded together in the final object.
After several trys and errors in the fab modules this was the final png file.
Following the tips on the tutorial (see picture below), I imported the png file from GIMP to the web based Fab Modules and I set the rough cut and the finishing cut with 1/8" end mill.
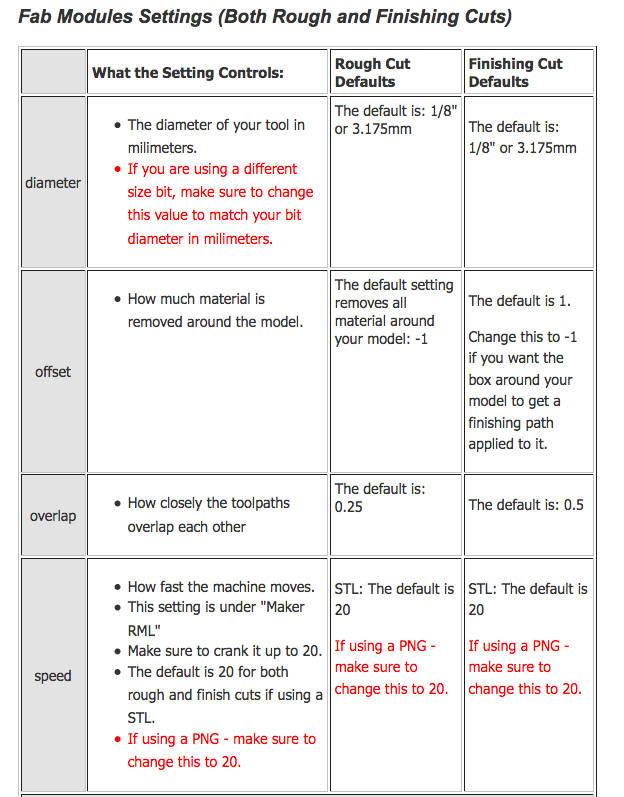
In the Fab Modules my Rough cut:

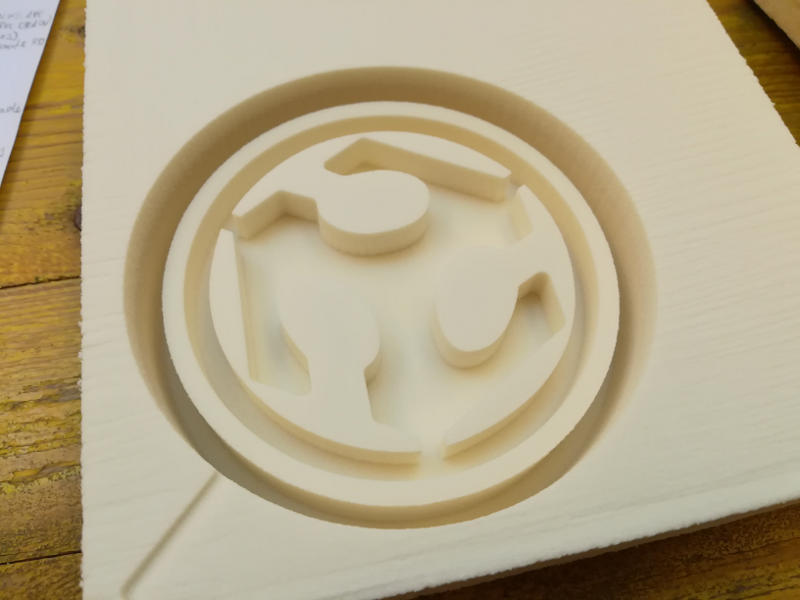
At this point I prepared everything for the milling process.
I took a piece of polyurethane and I stuck it on a piece of wood.
I followed the same tips of exercise 04 to set the zero point of the machine with VPanel software with some differences:
- the zero Z-point was one millimiter inside the material because the top surface was not completely plane,
- I set the speed at 200%.
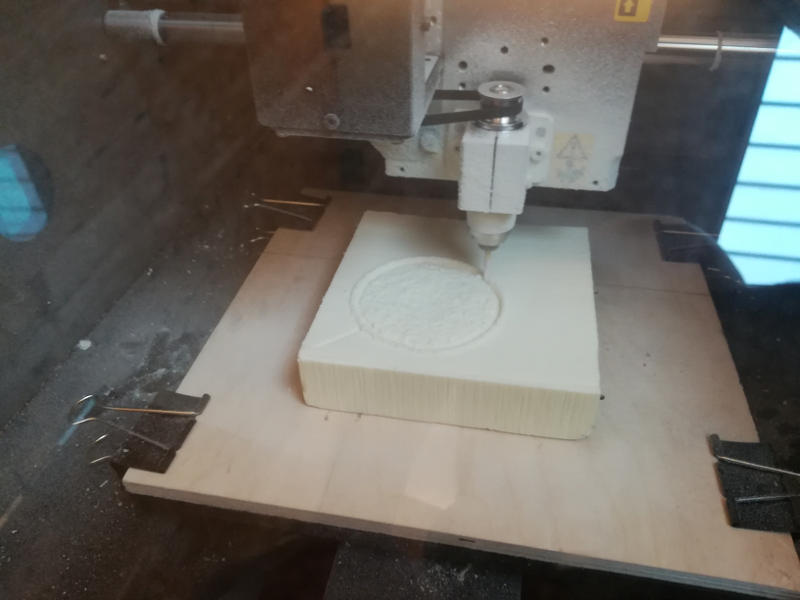
First try was with a low quality material in order to test everything. In fact I changed a bit the design of the piece on the basis of this test, in particular dimensions and depth of the cuts.
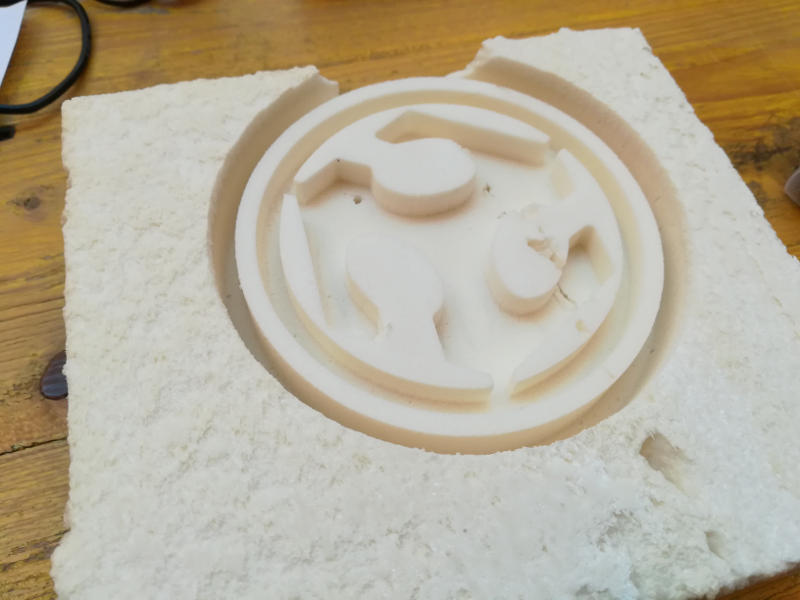
Then the final cut of the positive mold with good quality material.
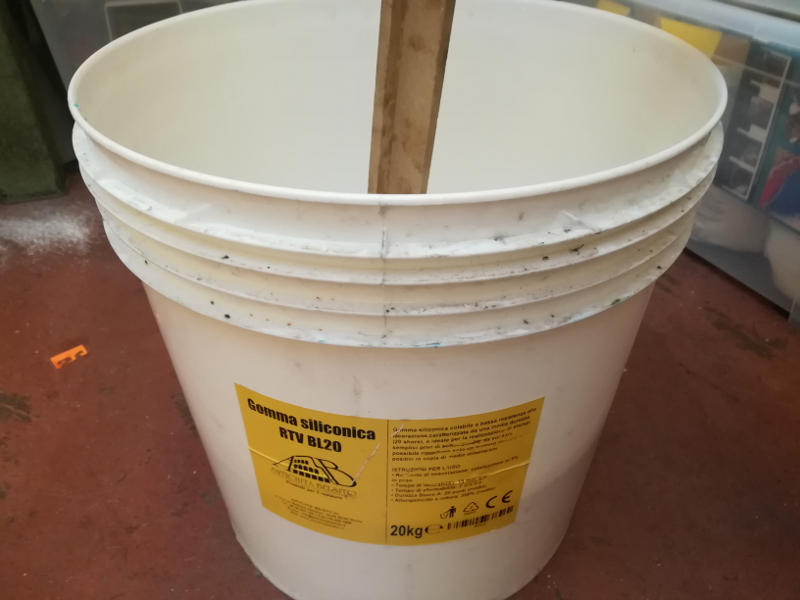
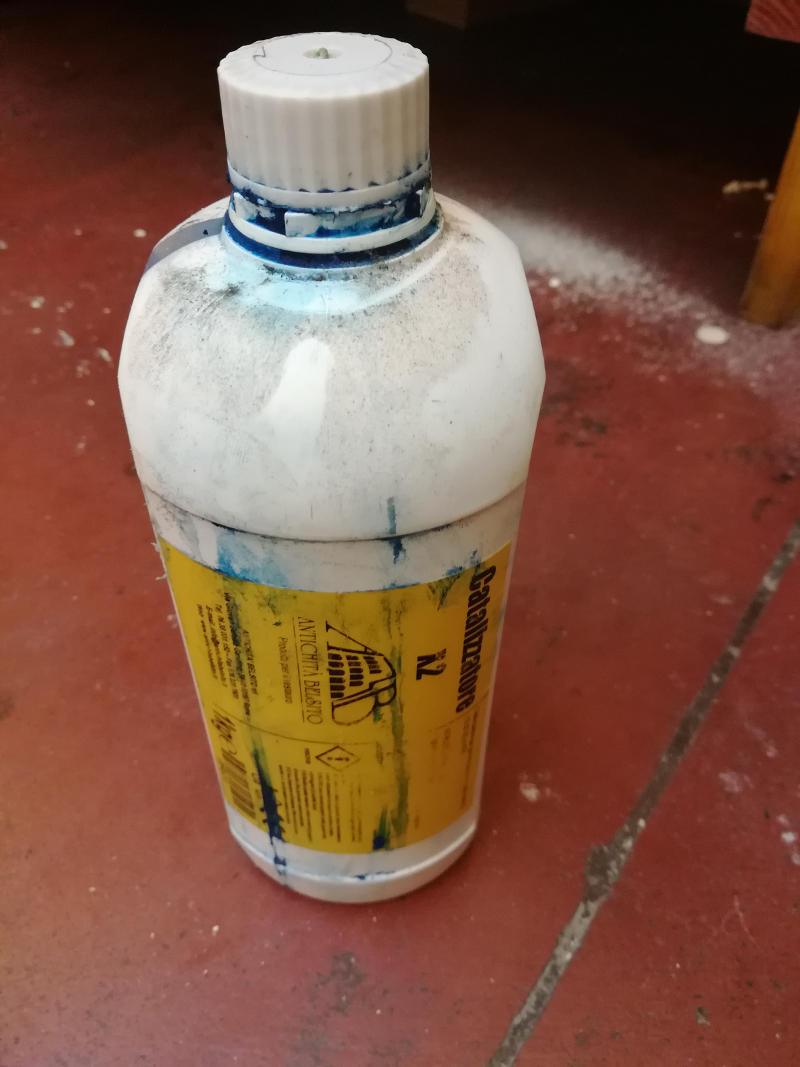
Then I prepared the silicon rubber with a 5% of catalyst. The total weight of the rubber was about 200g plus 10g of catalyst for about 150 cm3 of casting.
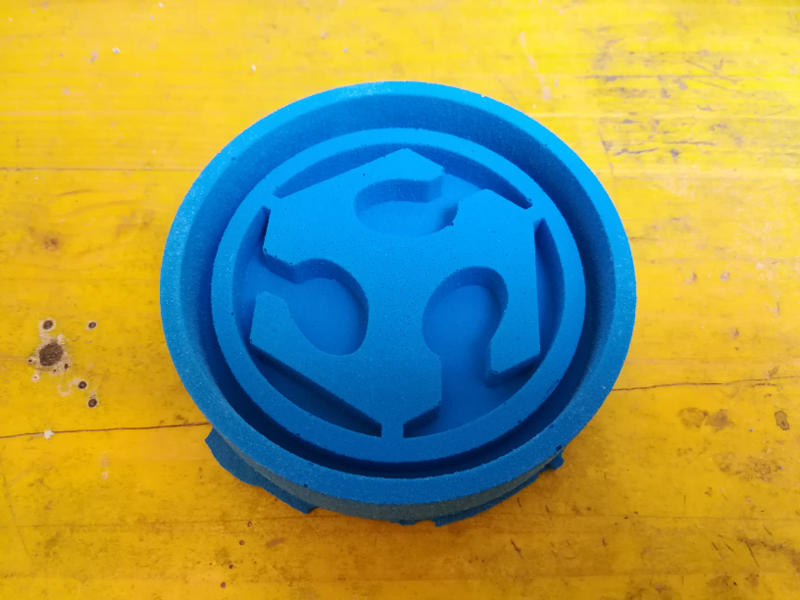
First casting process was not properly done just because the silicon was not enough.

The second negative mold in silicon rubber was quite well done:
The Fab Lab logo token in gypsum:

Finally a view of the positive and the negative molds and the Fab Lab logo token.
