
14. Embedded Networking and Communication
Make it talk
This week's class discussed options for wired and wireless communication between devices
Learning Objectives
- Demonstrate workflows used in network design and construction
- Implement and interpret networking protocols
- Design and build a wired &/or wireless network connecting at least two processors
Assignment
MCU board
To control the bluetooth board, and to work towards my final project, I took some time to work on an arduino-like board with lots of IO. I used Satshakit as a starting point, and built it from the ground up using KiCad. I added a 6 pin programming heaader, to connect with the FabISP I built earlier.
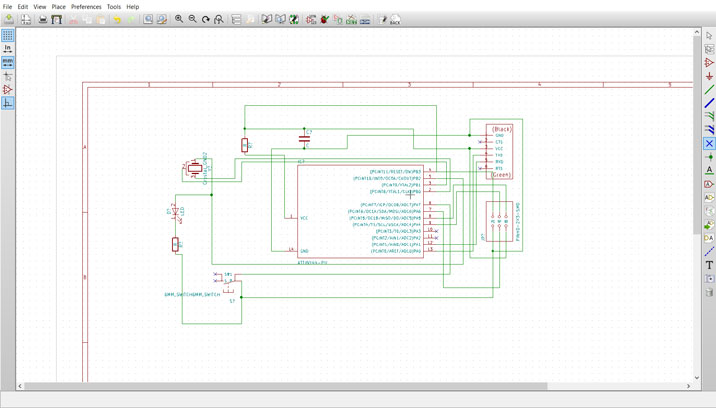
The first iteration of the schematic was super messy. It helped me get a feel for the process in KiCad, though. I recommend this set of tutorials as a beginner guide: How To Use KiCad to Make a Printed Circuit Board
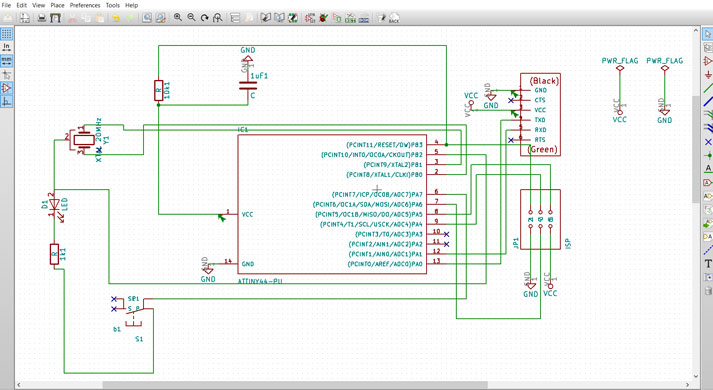
Using references to VCC and GND helped clean up the schematic a lot.

Wire references helped clean the curcuit up even more. KiCad will automatically connect all wires with the same identifier. That makes your drawing much easier to read, and to look at.
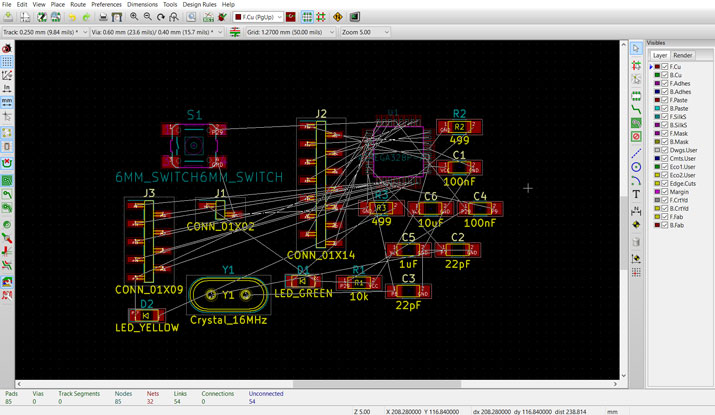
Moving into board layout, we're back to a total mess. KiCad has a function to lay parts out automatically, but it only seems to do so based on size, not where it would make sense to create simple connections. Once your parts are laid out, there is also an autorouting function. Be mindful of your grid size if you use this, it has a large impact on the result. Ultimately, I ended up having to do most of the traces manually, as the autoroute caused more problems than it fixed.
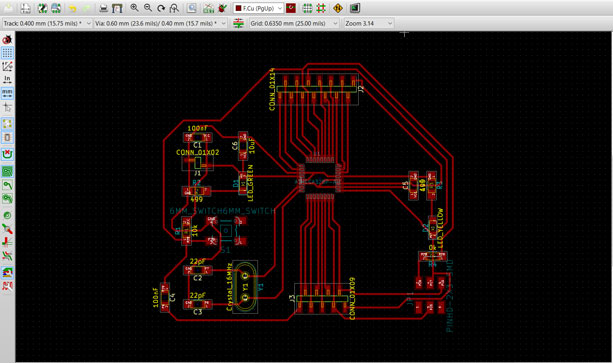
Cleaning up the design was more of a puzzle than I expected. Ideally, a 32 pin microcontroller might use more than one layer of traces. Through lots of flipping components around, moving them and trying different combinations, I managed to require only one 0ohm resistor as a bridge over traces to get the design done.