
05. 3D Scanning and Printing
Exploring additive processes
This week's class was discussing additive fabrication techniques. Up til now we've only explored subtractive processes, which have a different set of limitations and possible designs. We talked about some of the different 3D printer types, and their advantages and disadvantages.
Learning Objectives
- Identify the advantages and limitations of 3D printing and scanning technology
- Test the design rules for your printer
- Design and 3D print an object that could not be made subtractively
- 3D scan an object (and optionally print it)
Assignment
Printer testing
We started by getting a test object from Thingiverse to test our printer's capabilities.

To start the process, we we set the printer to preheat. This gives the extruders and build platform time to get warm enough for printing.
Because we're using a well made file, there wasn't a lot of setup on the software side. Just export to the SD card through the Makerbot Print software. Before printing, we double checked that the extruder had a spool of ABS ready to go, and the z-height on the build platform was already set up.
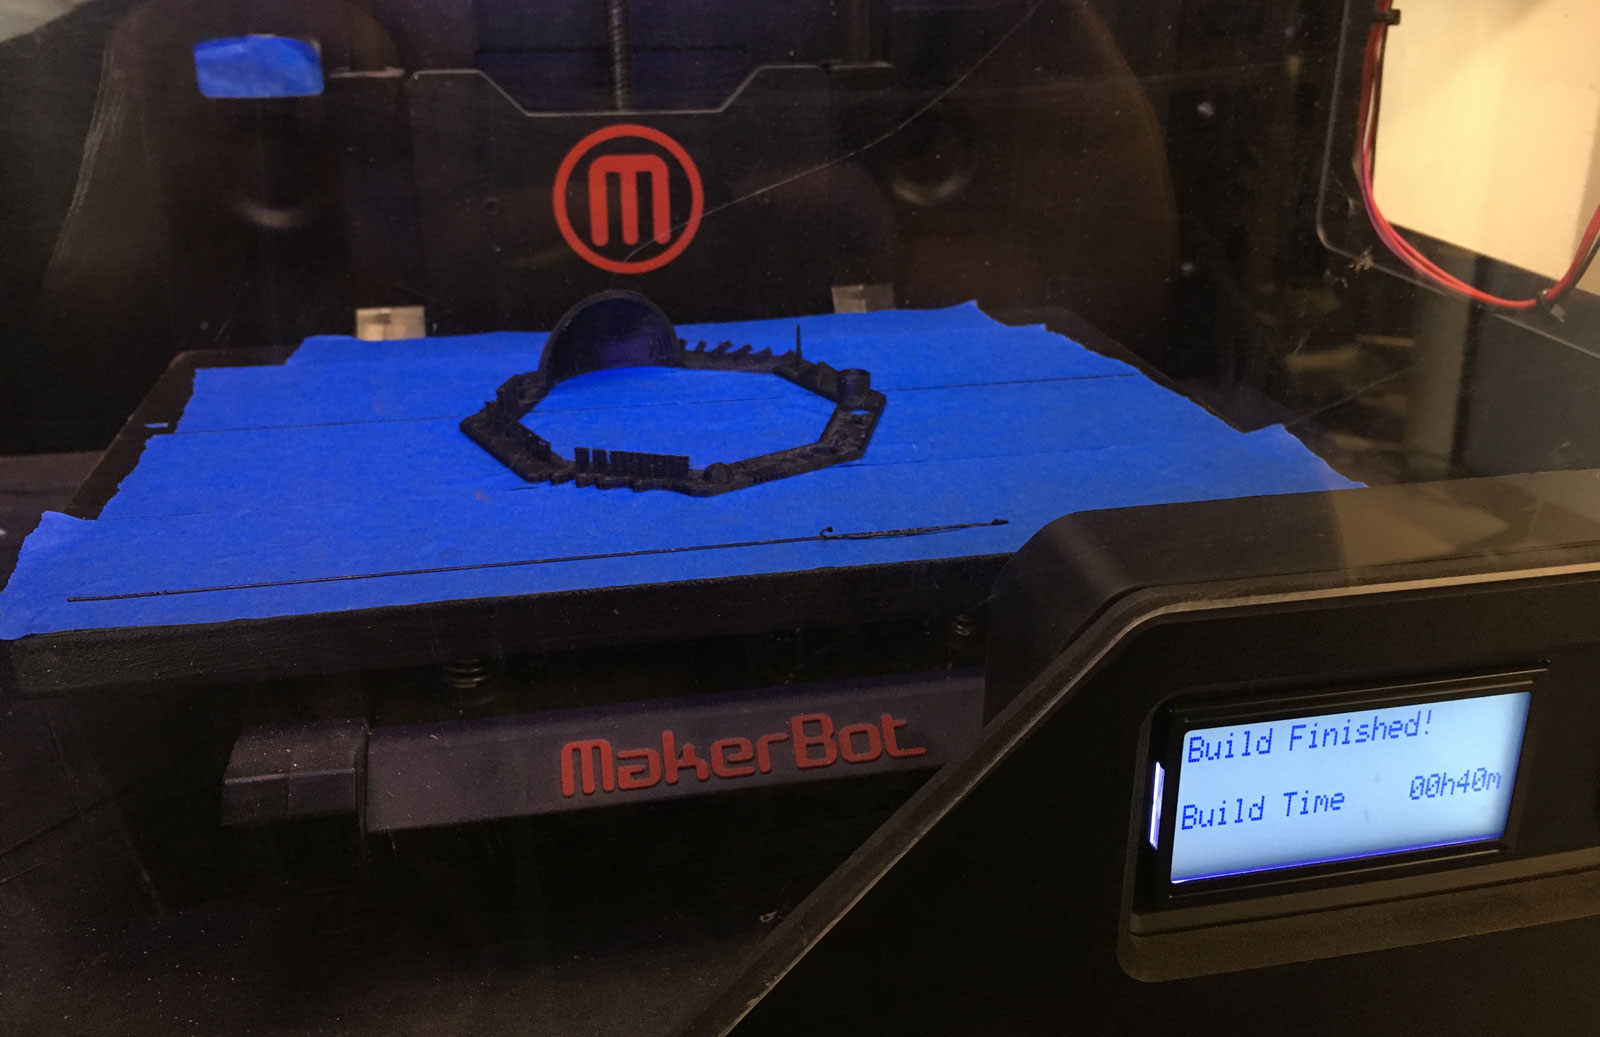
The build process took about 40 mins. A fair bit more than I expected for such a small object.
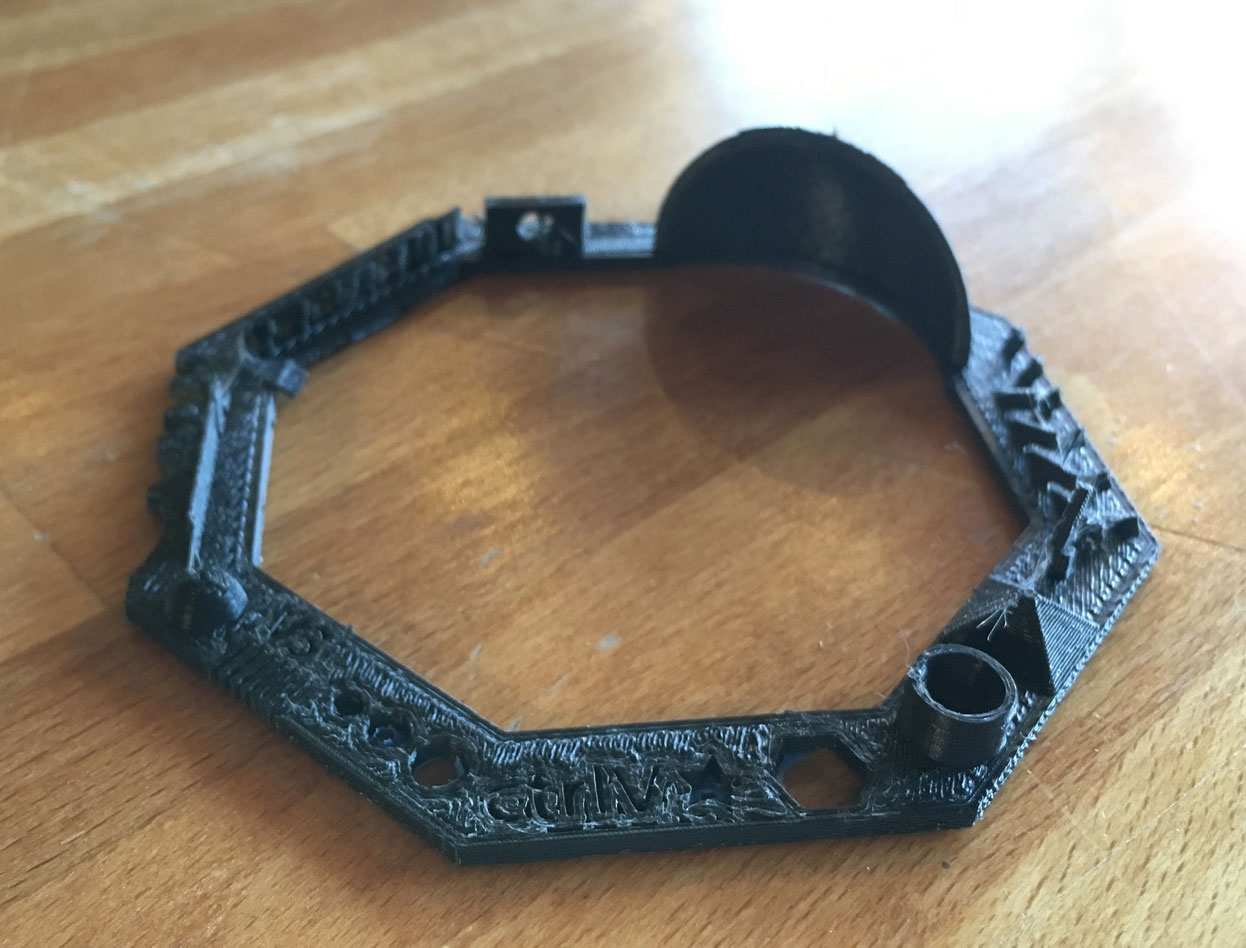
The object came out quite well though. Other than some thin plastic strings between some features, it managed to reproduce all of the detail of the original model. It was very stuck to the build platform, and in the process of removing it, I broke one of the thin parts of the print.
3D Scanning

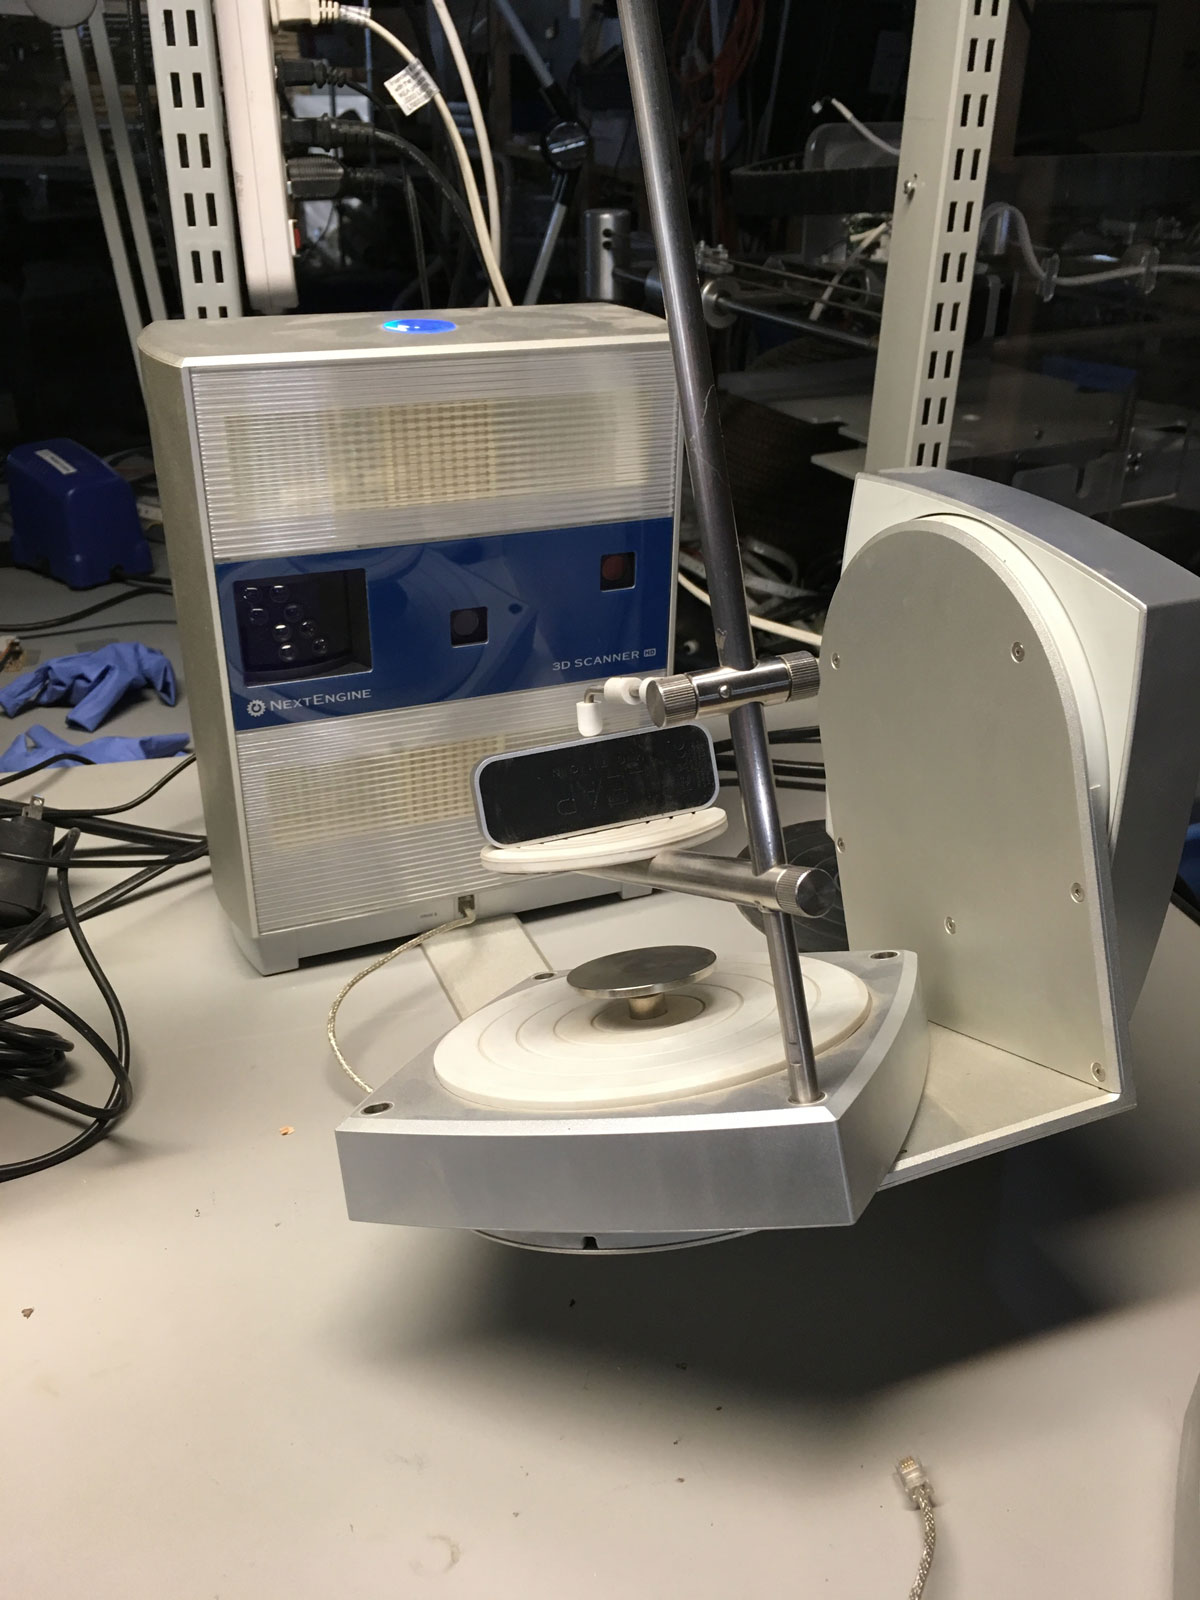
I chose to use the Nextengine laser 3d scanner to see how accurately it could model my Leap Motion controller. It works by scanning over the surface of small objects with an array of lasers. Based on how the surface of the object distorts the reflected light, it can approximate the surface shape.
Setting up the nextengine is very straightforward. place the object you'd like to scan on the connected platform, and start up the software.
Hit "Scan" in the software, and it brings up a settins dialog with a preview from the camera. You can rotate the platform to make sure the object stays in view. With that set up, the green play button will start the scan.

It fires visible lasers over and past the object. It can be helpful to place a barrier of some kind behind it (I used a cardboard box), so that it's not firing into people's eyes.
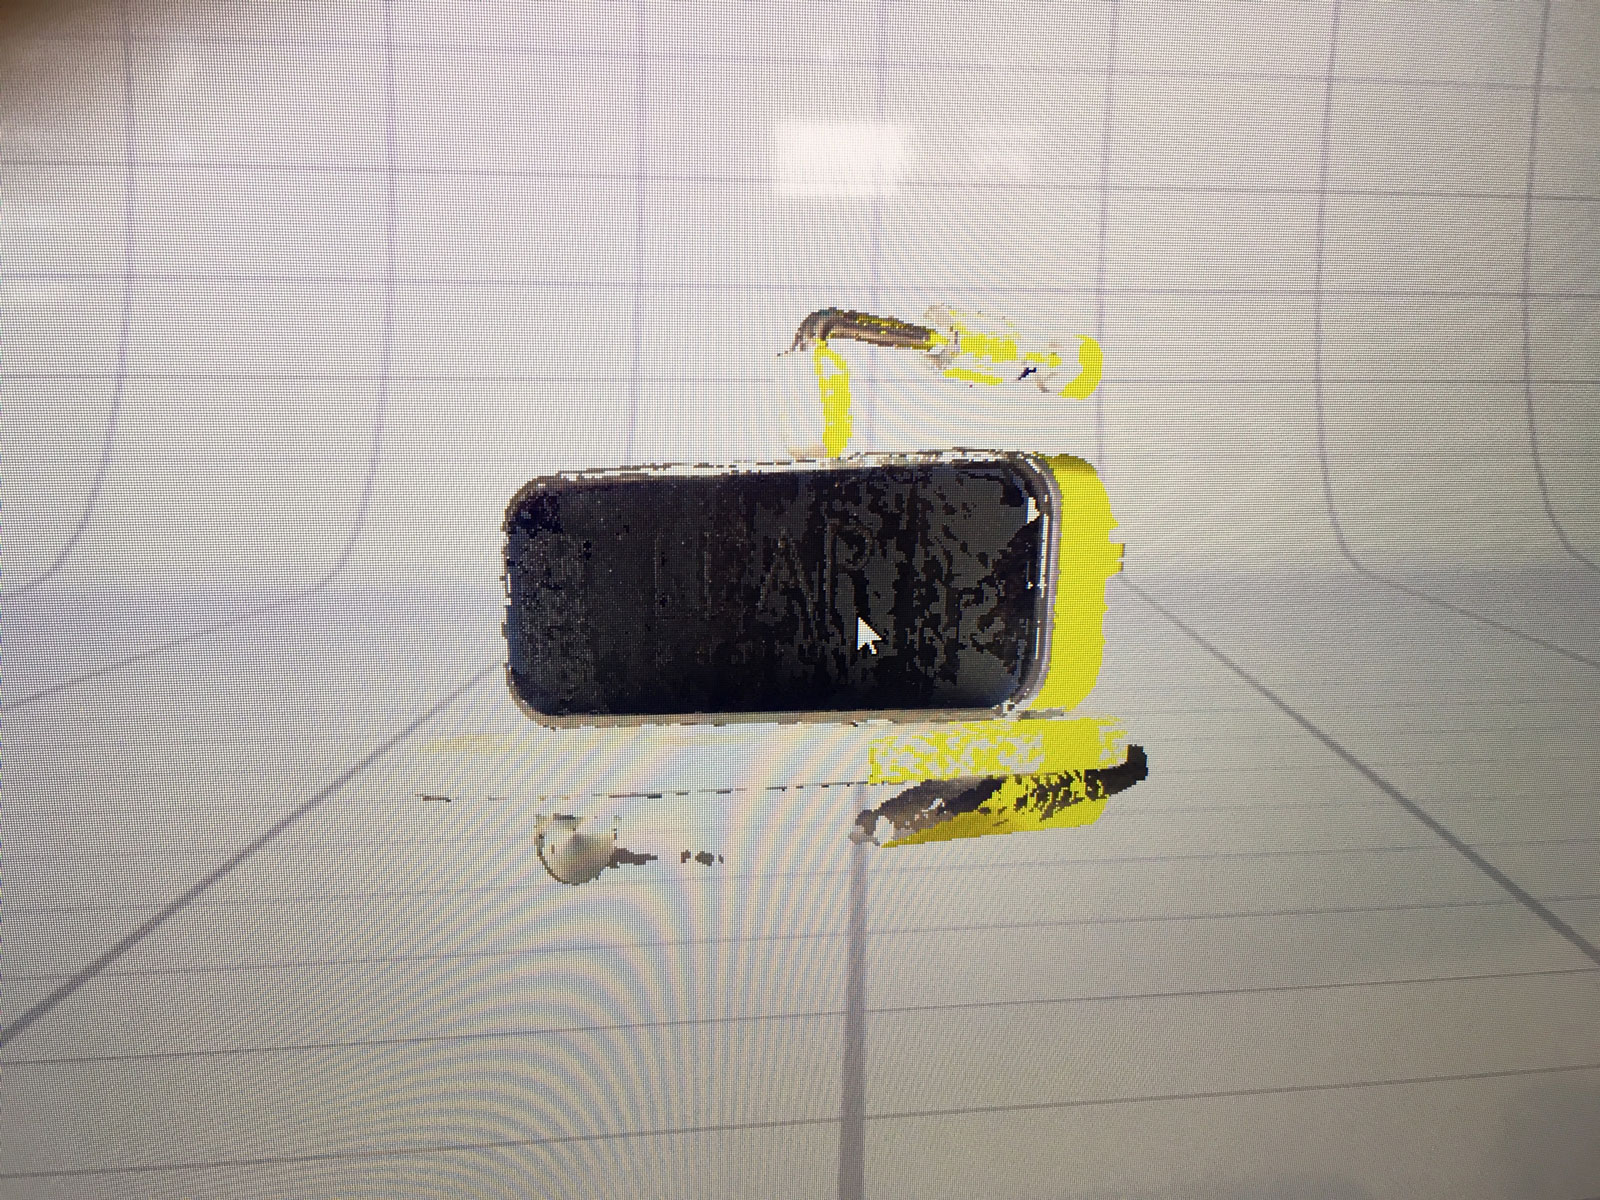
The scan didn't come out very well. Partially because the device is reflective, but it also picked up the drive hardware.
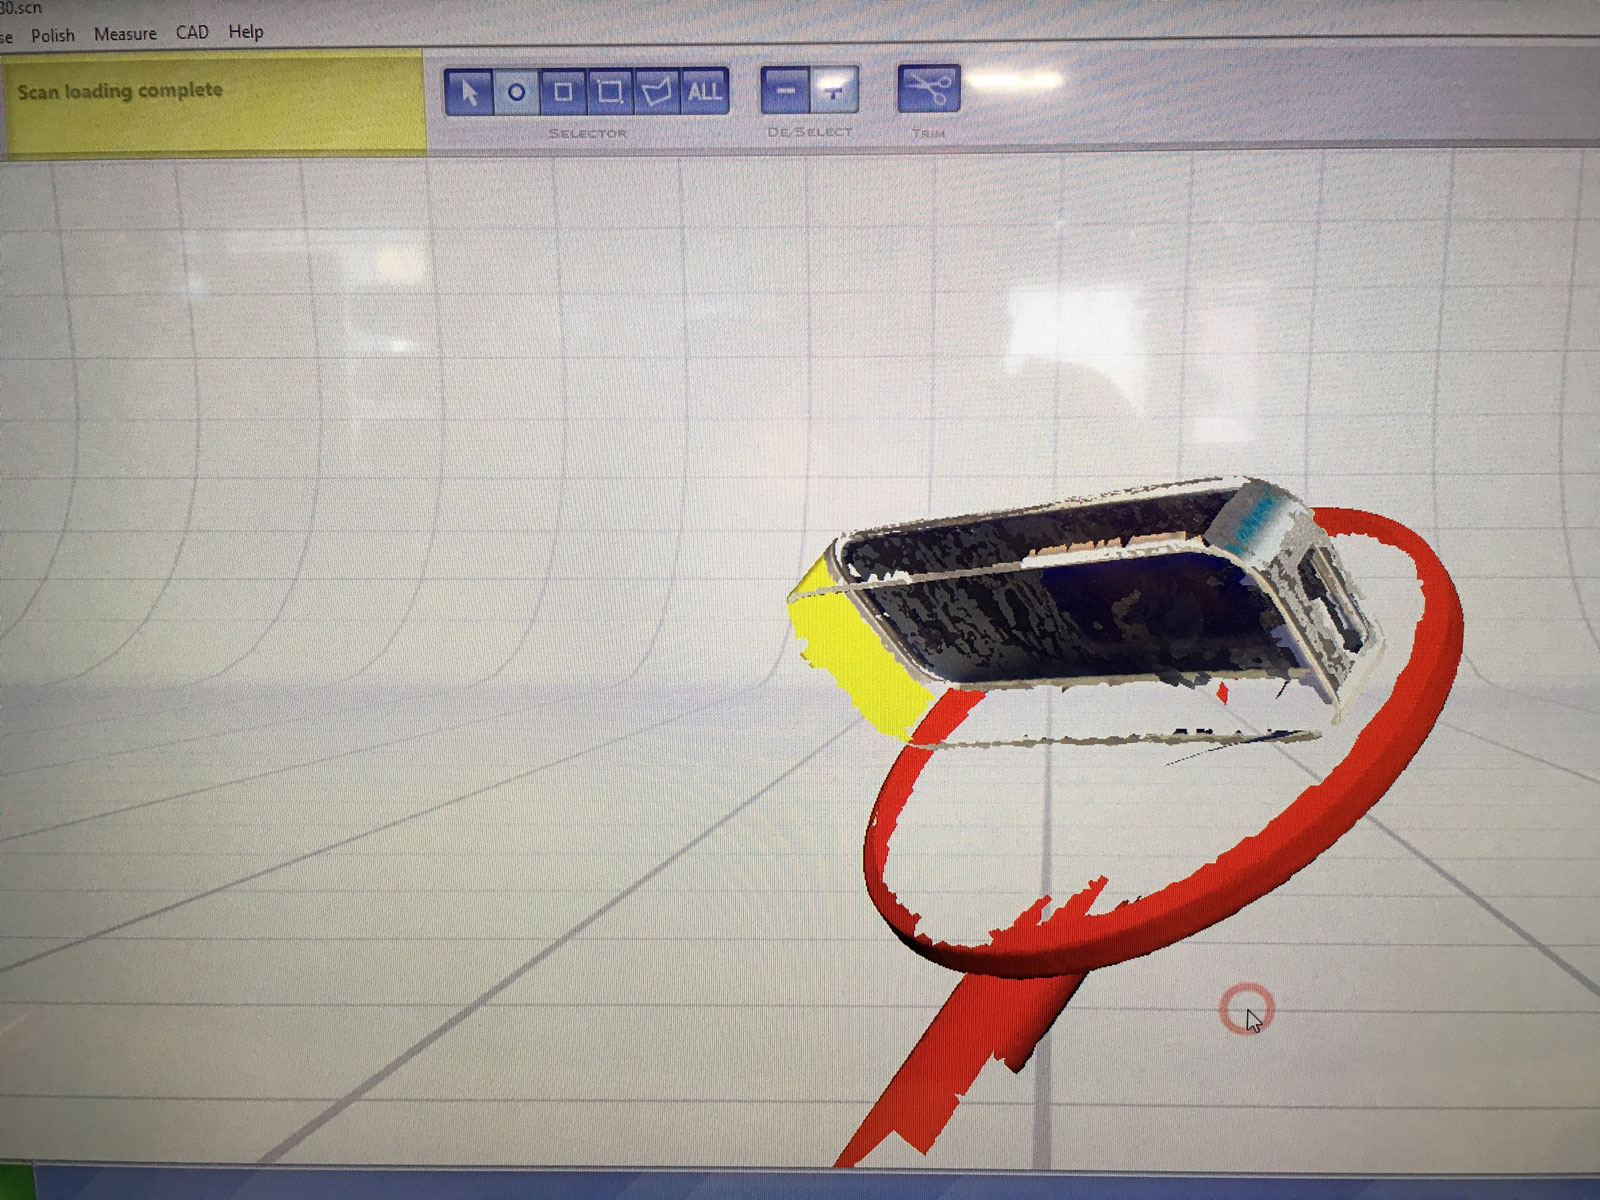
Scanstudio software lets you trim unwanted geometry, but this model still came out very spotty. Rather than try to fix it, it seemed to make more sense to run it again and try different settings.
Running it again, I tested the multidrive platform.
3D Printing

I wanted to make something practical for the 3d printing portion, so I designed a small bracket to mount a leap motion controller below a surface. This will essentially make the controller invisible when integrated into an interactive installation. One side of the controller has a large cable connection, so i chose to support the middle of the device to make the bracket work in any orientation.
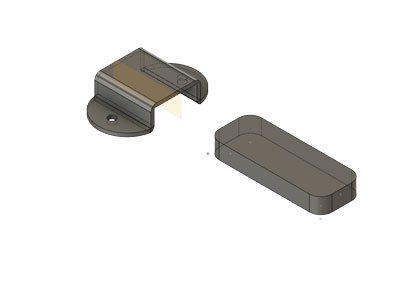
I started by getting the exact dimensions of the leap. (80mm x 30mm x 11.25mm, with a corner radius of 8mm). I added those as parameters in fusion to reference as I modeled the bracket. Those combined with a material thickness parameter mean I can adjust the object thickness, and it will still fit the leap perfectly.
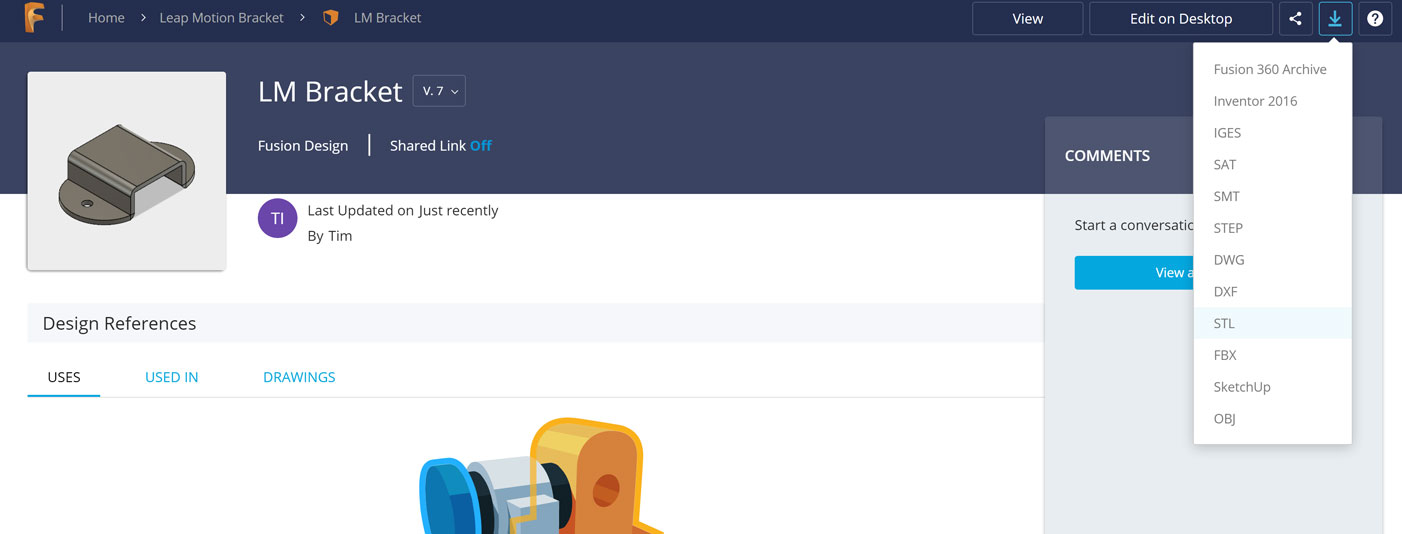
Export an STL through Fusion's web interface. Based on their reference, it should be possible to do from inside the software, but I was only able to select individual bodies. The web export will merge all visible geometry.
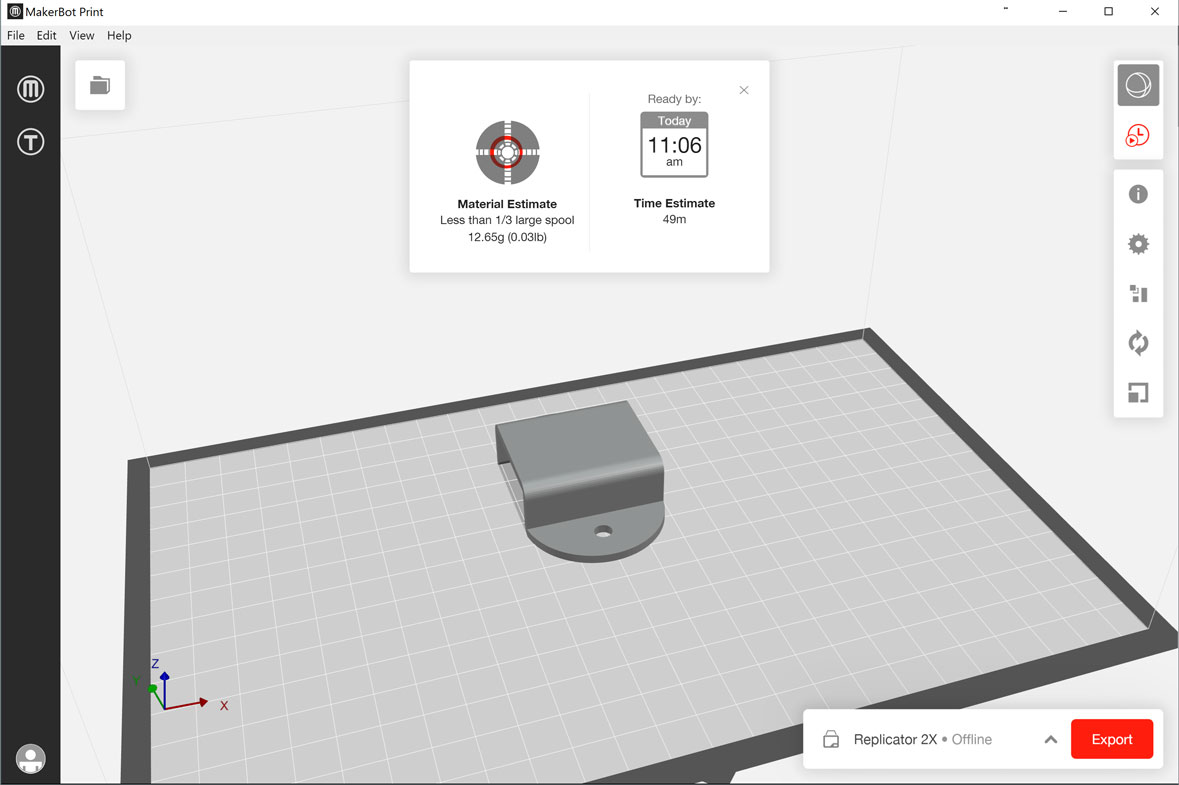
In the Makerbot Print software, I set up the file to add supports, and put the flat portions against the bottom of the print bed. On export, the software will estimate print time and how much material will be used.

The print came out well, though the software added some "support material" that has nothing to do with my model's geometry.

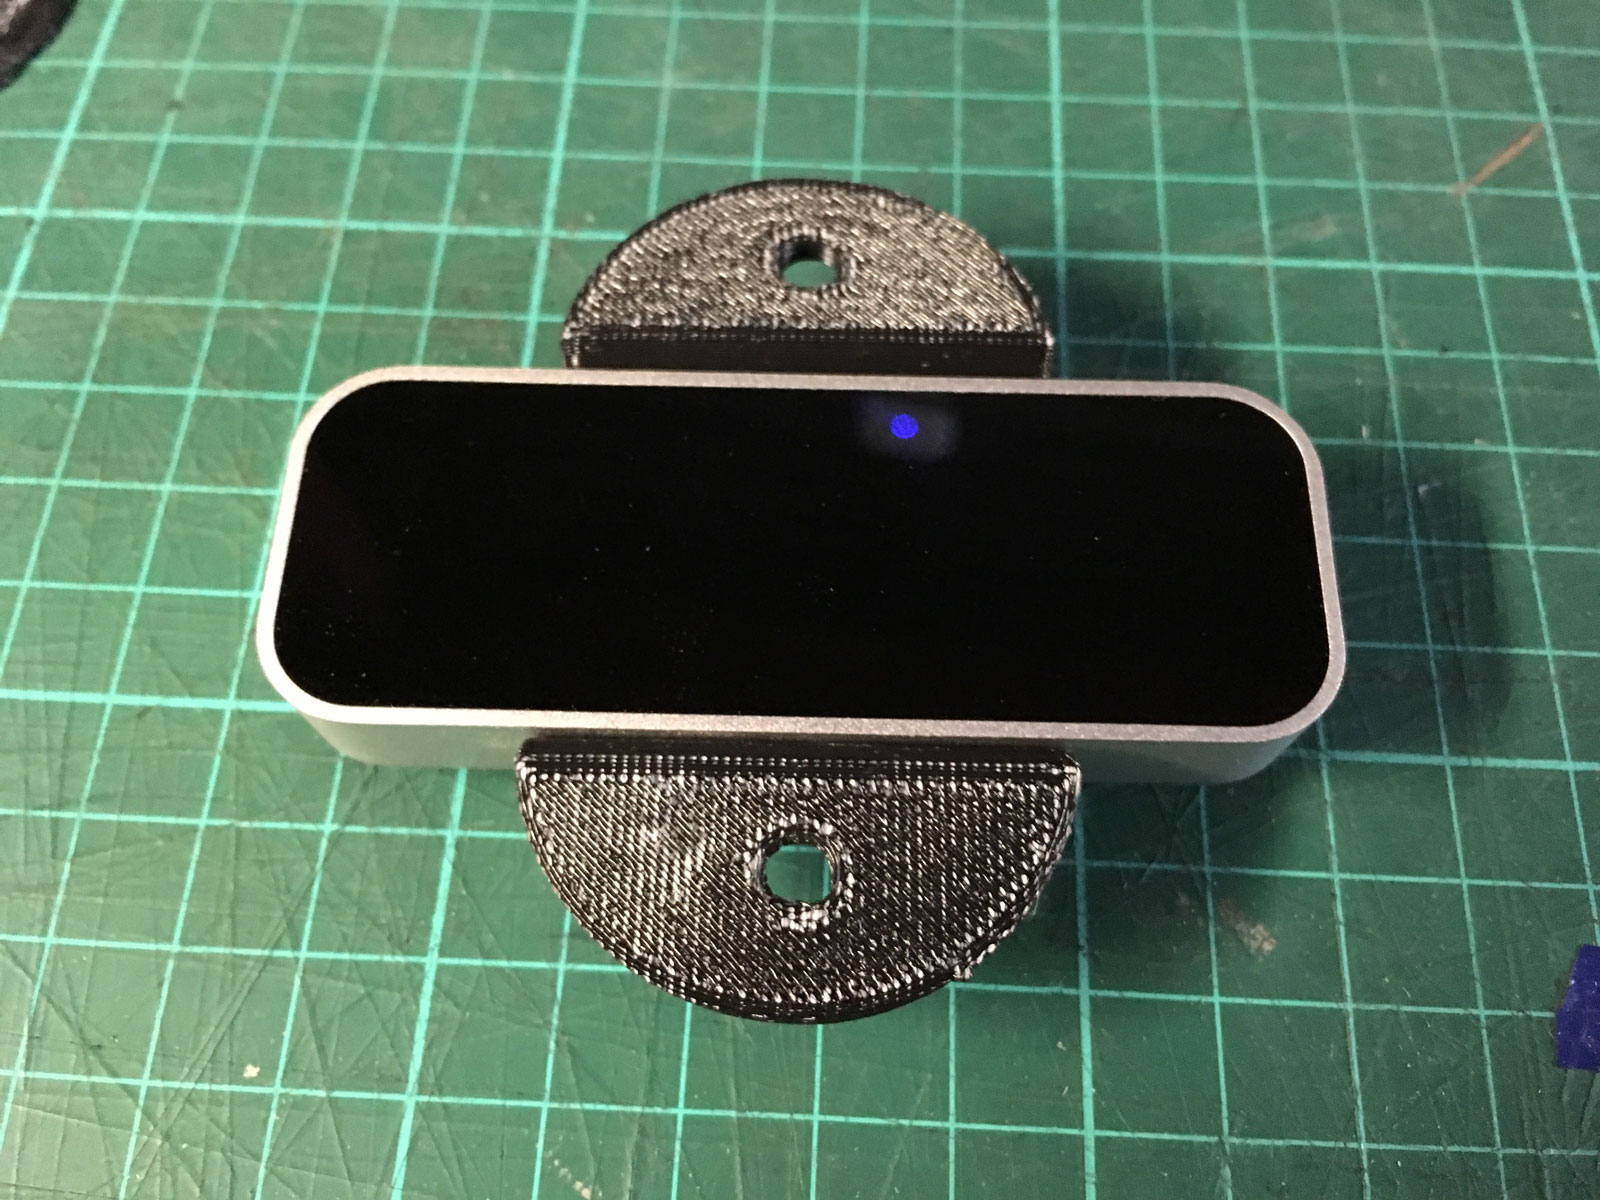
It fits great. The middle section even came out well without actual support material under it.