


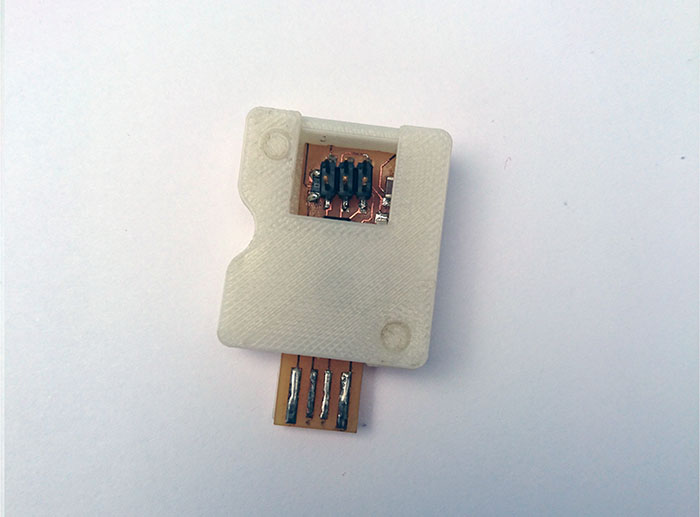
all the information of the plaque >>HERE<<for attiny 45.
If you need information for the microcontroller you can see the >>datasheet<< for attiny 44.
all the information of the plaque >>HERE<<for attiny 45.
If you need information for the microcontroller you can see the >>datasheet<< for attiny 44.
For more information of the microprocessor you can see the datasheet in this >>LINK<<
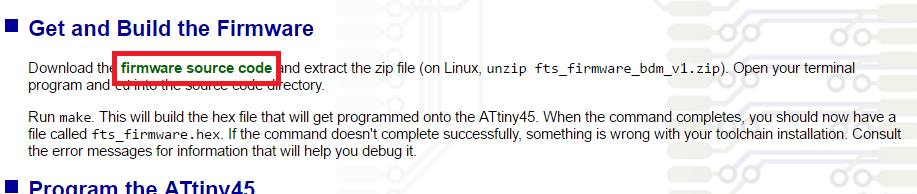
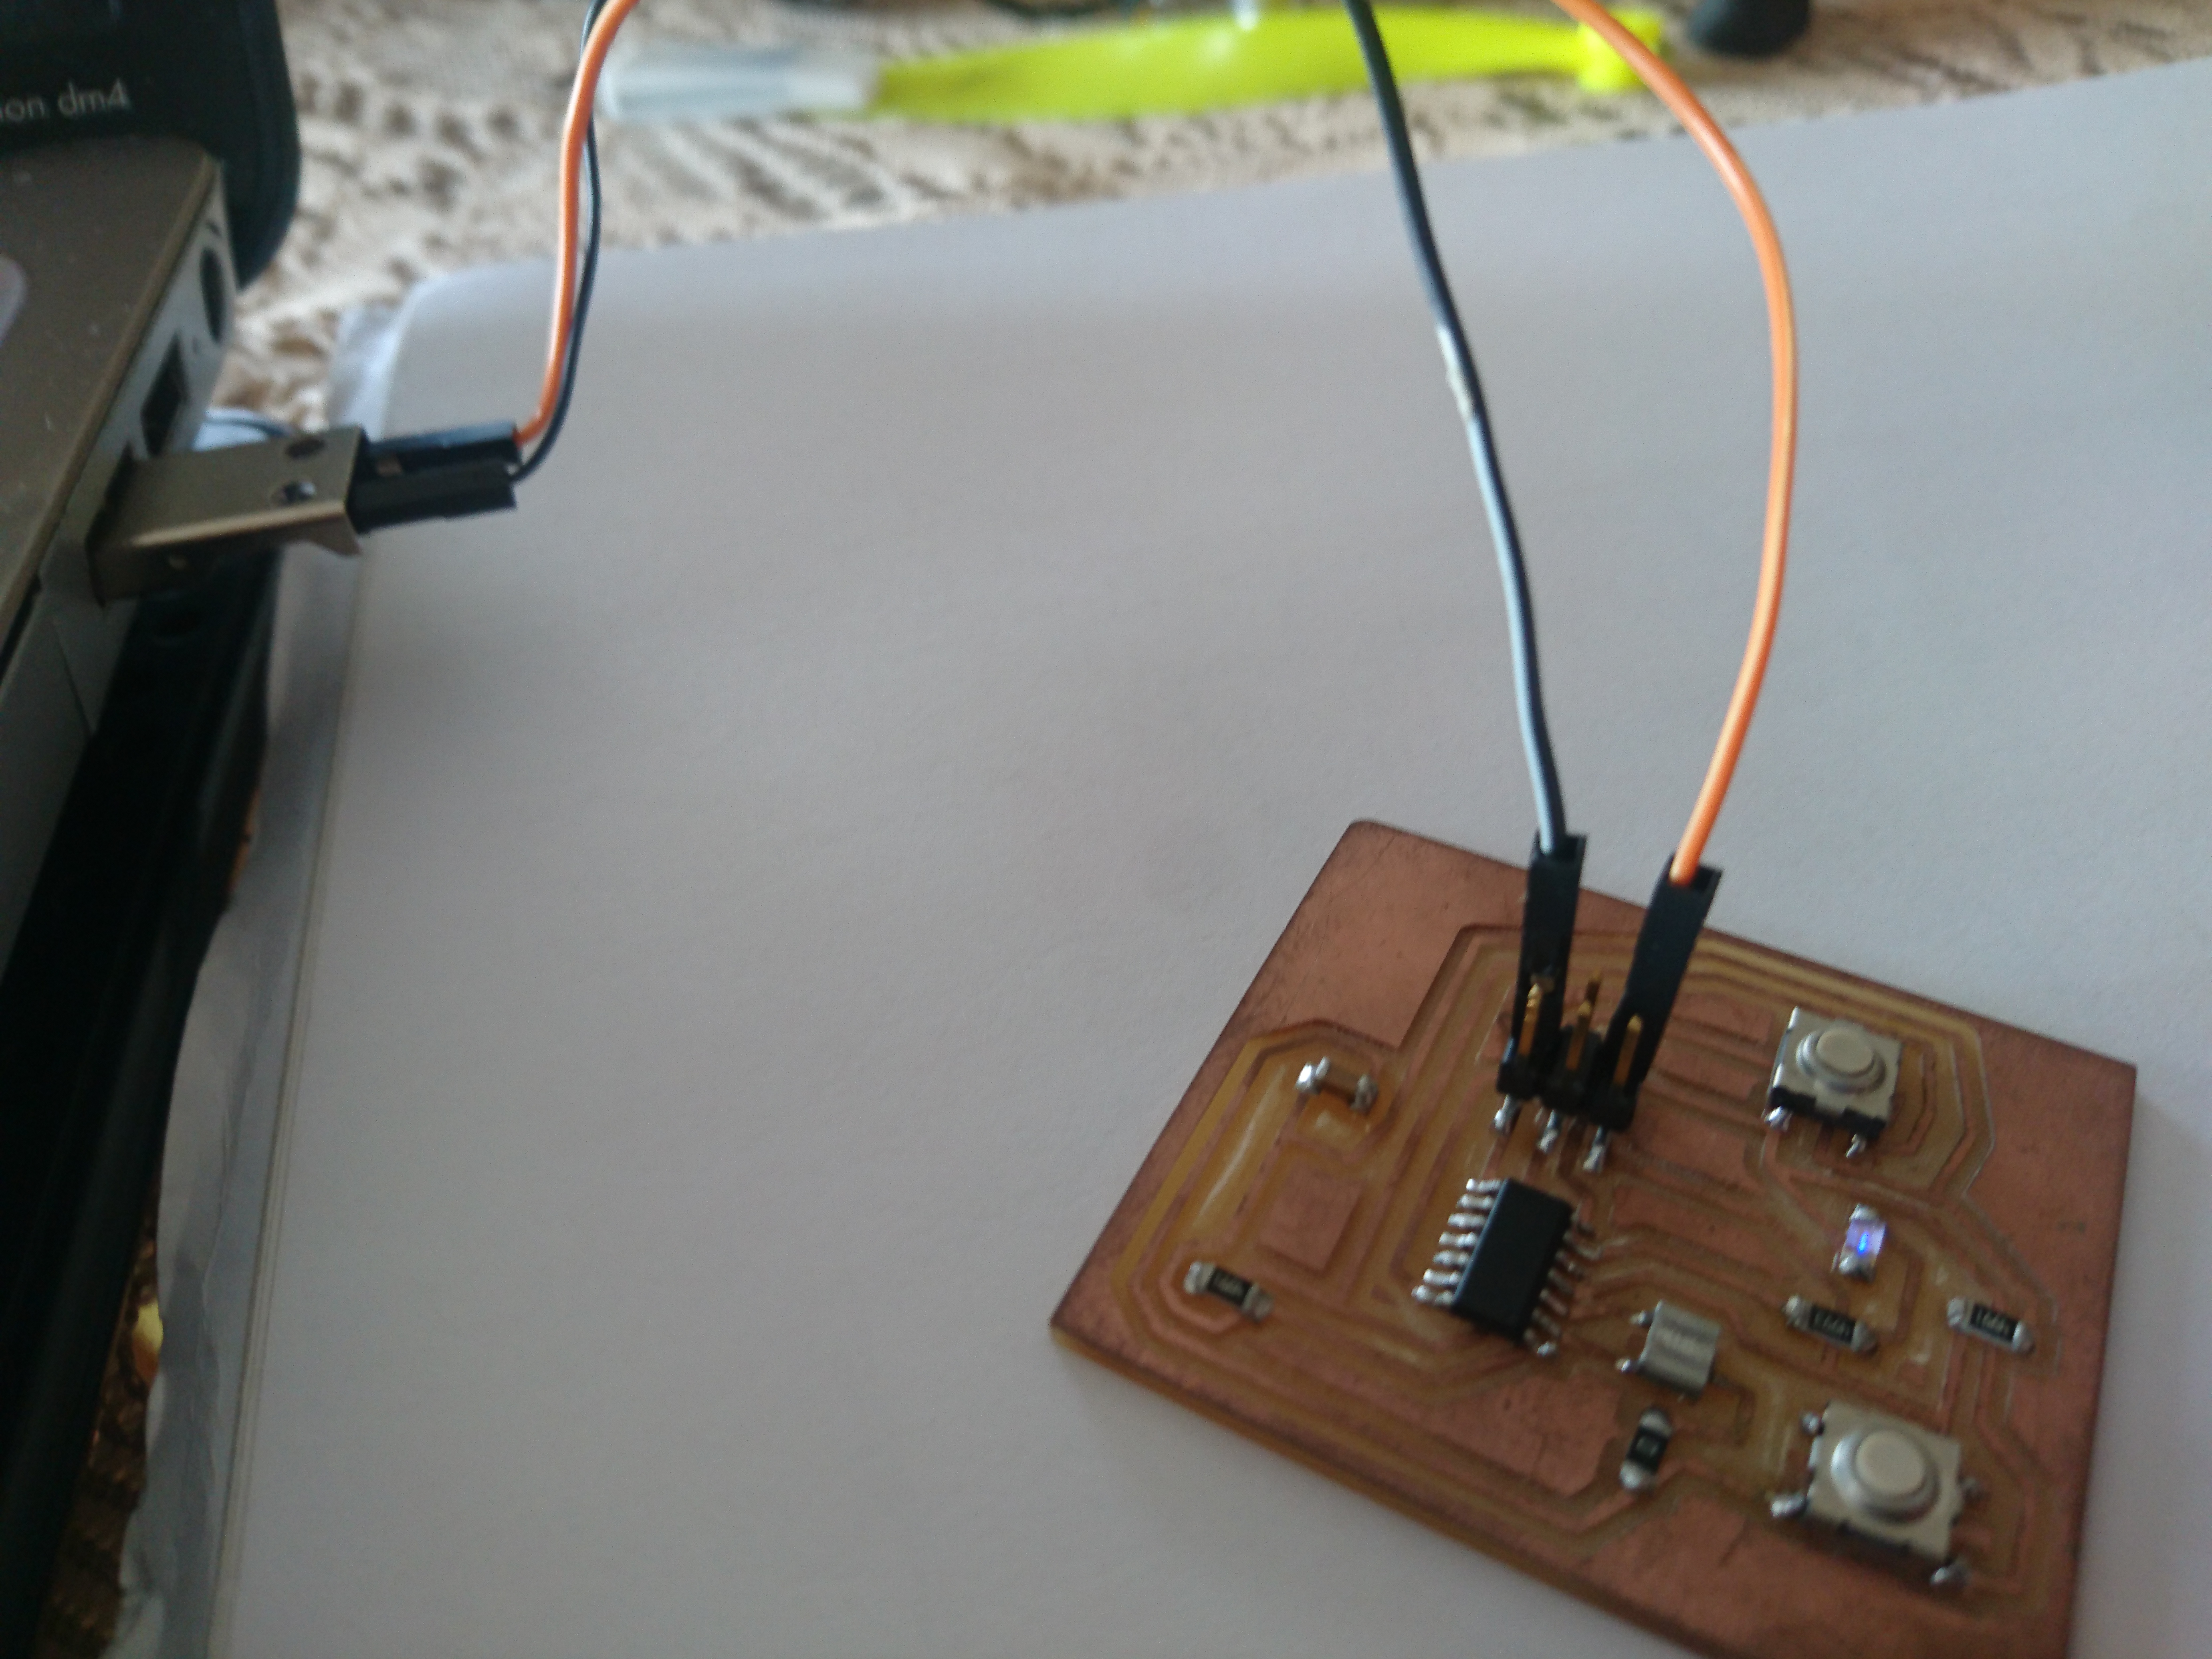
I used a usbtiny for programed the new plaque, First download the FIRMWARE
to need for progrmed,
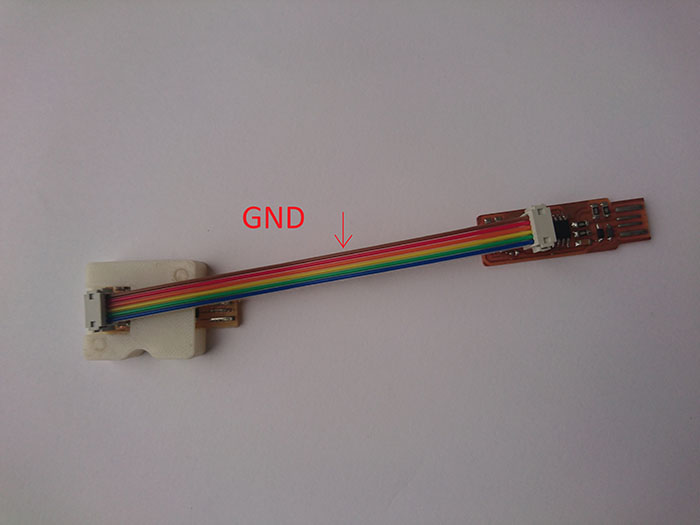
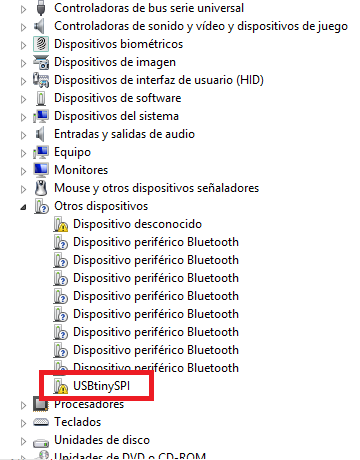
To conect the plaques you must know the ground (GND) of the headers and you computer recognize the USBtiny you can see in device administrator
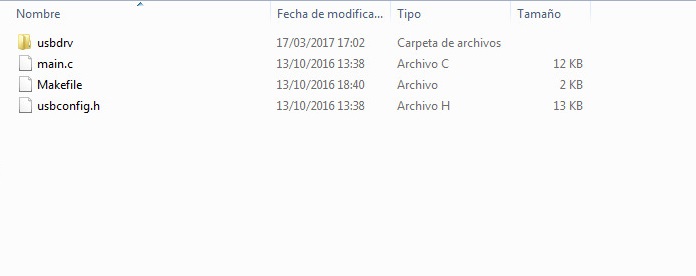
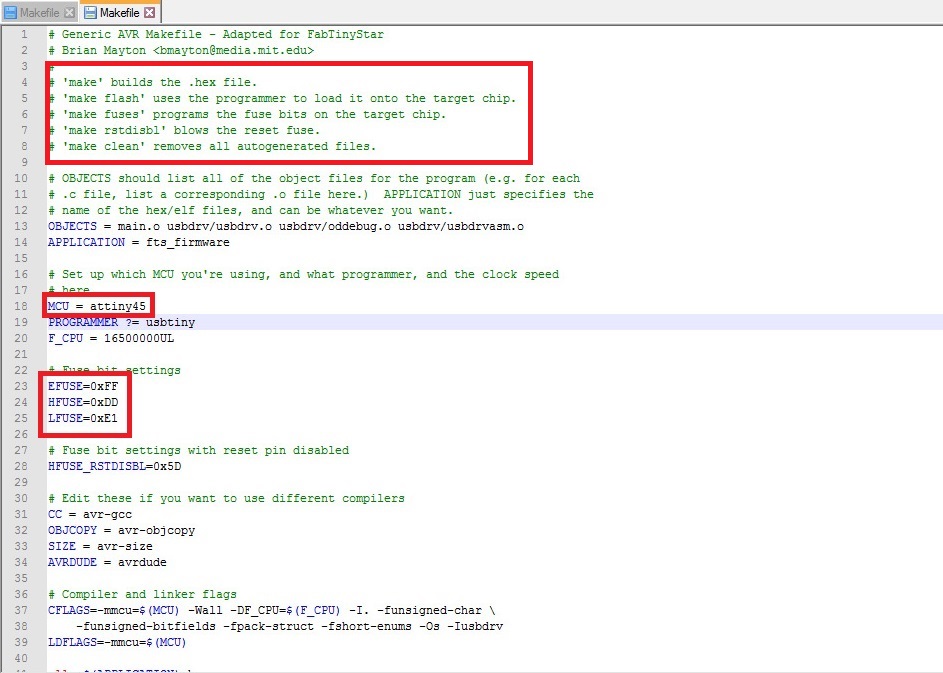
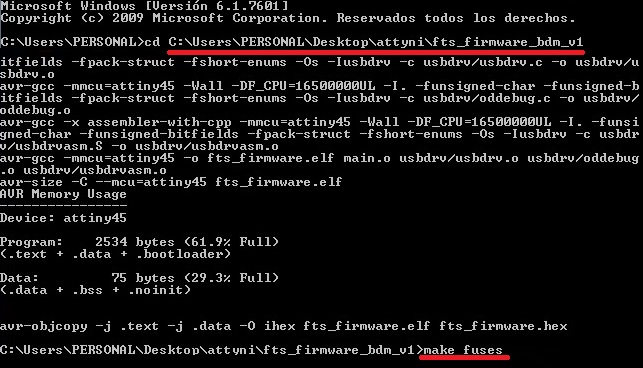
to program first open the firmware and edit the makefile, in the make file read all the indications of "make" and explain your operation, in the makefile view the next specifications: the microprocessor and your fuses, in the next pass if you have windows 7 no problem but windows you need this program
CYGWIN
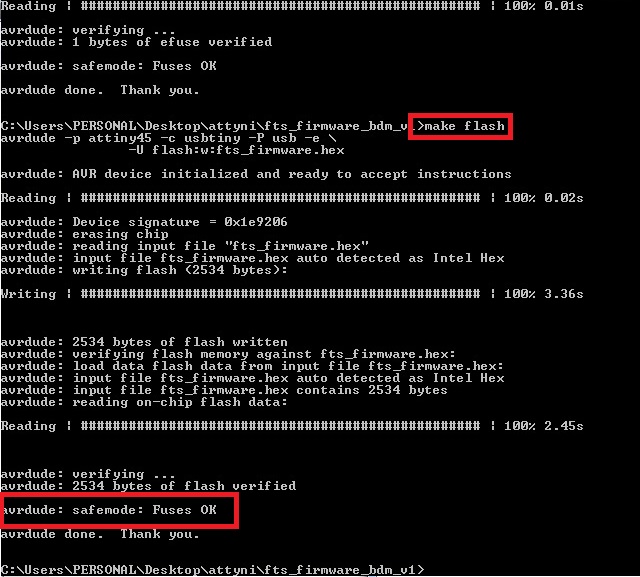
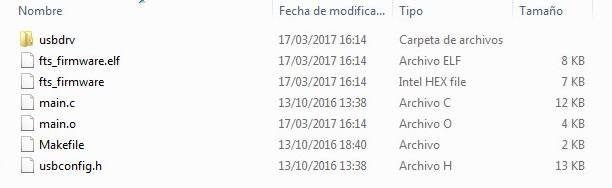
First, copy the direction of the folder and the first step do a make fuses to creat all the fuses in the microprocessor and to up the program you have a make flash and wait for a message fuses OK, and see to create files in the folder of the firmware to correct.

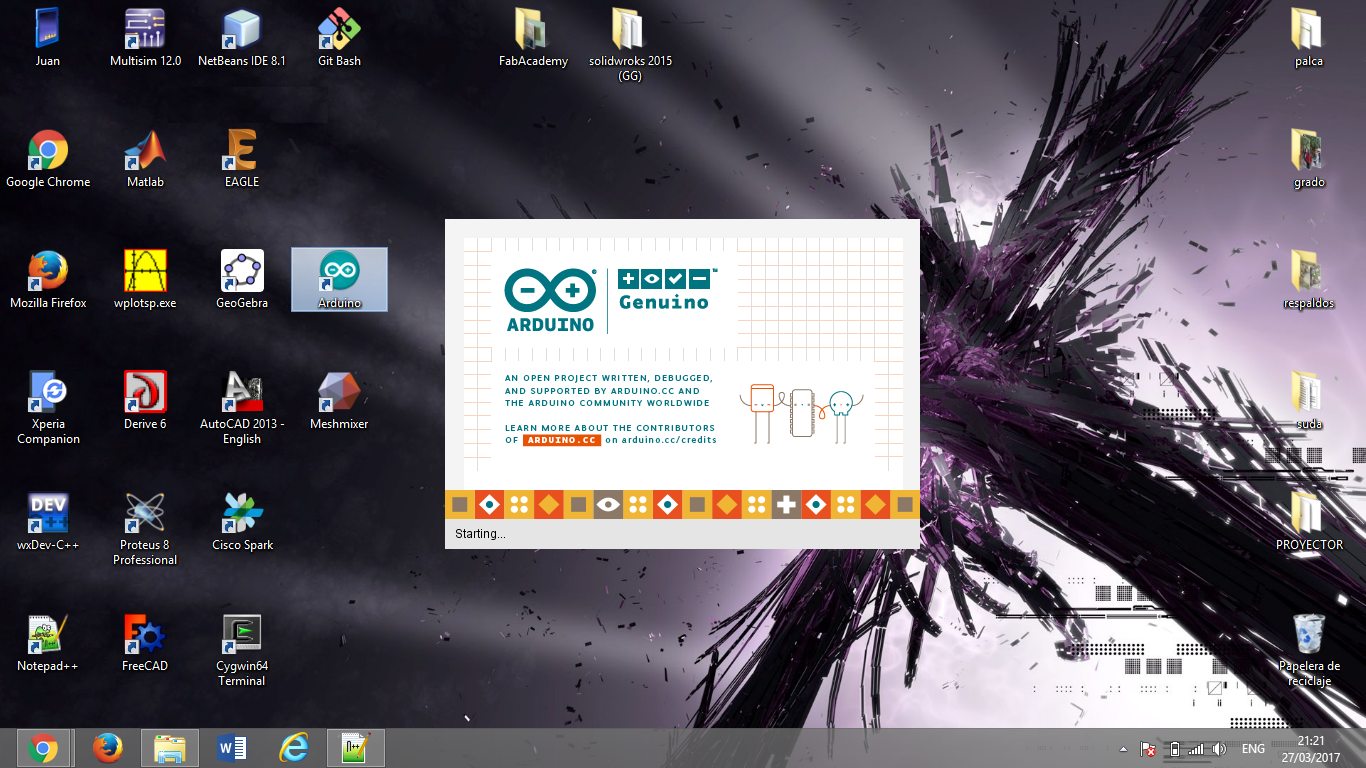
Arduino is a software open source to make program of microprocessor, motor, work with leds, sensors and others, you can program all you need in your plataform, to program you must know a basic languaje, over the years Arduino has been their contributions have added up to an incredible amount of accessible knowledge that can be of great help
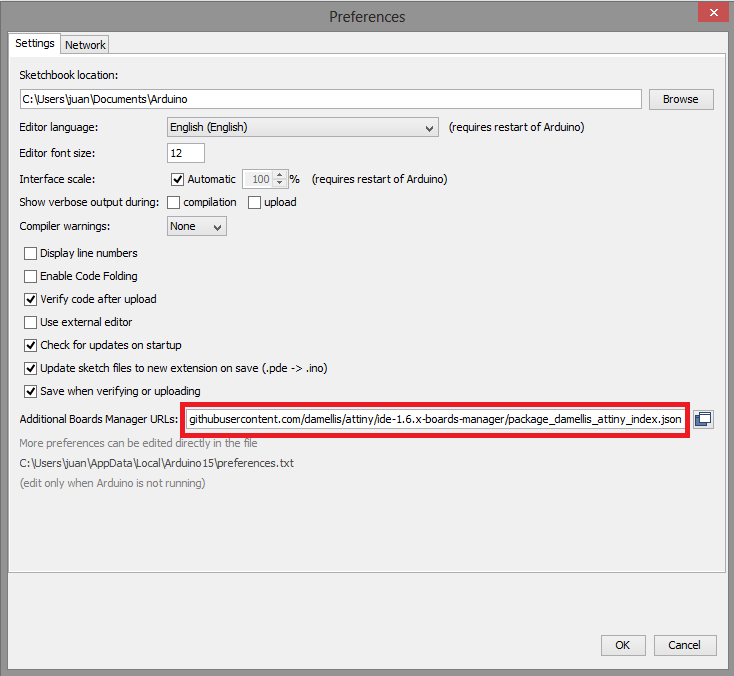
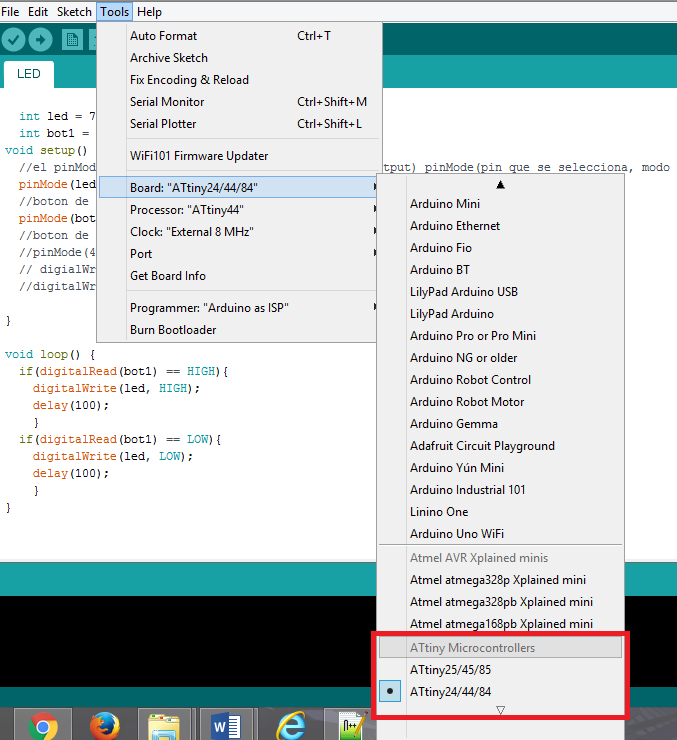
For the Arduino software need for program the attiny 44 is a complement and this link you can found in files at finally of the page, copy this link and go a Files click in preference and paste in Additional Board Manager URLs, to see the board upload go at tools and click in board.
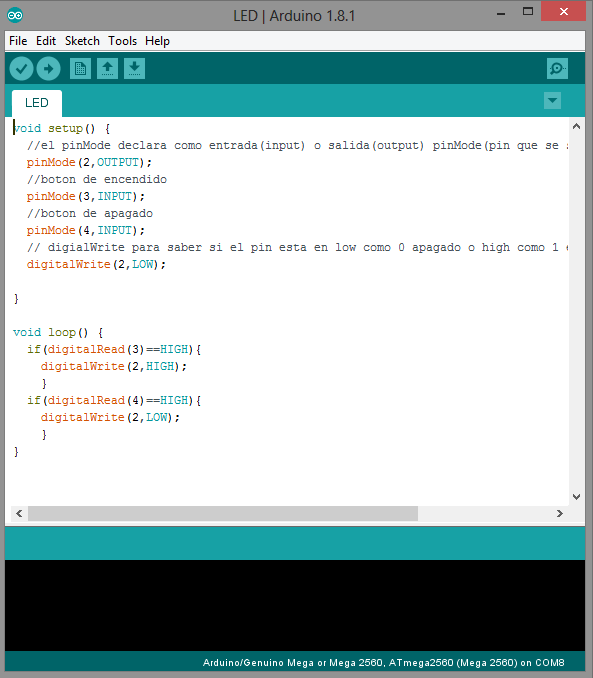
The description of the board program, first in void setup declares the pins of the microprocessor like output and input, output for LEDs and input for the buttons, the line “digitalWrite(2, LOW)” is to declare the pin like 0 or off you can remove or comment this line if you want. In the second part in void loop is the process that is repeated several times, in this part occupy a conditional to know the status of the LED if is in on or off, the conditional is if and compare the variable if is in Low or high and if the comparation is the same go to the next step, turn the LED on or off.
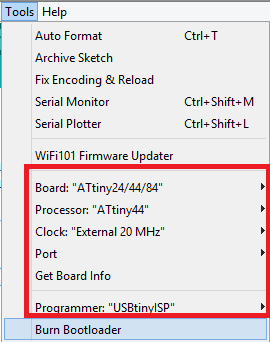
First burn bootloader for this you must change the parameters in tools: in Boards: Attiny24/ 44/84, Processor: Attiny 44, Clock: External 20 MHz and the programmer select USBtinyISP and press burn bootloader and if all is right only need is send the program at the plaque.
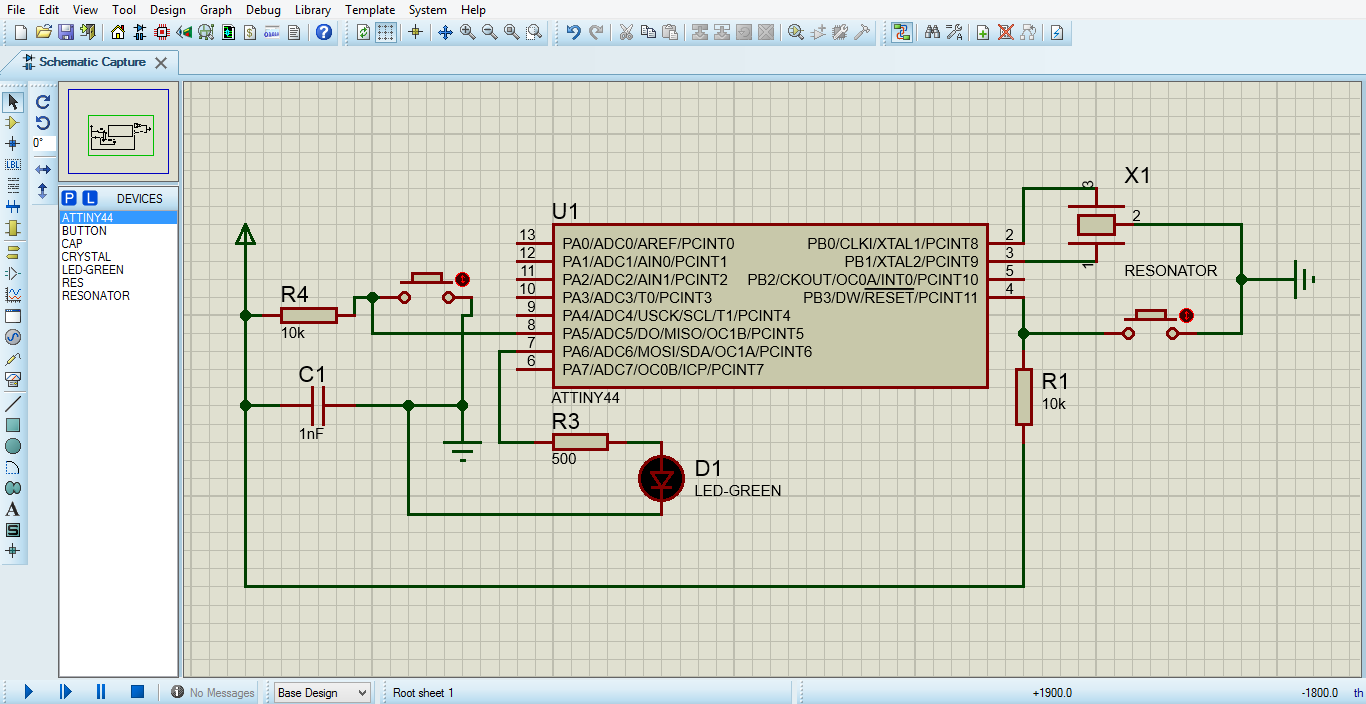
I test with others architectures as proteus to complemented the programming that was done, this software we can simulate the circuit make, to view the correct functioning of the plaque and the correct programming before to mechanize, in my case I use Arduino software to make the program and complement with proteus.
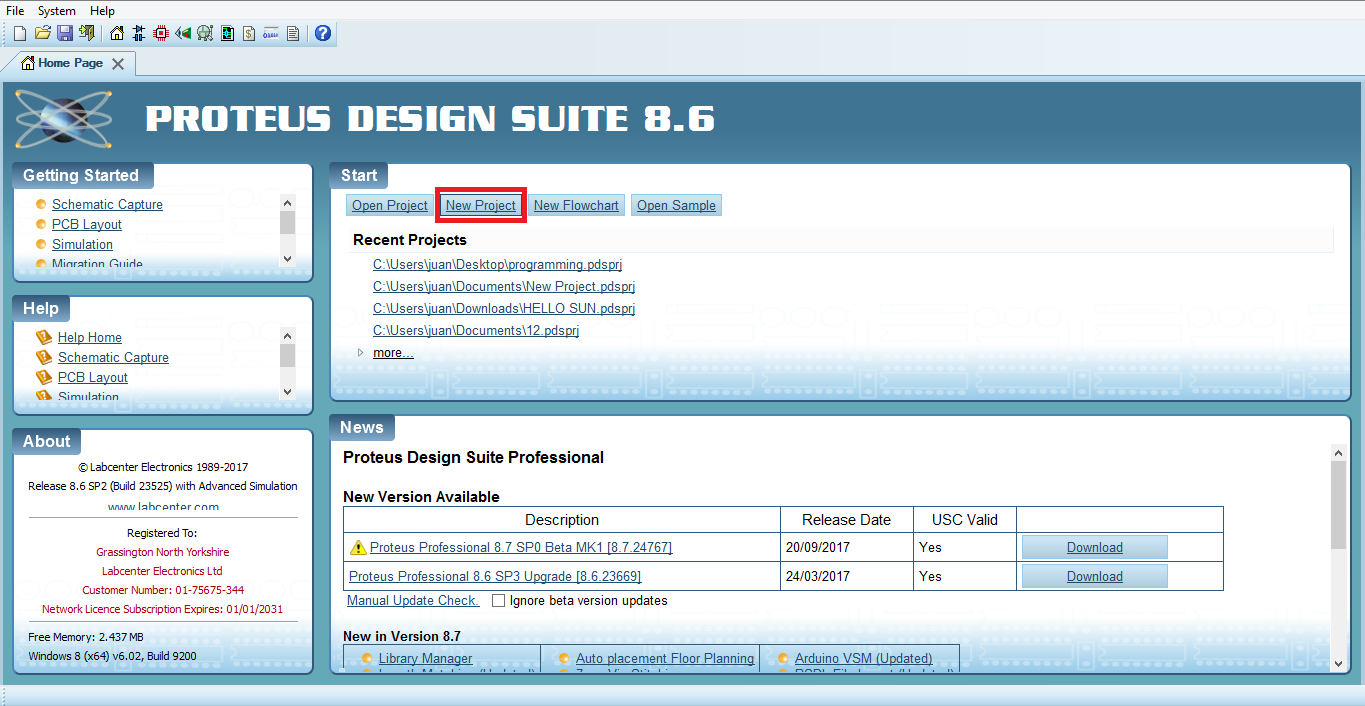
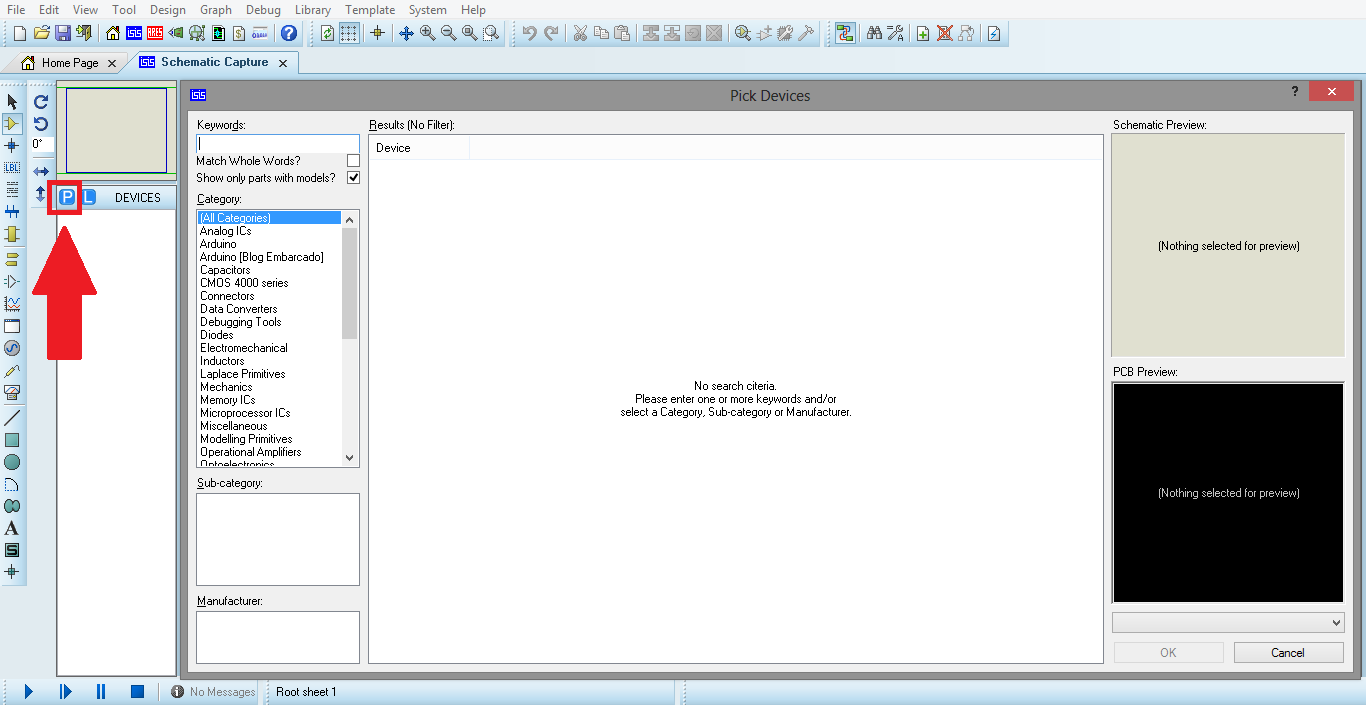
To start in the program first make a new project, when you create the project appears a blank space to work and different commands in the top and in the right, to make the circuit first select all the components press in “P” and in the window, that is displayed you can find all the components or if you need more also can download it.
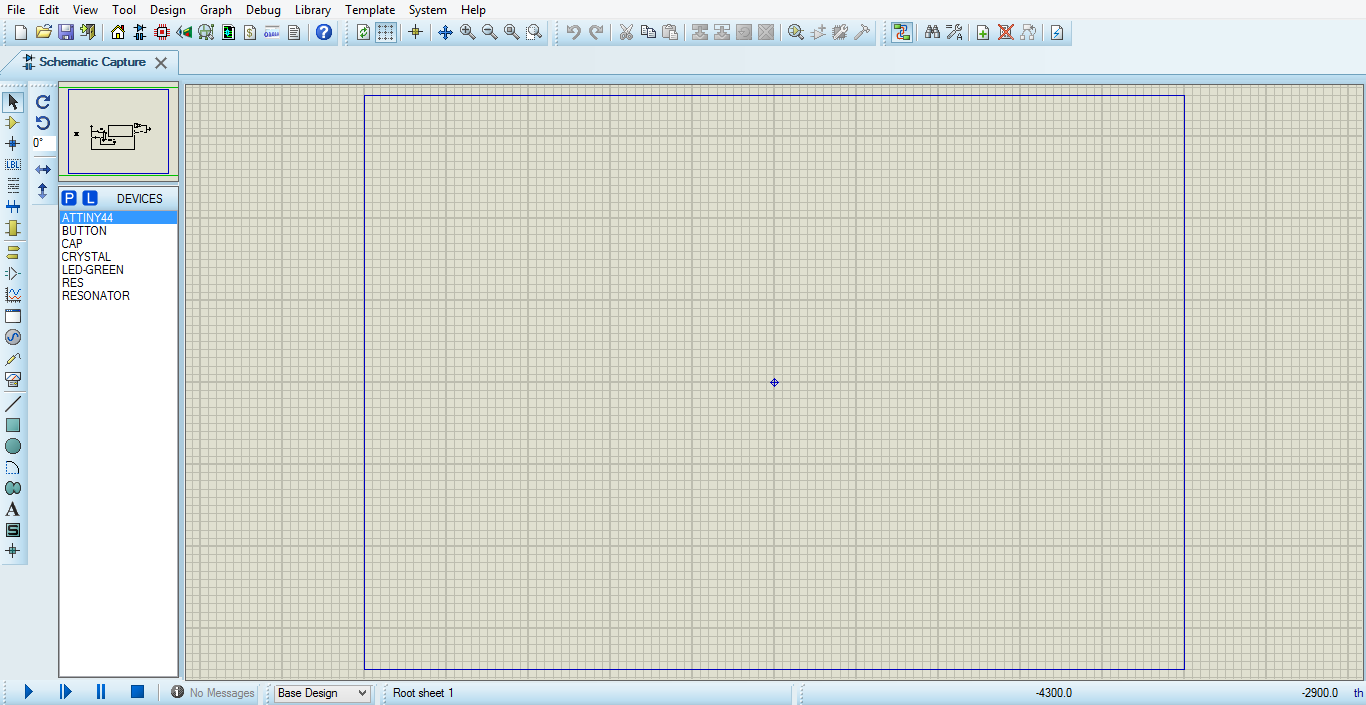
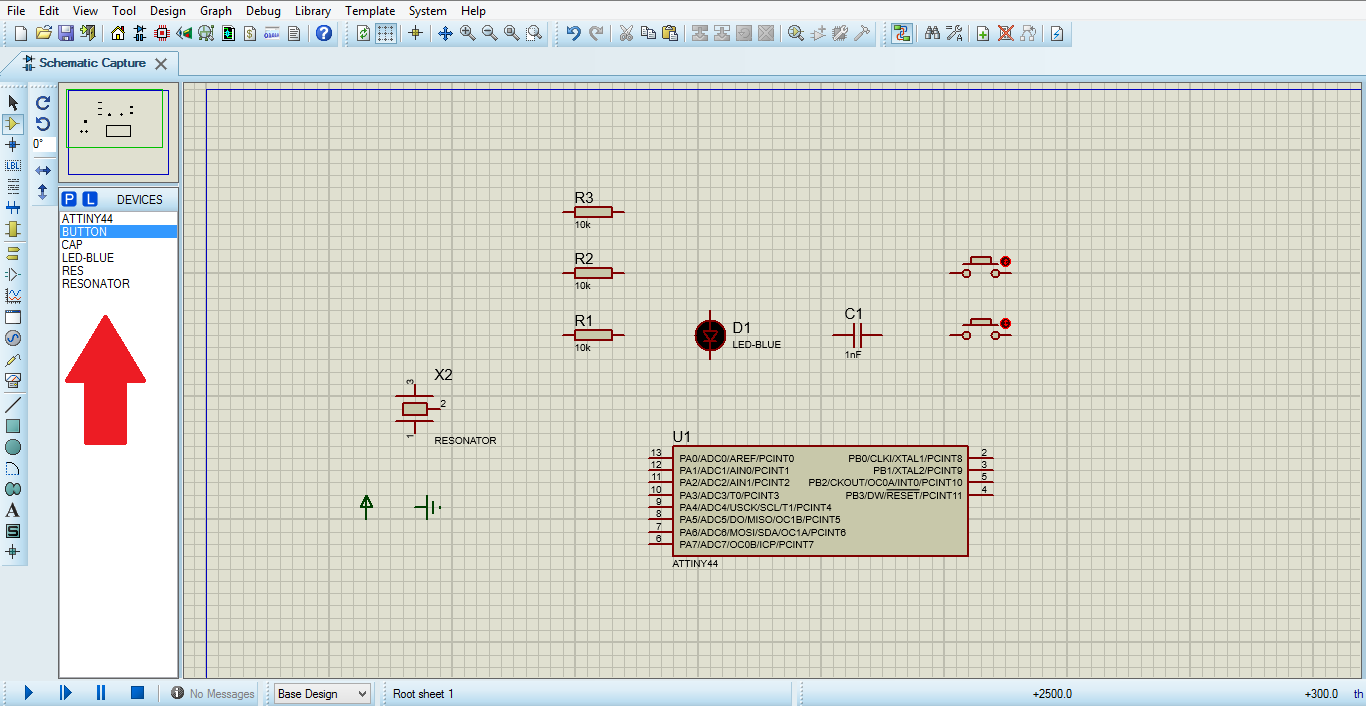
When you choose all the components for the circuit that is going to be done, to select the components of the list first you give a click in the name of component and in the work area you give one click to component appear and two for collocate in a place.
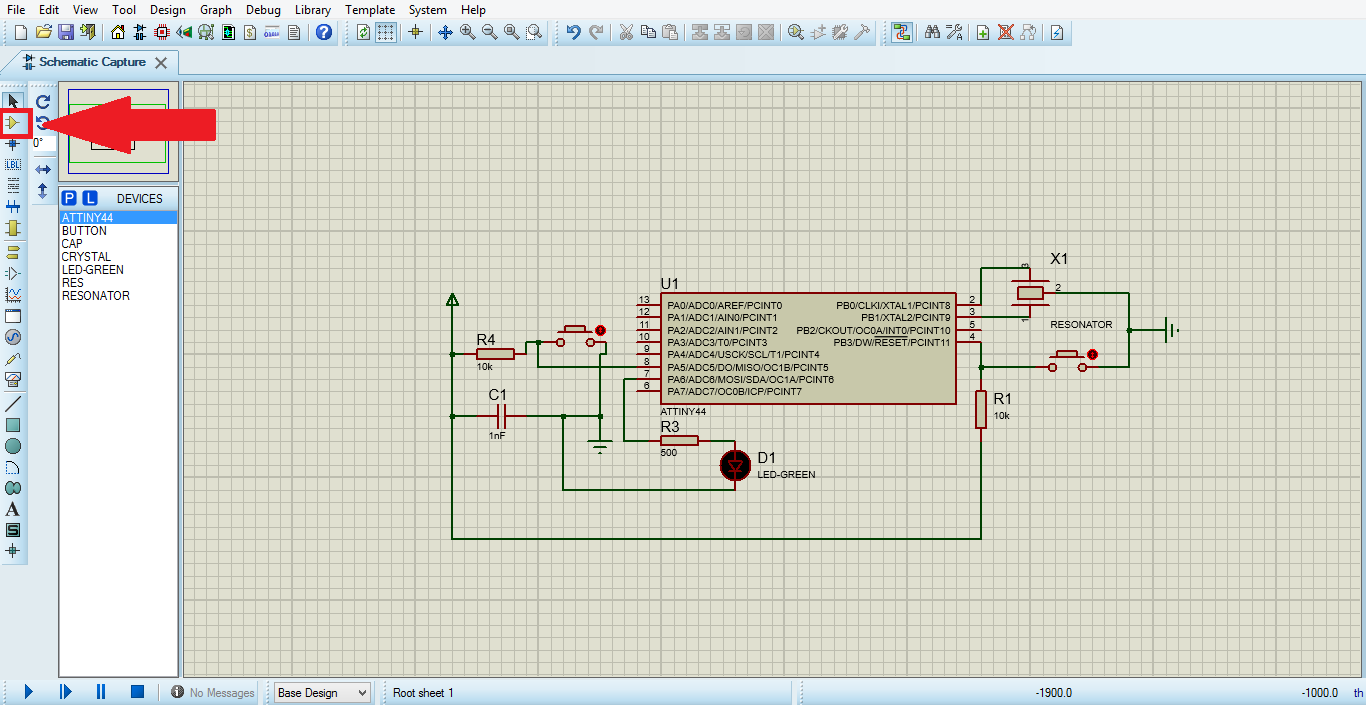
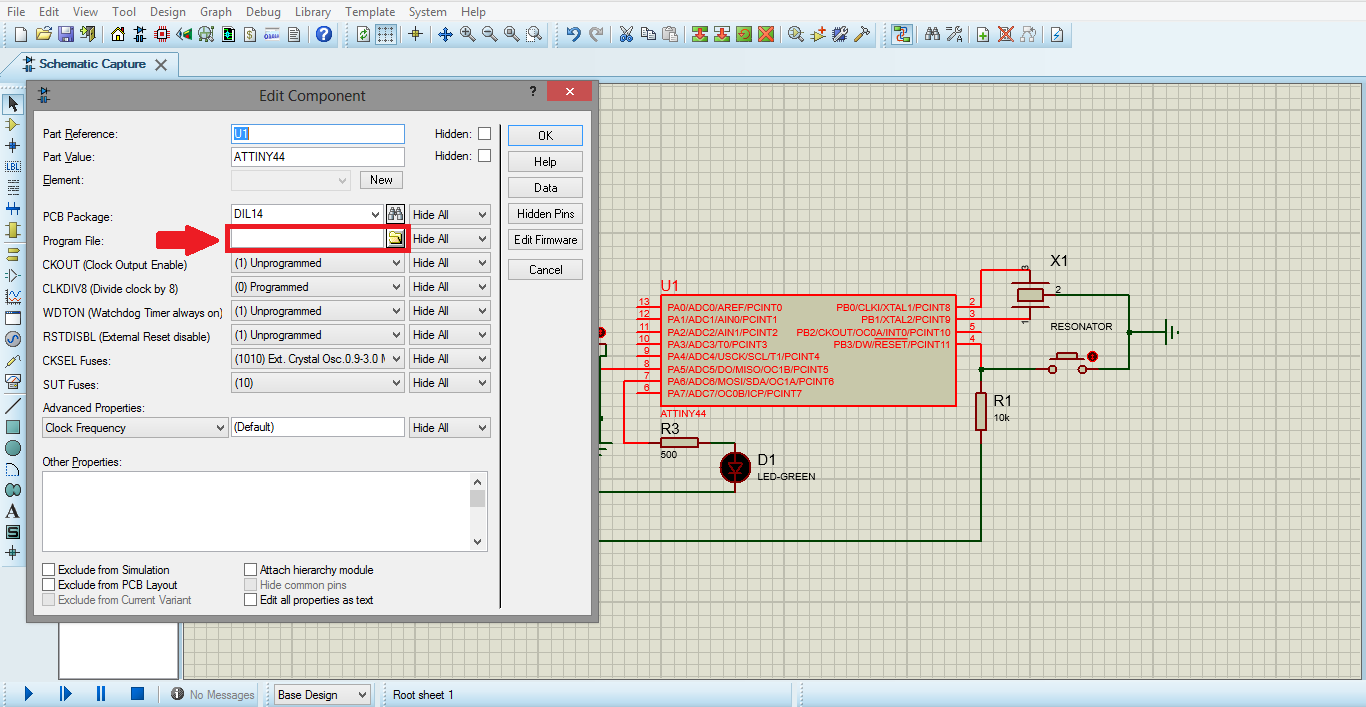
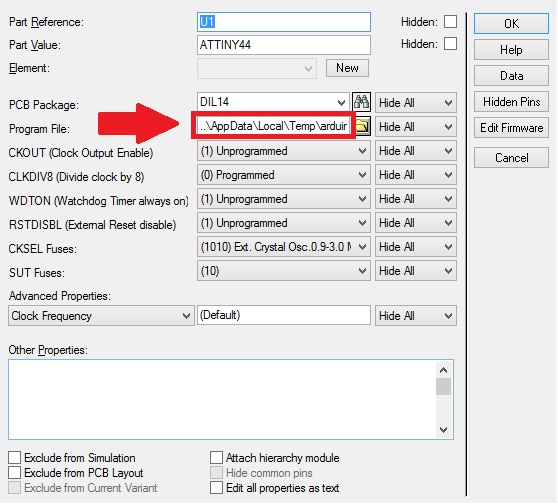
Next you connect all the components with a button “component mode”, for connect the components you need based in the schematic of the circuit done, when you finish, in the microprocessor give double click to appear a window and in the space program file you put the direction of the program for example, to export the file of software Arduino you need make the next steps:
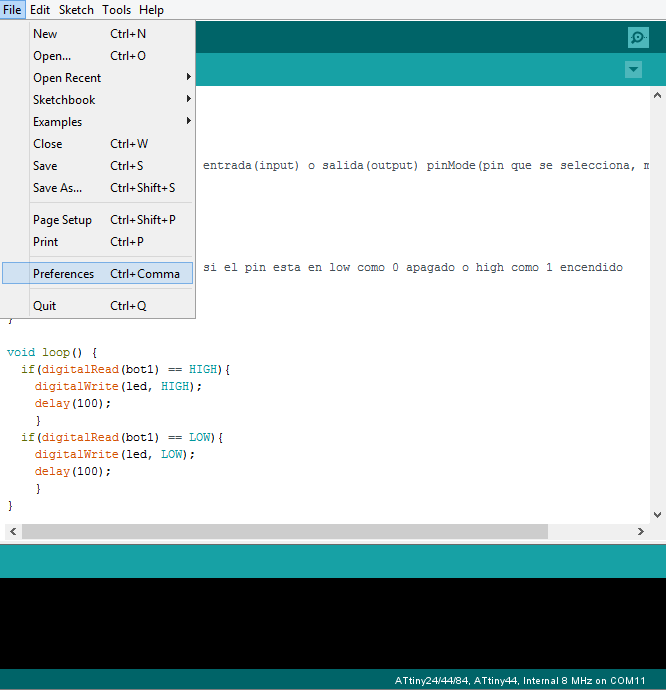
In the program Arduino you go to file and click in “preferences”.
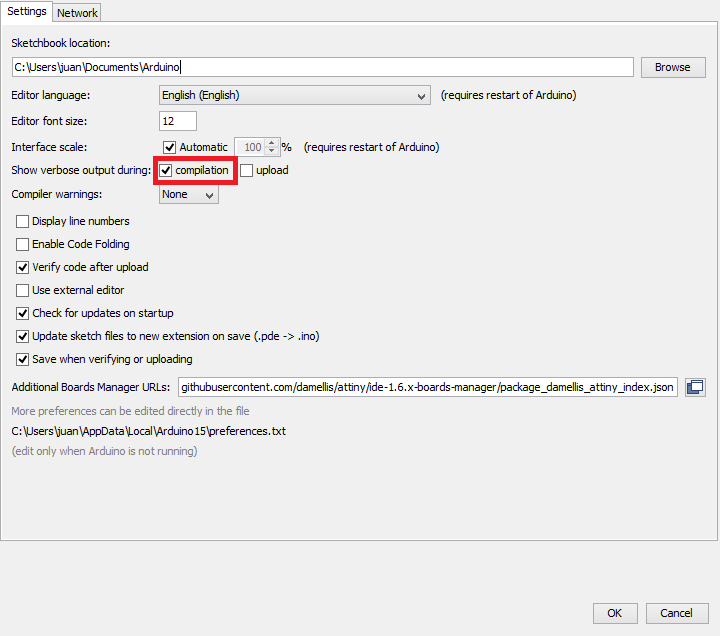
In the window preferences, check in “compilation” and press OK.
After that press compiling to create the location of the file is in (.hex).
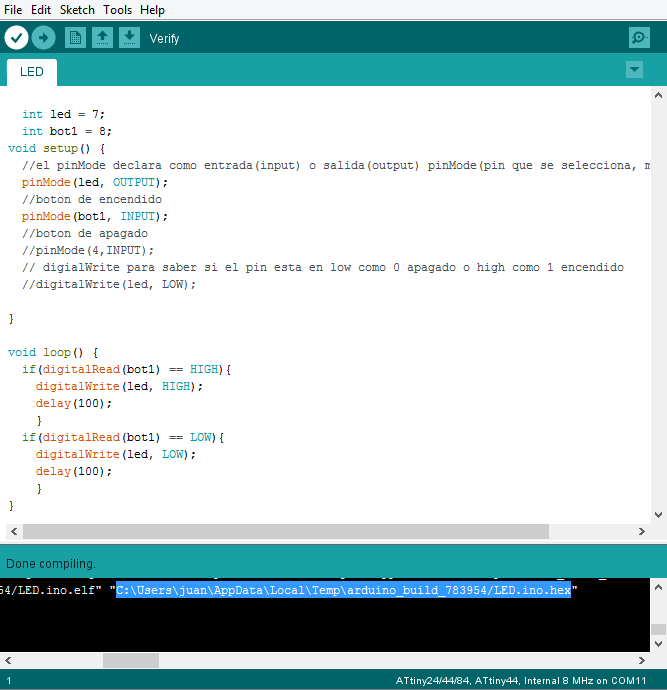
Finally copy the direction and paste in the proteus and press OK.
To simulate press in

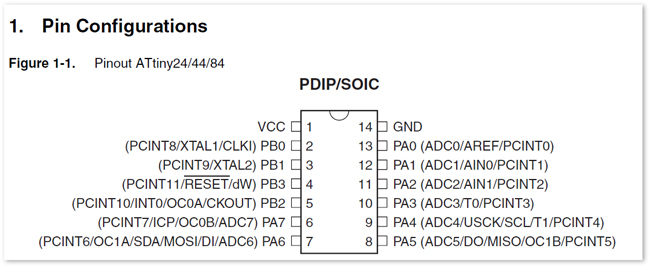
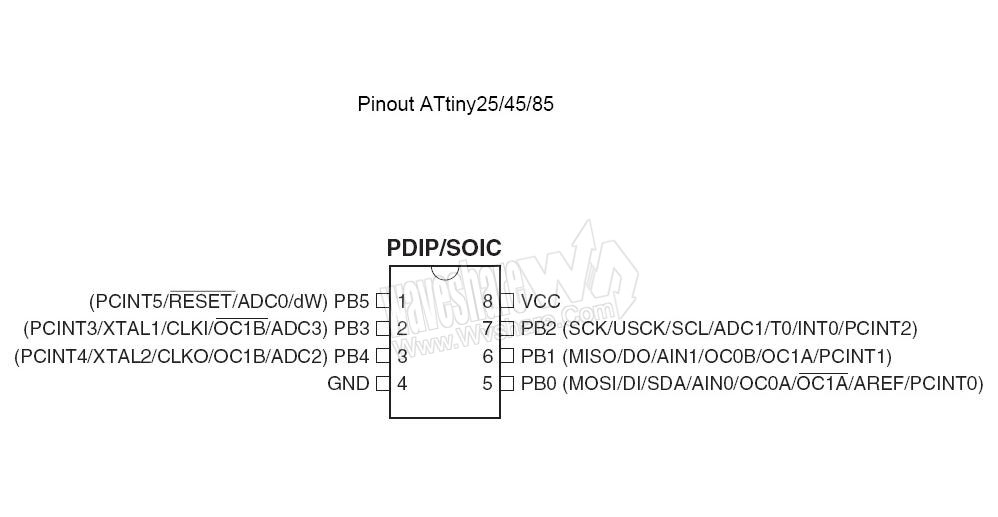
The datasheet is an important file to know about the microcontroller because in this document you have information about it and pin configurations and an explanation of the functioning of each pin, this information you can found at first of the page.
The protocols of information for the programing is in the top of the page you can see all you need for programming, only the most complicated is found the complements that the software need for programming the board, but all this is in the process.
The datasheet is the first specification in the page you can see the link and an image of the pins of microcontrollers.
I would like to learn more about the first type of programming since it can be useful in case of not being able to program with other means, Learn more about the language you use to edit the codes, how the name of the type of the program language, need more parameters of which I learned for program.
The programming is at the top of the page with all the process that you need.
The process is in the first objective you can see two tipes of programming.
Files in Repo