#week 11
Machine design
This weeks assignment
Automate your machine. Document the group project and your individual contribution.
Mounting the output devices to the machine
This weeks assignment is a continue from last week, where we connected and programmed our output devices/steppermotors - with the thought in mind that we would use the motors for this weeks assignment. We therefore continued with the mounting of the steppers onto the mechanical machine. Since we are only 2 people in the group, and we are using 2 axis + motors, it was natural that we took one motor each and hooked it onto the machine. Jakob then finetuned the code - that was the same for both machines, while I finished the frame and made the last changes to it. I also took on setting up the group project website and produced the video + slide for the presentation.
List of materials
• Makeblock microstepdriver
• AtTIny
• FabISP
• 1 steppermotor
• USB cable
• Mini US cable
• 9 cables
• Powesupply
• Endstoppers

Mounting the steppermotor
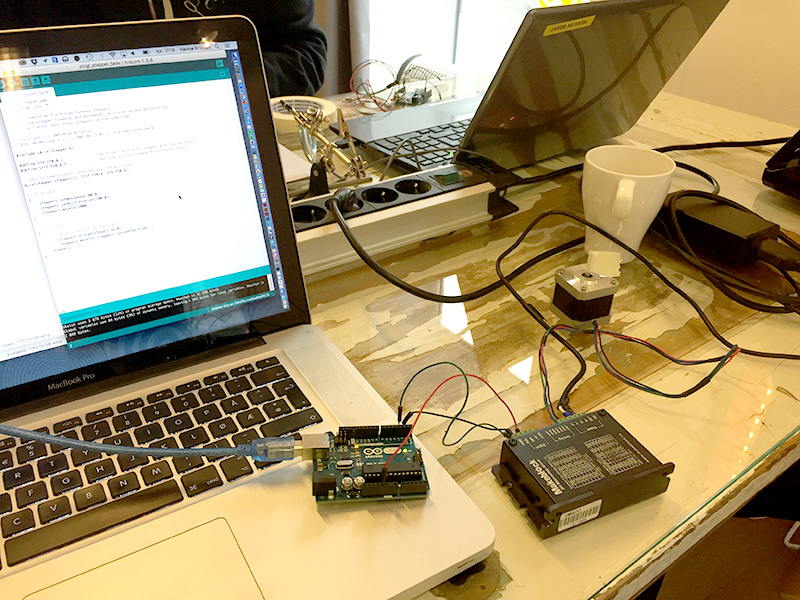
To operate the stepper drivers we used our hello echo boards made in week3 and hooked the FTDI header pins to the input pins on the stepper drivers. We used a separate stepper motor driver to generate 5V for the driver and echo board.
The code running on the hello echo board is a stepper demo file that Jens provided for us in the "output devices" week.
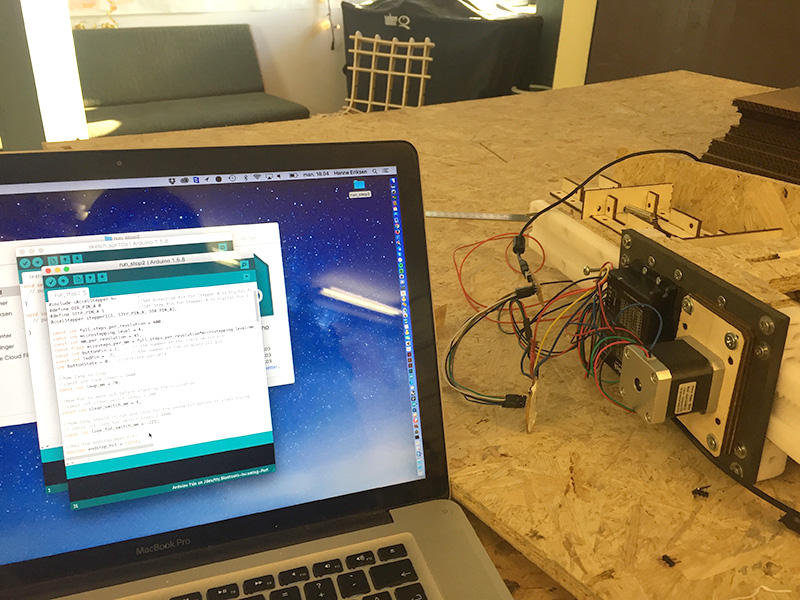
We each made a cable connector and soldered a jumper to our hello echo boards so that we could use the last pin on our header to connect a limit switch.
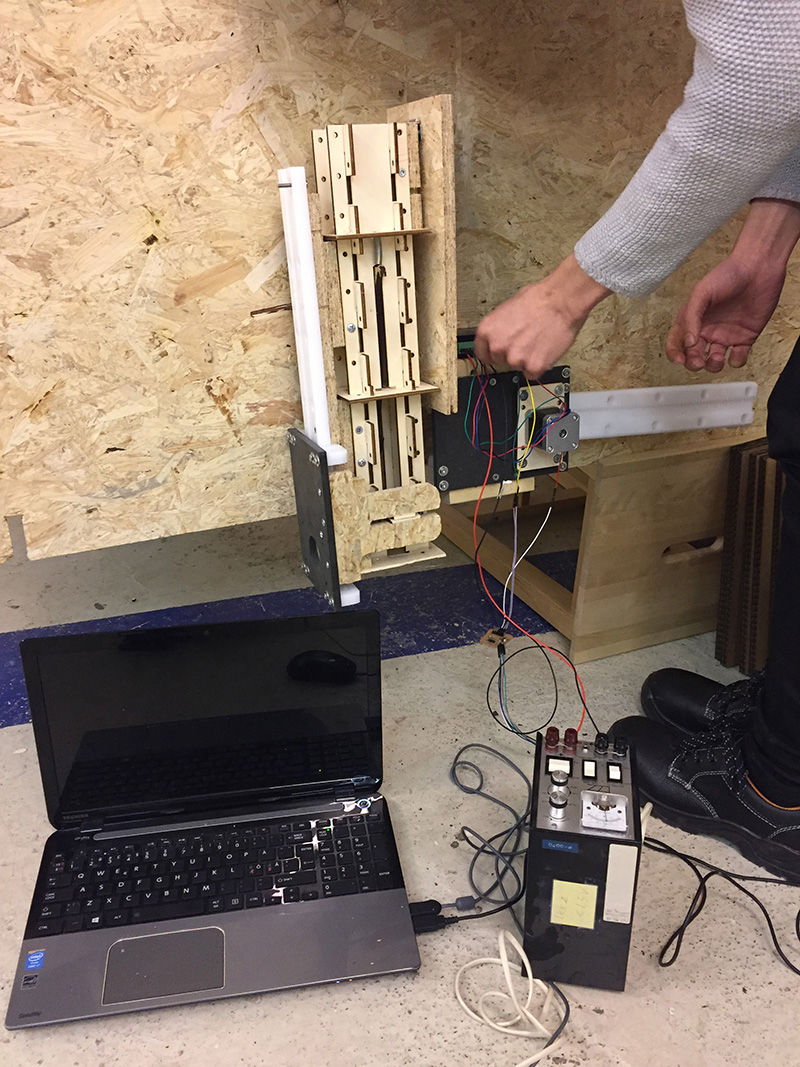
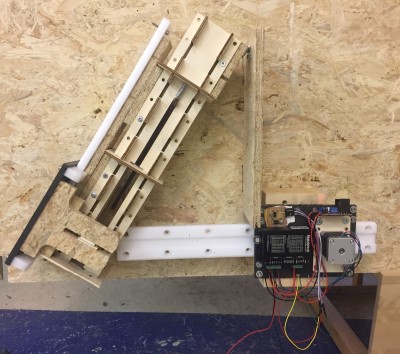
The motor was fastened with screws onto the HANK system, also using some lasercut plates to add up the space needed for the pinion/motor to work.
I also experience the same issue with the pinion started sliding on the motor axis - ending up having to fix it the same way as Jakob had done previously.
We also added one end switch on each axis, for the motors to know when it had to go back to origin.
Unfortunately, I managed to break the 6pins header on my atTiny when programming my motor. Not having the time to make a new board got resolved by using Jakobs board to program both motors (using the same code).


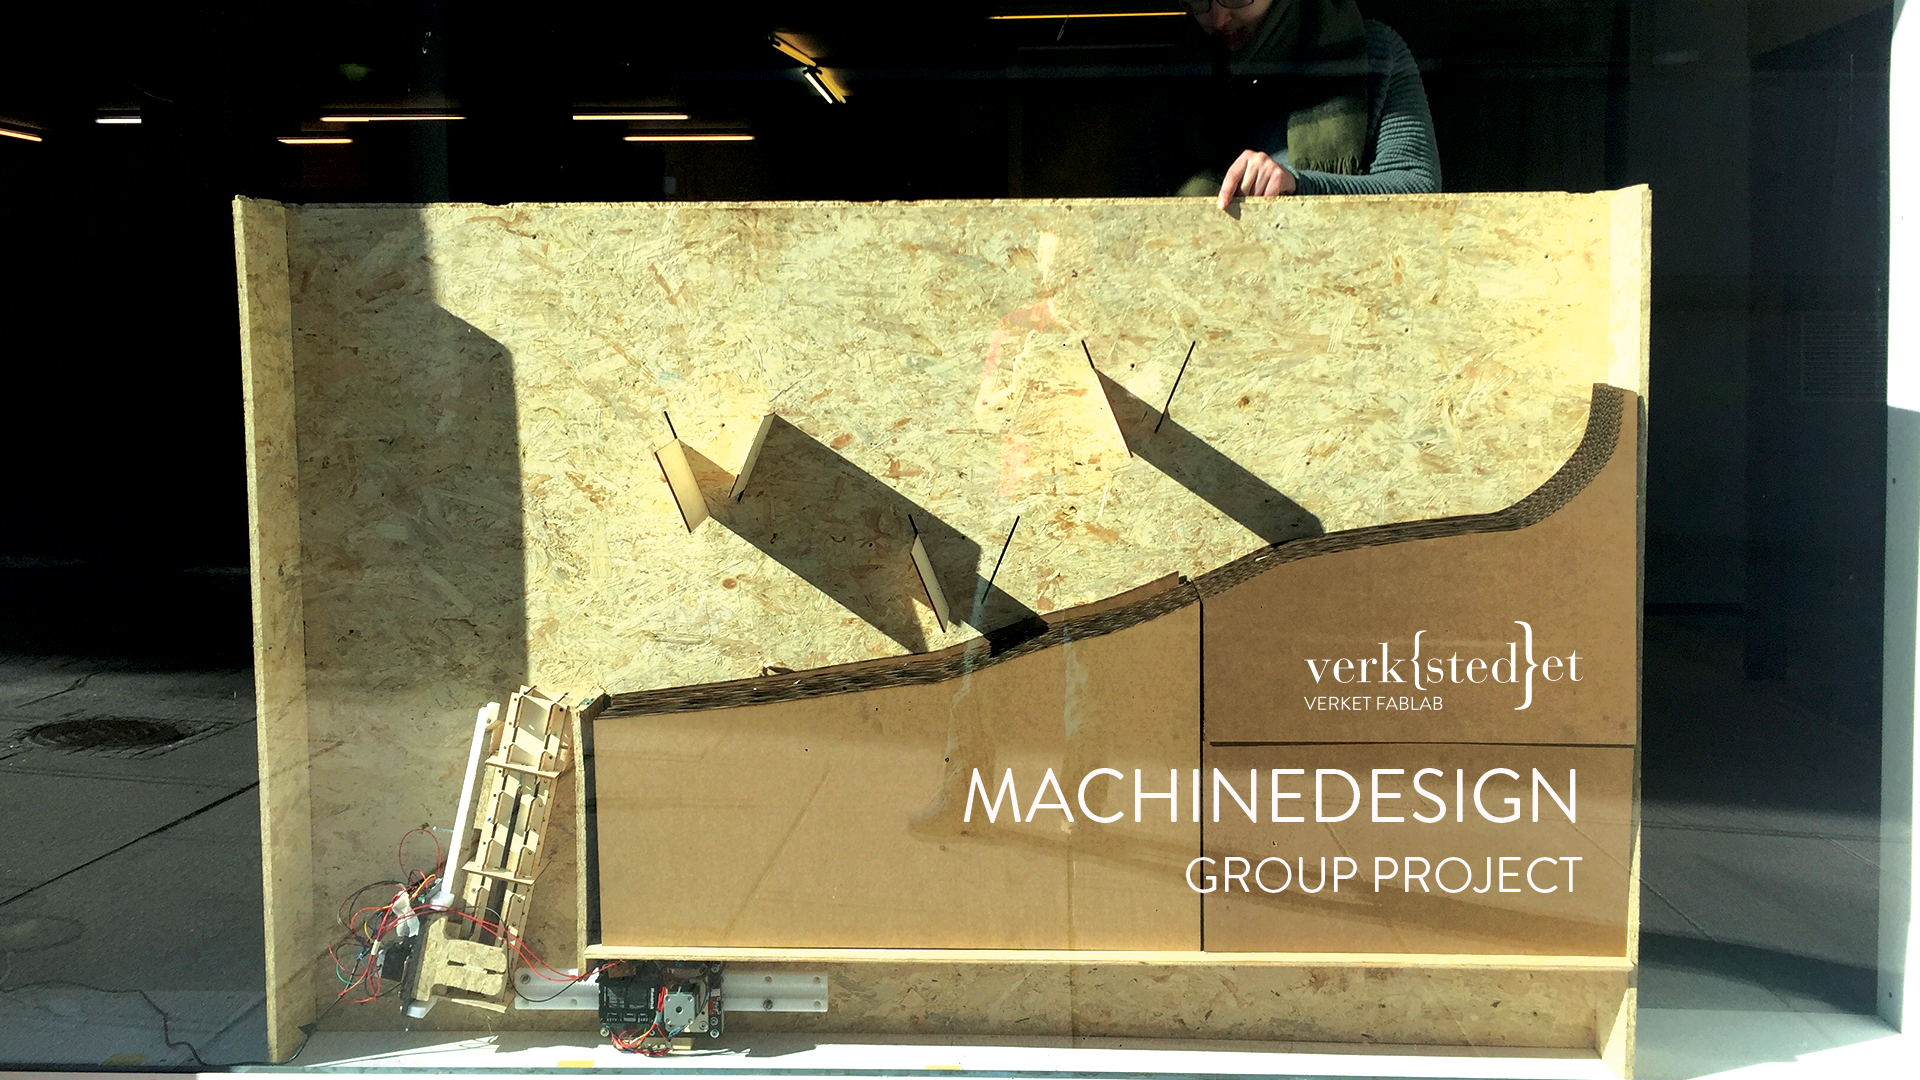
Finalizing the frame

Learning outcomes
The communication in the group worked well, especially with landing the concept and assesing the shooter, but it was a challenge having two people with different amount of time available to spend on the project. That resultet in Jakob taking the "lead" in the project, and I following up with the second motor and axis. I also did the layout, fabrication and assembling of the game frame.
The idea generation, design and planning of the game worked out quite nicely, and we both agreed on the project. And the final result ended up being more or less exactly as planned. One lesson learned was that when two people develops separat parts of a machine, it is important to cross reference it with the rest of the plan. It is easy that you get "off track", ending up with different parts no longer fitting togheter. Making one or the other re-do the their part. Luckily we solved our little "issue" by extending the vertical piece for the shooter.
Room for improvements would be to maybe simplify the size and complexity of the shooter, and also covering up the areas around the shooter so the balls would go back into the barrel instead of outside it. We also discovered that the frame itself - standing towards the glass window - made the whole thing into one huge "speaker", making the game too loud be turned for longer periods of time.