Computer-Controlled Machining.
week 7
Assignment: Make something big.
Guillermo Jaramillo :: Fab Academy 2017

Fab Academy 2017

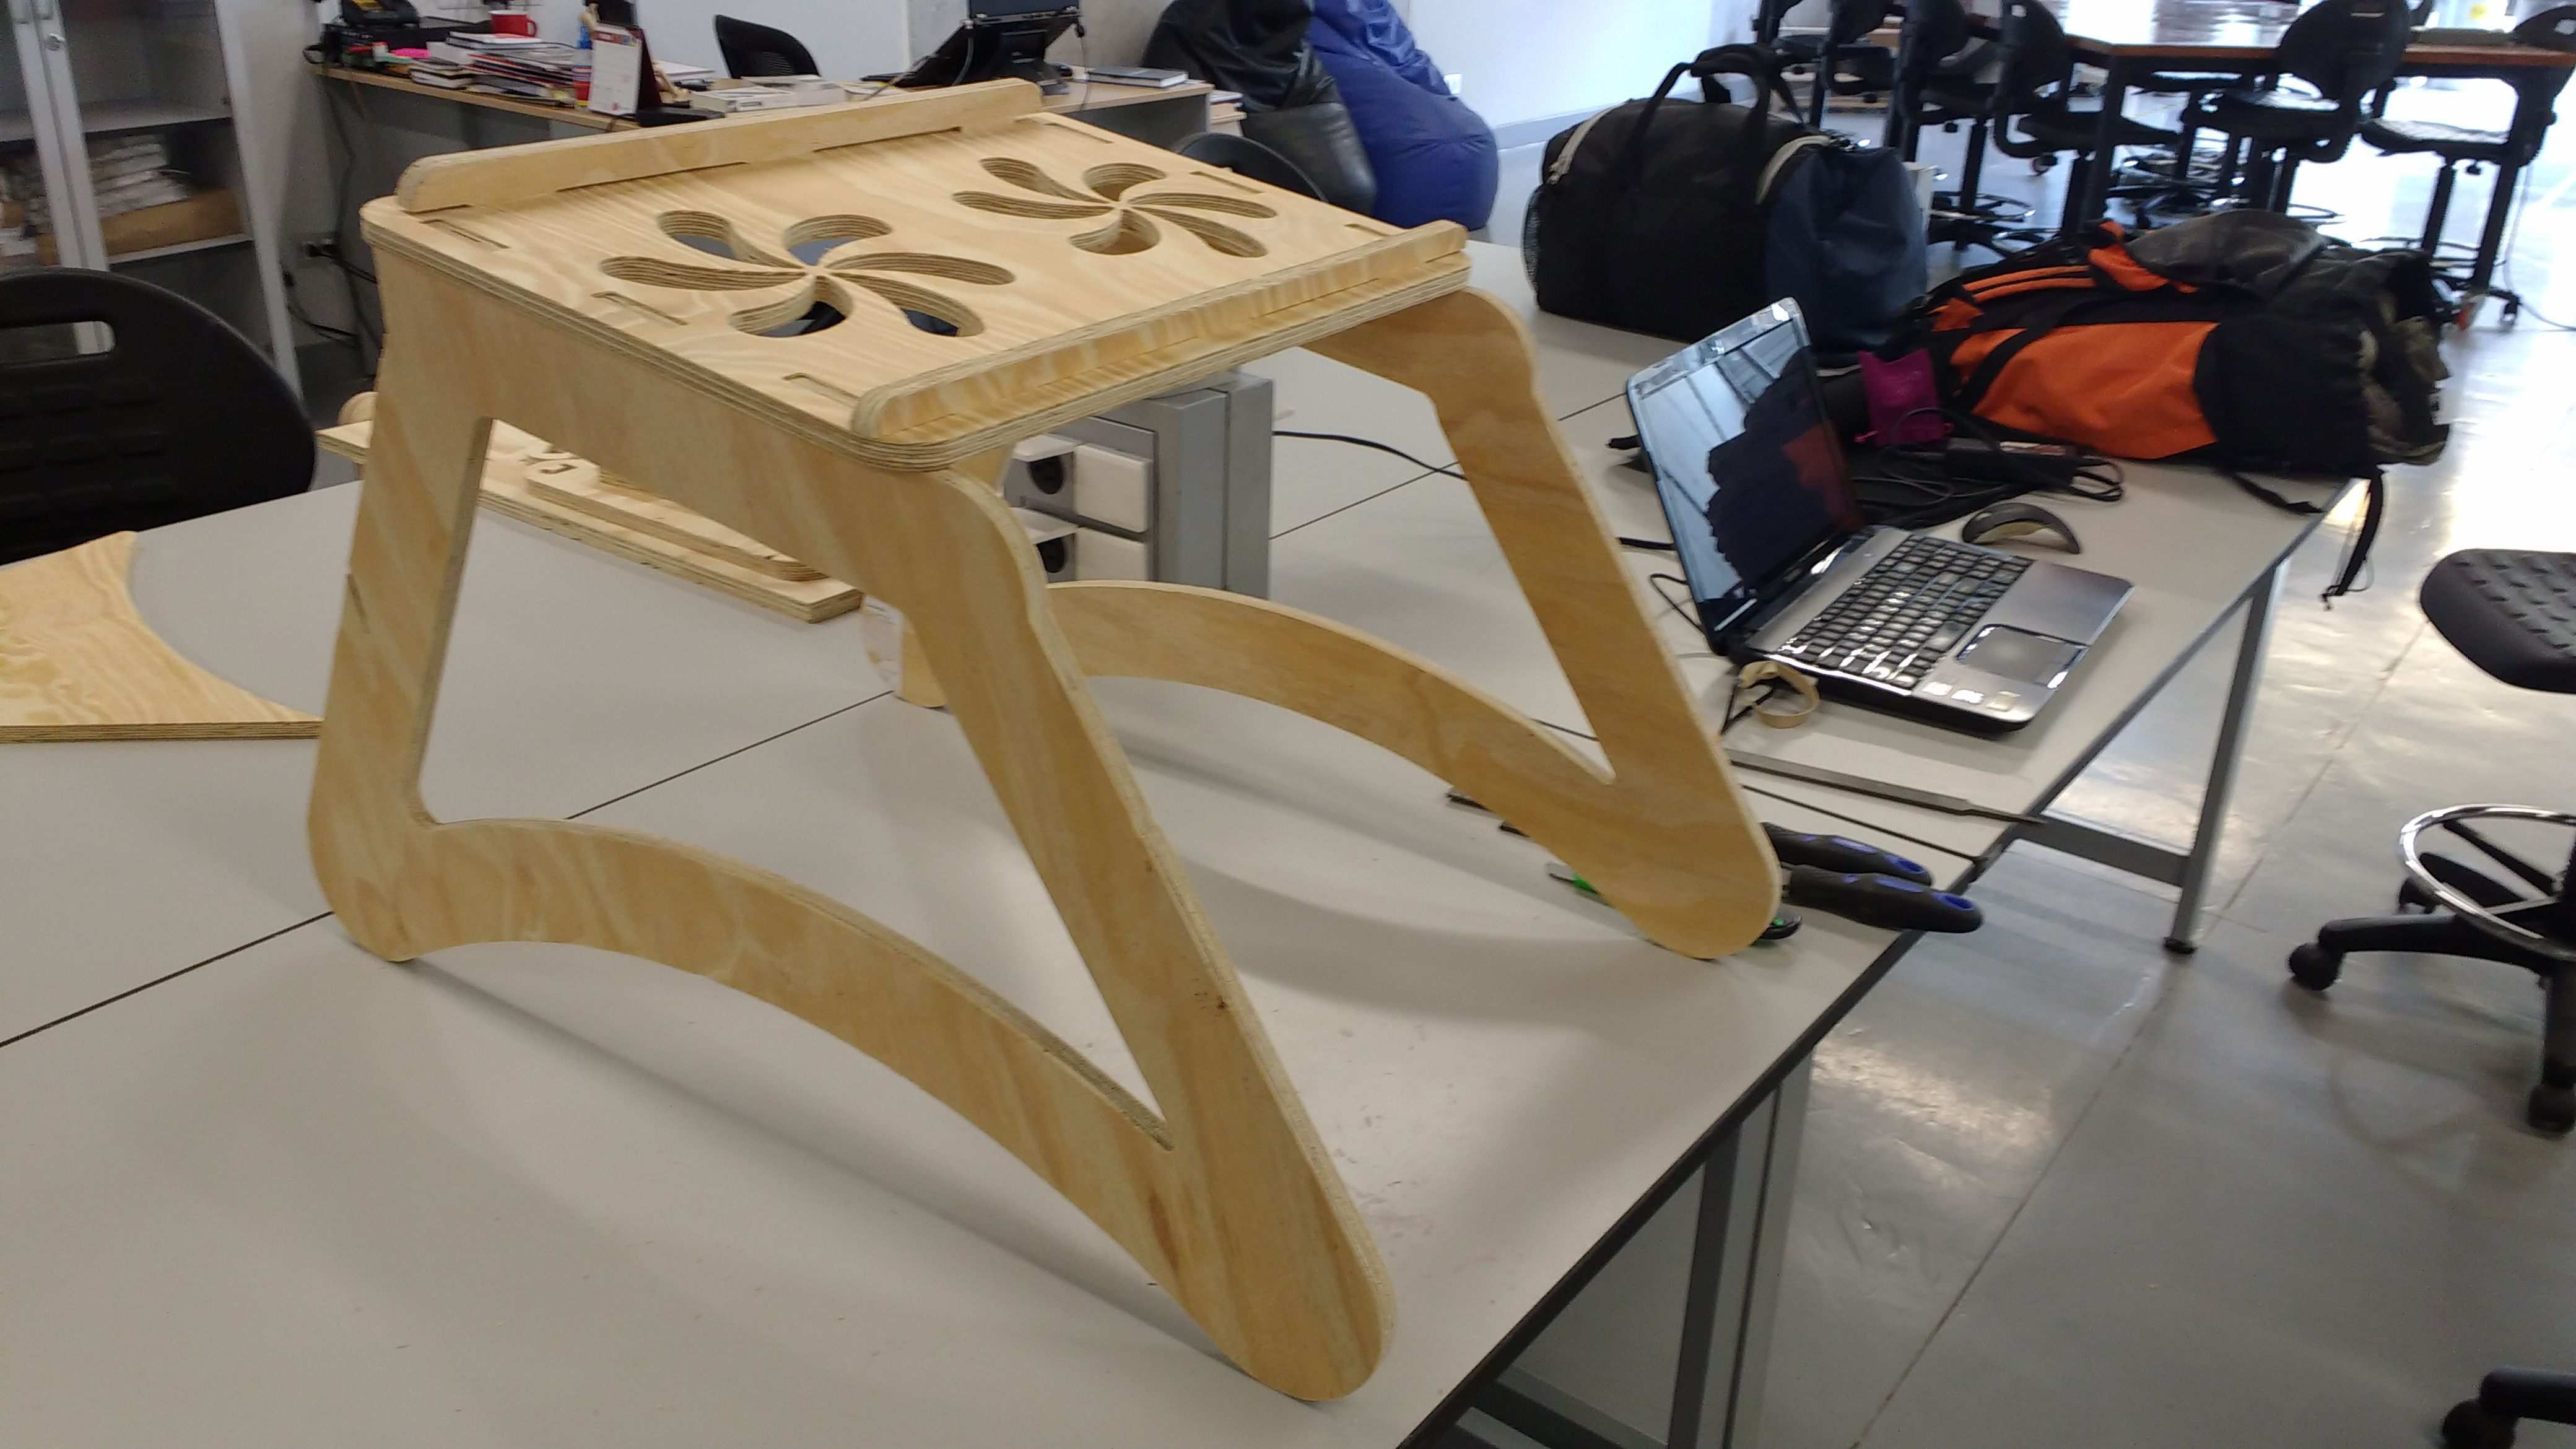
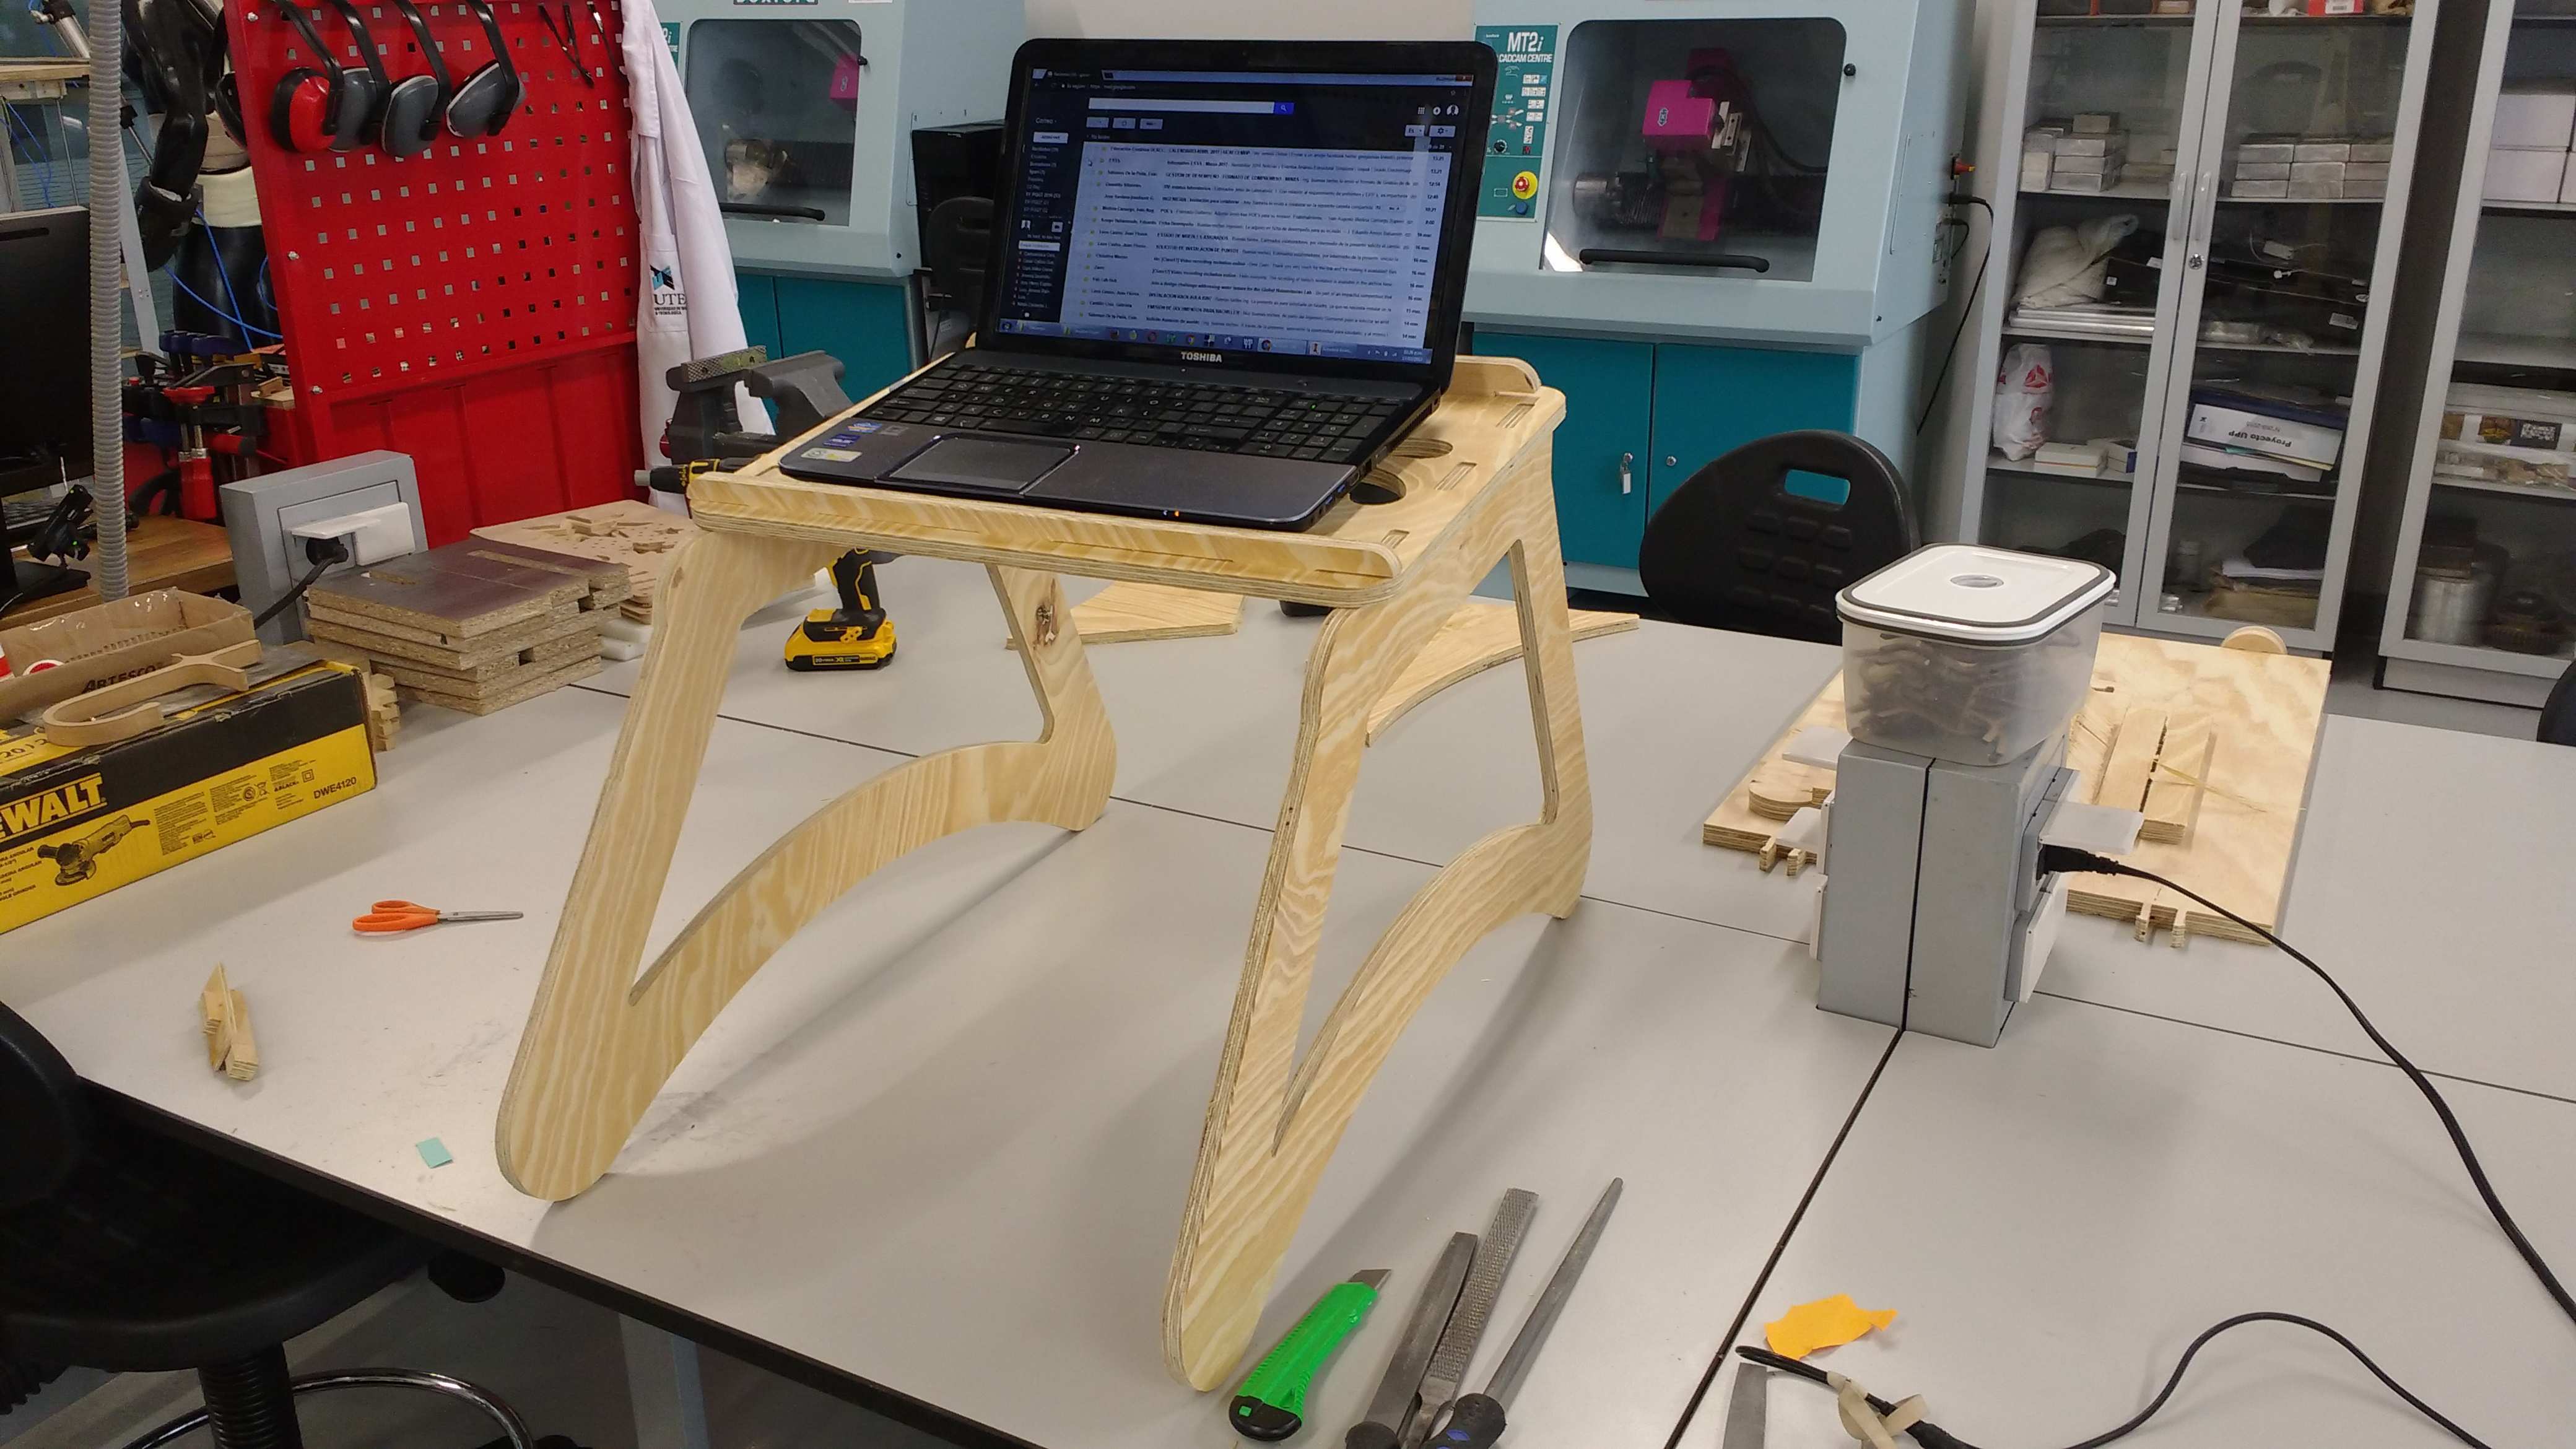
For this i designed a table to support a laptop. Especially this table will be used in bed, so that a sick person can use a laptop.
Then, I created a design based on a silhouette of a person on knees.
For this purpose the design I have done in Autodesk Inventor.
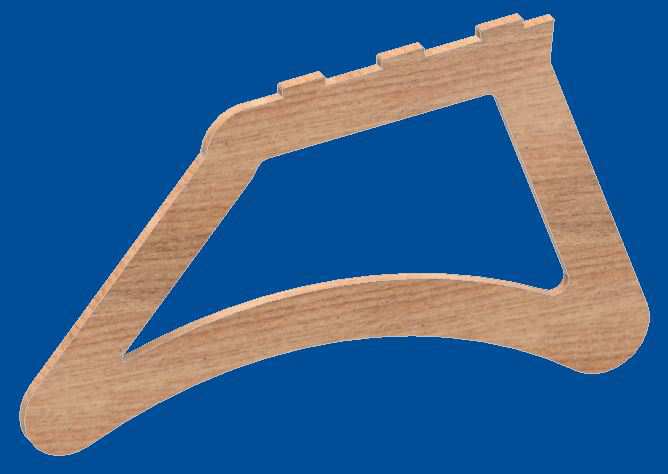
The table has three parts, a base, a front fence, a rear fence and a twice of side parts.
Then, I created a design based on a silhouette of a person on knees.
For this purpose the design I have done in Autodesk Inventor.
The table has three parts, a base, a front fence, a rear fence and a twice of side parts.
For the press fit tries, i calculed the size of 50 mm x 13 mm for the male part. For the female parts must be 1.3 mm more greater in both directions. The tries are here.


For the base design, the rules are:
* A legal dimensions of a real laptop.
* The calculus of press fit parts.
* An internal design of ventilation system.
So to satisfy the first rule is take a real dimension of a laptop, i review this link . I choose a 17" Laptops: 40.5cm x 28cm x 4.3cm (approx.)
For the calculus of a press fit parts, i plain to cut a 18 mm phenolic plywood, and i plain to cut some tries to adjust the real dimension of the gaps.
The design of the ventilation windows is based on a flower design.
For the front and rear fence, the design rules are not the same, because the front guard should be low enough to allow working without disturbing the support of the wrists and in case the rear guard should be low enough to allow the opening of the screen.
20 cm for the front and 15 cm for the rear.
20 cm for the front and 15 cm for the rear.
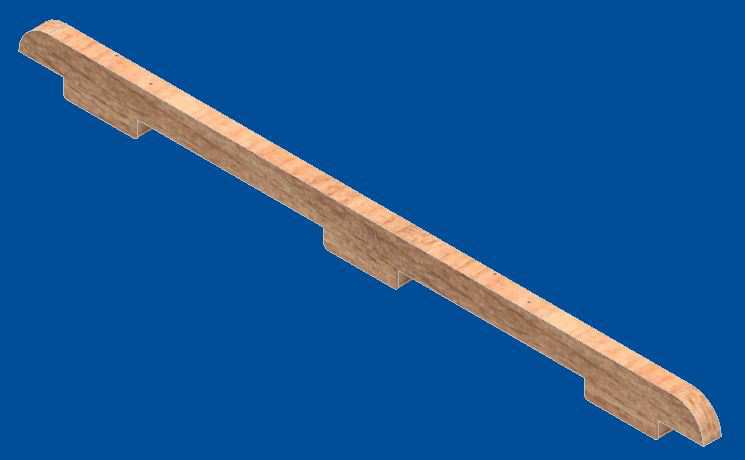
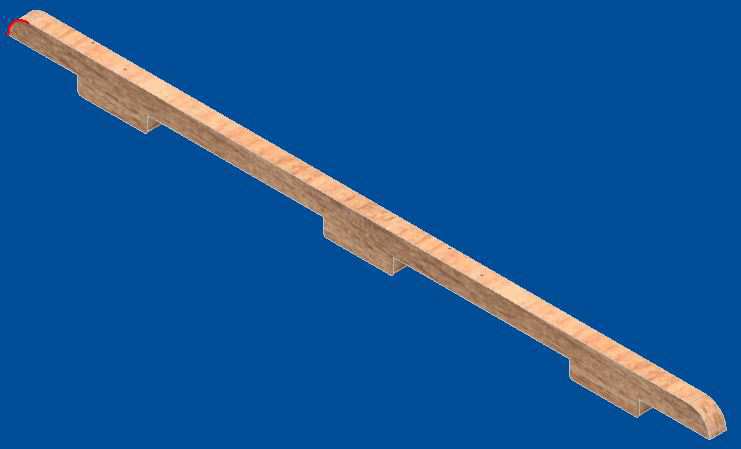
The side of the table has a rules to design such as a height and a long of the human body seatted in a bed. For this the results are here. 38.3 cm min and 43.3 max for the height. For the long 72.8 cm. As shown in the picture.
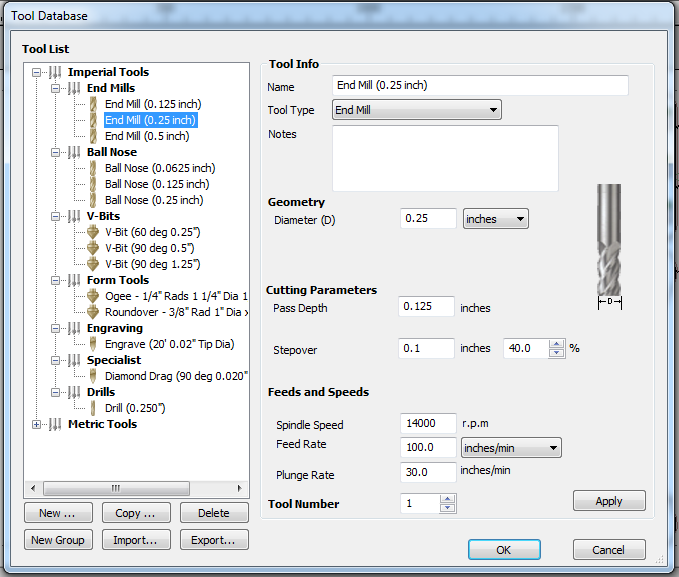
Now its time to use the VCarve Pro to cut these on a shopbot machine
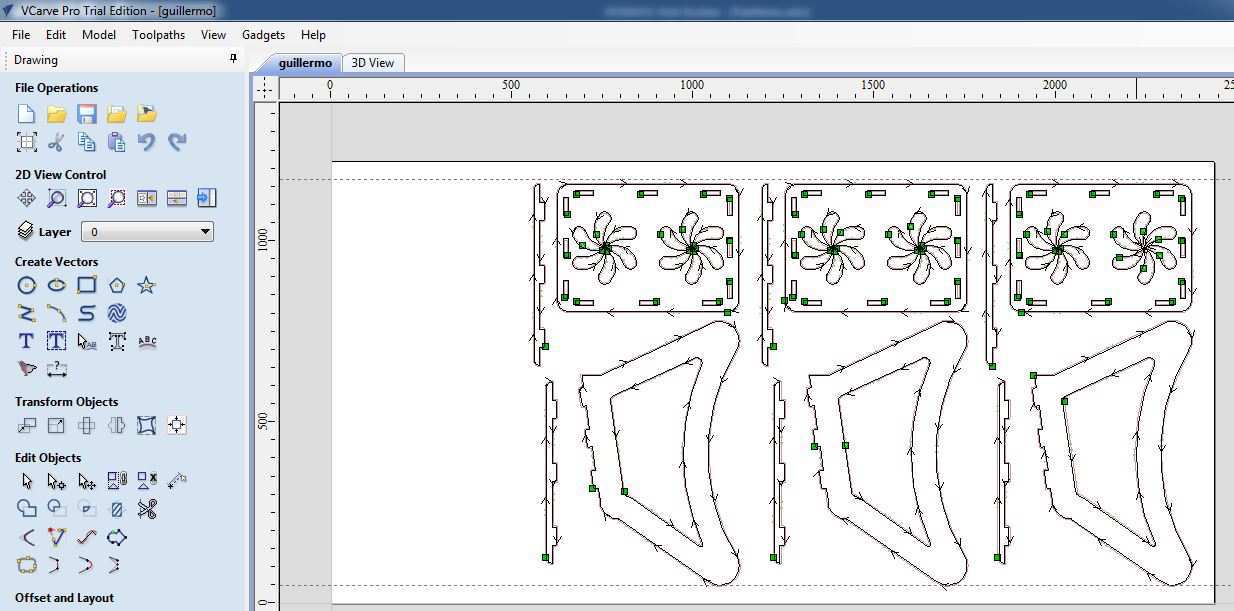
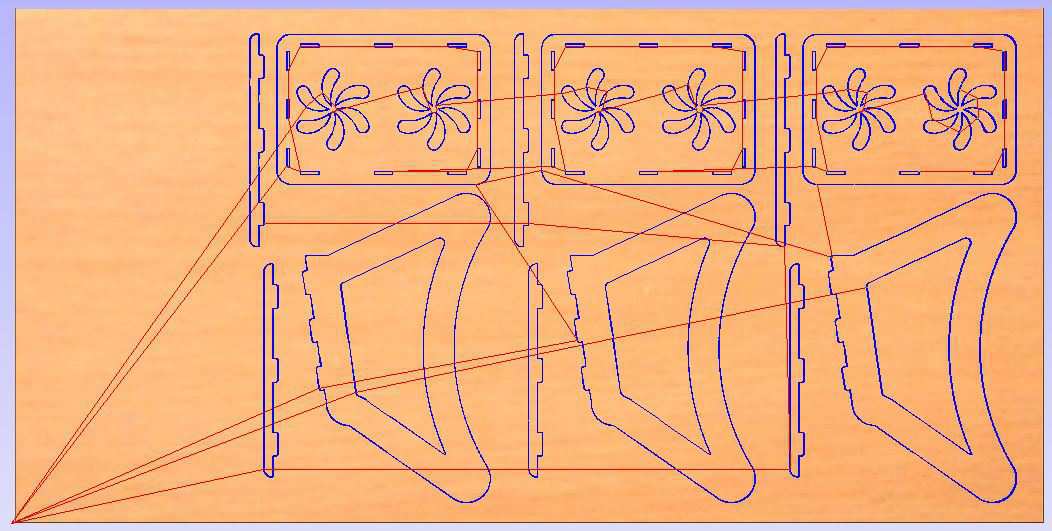
The settings in Vcarve Pro are:
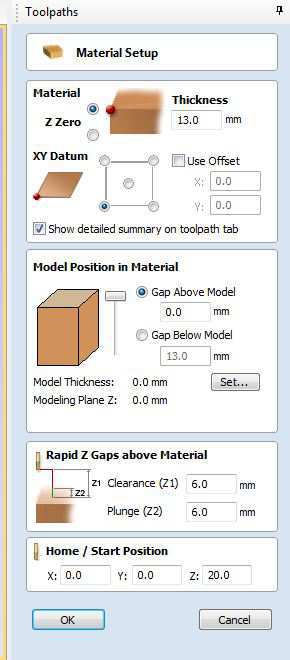
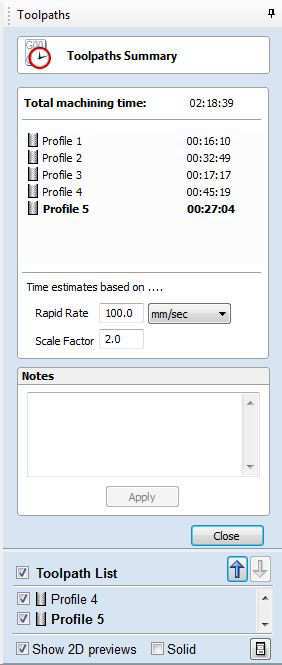
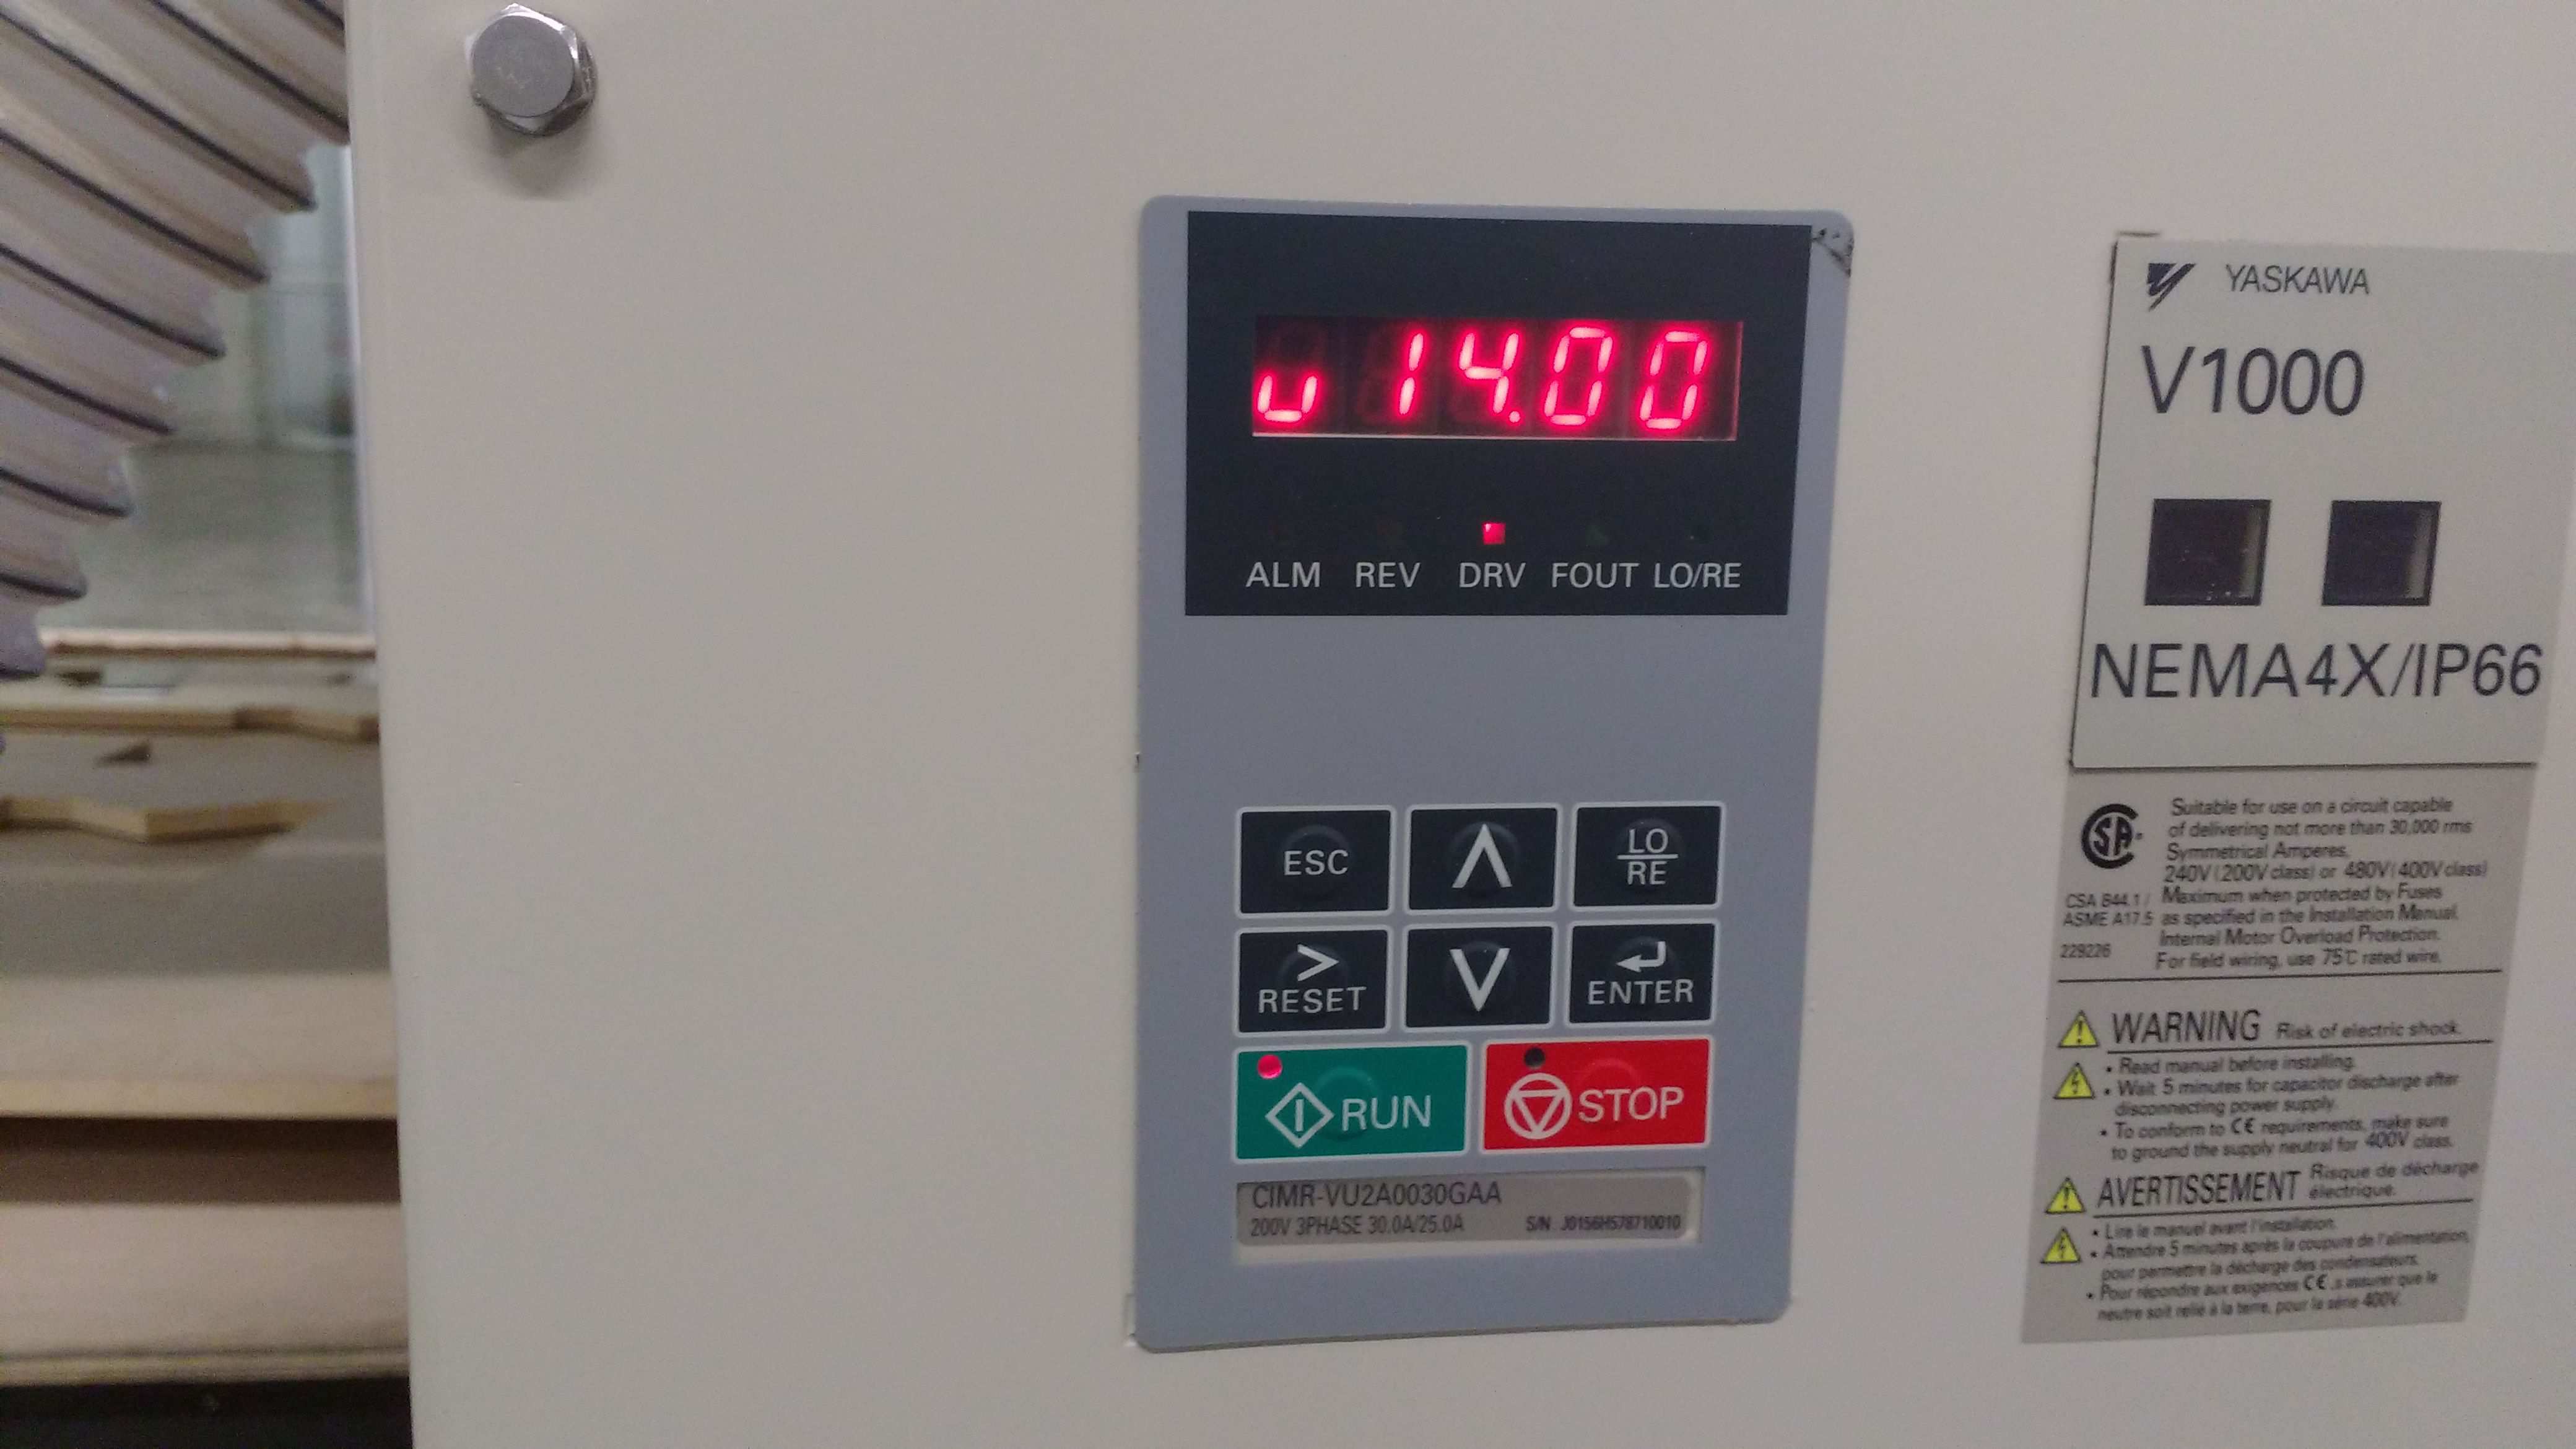
And to start the cutting with the shopbot the RPM is setting to 14 000.
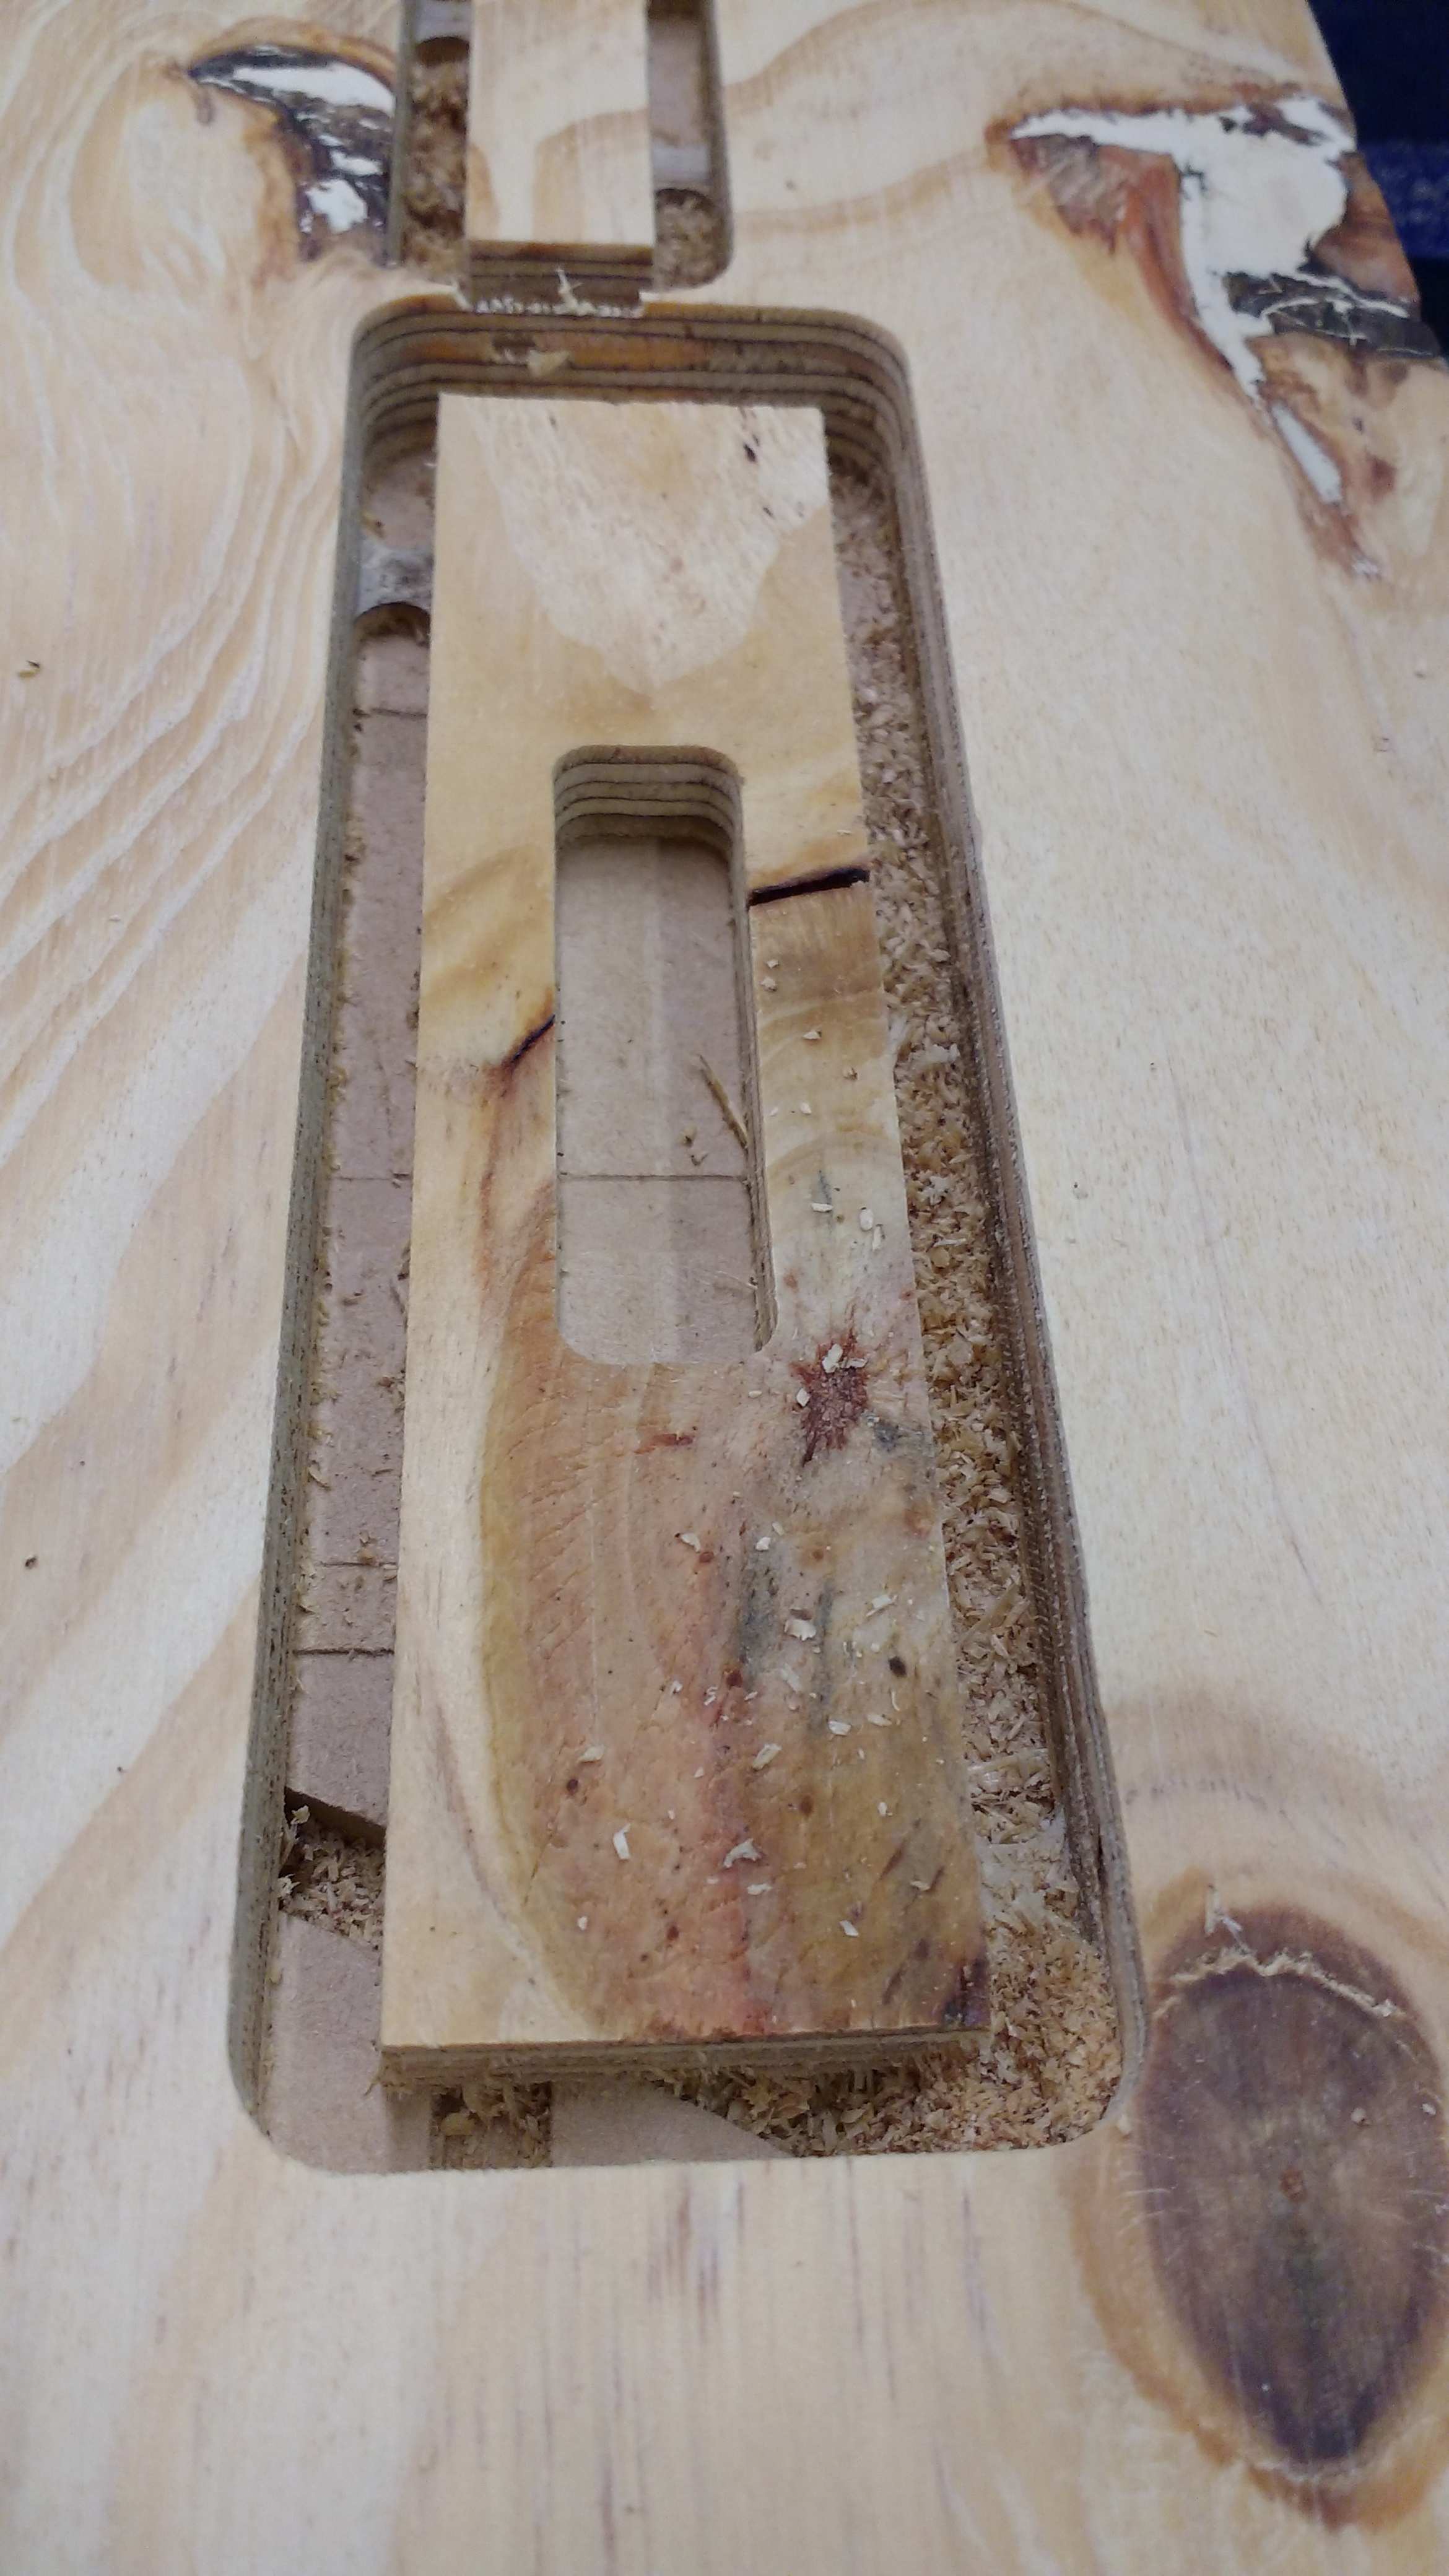
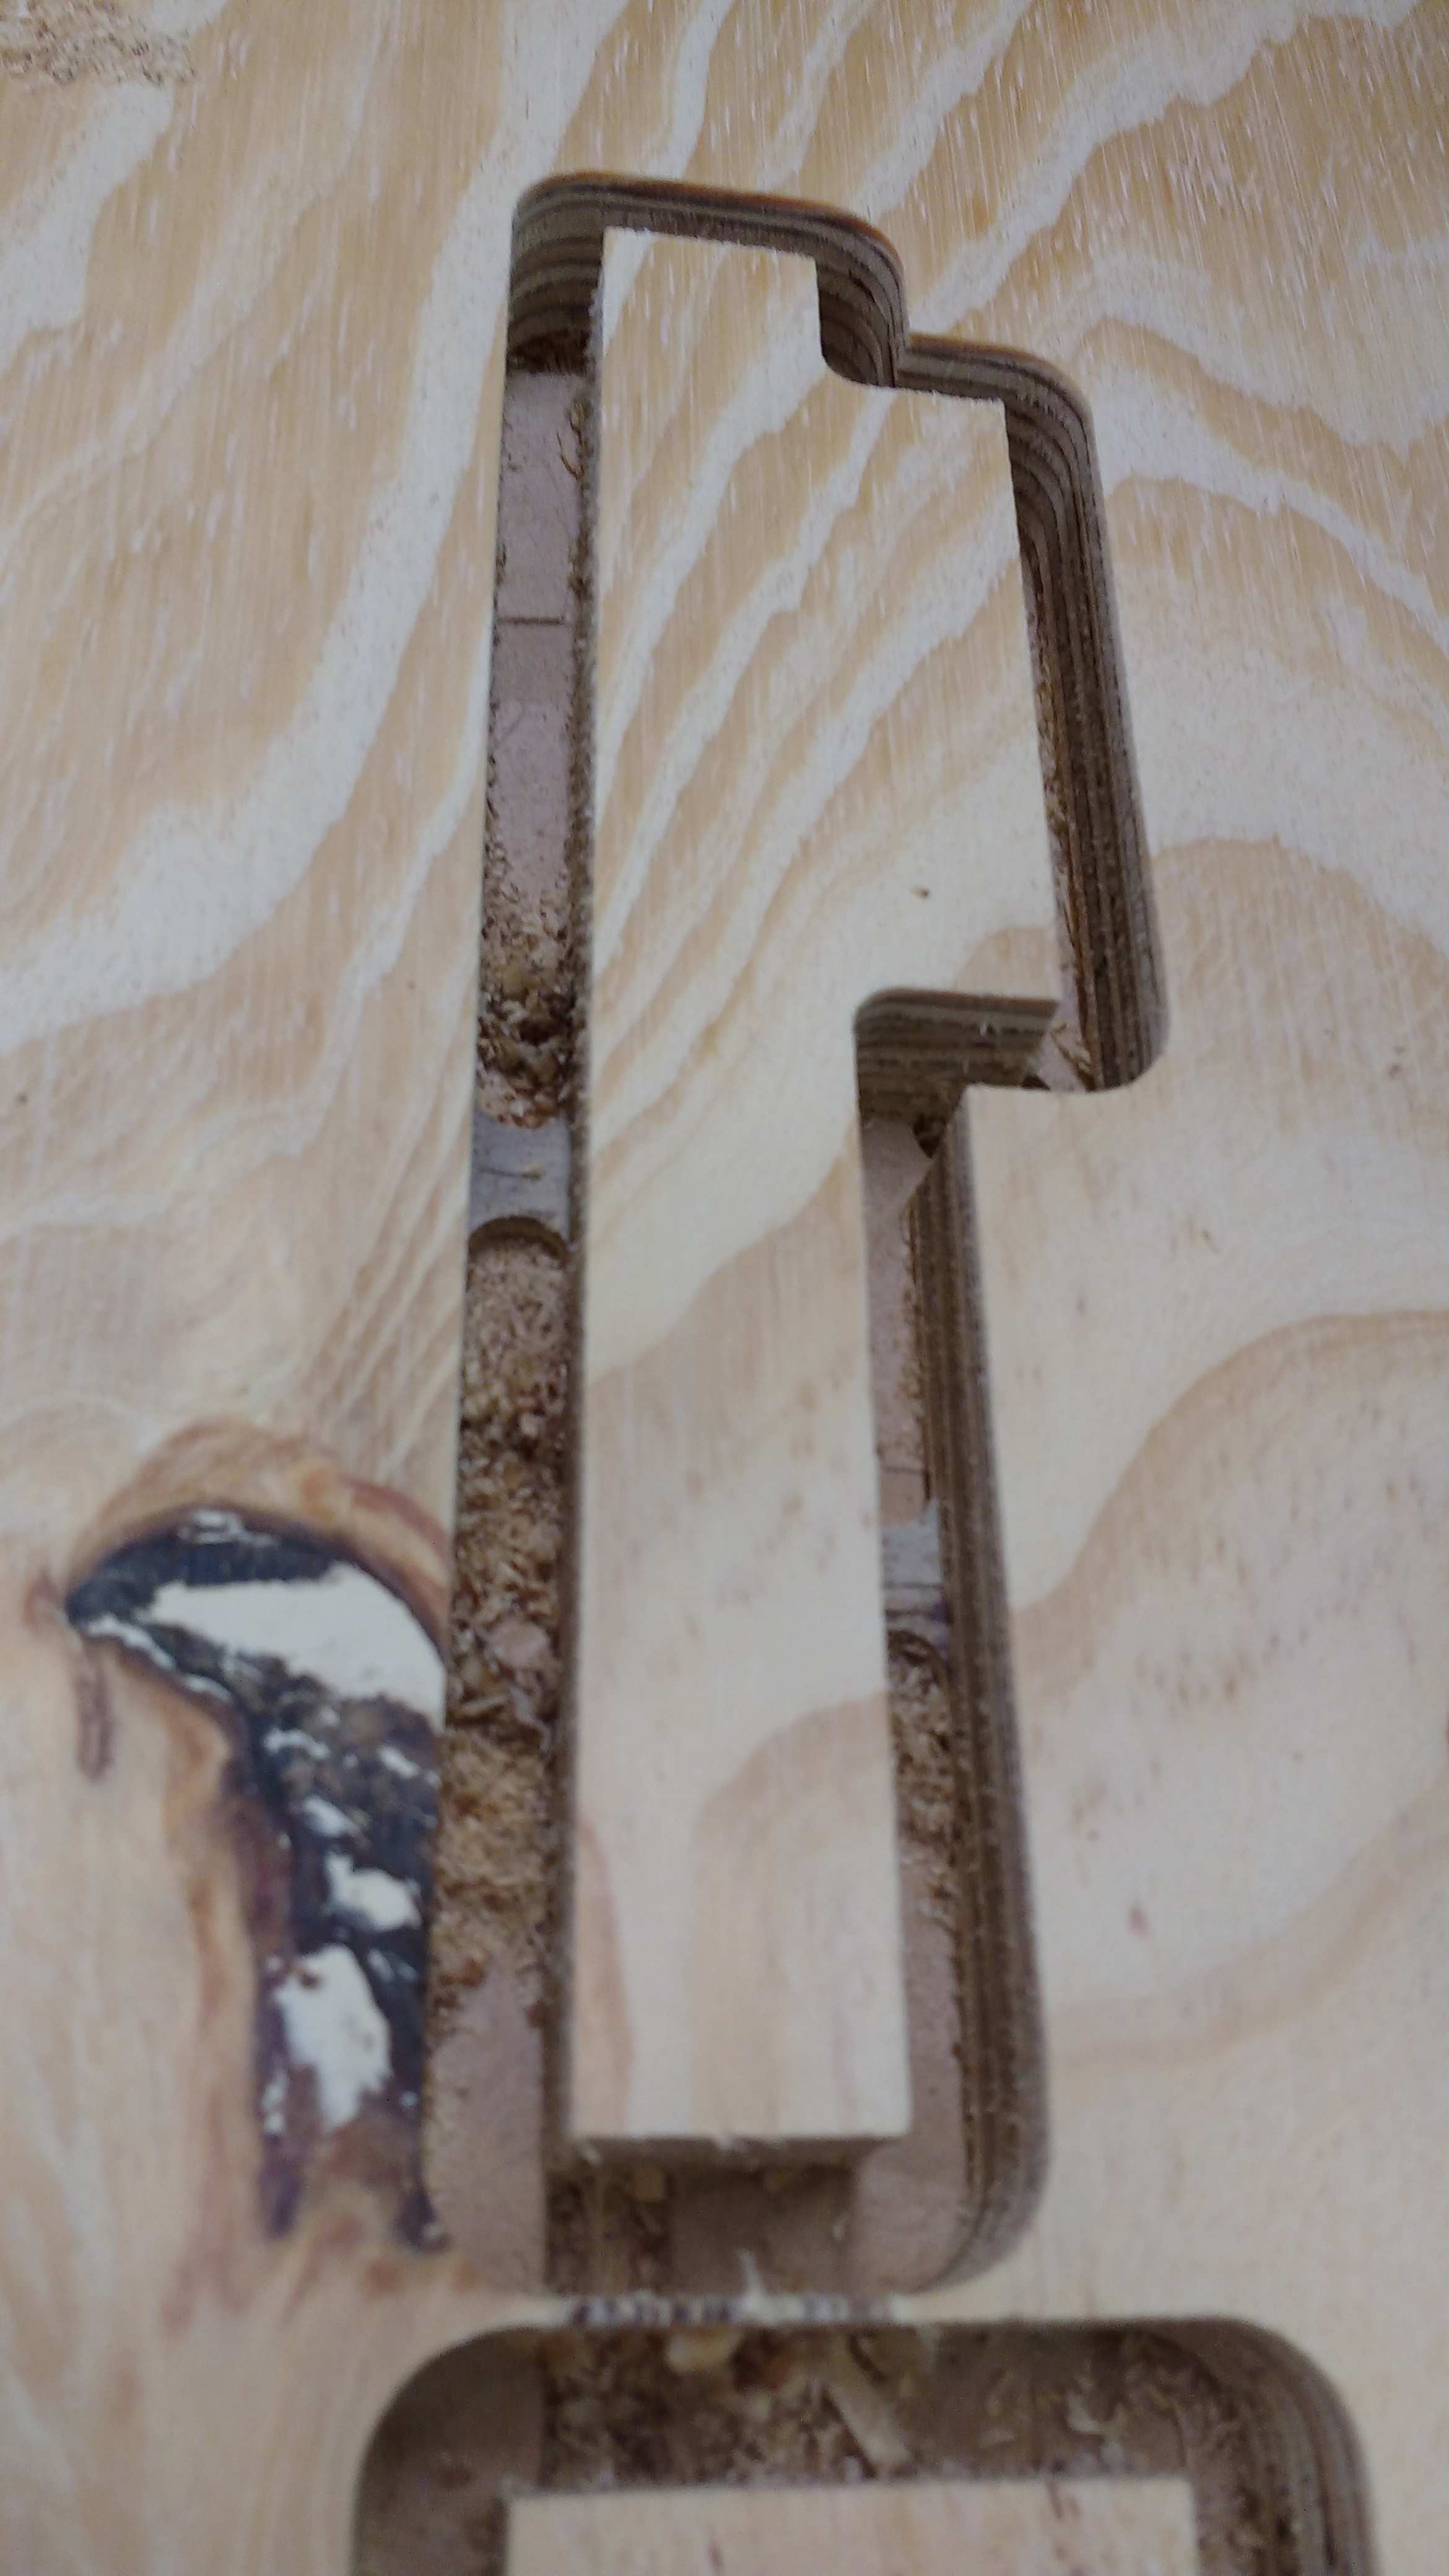
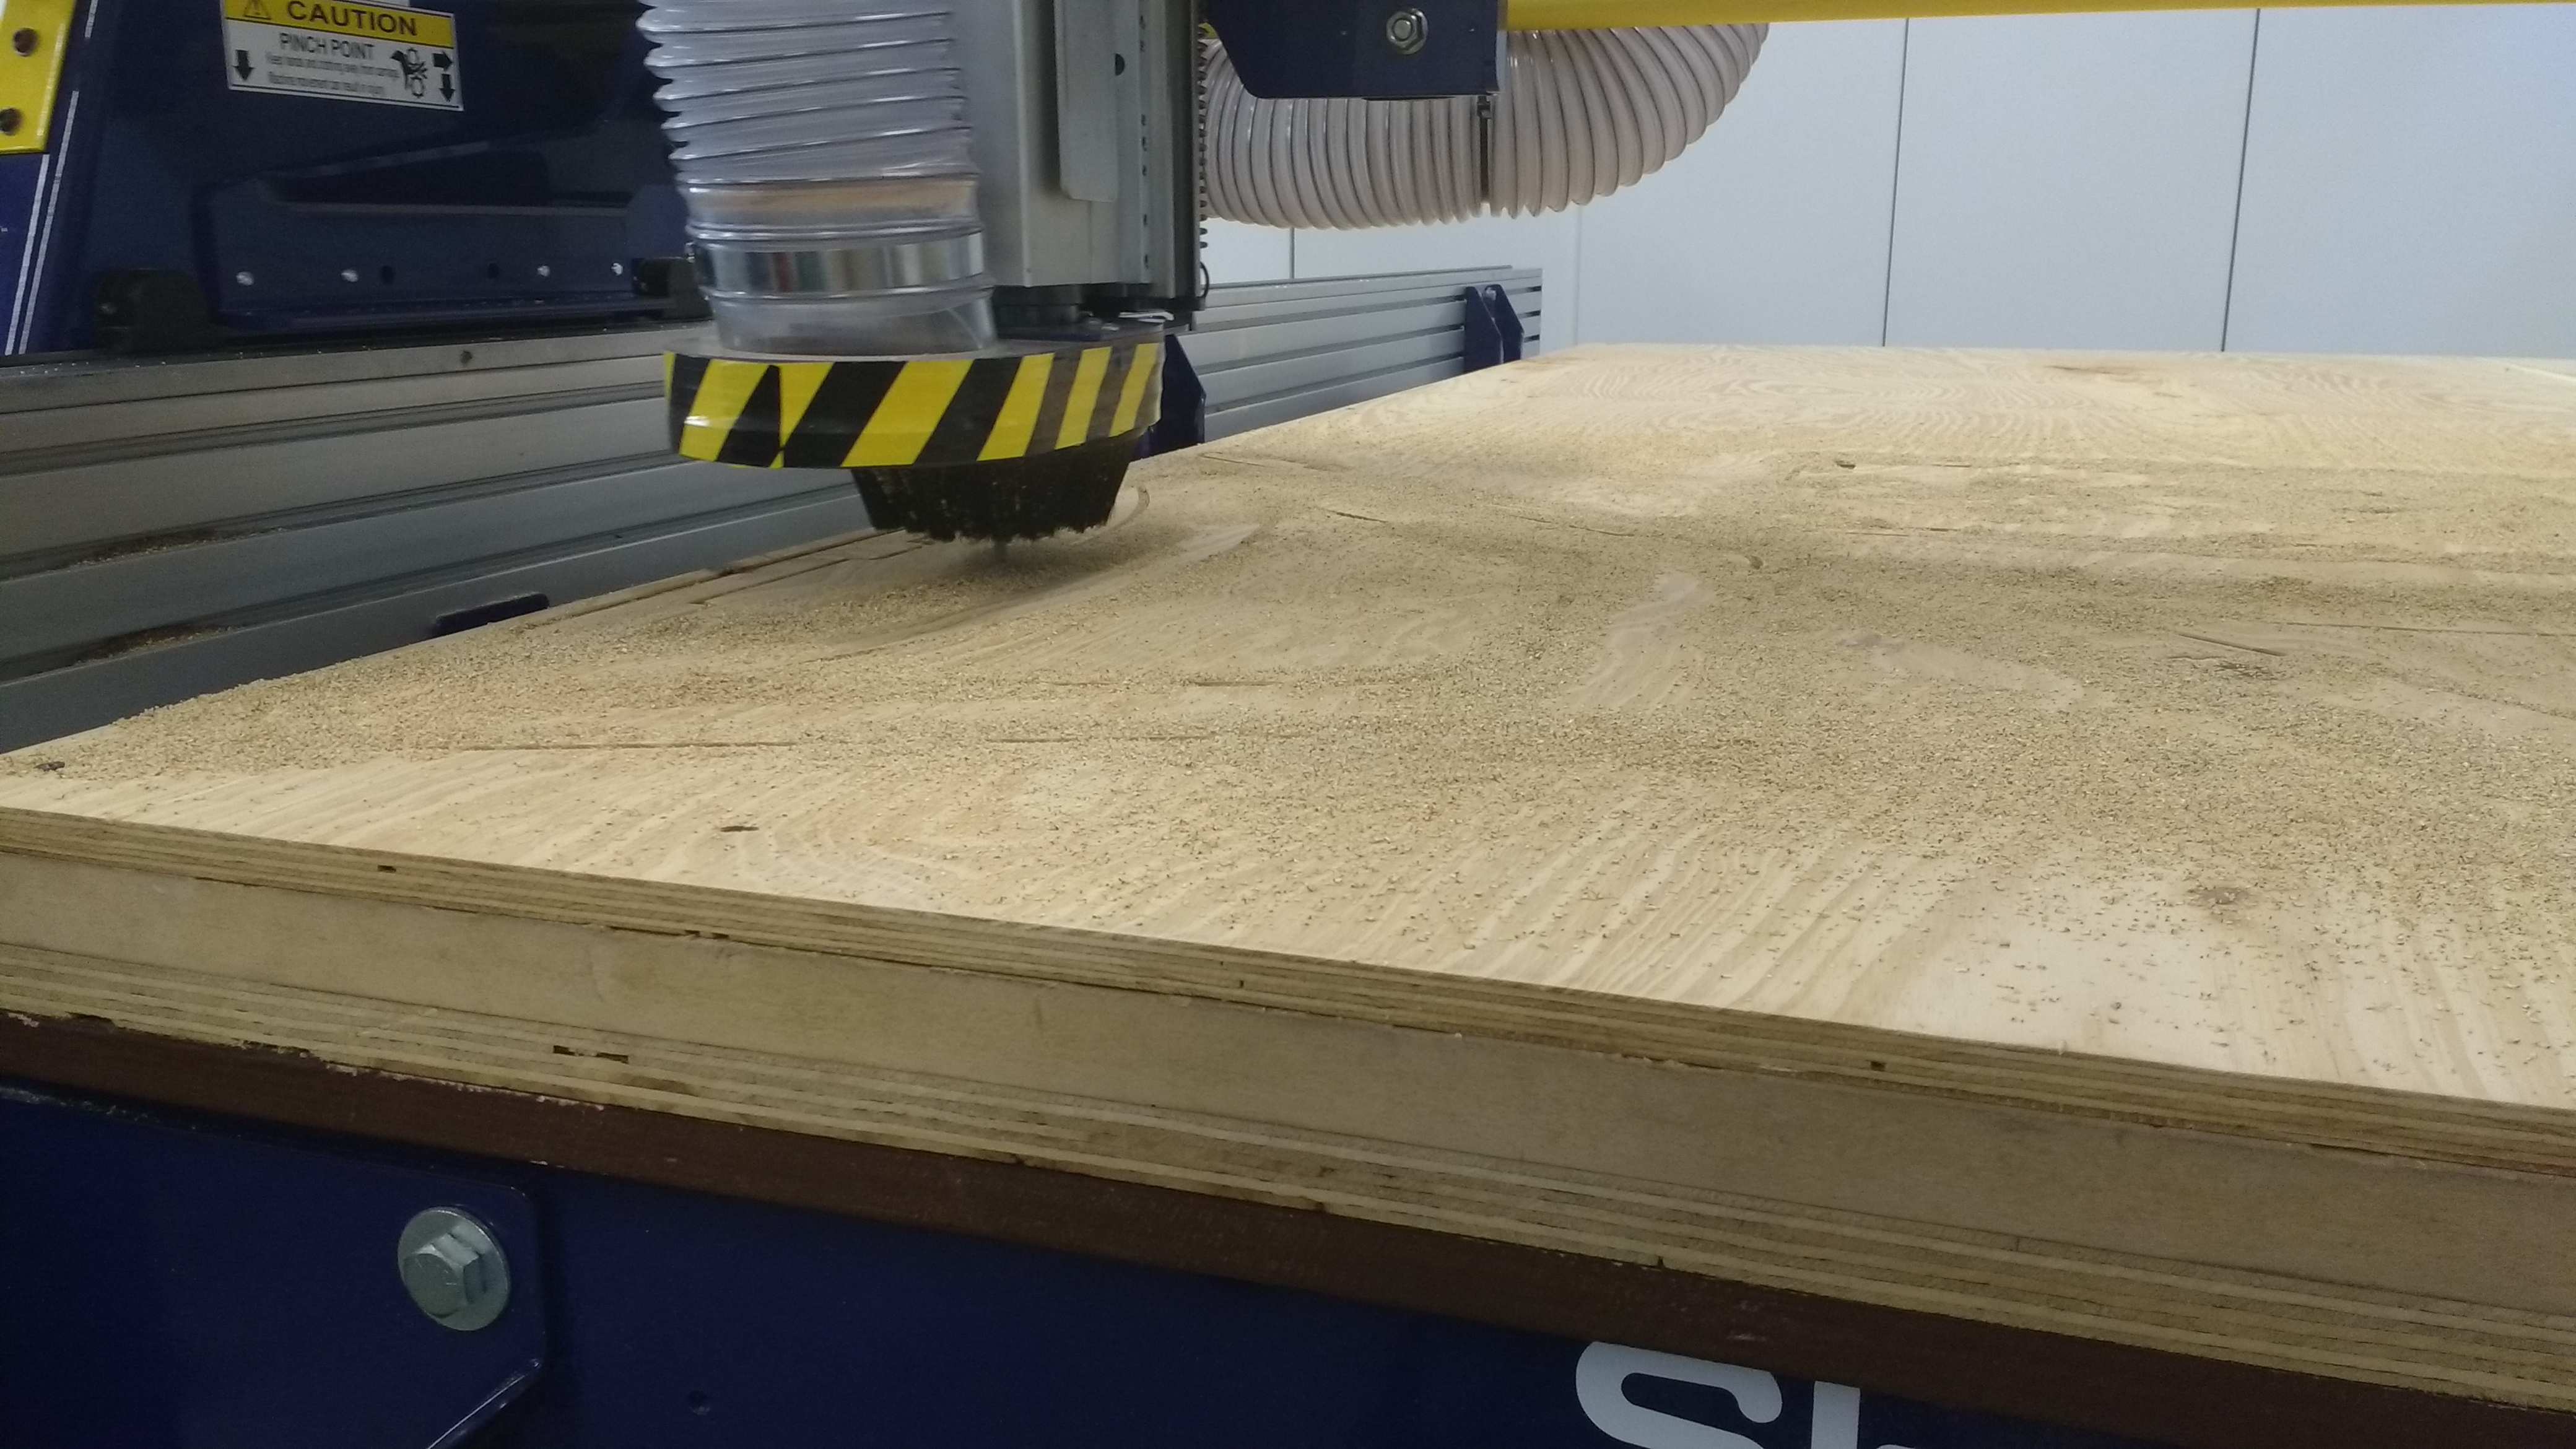
Here some views when the shopbot is cutting the fenolyc plywood.


Once the cutting job is done, its moment to sand the parts individually with a iron file and prepair to ensamble.
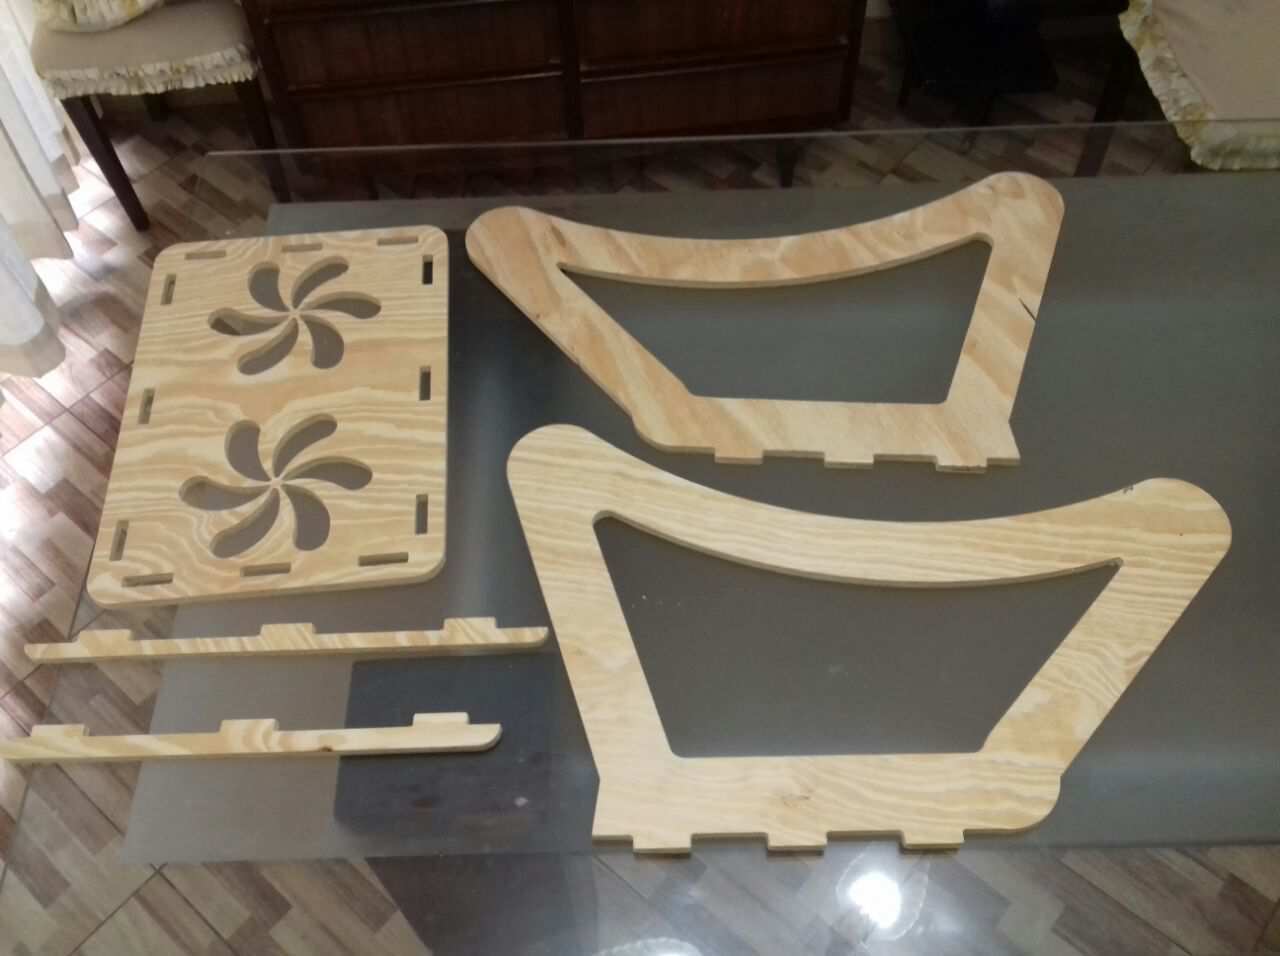
First assembying the fences and for the last the sides. As the lace test was done, with the parts, all the assemblies needed only to press to enter smoothly.
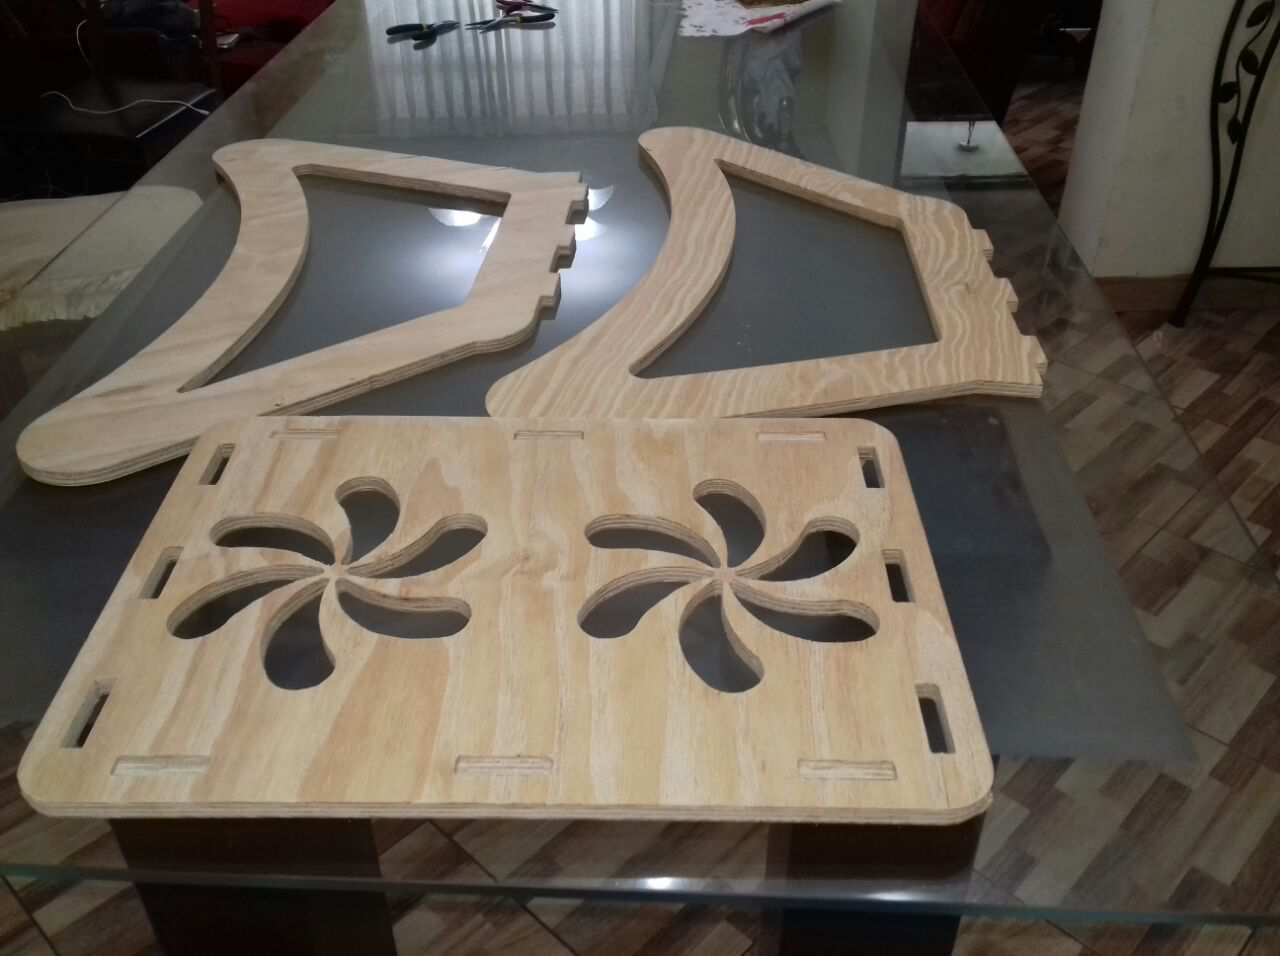
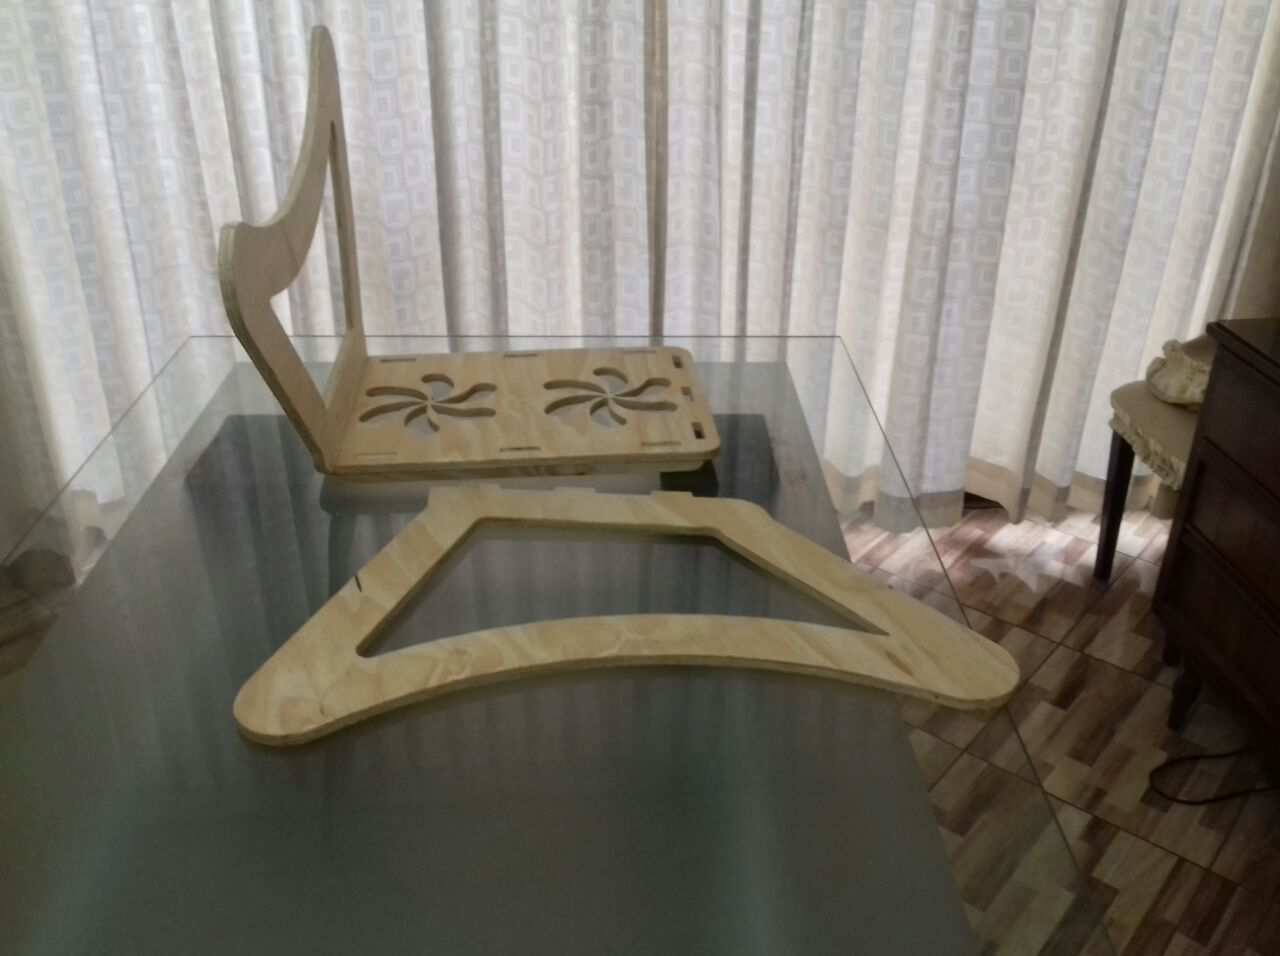
And the final preview is here: