


week 5
3D Scanning & Printing.
Assignment:
* group project: test the design rules for your printer(s)
* design and 3D print an object (small, few cm) that could not be made subtractively
* 3D scan an object (and optionally print it) (extra credit: make your own scanner)
* group project: test the design rules for your printer(s)
* design and 3D print an object (small, few cm) that could not be made subtractively
* 3D scan an object (and optionally print it) (extra credit: make your own scanner)
Guillermo Jaramillo :: Fab Academy 2017
Fab Academy 2017
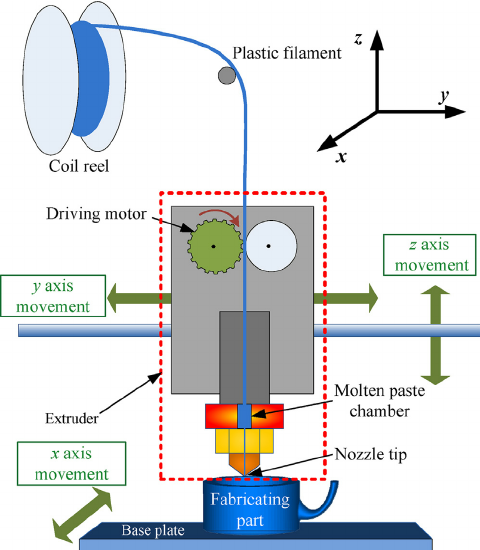
The printer that we use is a 3D Cube Pro, from 3D Systems, so in this type of printer the print technology is molten deposition modeling.
In this technology the parts that have no support for back or bottom sides, needs an aditional rib or a set of this.
The material avaliable is ABS plastic.
So, its necessary plain some things before:
* Maximun area to print in XY plane.
* Maximun size to print in Z axis.
* The best position to start the part printing.
* The need or not to use media supports.
So additionally its necessary define the work flow for an right printing job, as an example:
* First, its need a final model made in some 3D design.
* Translate o export an interchange format as STL.
* Open the STL model in a proprietary software as CubePro.
* Work in CubePro to define the orientation, color size, type of media support, type of finish, etc.

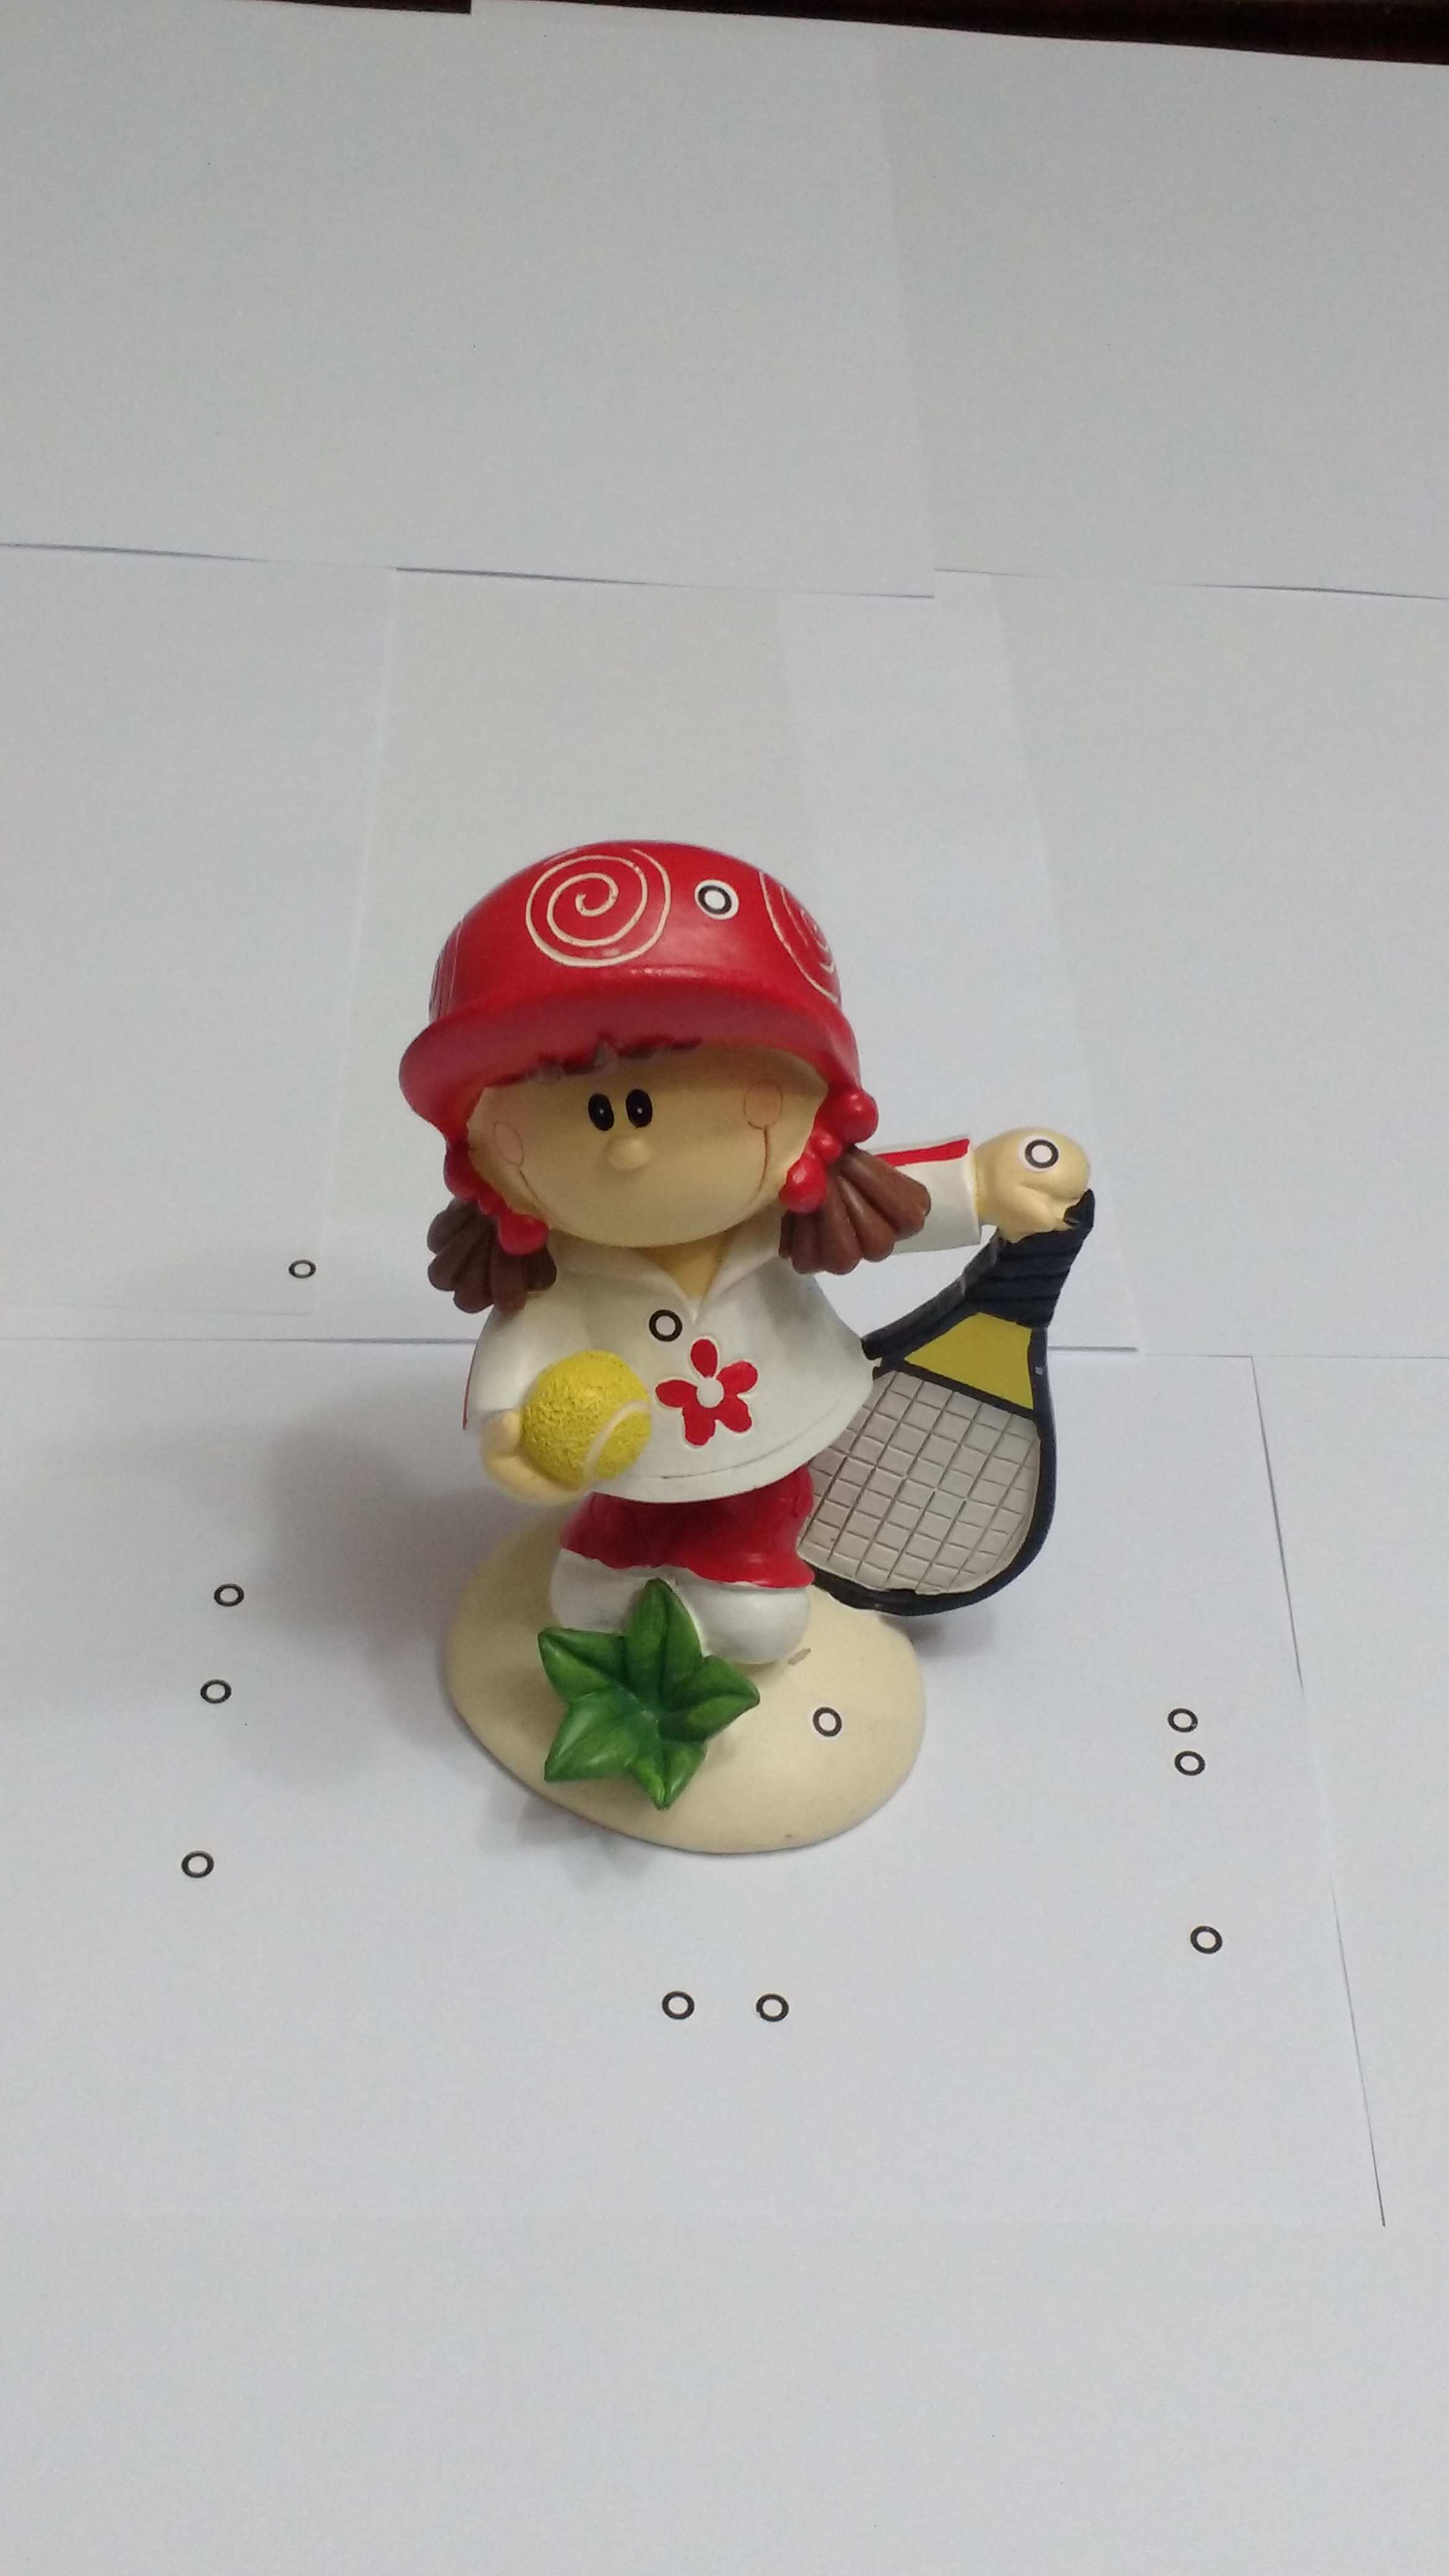
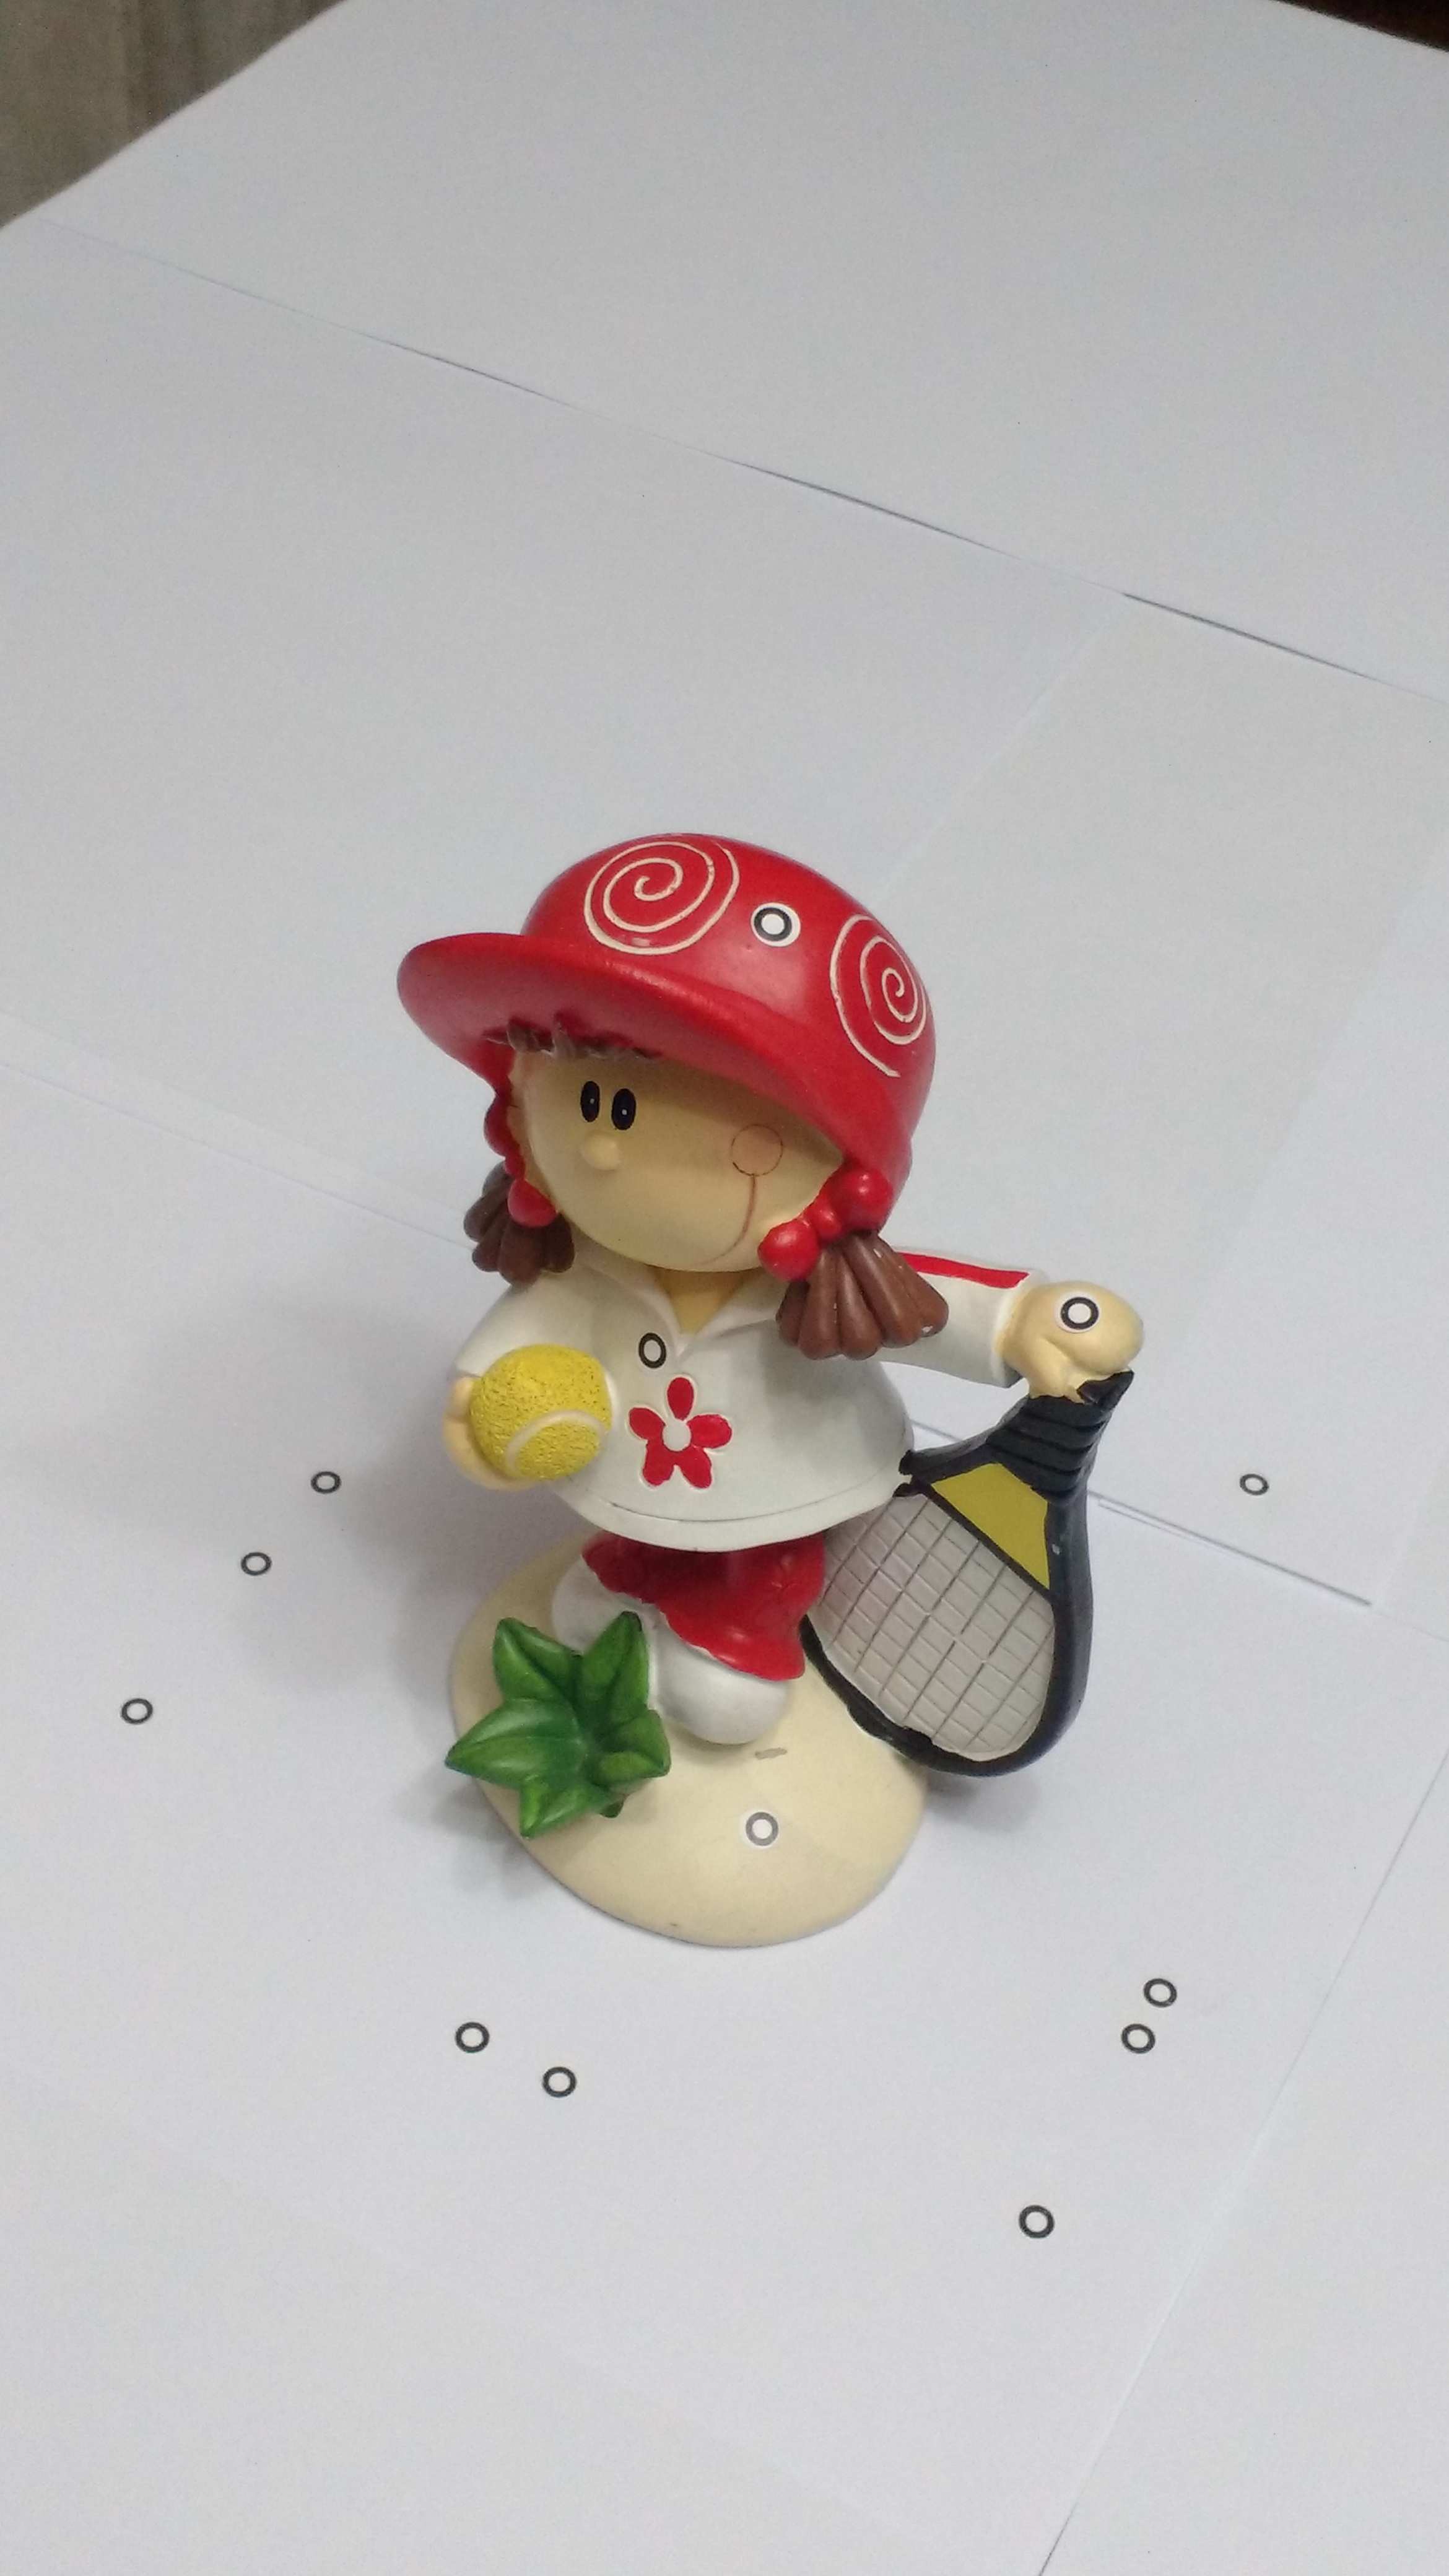
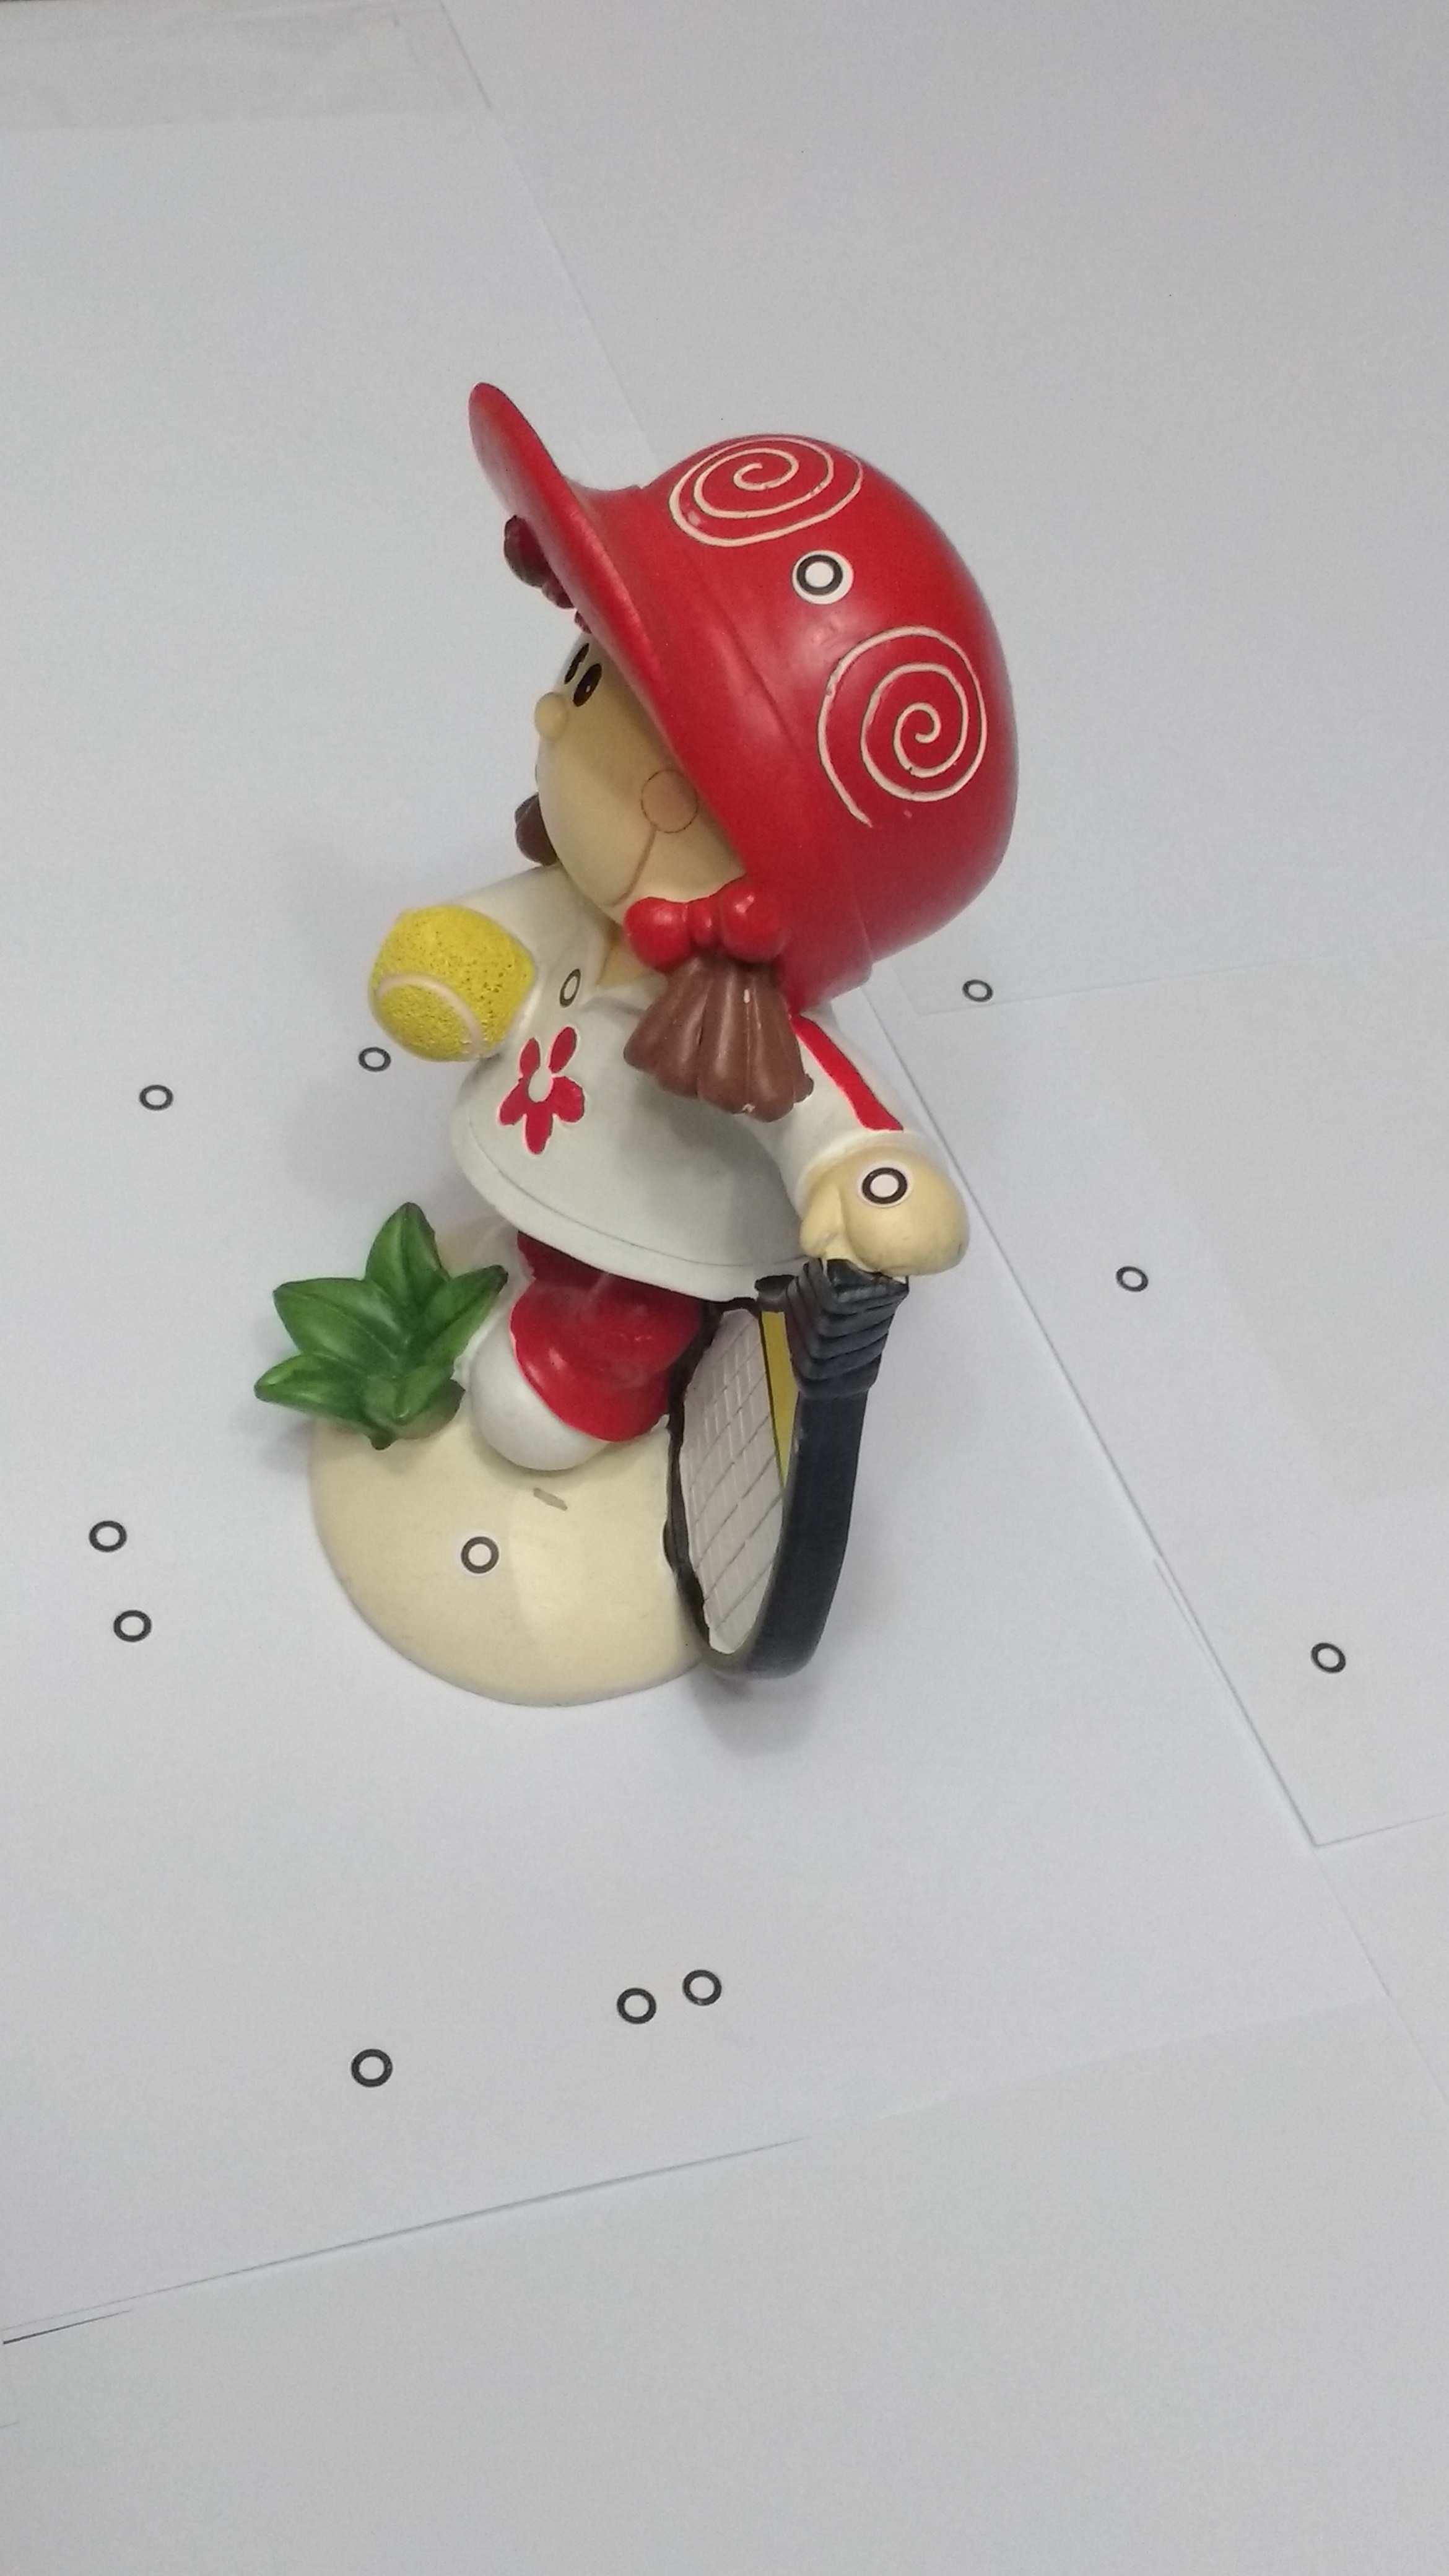
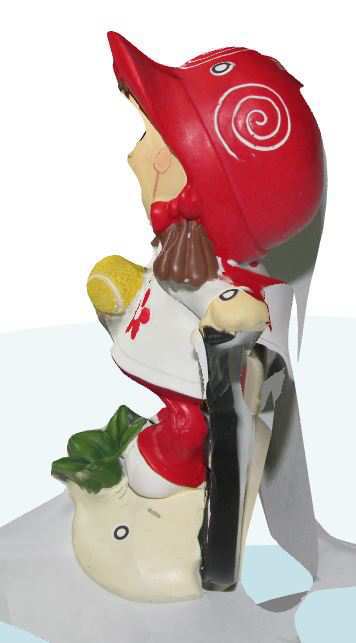
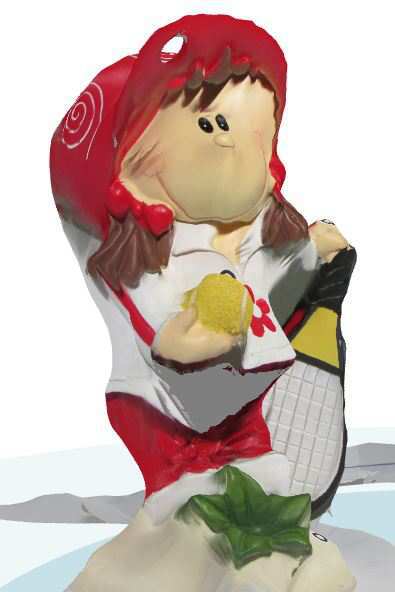
I use Autodesk Remake to scan and create a model from Dolly, a gift from my wife . . . Here as a sample of a set of twelve photos.
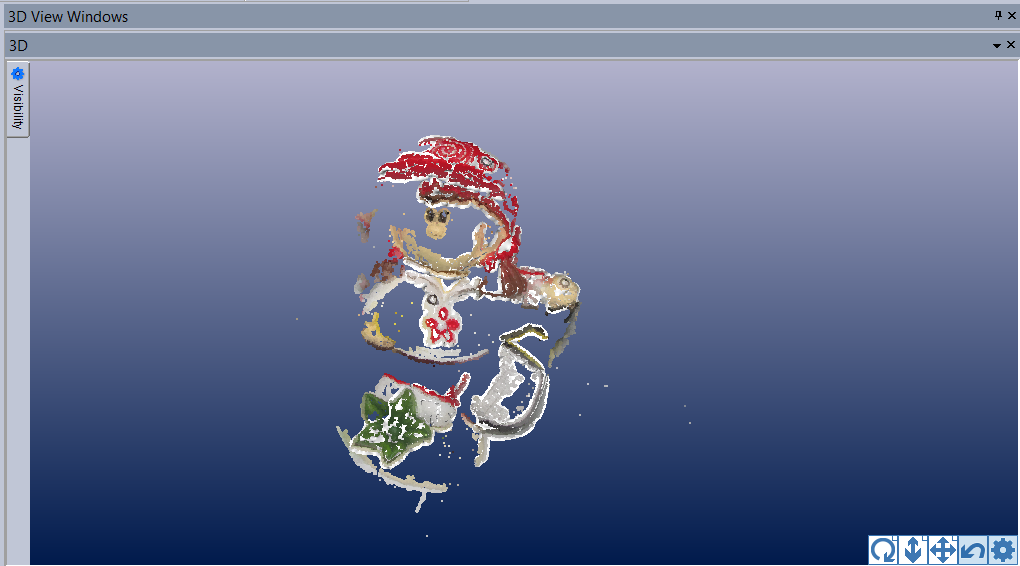
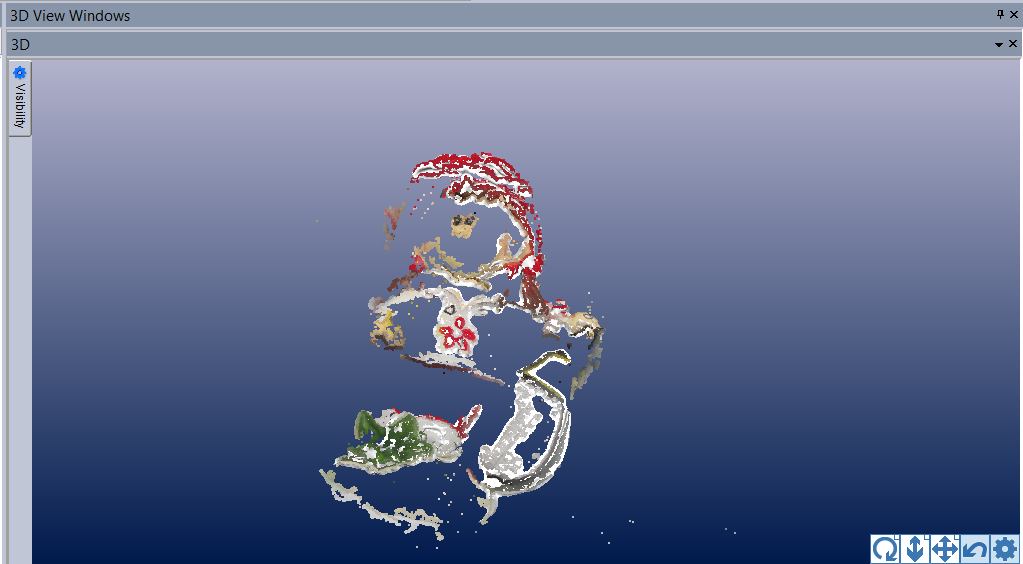
And an extra efforce is that i use a program called PhotoModeler Scanner to create a 3D model using photogrammetry methods, so the program its no free and its in demo mode, so dont save the models, but I've done the whole workflow to get a 3D model from photographs.
The first thing is to take a set of photos with a camera taking into account the distribution of space at a rate of between 15º to 30º per sector.
The first thing is to take a set of photos with a camera taking into account the distribution of space at a rate of between 15º to 30º per sector.
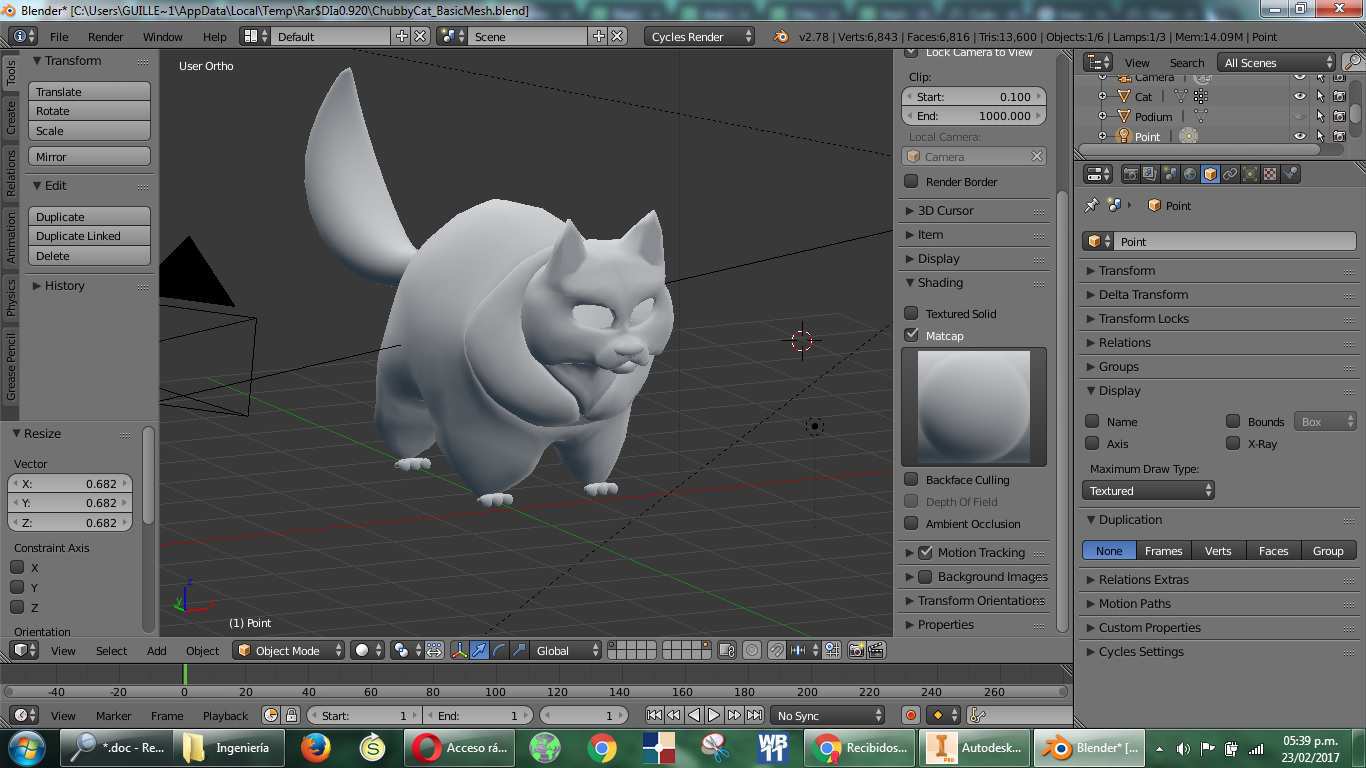
Now, its necessary to design a 3D solid that not be made substractivelly, like this. Designed in Blender and exported to STL format, to be opened in 3D CubePro.
Now, its necessary to design a 3D solid that not be made substractivelly, like this. Designed in Blender and exported to STL format, to be opened in 3D CubePro.
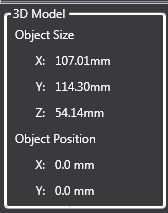

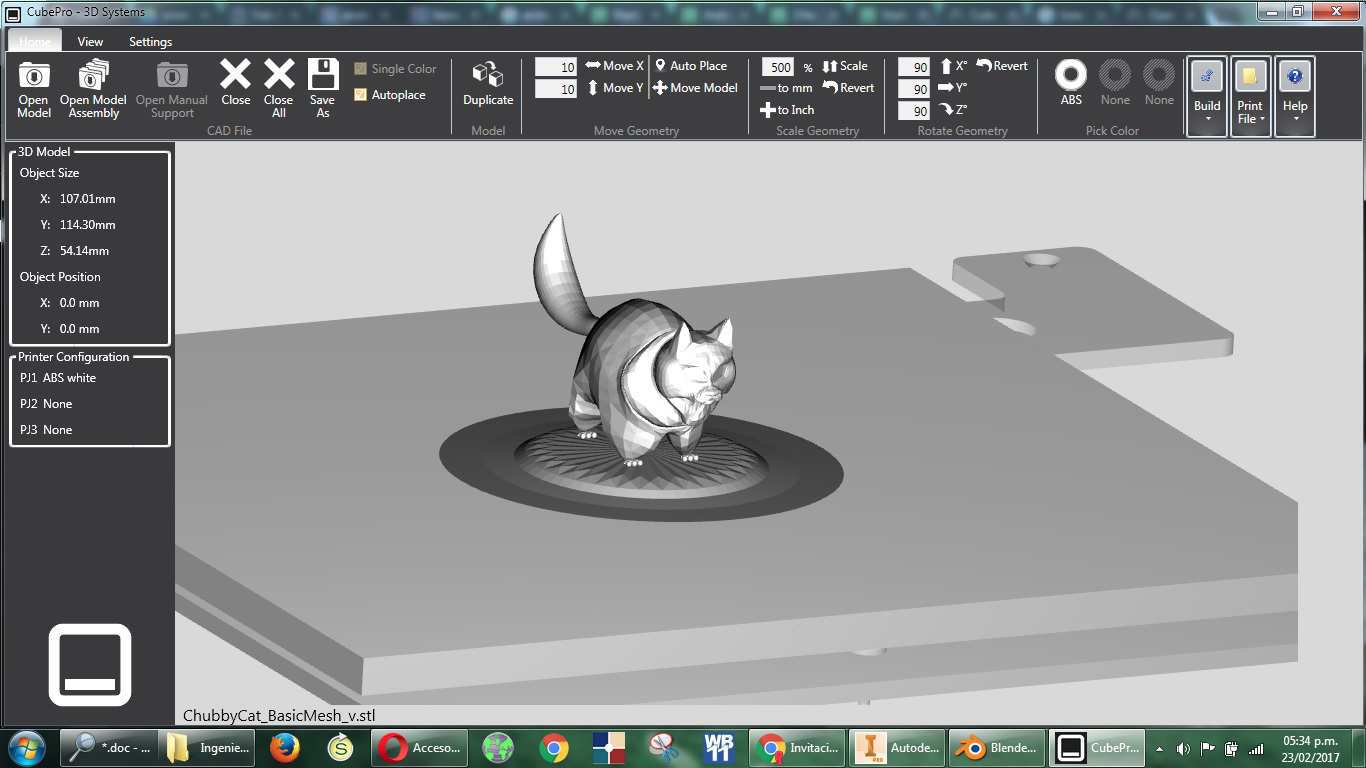
At left are the basics object sizes, and its position over the XY plane.
At right the building settings of the real object like layer resolution, print stregth and internal print pattern.
The sidewalk or support material is in this case the same of the principal piece.
At right the building settings of the real object like layer resolution, print stregth and internal print pattern.
The sidewalk or support material is in this case the same of the principal piece.
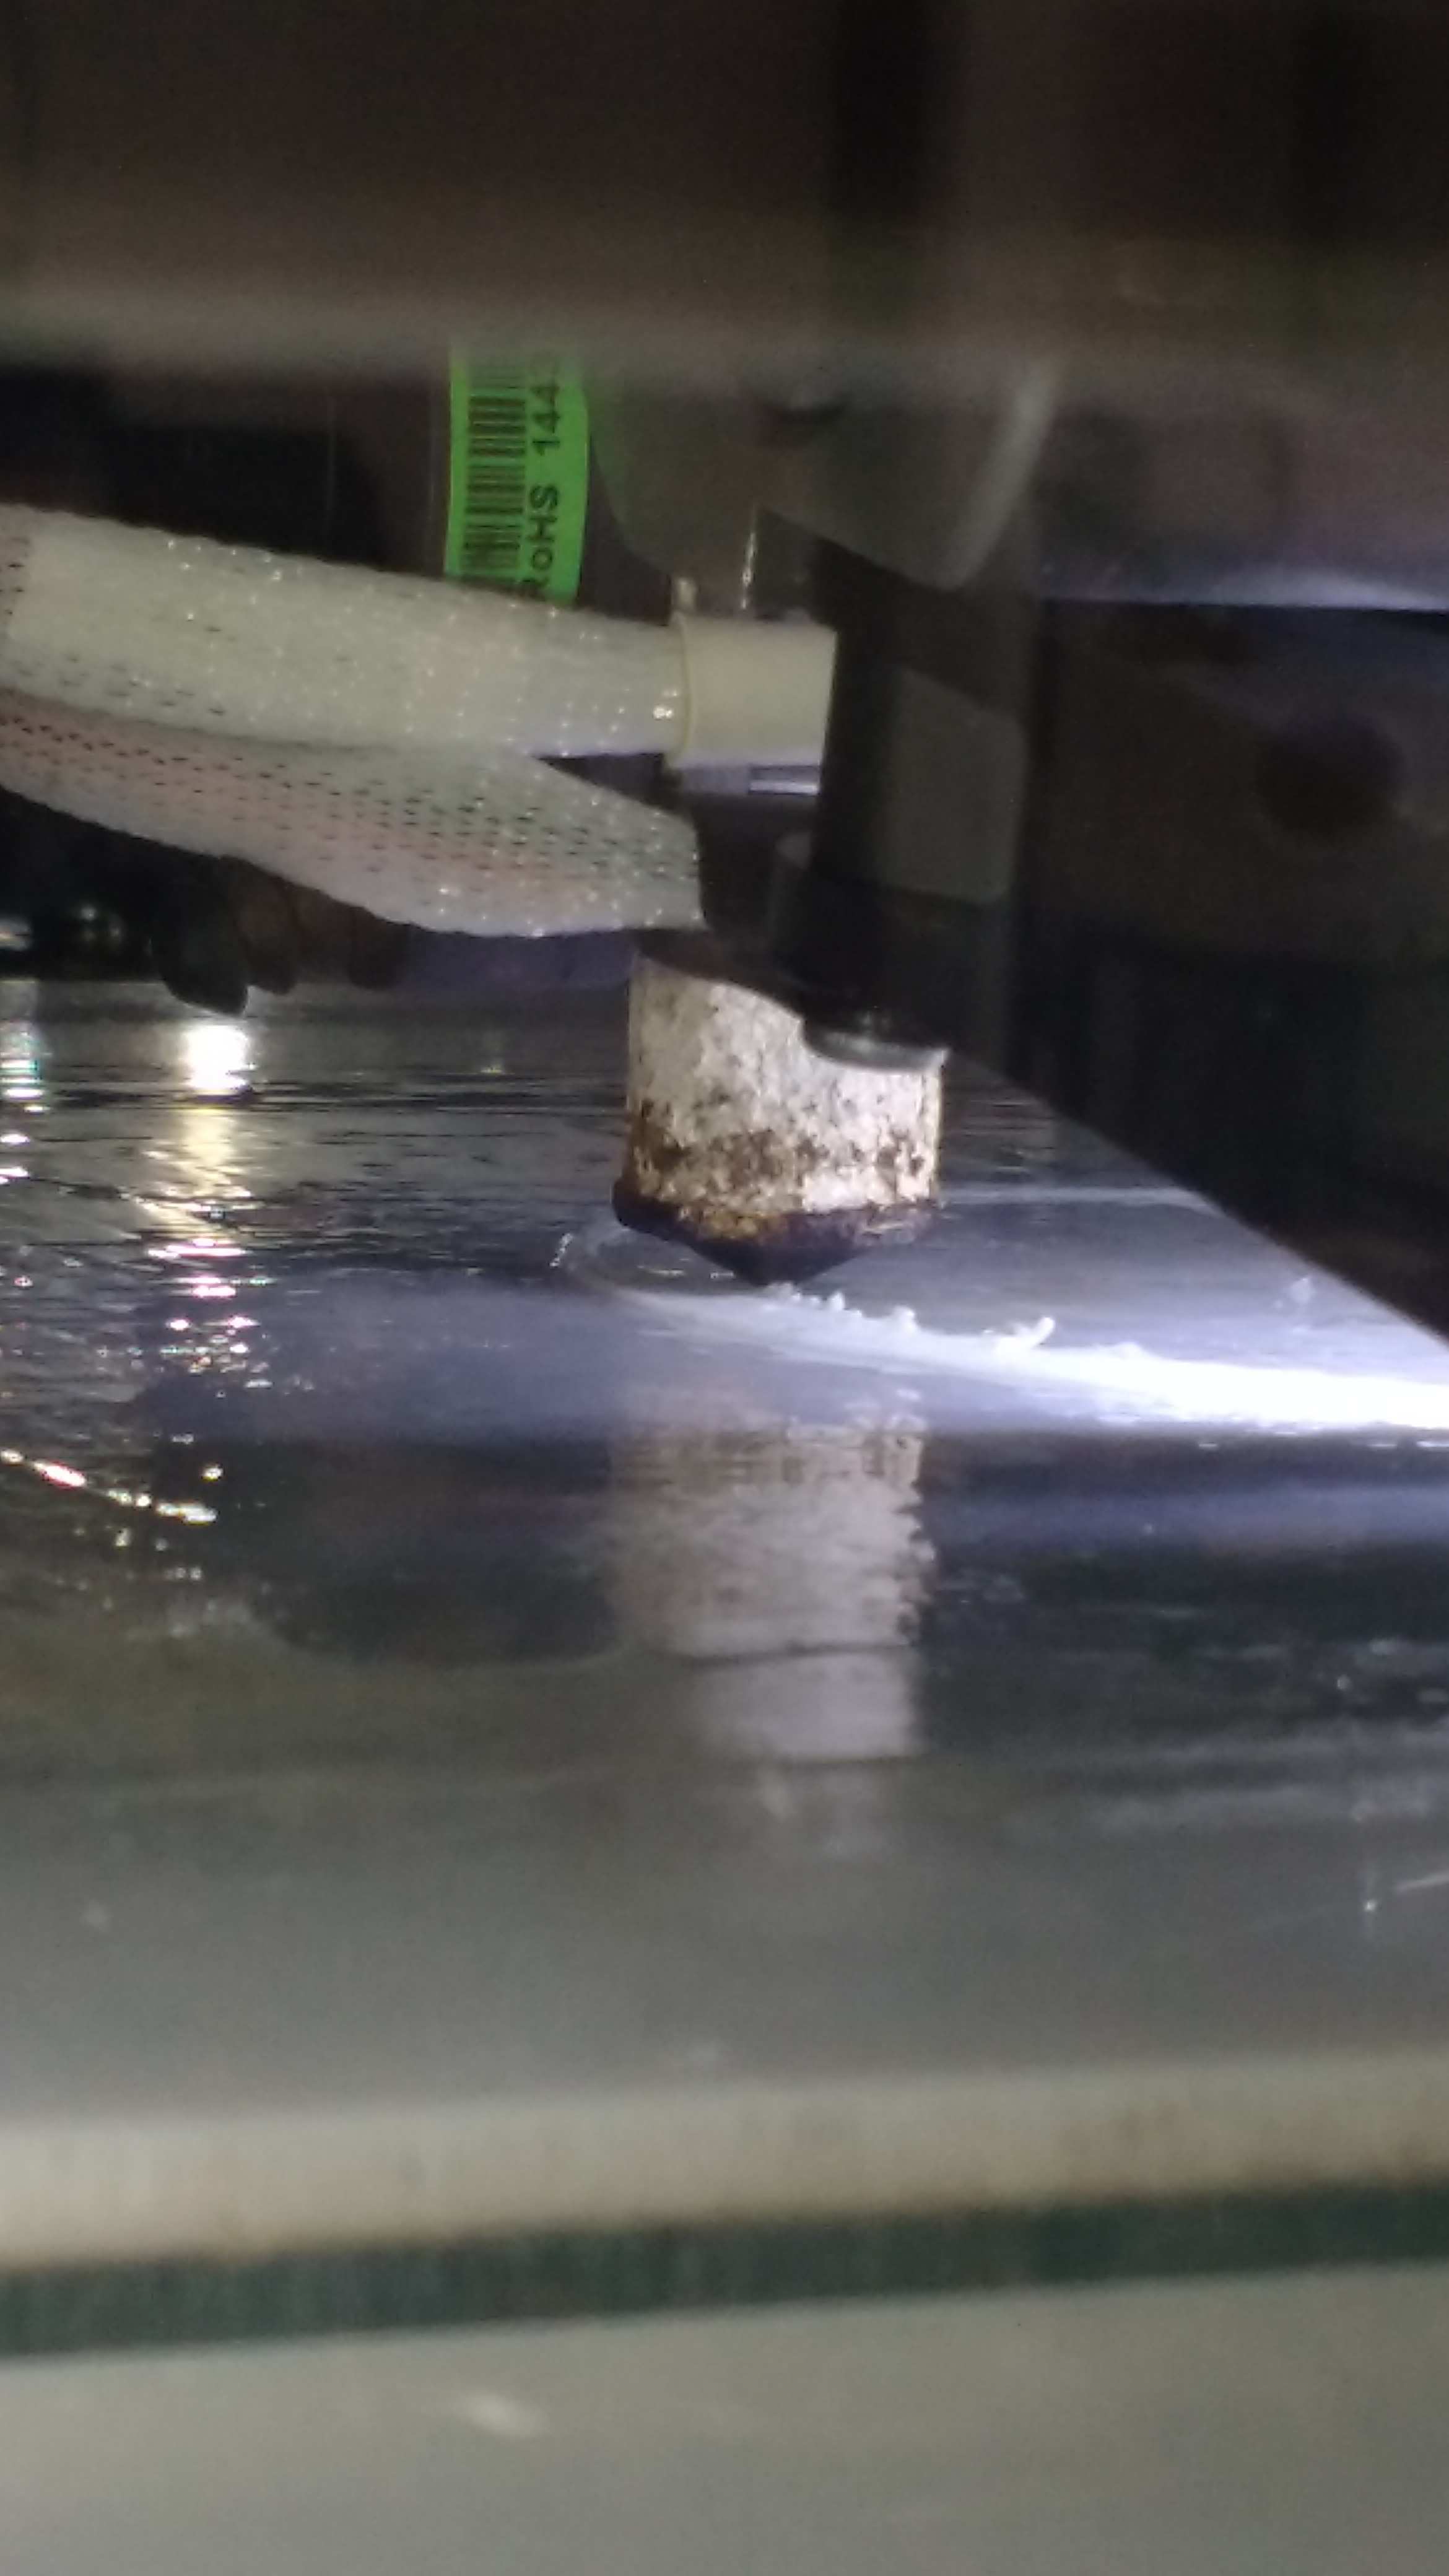
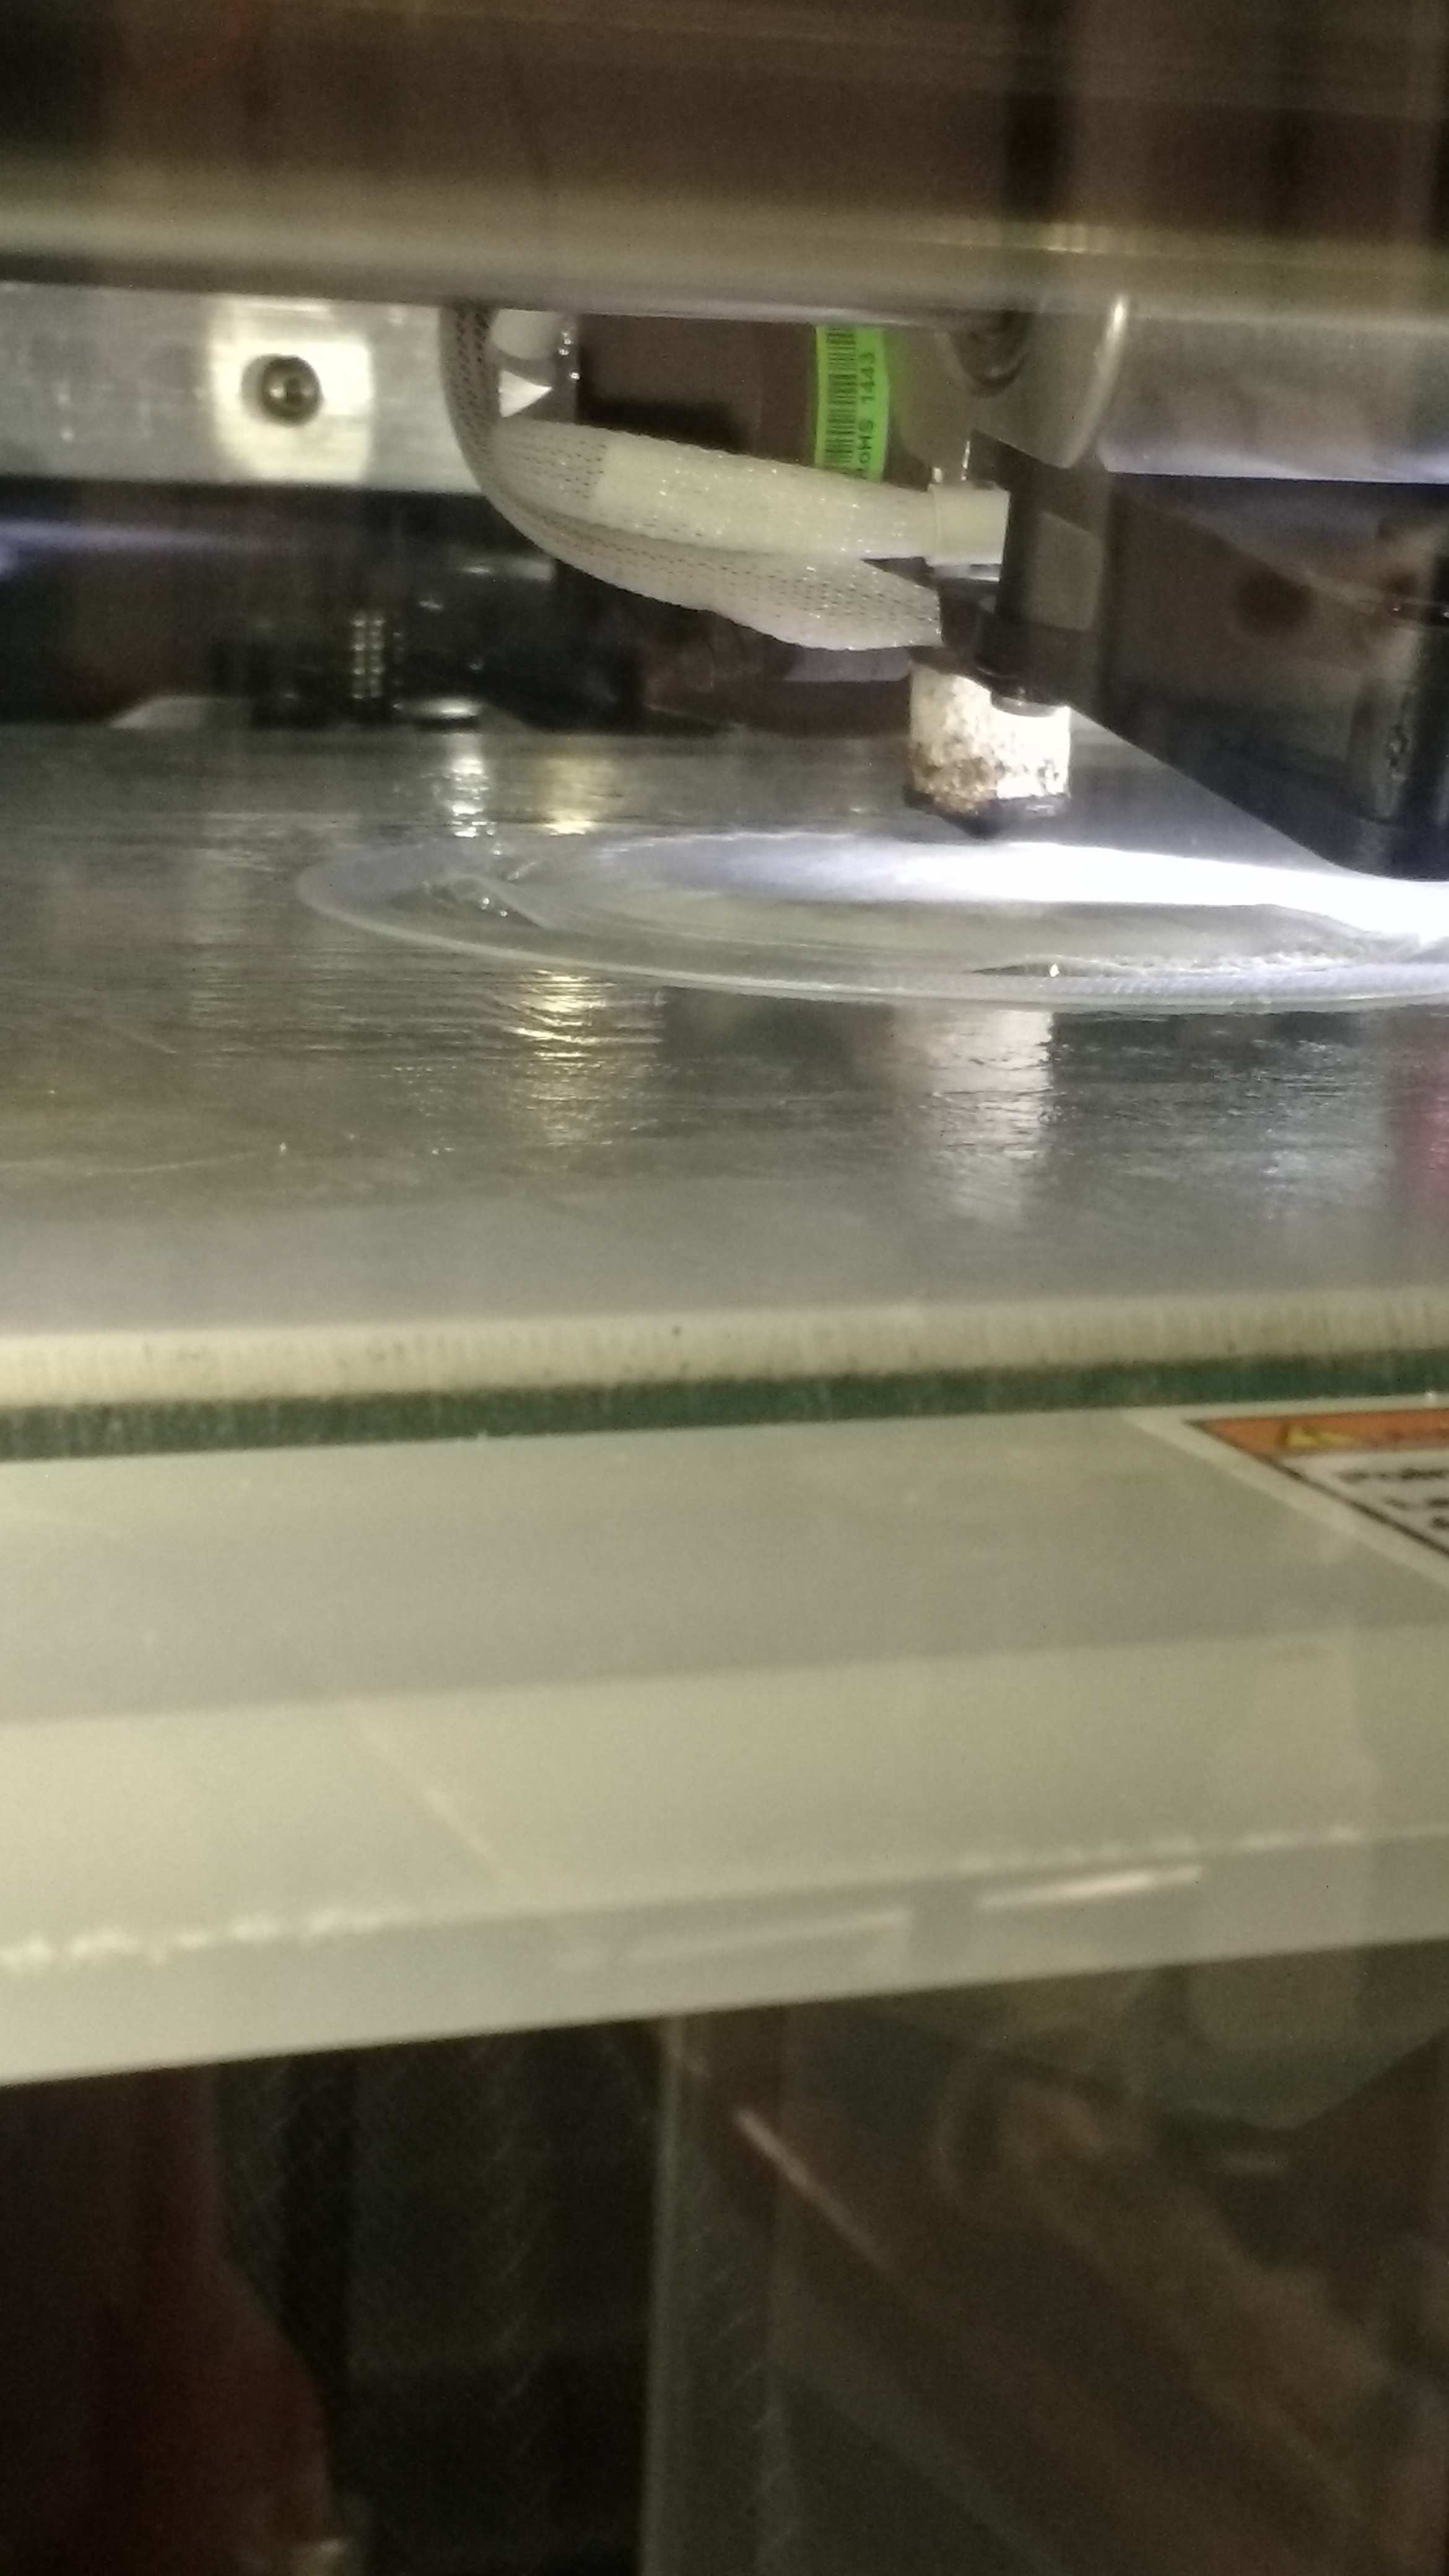
Finally, the next step is apply glue to the plate and start the printing job.
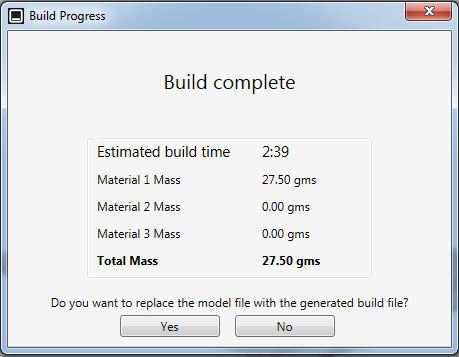
In this case here are the final calculations. The total time of fabrication is 2 hours and 39 minutes.
In this case here are the final calculations. The total time of fabrication is 2 hours and 39 minutes.
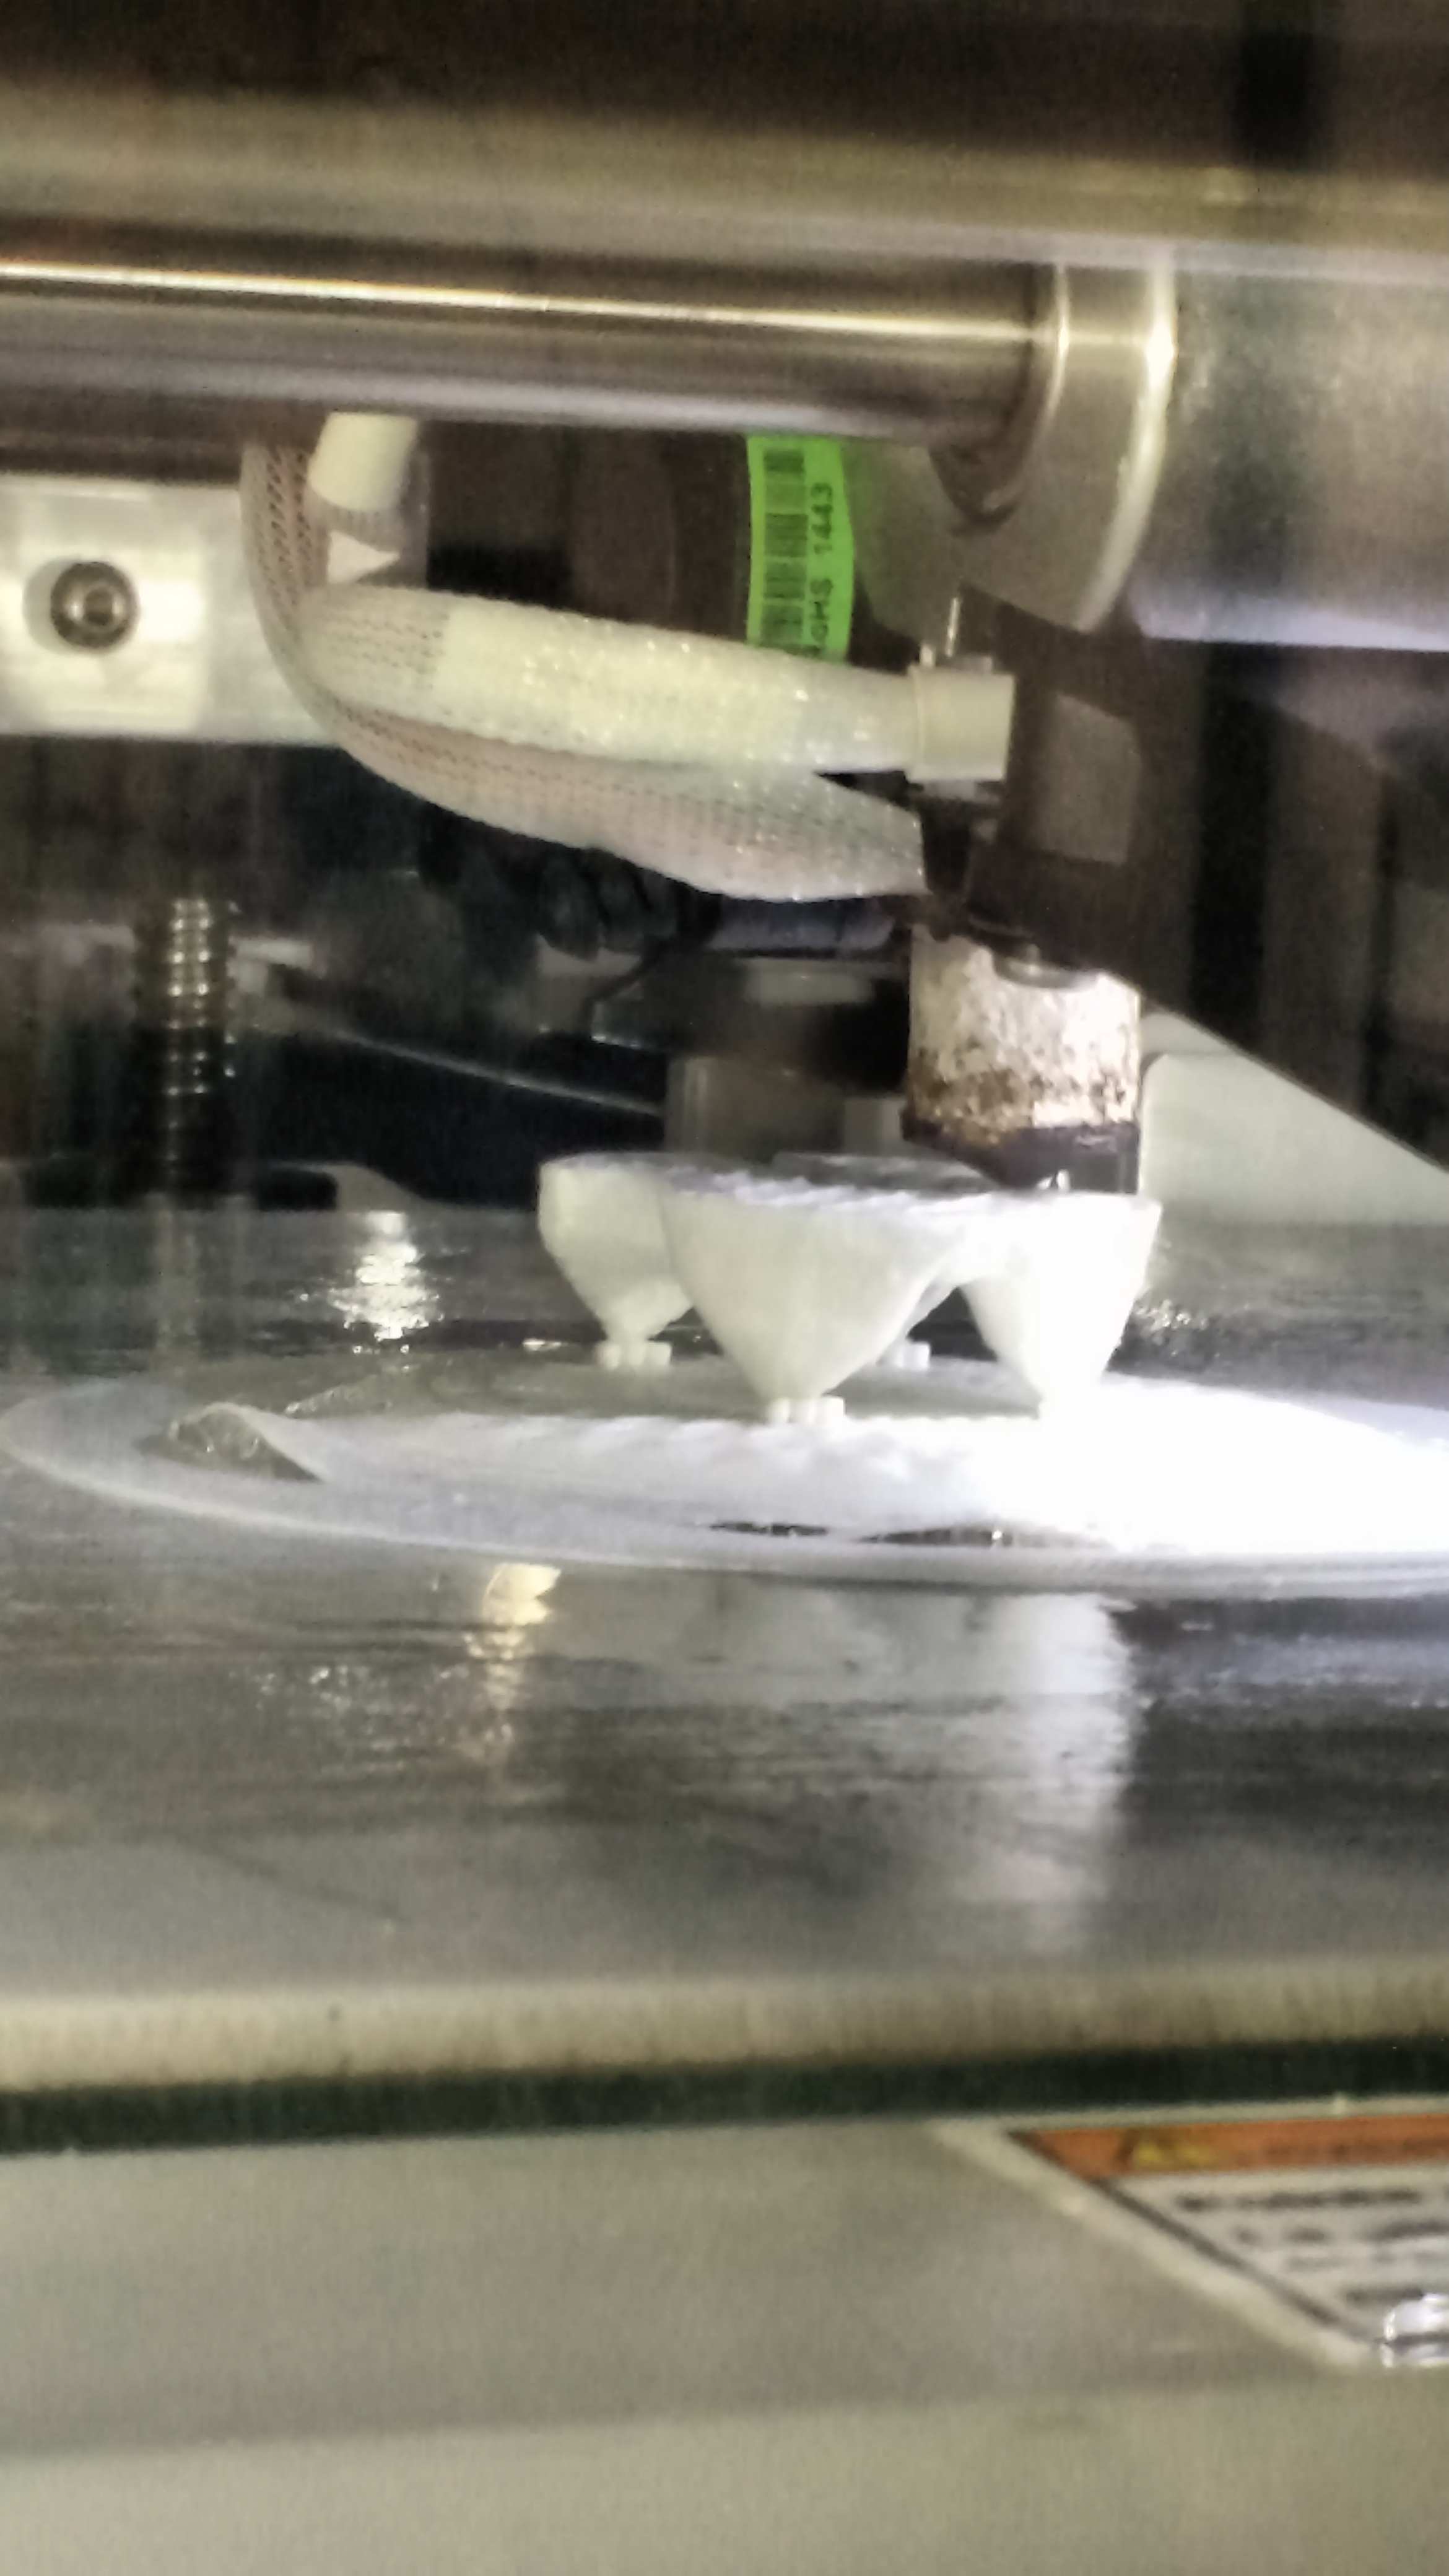
Here some hero photos of the job.
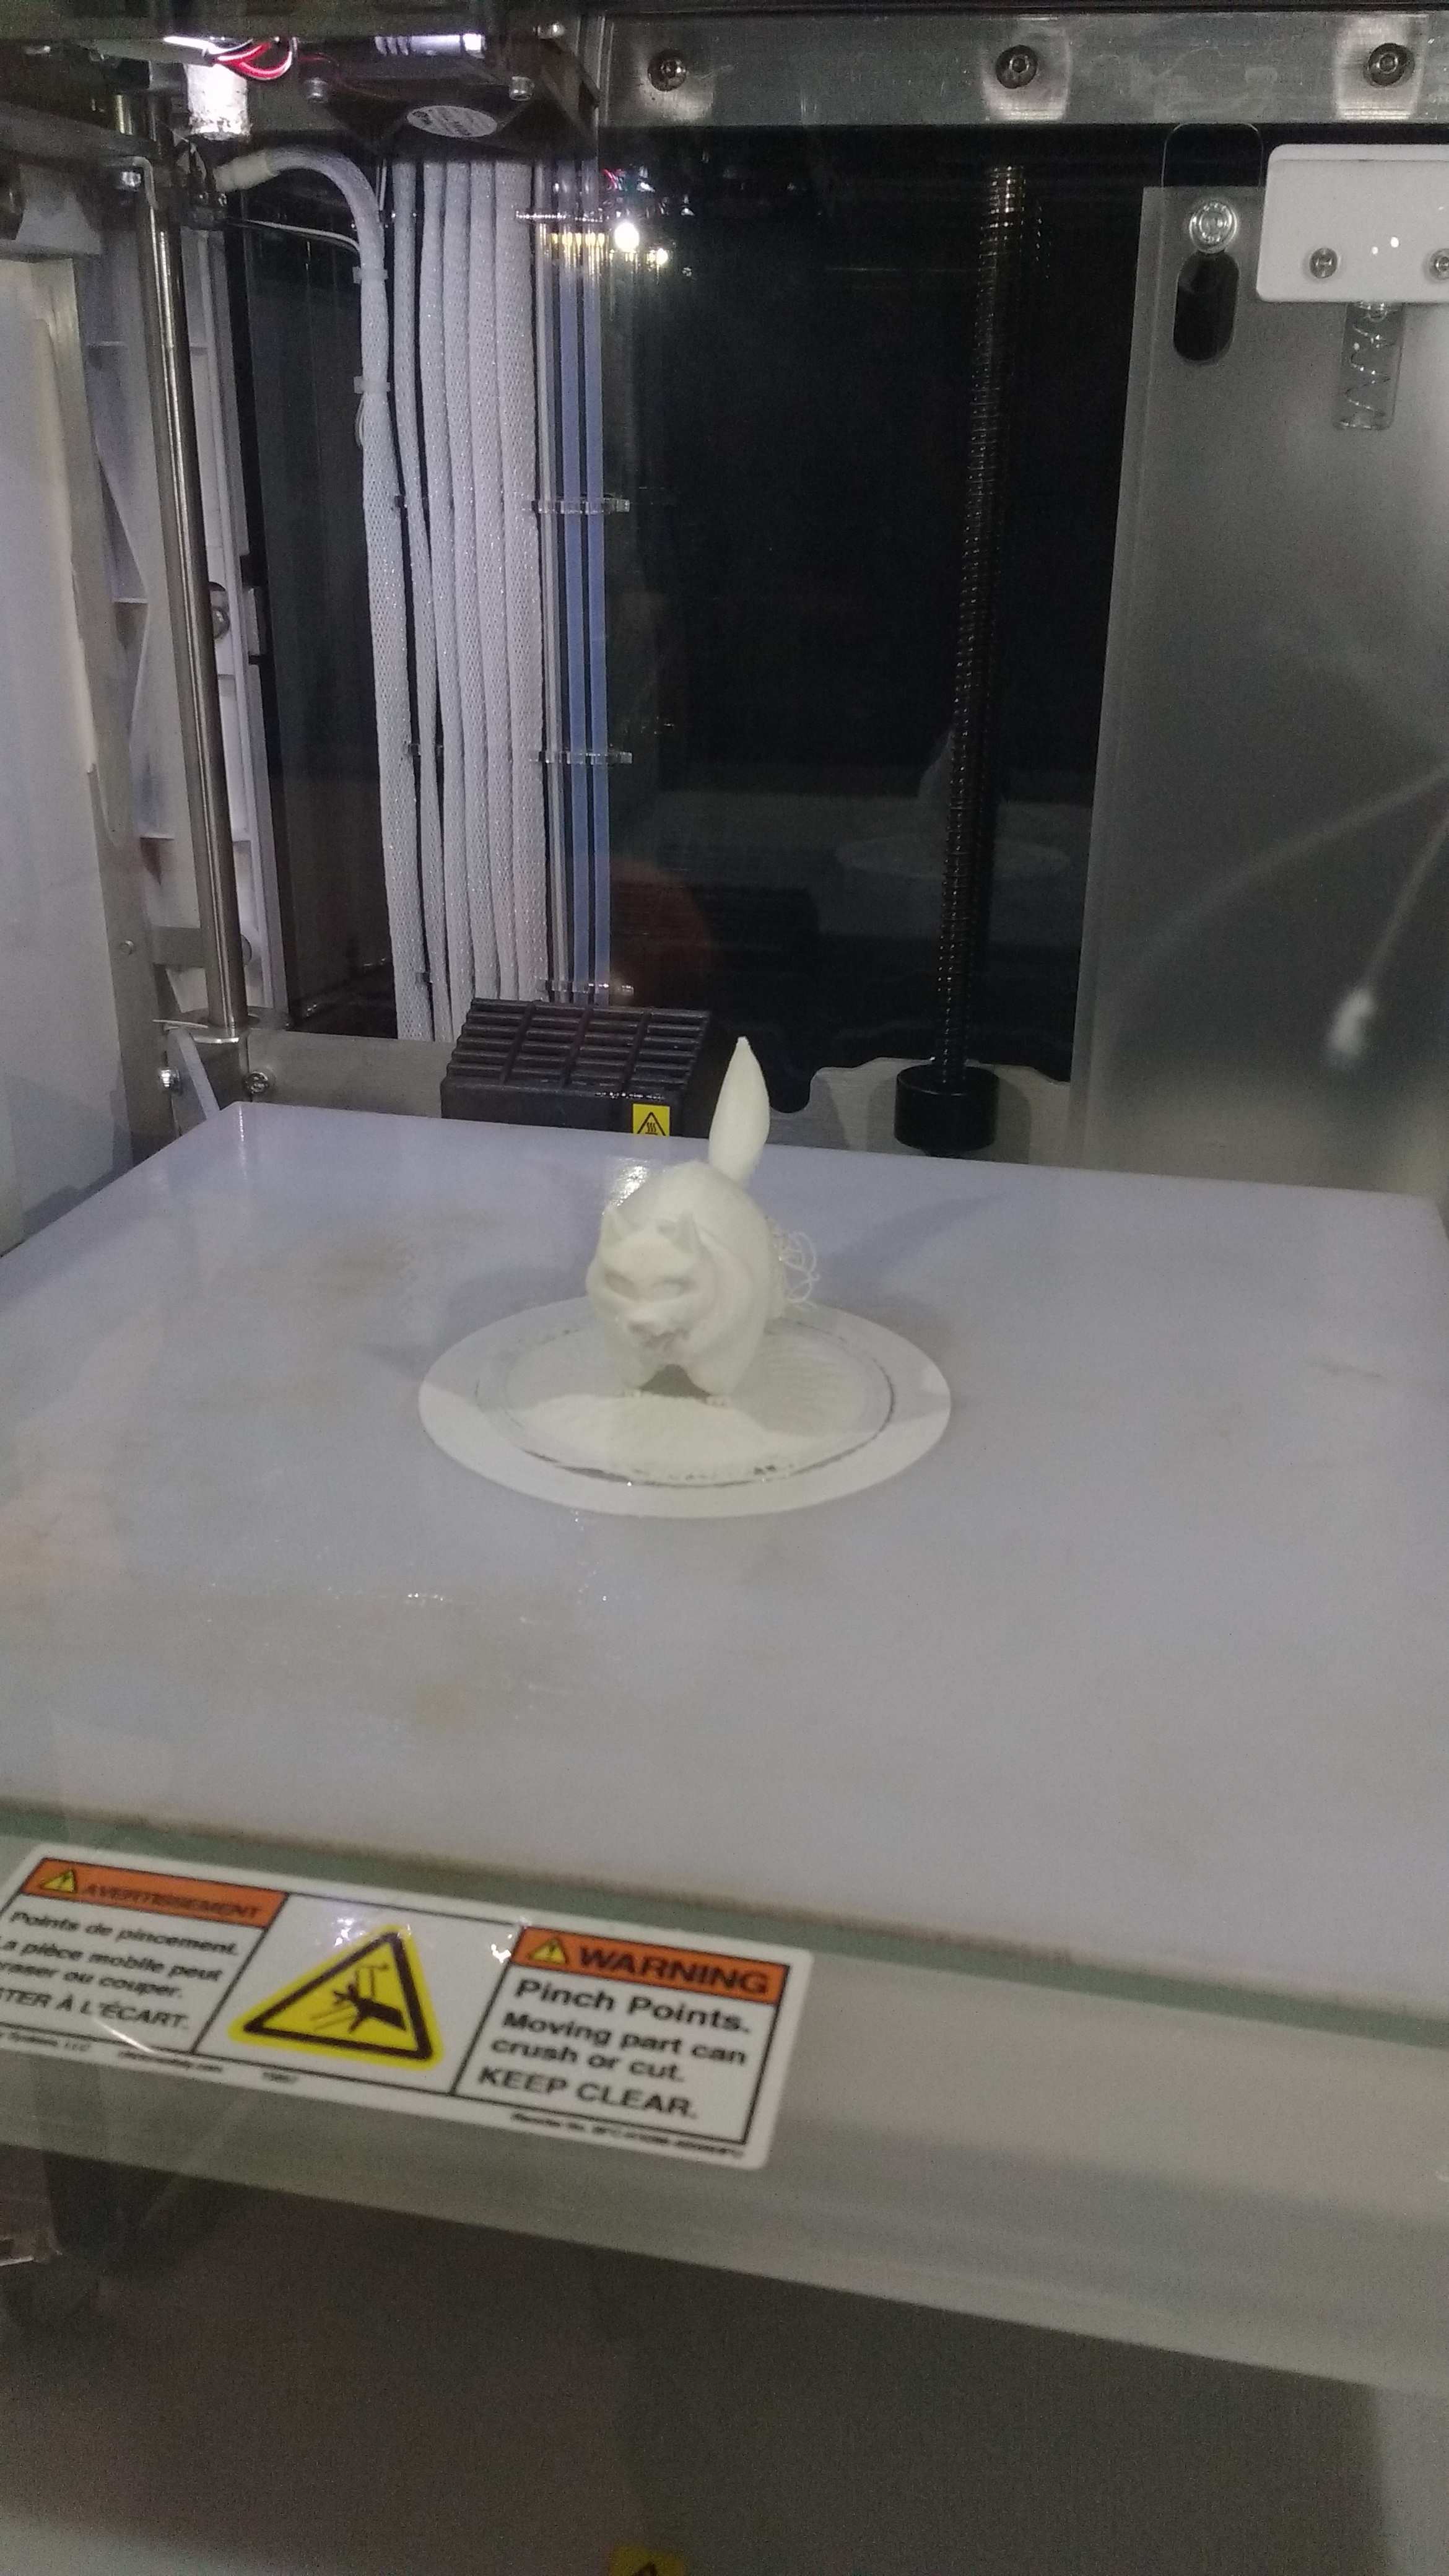

Here the final printed model.
So, the set of twelve photos processed in remake looks like this:
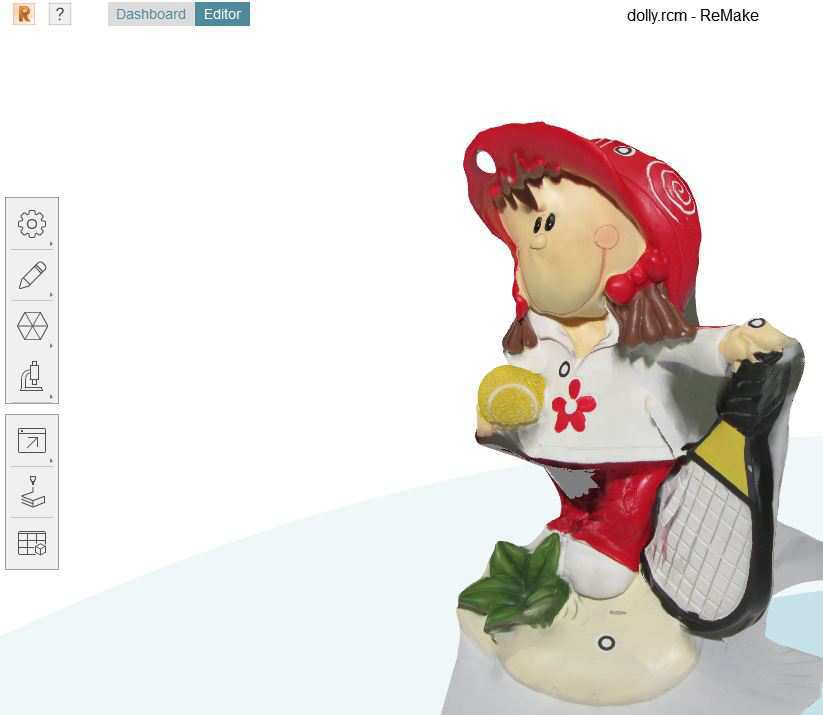

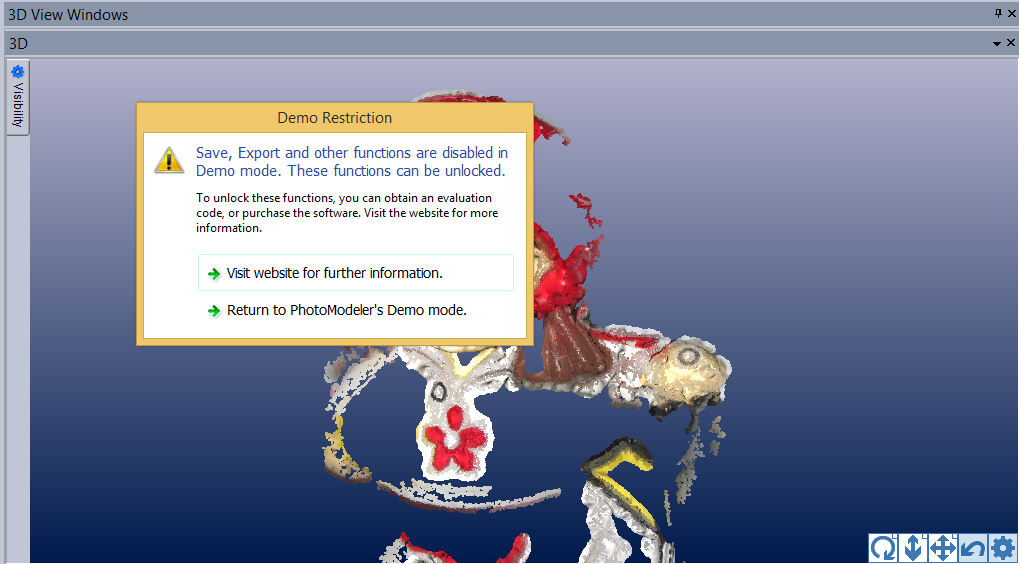
The limitation of the program is to save, export or get the final 3D model as a file. But with this software its possible to model an scanned object.
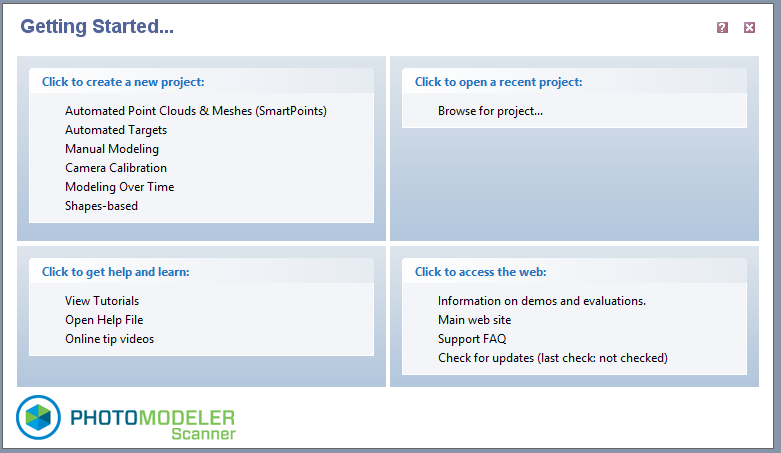
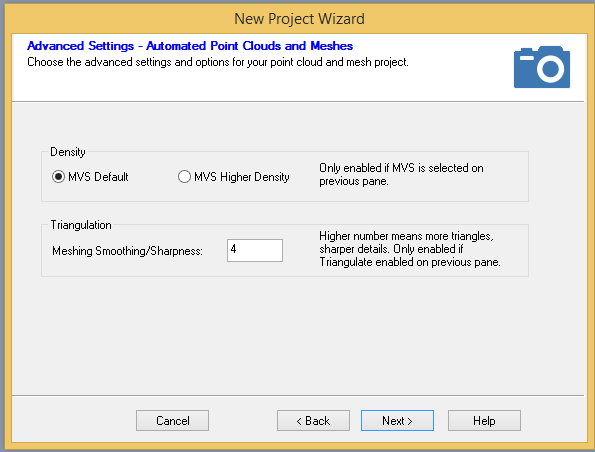
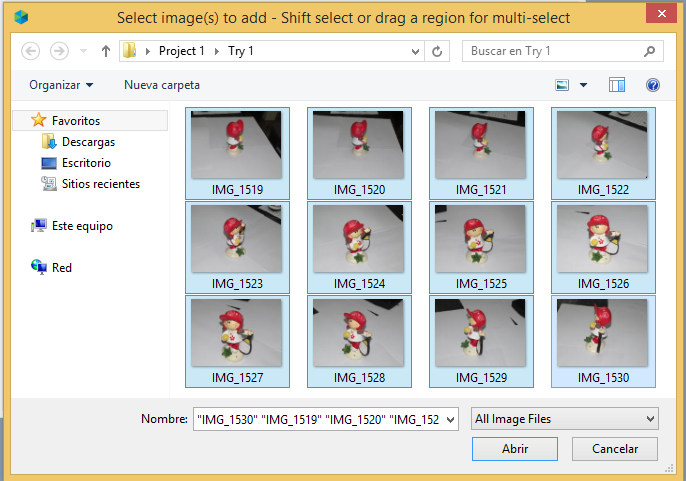
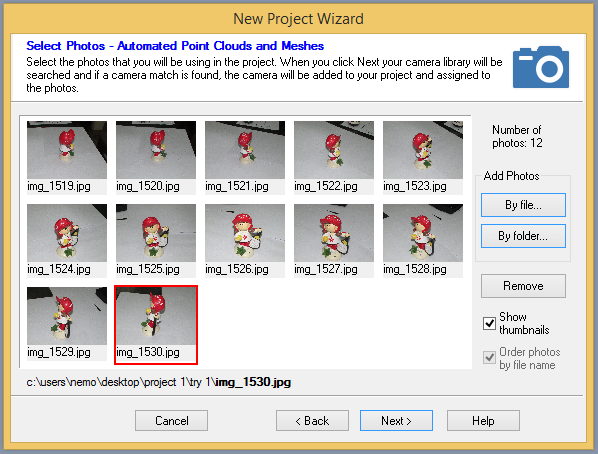
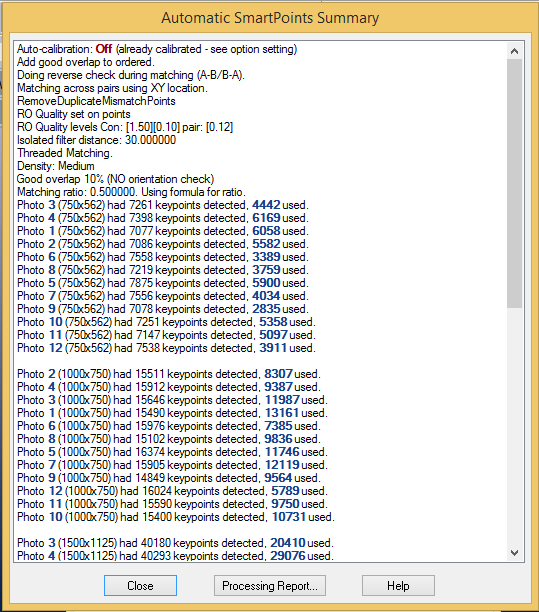
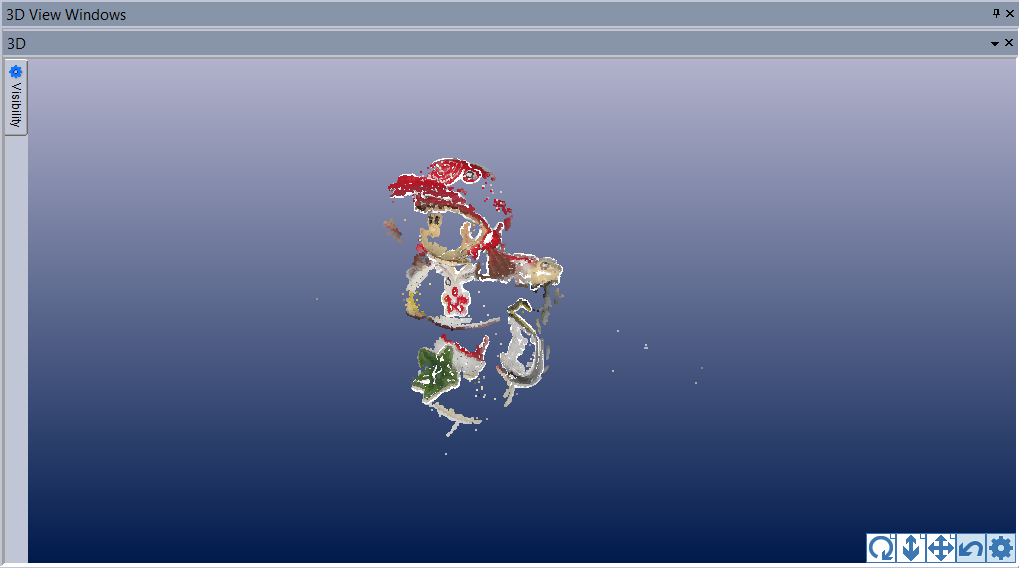
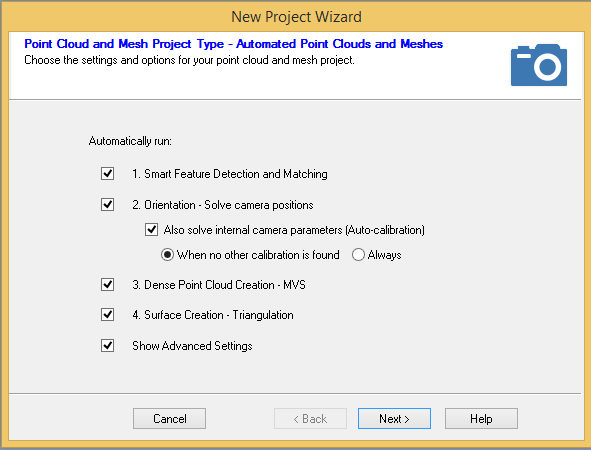
The next step is to create a new automated smart dots project by adding the dots softness settings. And add a set of photos to the project.
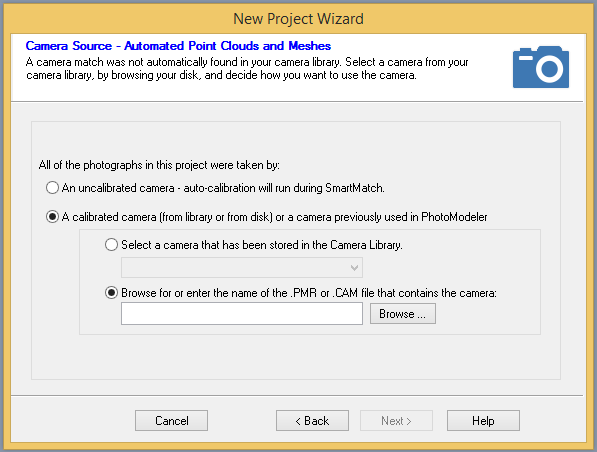
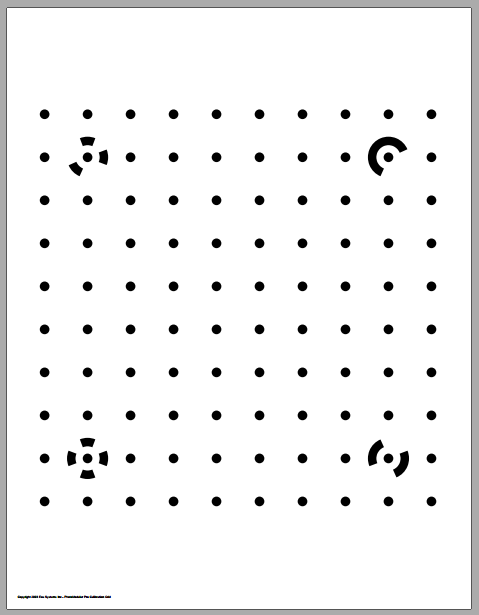
The next step is to load a PMR file that contains the calibration camera file wich is generated when is used a calibration sheet to determine the camera deviation and other parameters such as the focus and other distance parameters.
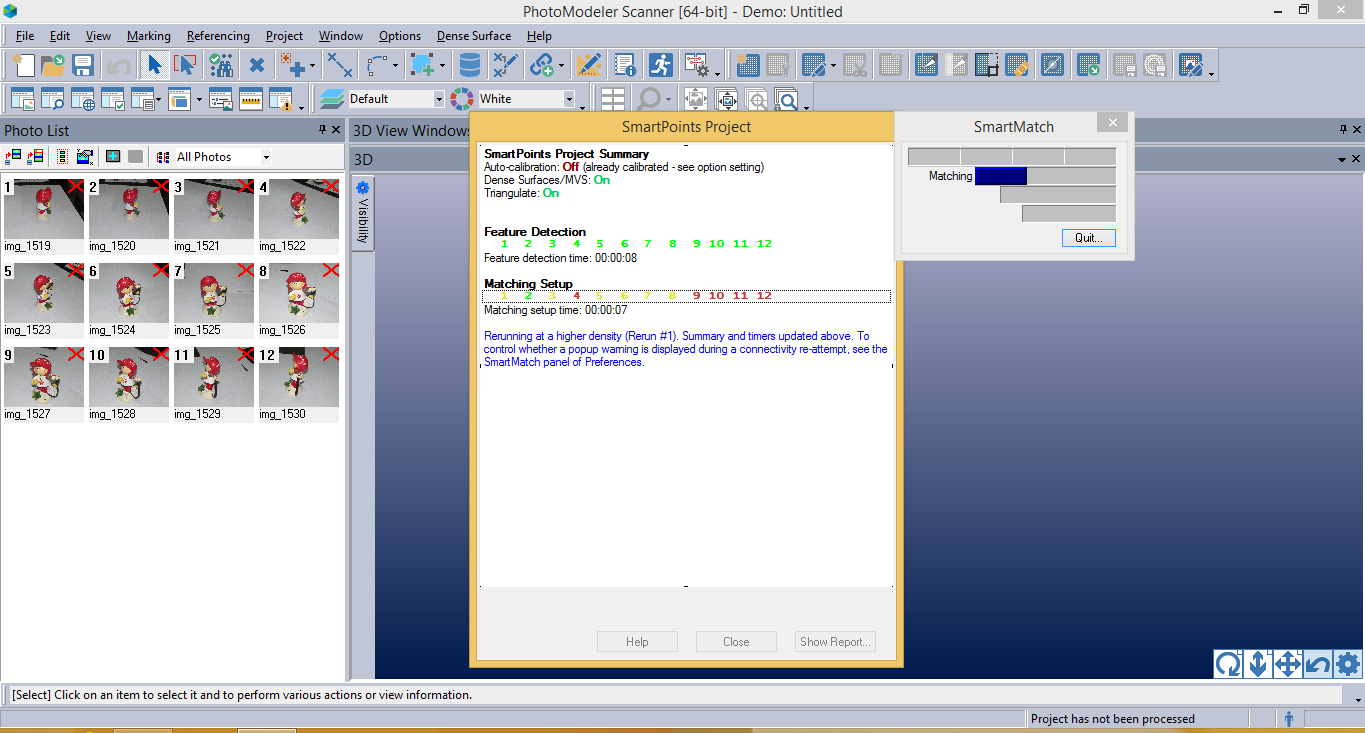
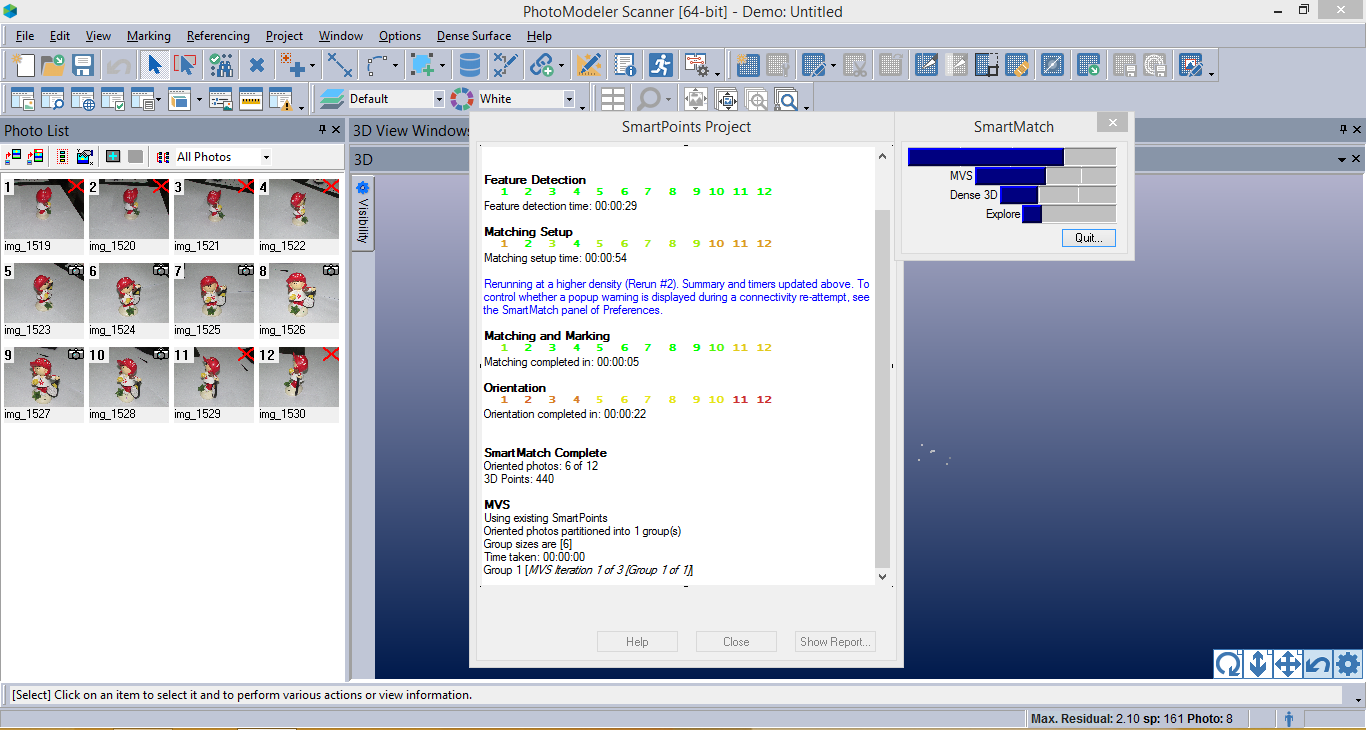
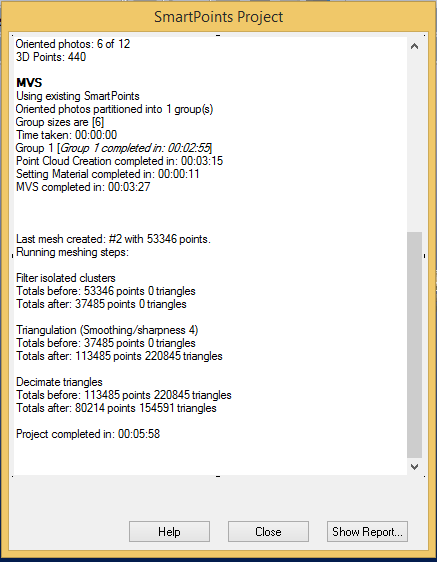
Now its time to process the photos using an algorithm that calculates the fundamental part of the surfaces. This work is calculated one by one picture.
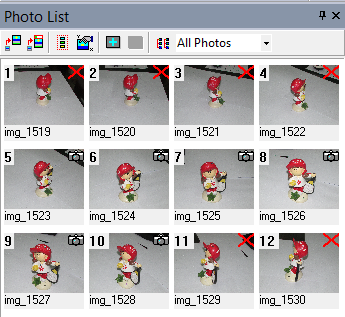
Finally, the software makes a grid with the pictures with a small camera icon or a X icon to indicate if the picture is recognized or not. The next step is process tha information to obtain a 3D model like this.