


week 10
Output Devices.
Assignment:
Add an output device to a microcontroller board you've designed and program it to do something
Add an output device to a microcontroller board you've designed and program it to do something
Guillermo Jaramillo :: Fab Academy 2017
Fab Academy 2017

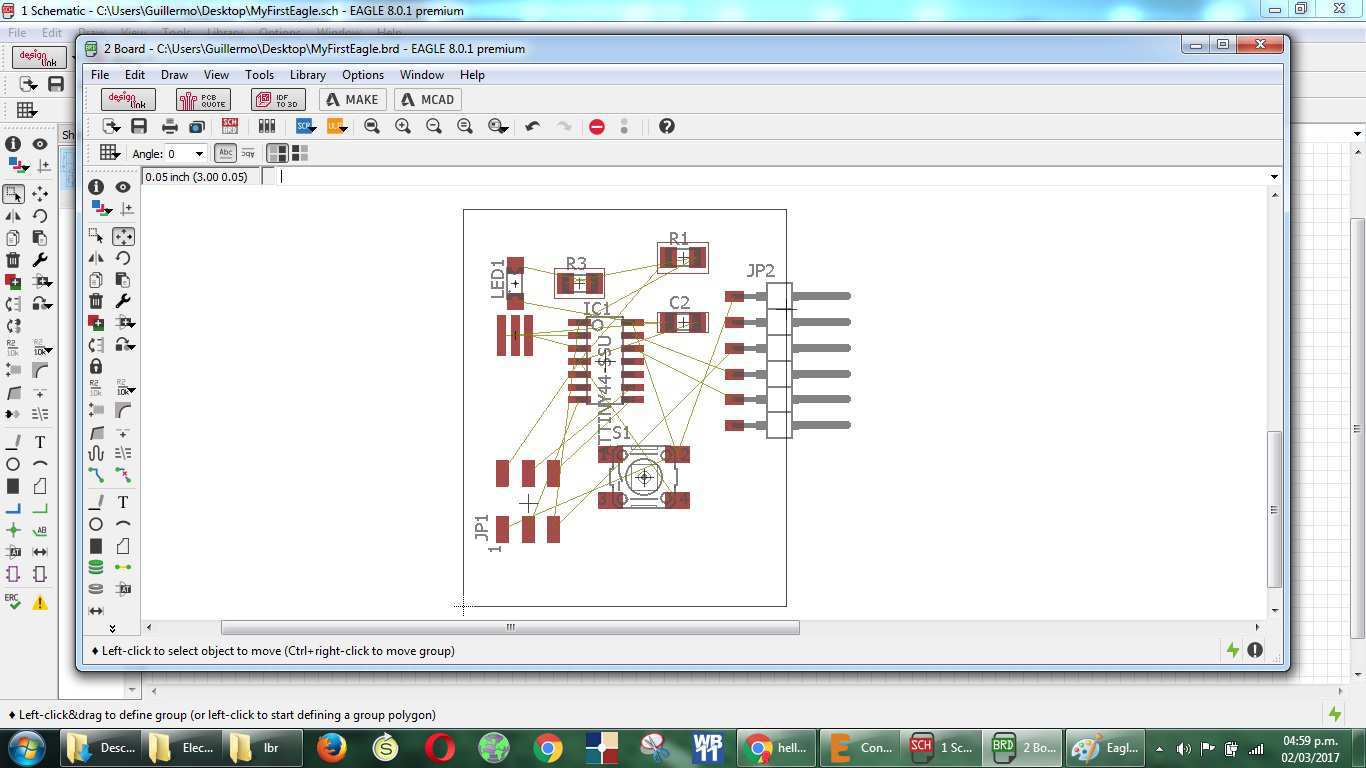
I decide to add a led to a Hello World board, for this i use Eagle Cad. So i started to design the board adding the components.


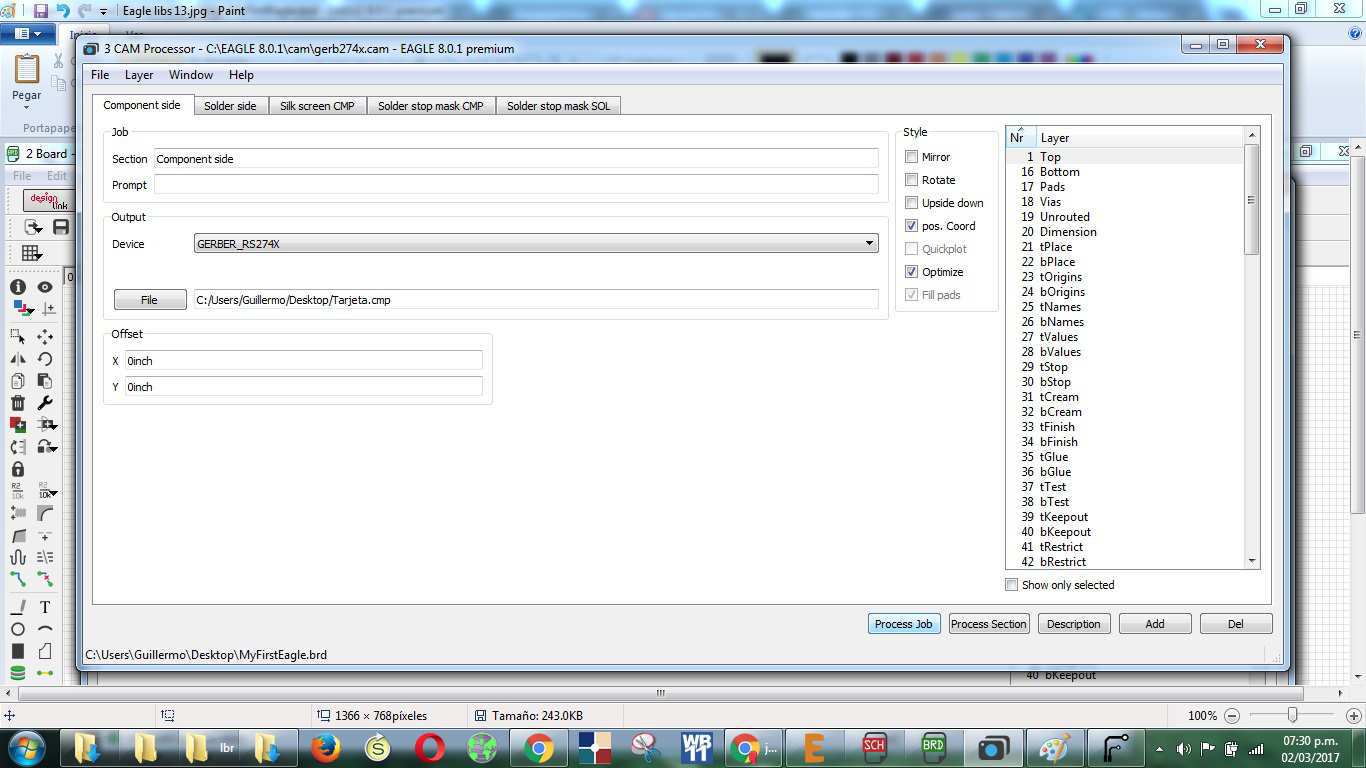
Once the design work of the card is completed, the work of the CAM processor needs to be configured.
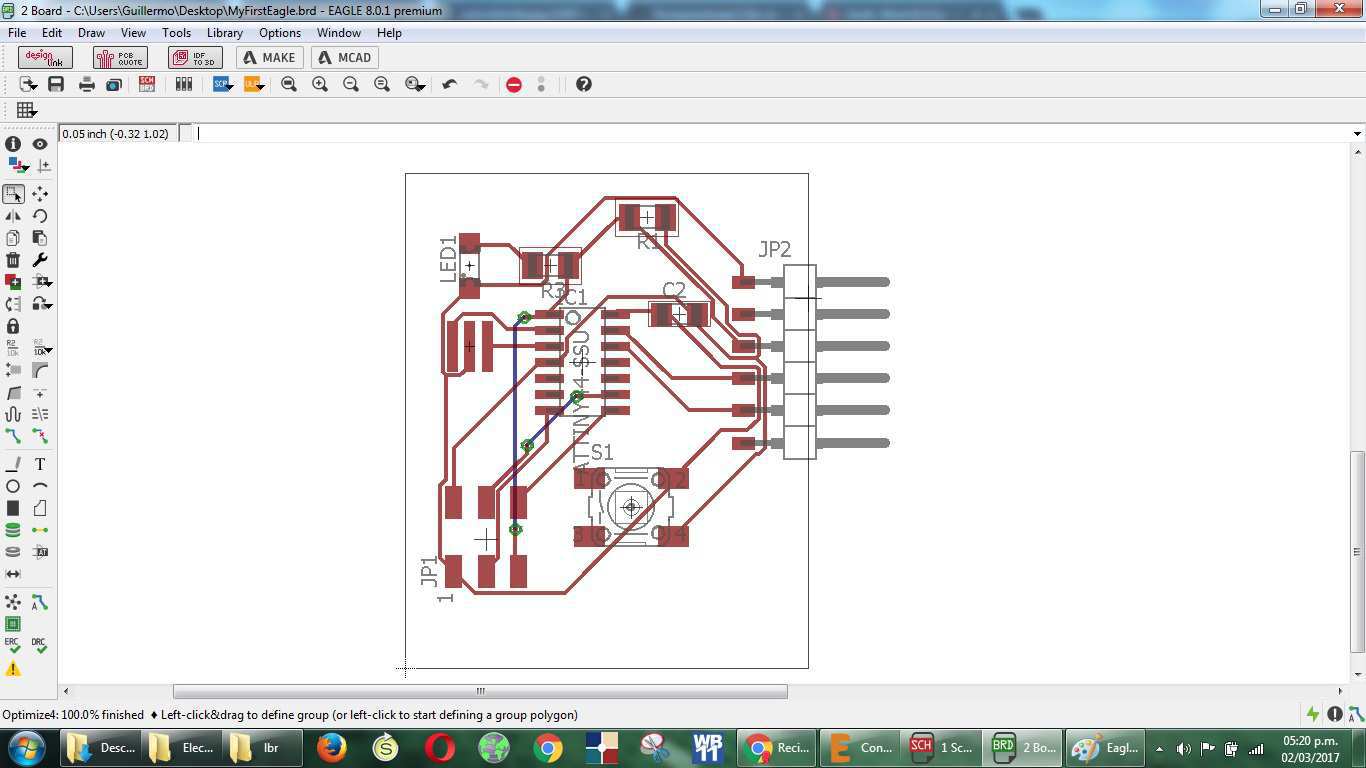
When the components are finished, starts the design of the board, placing the parts in to the right order. I try to use the auto route tool but it needs holes to make bypasses. I discard this.
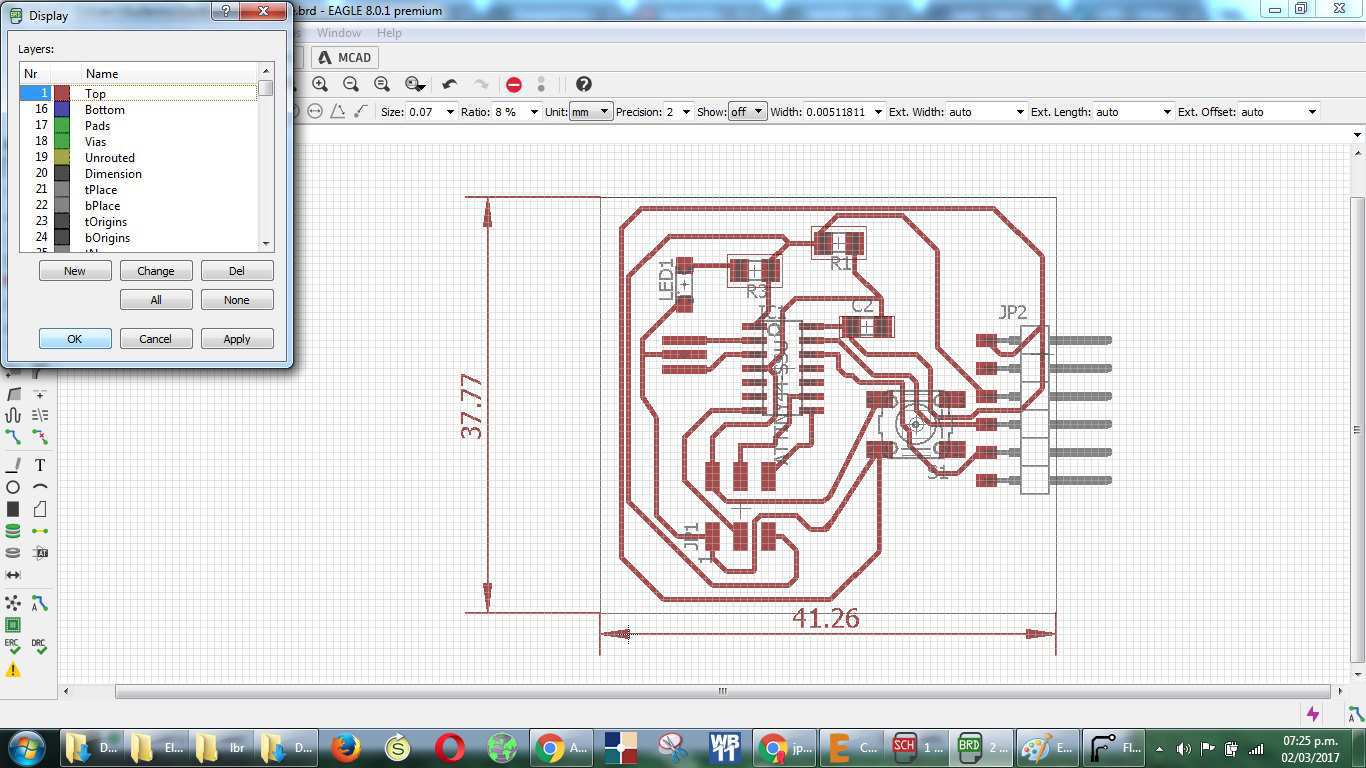
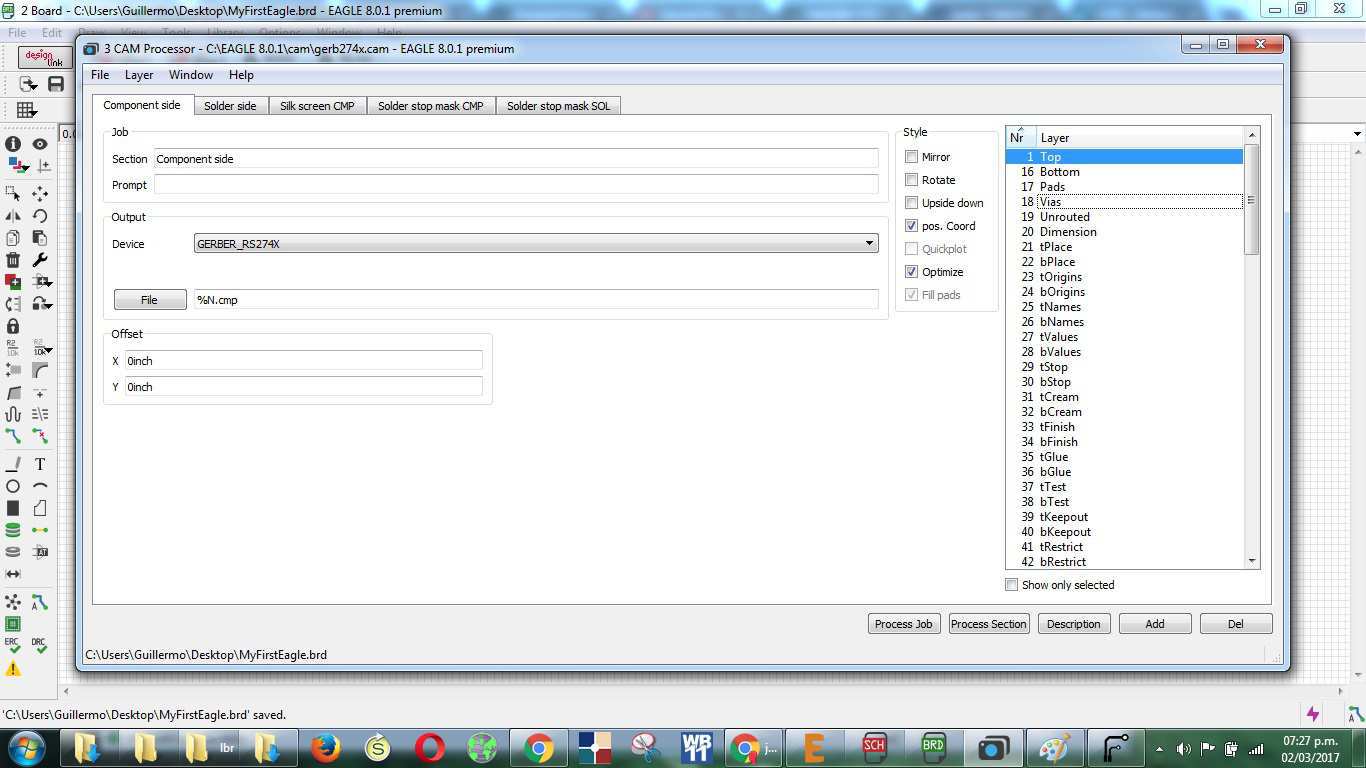
Once the design work of the card is completed, the work of the CAM processor needs to be configured. First to cut the paths of the circuit.
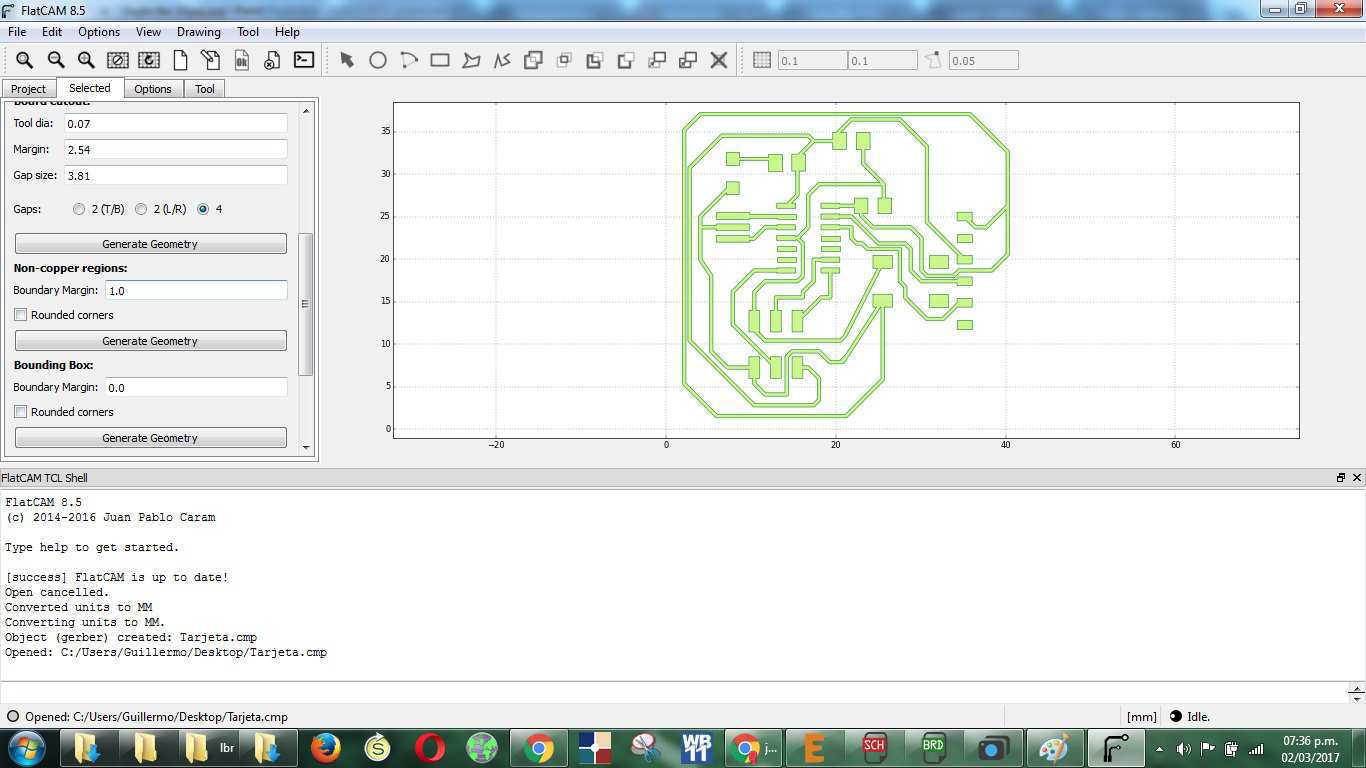
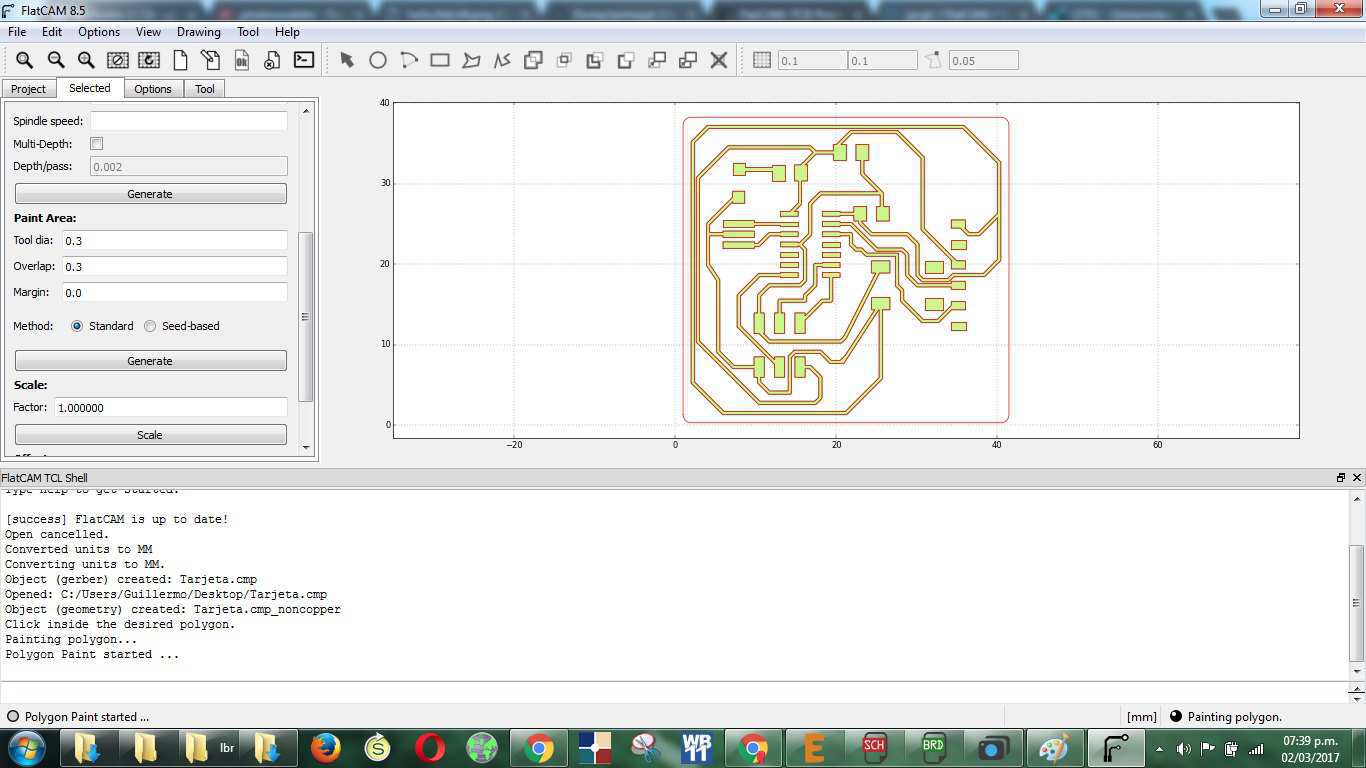
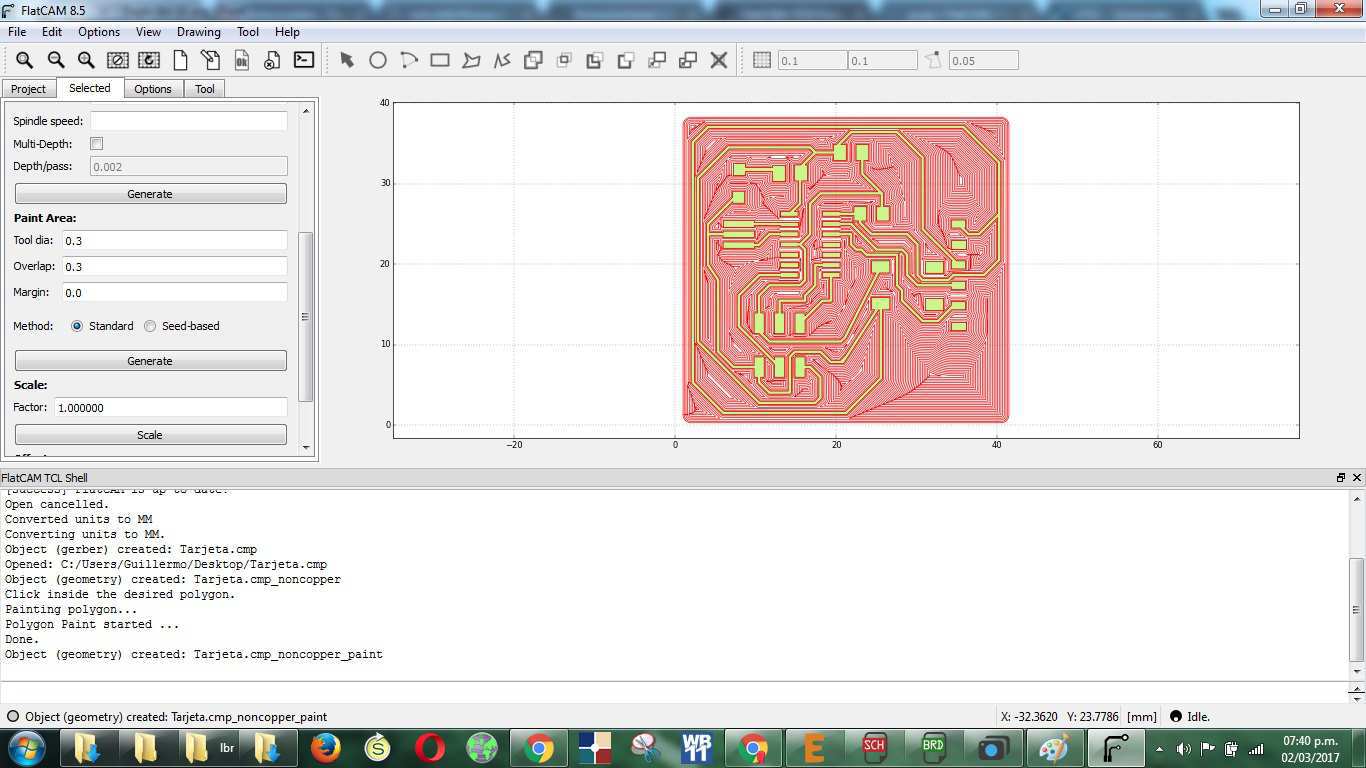
And the next step is the cut of the rest of the areas to be milled. Finally this process ends with a file that contains g code.
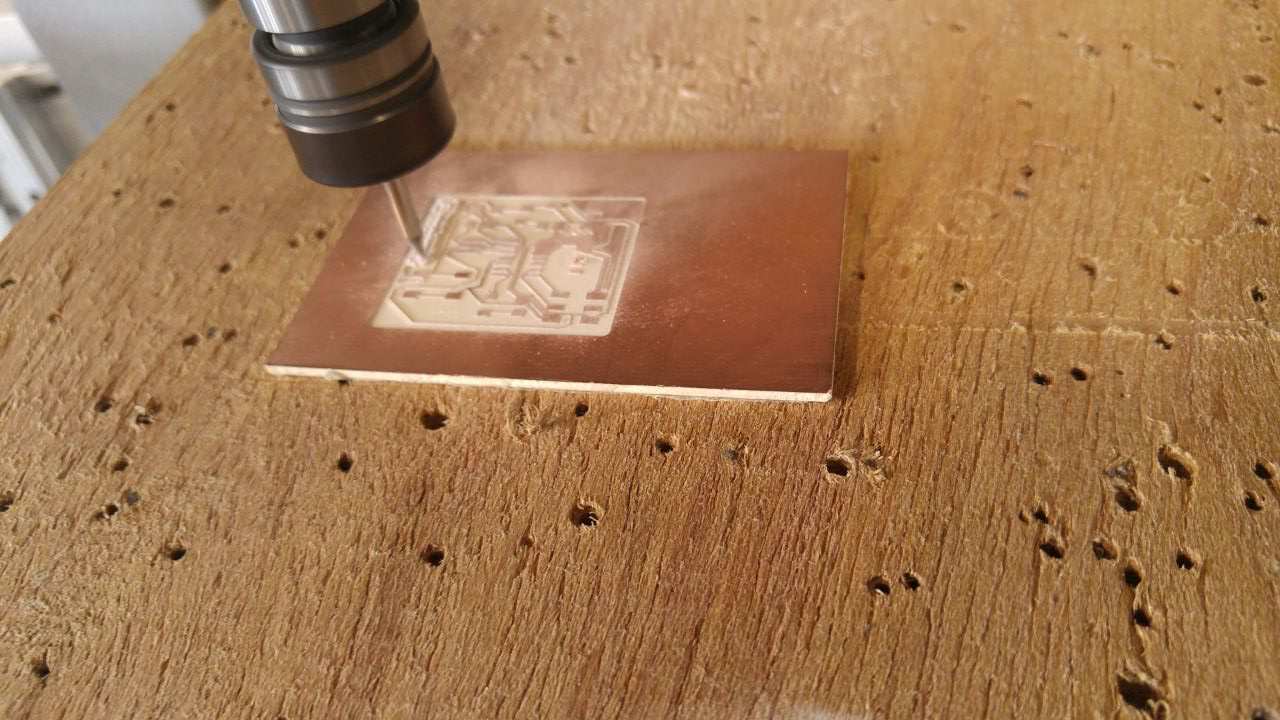
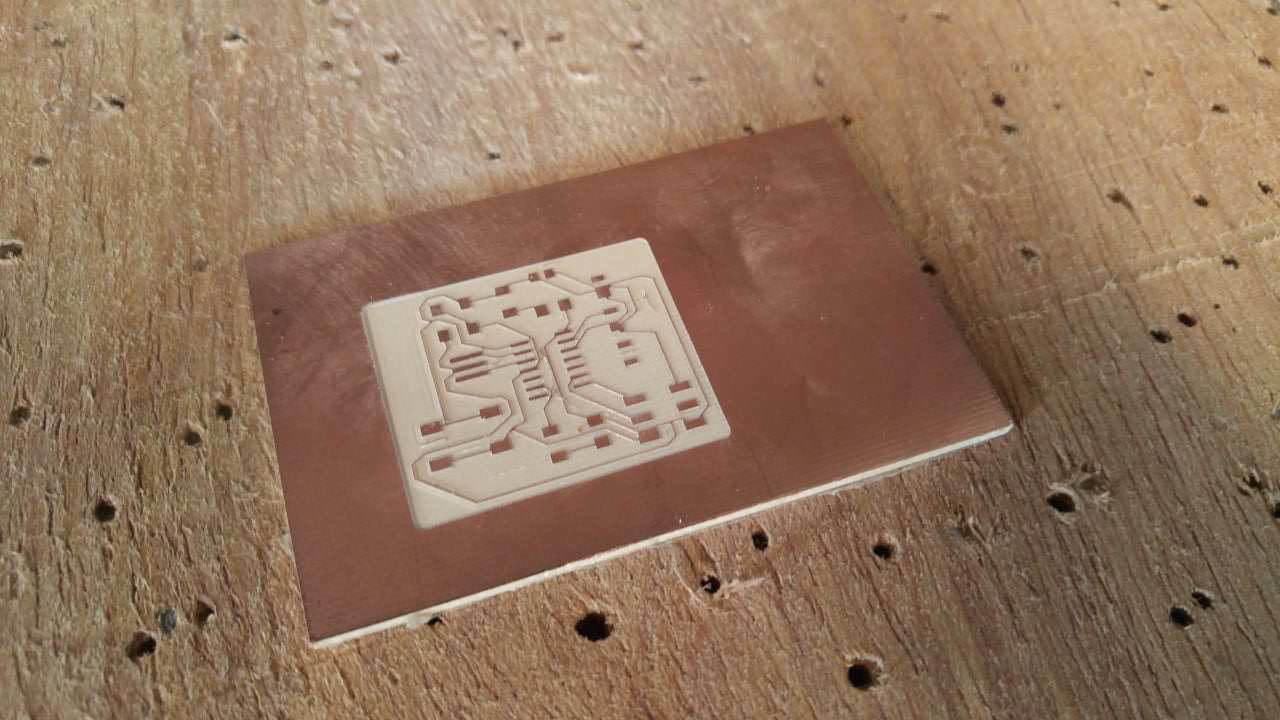
Once the g code file is ready, the next step is go to the milling machine to cut the board. And when the board is ready its time to solder it.
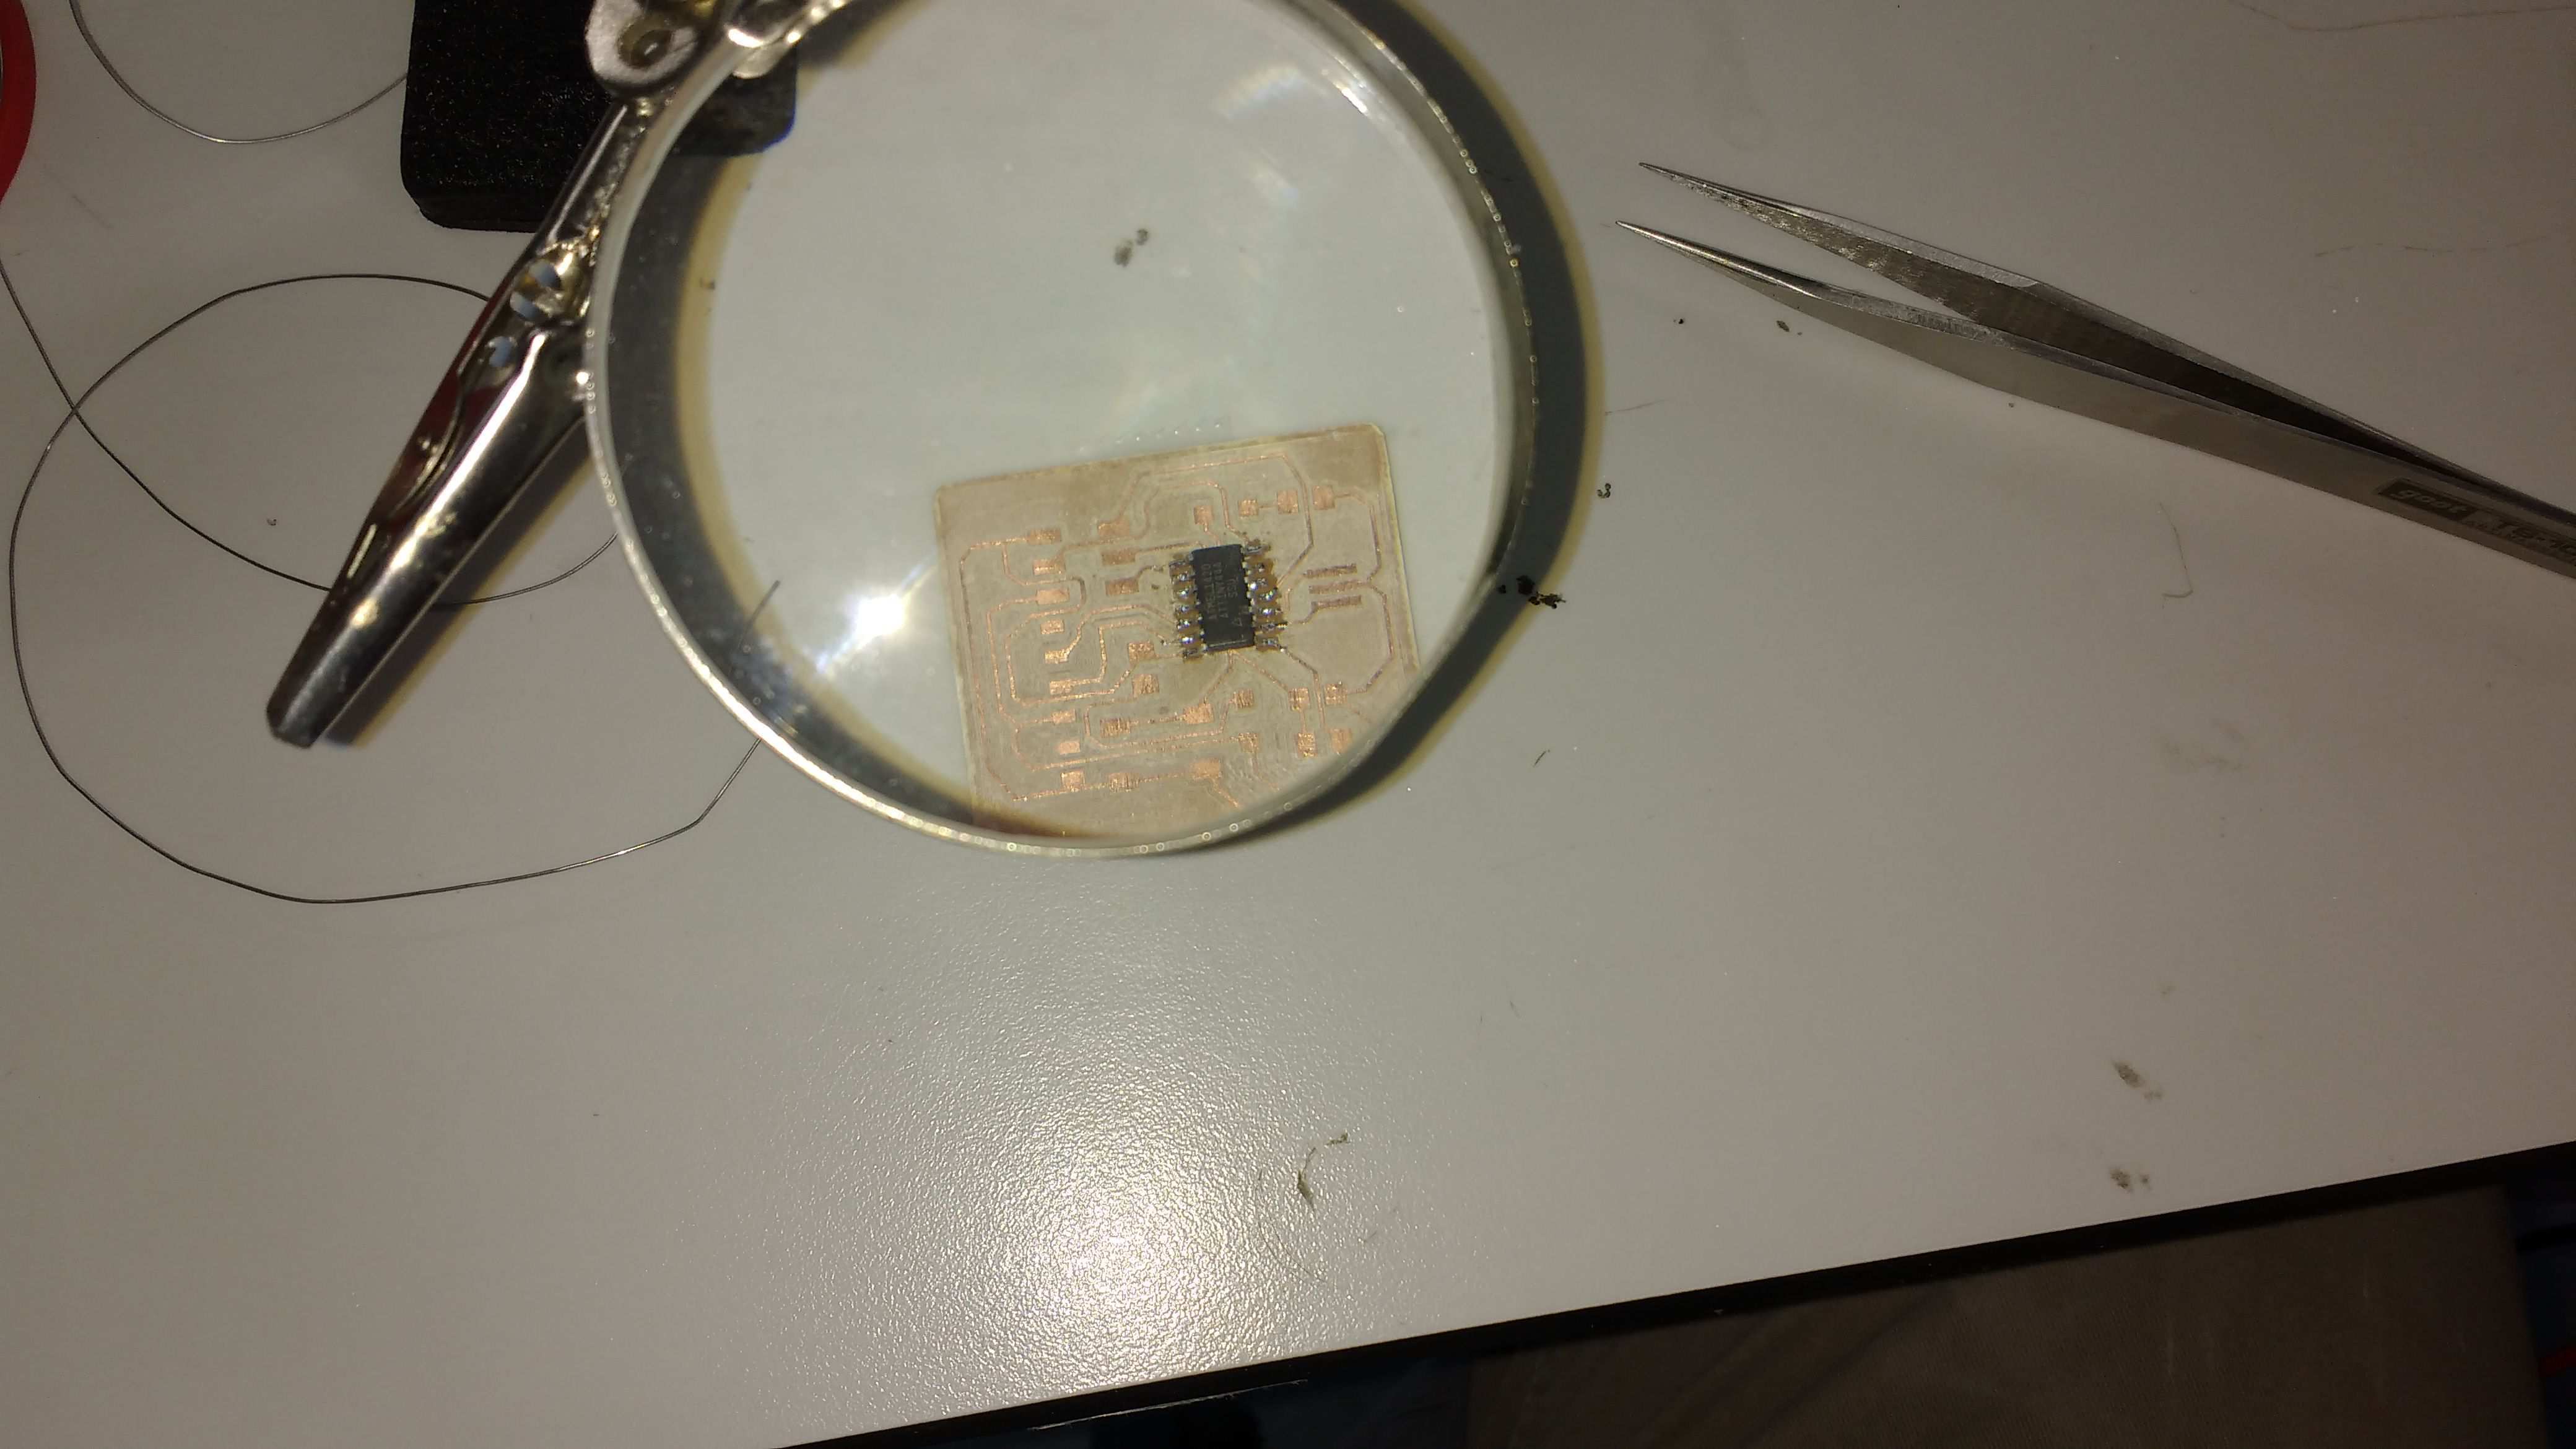
Here starts soldering the board. And when soldering job is done its time to test the board.
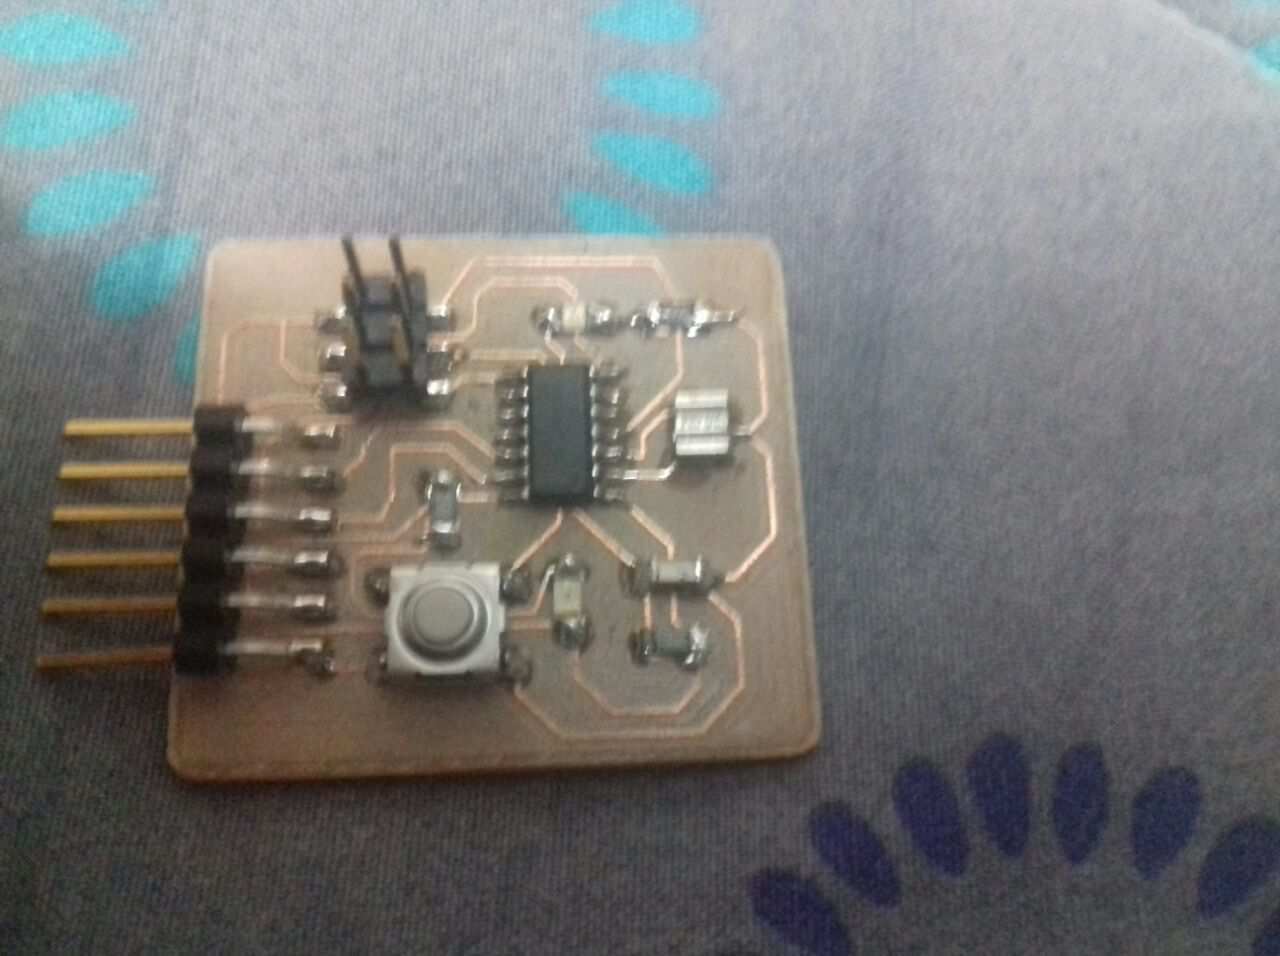
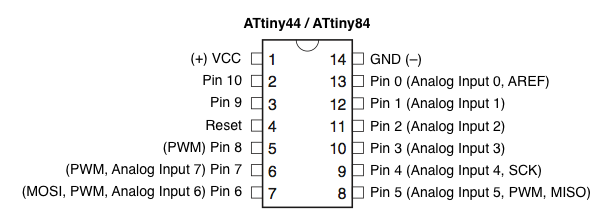
The ATtiny44 and ATtiny84 have 14-legs and more inputs and outputs than Attiny44, so is a great option for running simple Arduino programs: its small, cheap and relatively easy to use. It does, however, have some limitations relative to the ATmega328P on an Arduino Uno. There are fewer pins, meaning you cant connect as many components. Theres less flash memory (4KB or 8KB instead of 32KB), meaning your programs cant be as big. Theres less RAM (256 or 512 bytes instead of 2KB), meaning you cant store as much data. And theres no hardware serial port or I2C port (Wire library), making communication trickier. (There are workarounds, like the SoftwareSerial library or the TinyWire library, but theyre not as robust and flexible.)
The following Arduino commands should be supported:
pinMode()
digitalWrite()
digitalRead()
analogRead()
analogWrite()
shiftOut()
pulseIn()
millis()
micros()
delay()
delayMicroseconds()
SoftwareSerial ()
pinMode()
digitalWrite()
digitalRead()
analogRead()
analogWrite()
shiftOut()
pulseIn()
millis()
micros()
delay()
delayMicroseconds()
SoftwareSerial ()
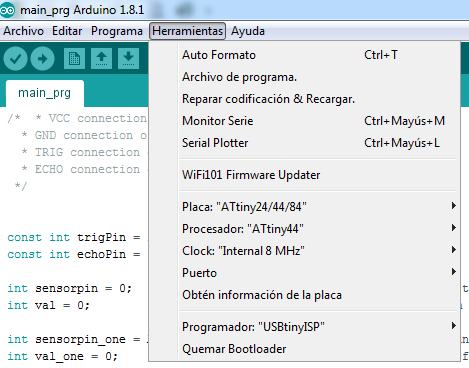
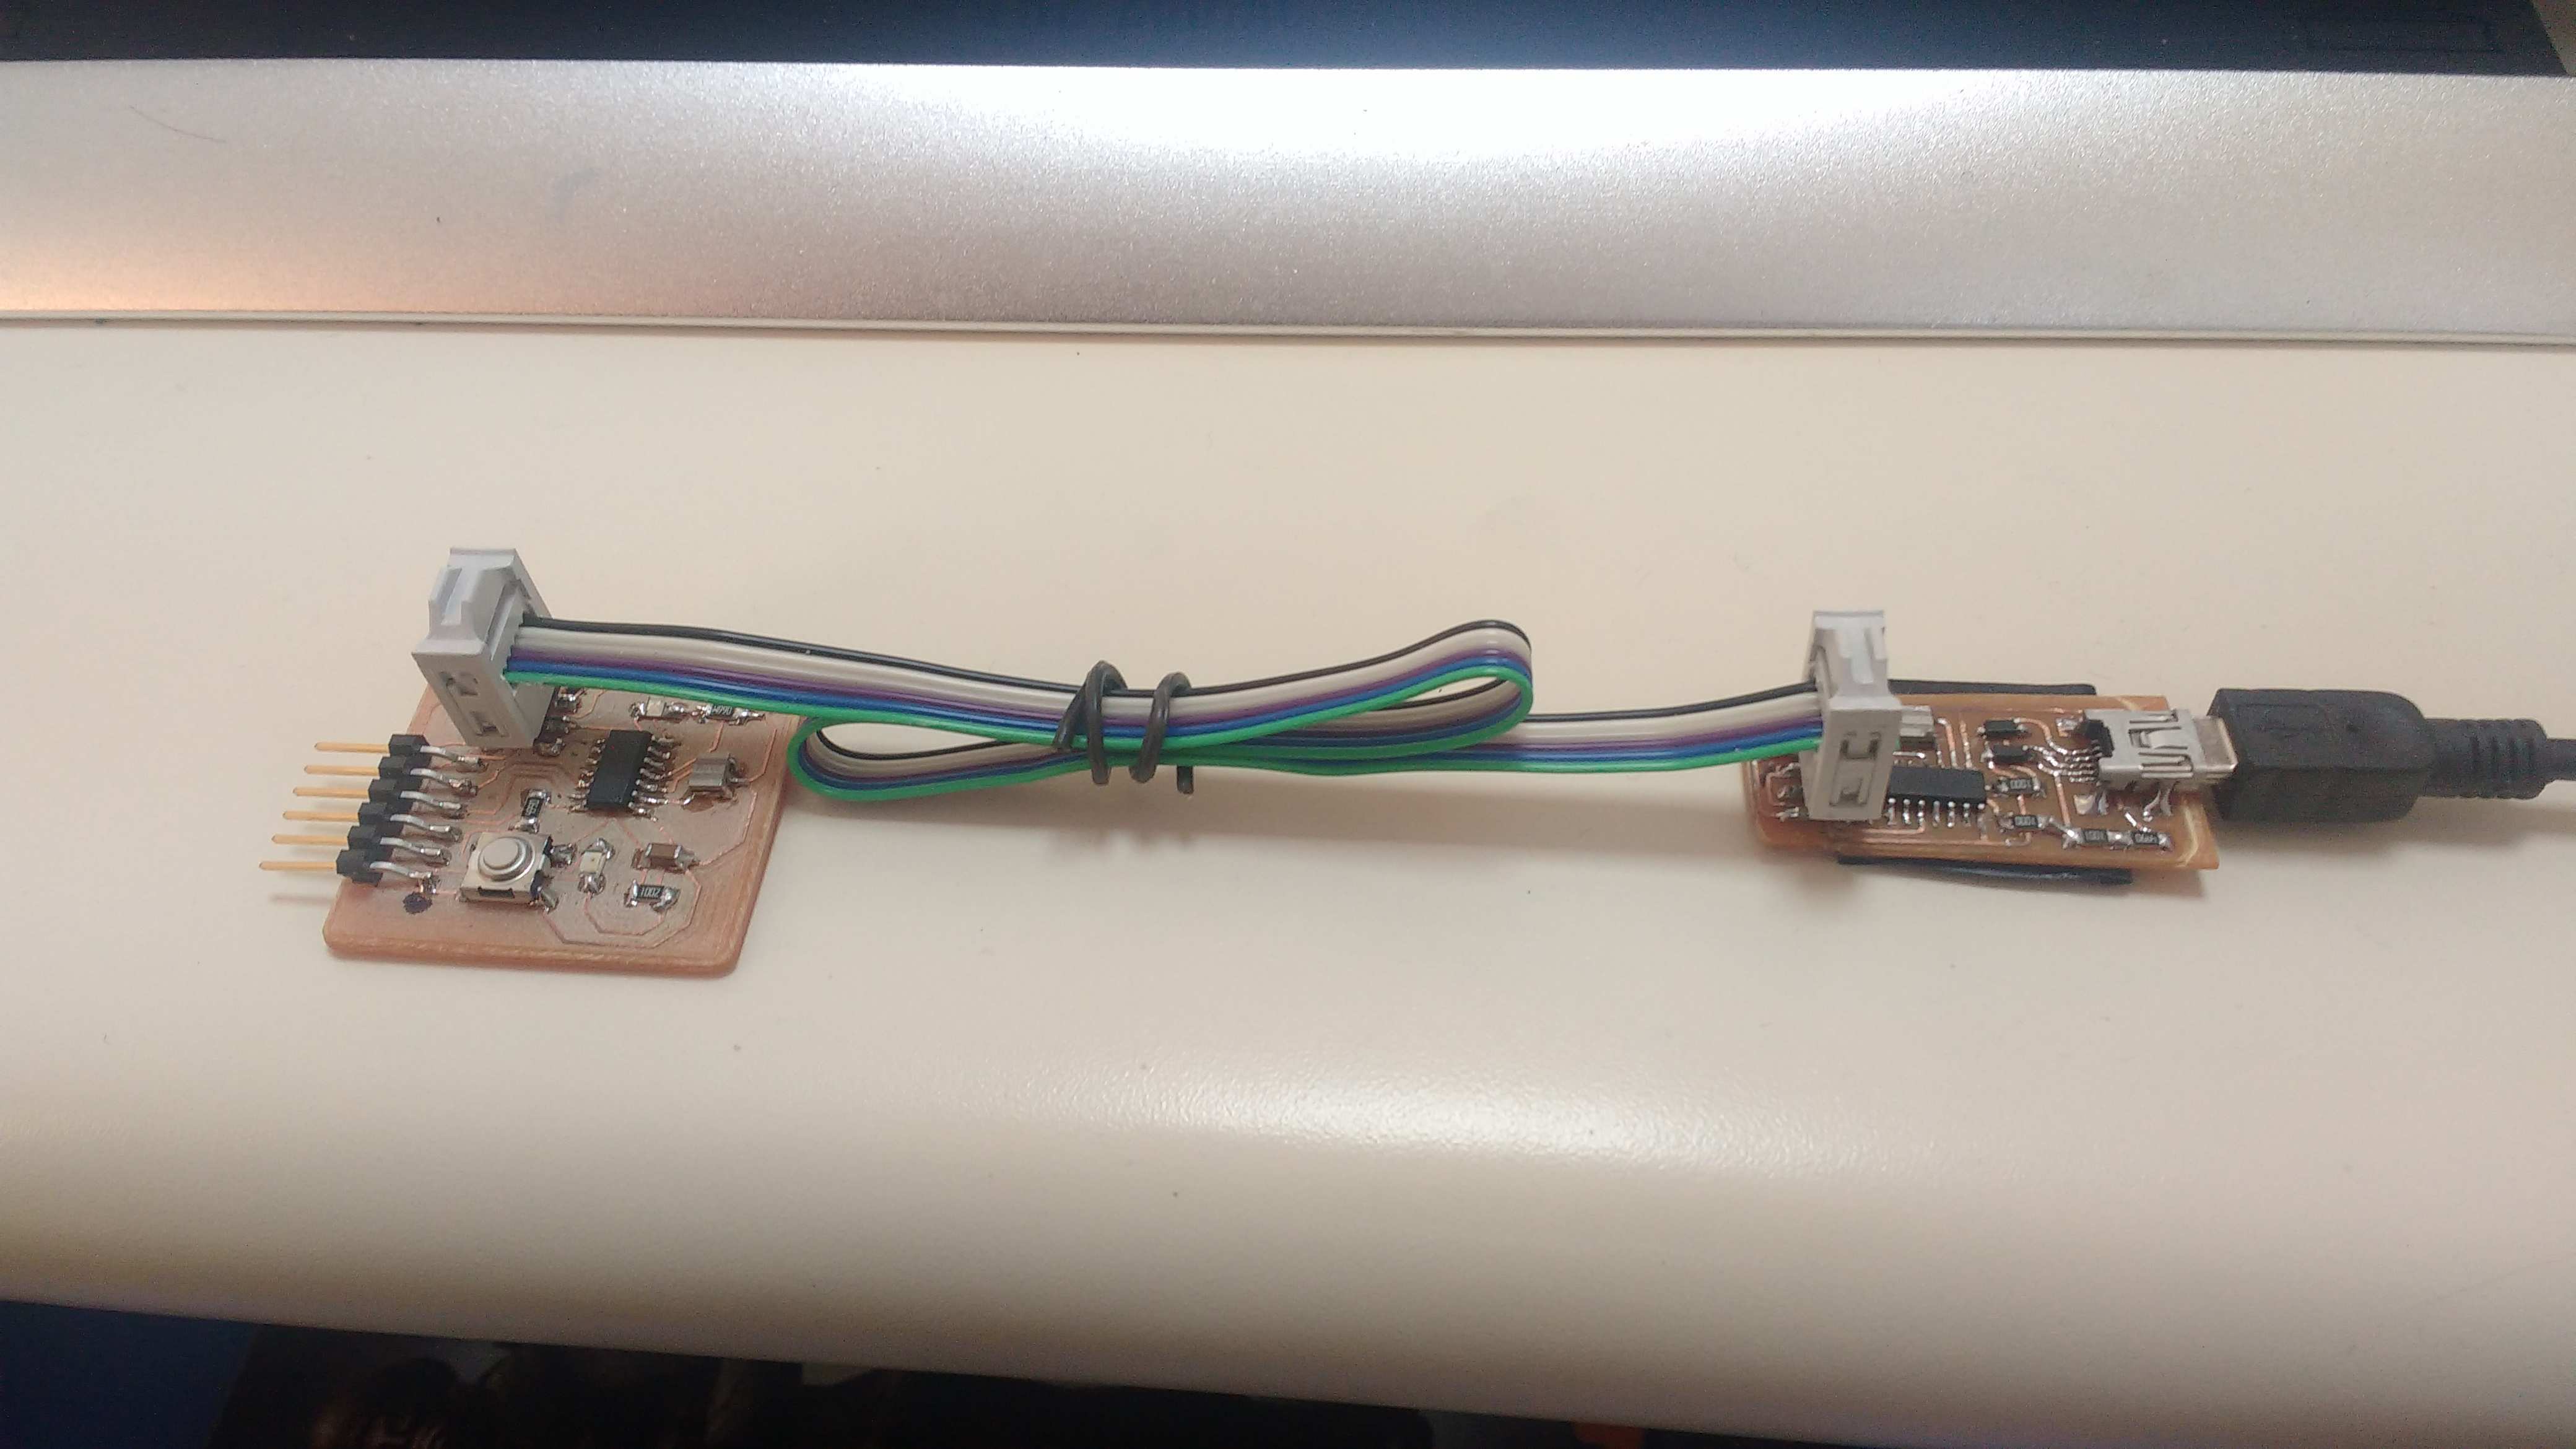
So, to program the board is necessary burn a bootloader, just to configure the arduino IDE I interface, with board: Attiny24/44/84; Processor: Attiny44; Clock: Internal 8 MHz; and the programmer in this case is my FAB ISP, configured as USBtinyISP. First clic on Burn Bootloader and next with the command upload transfer the code compiled to the Hello World board.
Finally heres the video with the program running over the Attiny44 processor. At right side, the simple code to do something with the led output.
int j=10;
void setup() {
pinMode(3, OUTPUT);
}
void loop() {
for (int i=1; i <= j; i++){
digitalWrite(3, HIGH);
delay(100);
}
delay(1000);
j++;
if (j=10) {j=1;}
}
void setup() {
pinMode(3, OUTPUT);
}
void loop() {
for (int i=1; i <= j; i++){
digitalWrite(3, HIGH);
delay(100);
}
delay(1000);
j++;
if (j=10) {j=1;}
}
Additionally, to design the output for my final project, i thought that all the design is based on a simply principle, a signal to operate or a leds trip or a vibrating motor or a buzzer in all that cases just changes the output device.
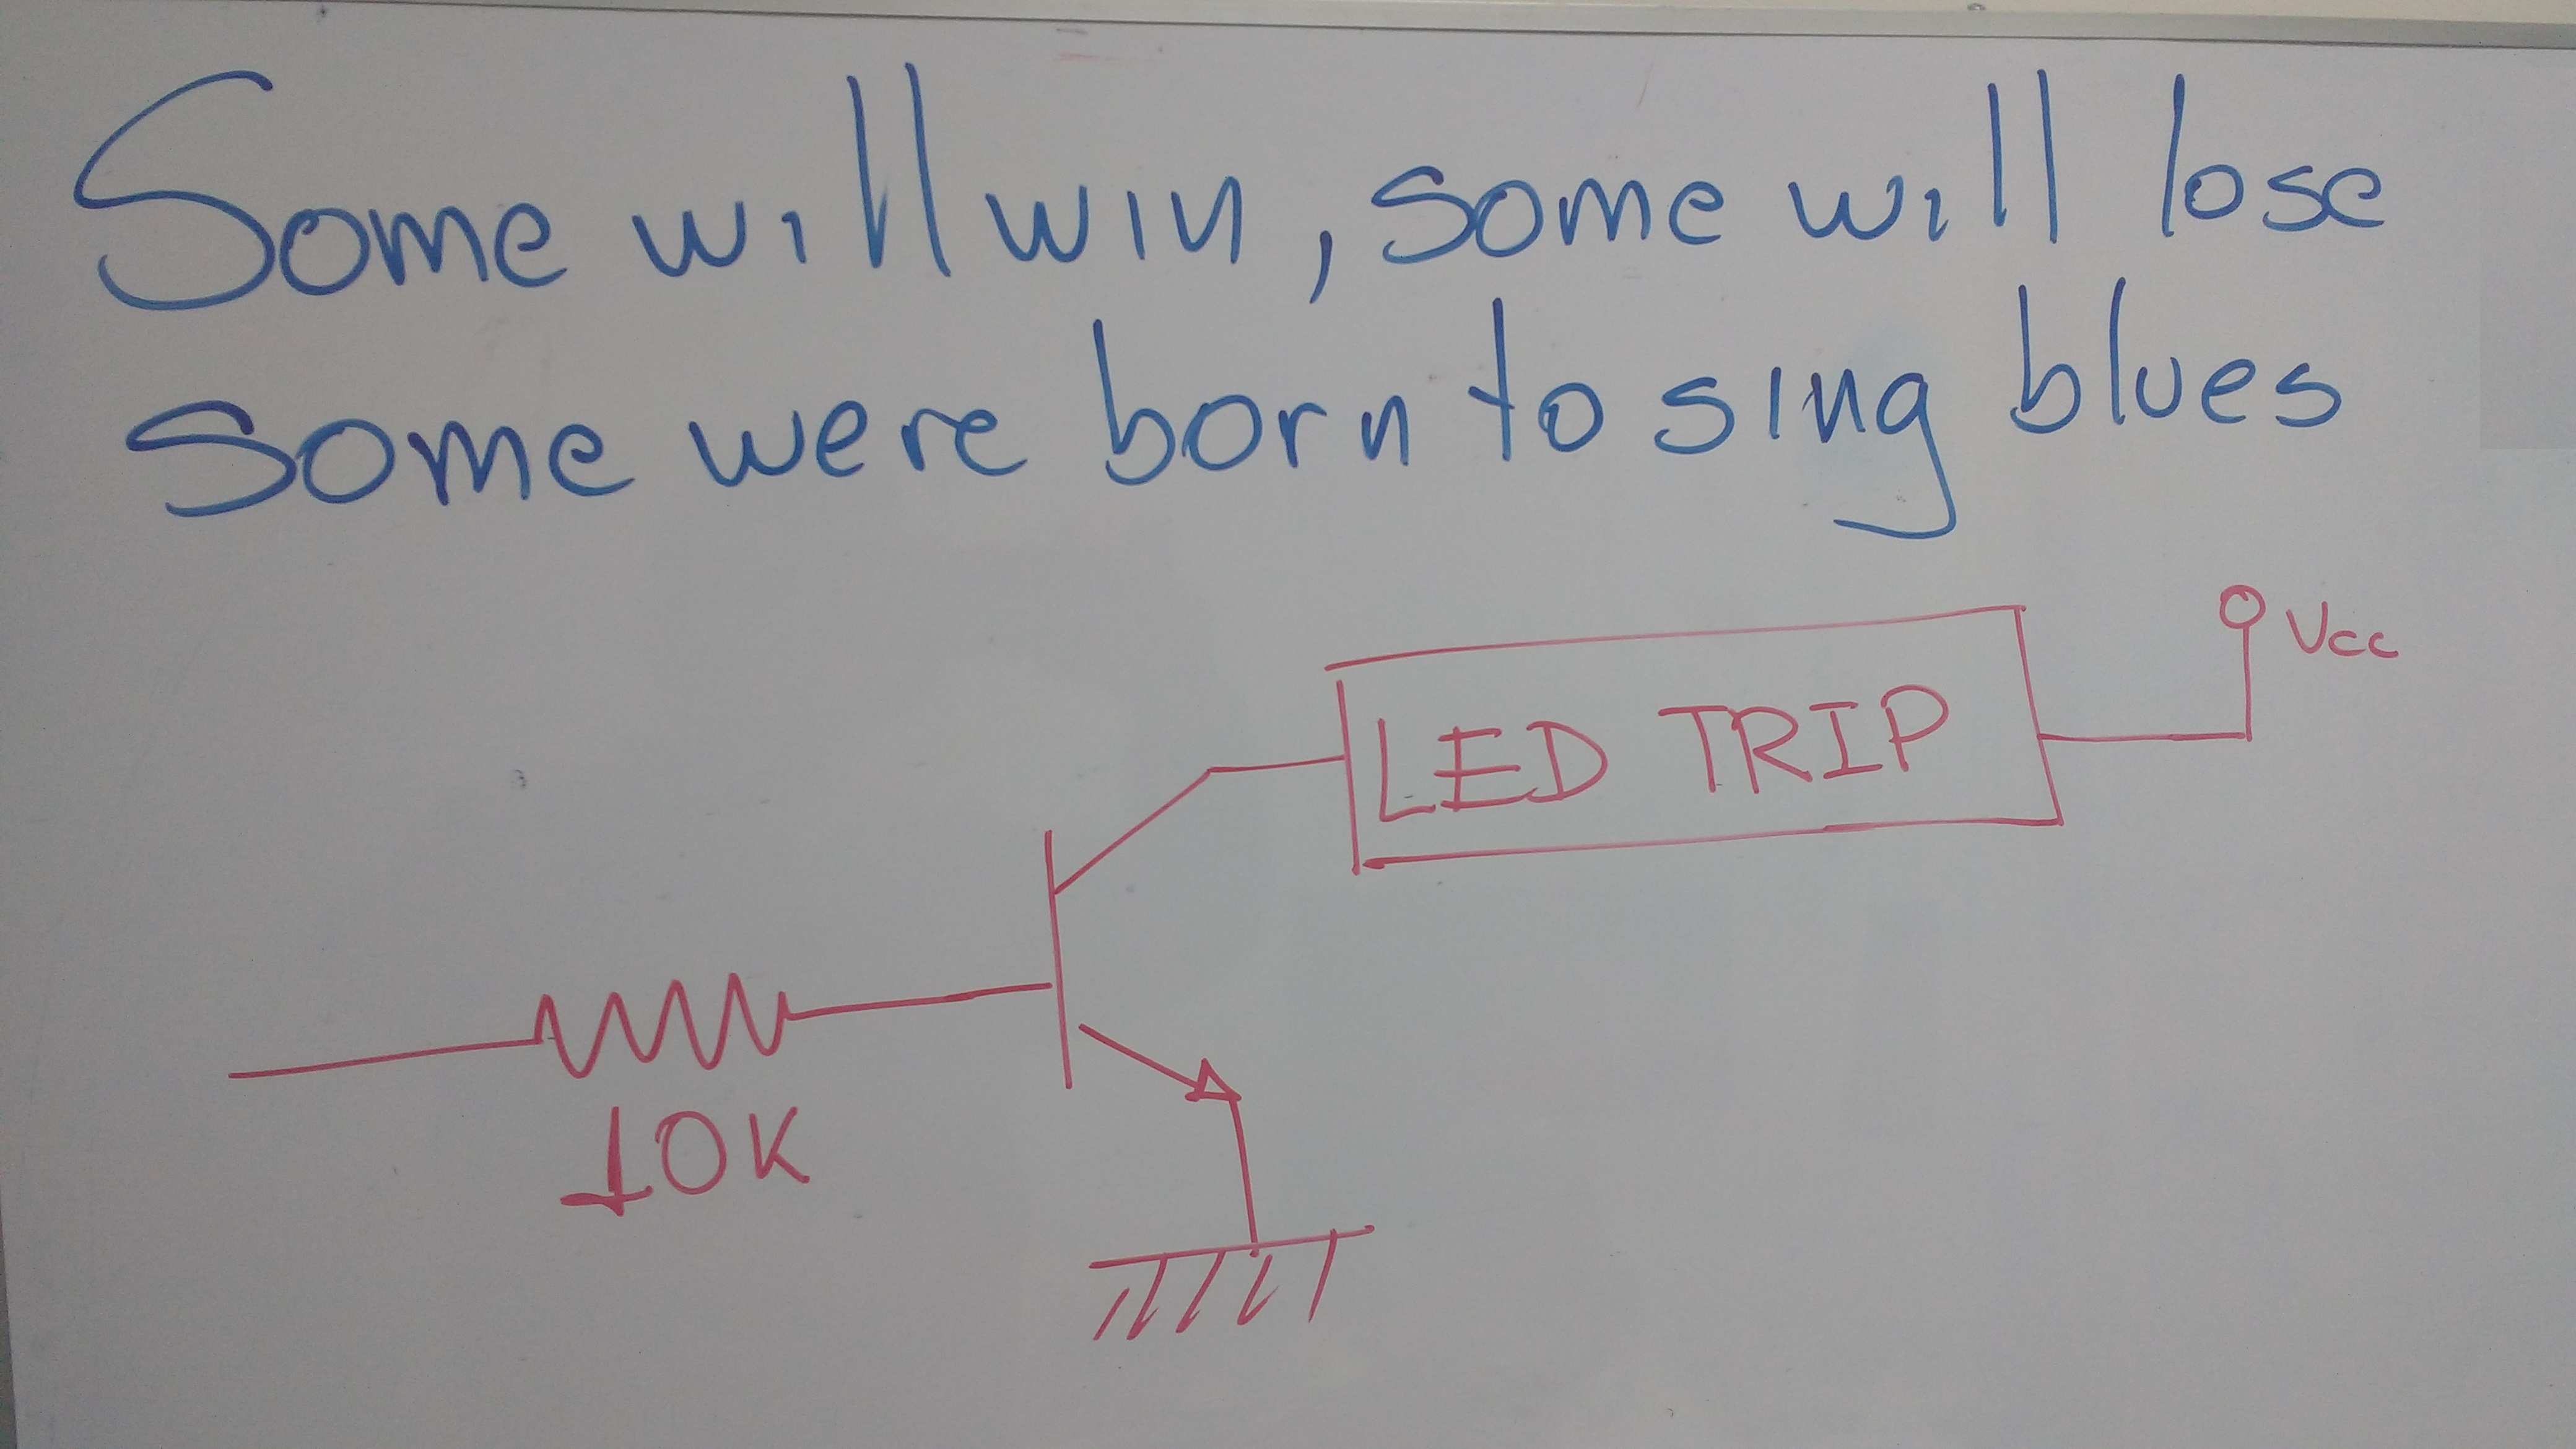

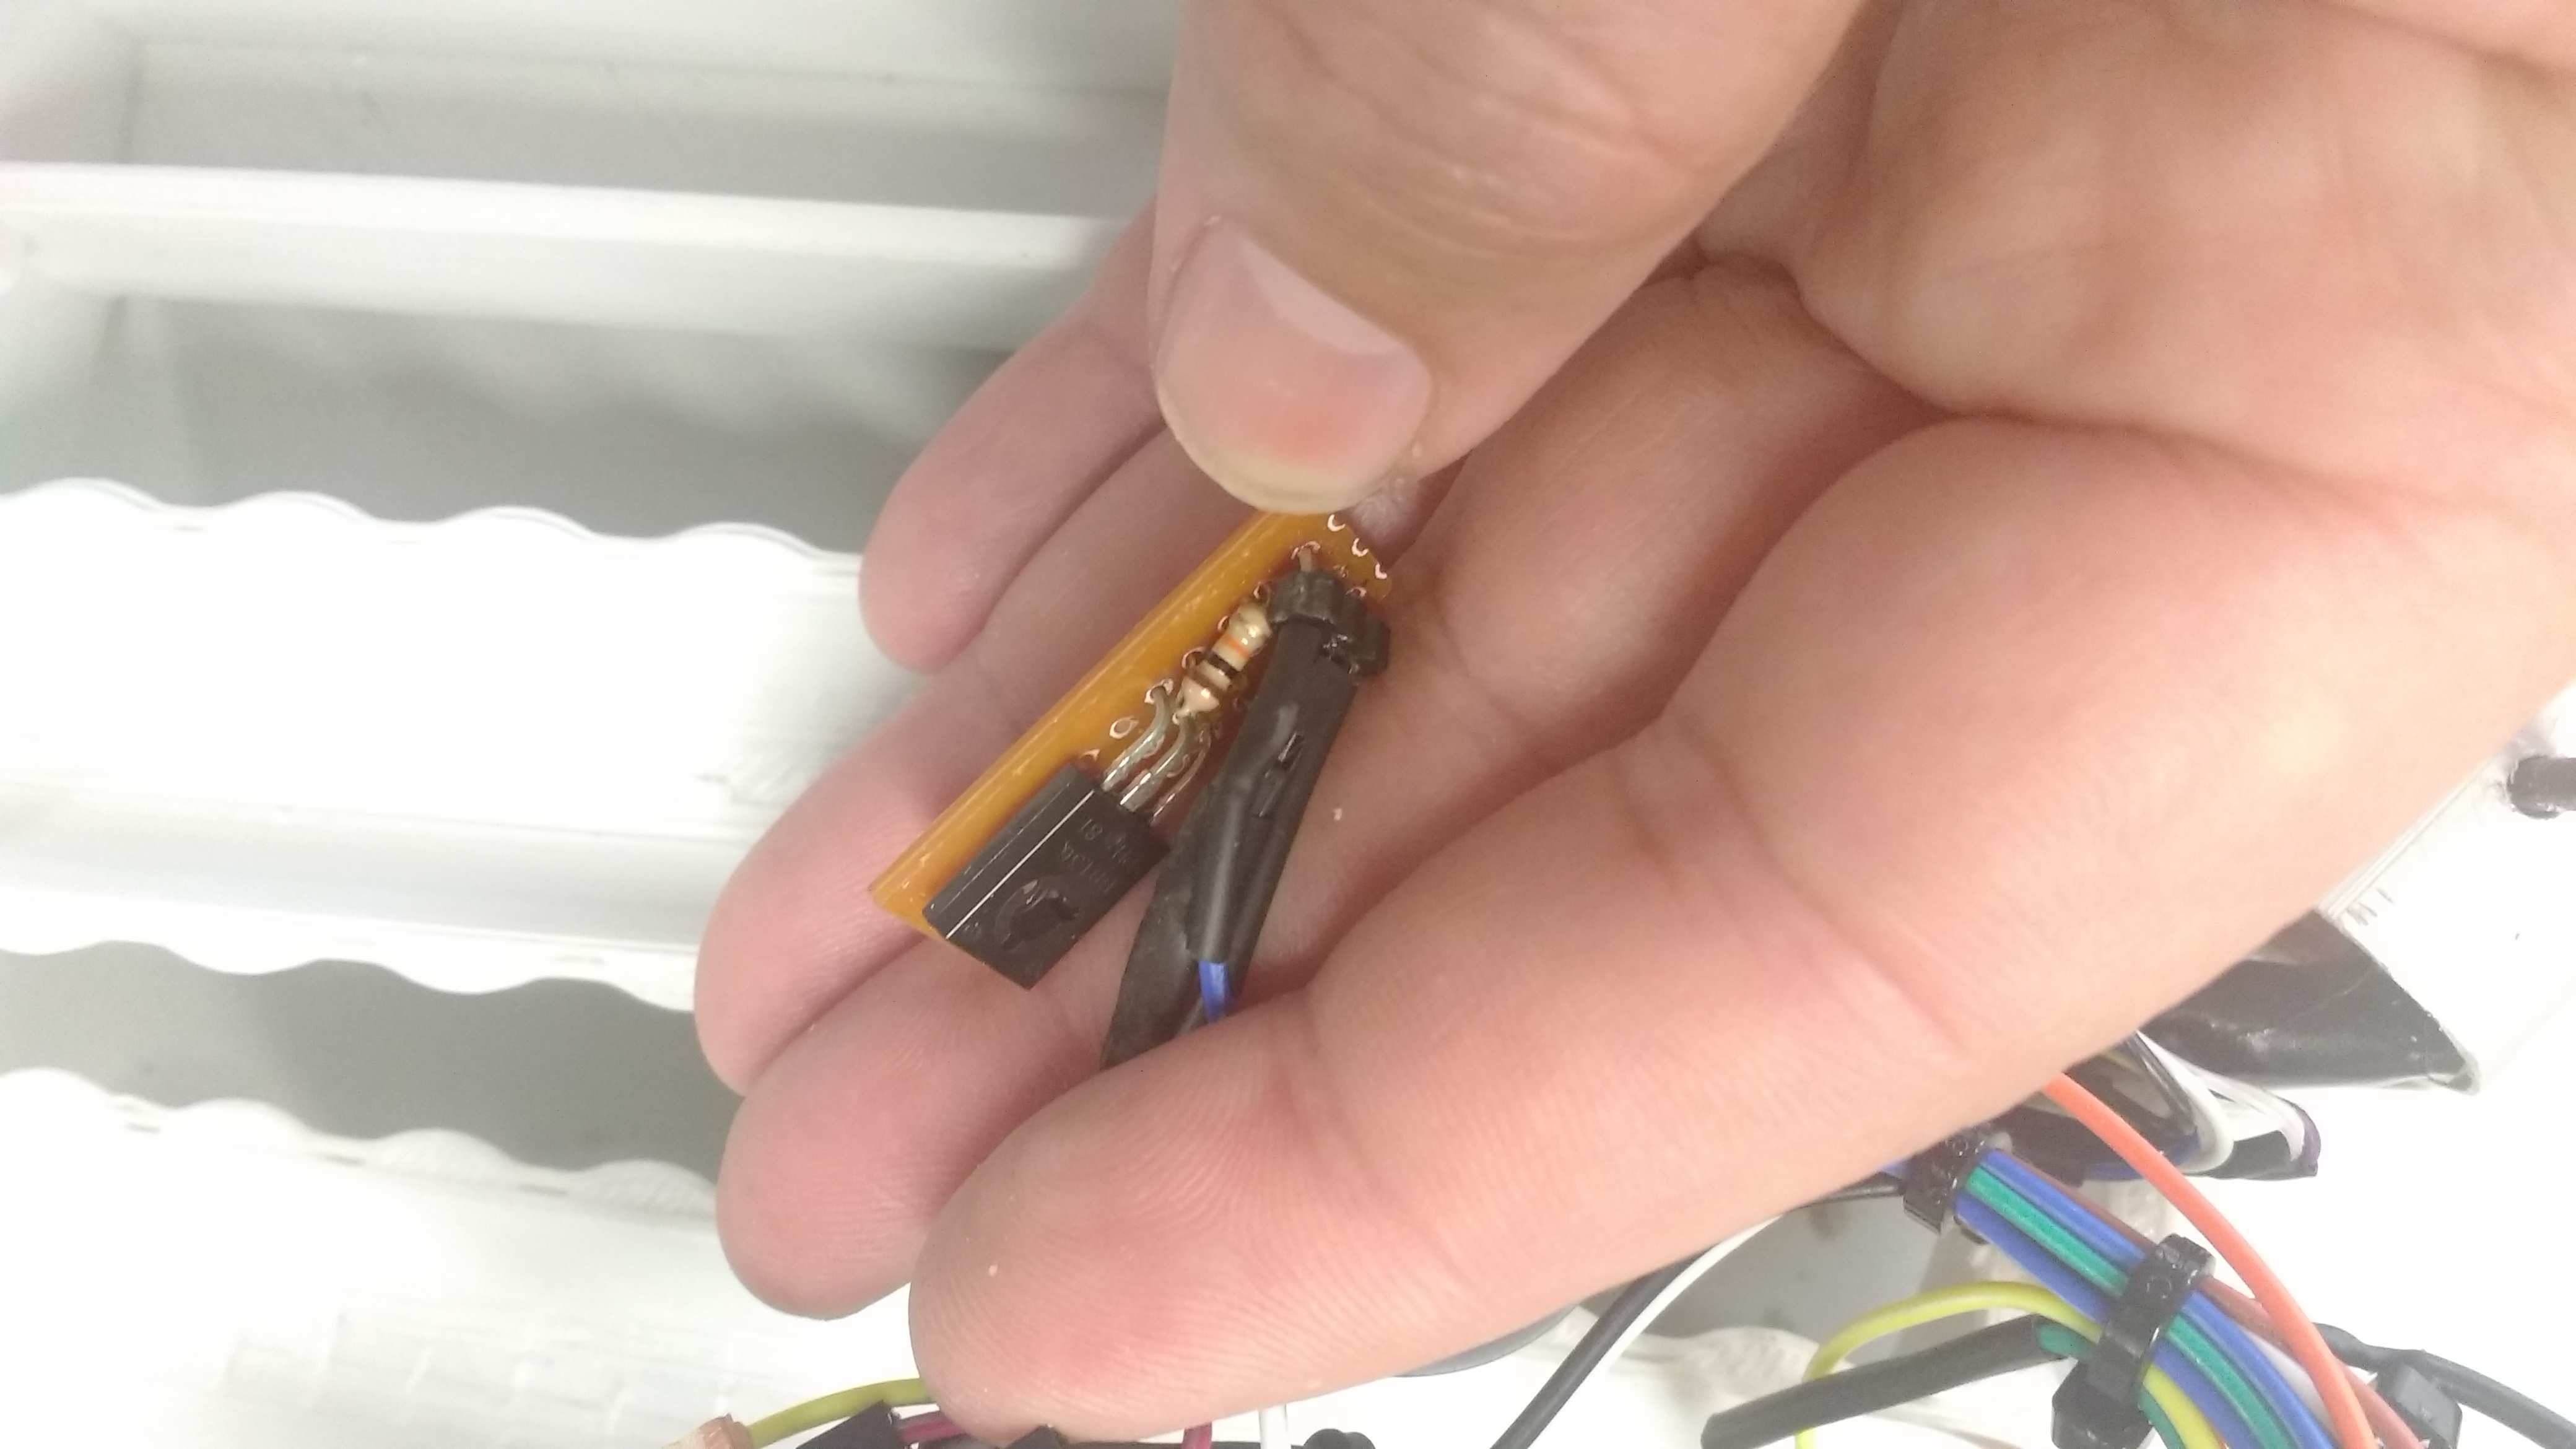
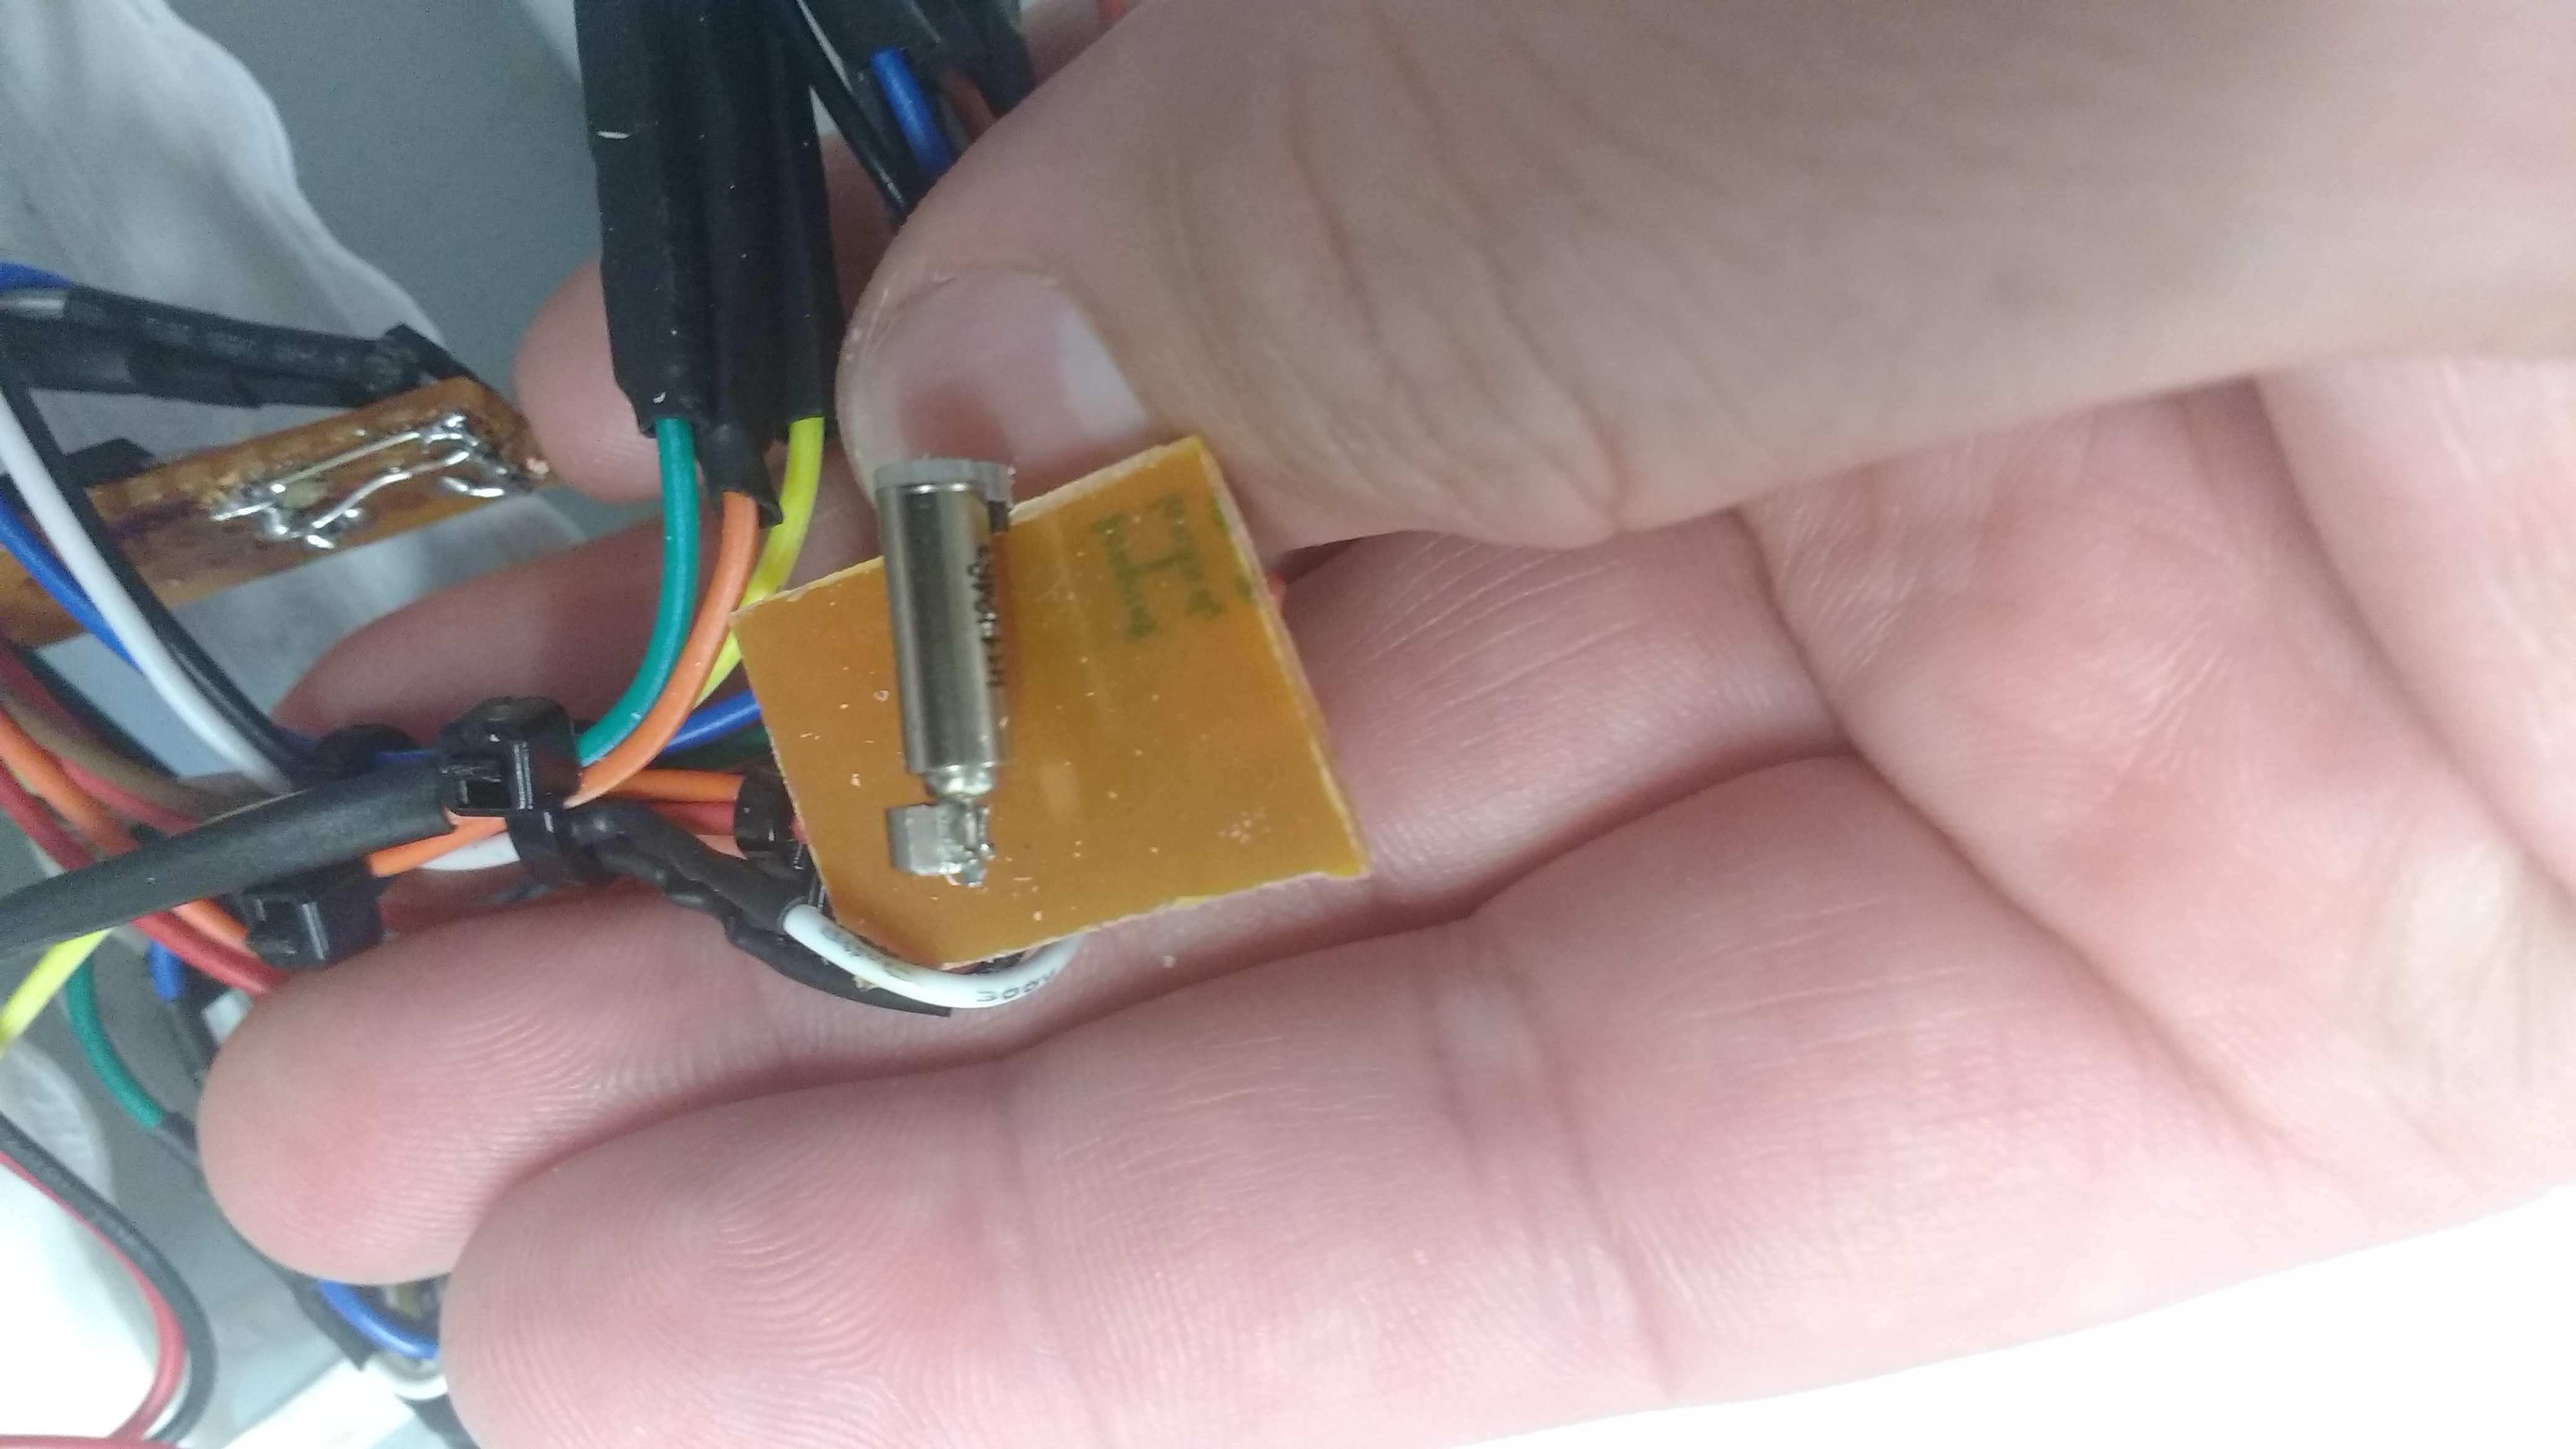
Here are the output drivers of my final project.