3D printing is the process of making 3D models from a design file. Similar to printing 2D designs onto a paper here we print 3D designs. The most common technique is the fused deposition method. This process of making 3D structures is called additive manufacturing.
Fused deposition method uses primarily plastic, which melts upon heating and settles when cooled. The plastic will be heated first and then extruded out as beads which will be deposited layer after layer to form the structure. Some limitations of this technique is low resolution, long printing time etc.
3D Printing Machines
We have two 3D Printing machines at our lab.
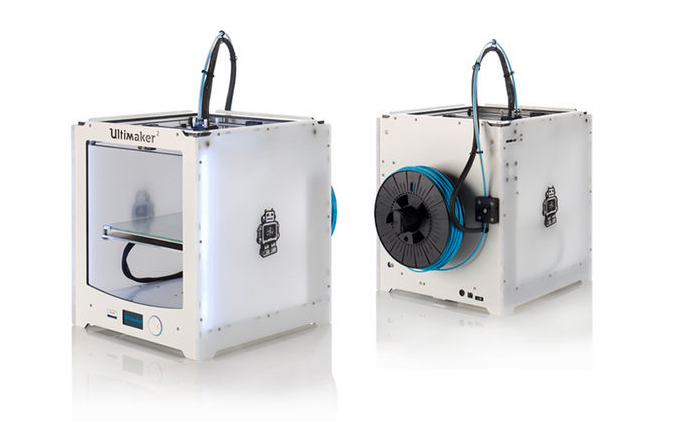
(i)Ultimaker 2
In Ultimaker 2, print technology used is fused filament fabrication(FFF). This machine has a build volume of 223X223X205mm altogether.
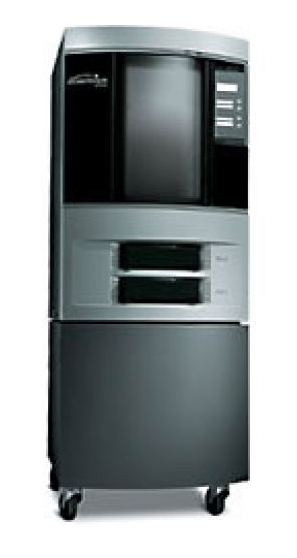
(ii)Stratasys Dimensions SST 1200
In Stratasys Dimensions SST 1200, ABS plastics are used to build the model and has a double supported material as support. It is powered by FDM Technology and can give a print of fine resolution or faster printing, with layer thicknesses of 0.254 mm (0.010 in.) or 0.33 mm (0.013 in).
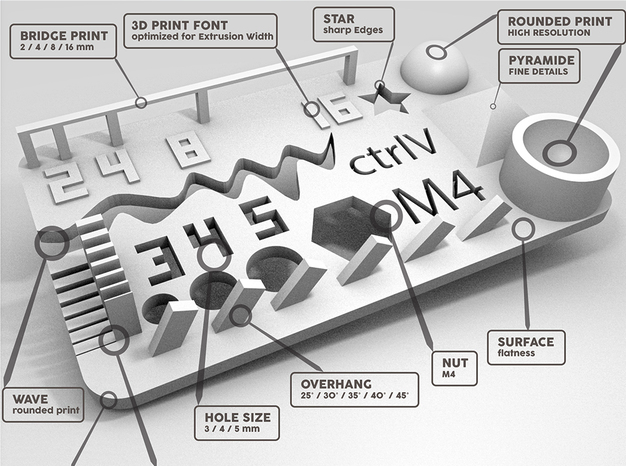
Testing the limits of printer (Group Work)
This assignment is to test the capability of 3d printer that we are going to work with. Here this is our group assignment and we downloaded file from Thingverse. The downloaded file was in .stl format and we opened that file in CURA. CURA which is the 3D printing software that shows various options for setting up the object that is to be printed.
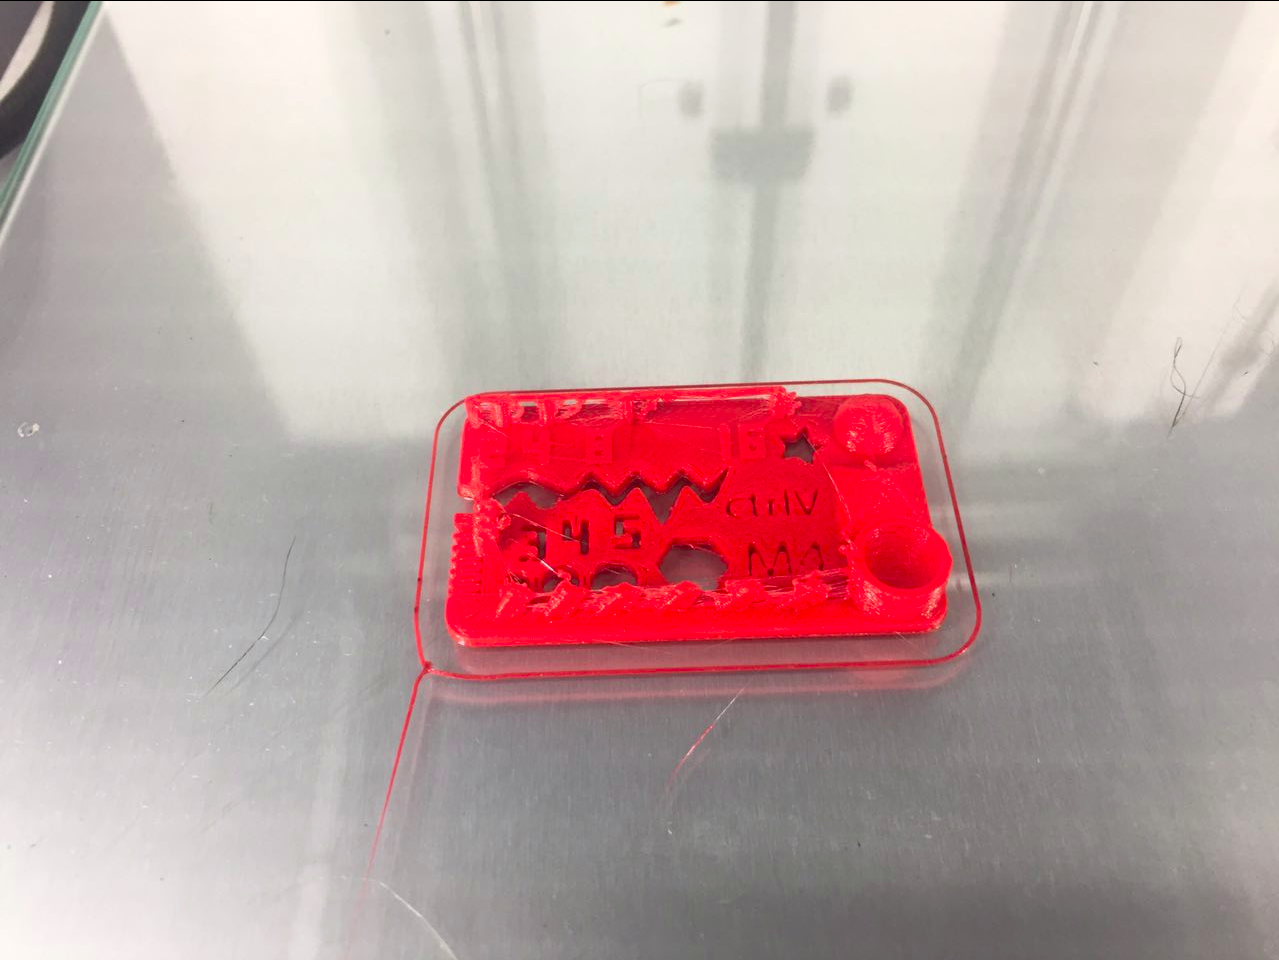
First we printed it by using Black PLA plastic. But it was a bit difficult to visualise and then we use red PLA for printing. Red was ok for visualising and by this we got familiarise with the settings in machine and also how to change the PLA palstic. Our machine actually got some kind of problem on canging the PLA plastic. Main issue is when black PLA is got removed. We guys faced the same problem several times.
The following are the observations:
1. size: the object is 2X50X30mm(baseplate): Size is correct with only slight variation.
2. Hole size: 3 holes: Accurate
3. Nut size: M4 Nut should fit perfectly: Fits fine
4. Fine details: pyramide, cone, all numbers: Surface not smooth
5. Rounded print: wave, hemisphere: Slightly irreegular
6. Minimum distance between walls: 0.1/0.2/0.3/0.4/0.5/0.6/0.7mm Looks neat
7. Overhang: 25°/30°/35°/40°/45°: Not perfect at the top
9. Bridge print: 2/4/8/16/mm: Looks neat
10.Surface: all the flat parts: Looks smooth as it should be
3D Printing
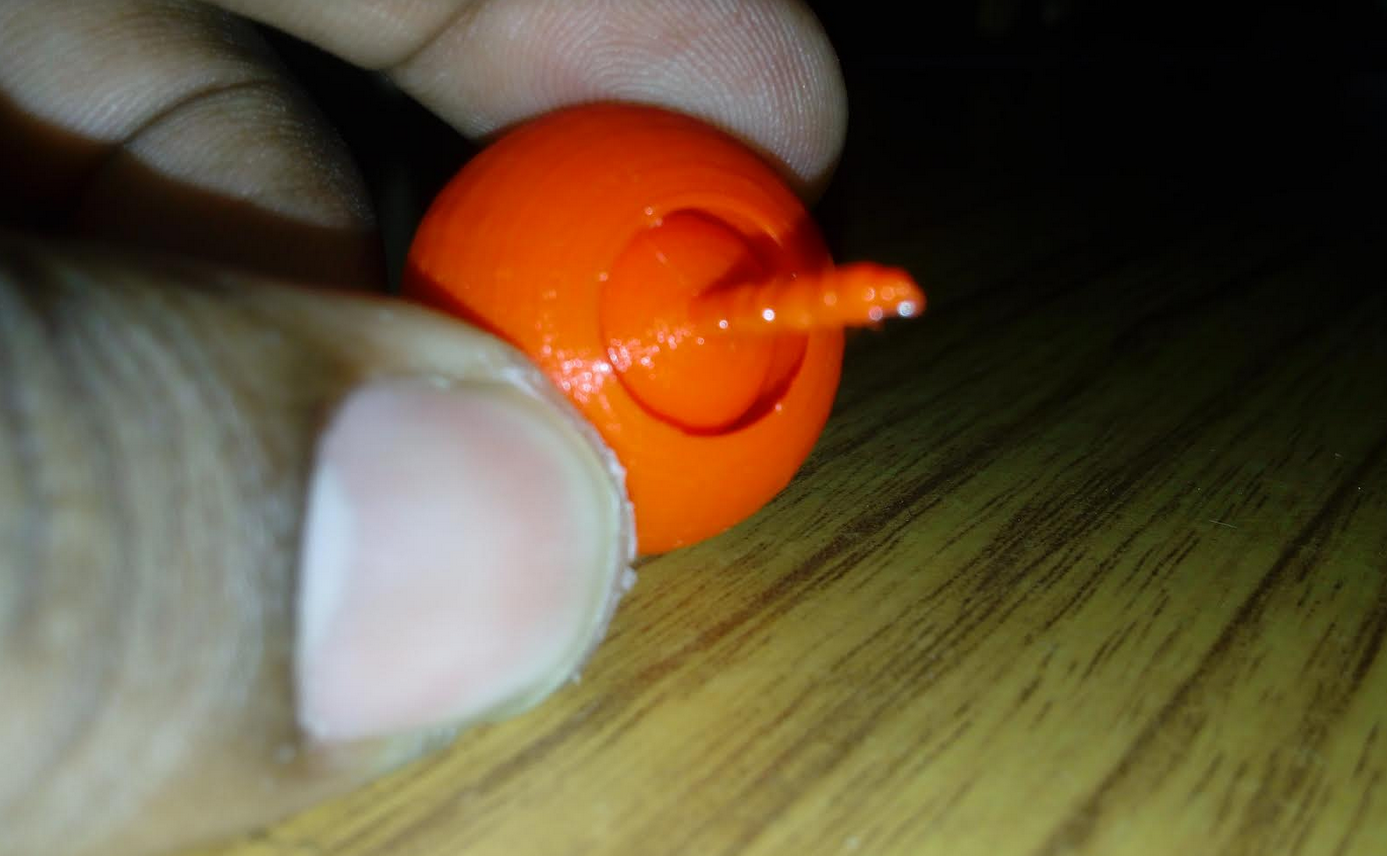
Here this week we are assigned to print an object that cannot be made subtractively. So I thought of designining a joint that can be rotated in 360 degree.
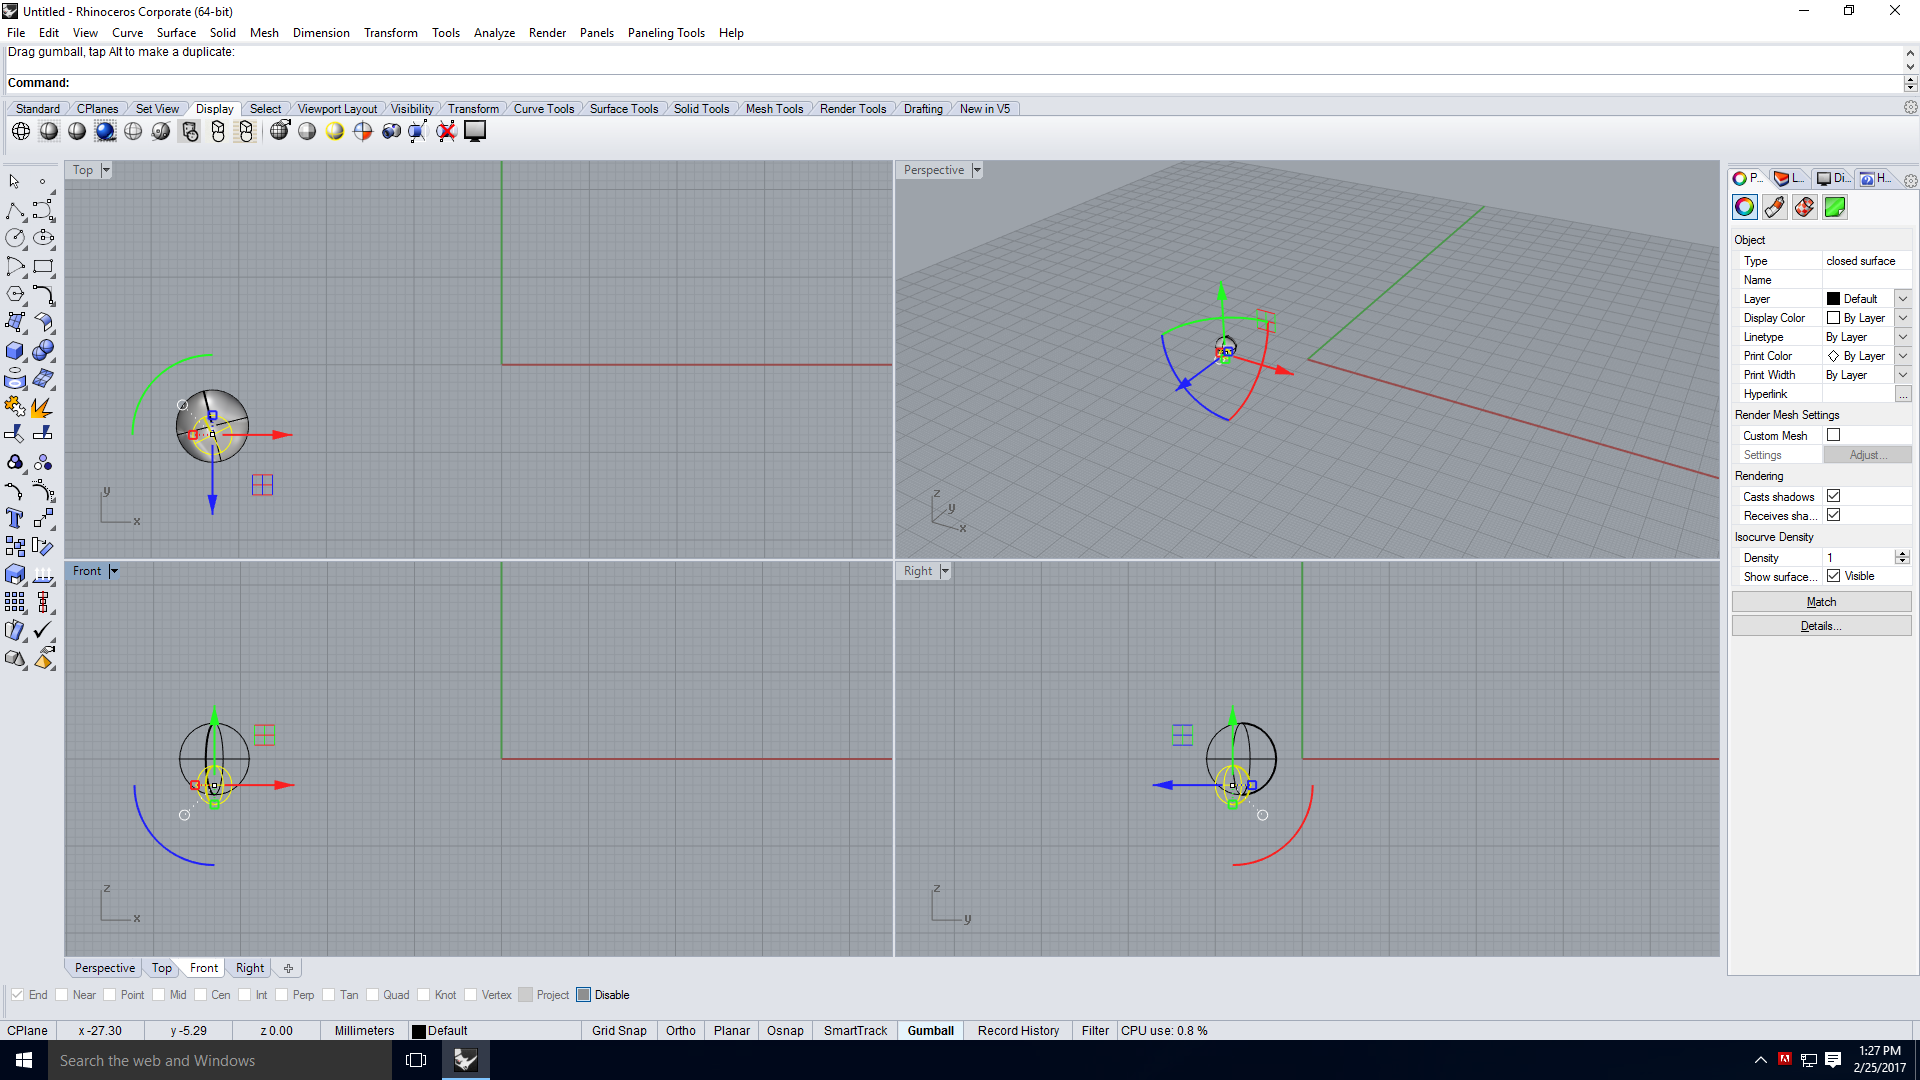
I used rhino to develop this design.
First I seselected a sphere. Then for making it hollow, I selected other and then I reduced that from the other using boolean difference.
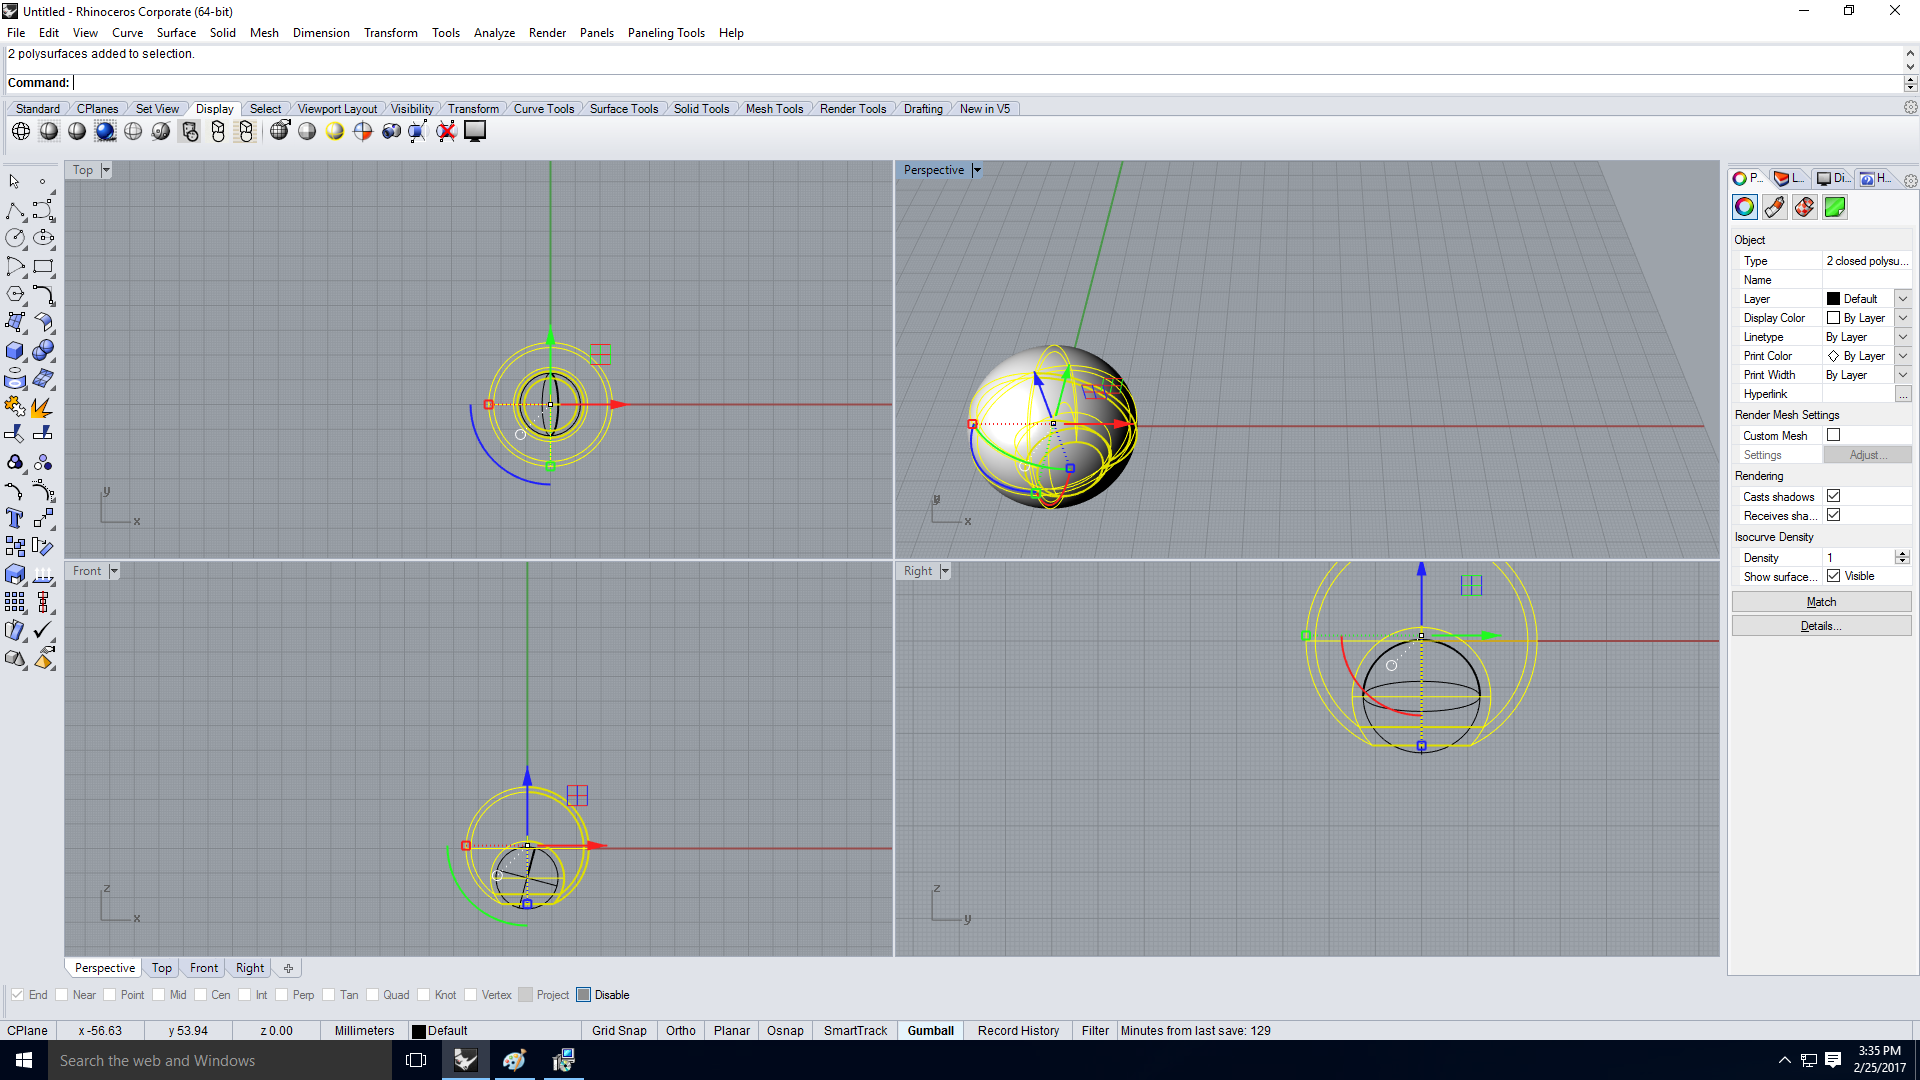
Then for the other stucture I selected another sphere. Made it hollow and then inserted into the space which I have made using boolean operation previously. and added a cylinder like structure as lever. Then I grouped it.
Then what I did was that I made the inner section to touch with the part a little bit for having some support and then I made a shade to see a preview of it.
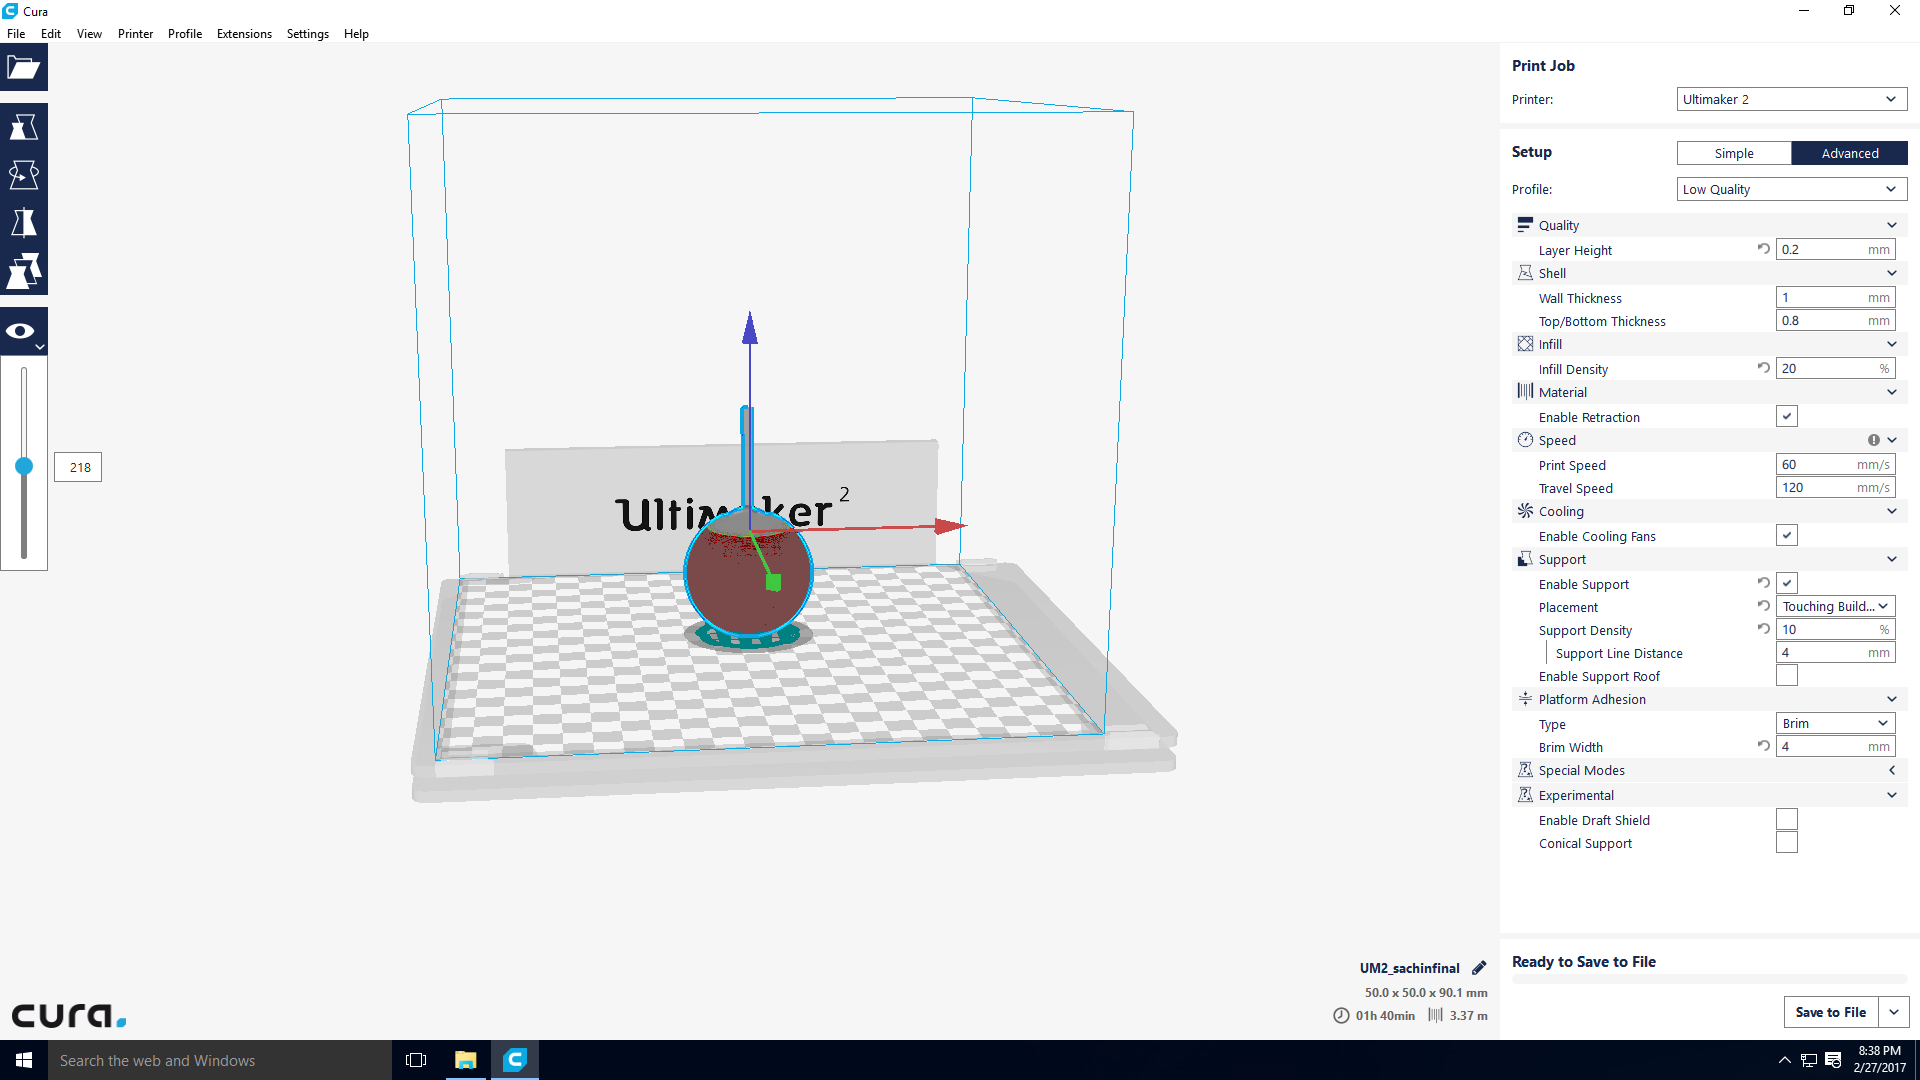
Then I opened my stl file in CURA where it shows how much time it should take for the print, print settings, the fillings and support that we have to make and all that relates to printing. Then I viewed layer by layer printing status in CURA.
Finally I set my object into the position that I need to print and then I converted into G-code format which is that used by the printer to get printed.
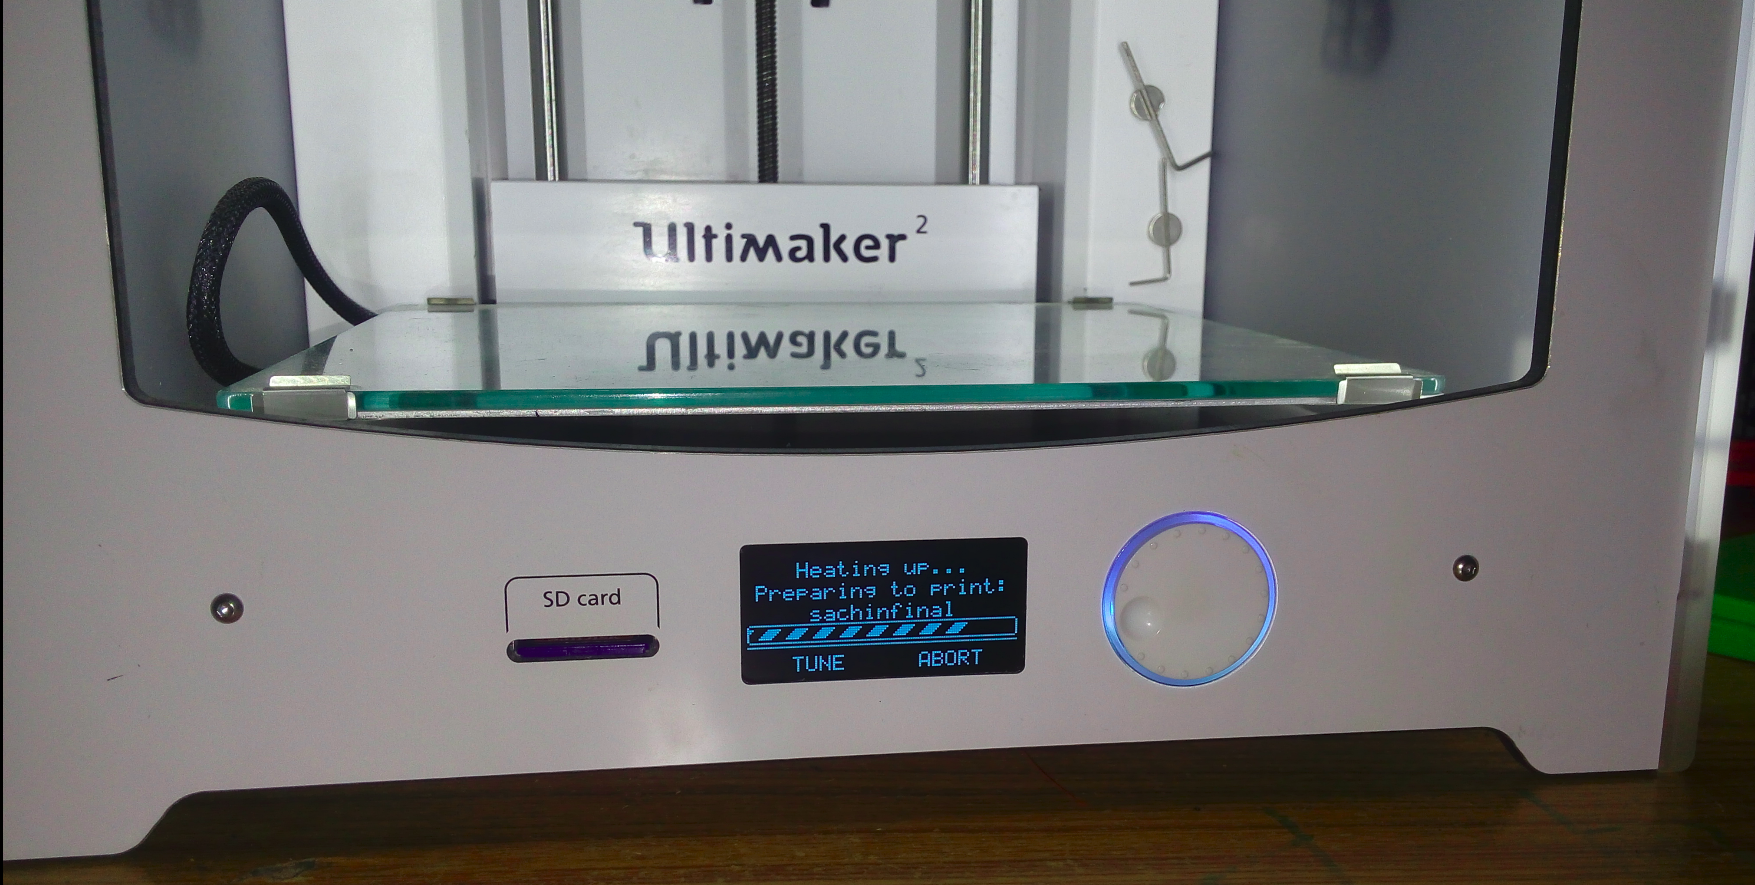
Then I selected the desired material in the machine and then I selected my file to start my work.
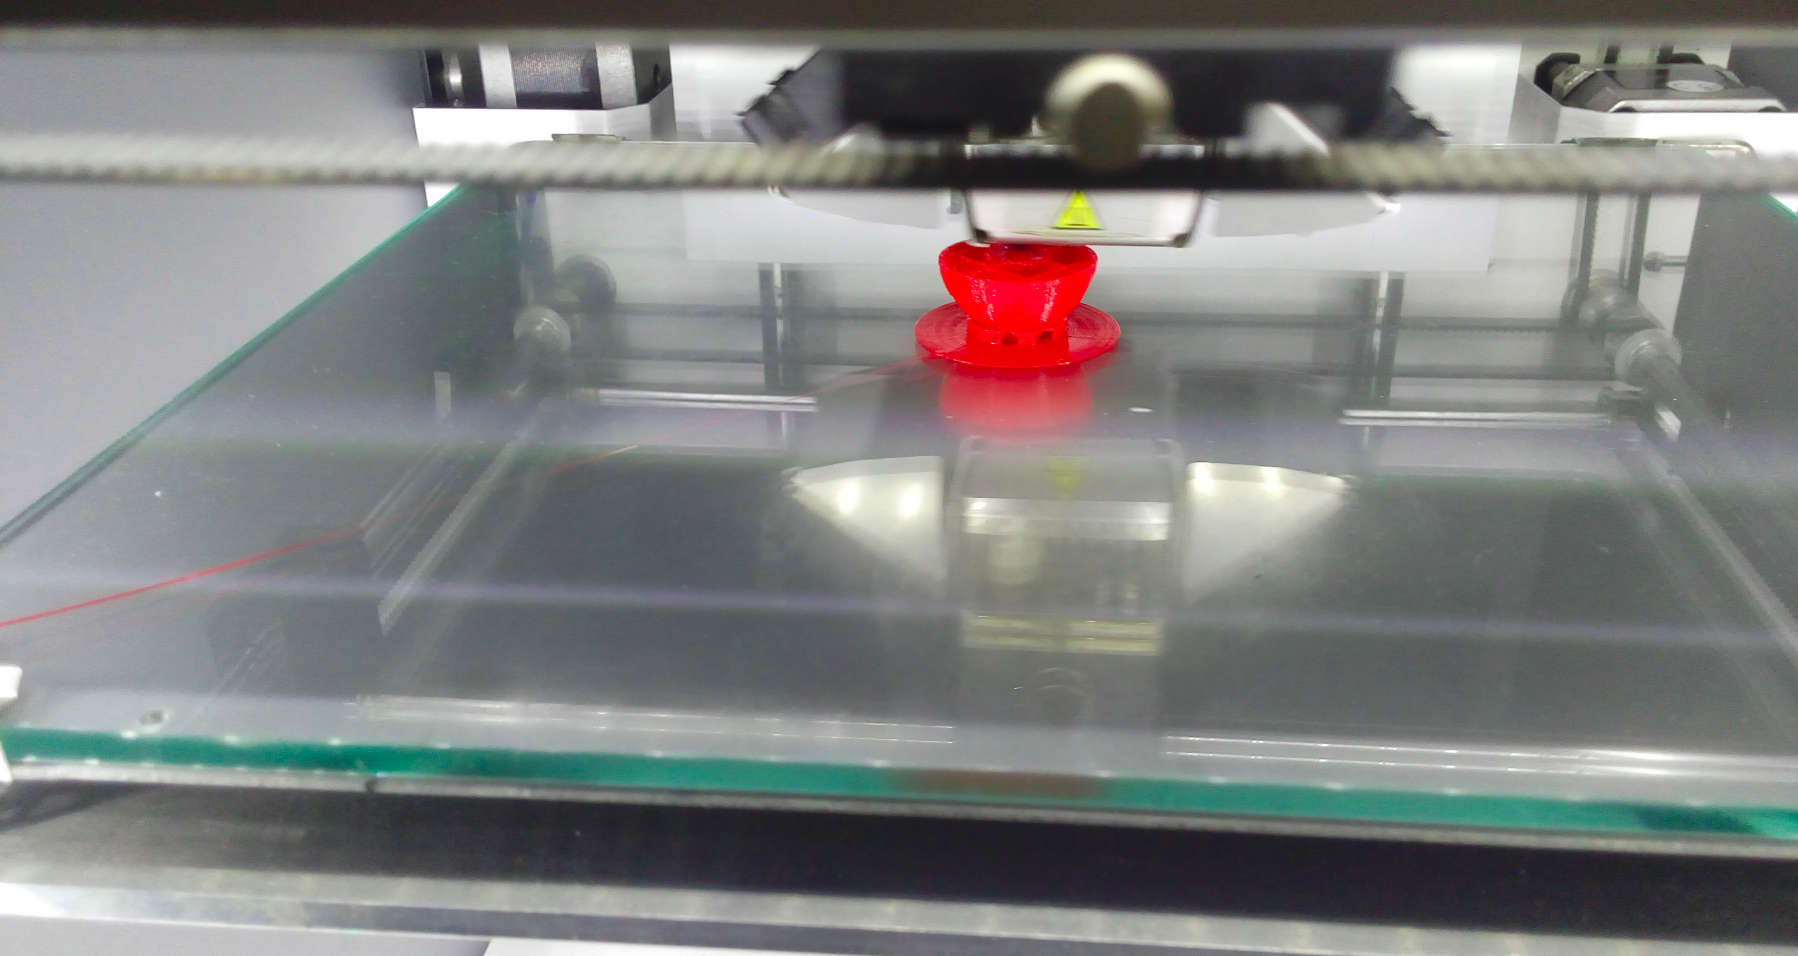
But whats happened is that the sphere like next section began to print in air and it led to mismatch the position. So I aborted the process. By then one and a half hours have completed.That object was almost 5X5cm size
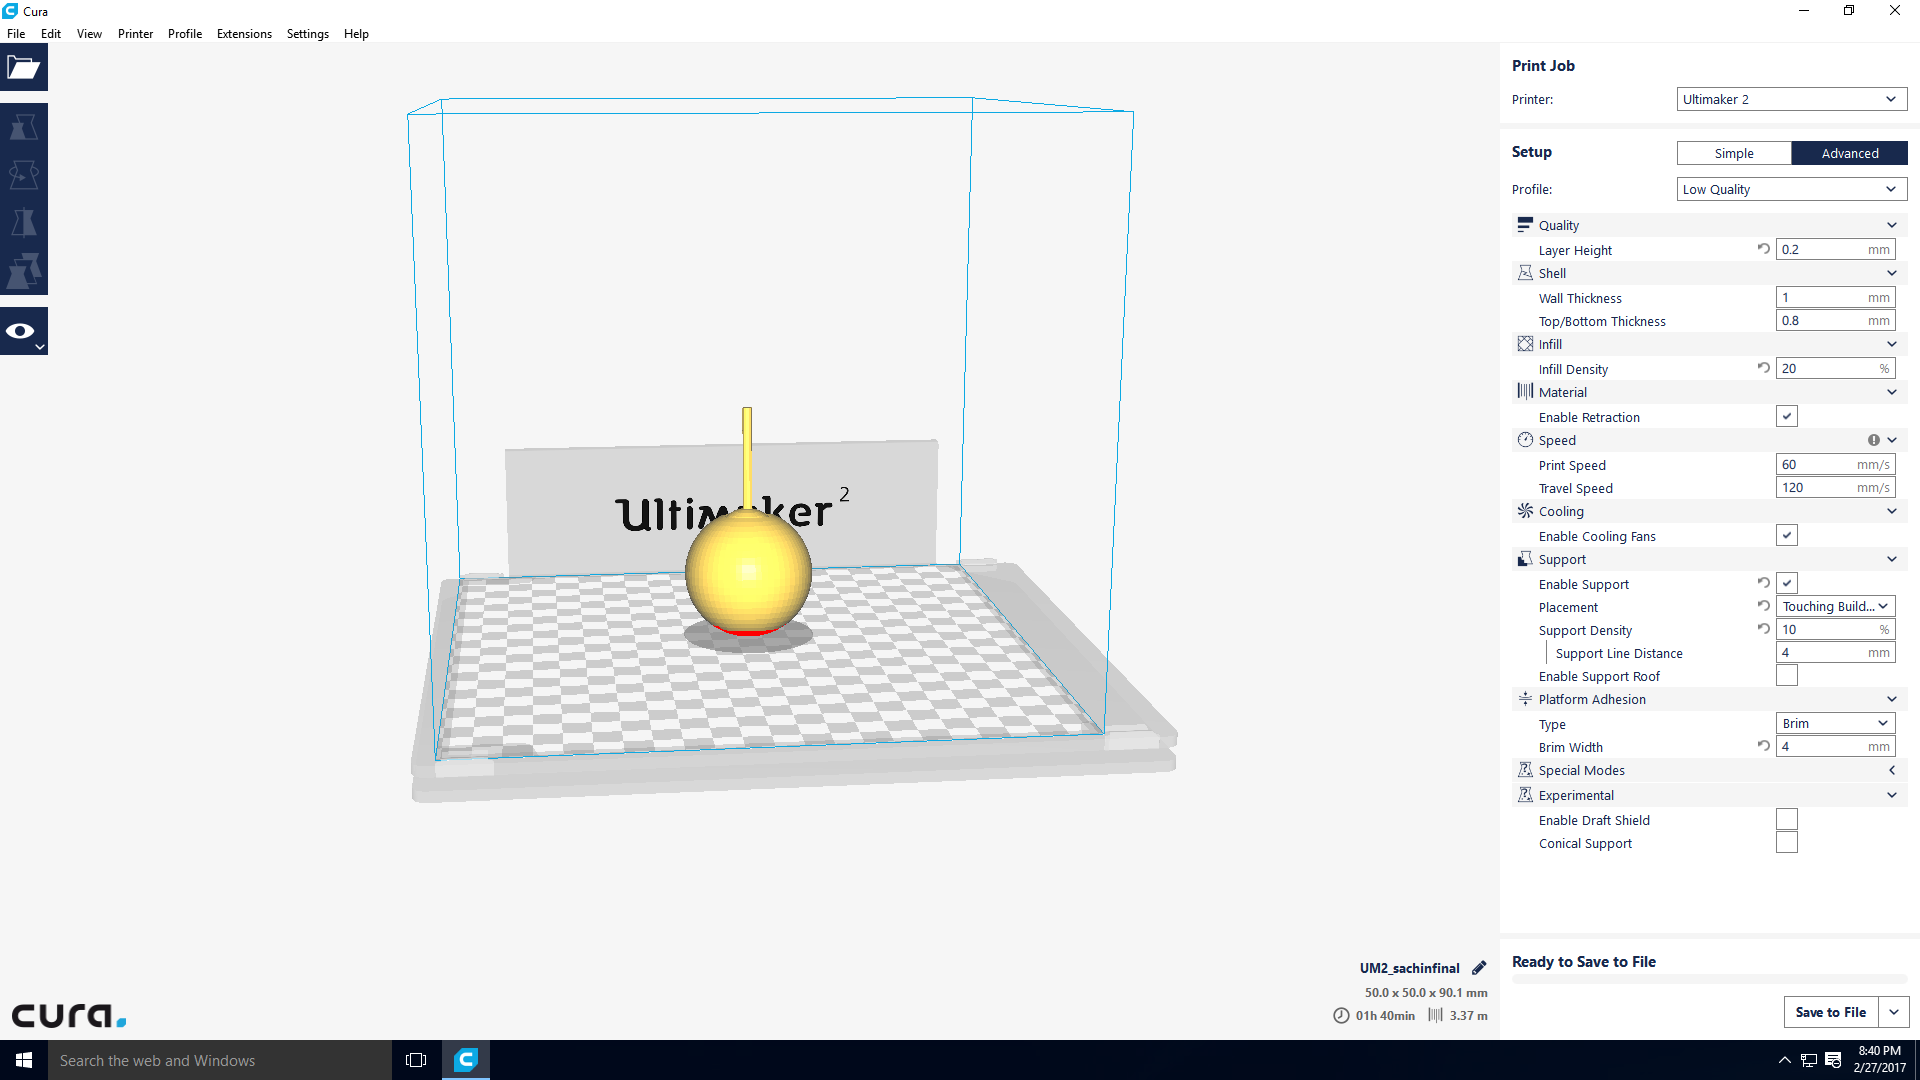
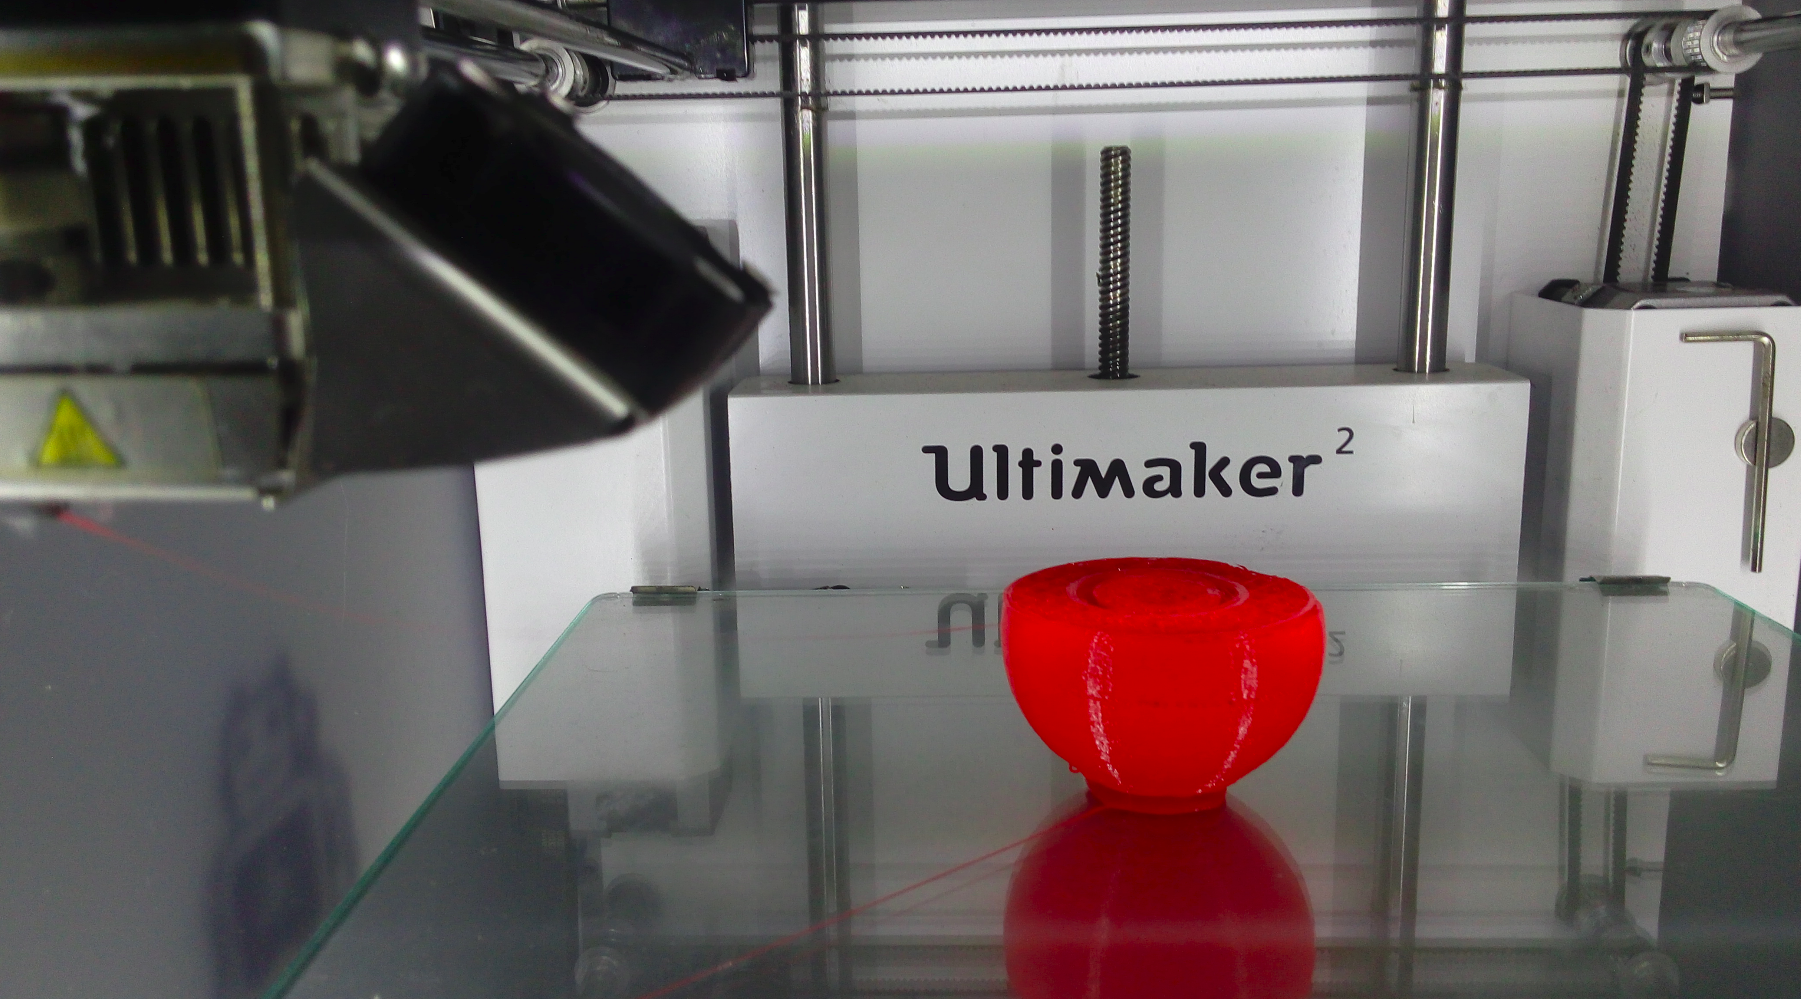
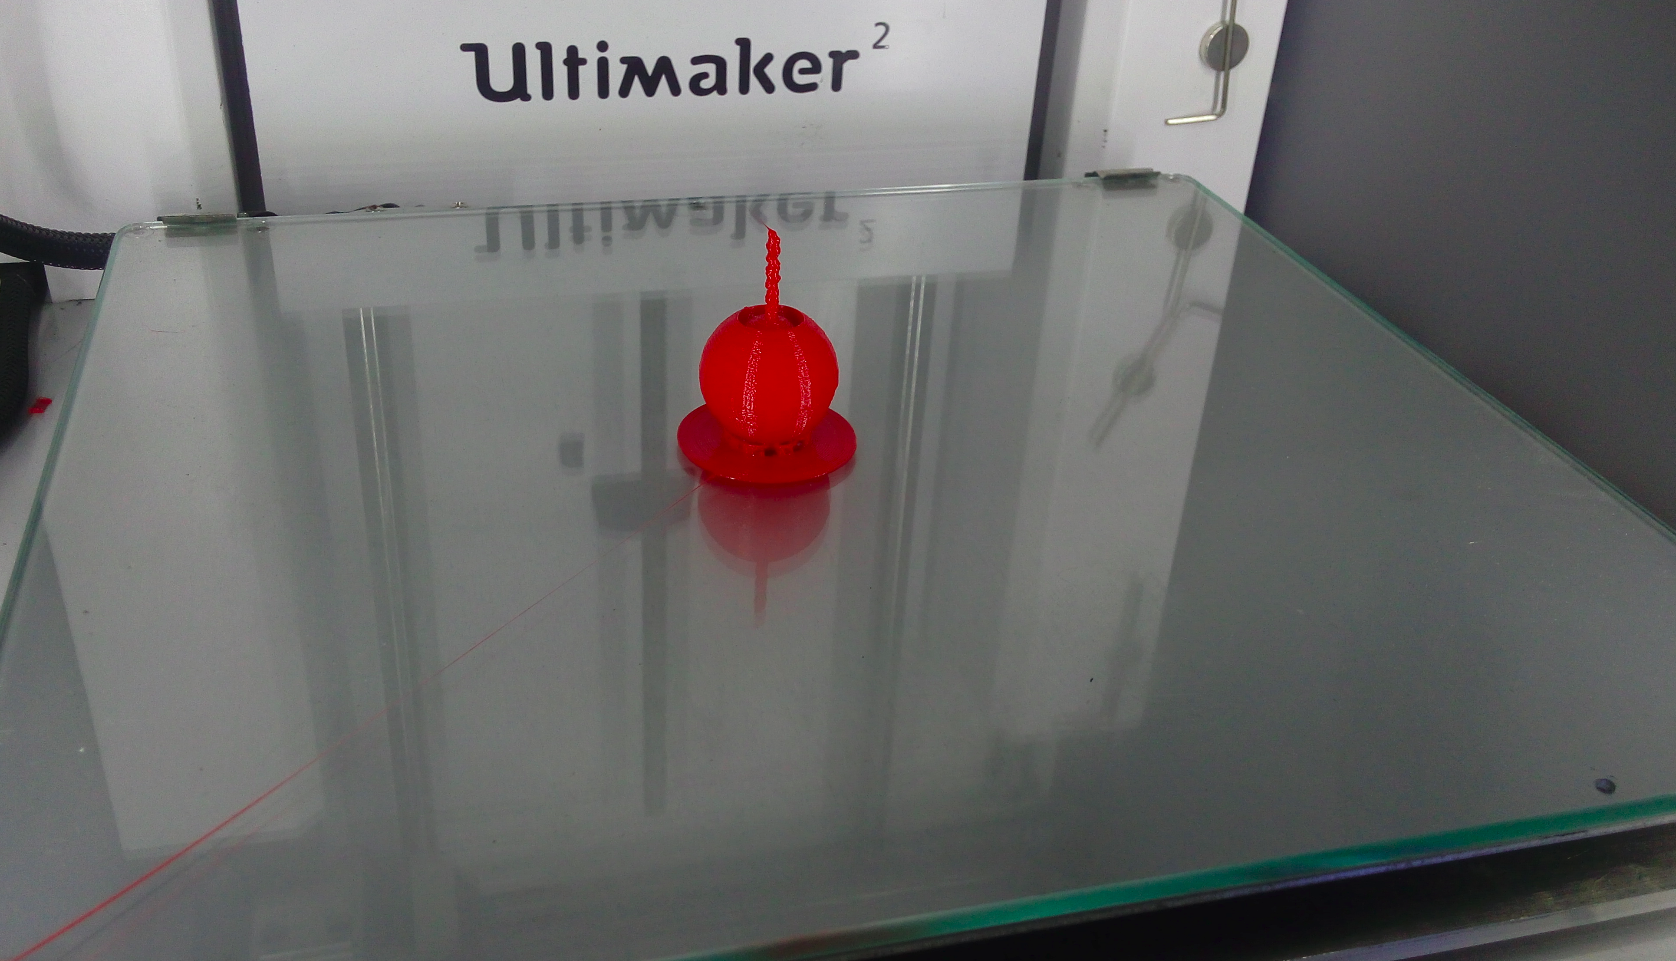
The next time what I did was that I scaled the object by 50 percent and gave a small support for the second sphere. It took almost half an hour to complete.
But it also failed because the second section didnt rotate. Eventhough there was only a small portion that holds as support it was much firm and rigid. May be its because the object was scaled to 50 percent.
By then others were ready with their designs and I need to handover the machine letting the design to be printed some other time.
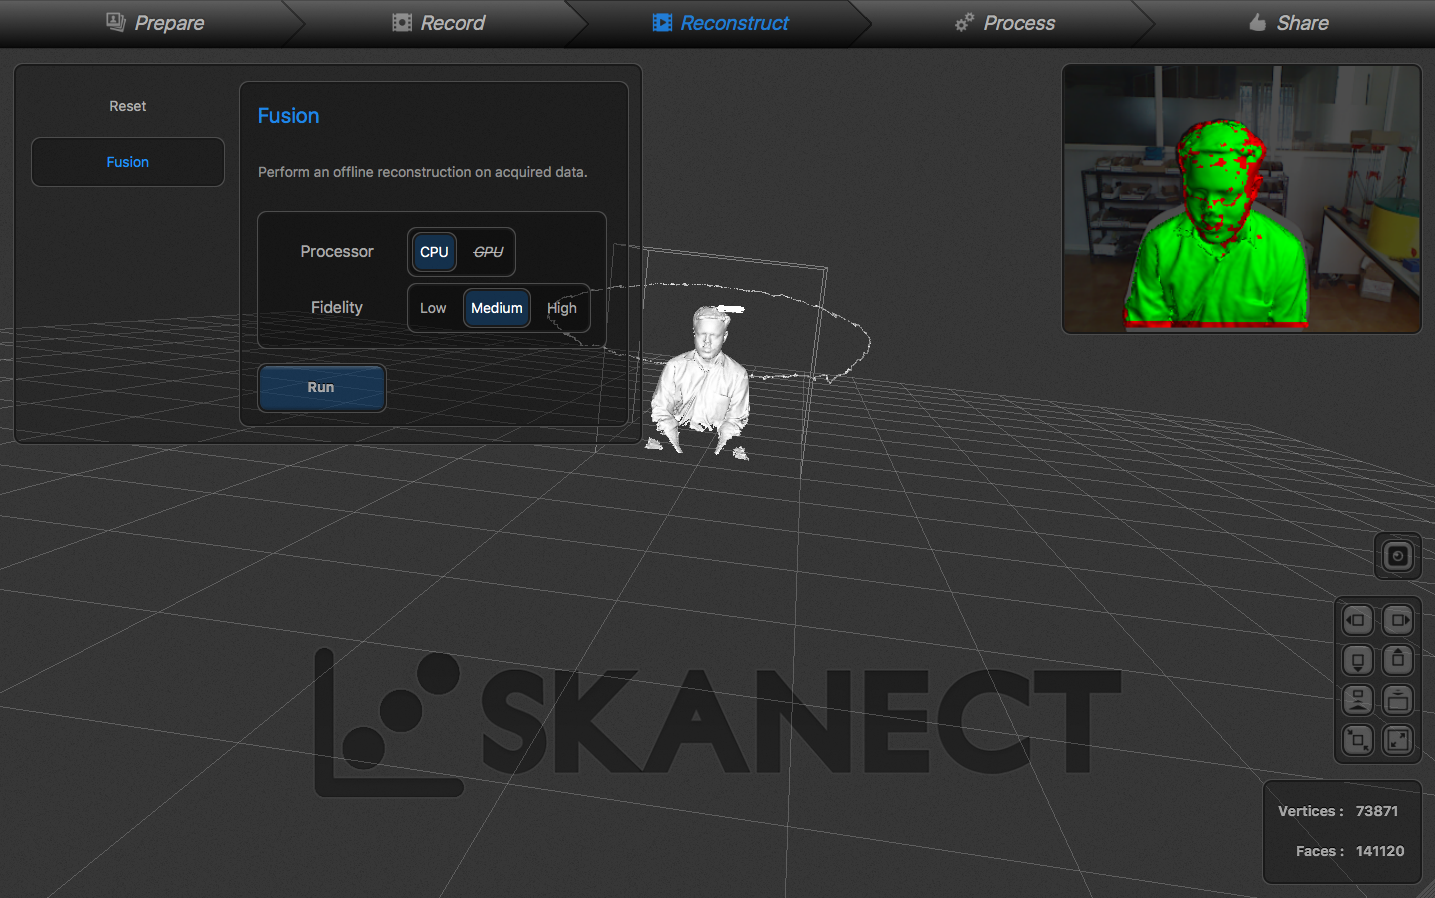
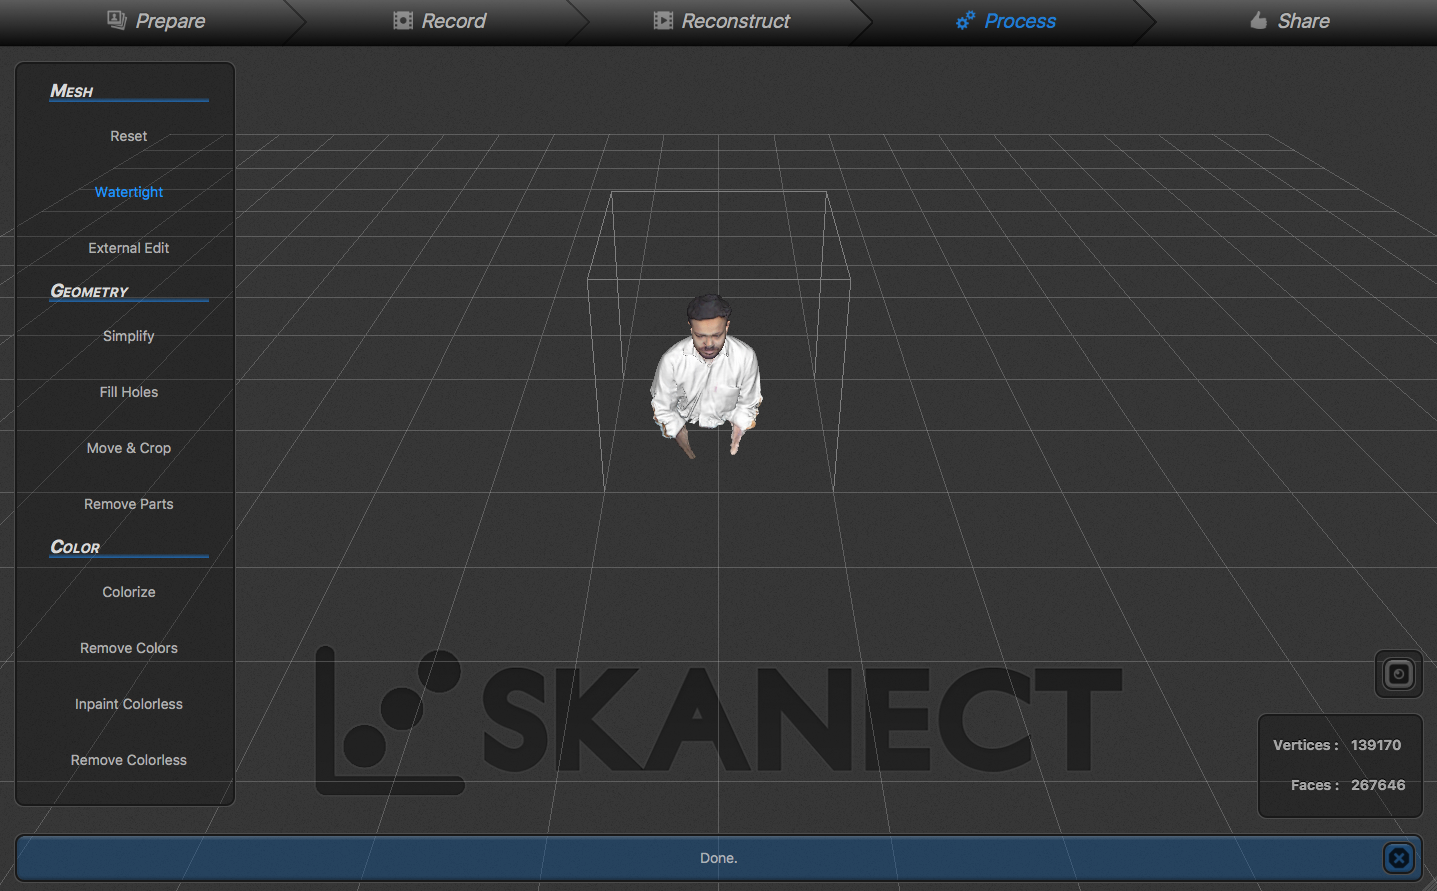
We made 3D scan using Kinect with skanect.Here we used Microsoft xbox 360 as input device. We fixed the device on tripod and sit on a chair and made the chair rotate ourselves without any shakes. Finally we were able to capture ourselves.
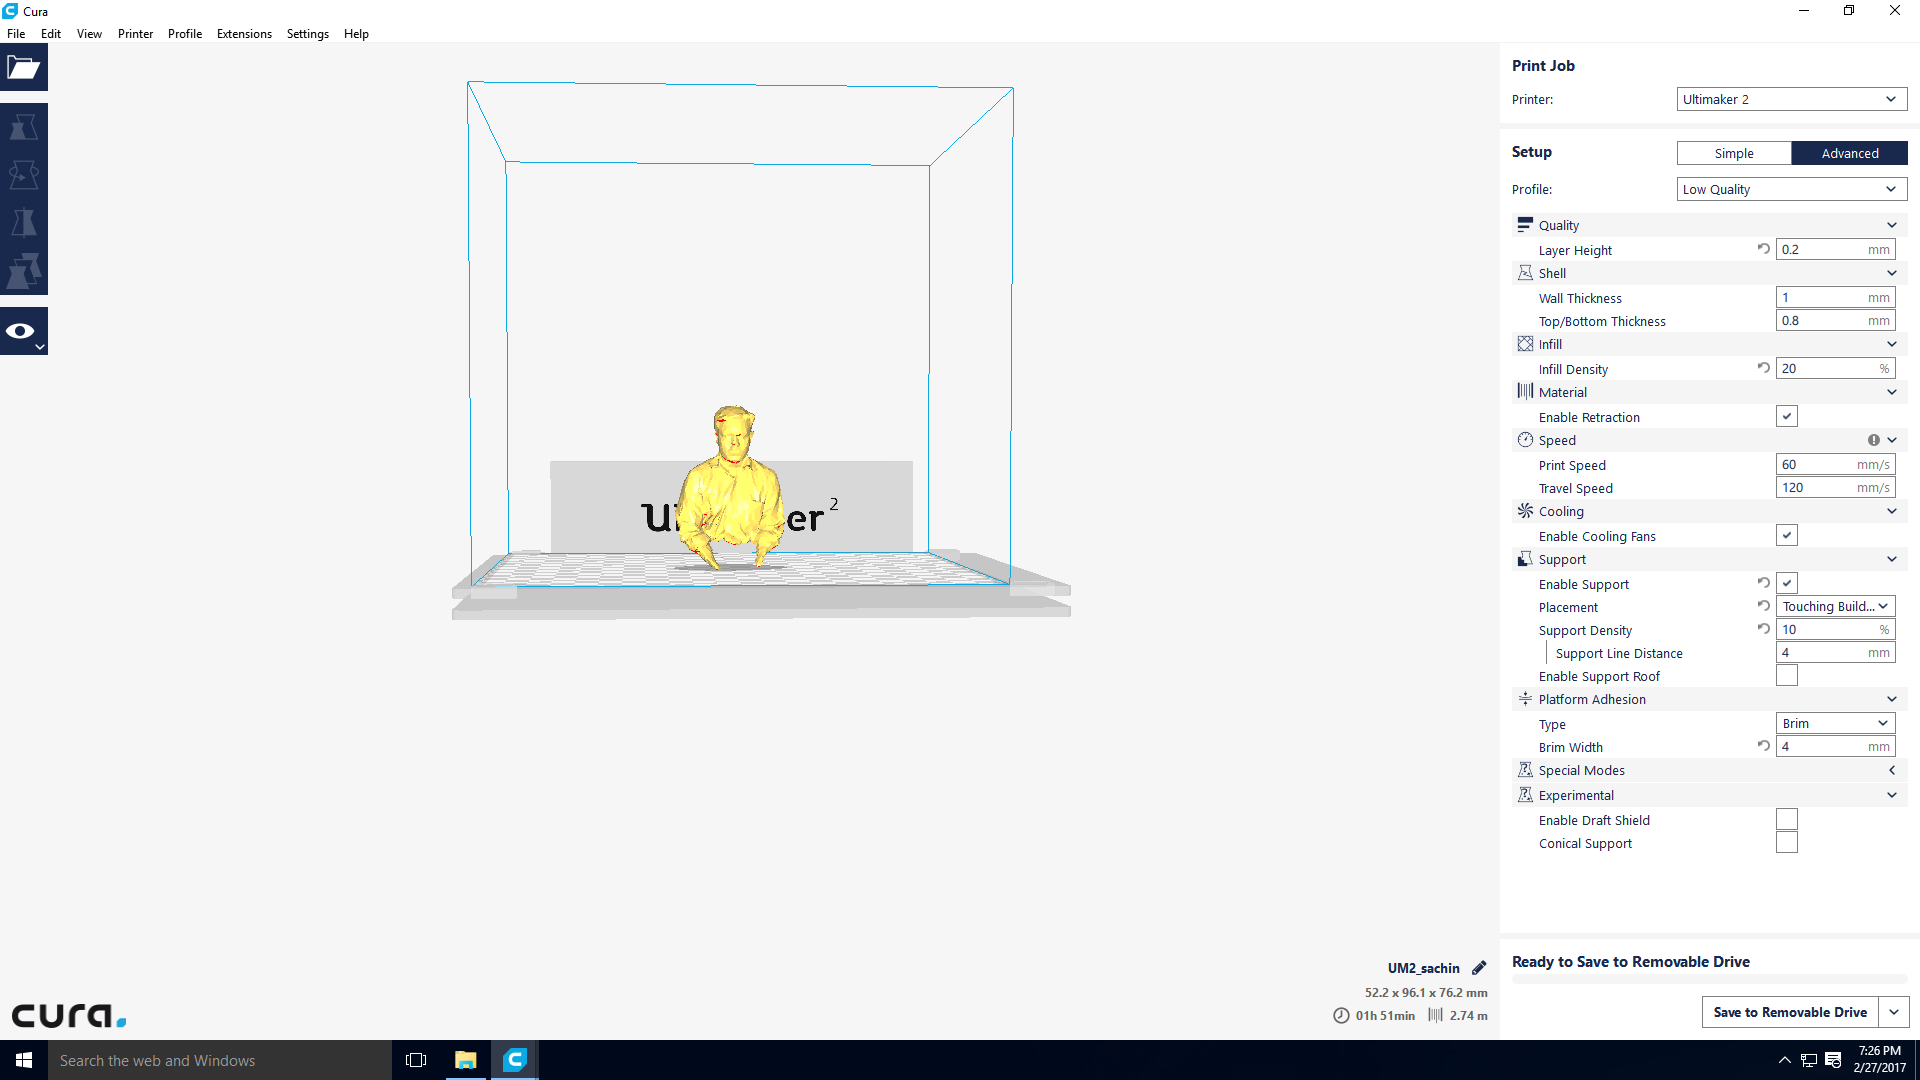
After that I uploaded the file into CURA. But didnt printed the image.