3D scanning
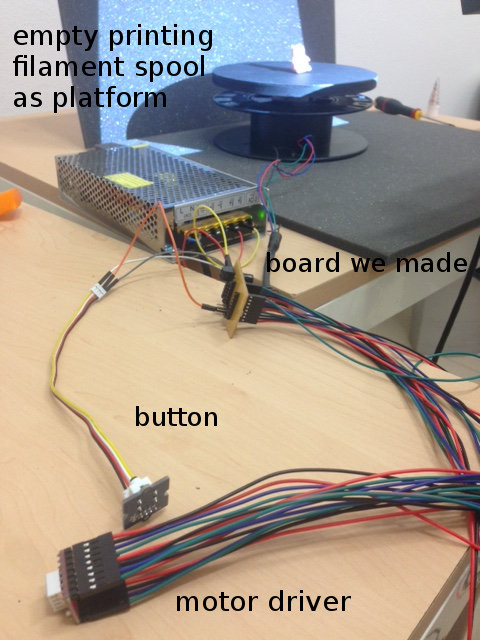
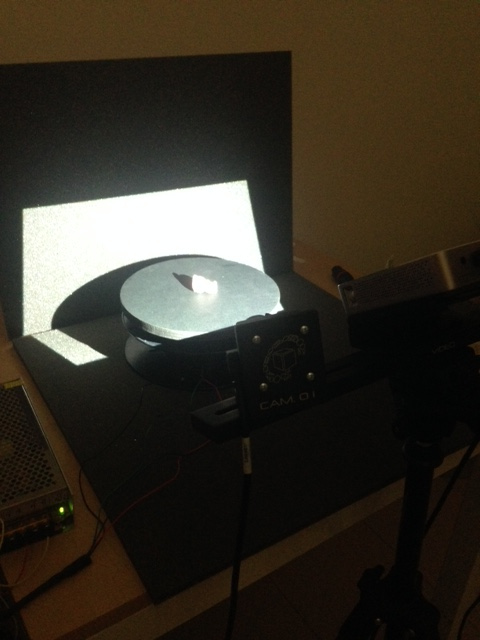
For the scanning part of this week assignment I used our lab's new scanner: Scan in a Box.
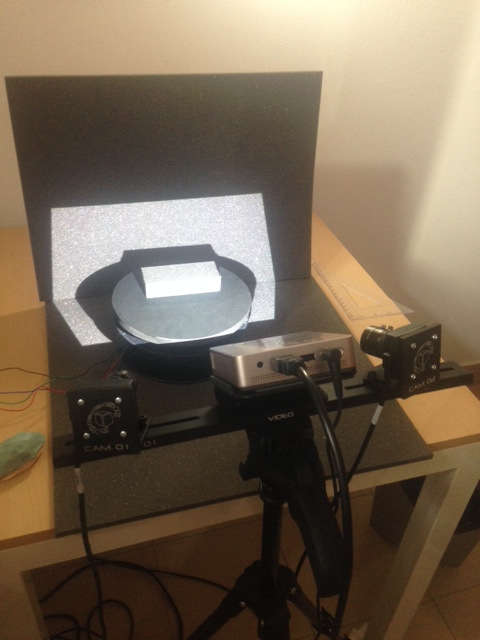 Owing to its high costs, we refused to spend 890 euros on the rotating platform they also sell and decide to build our own one.
The difference stays in that their platform automatically
rotates of the precise angle to make 14 shoots per 360 degrees (and align all those pictures -you'll se later what it means) while we have to press a button and then acquire 3D scan each time but its worth the savings (870 euros!)
Owing to its high costs, we refused to spend 890 euros on the rotating platform they also sell and decide to build our own one.
The difference stays in that their platform automatically
rotates of the precise angle to make 14 shoots per 360 degrees (and align all those pictures -you'll se later what it means) while we have to press a button and then acquire 3D scan each time but its worth the savings (870 euros!)
 Let's now pass on to the procedure for 3D scanning - when I used the scanner it had already been calibrated but not by me, so check it's calibrated -and follow the instruction
they provide you with the scanner (it's quite an close software actually :/ ).
Let's now pass on to the procedure for 3D scanning - when I used the scanner it had already been calibrated but not by me, so check it's calibrated -and follow the instruction
they provide you with the scanner (it's quite an close software actually :/ ).
I found an immensely useful tutorial on Youtube and I suggest you to follow it step by step the first time you use
the scanner.
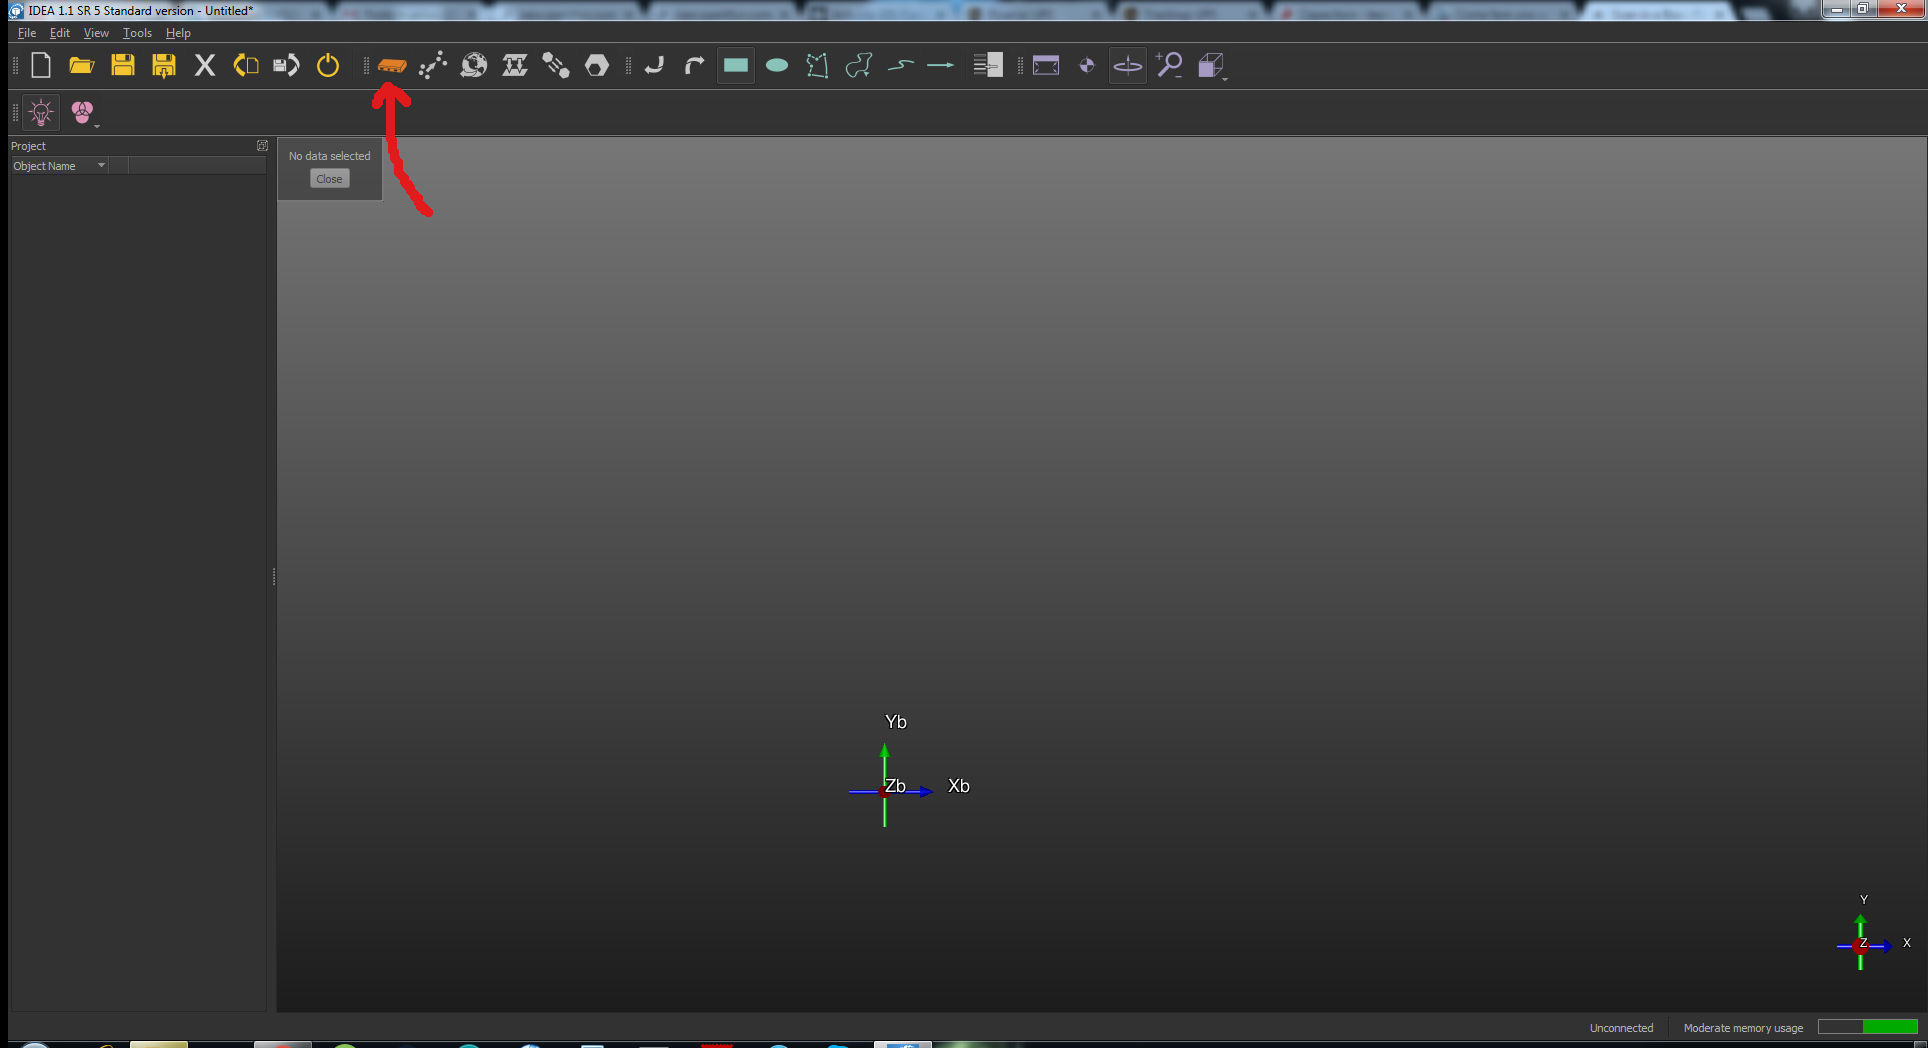
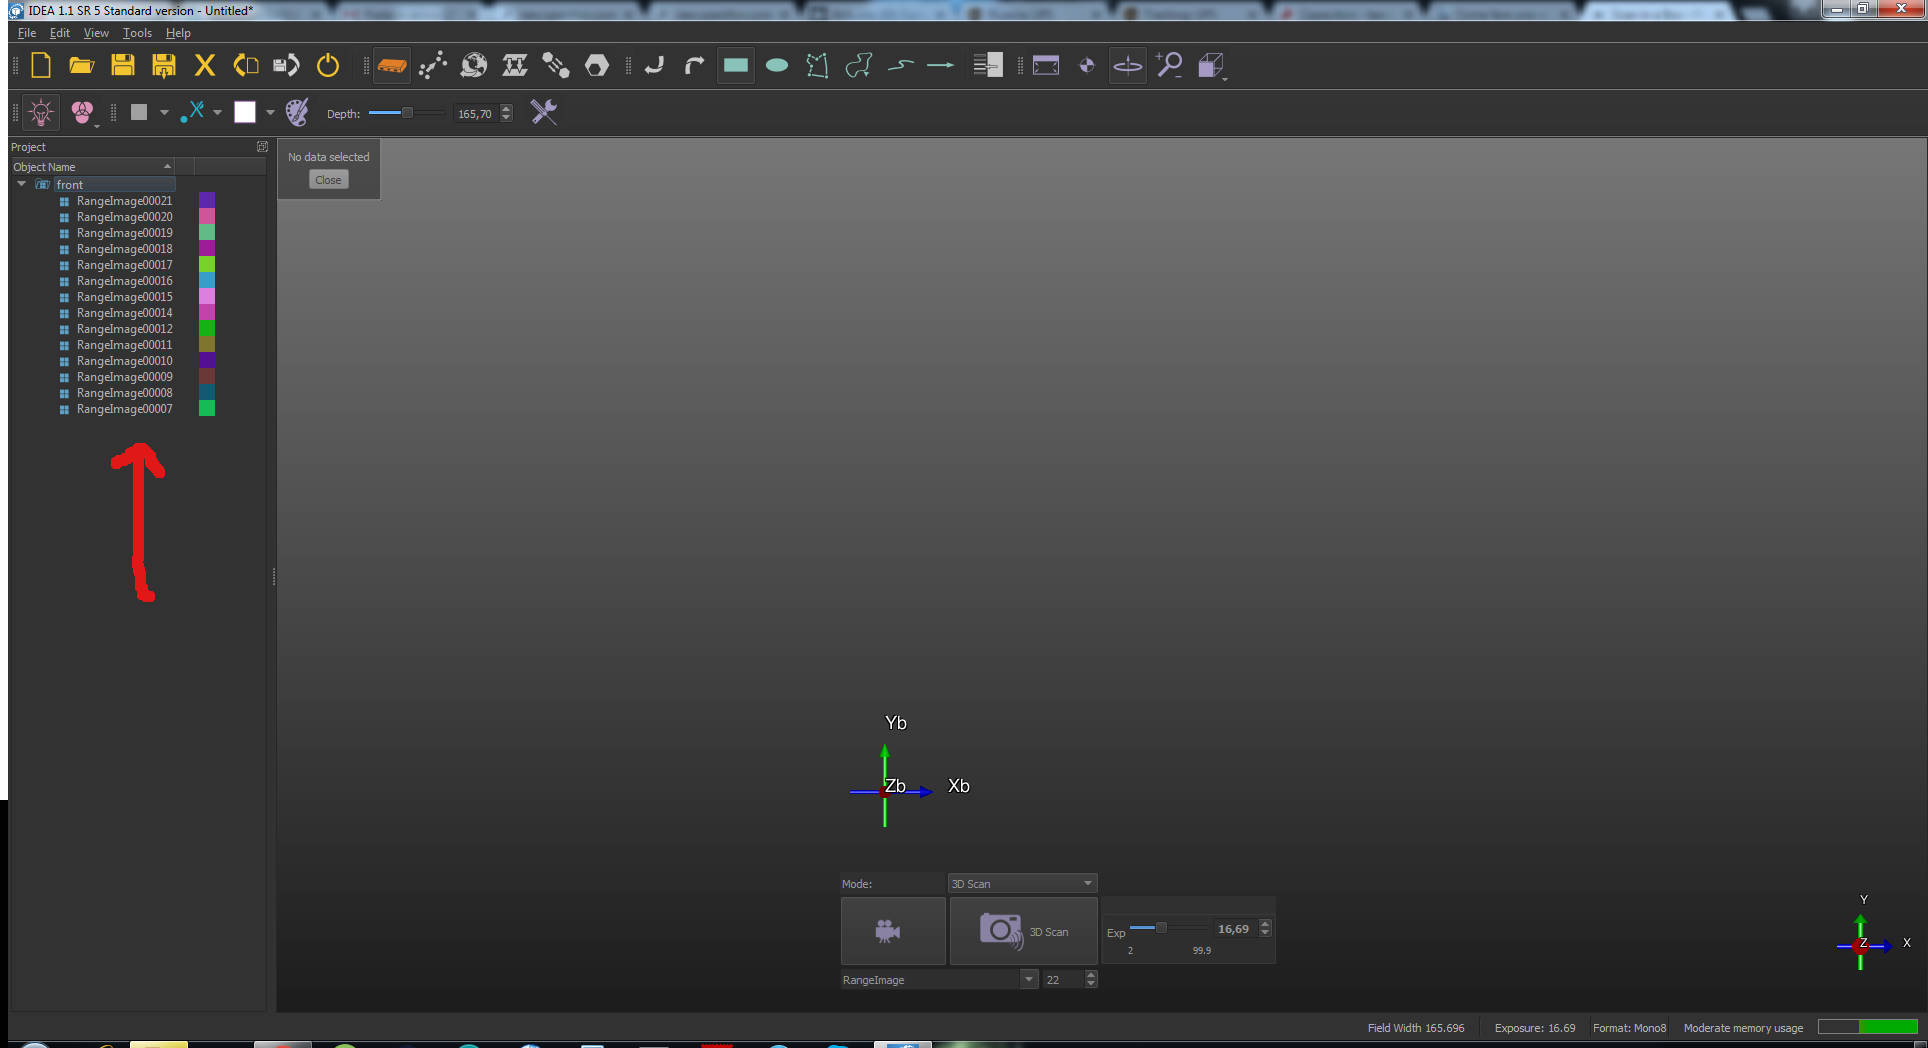
Anyway, I turned the scanner on and then opened the software IDEA, and I pressed on the icon you see in the picture below to connect the scanner:
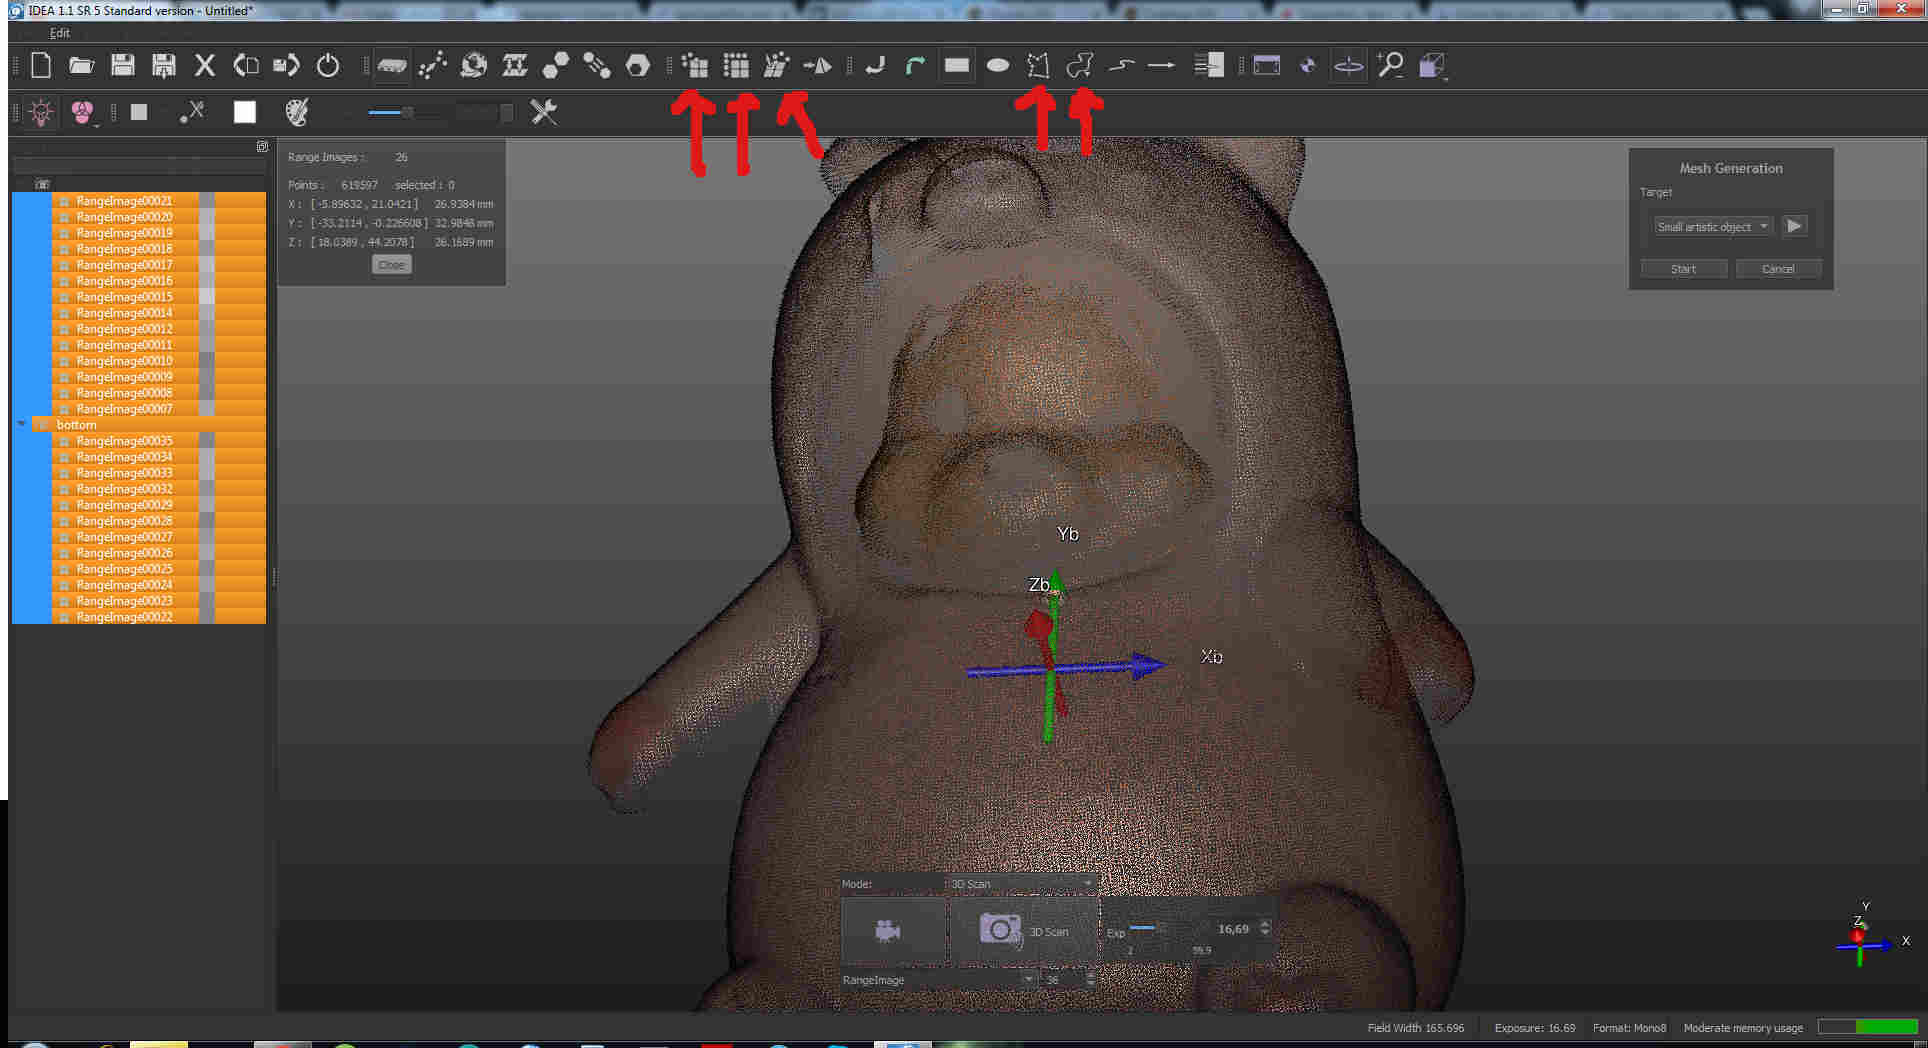
 I then wanted to see the view from cameras so as to put my object in the center of the platform and I therefore pressed on cameras icon:
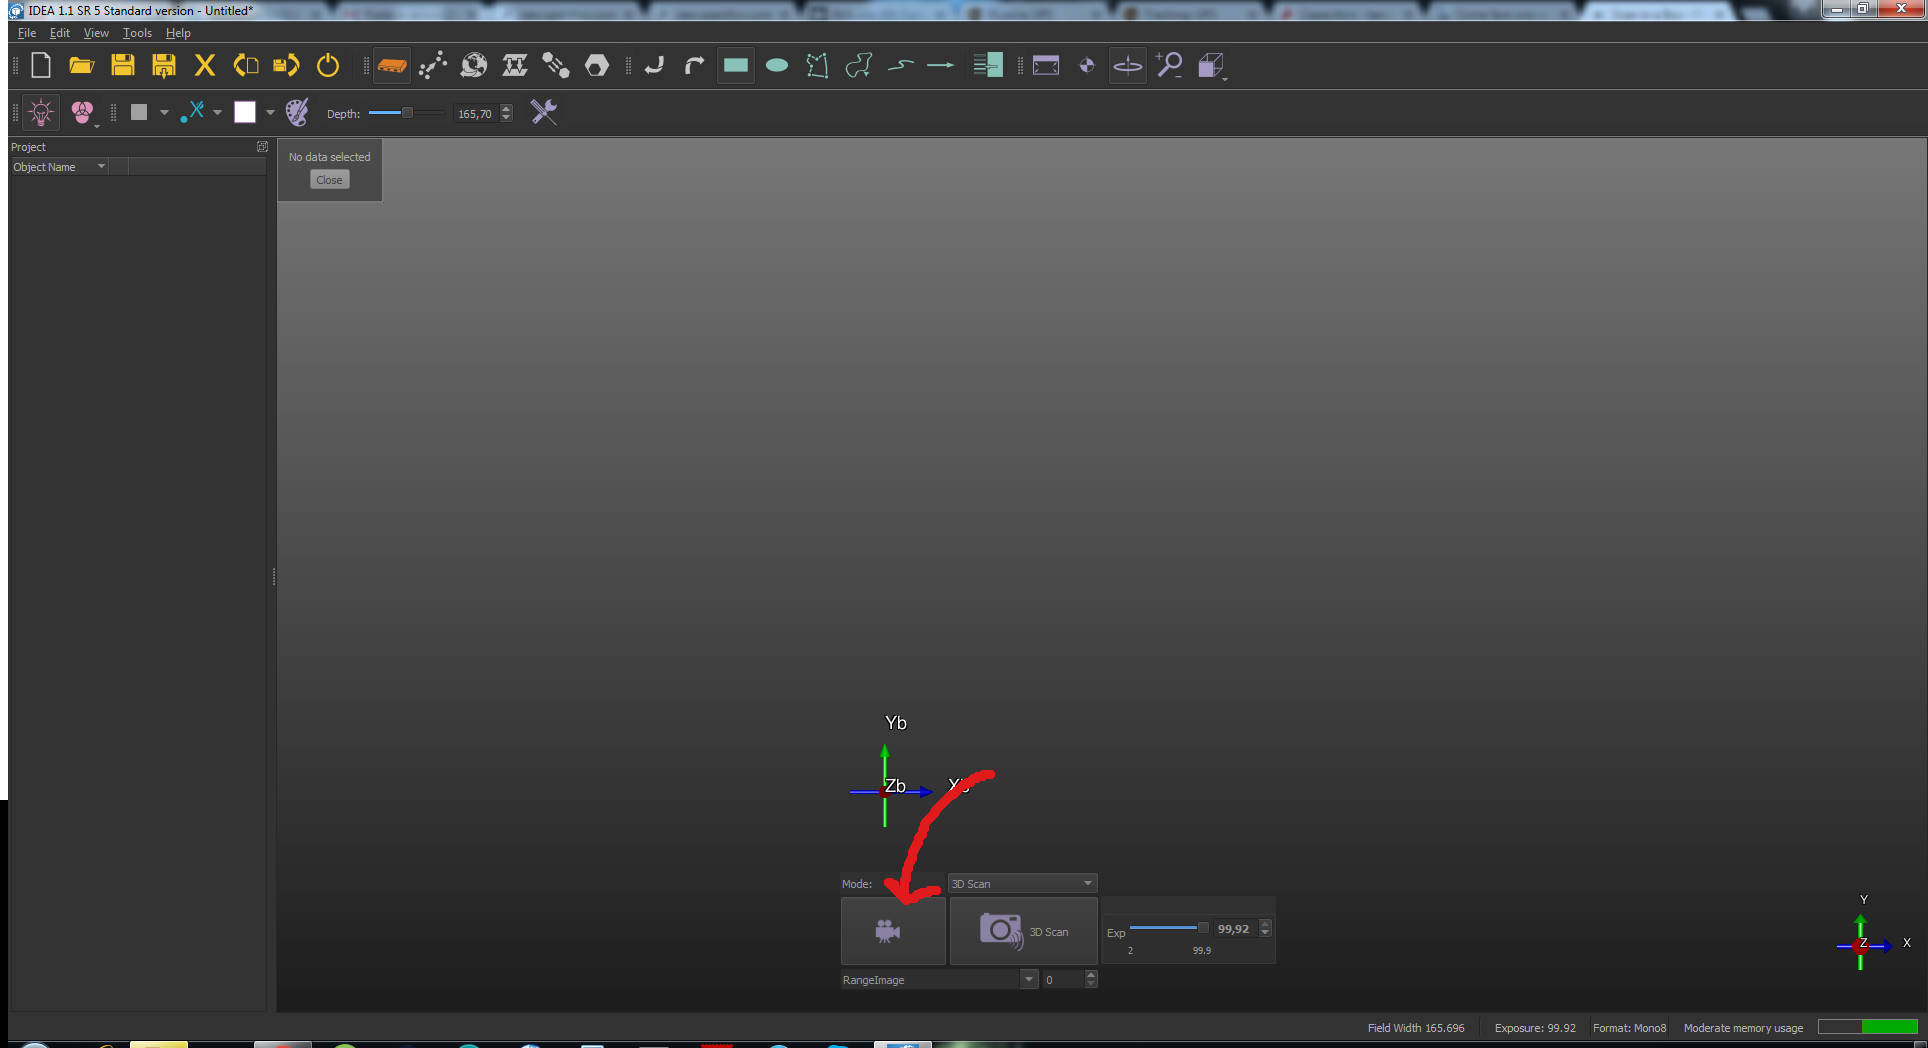
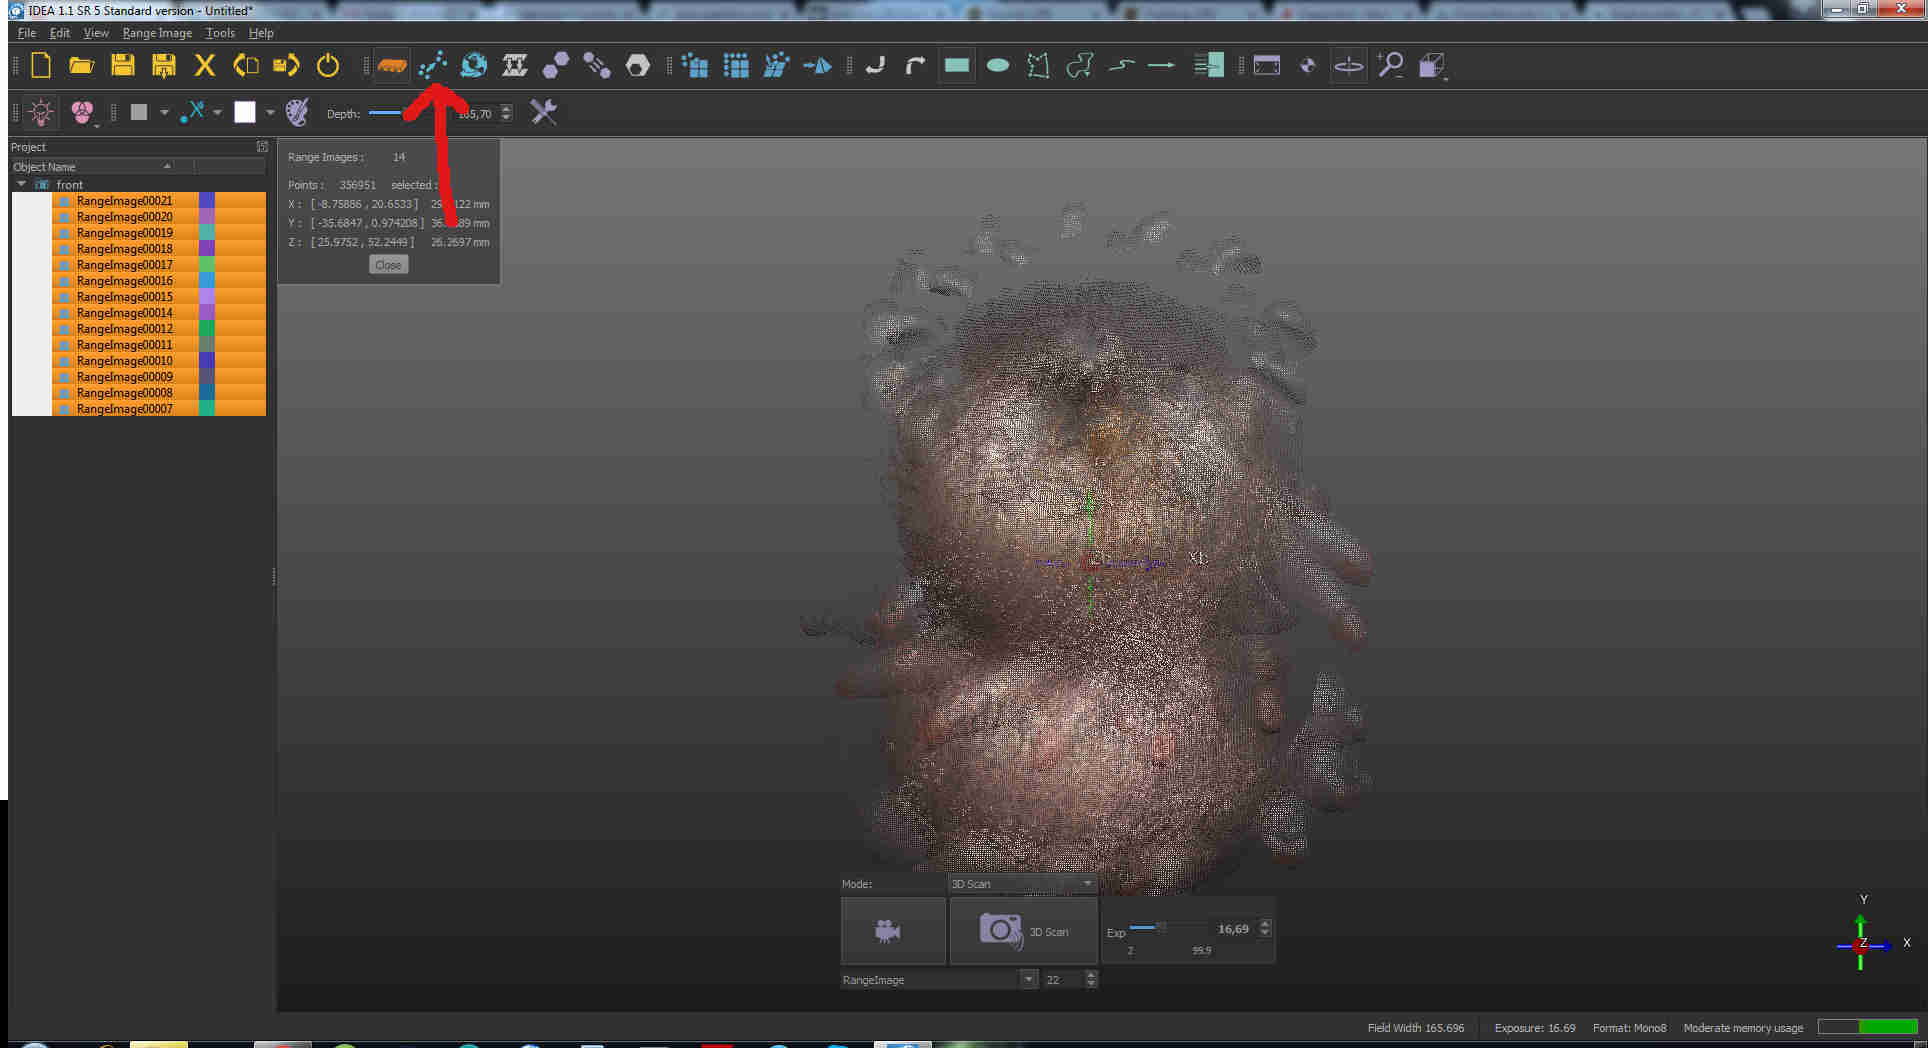
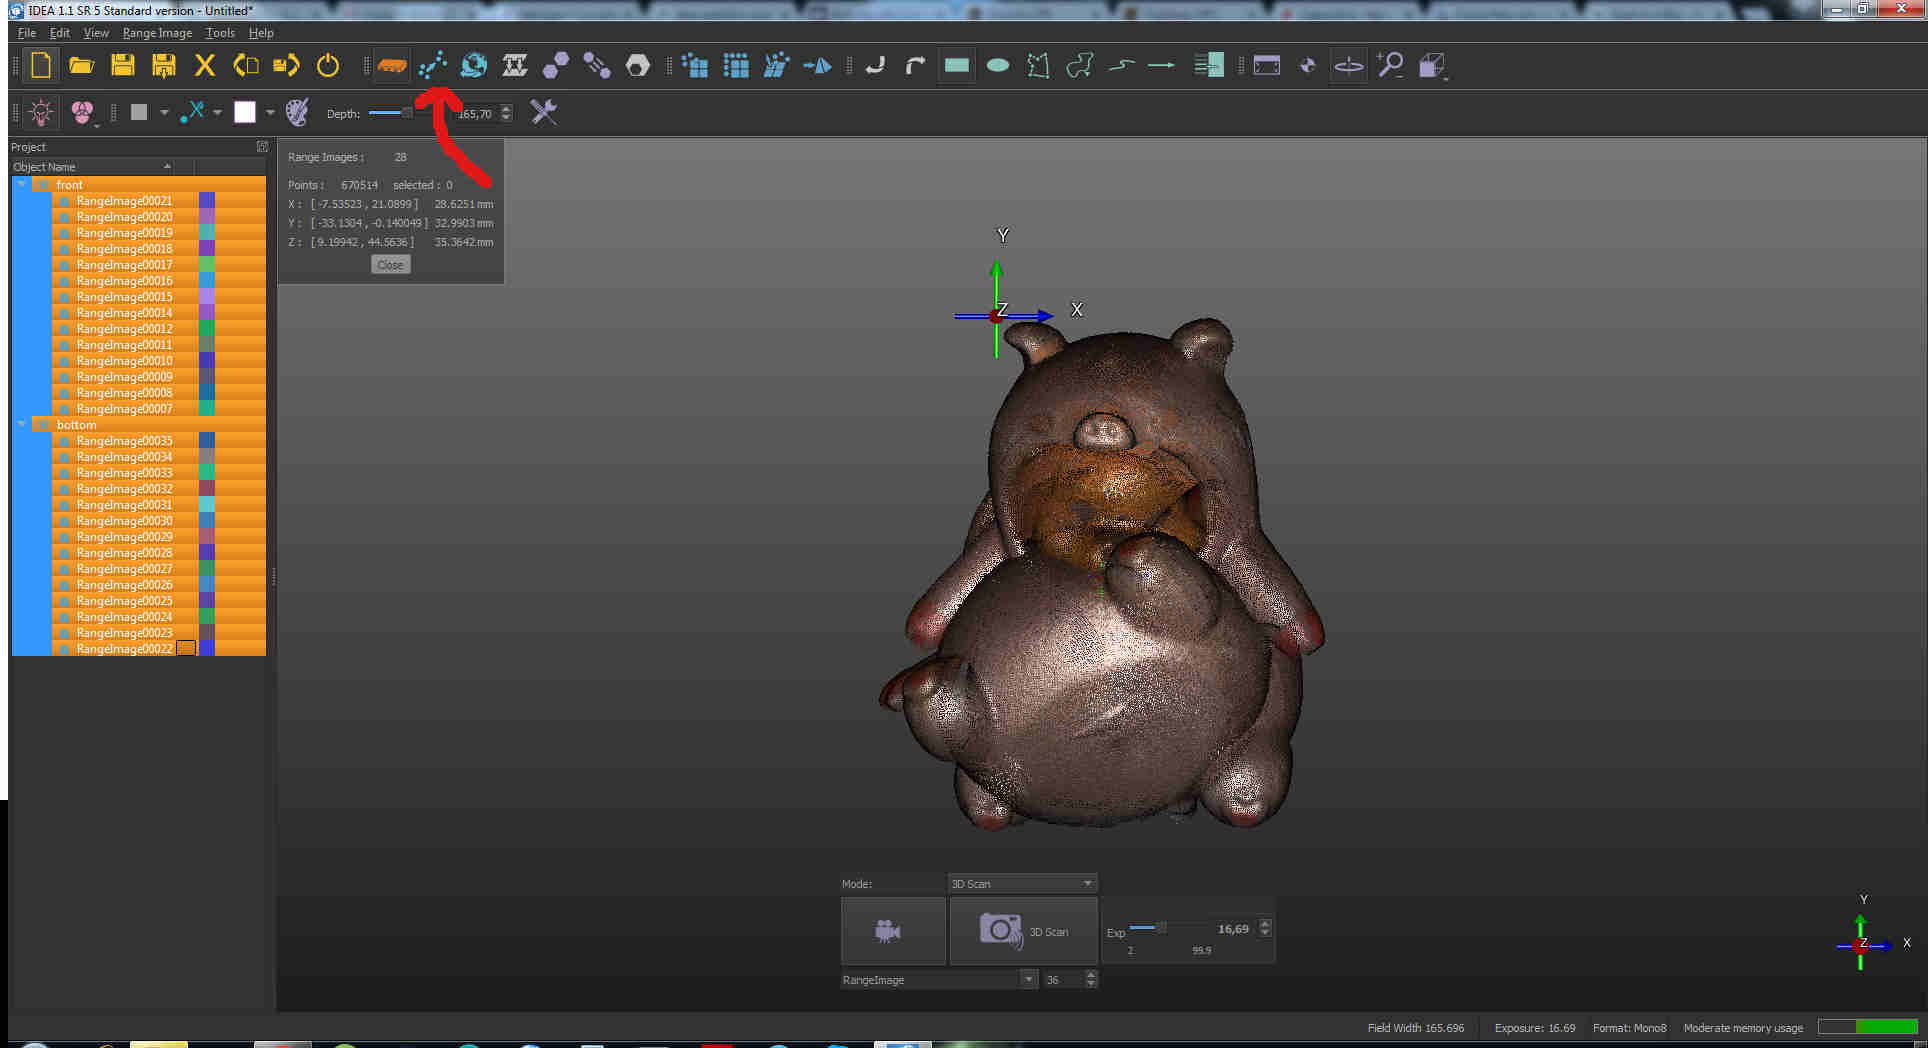
 Then I put my object on the platform (paying attention to have the black line in the middle of the model) and I started scanning (clicking on 3D scan icon on the right of cameras one) to test if the exposure was ok
(you can set it in the little window on the right of cameras and 3D scan icons)
Then I put my object on the platform (paying attention to have the black line in the middle of the model) and I started scanning (clicking on 3D scan icon on the right of cameras one) to test if the exposure was ok
(you can set it in the little window on the right of cameras and 3D scan icons)
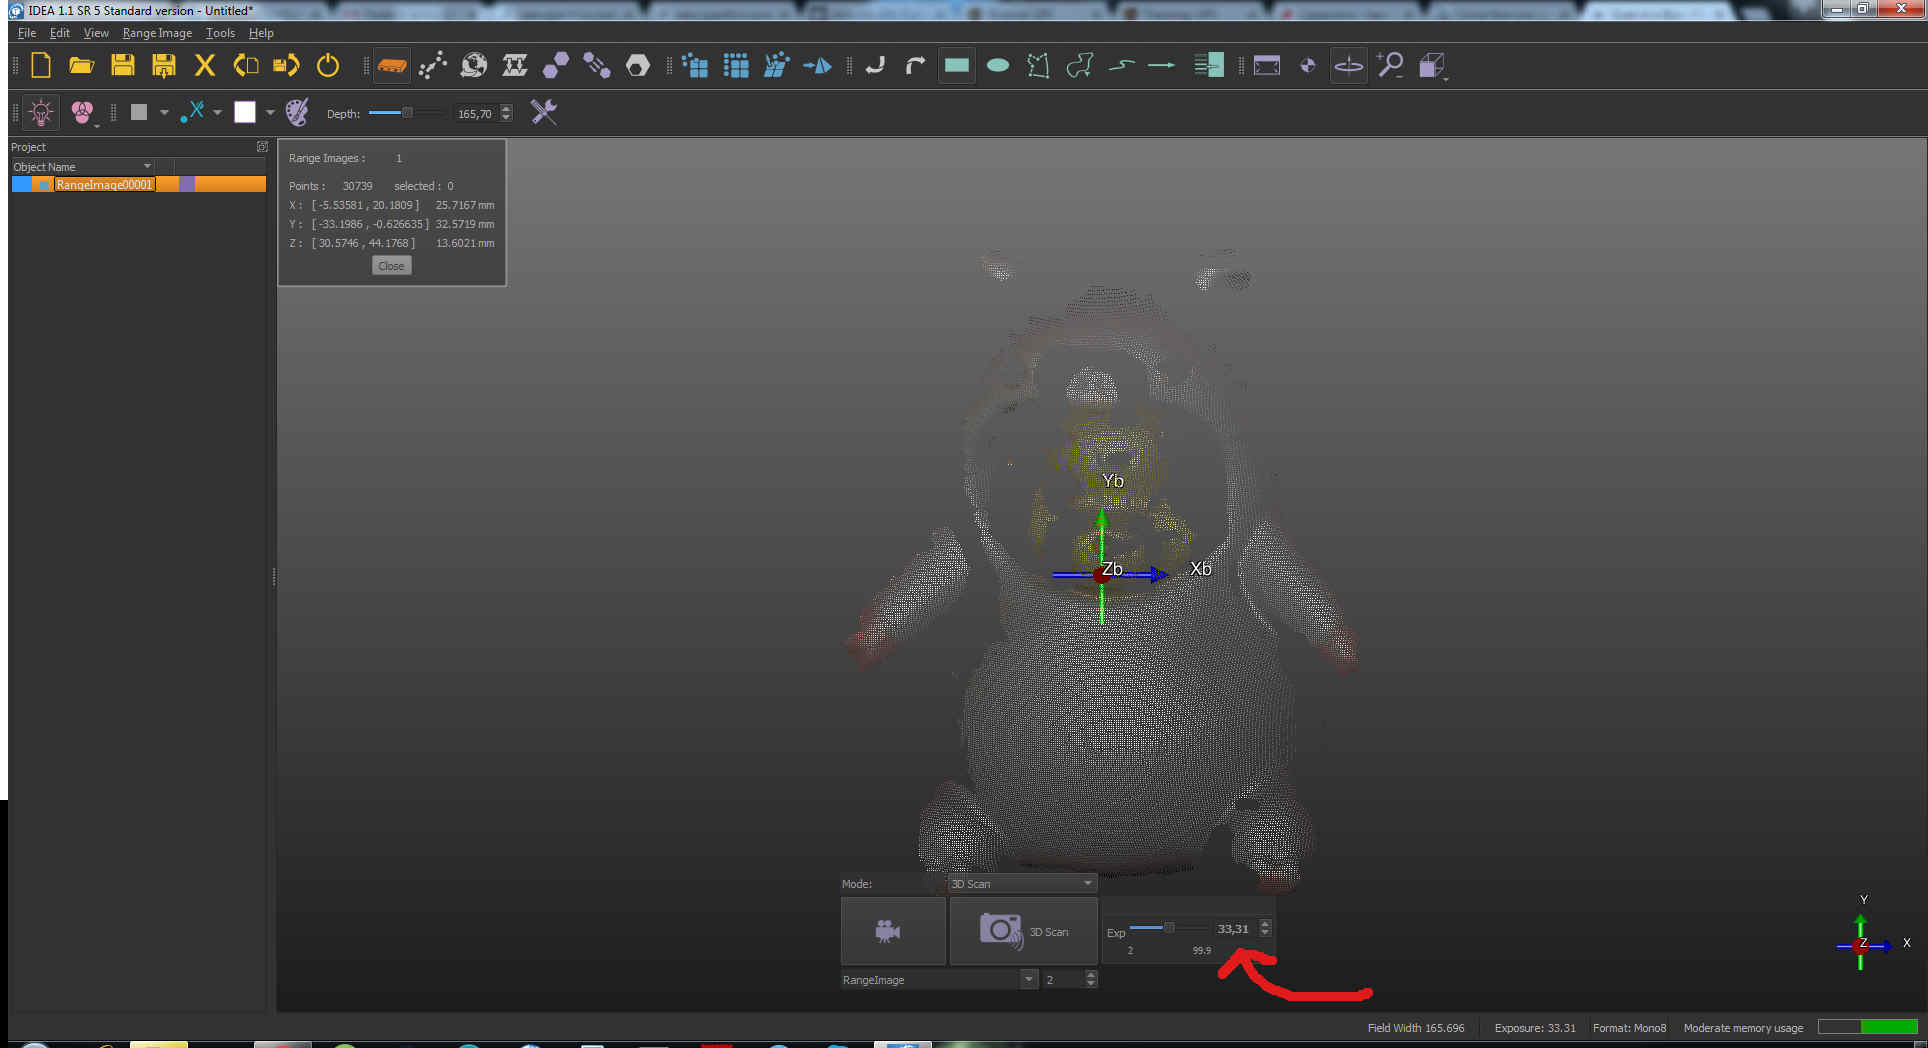
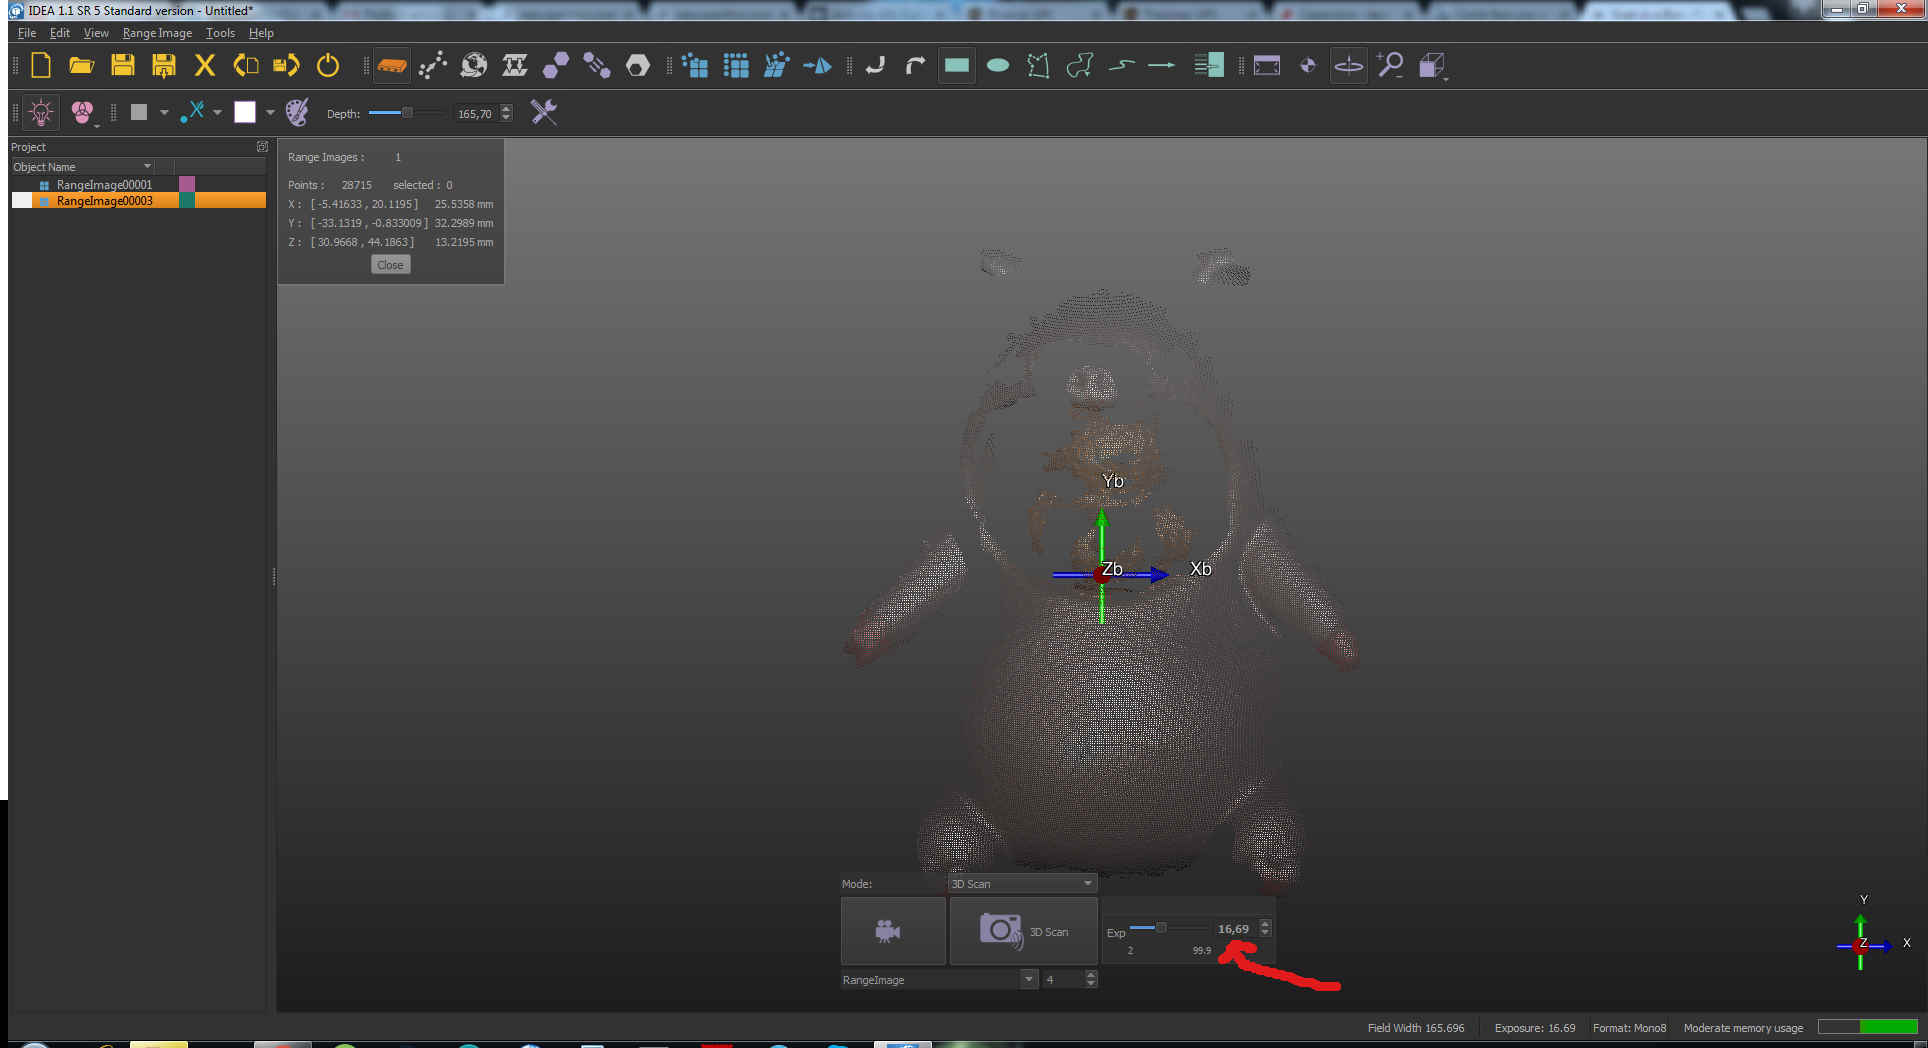
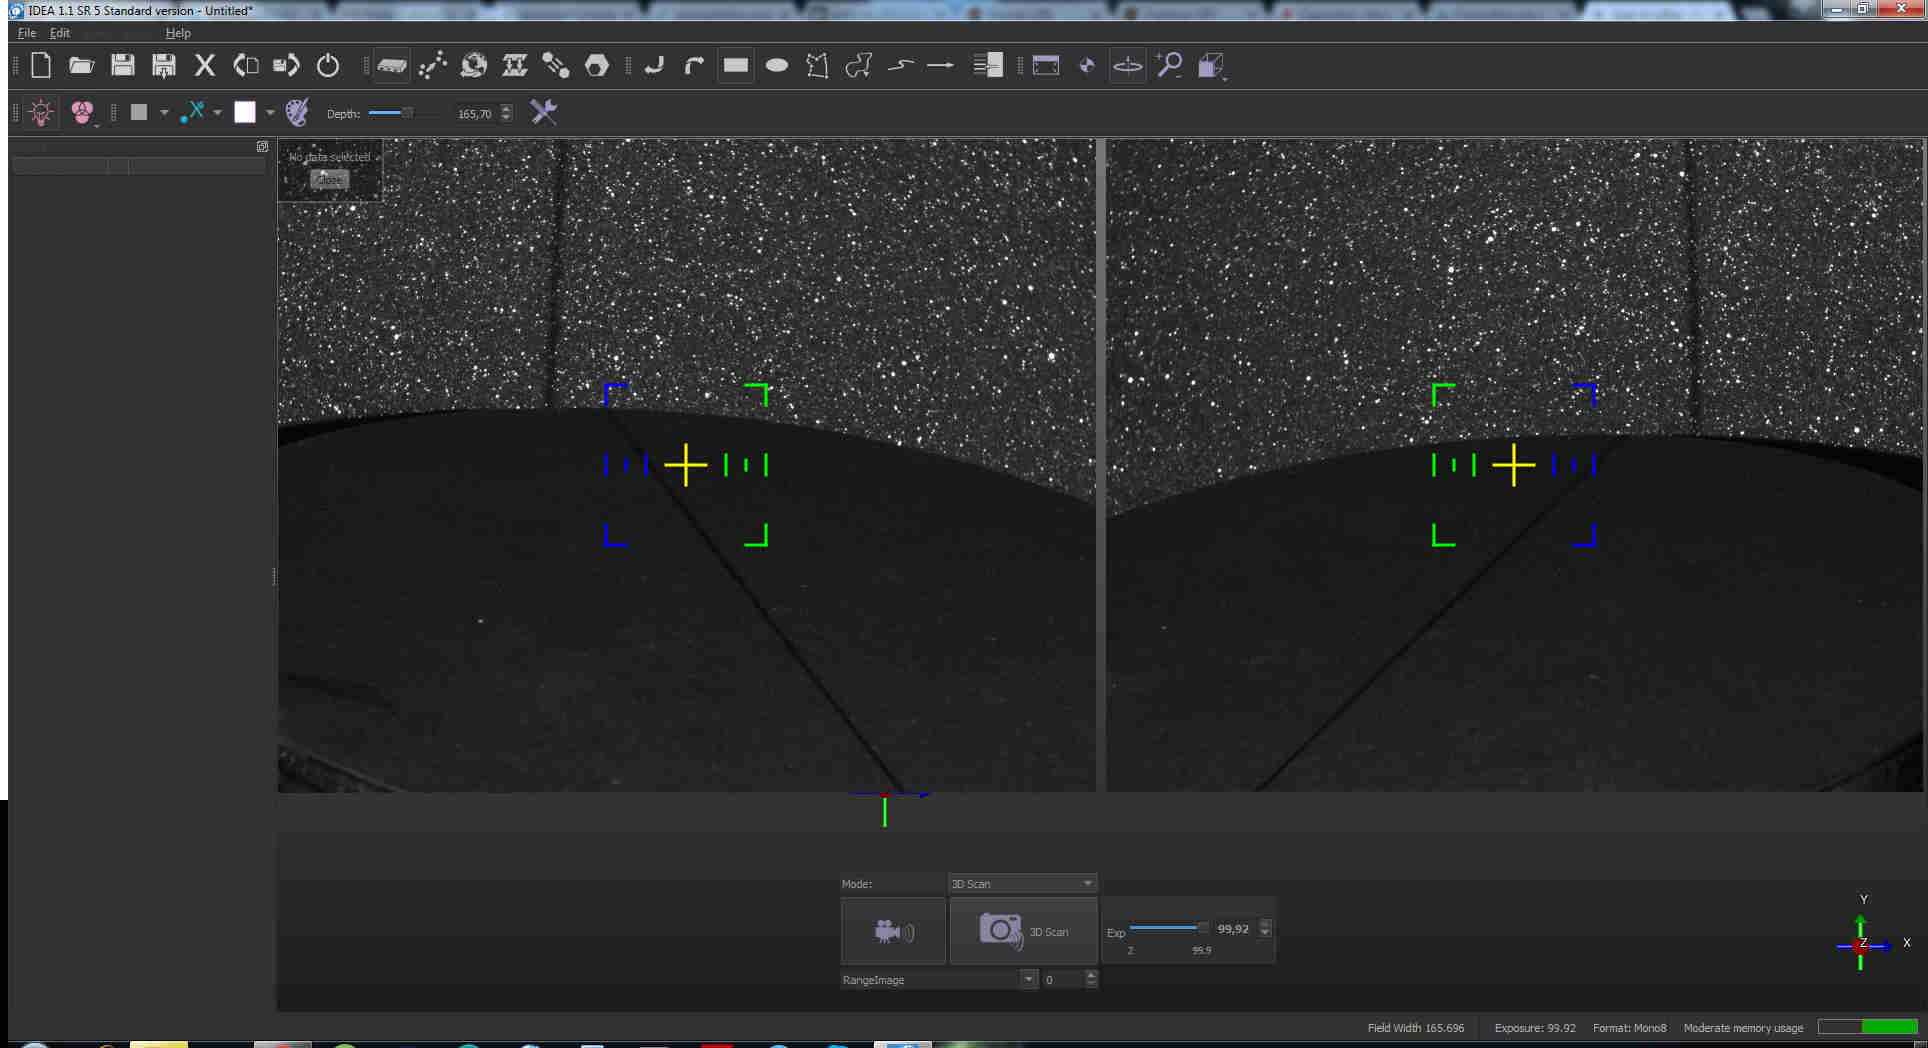
 I saw 16,69 to be the best value and I therefore deleted the other images.
I then right clicked on image list area and create a new group (Create range image group), change its name and it included the picyure I already made:
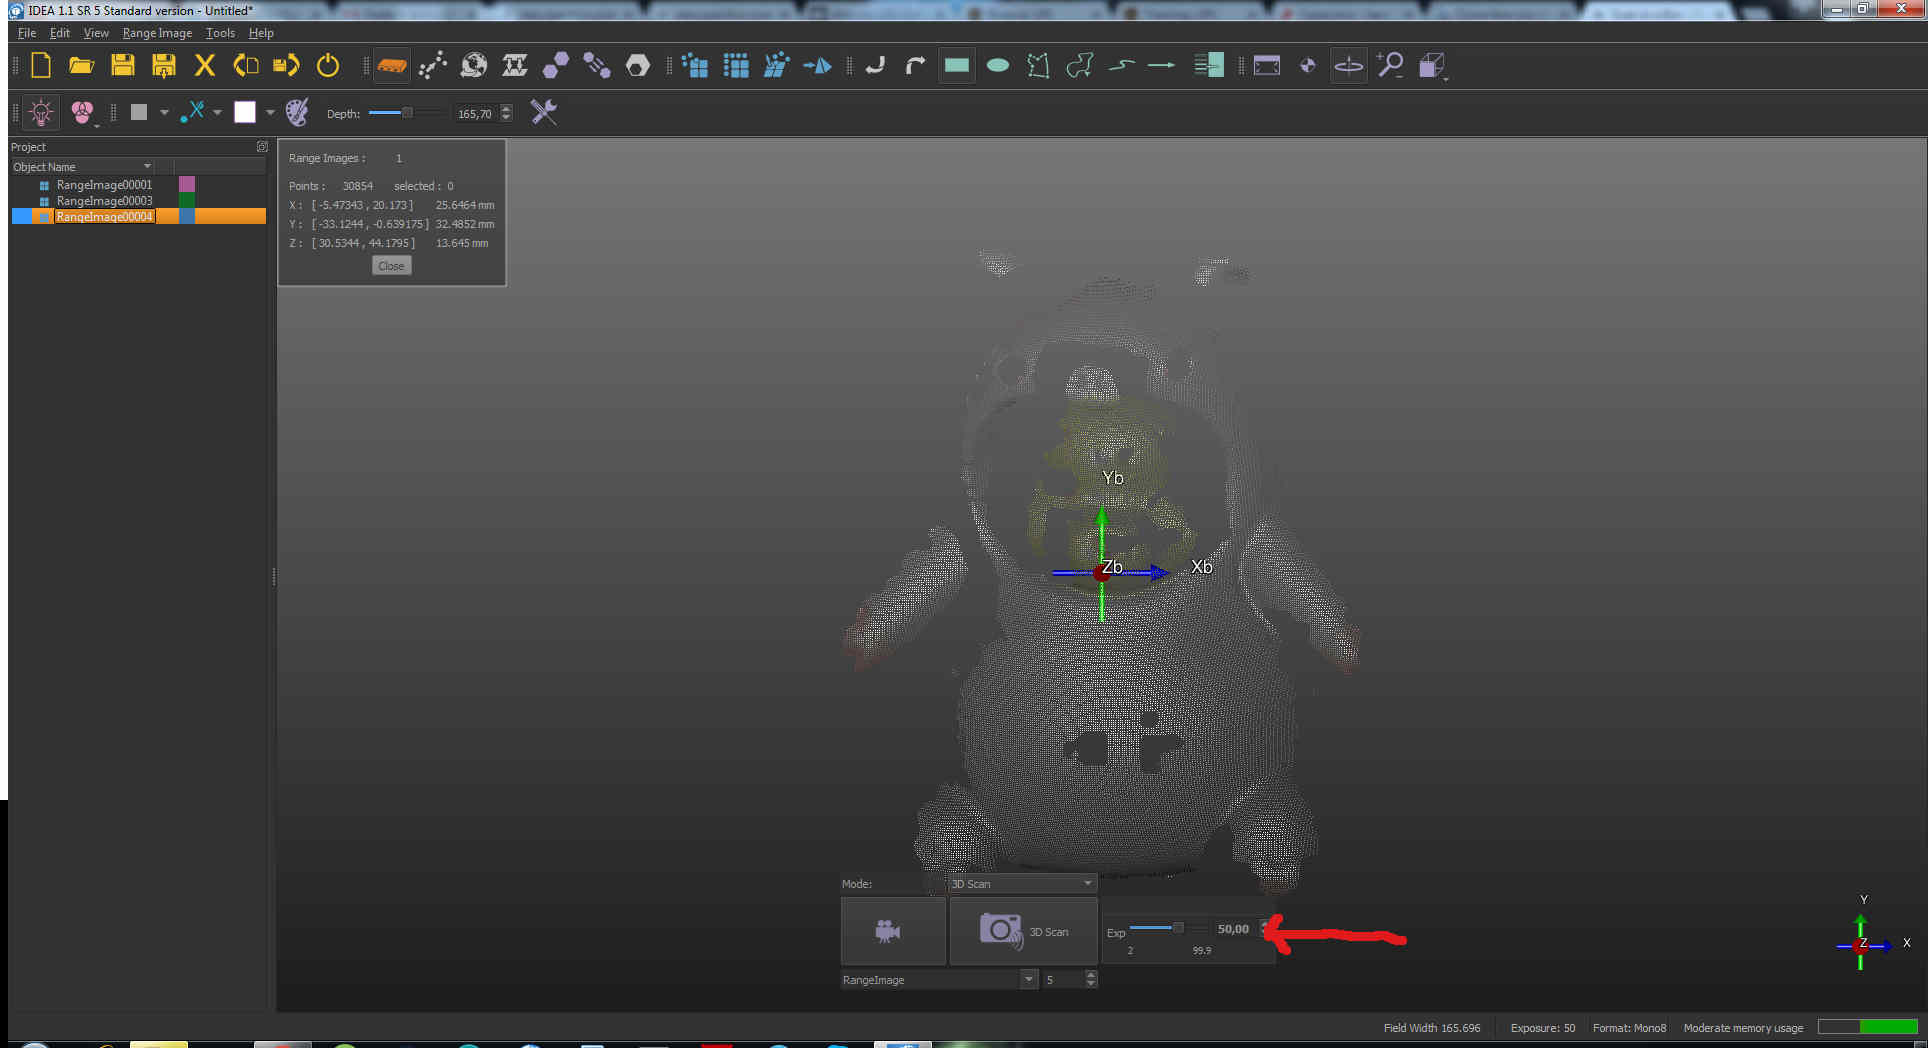
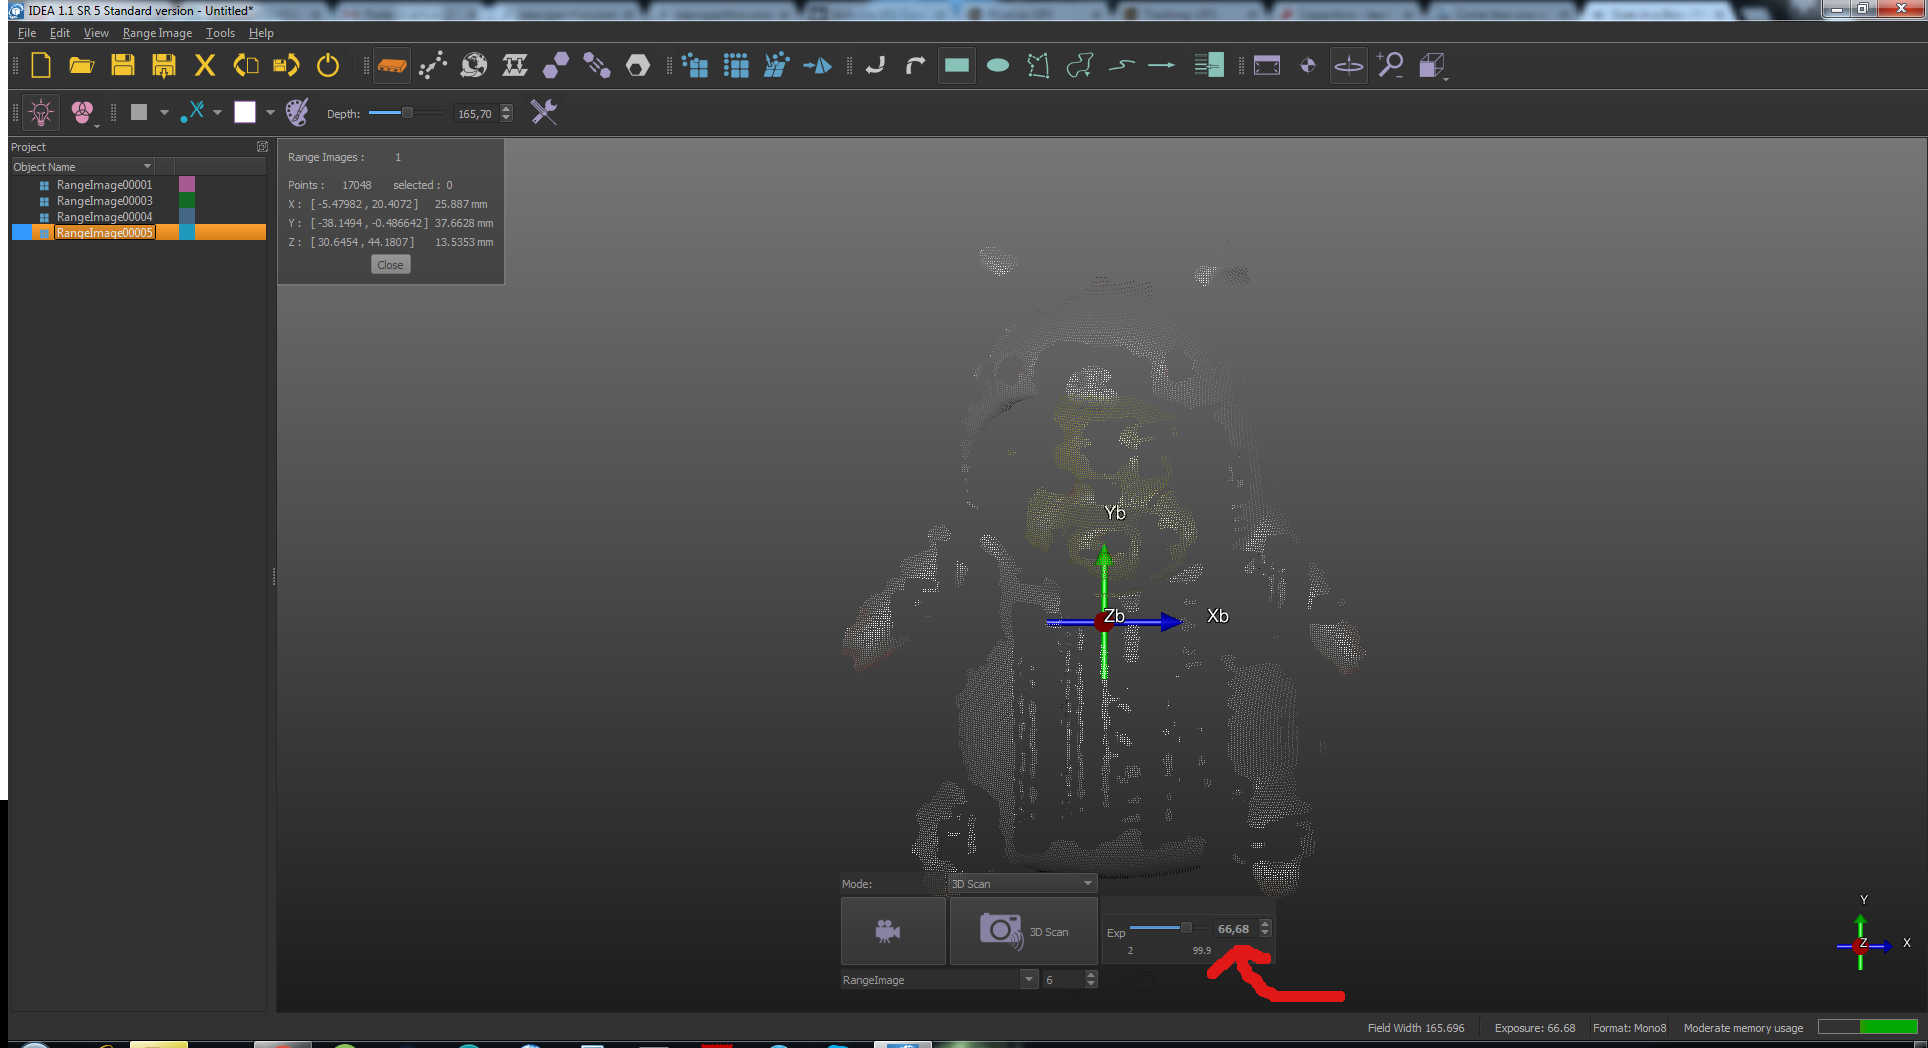
 I then pressed my platform button and scanned another picture after checking the group I wanted it into was selected.
I went on like this until the model reached the starting position again (they should be 14 pictures):
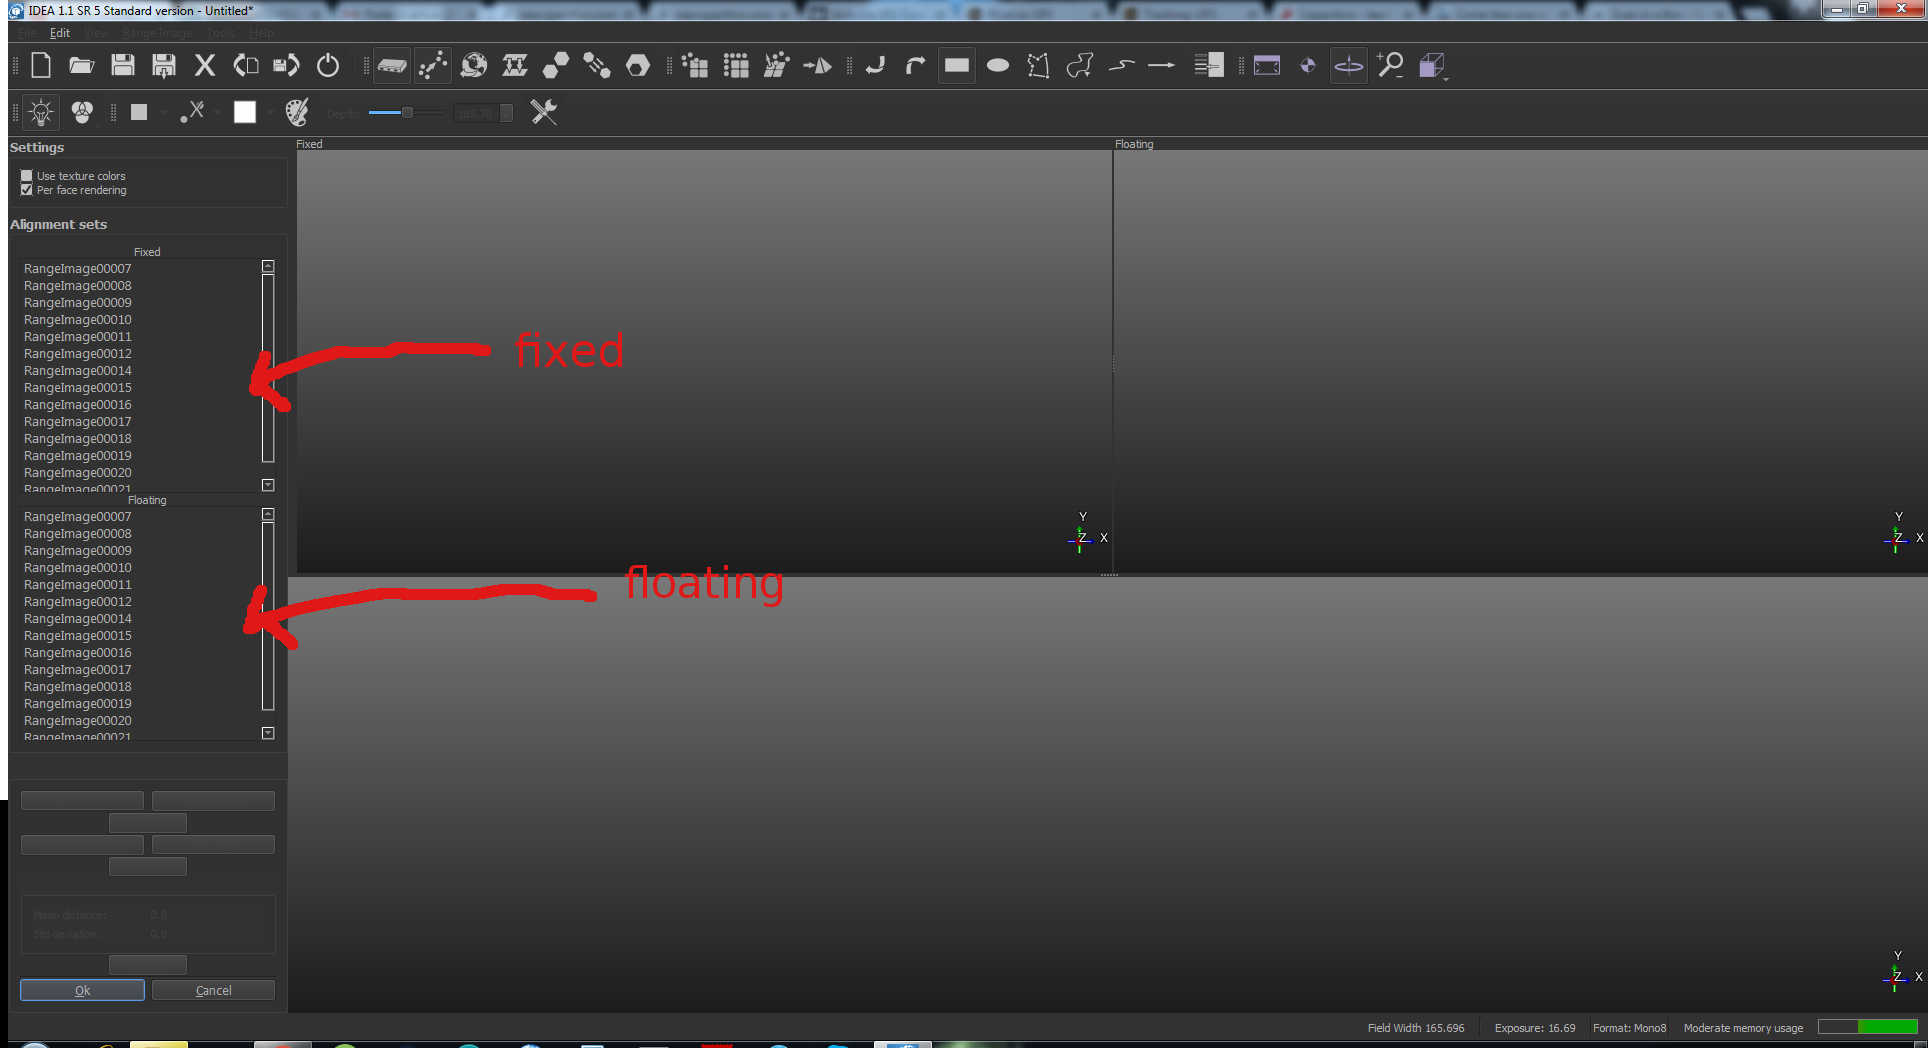
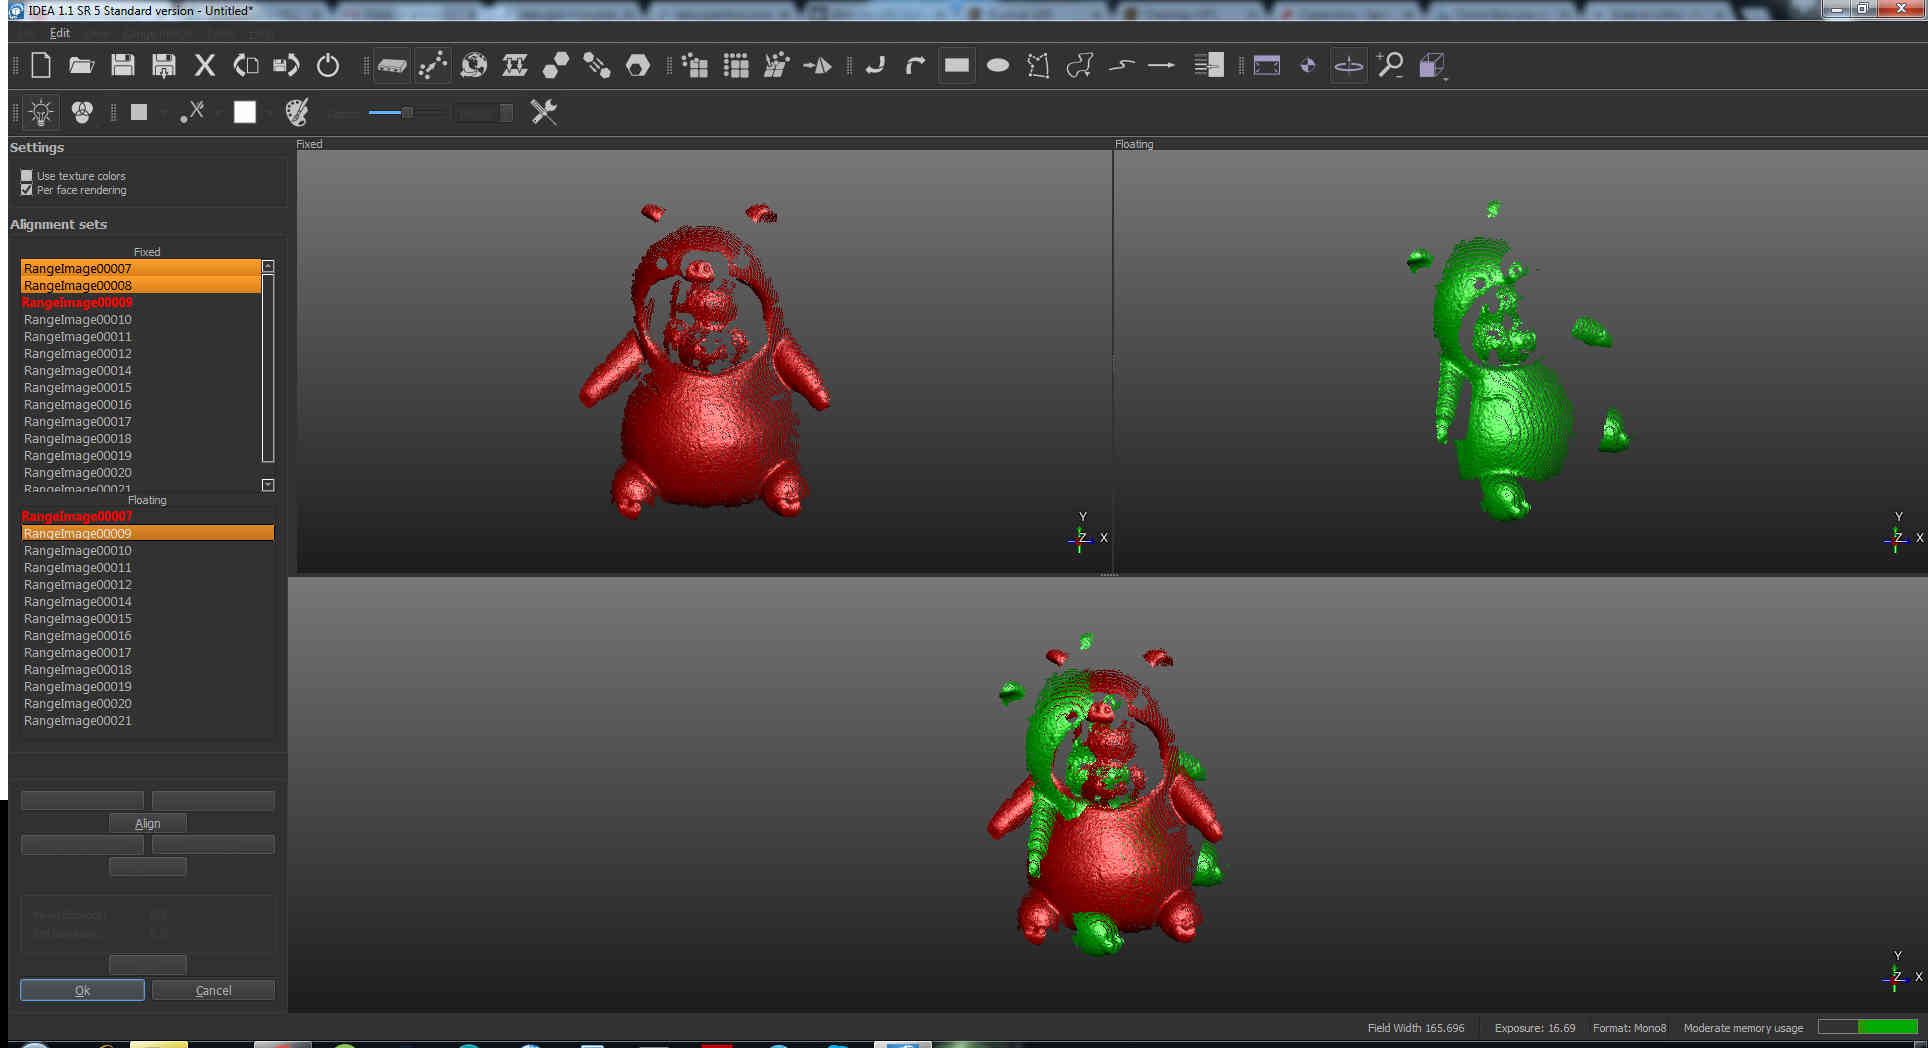
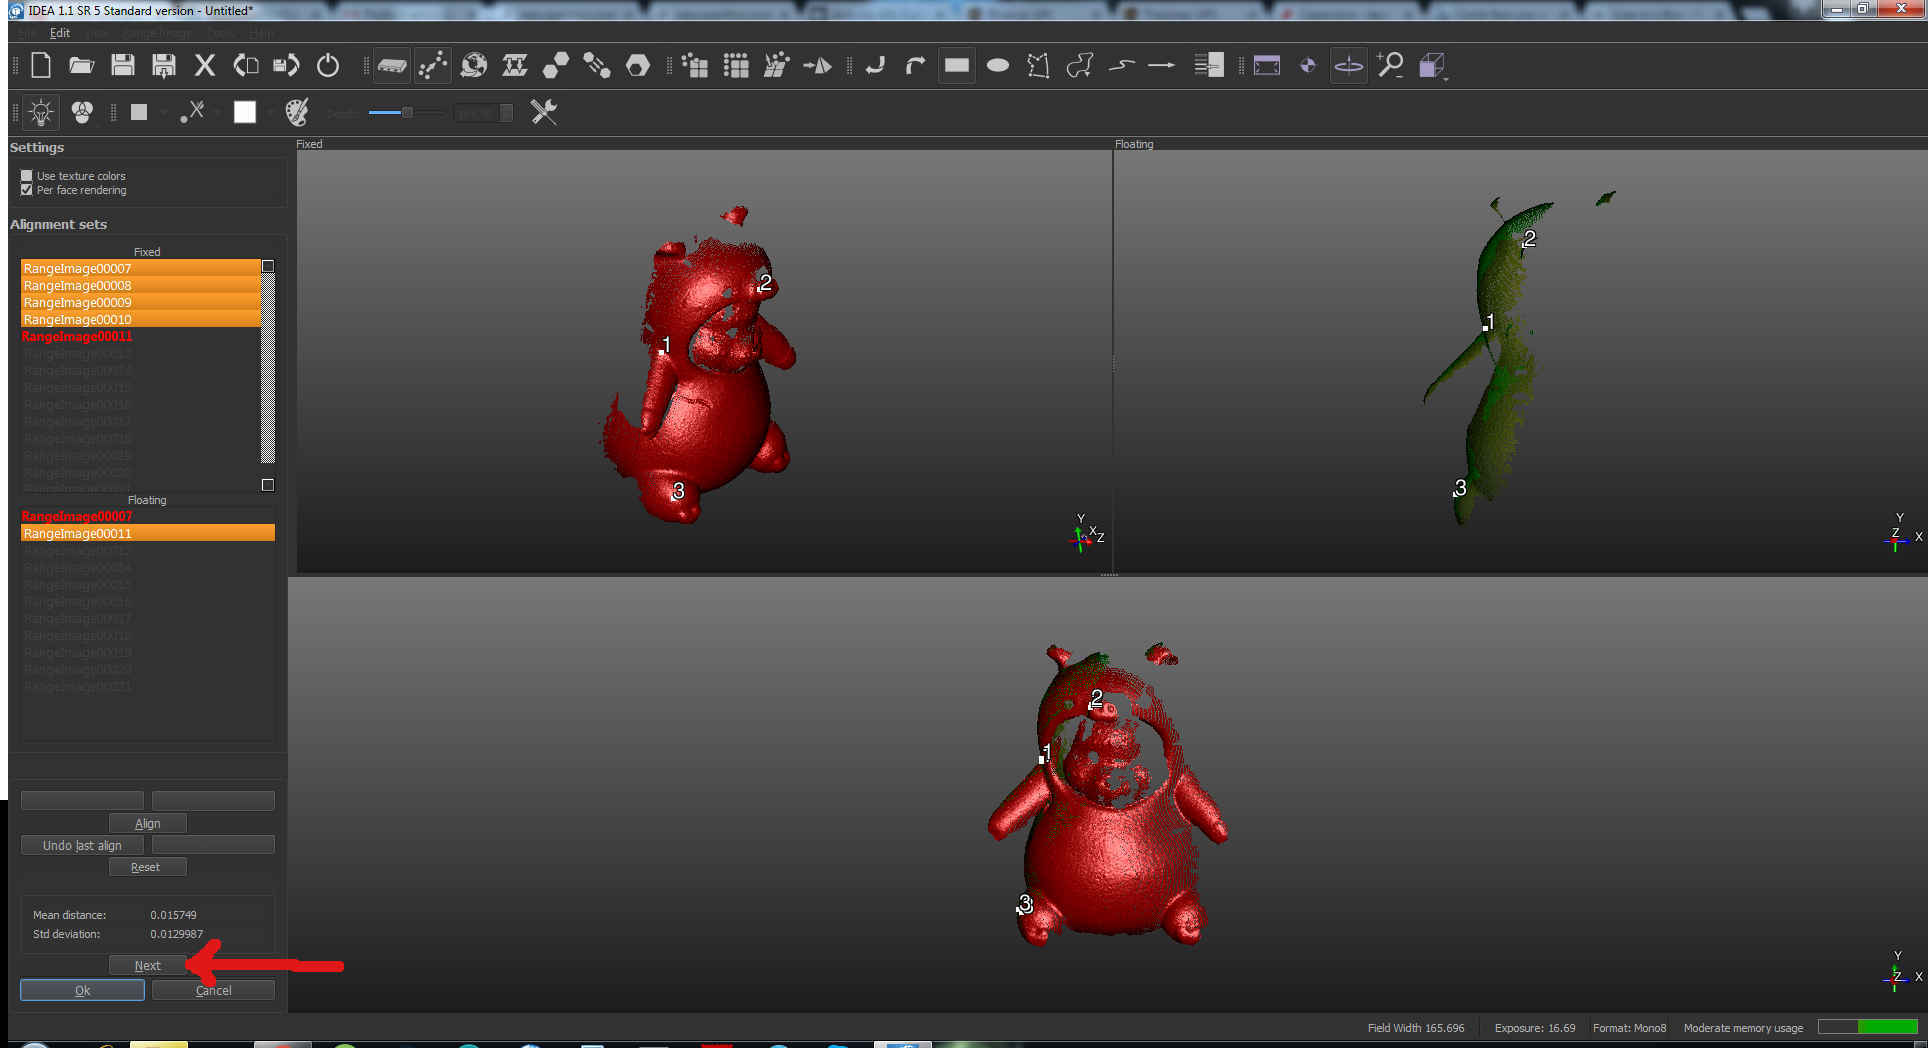
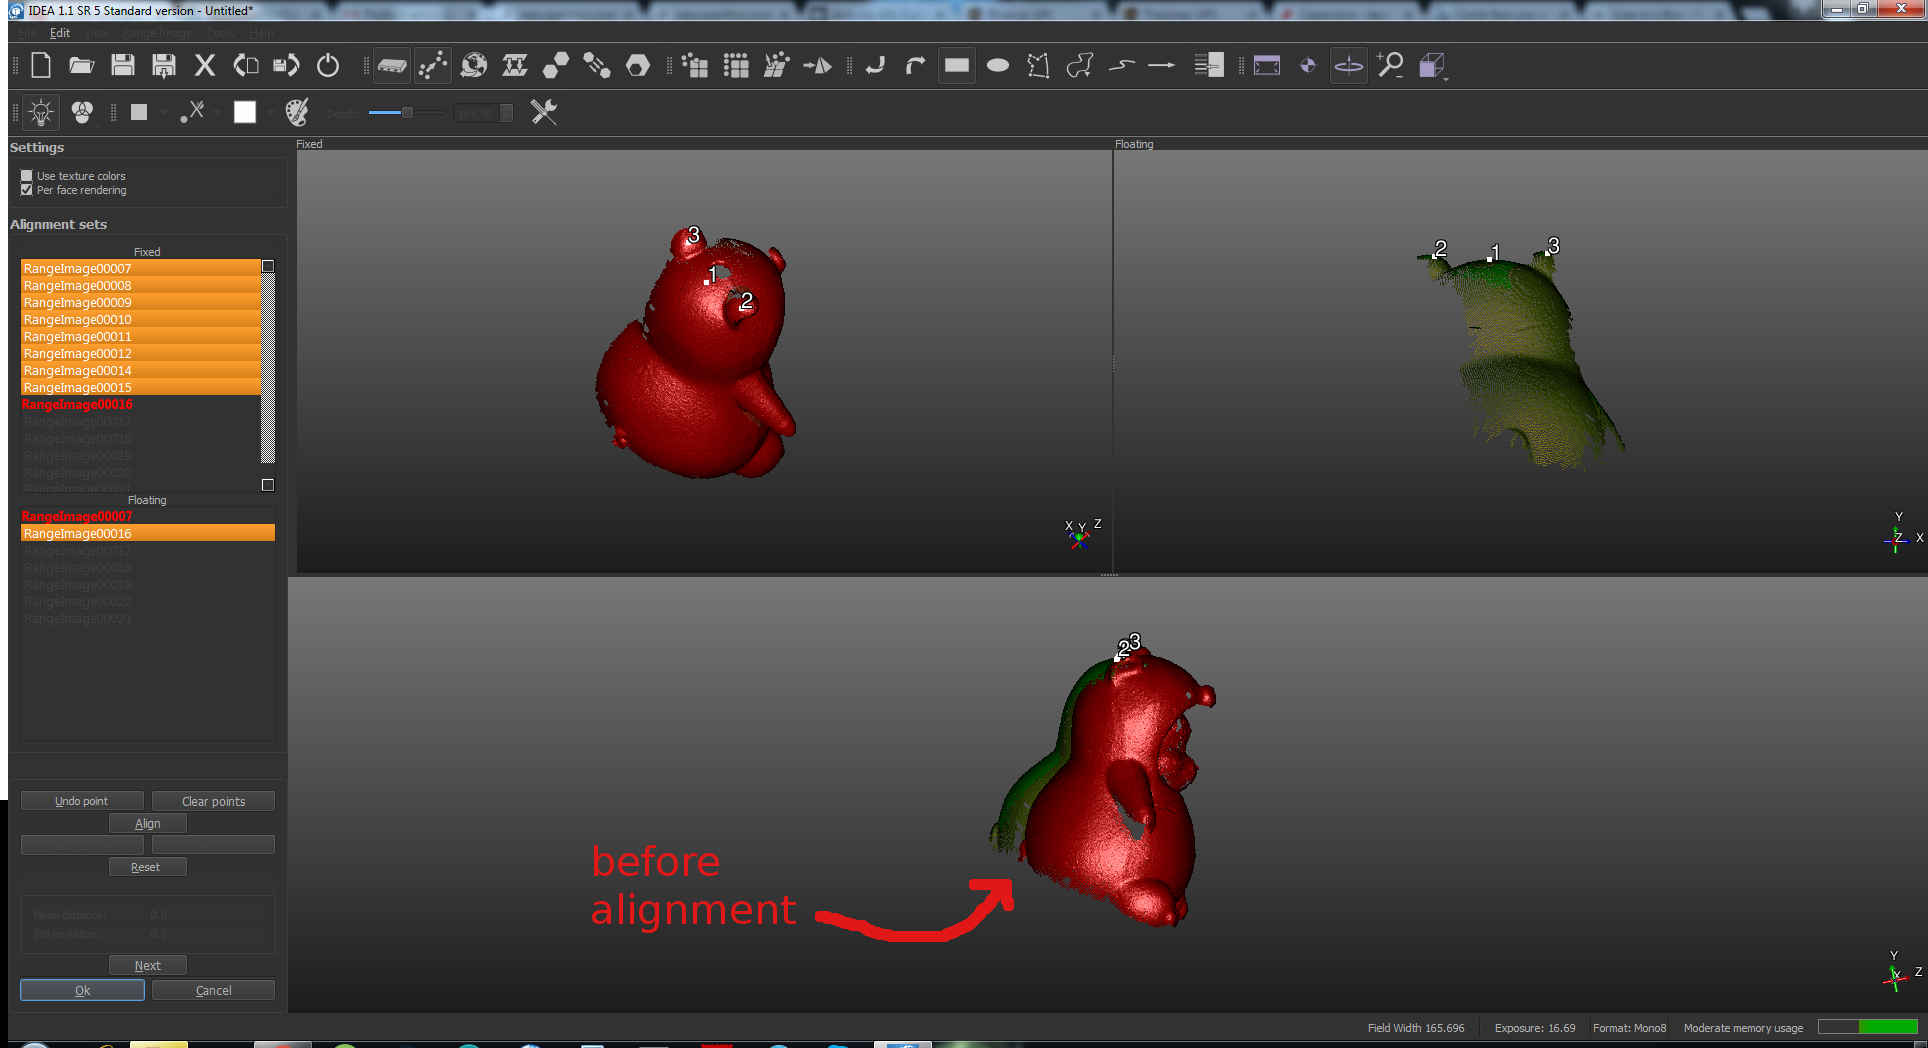
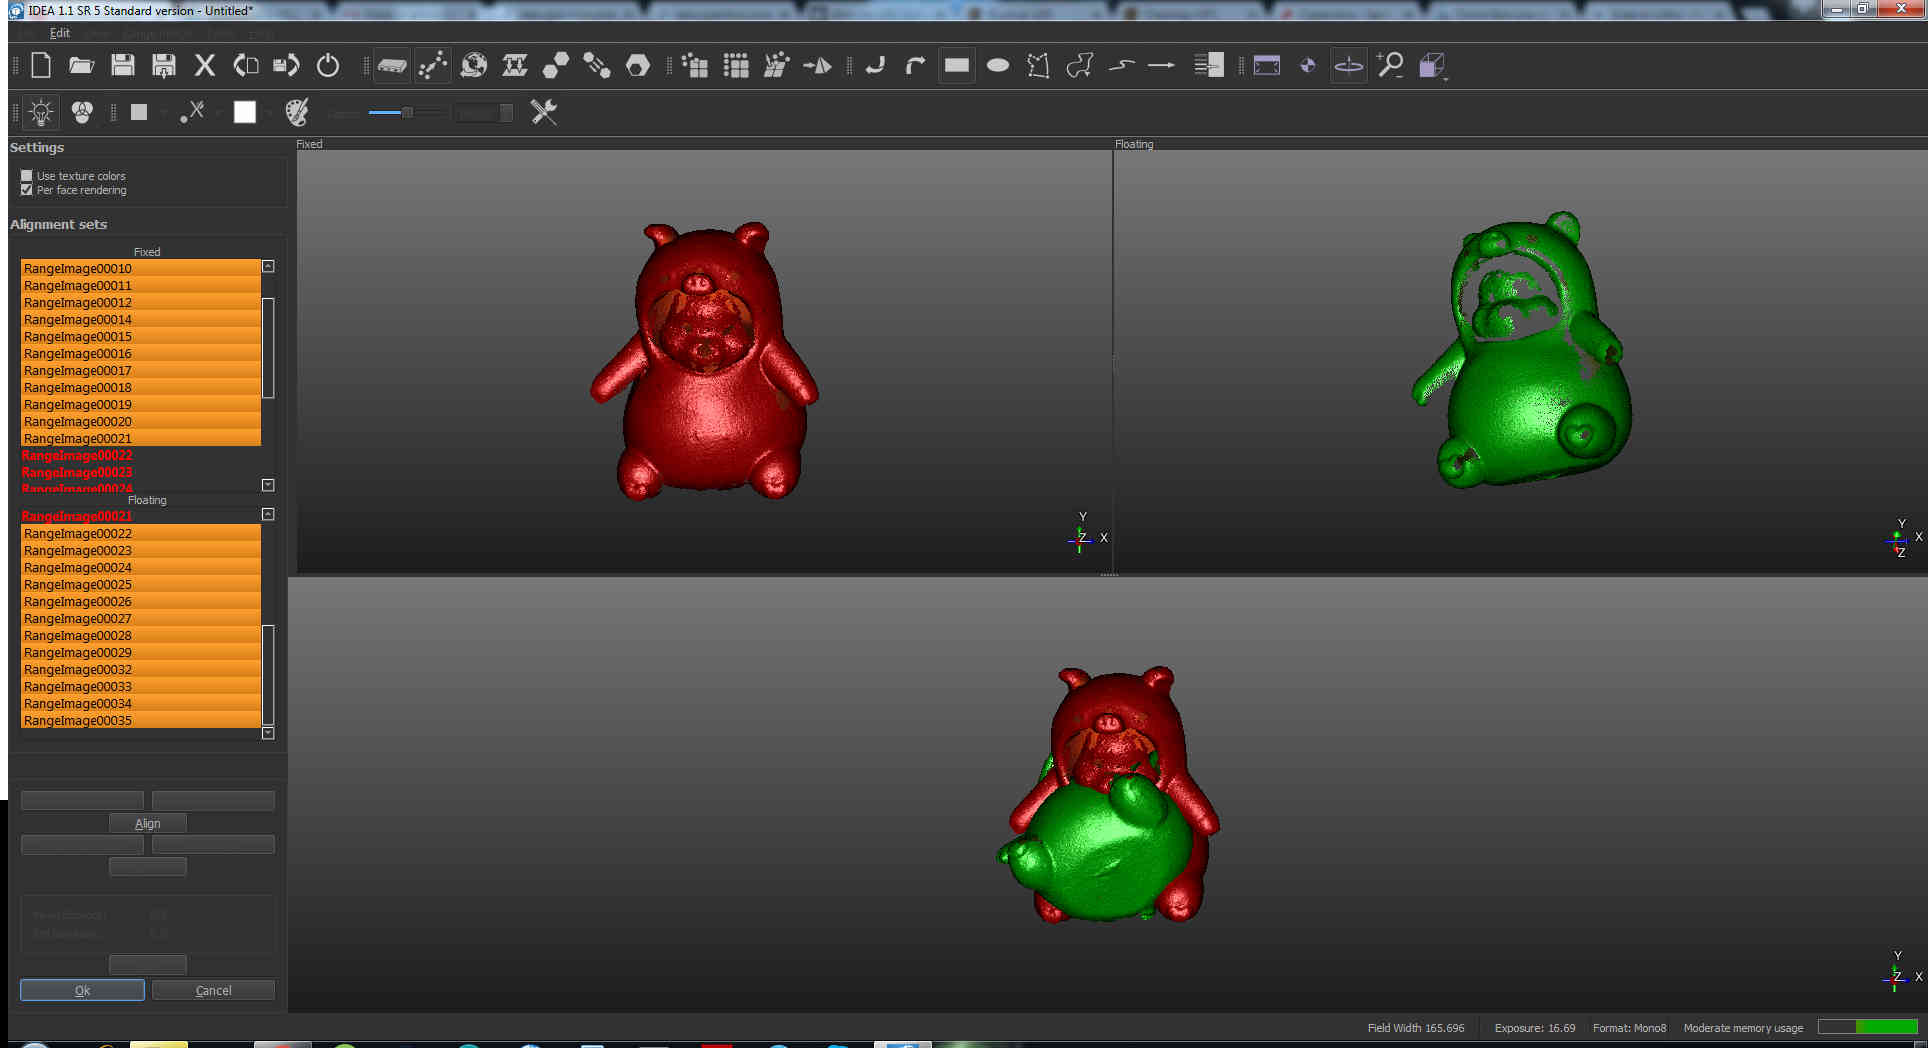
 I then selected all pictures and activated Manual alignment tool
 When the Alignment sets windows open, you'll see two list containing all the picture of the grop selected: in the upper one you choose the
image you want to be fixed and to adapt other image to (and that will become red), the below list will contain all the floating image you have to adapt to the fixed one.
When the Alignment sets windows open, you'll see two list containing all the picture of the grop selected: in the upper one you choose the
image you want to be fixed and to adapt other image to (and that will become red), the below list will contain all the floating image you have to adapt to the fixed one.
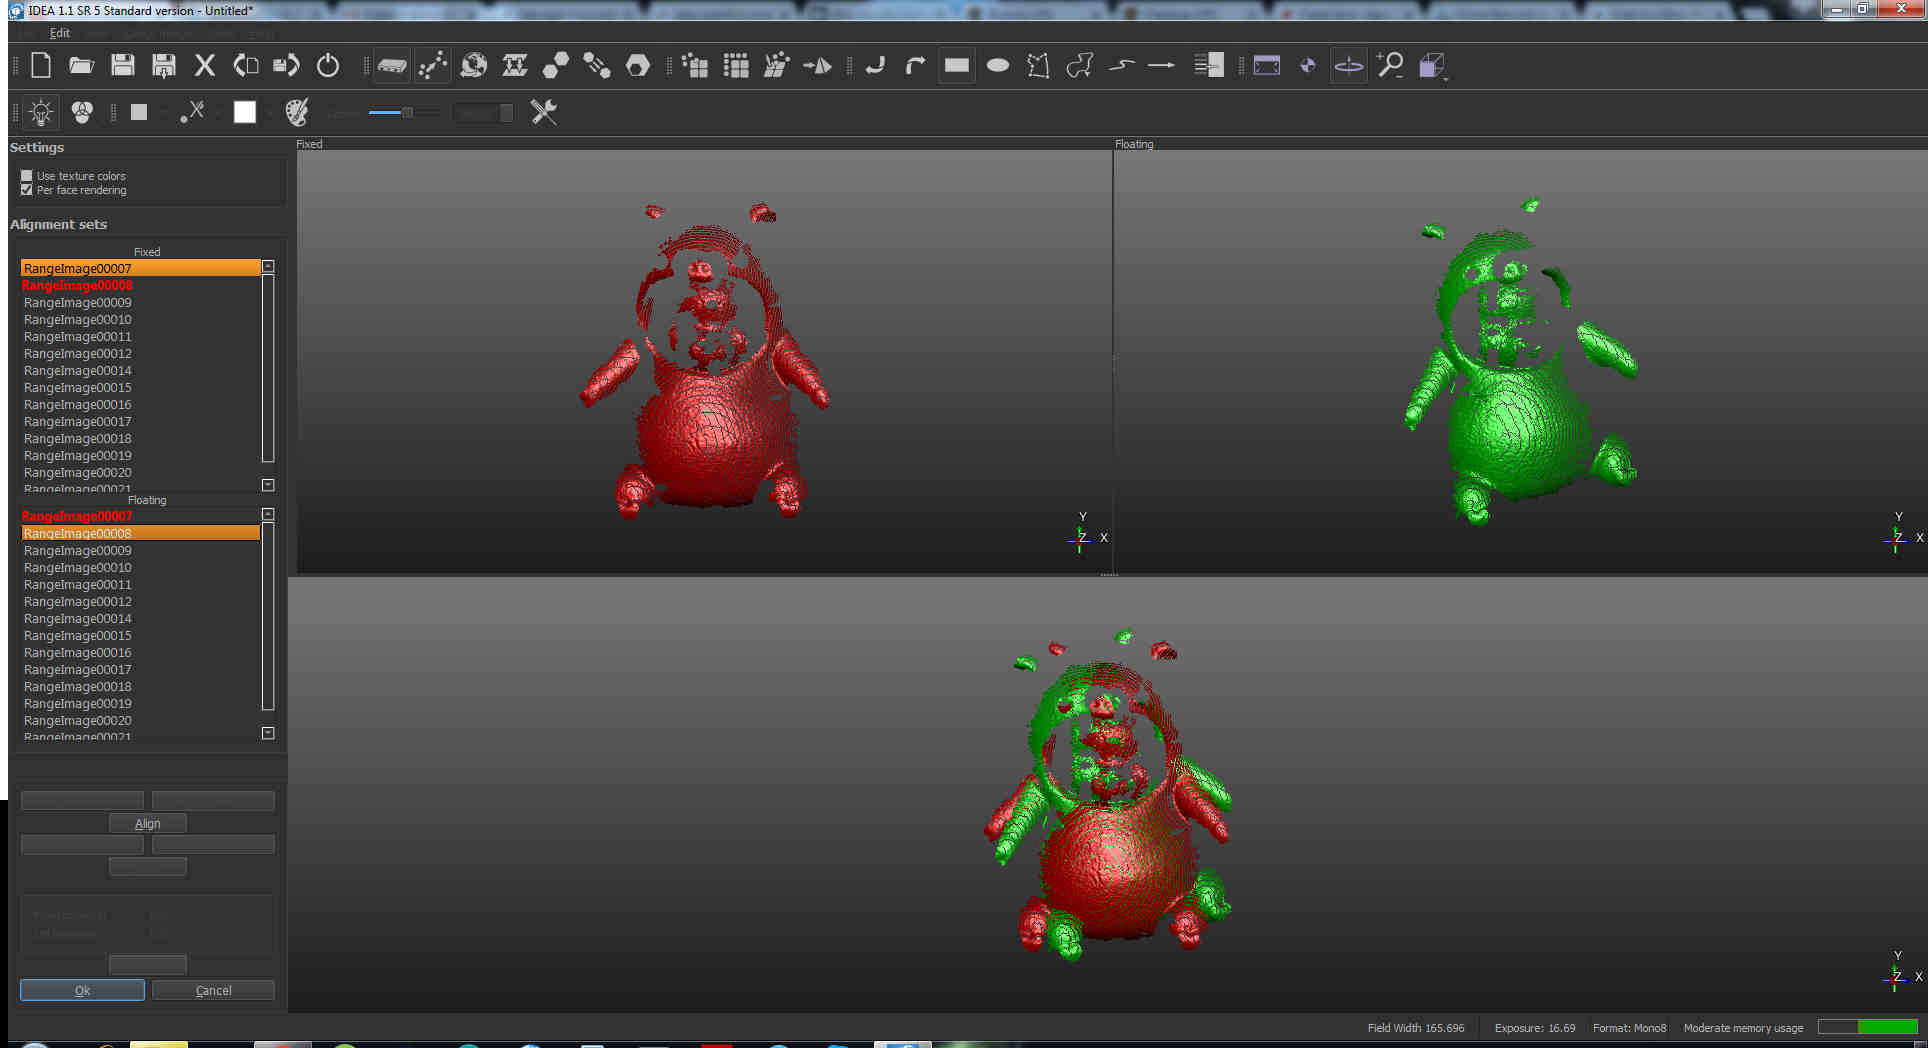 To adapt a picture to another you have to detect three common points of red and green 3D shape you see on the right of the lists and their combination
will appear in the below window, after clicking on Align button:
To adapt a picture to another you have to detect three common points of red and green 3D shape you see on the right of the lists and their combination
will appear in the below window, after clicking on Align button:
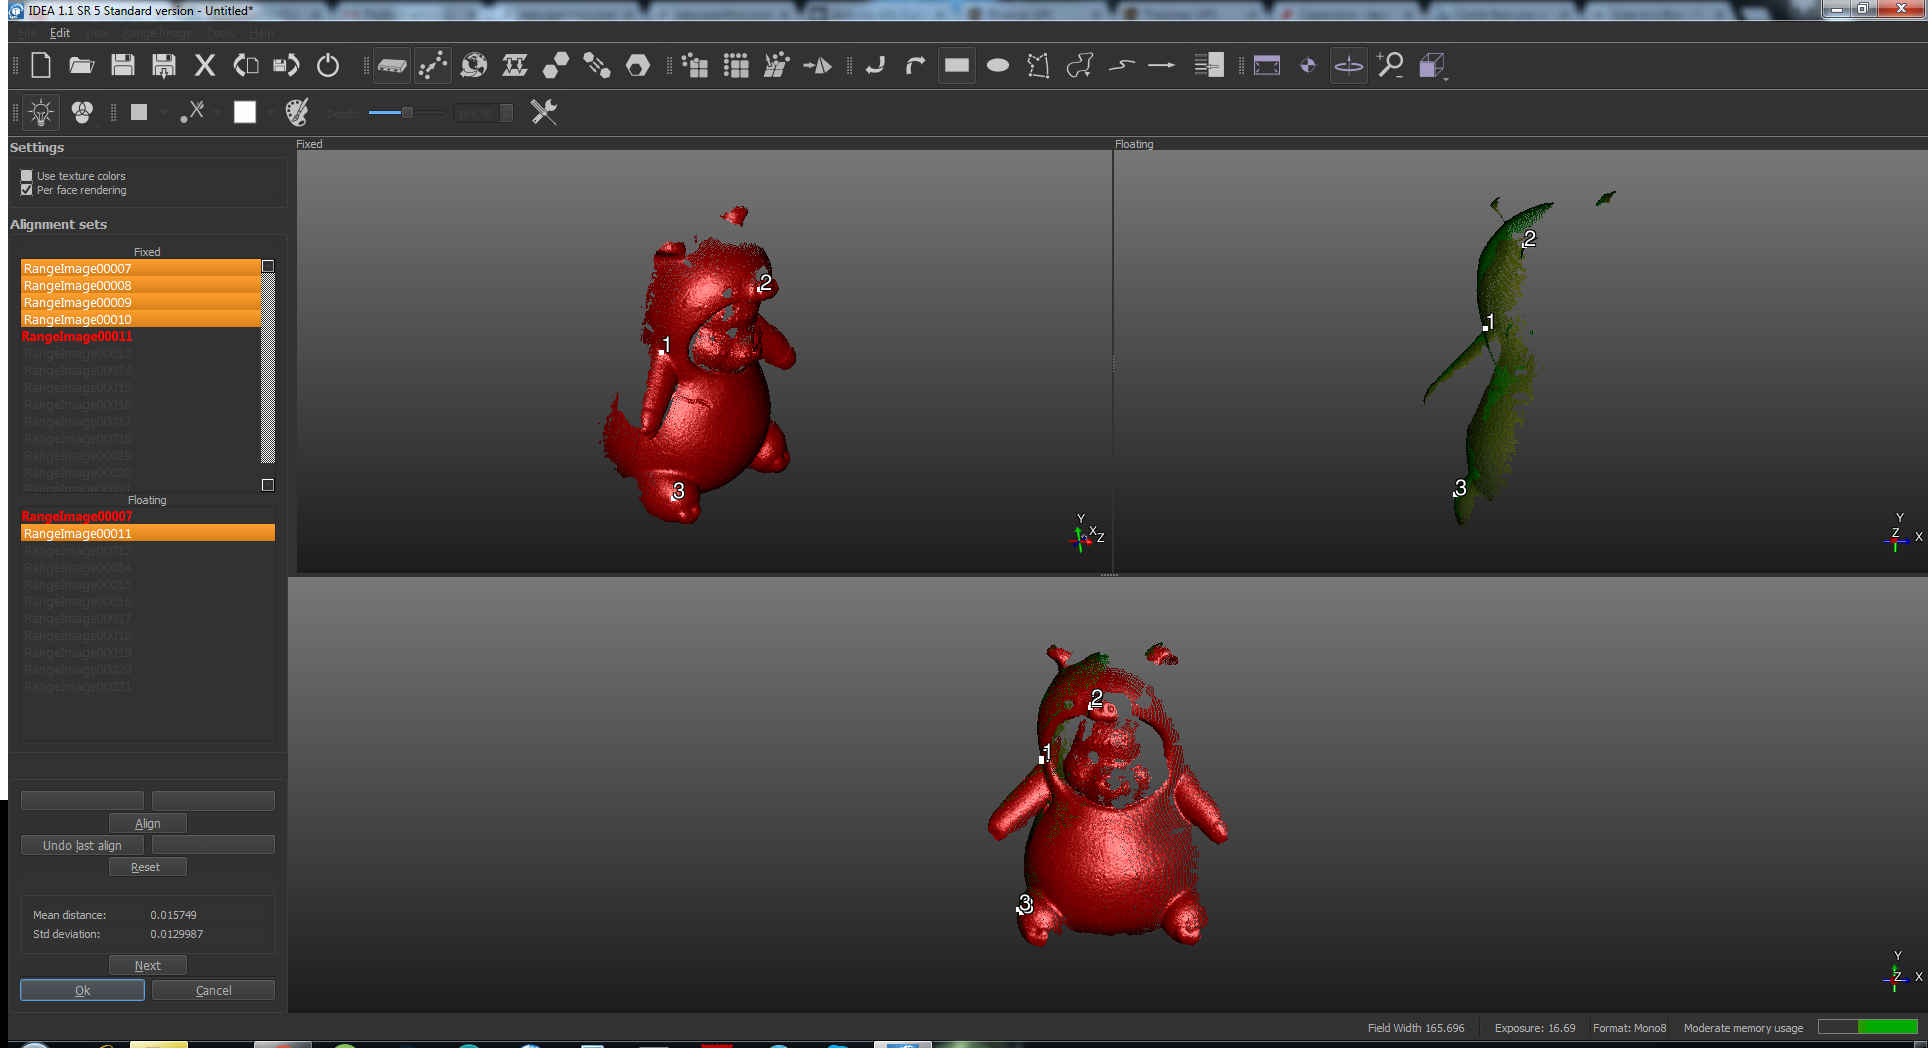
 to pass on to the next image to align you have to press on Next
 Alignment is very powerful in this software:
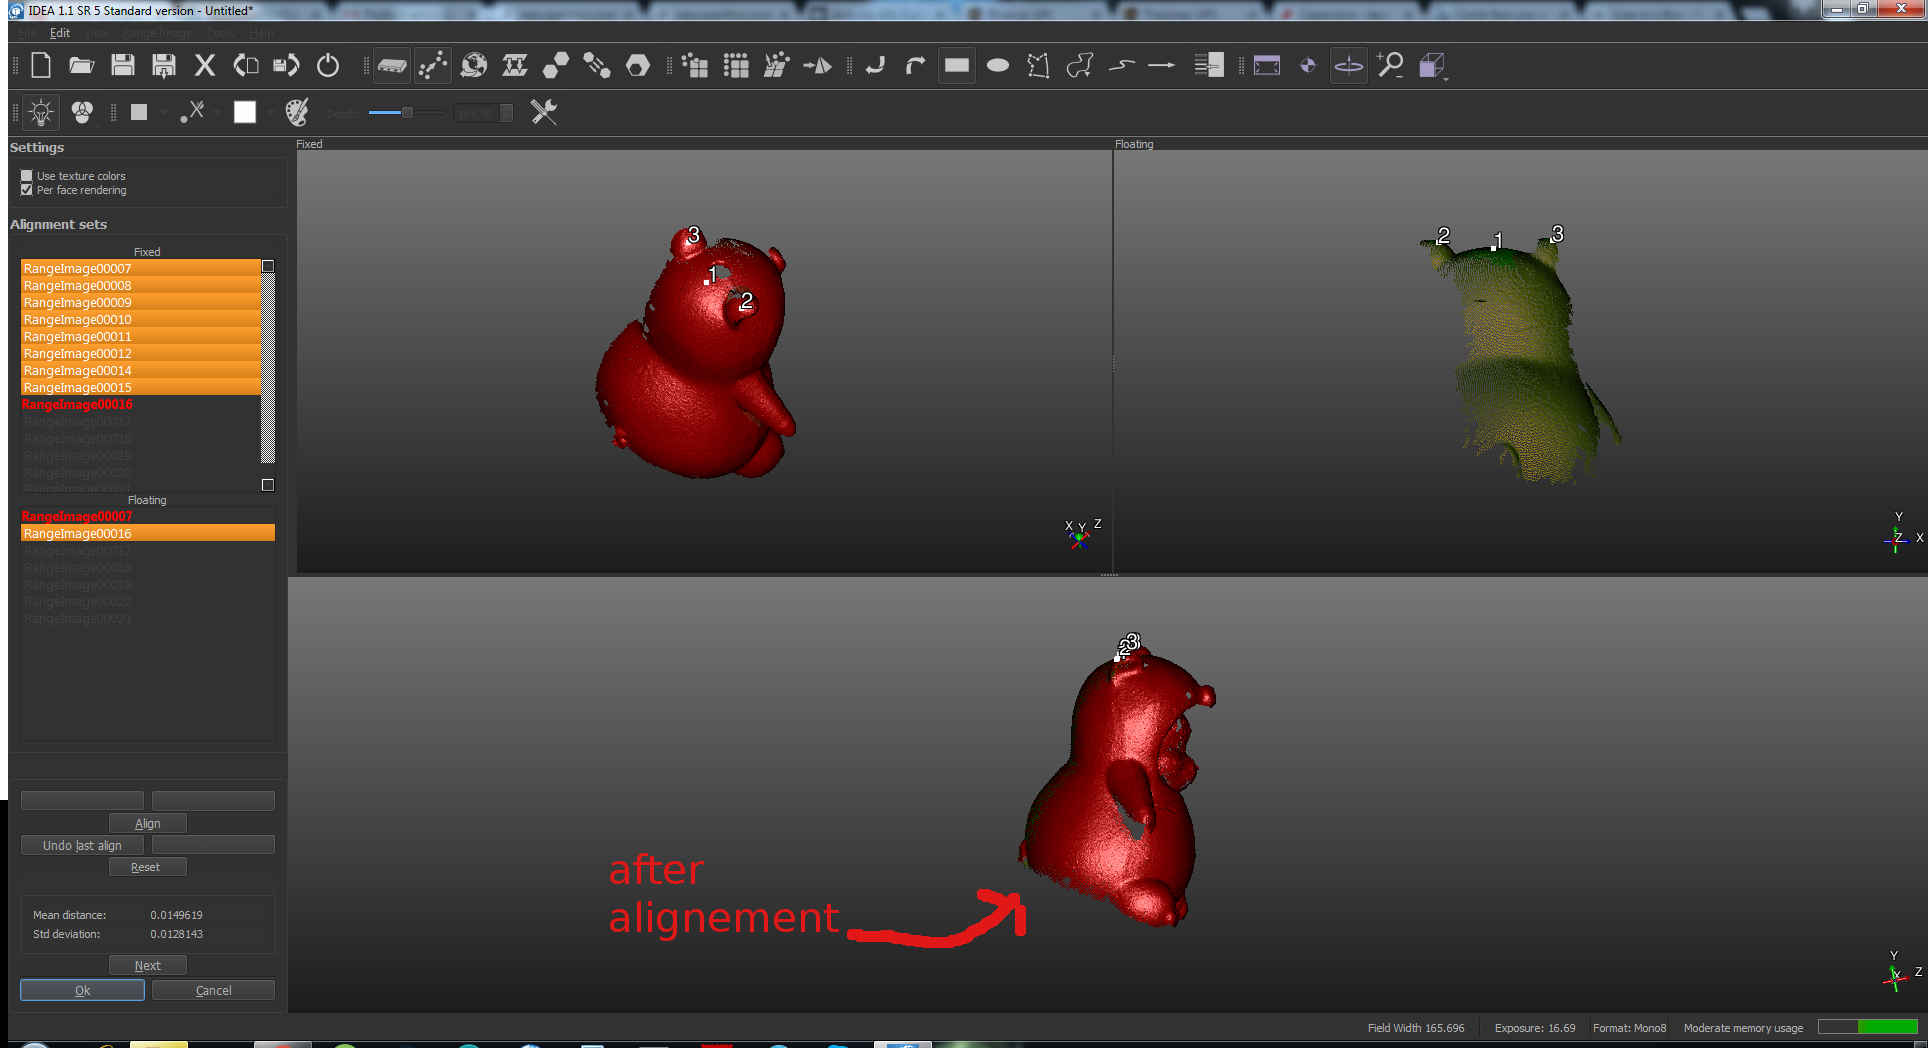 Once all pictures of the group had been aligned, click on OK

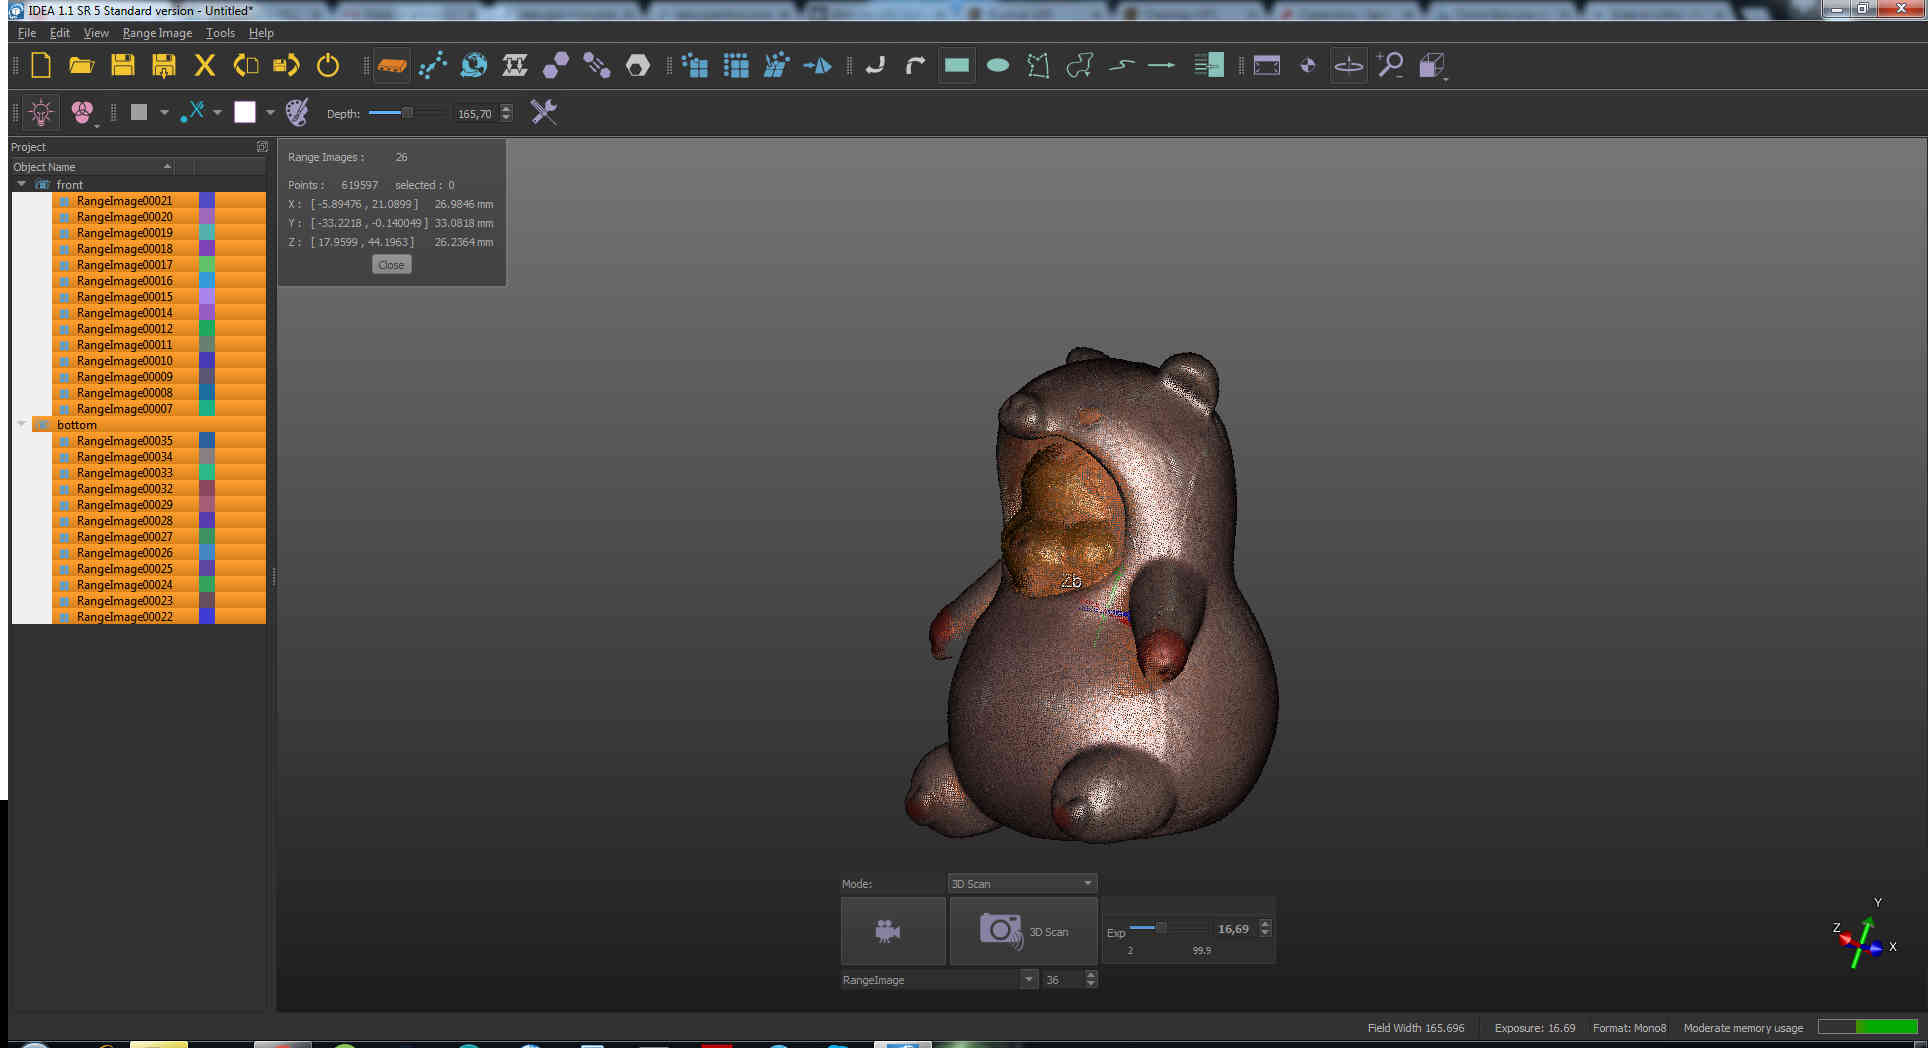
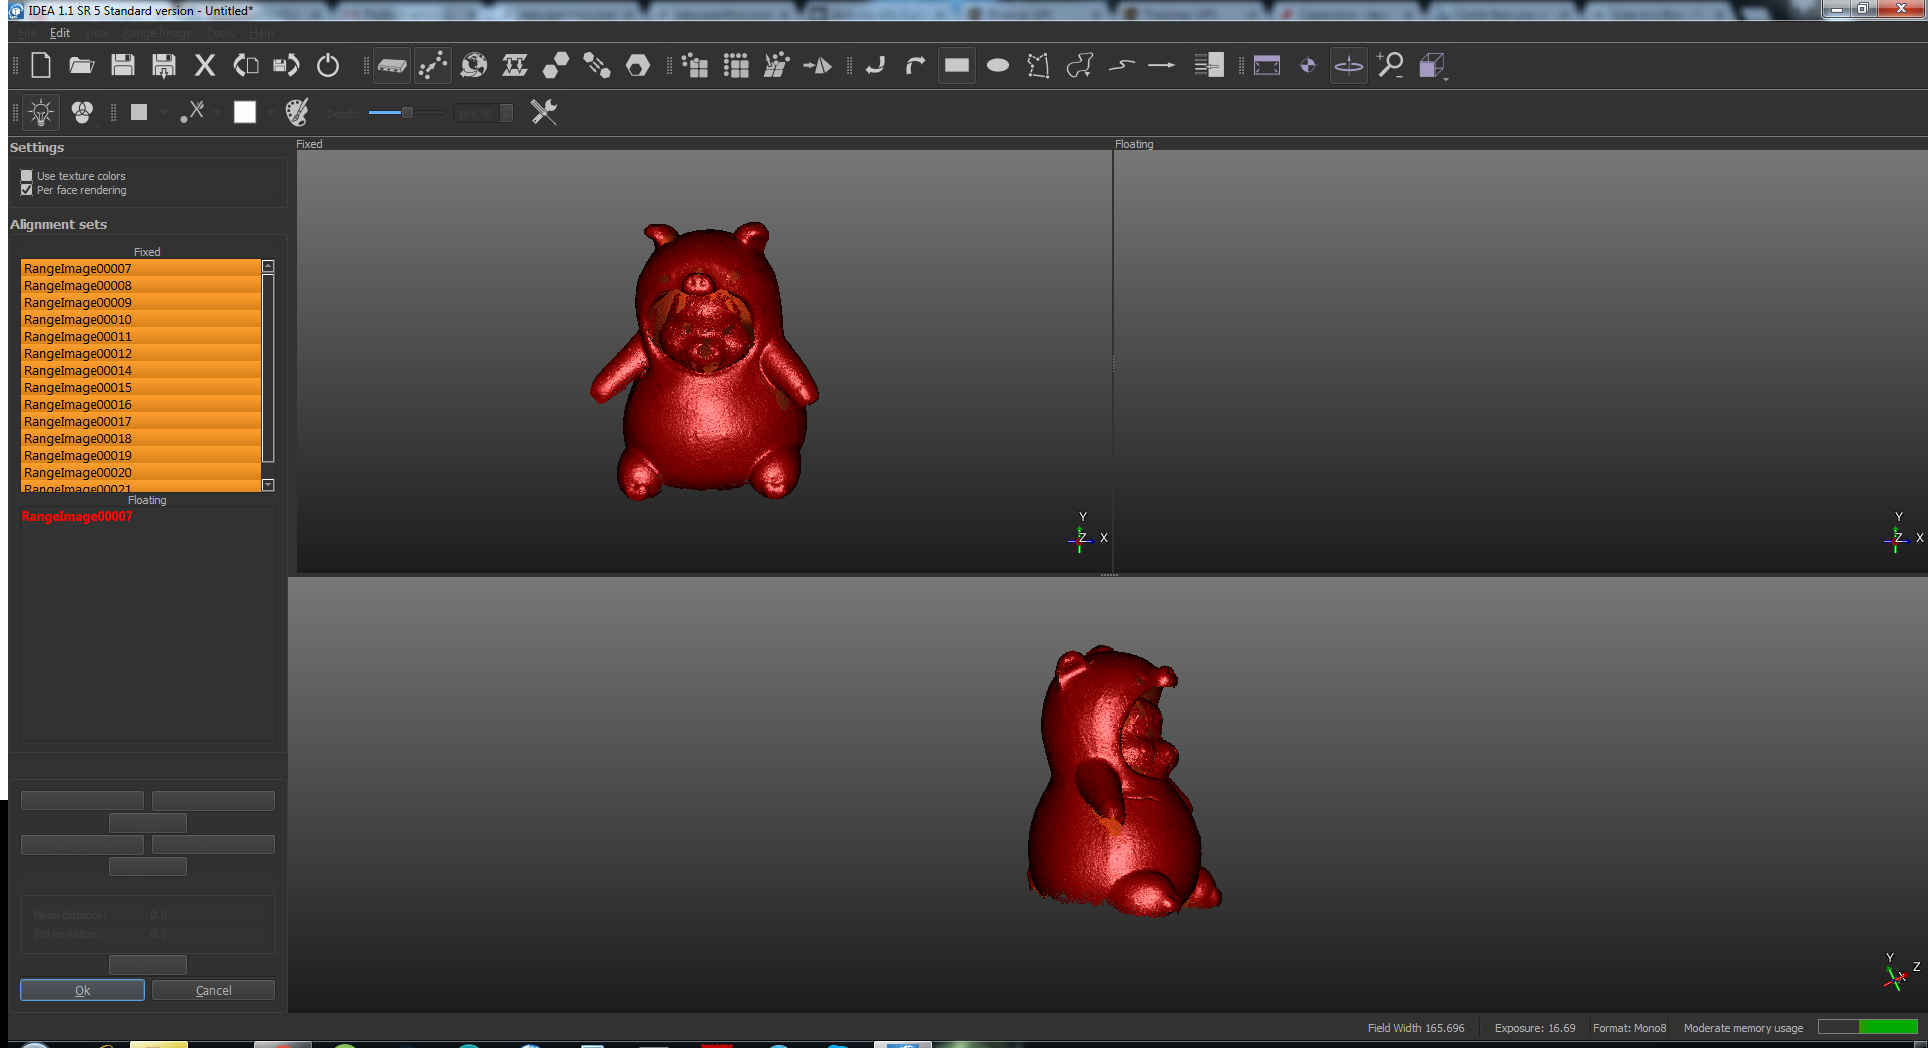 I made another group of picture for the bottom part of the model, laying it flat:
 And I repeated all the actions listed till now to the second group till I got this final result:
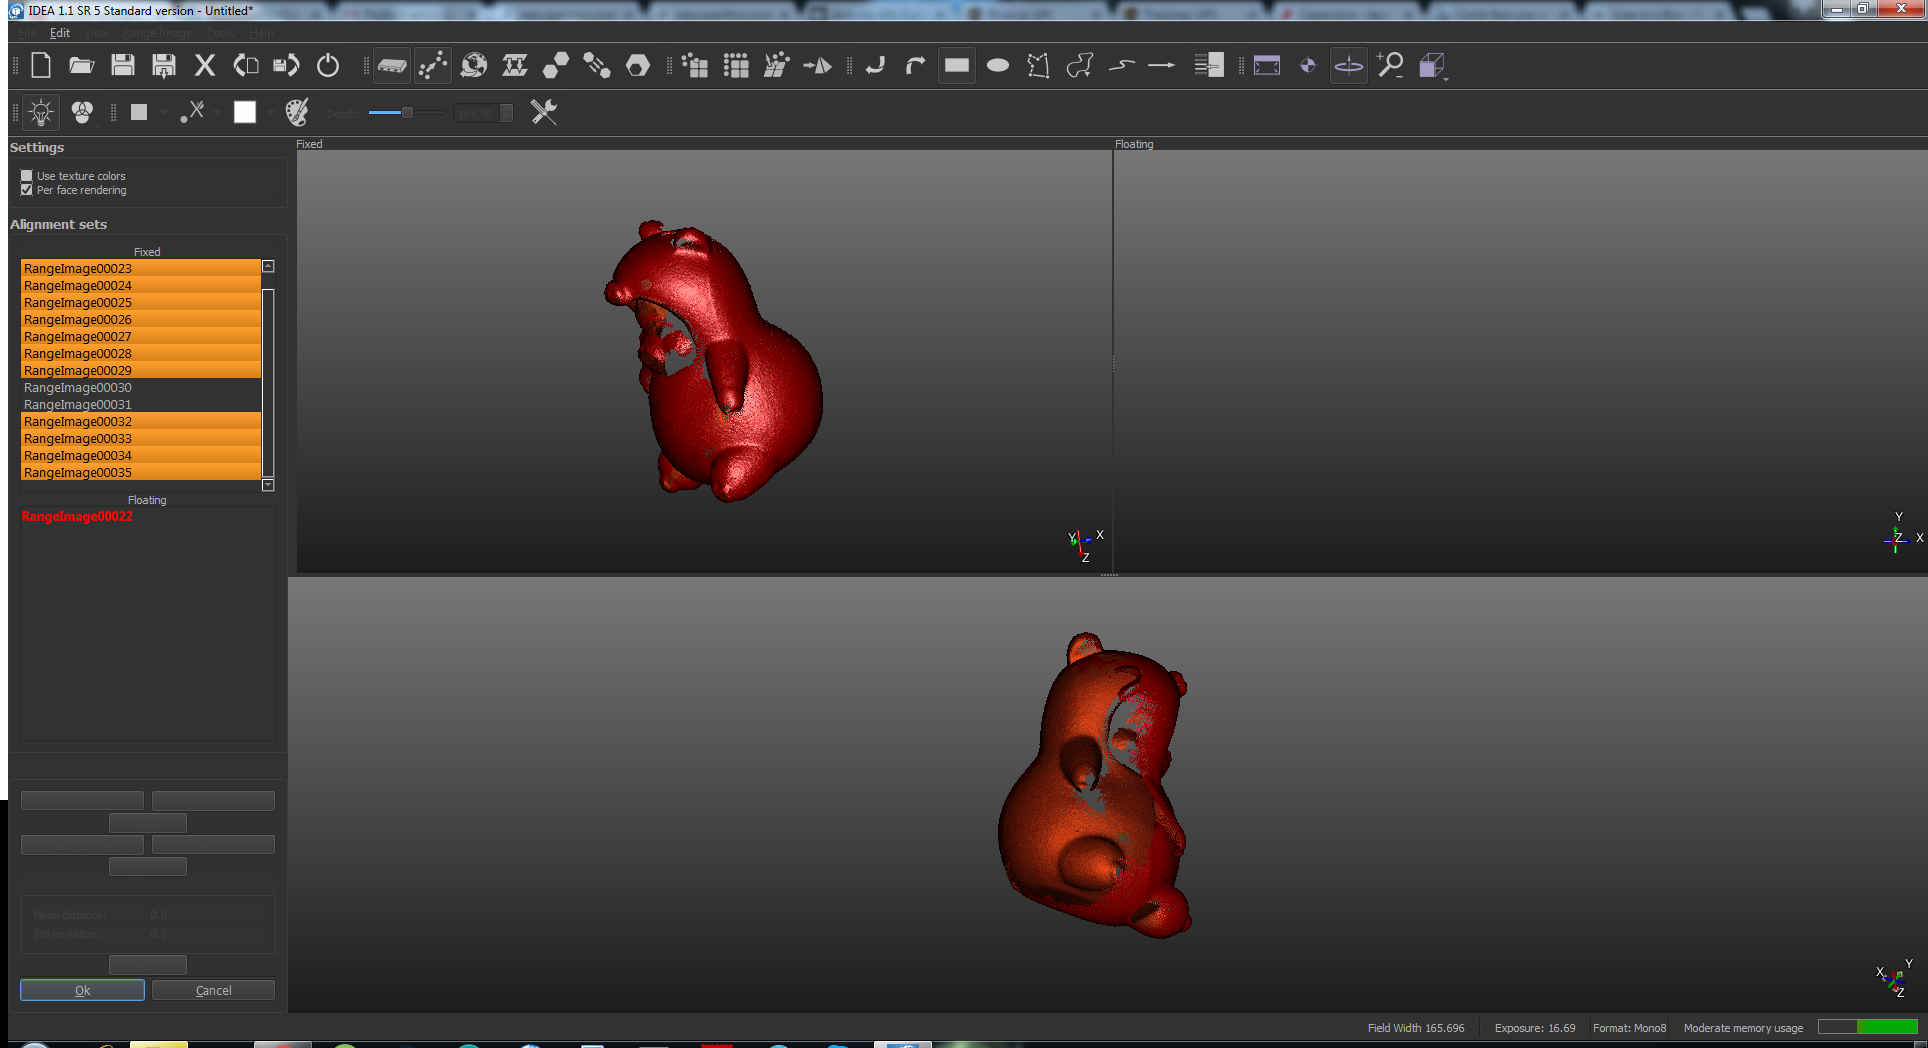 Then I needed to align the two groups. Actually is completely the same as done before if you just consider a gruop being a single picture.
I therefore selected all (I mean all, so all groups') pictures and I re-clicked on Manual alignment tool icon:
 In Alignment sets window I set all pictures of the first group as fixed and the other group will contain the floating ones:
 After clicking on OK the 3D shape I gain was this:
 I then used the Global alignment tool:
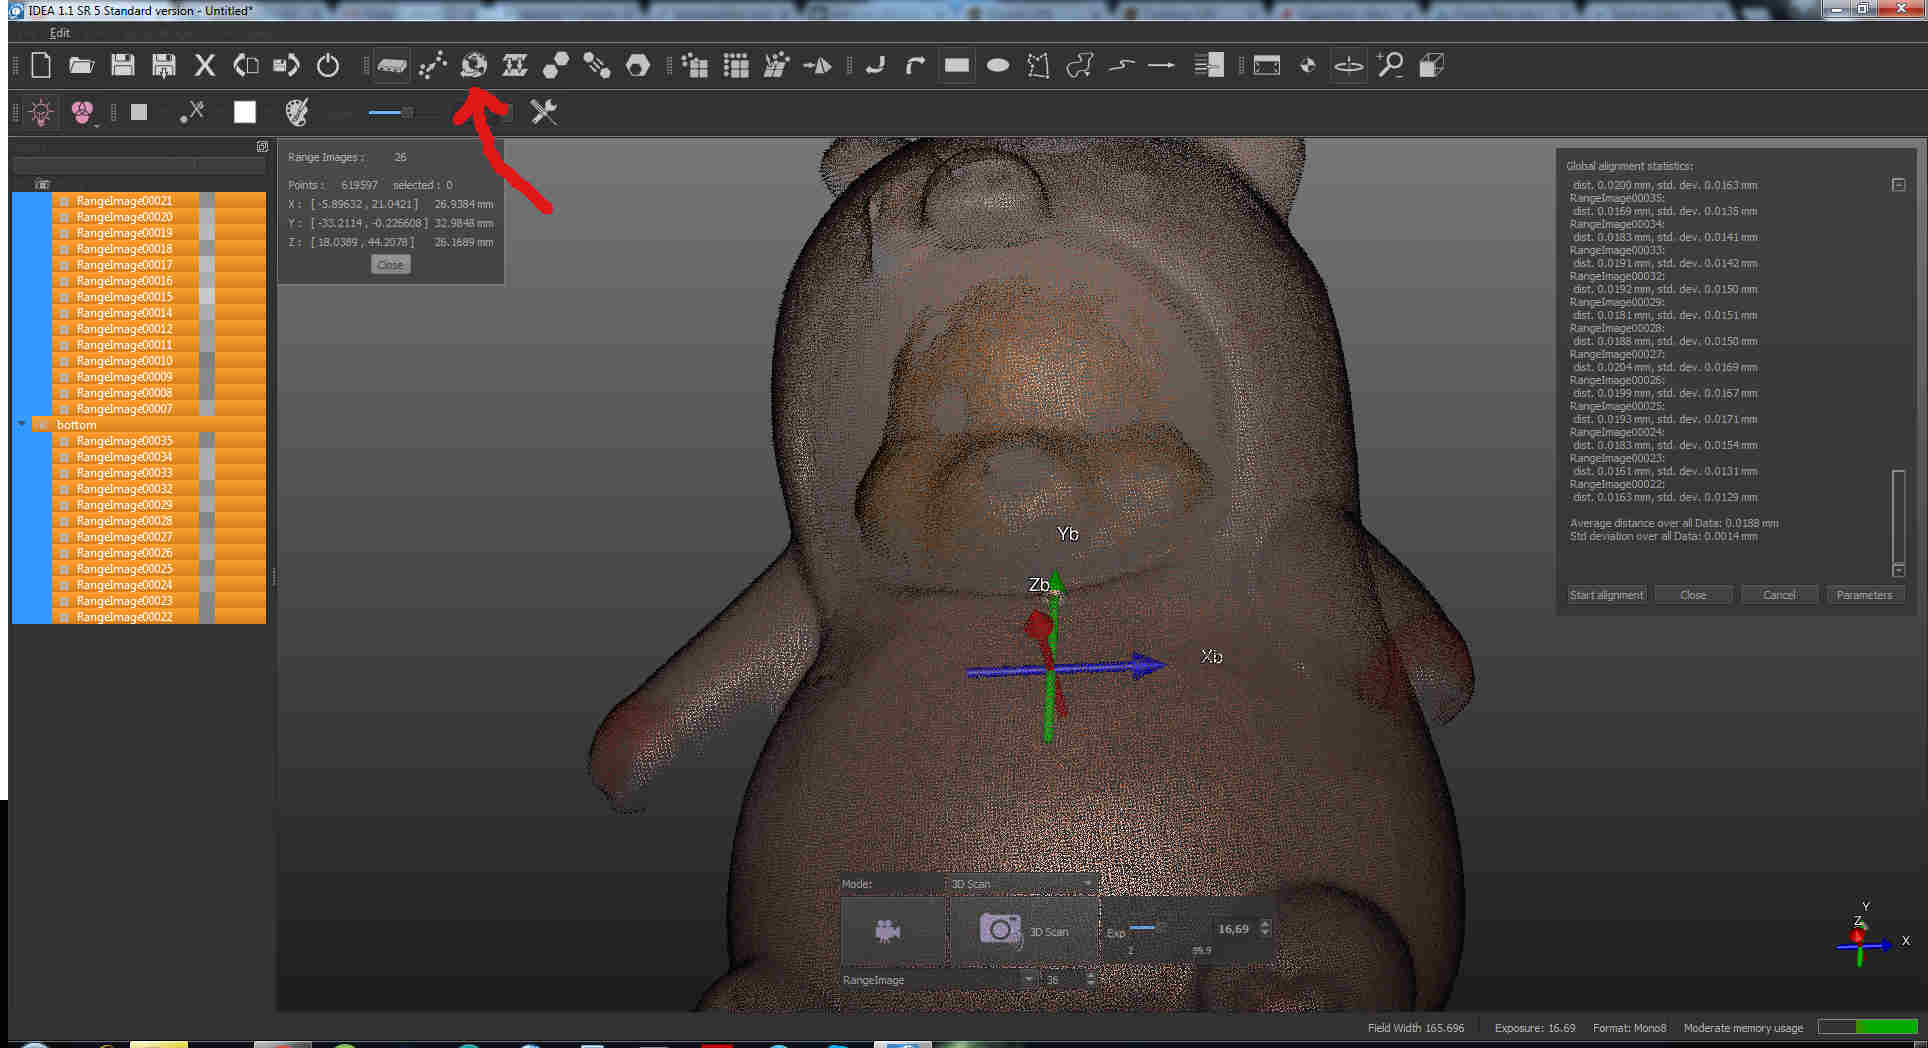 NB: since the exposition was quite right, I got no extra noisy points in my model but in case you get some, check the
video tutorial to see how to fix them using the icons in the picture below:
NB: since the exposition was quite right, I got no extra noisy points in my model but in case you get some, check the
video tutorial to see how to fix them using the icons in the picture below:
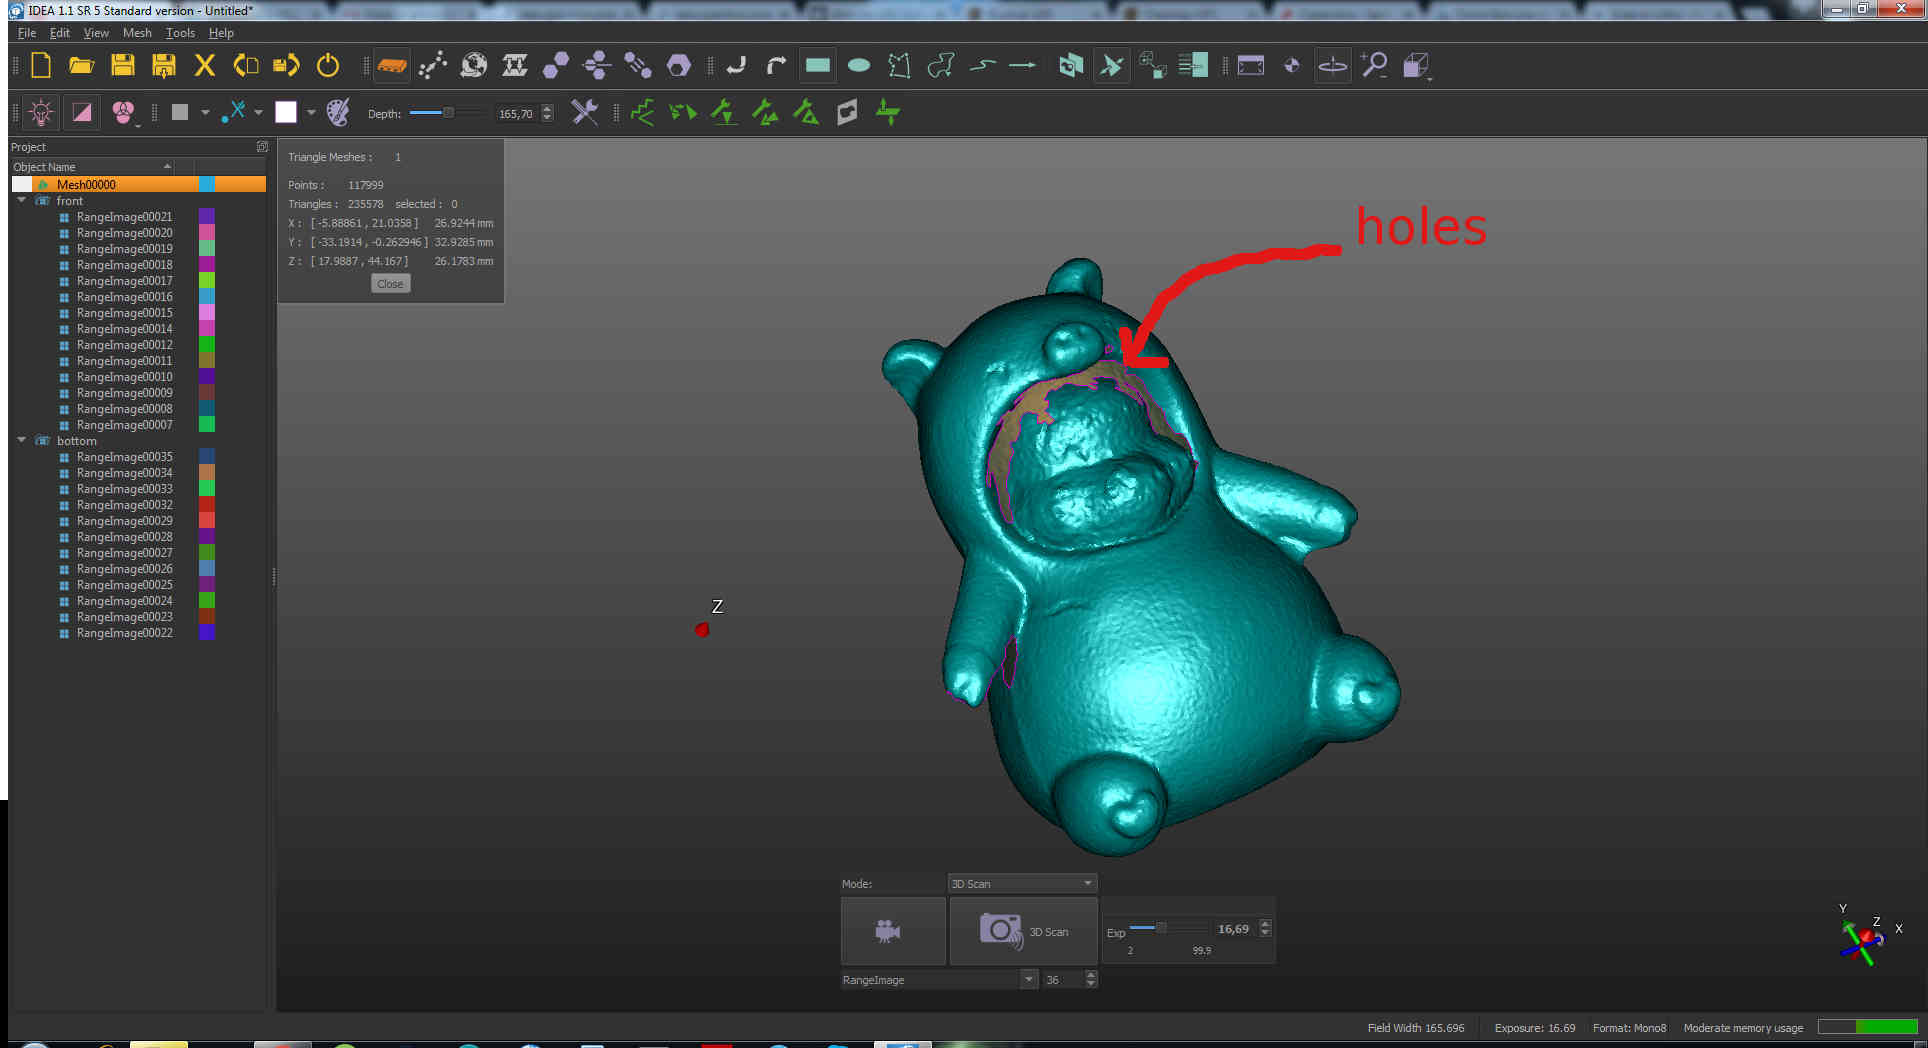
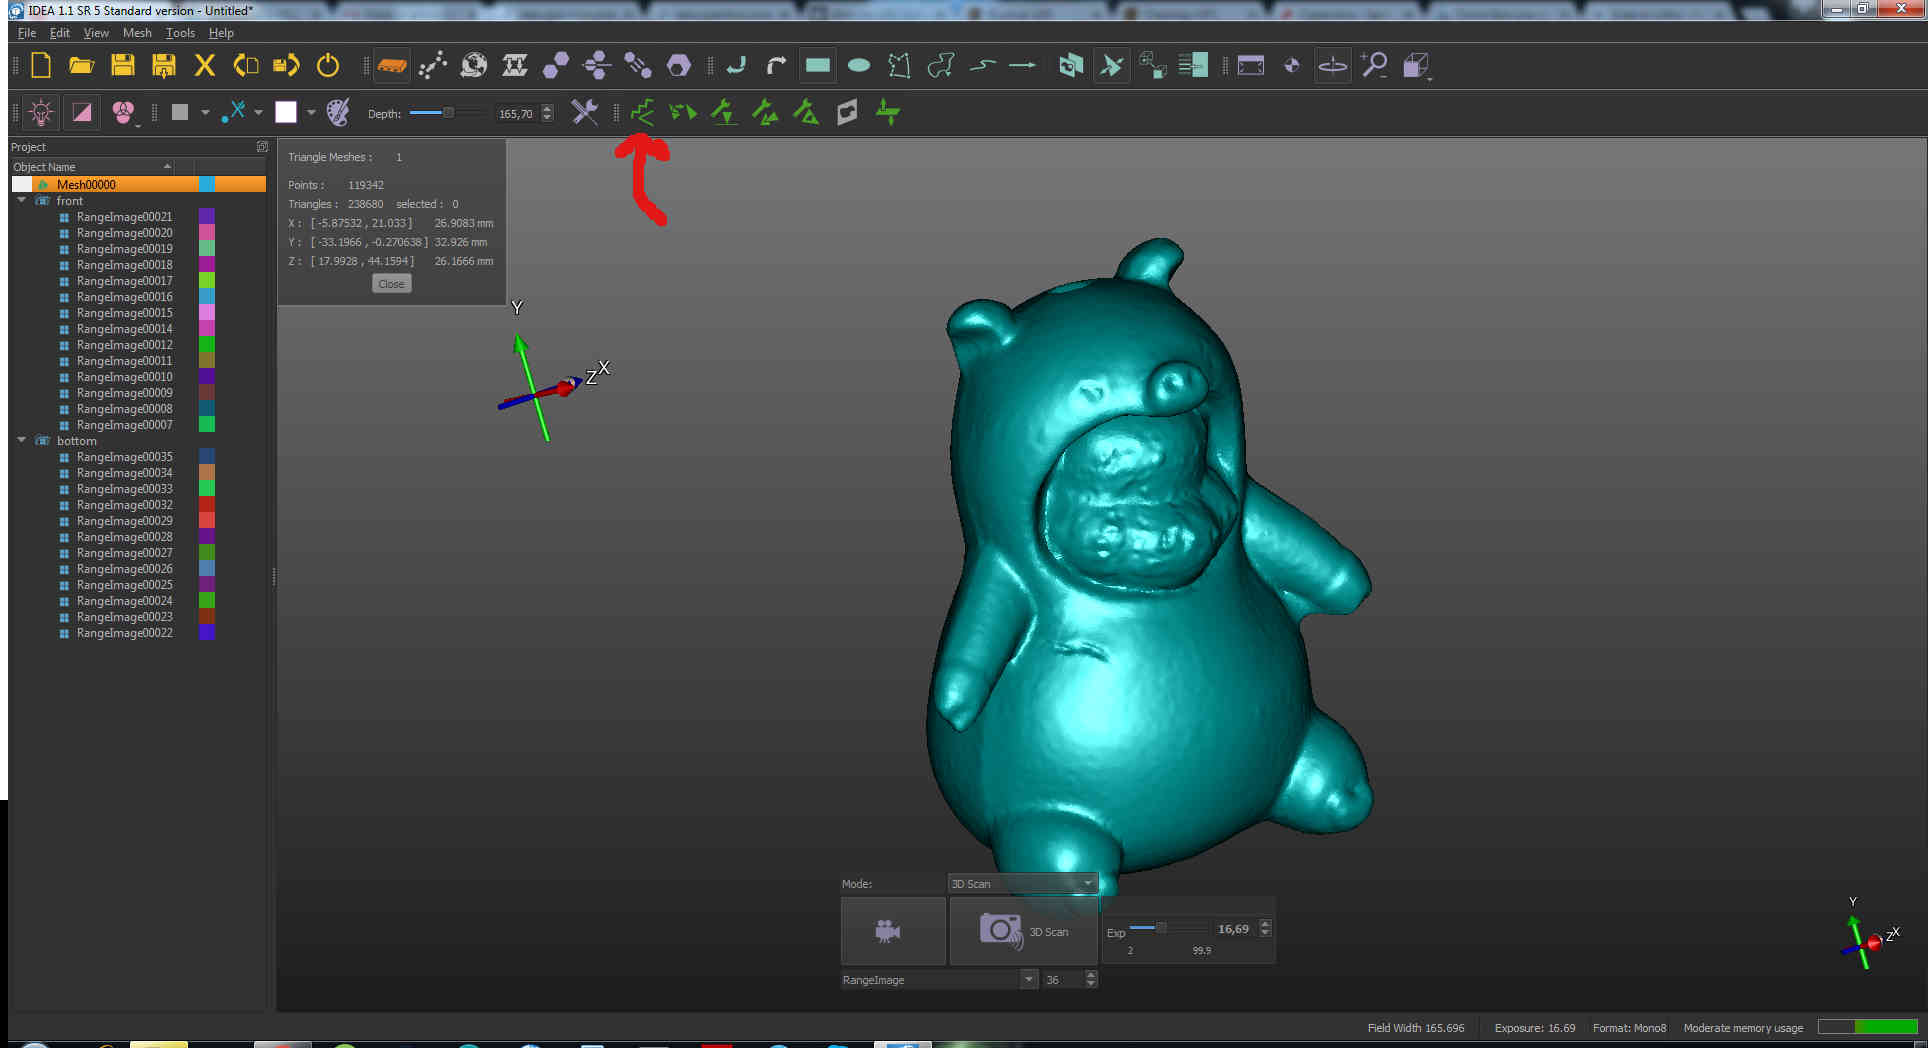
 After I got this cloud of points aligned, I could generate the mesh by clicking on Generate Mesh tool icon:
 The mesh I got contained some holes:
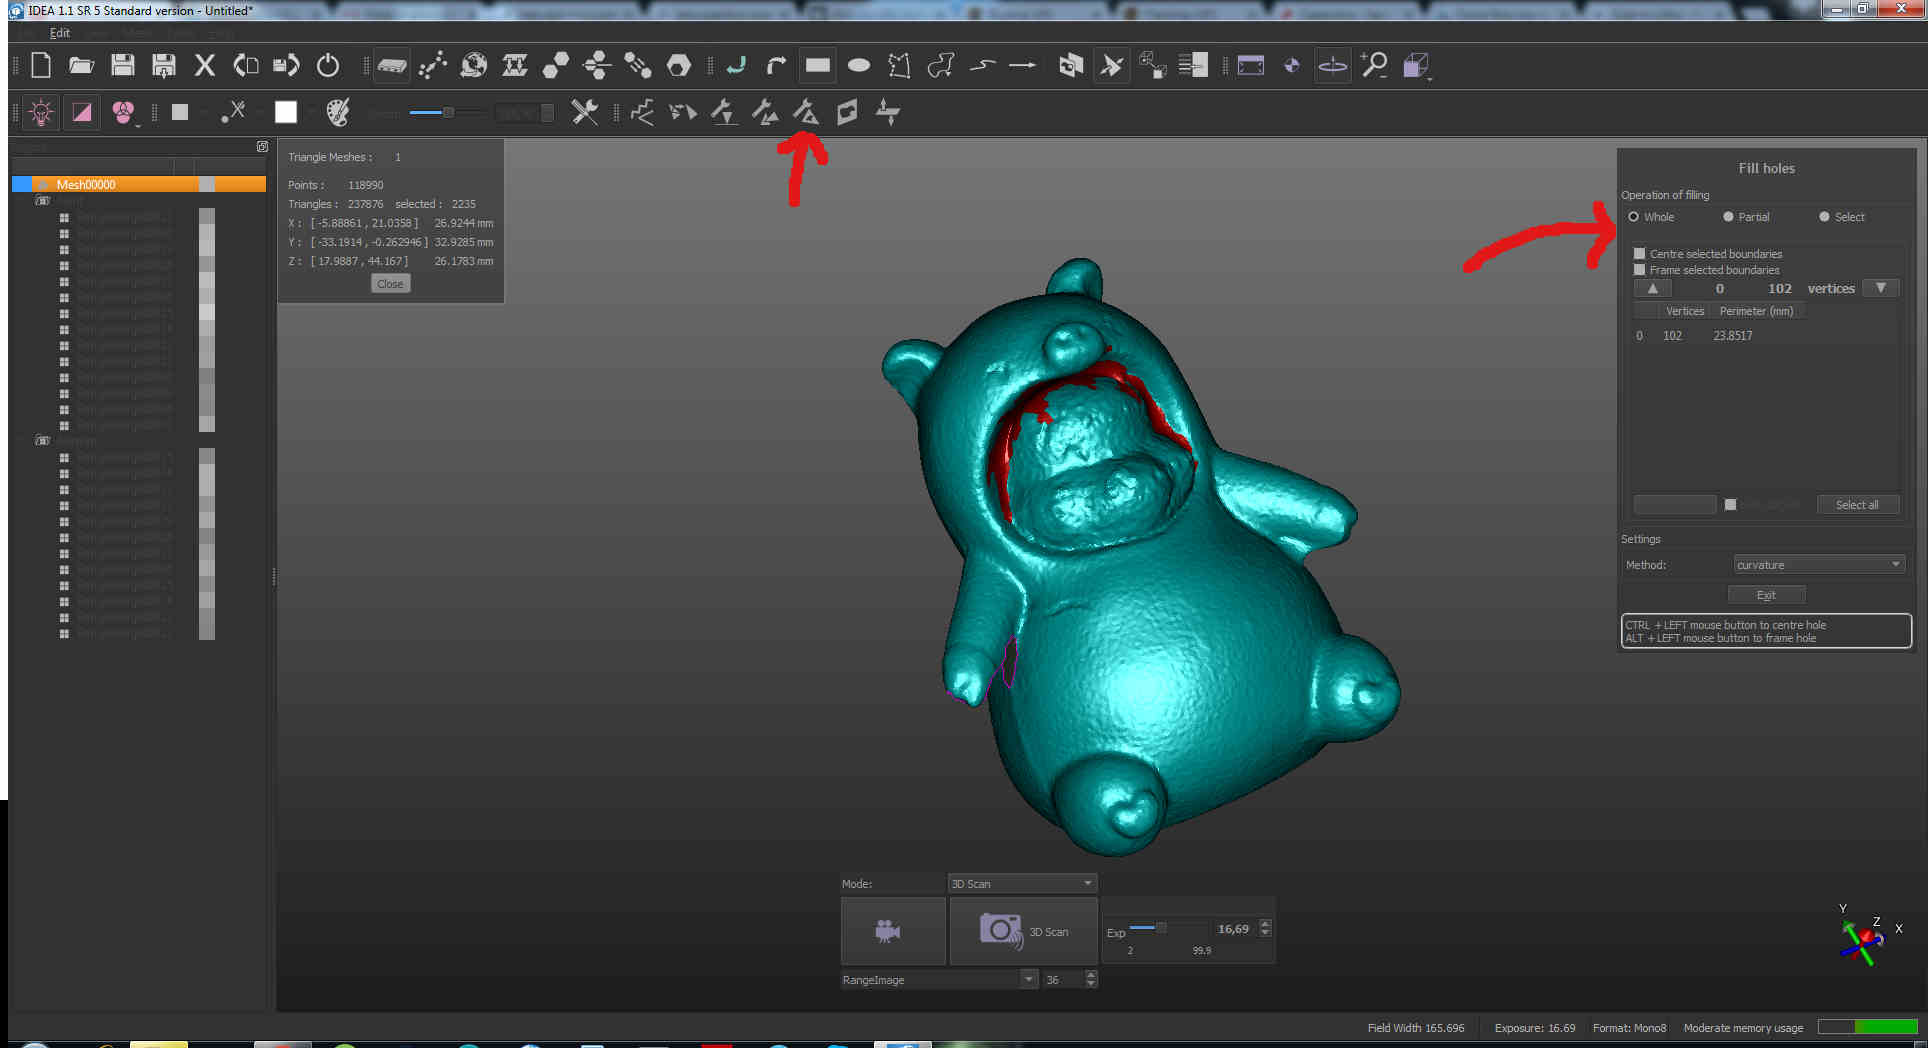
 Using Fill holes tool in whole mode I could easily fix them (in case your holes are more complicated to be closed, I suggest you to set partial mode
so as to defined many areas to help the closure)
Using Fill holes tool in whole mode I could easily fix them (in case your holes are more complicated to be closed, I suggest you to set partial mode
so as to defined many areas to help the closure)
 Once I clicked on Exit I got my mesh:
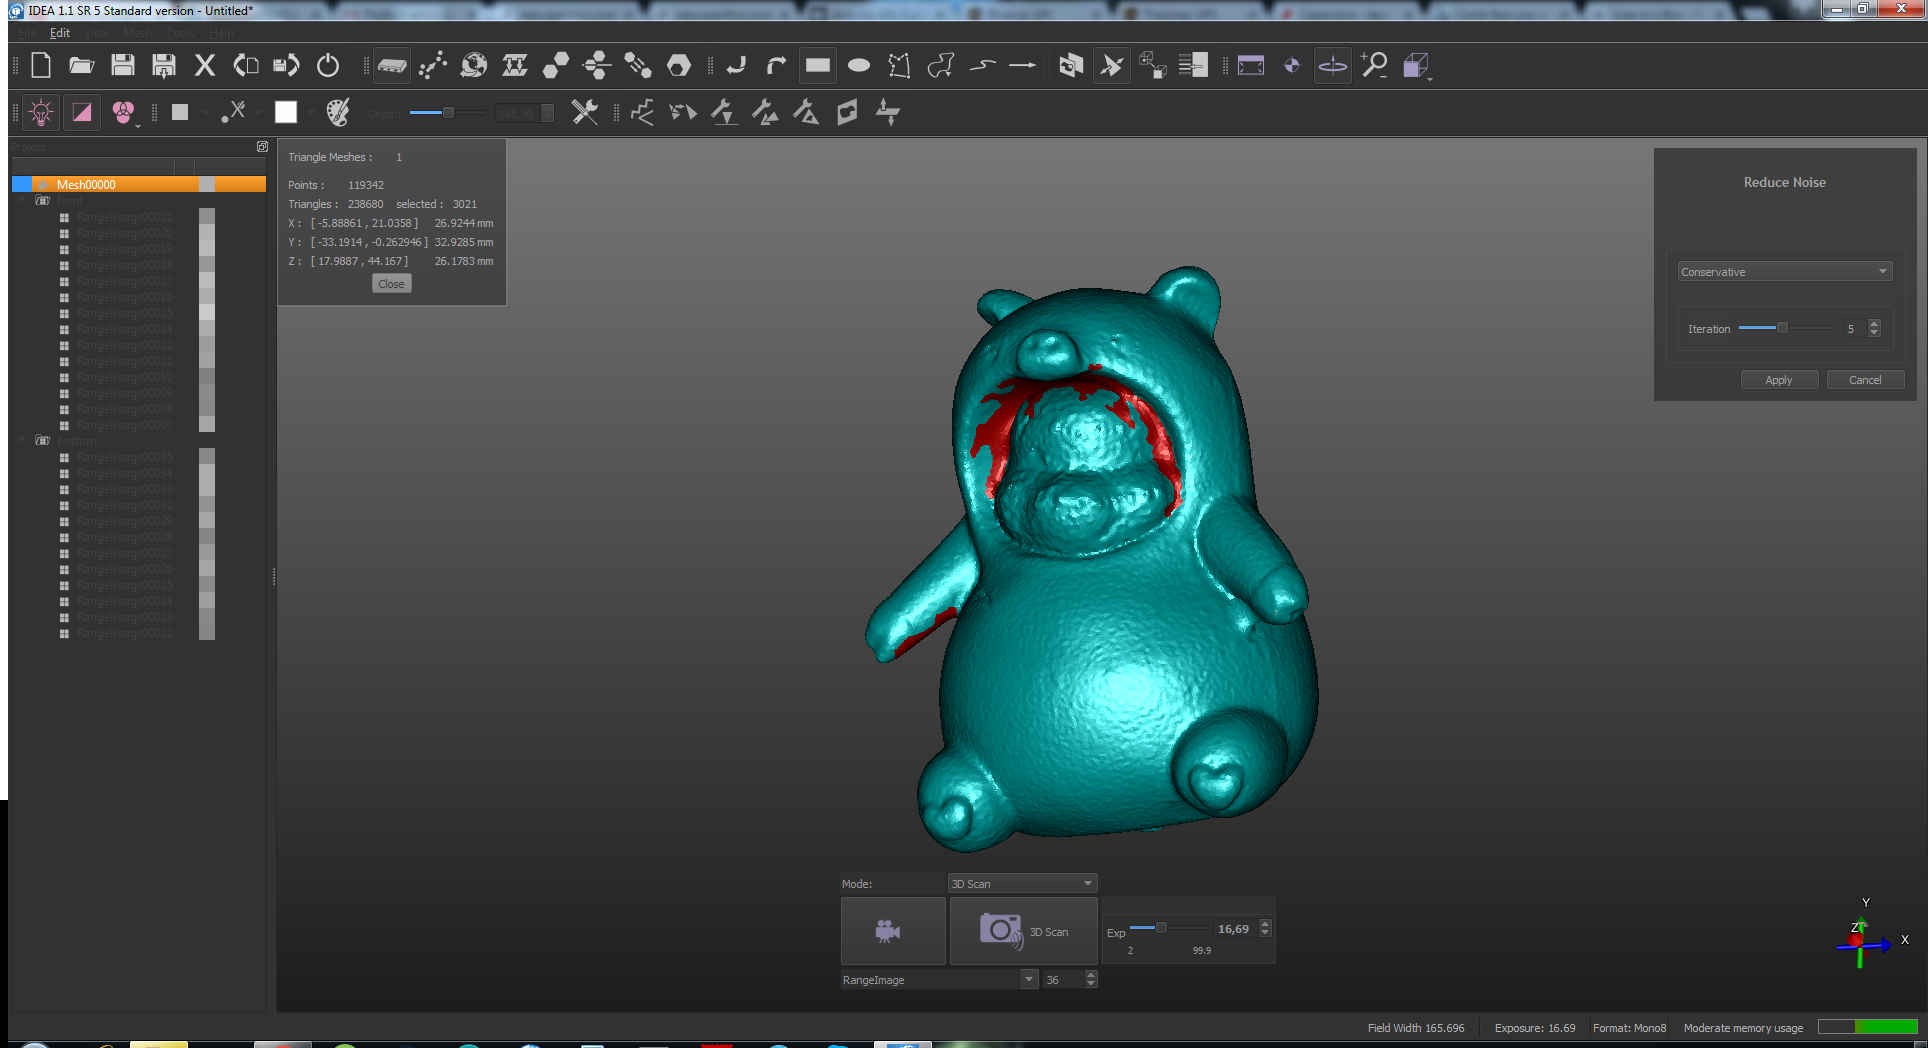 I then used Reduce noise tool to make surface more smooth
 Then I clicked on Detect and repair intersection icon
 Using Cut intersecting triangles mode, check if the mesh contains new holes then and eventually close them as before.
Then use Make Mainfold tool to fix topological errors of the model:
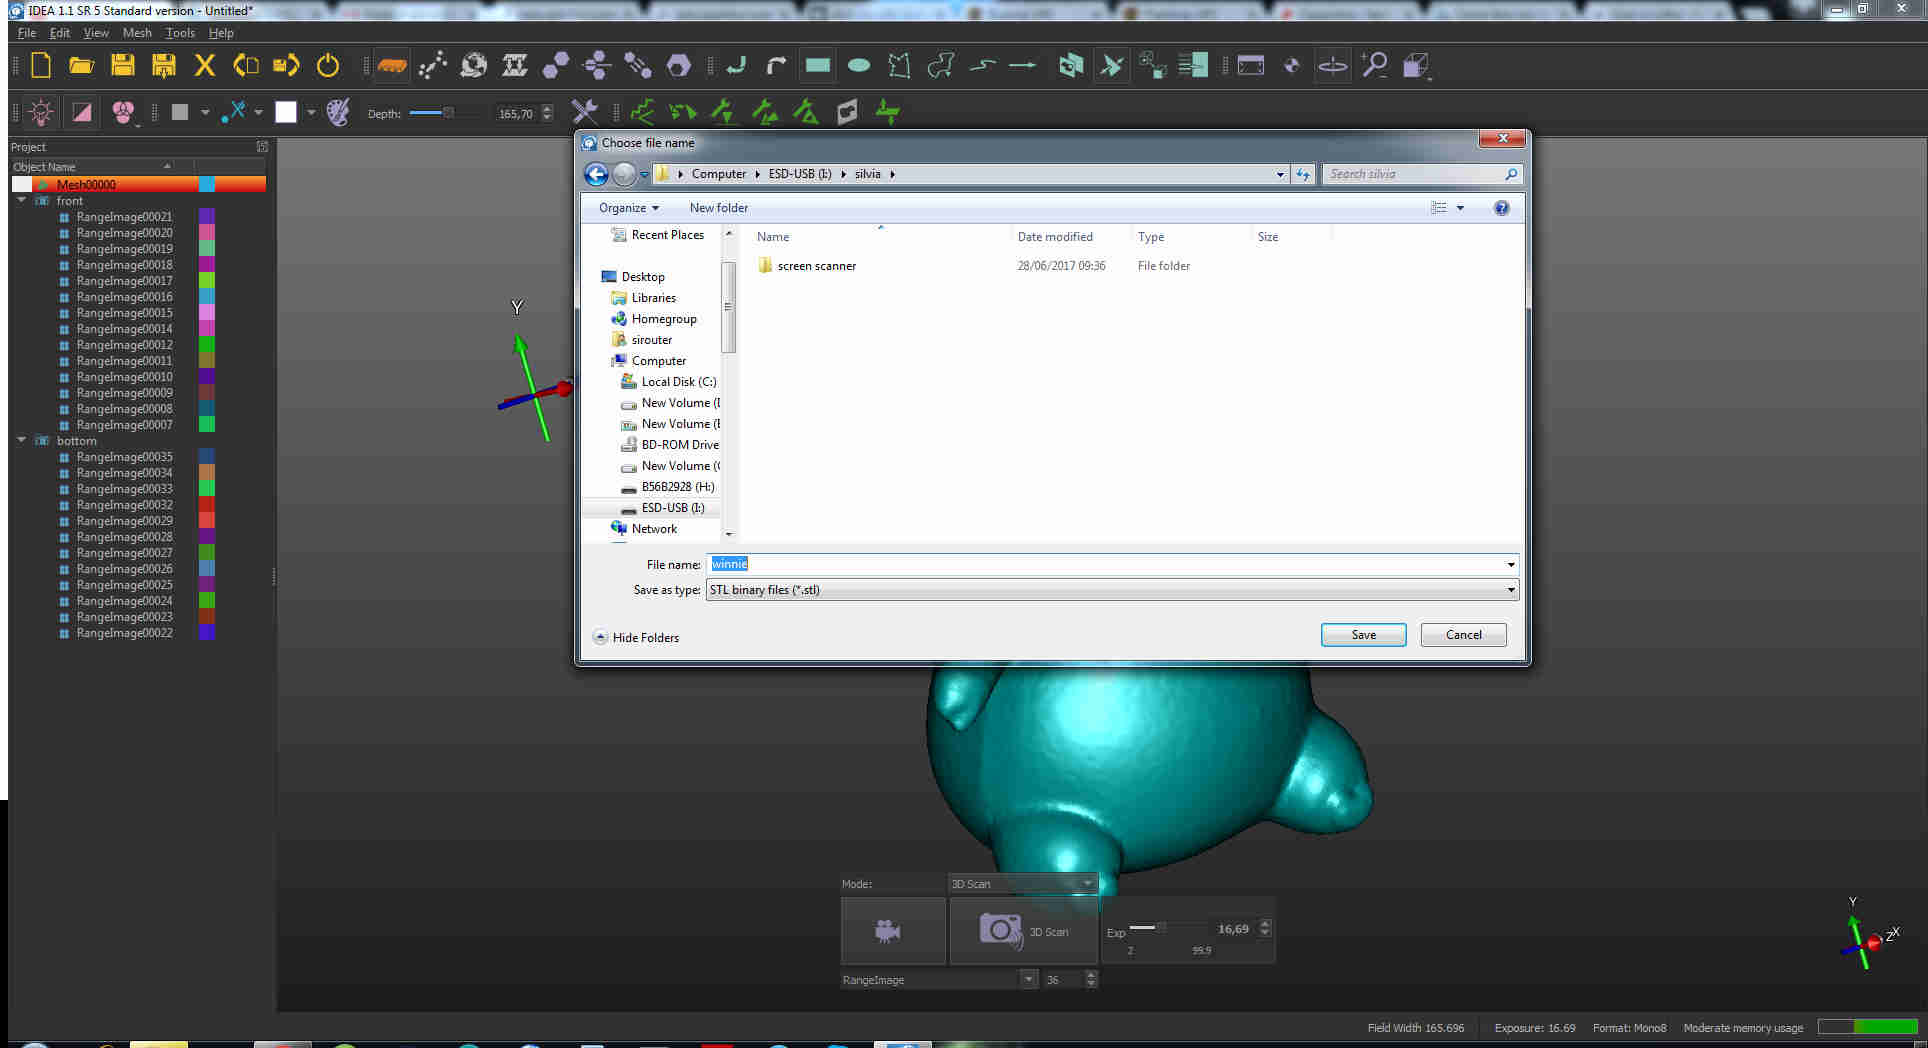
 The only thing you have to do now is to right clik on the mesh name in picture list, go through the menu and select Export.
Then give your STL model a name in the windows that opens:
The only thing you have to do now is to right clik on the mesh name in picture list, go through the menu and select Export.
Then give your STL model a name in the windows that opens:
3D testing
As for testing printing parameters of our Ultimaker 2 we all together worked to find the best ones and data we used can be found here
3D printing
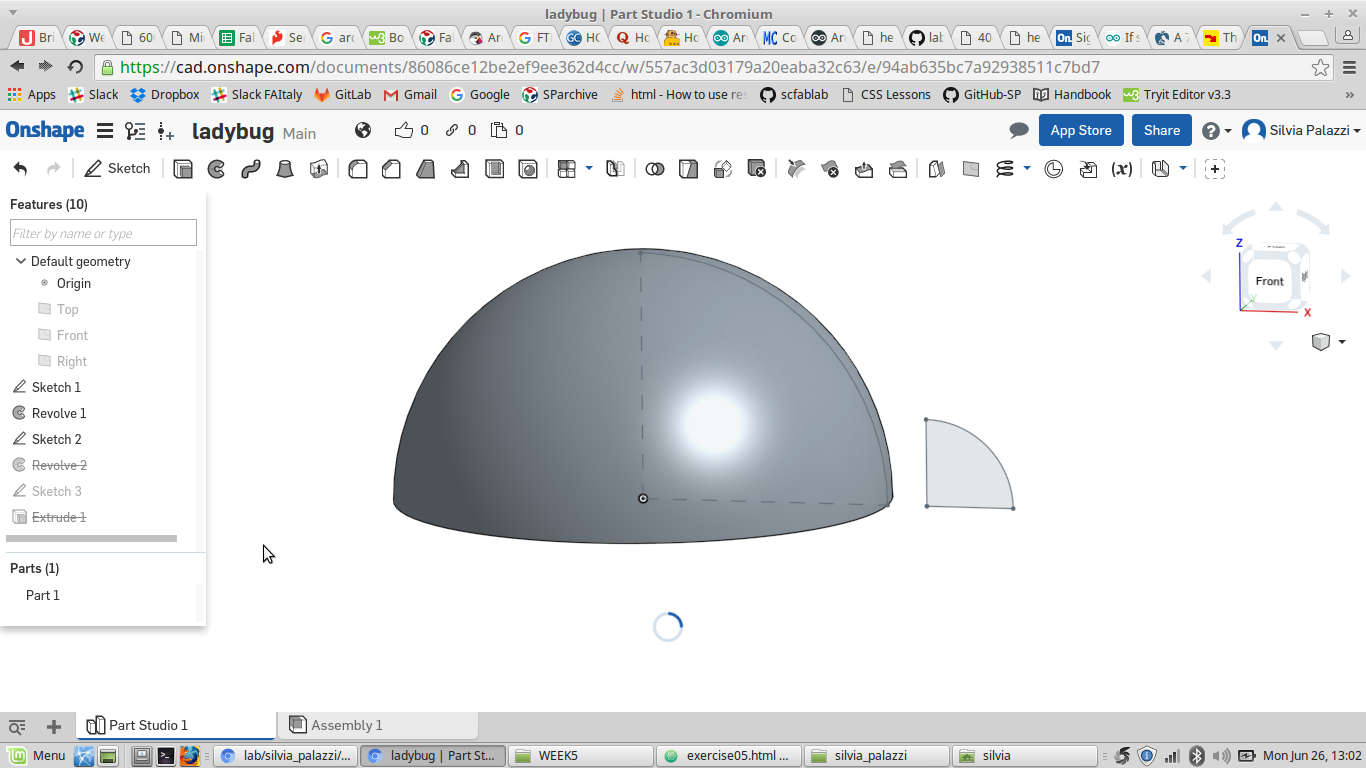
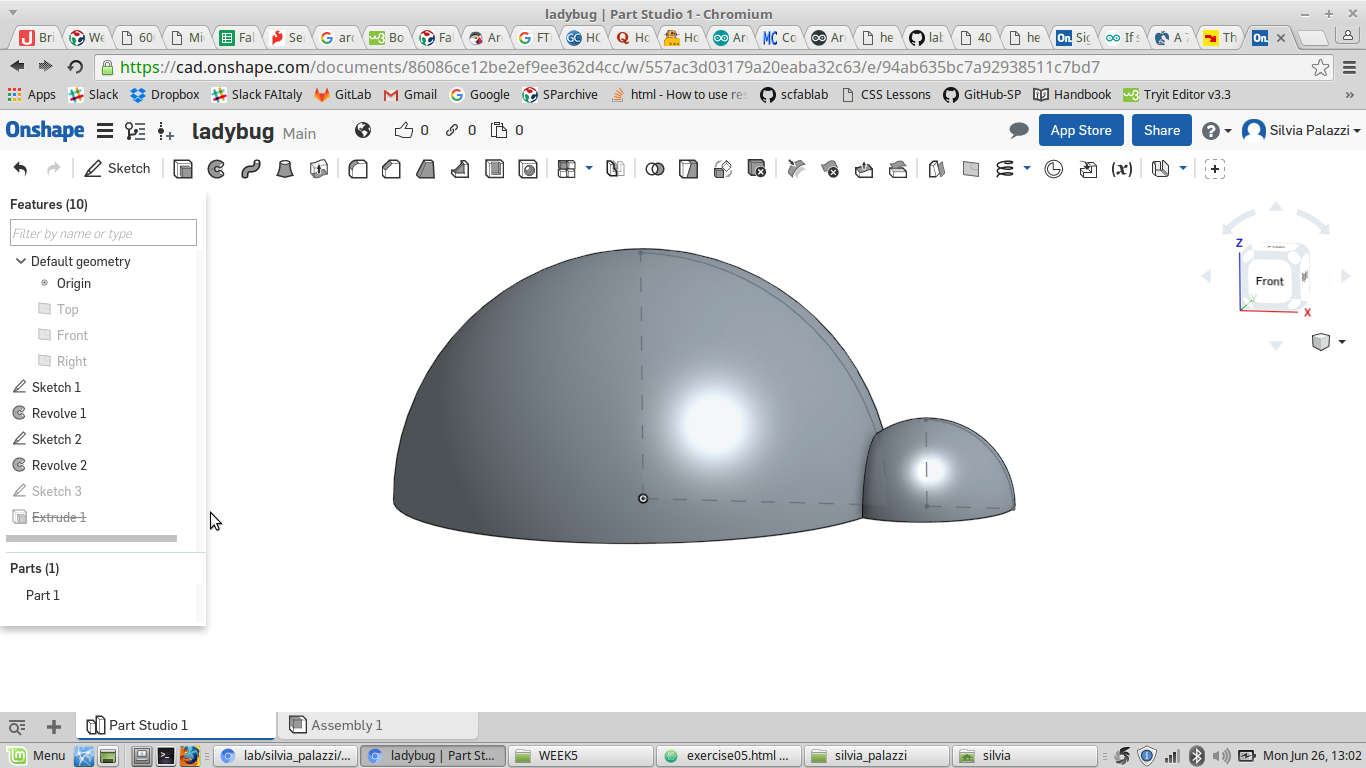
The goal of this week was to design and print something that can't be milled with a 3 axis CNC milling machine.
Owing to the fact
that I needed something to cover ISP pins on the hair piece for my final project (LINK), I designed a little ladybug with
Onshape, taking inspiration from Thingiverse:
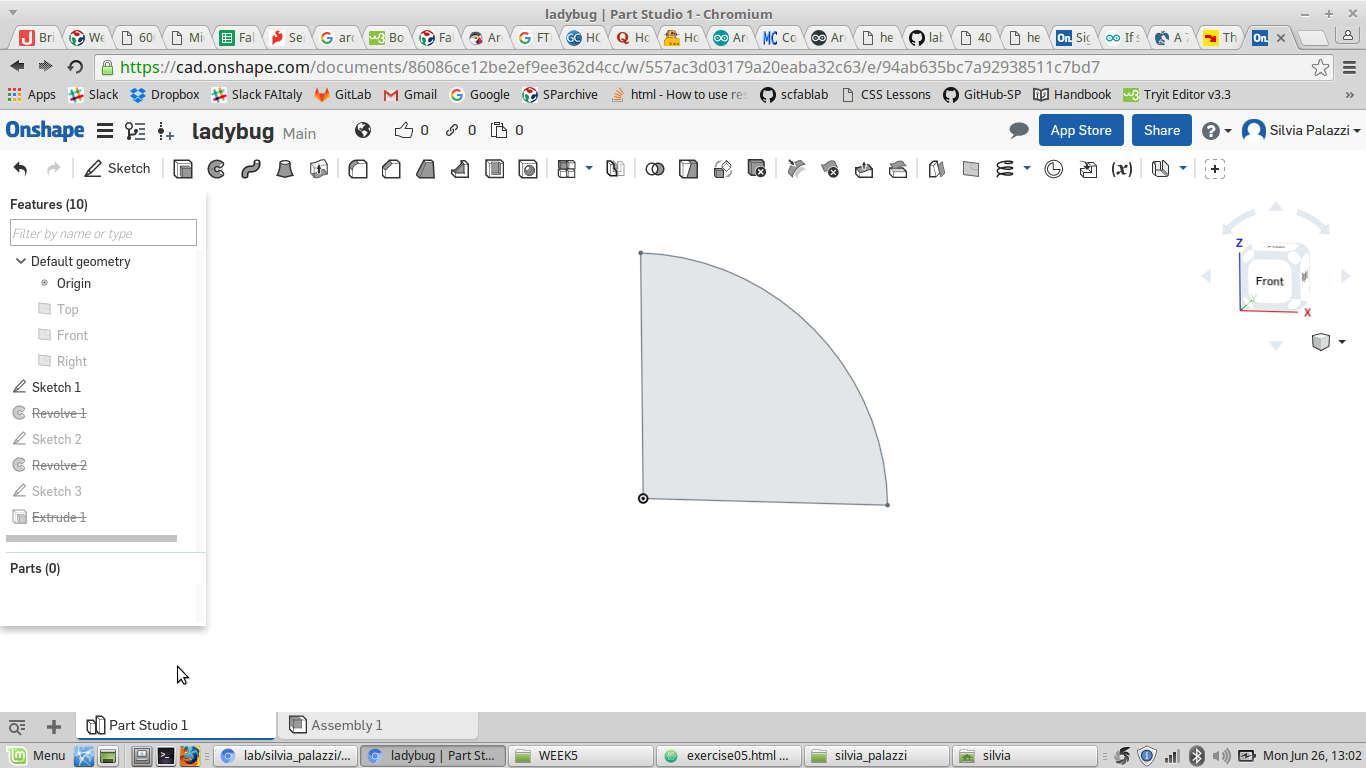
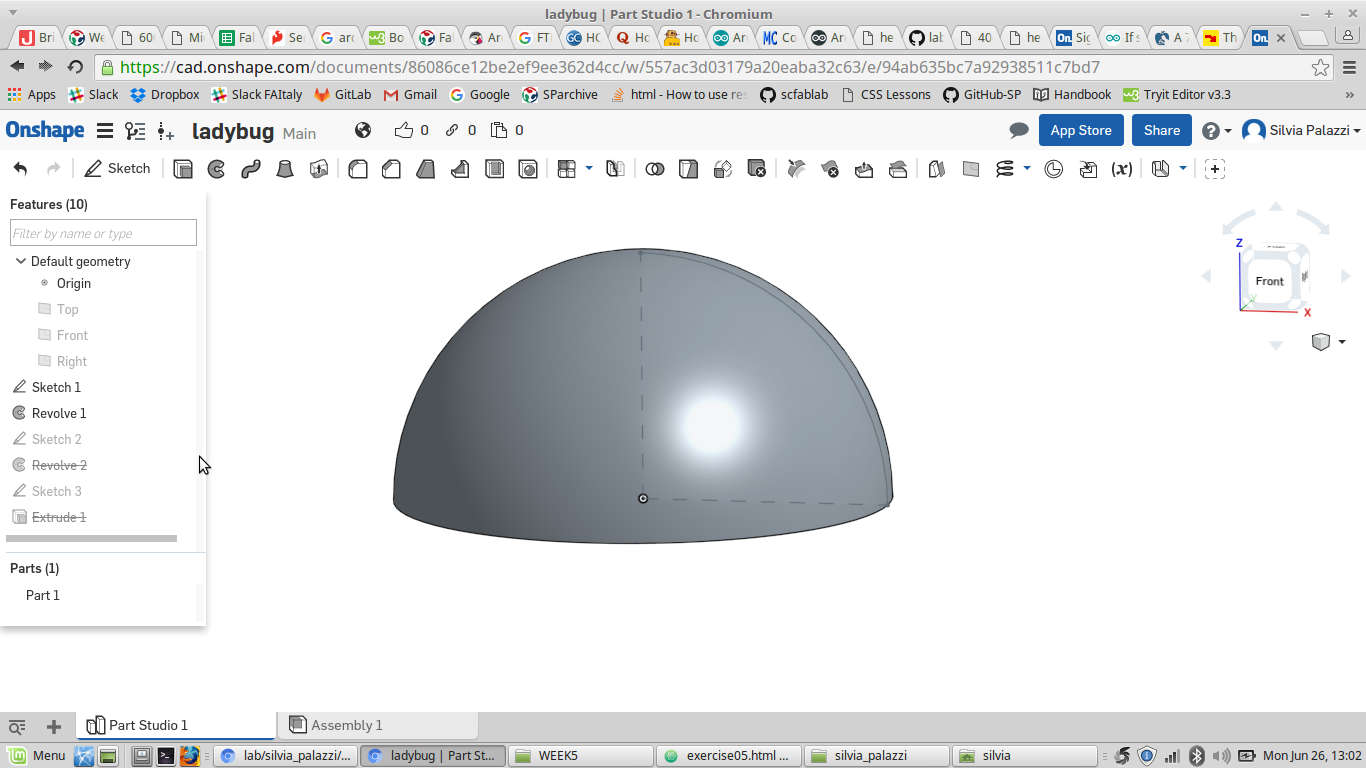
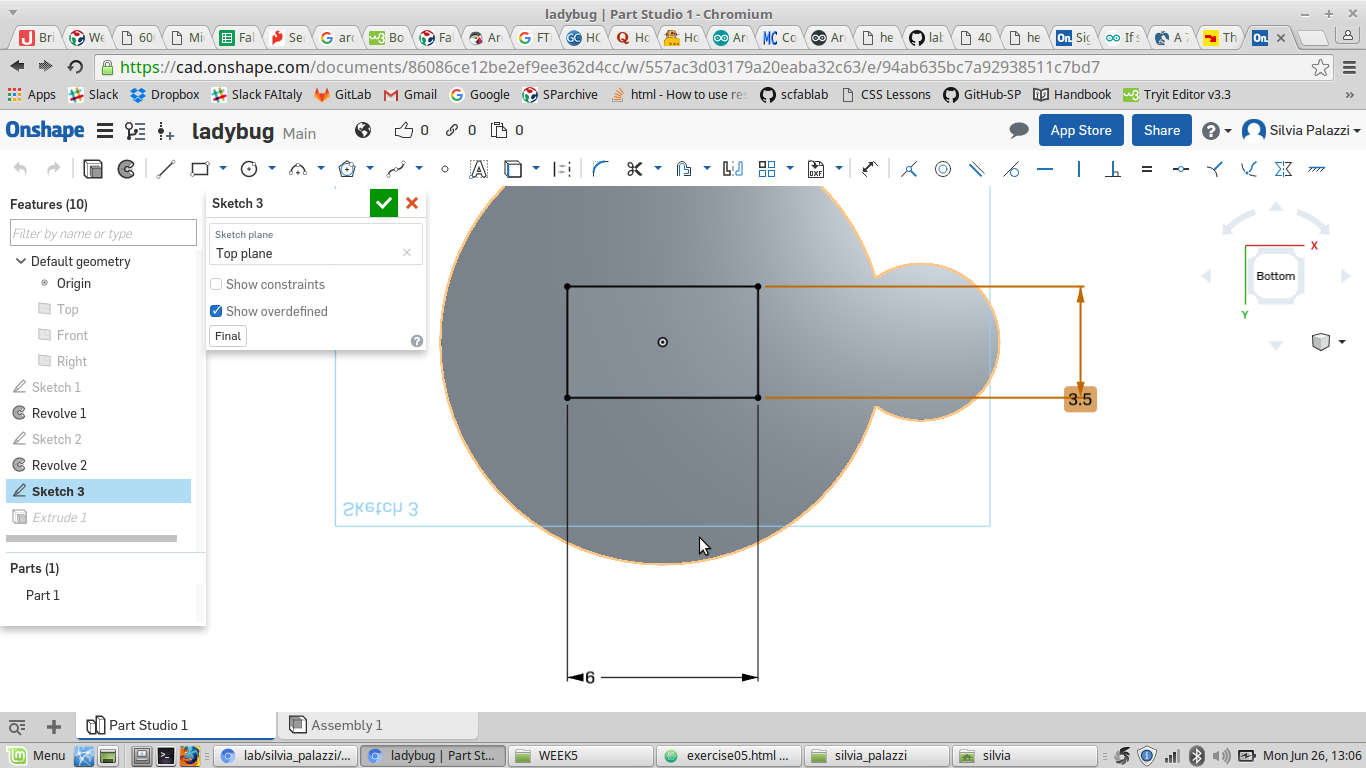
The sketch is ridicolusly simple:
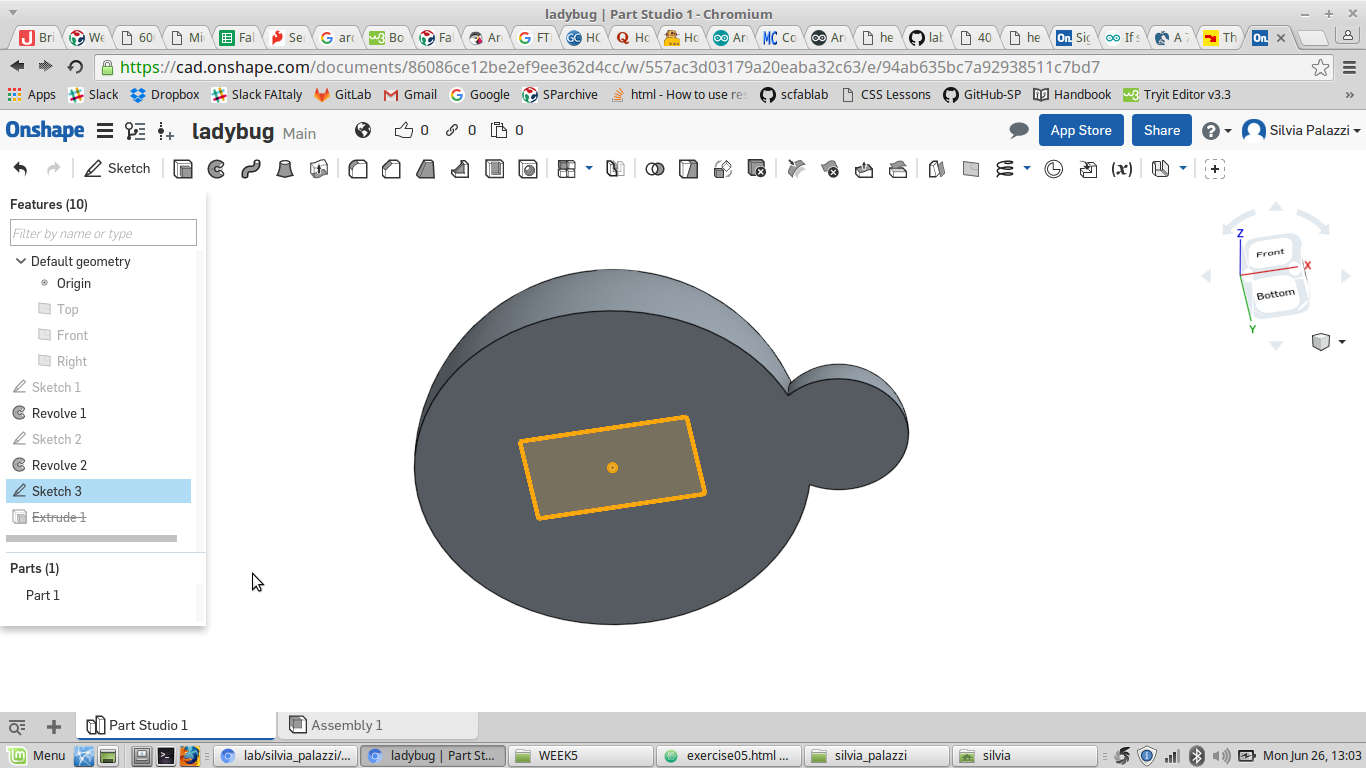
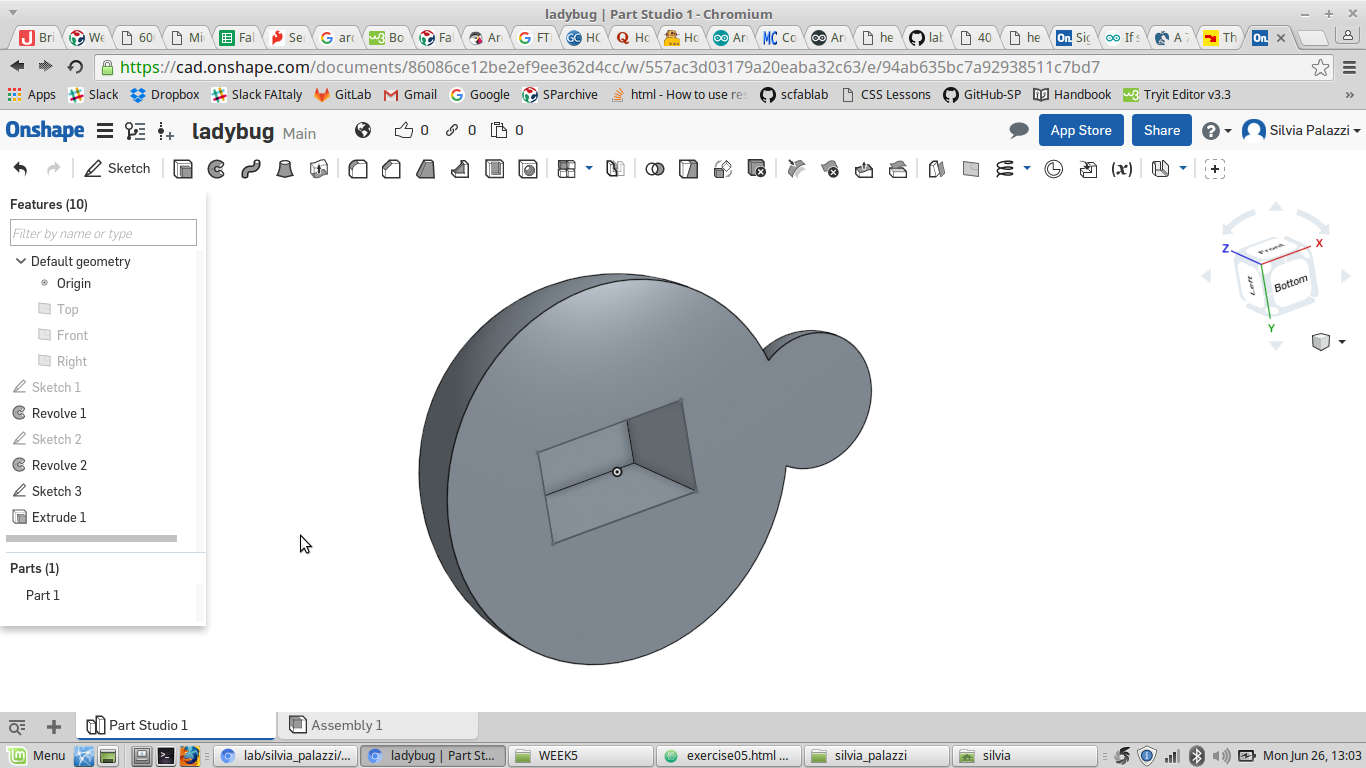 I gave the inner hole ISP header lenght and width dimensions:
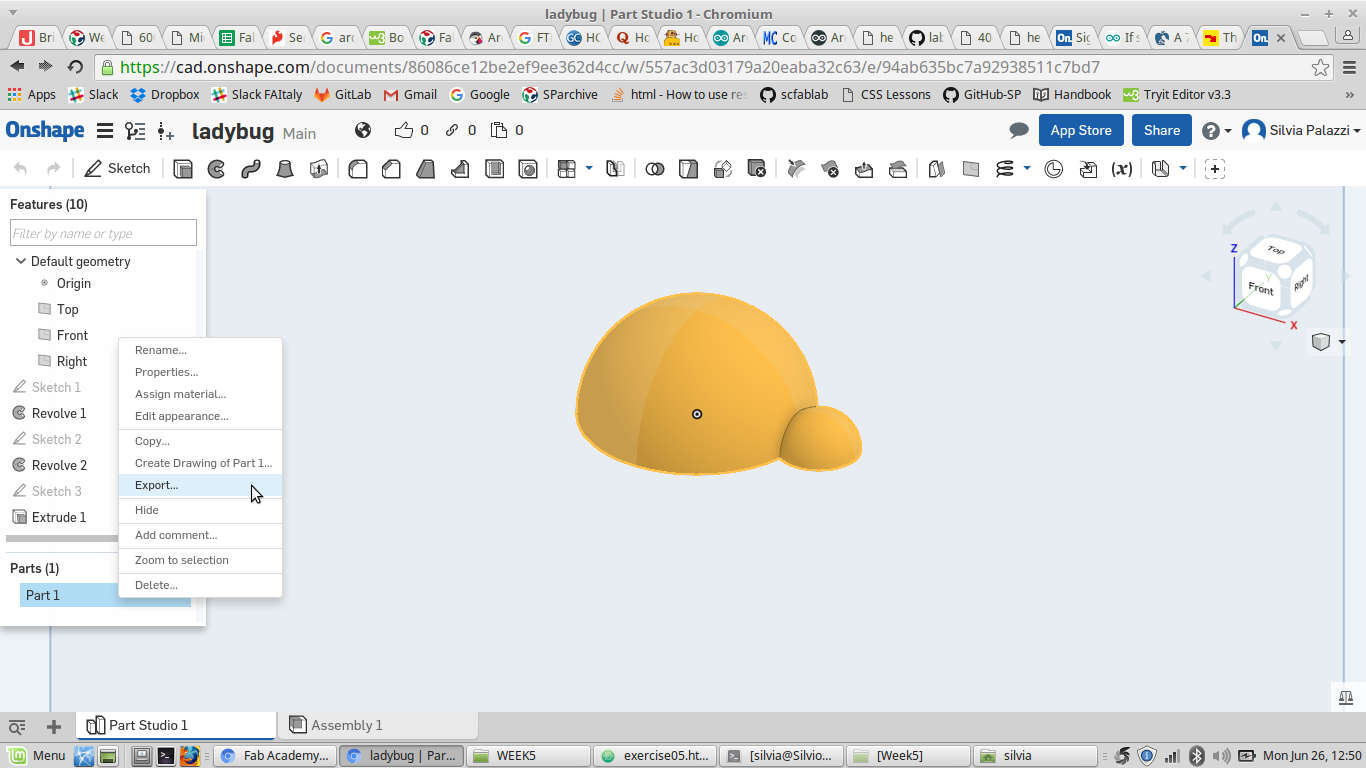
 To export the STL file I selected the part and right-clicked and chose Export...
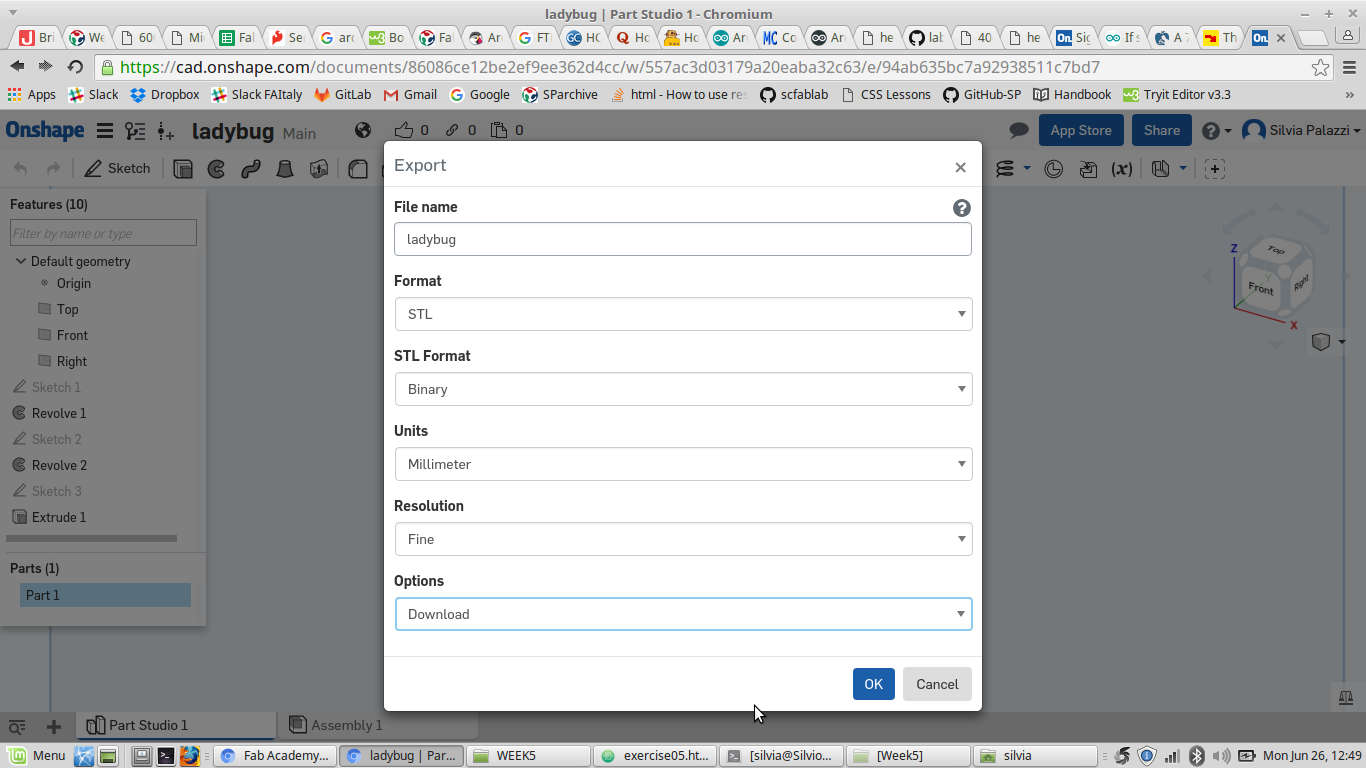
 I then gave the file a name and downloaded it by clicking on OK:
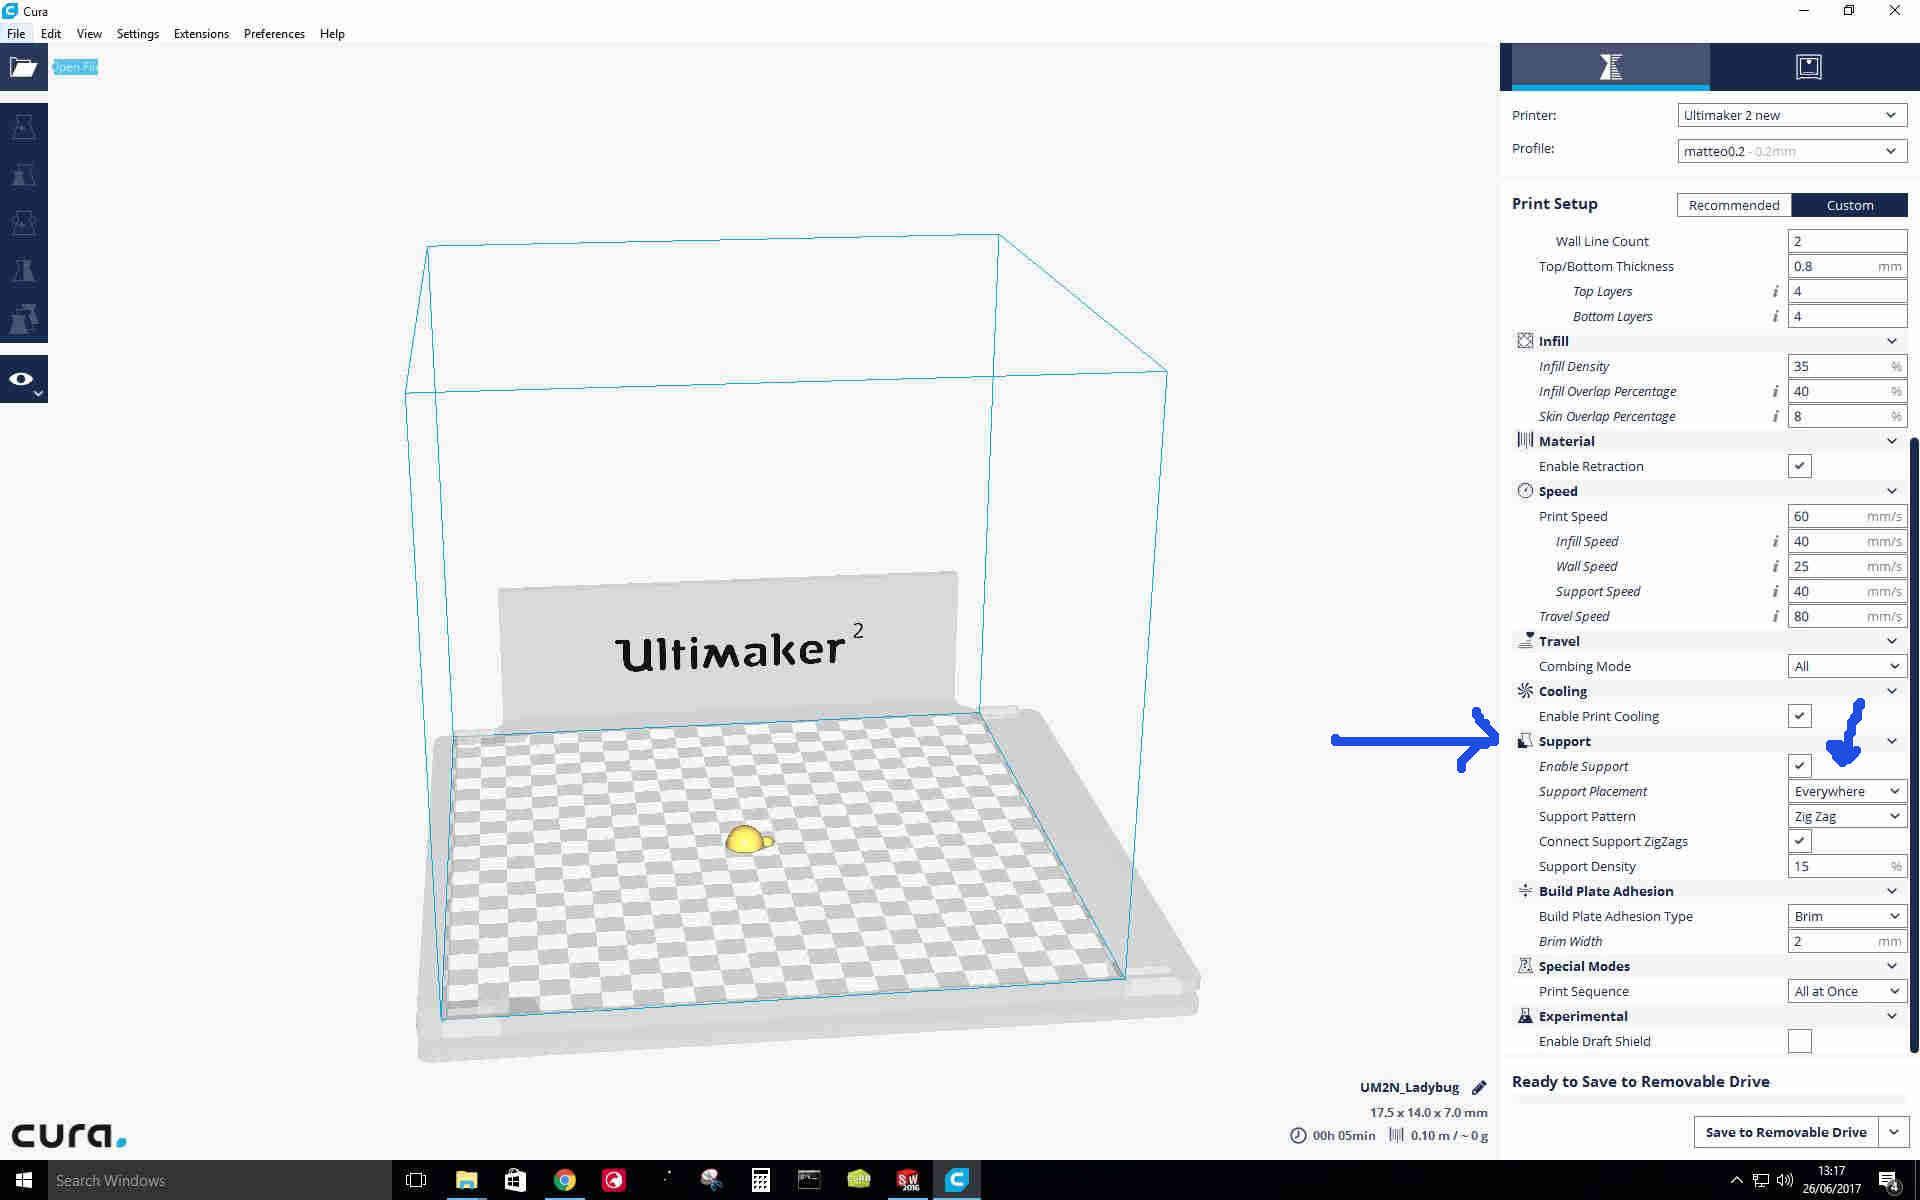
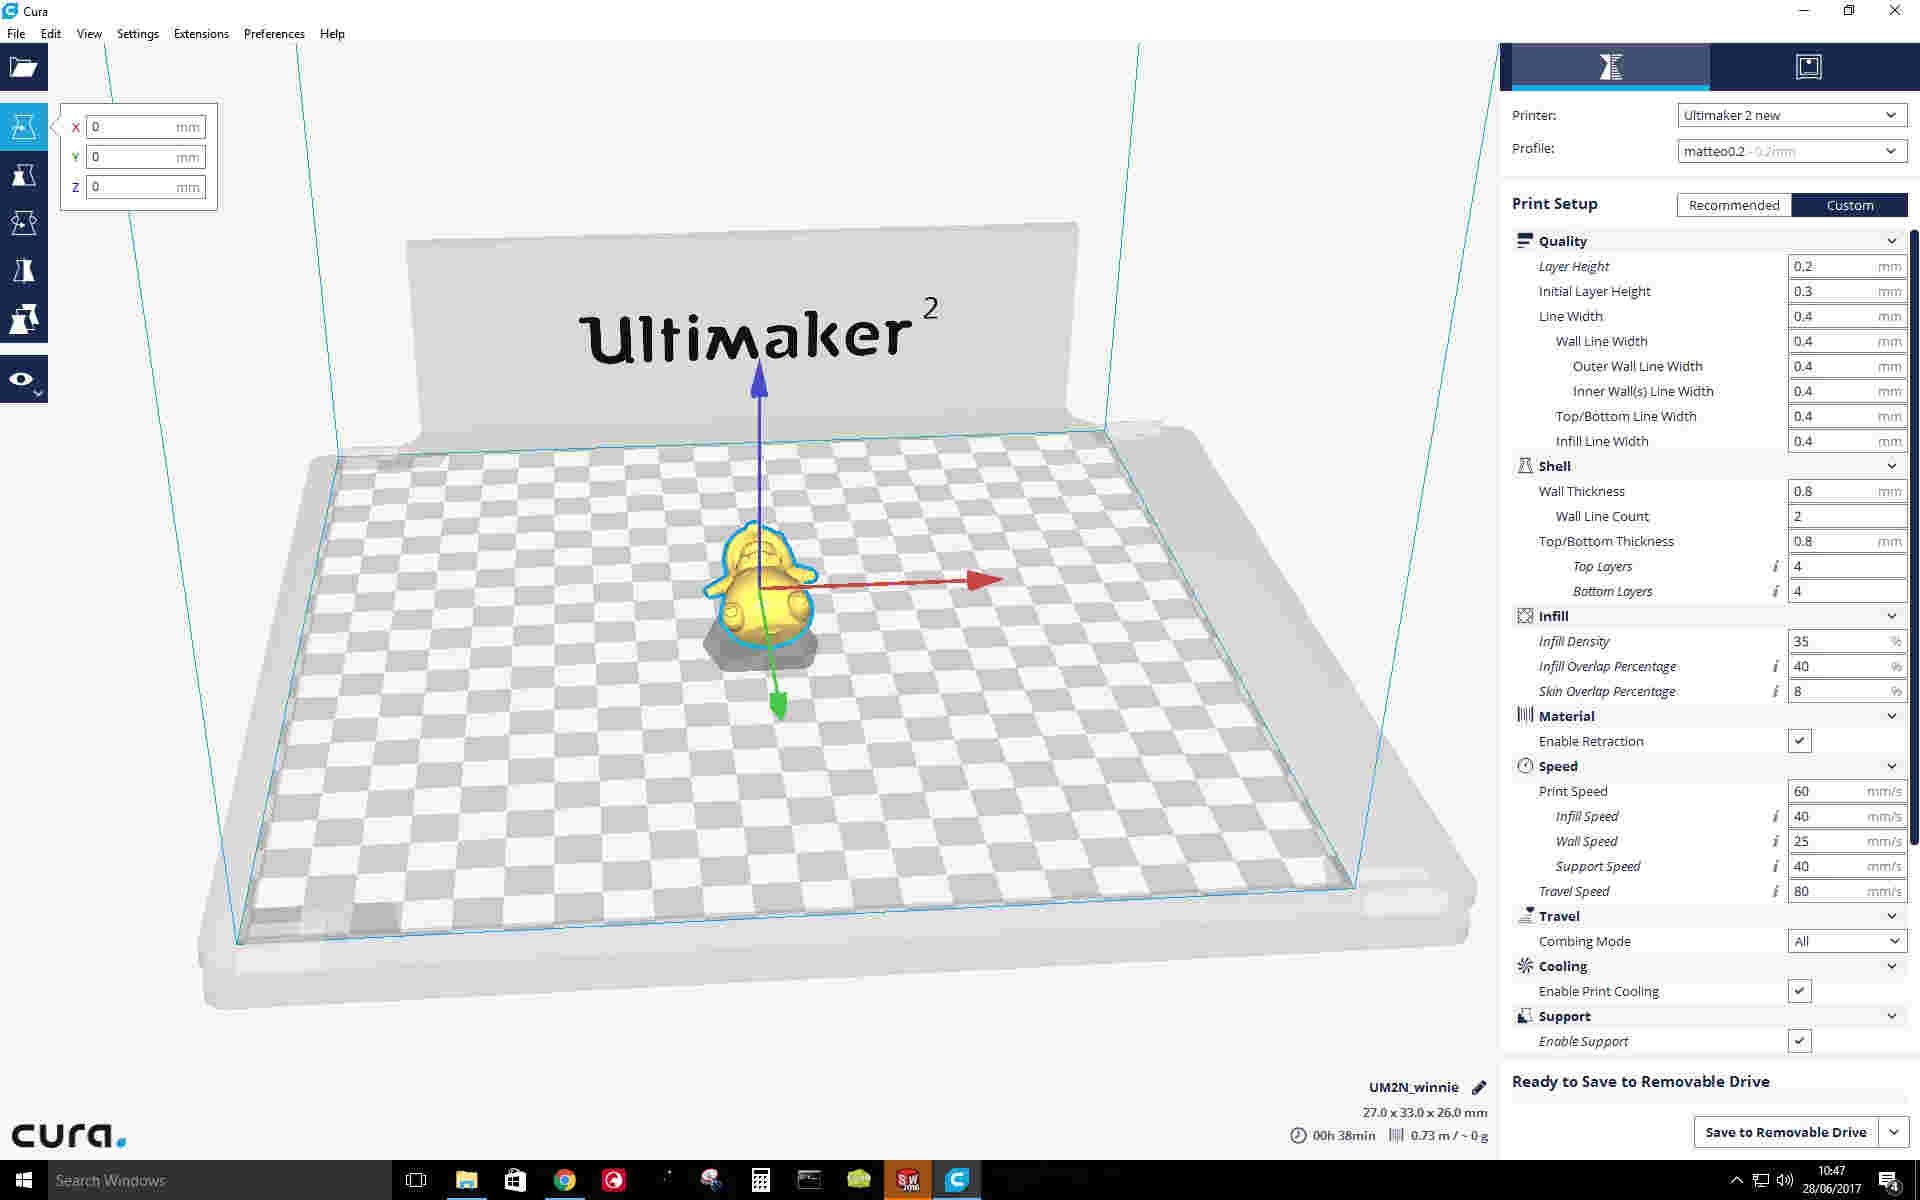
 Once I had the stl file, I opened it on Cura
to set printing parameters, paying attention to enabling supports since I had the inner hole of the ladybug:
Once I had the stl file, I opened it on Cura
to set printing parameters, paying attention to enabling supports since I had the inner hole of the ladybug:
 I then clicked on Save to removable drive.. after checking the SD card was inserted correctly.
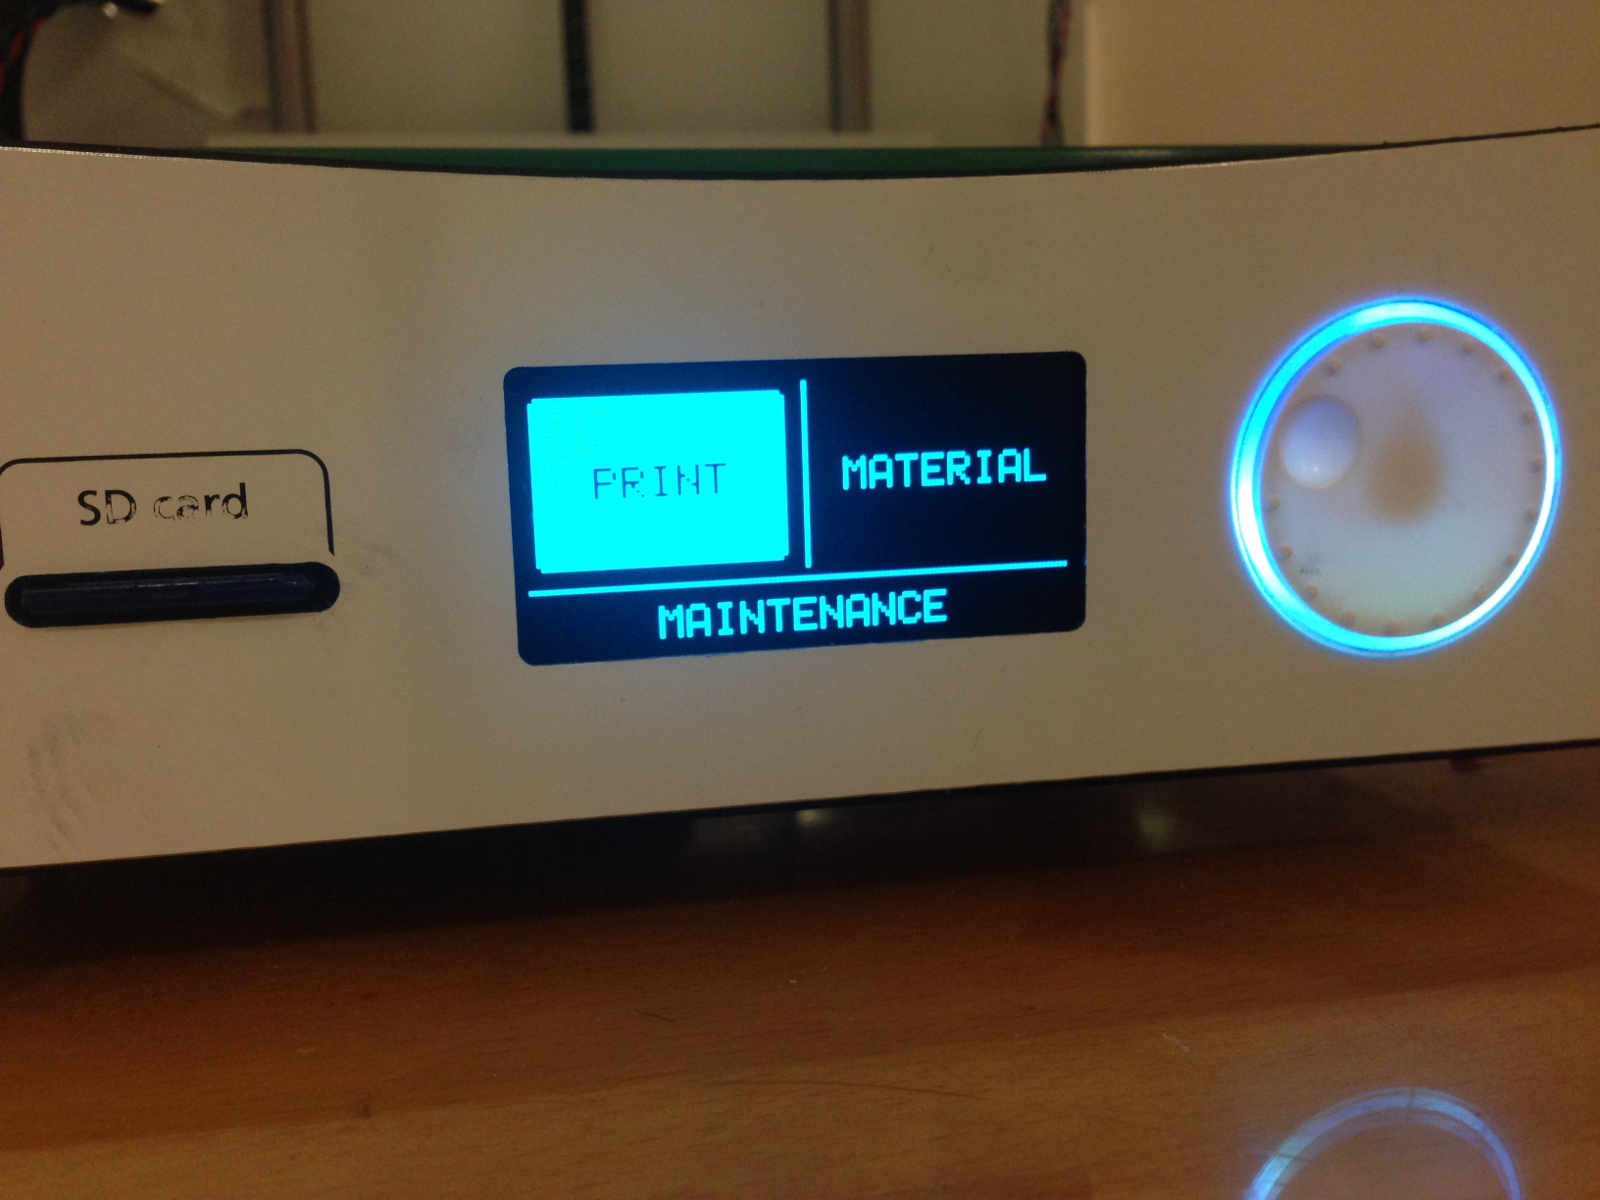
I put back the SD card into its port in the 3D printer and chose PRINT in the menu by clicking the button:
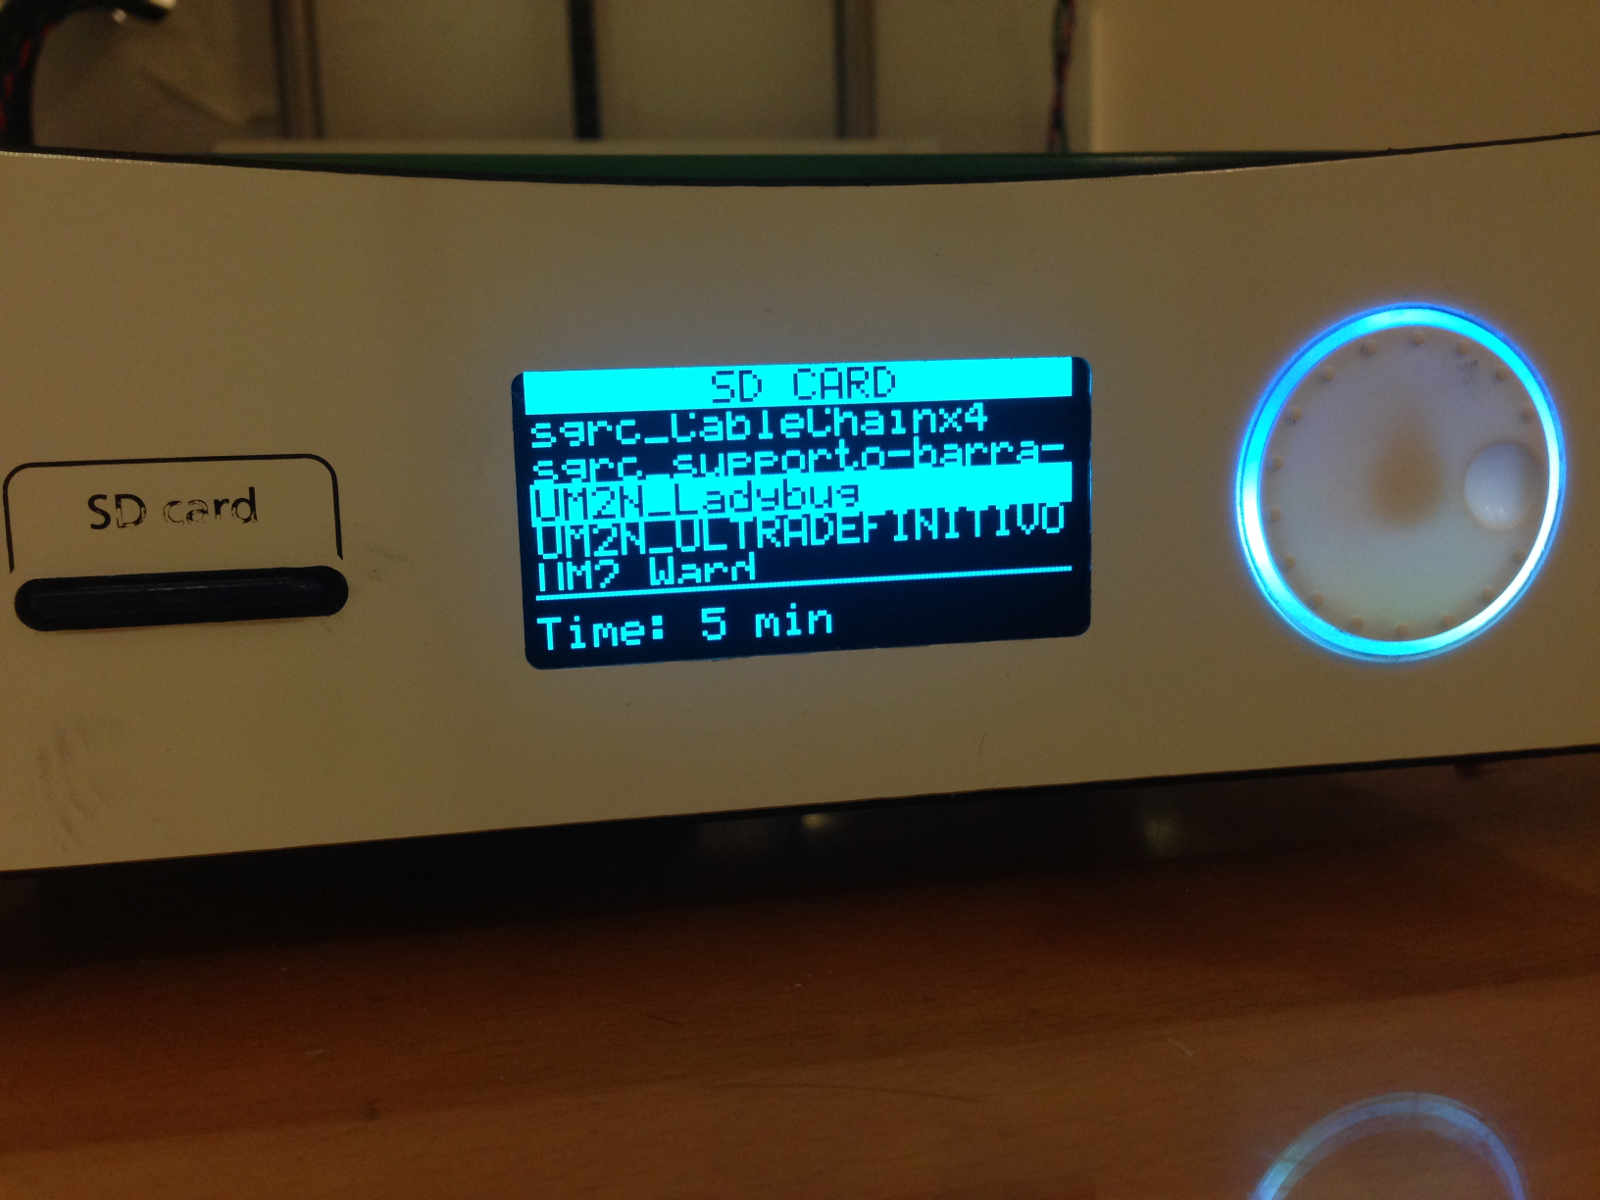
 I then looked for my file gcode name, rotating the scroll wheel:
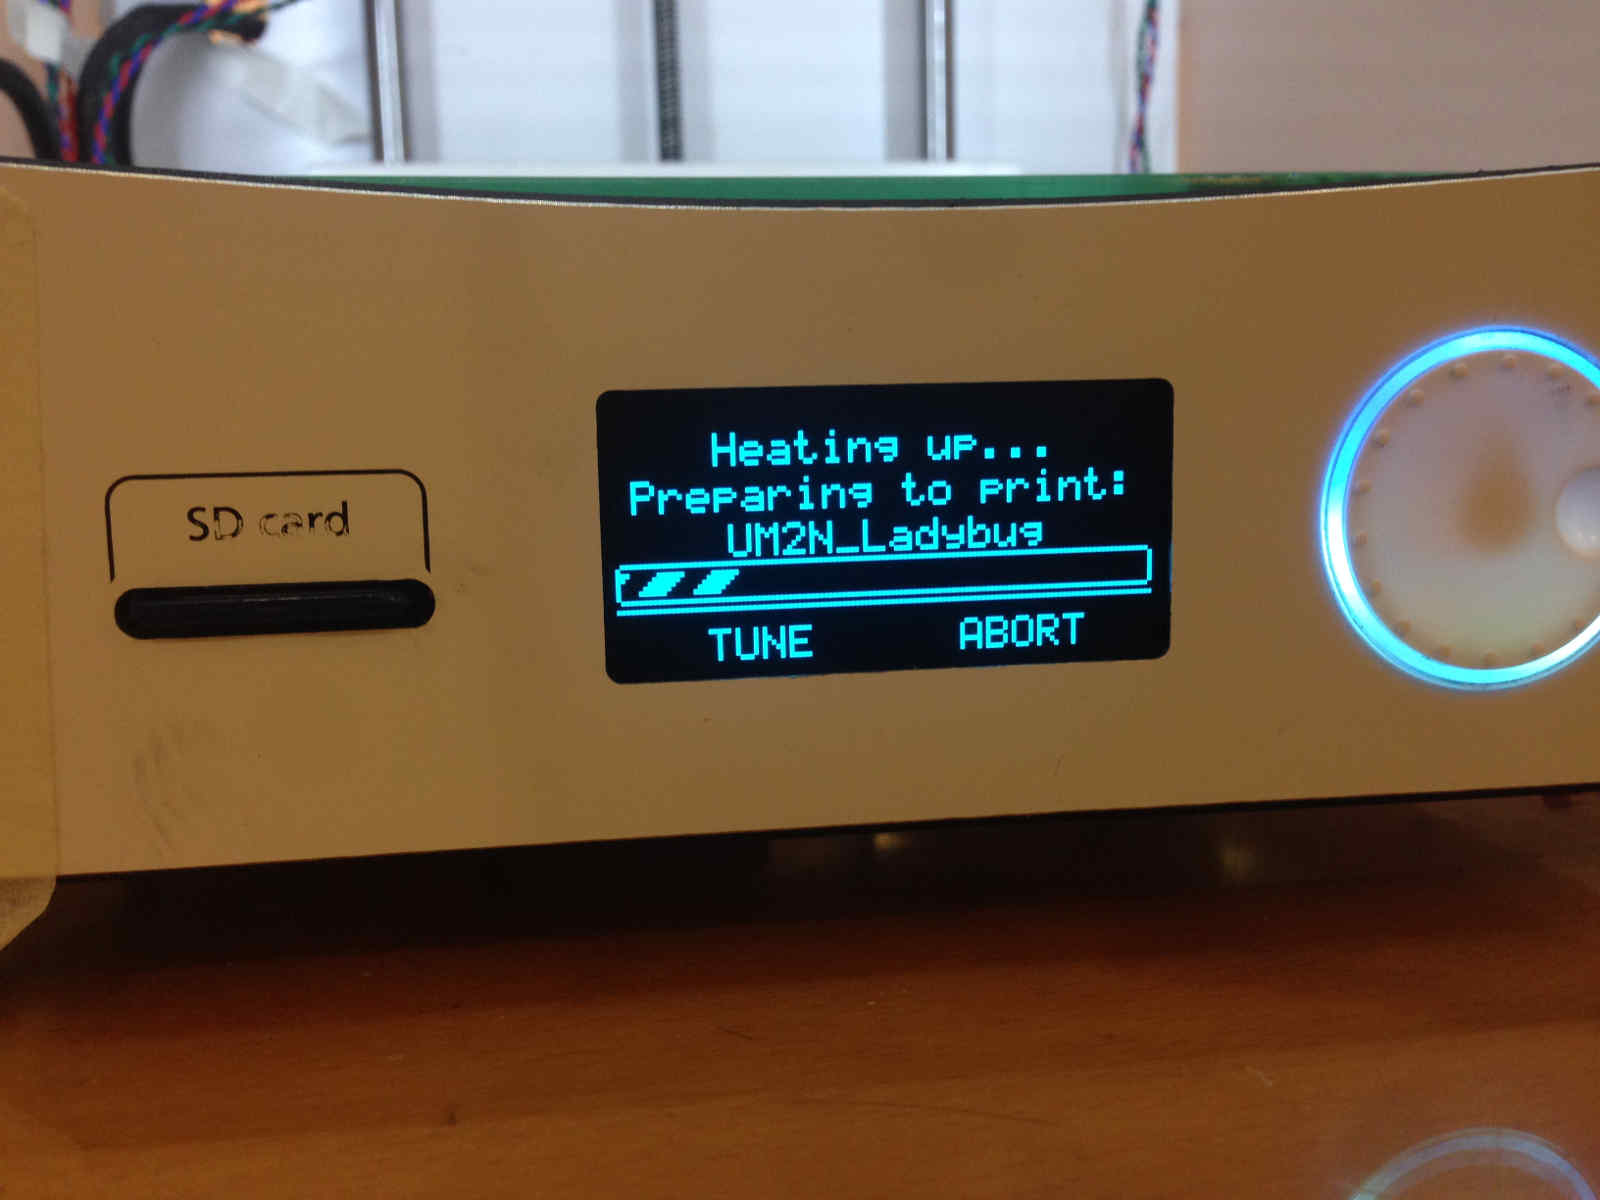
 I then waited heating up time:
 I then checked it correctly printed:
Ladybug printing from Silvia Palazzi on Vimeo.
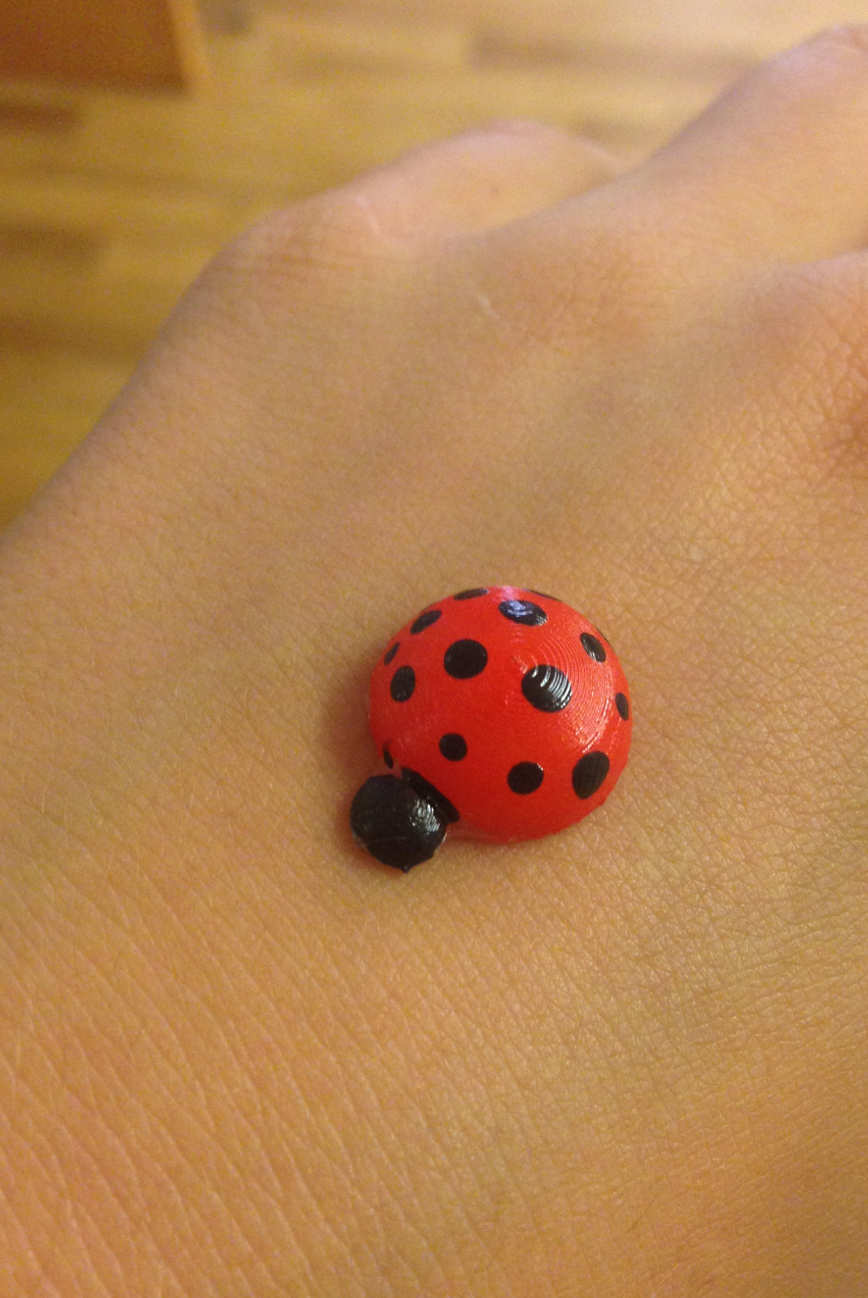
The result looked like that:
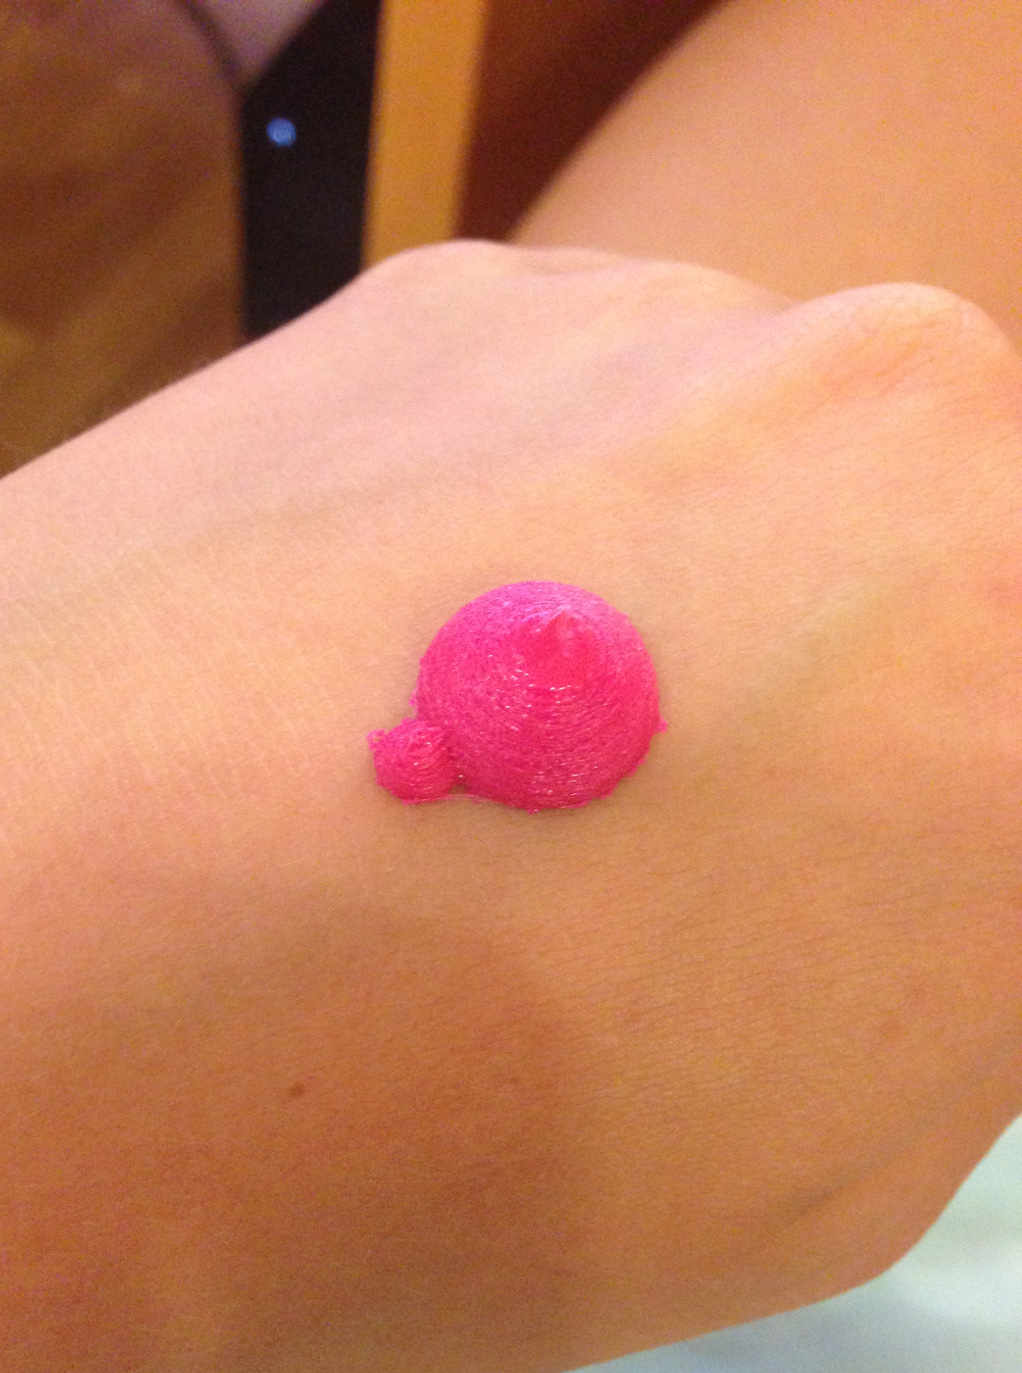 I re-printed it with transparent filament and decorated it with nail polish:

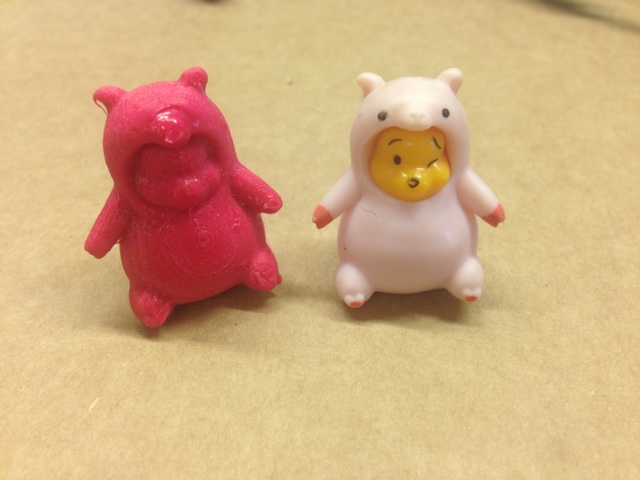
Printing of scanned model
I wanted to print my scanned Winnie the Pooh to evaluate the fidelity of the model I got from software. I so opened it on Cura, set 0.1mm as layer height
(my model was quite little)
 Result was quite satisfying...except for a printing bug on the nose which is just one of our Ultimaker's recent screams of pain (she really wants to die)