Introduction
The assignment of this week was:- Read the material safety data sheet (MSDS) and technical data sheet (TDS) for the resins that you're using
- Design and make a 3D mould (~ft2 /30x30cm), and produce a fibre composite part in it
DESIGN
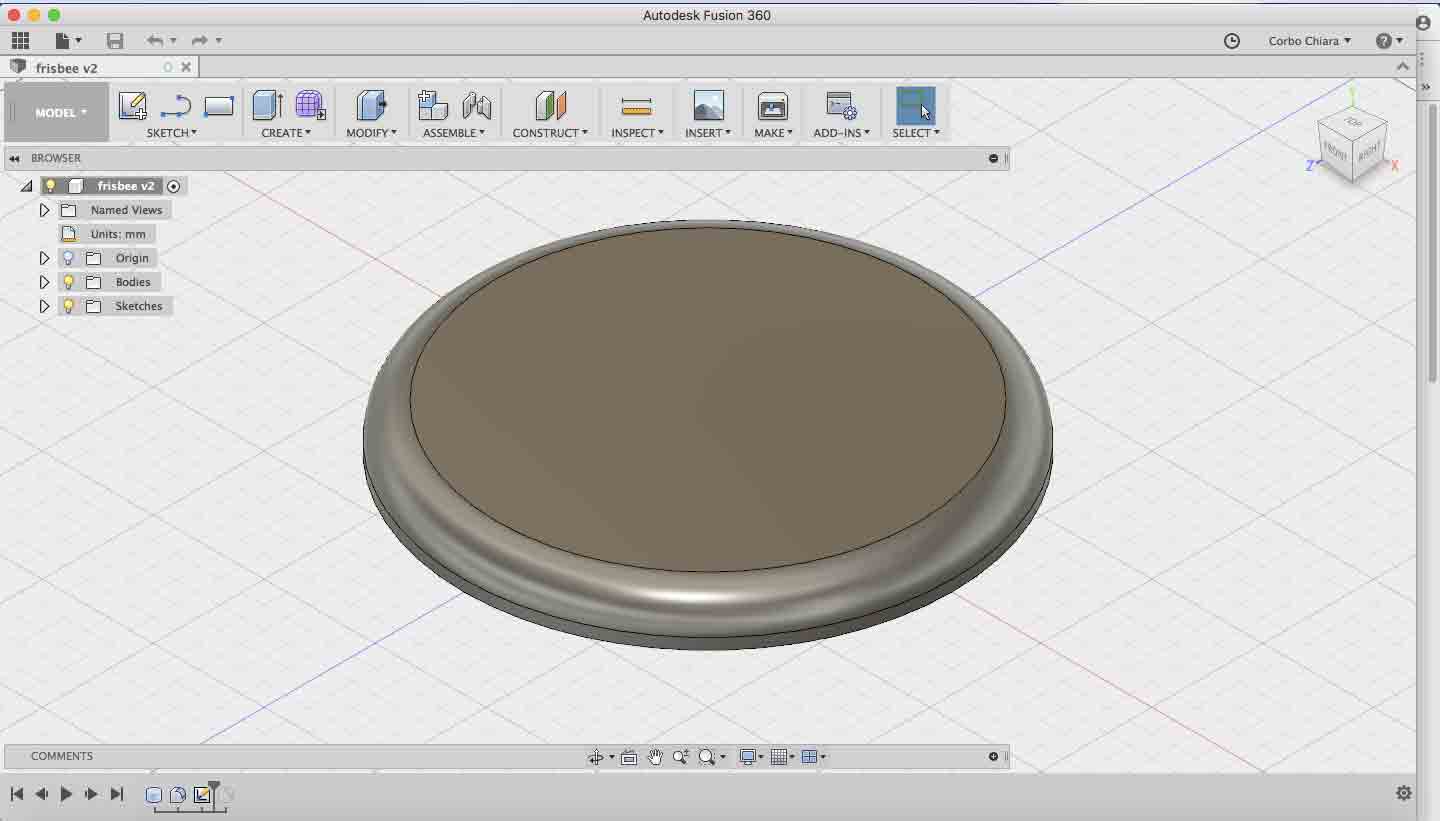
Summer coming and one of the most funnest game is frisbee, so I have decided to build my personal one. I've done a sketch of it on Fusion 360.
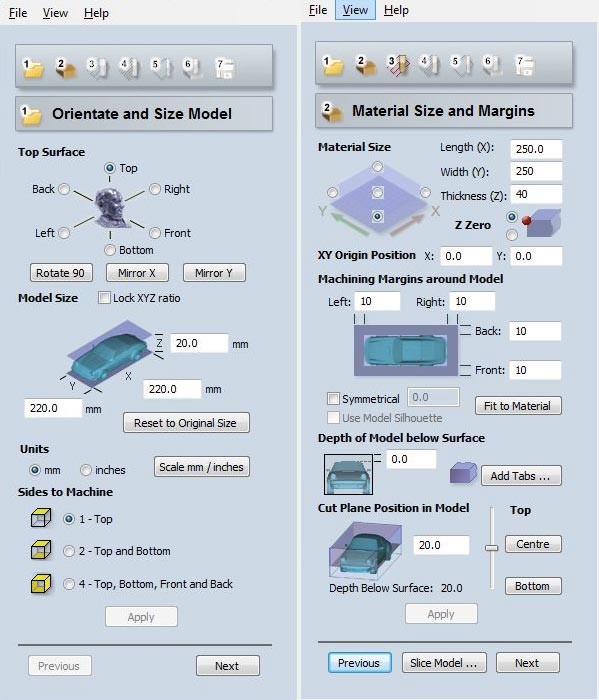
CUT 3D
Then I've create toolpaths with Cut 3D. As molding and casting I had to create two toolpaths: a roughing and finishing ones.
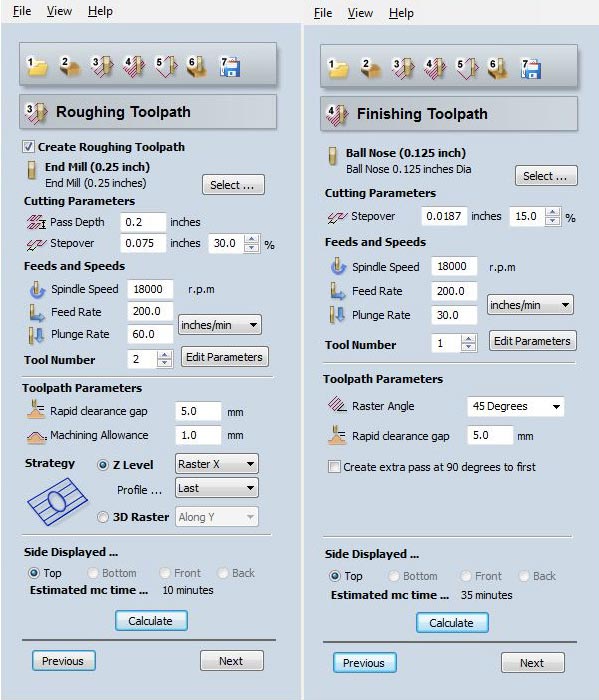
As tip I have used an end mill 1/4 inches for the roughing toolpath and a ball nose 1/8 inches for the finishing toolpath.
MILLING
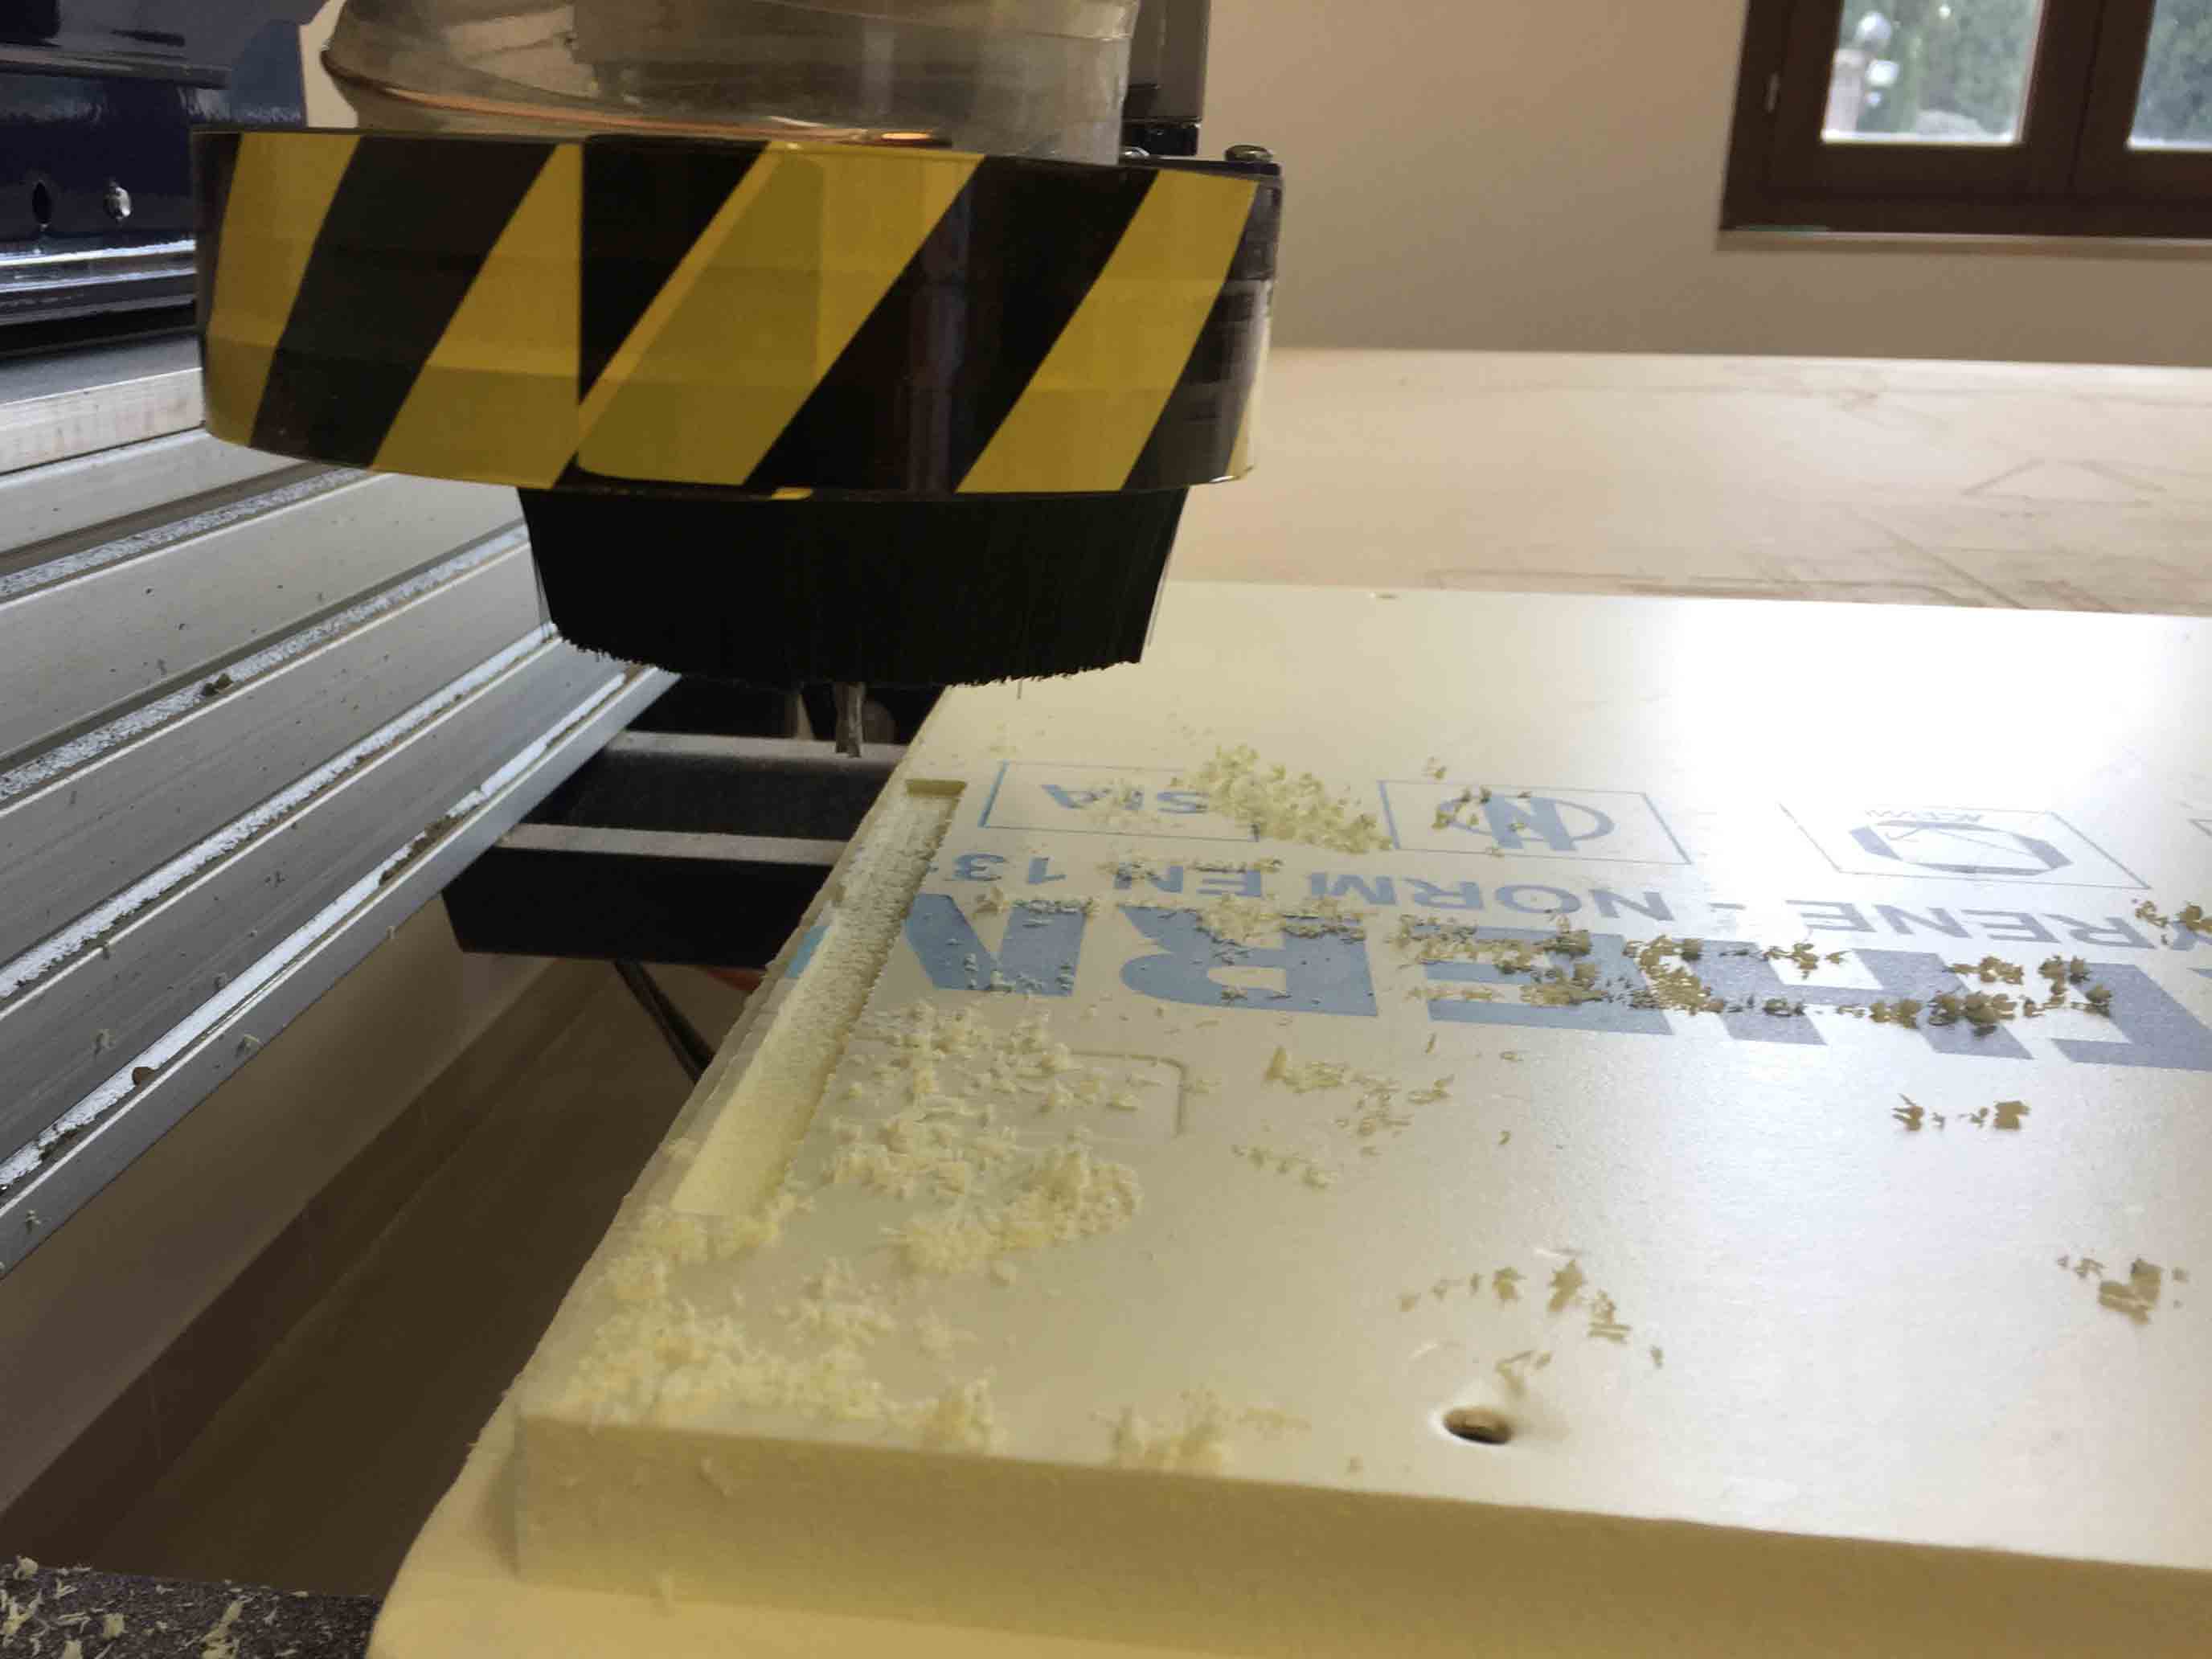
To create my mold I have used the ShopBot.

I have fixed the foam on the work table and then I have upload the first toolpath. As you can see in the below picture, I have done a mistake.
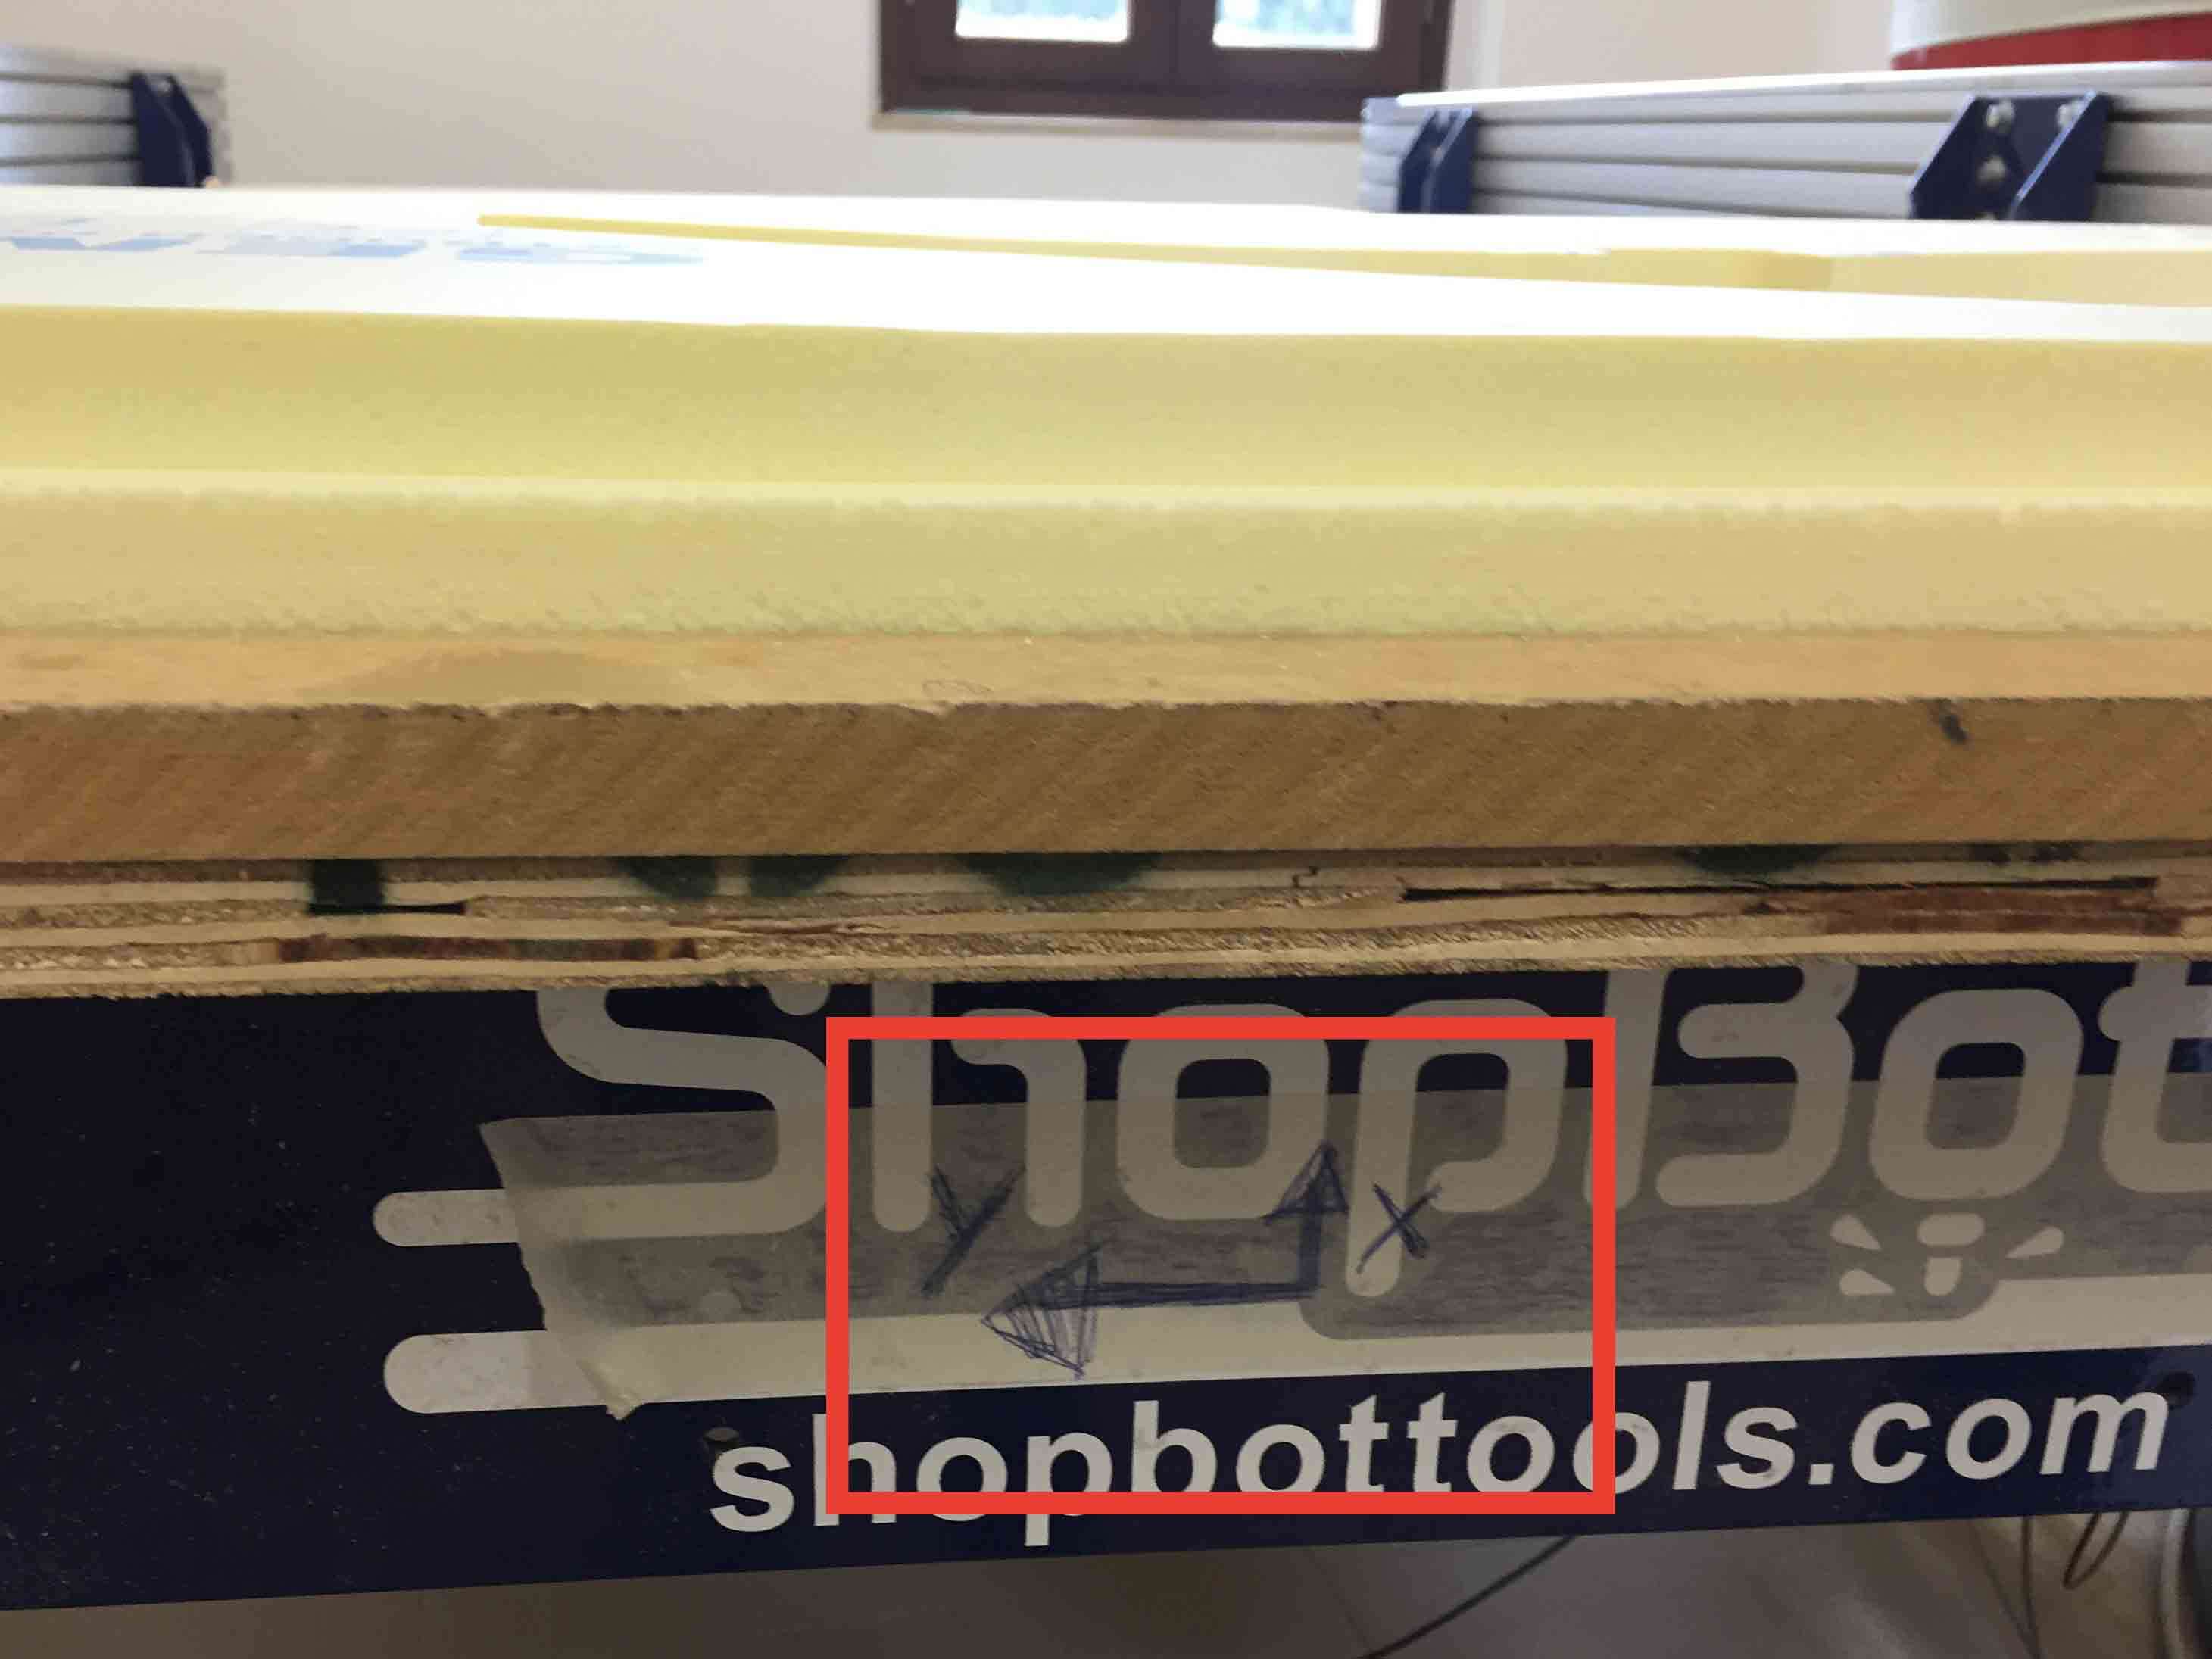
I haven't considered that X and Y axis had a different position than Cut3D, so I had to set starting point in the opposite corner. Then I sent my work again and the roughing path was perfect.
At this point I have had to change the end mill 1/4 with ball nose 1/8 to do the finisching path. I have never changed the tip on ShopBot before, so to do it I have turn off the machine. This was a mistake because turning it off I lost the X and Y coordinates, so I started over. This time was the right one!
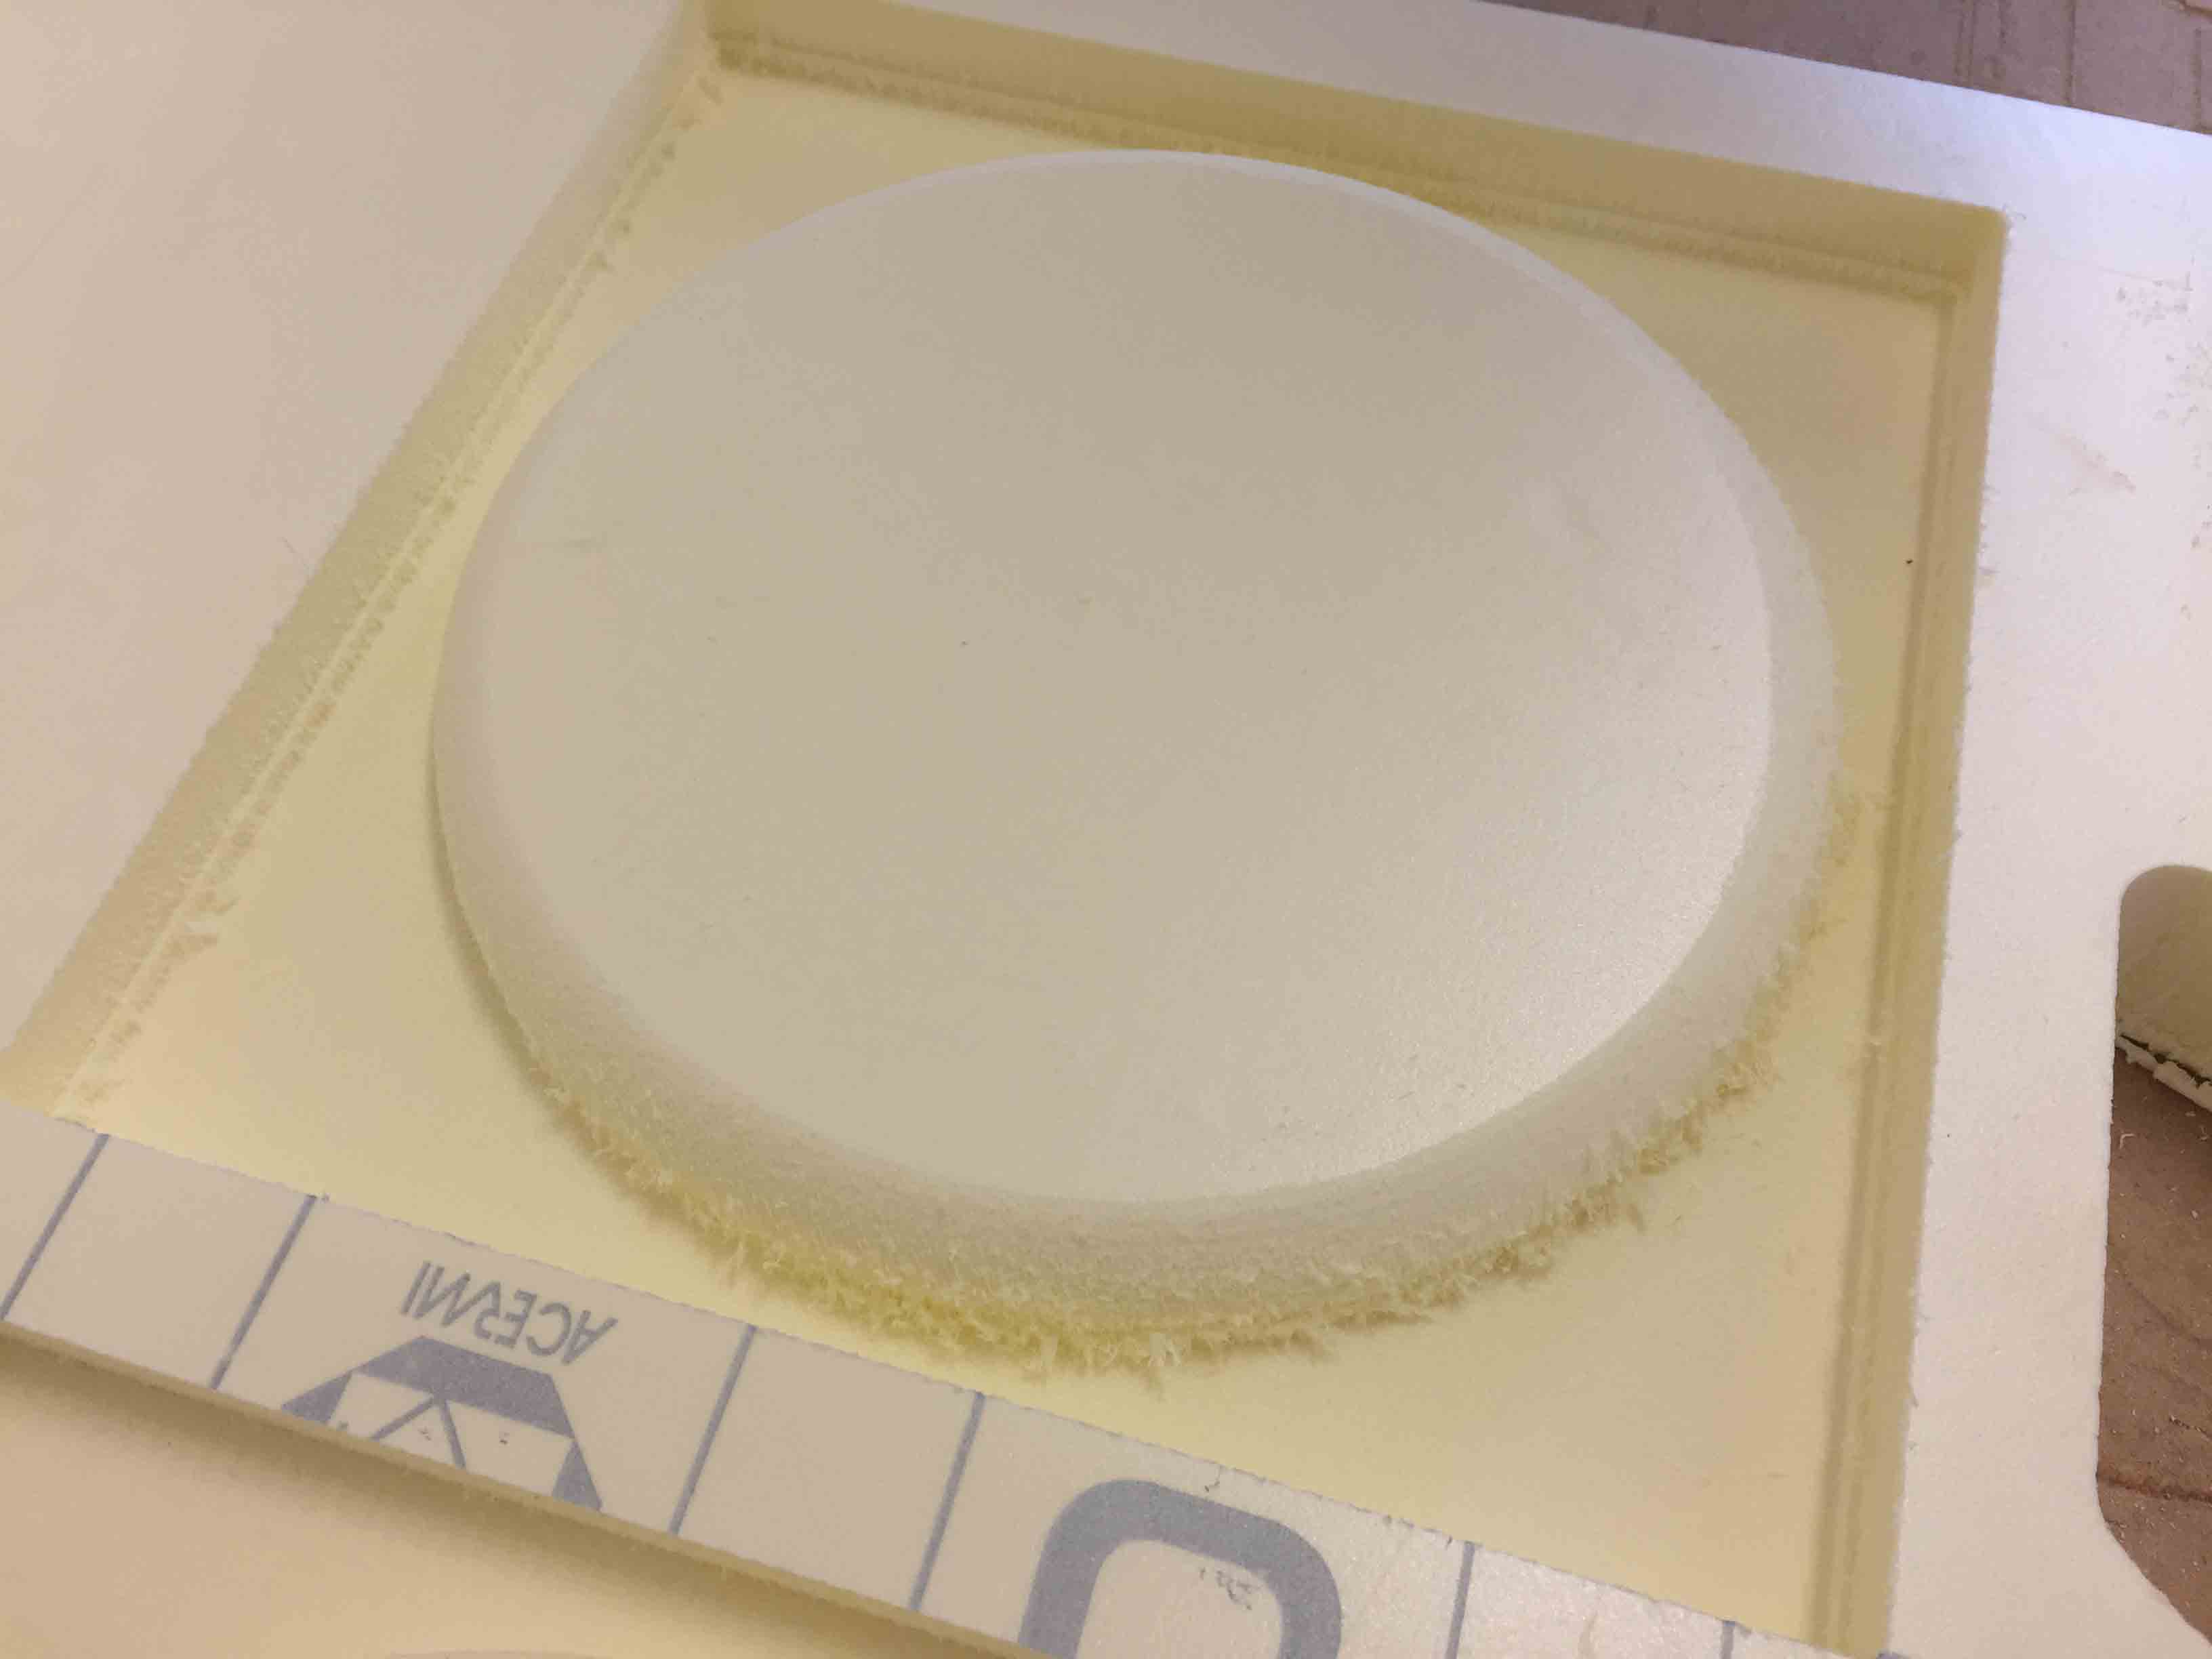
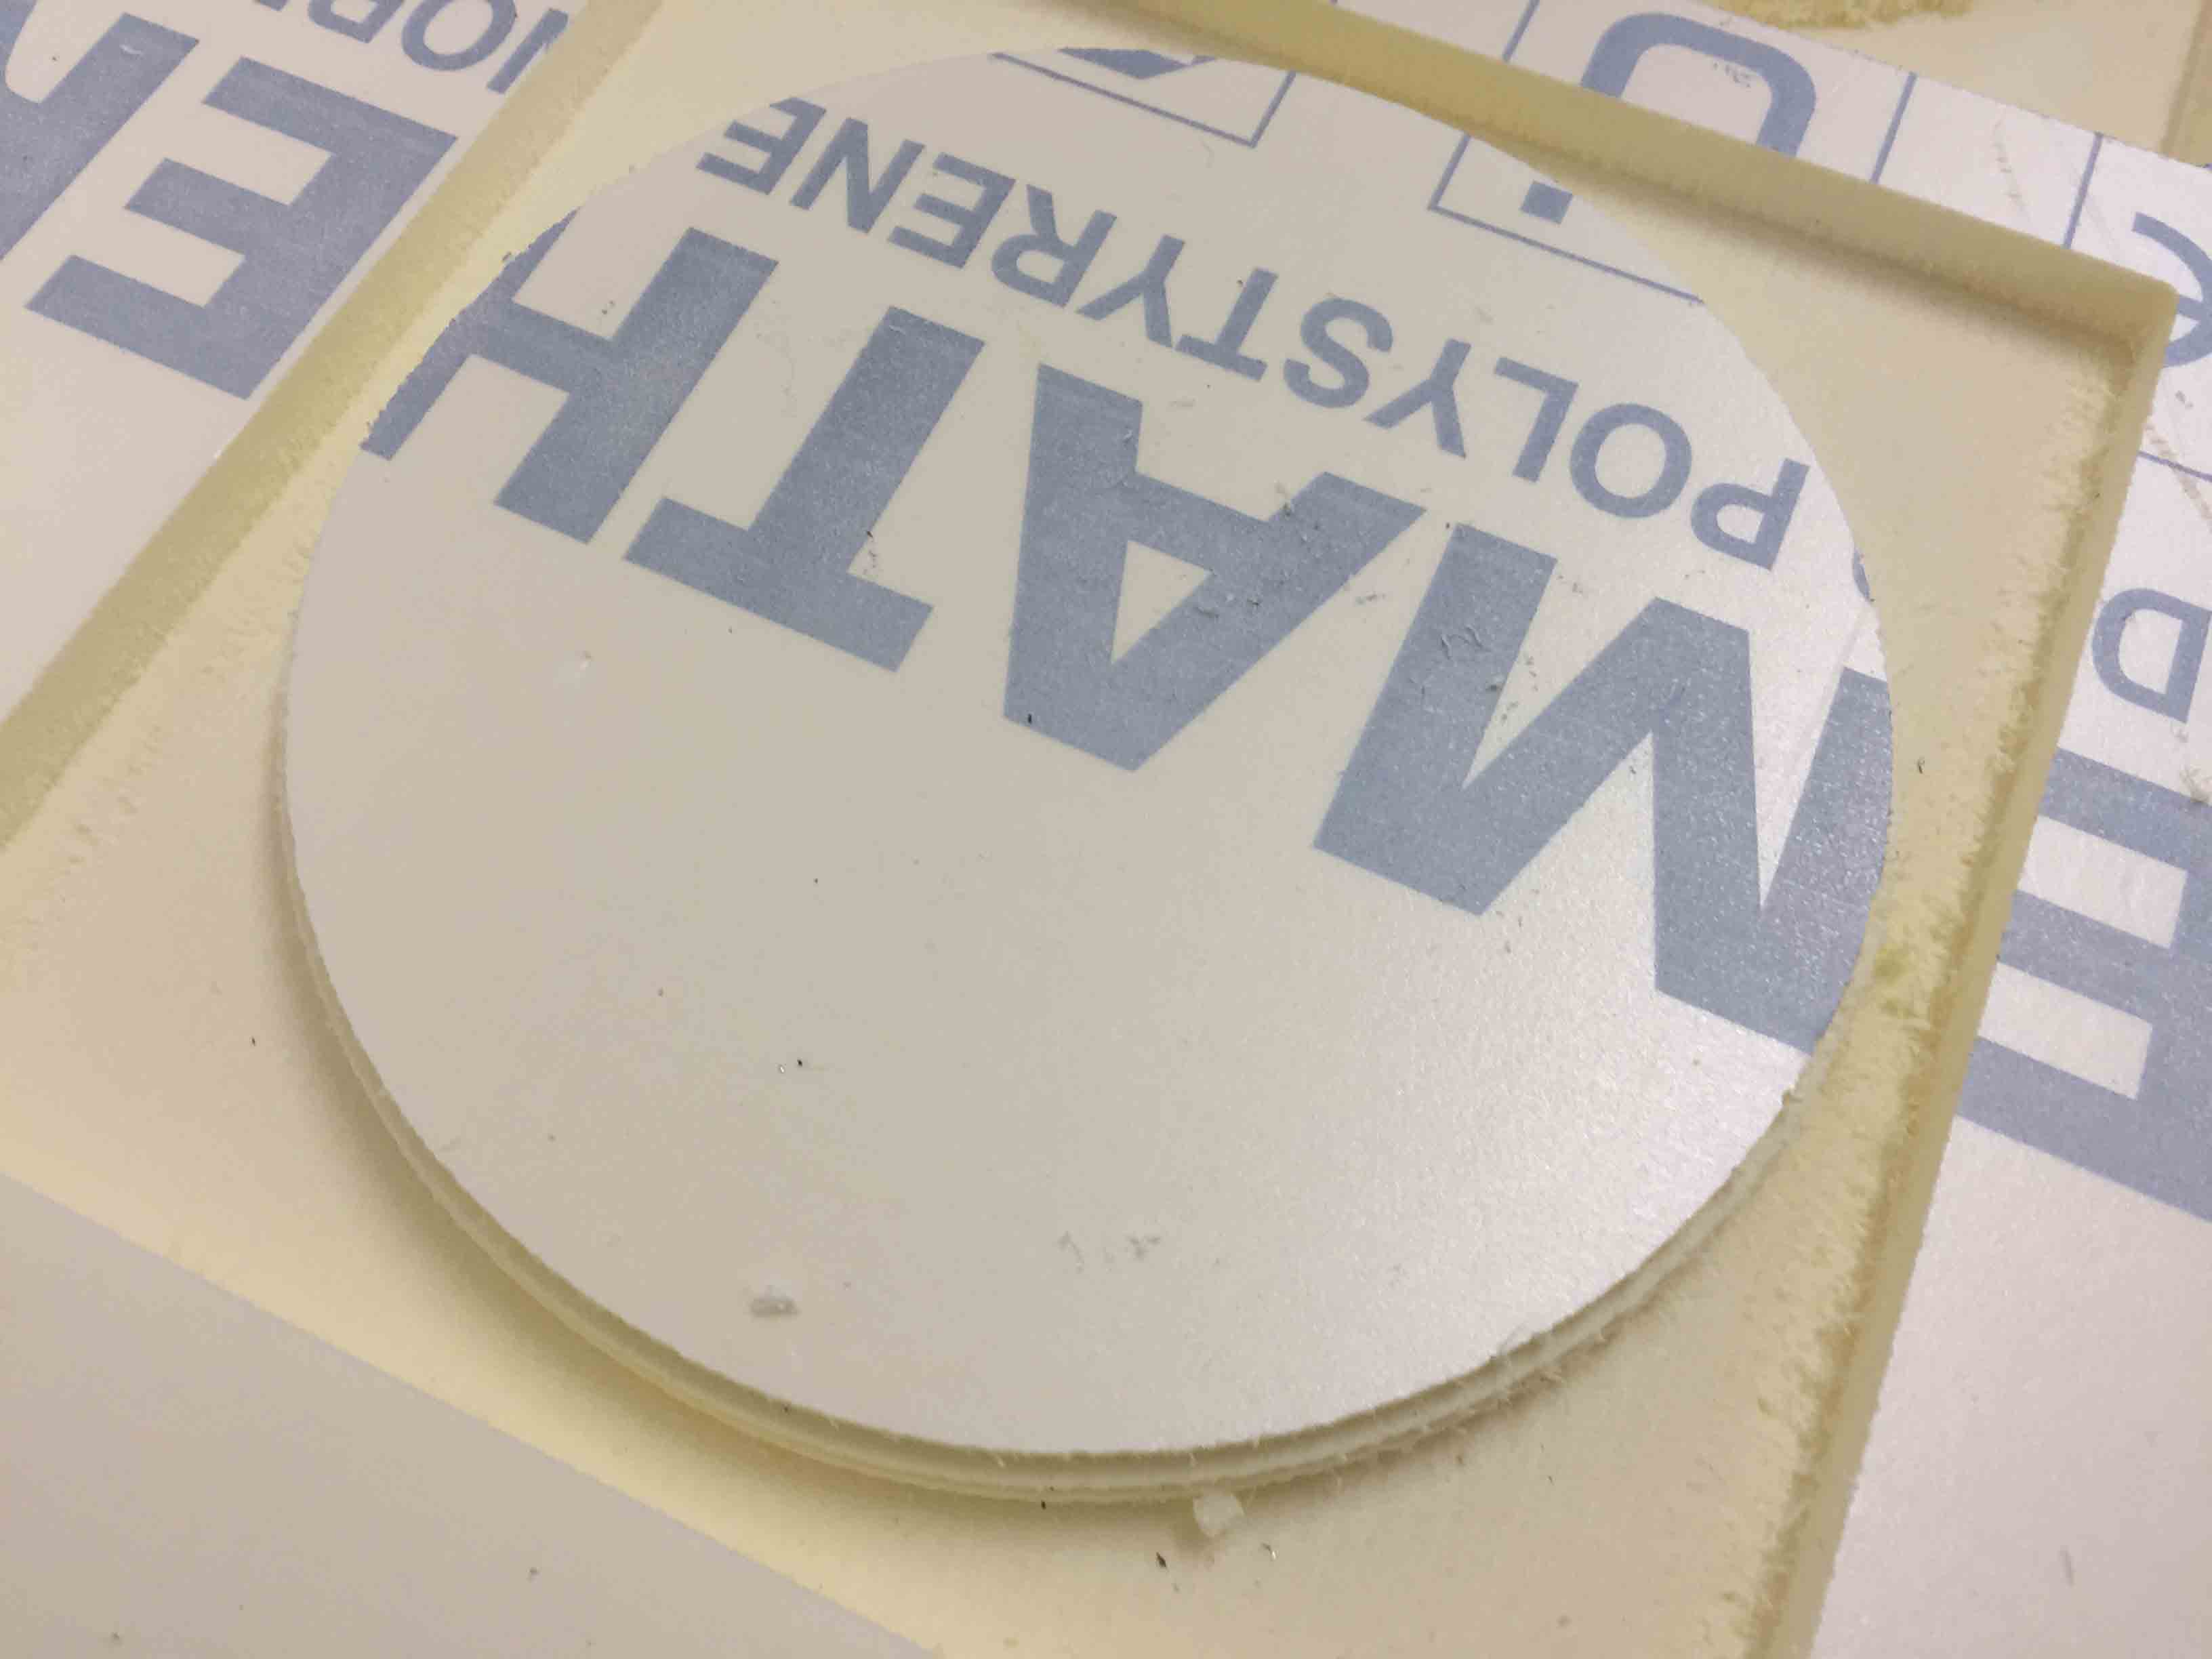
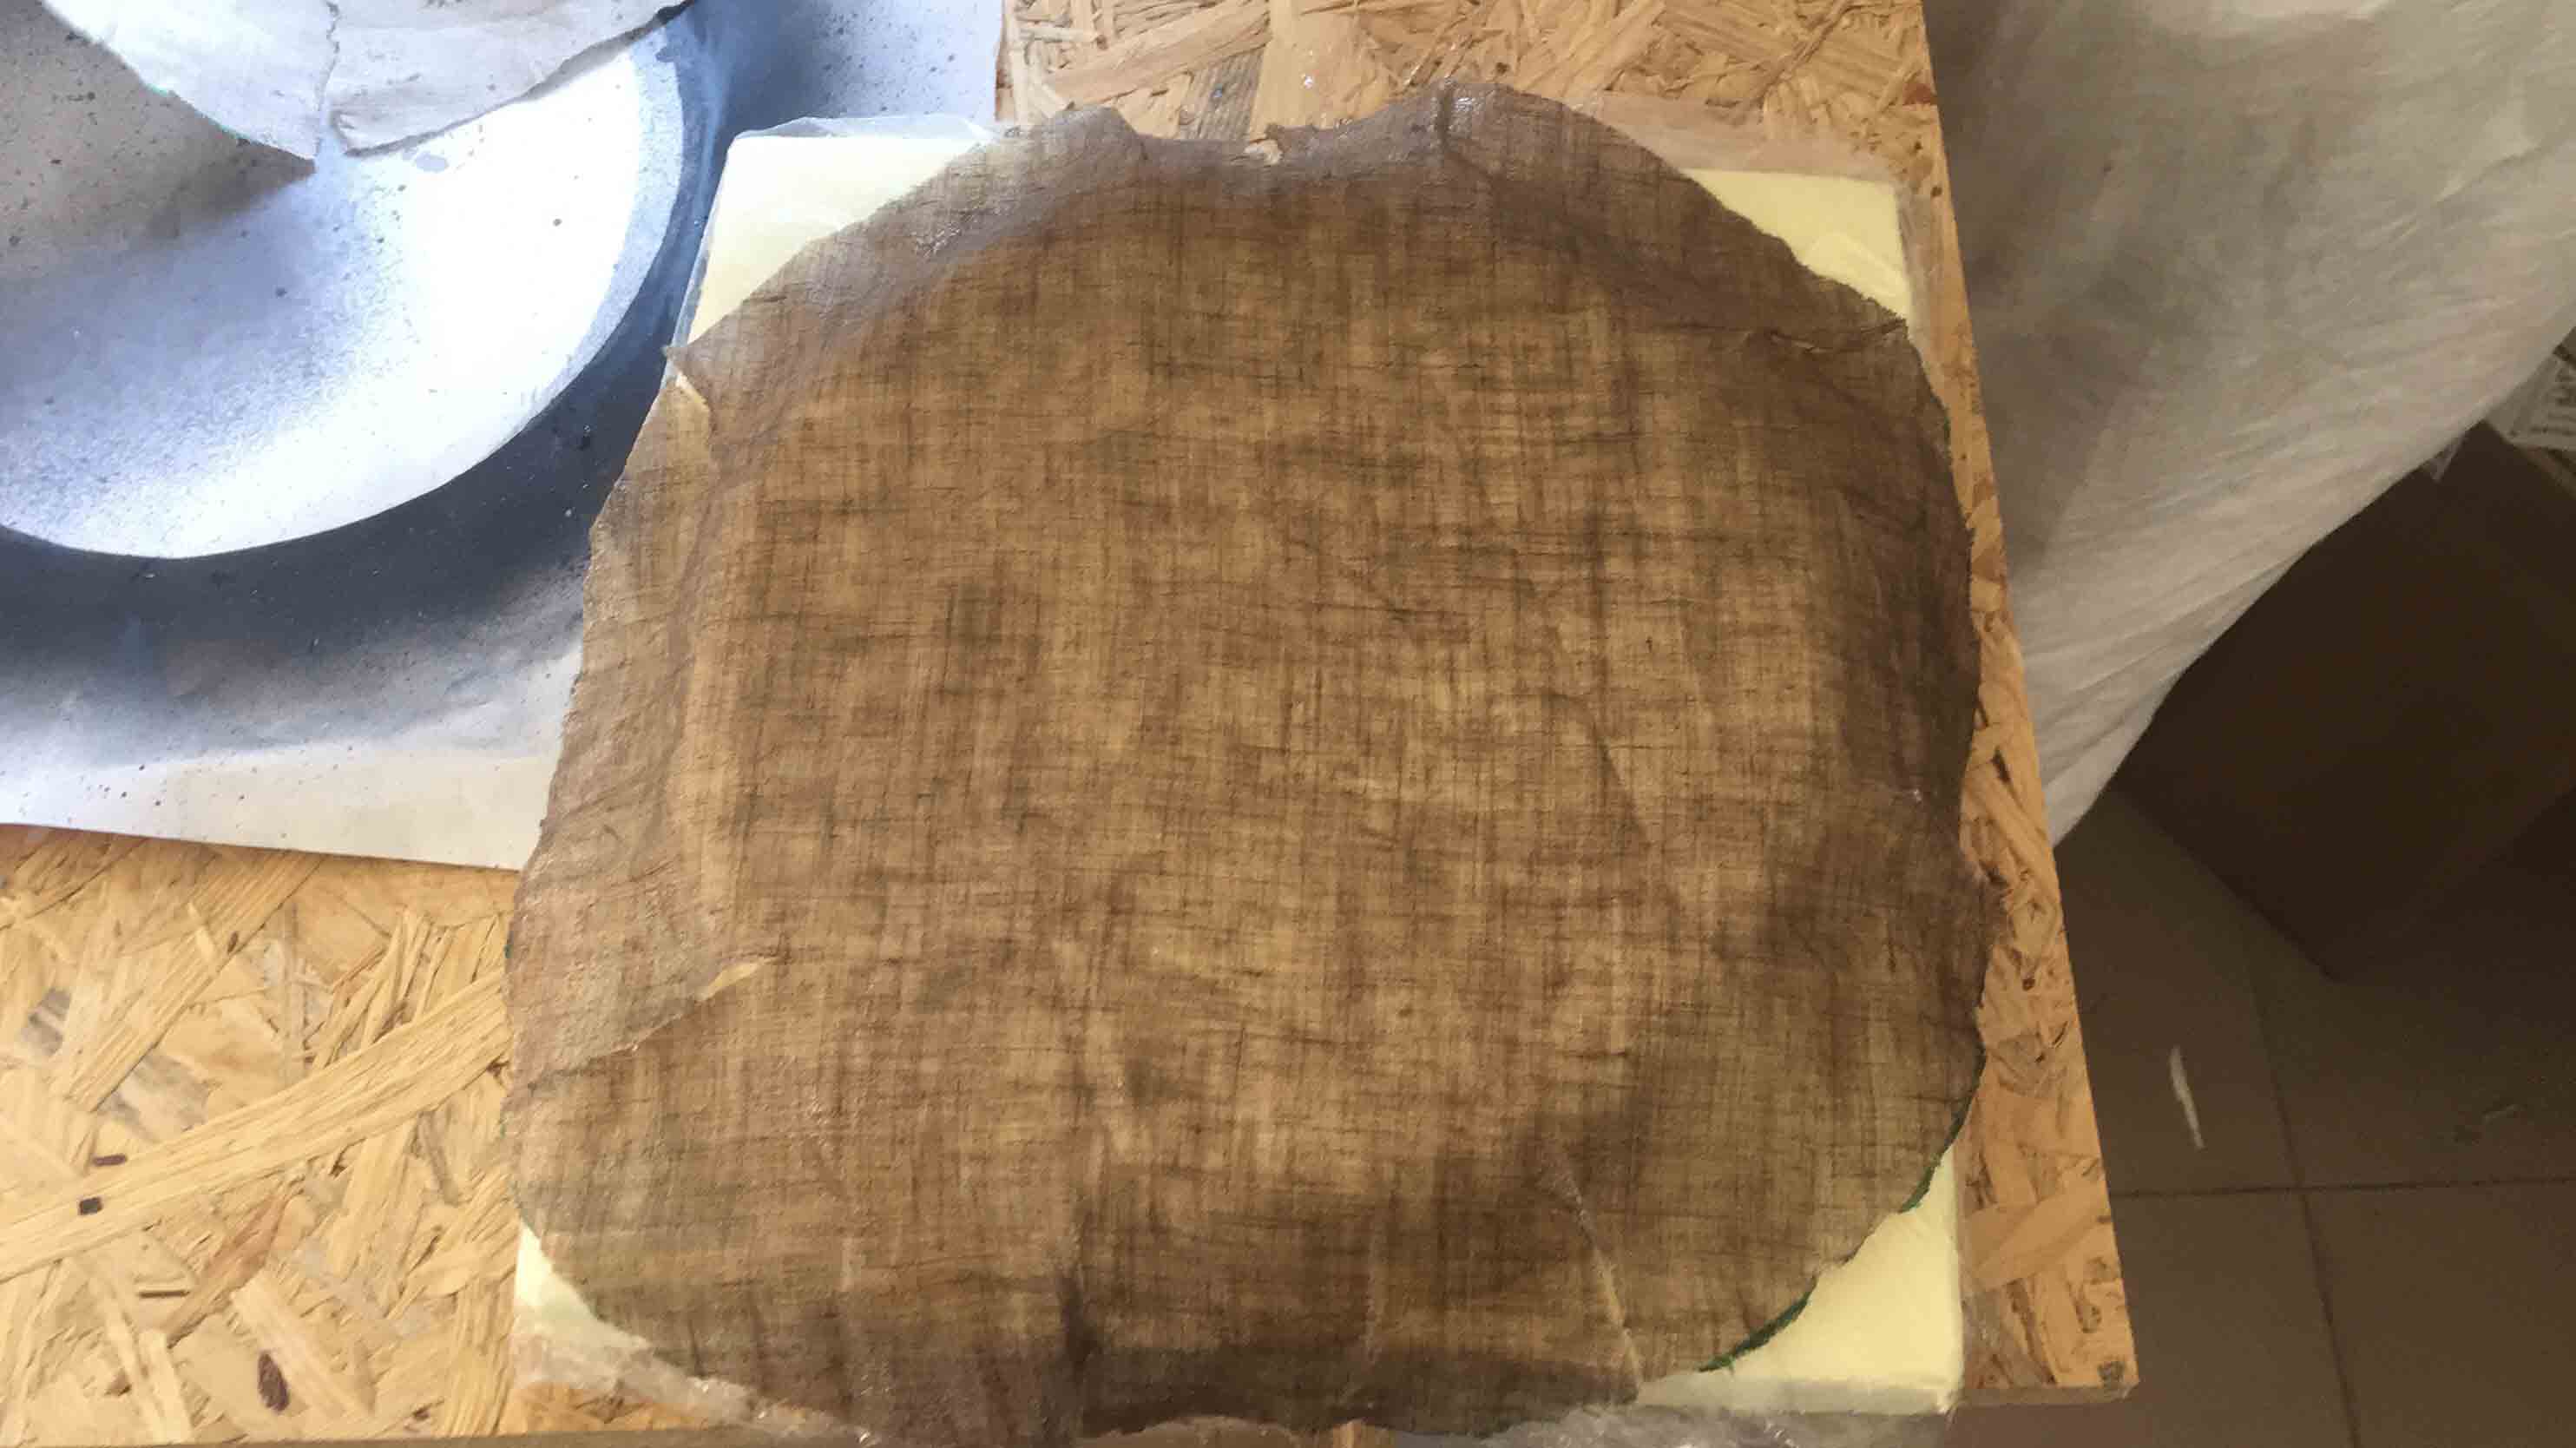
With a piece of sand paper I have removed all imperfections. Let's casting it!
CASTING
Our instructor told us to use wax as release material but looking on Fab Academy archive, I've found this usefull documentation. He have used plastic food as release material, so I decided to do an attempt. First of all I prepared all material
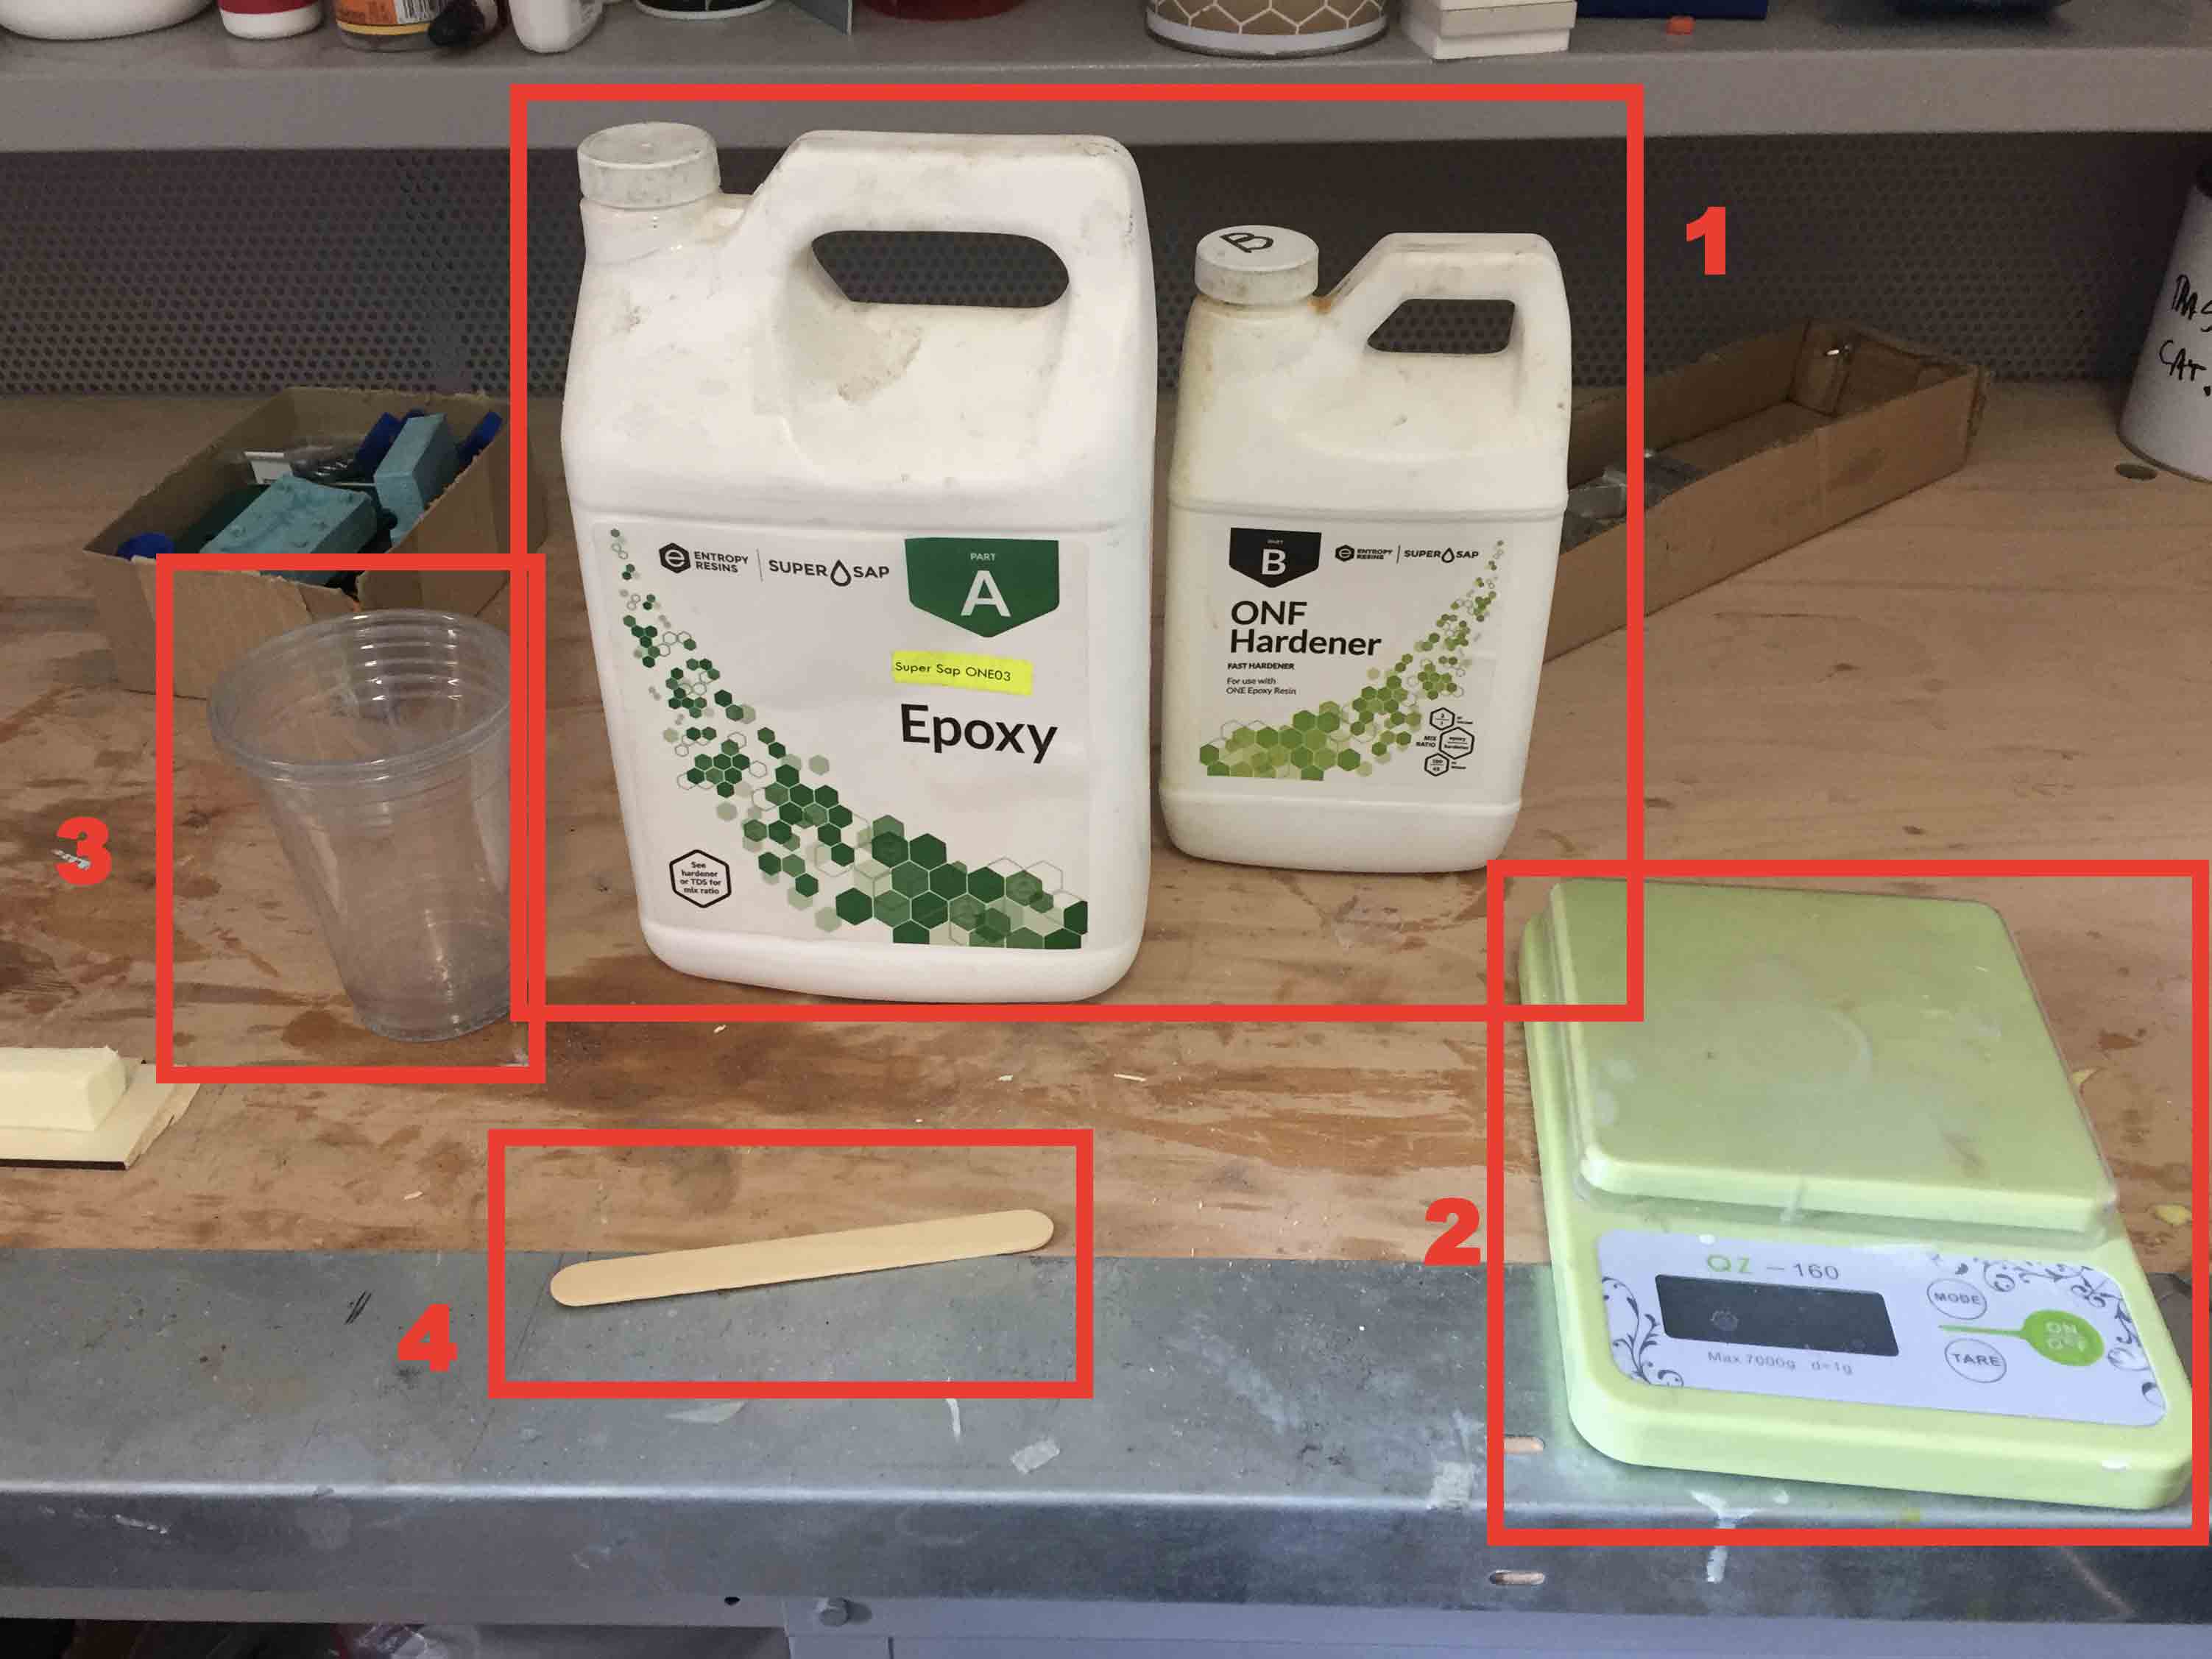
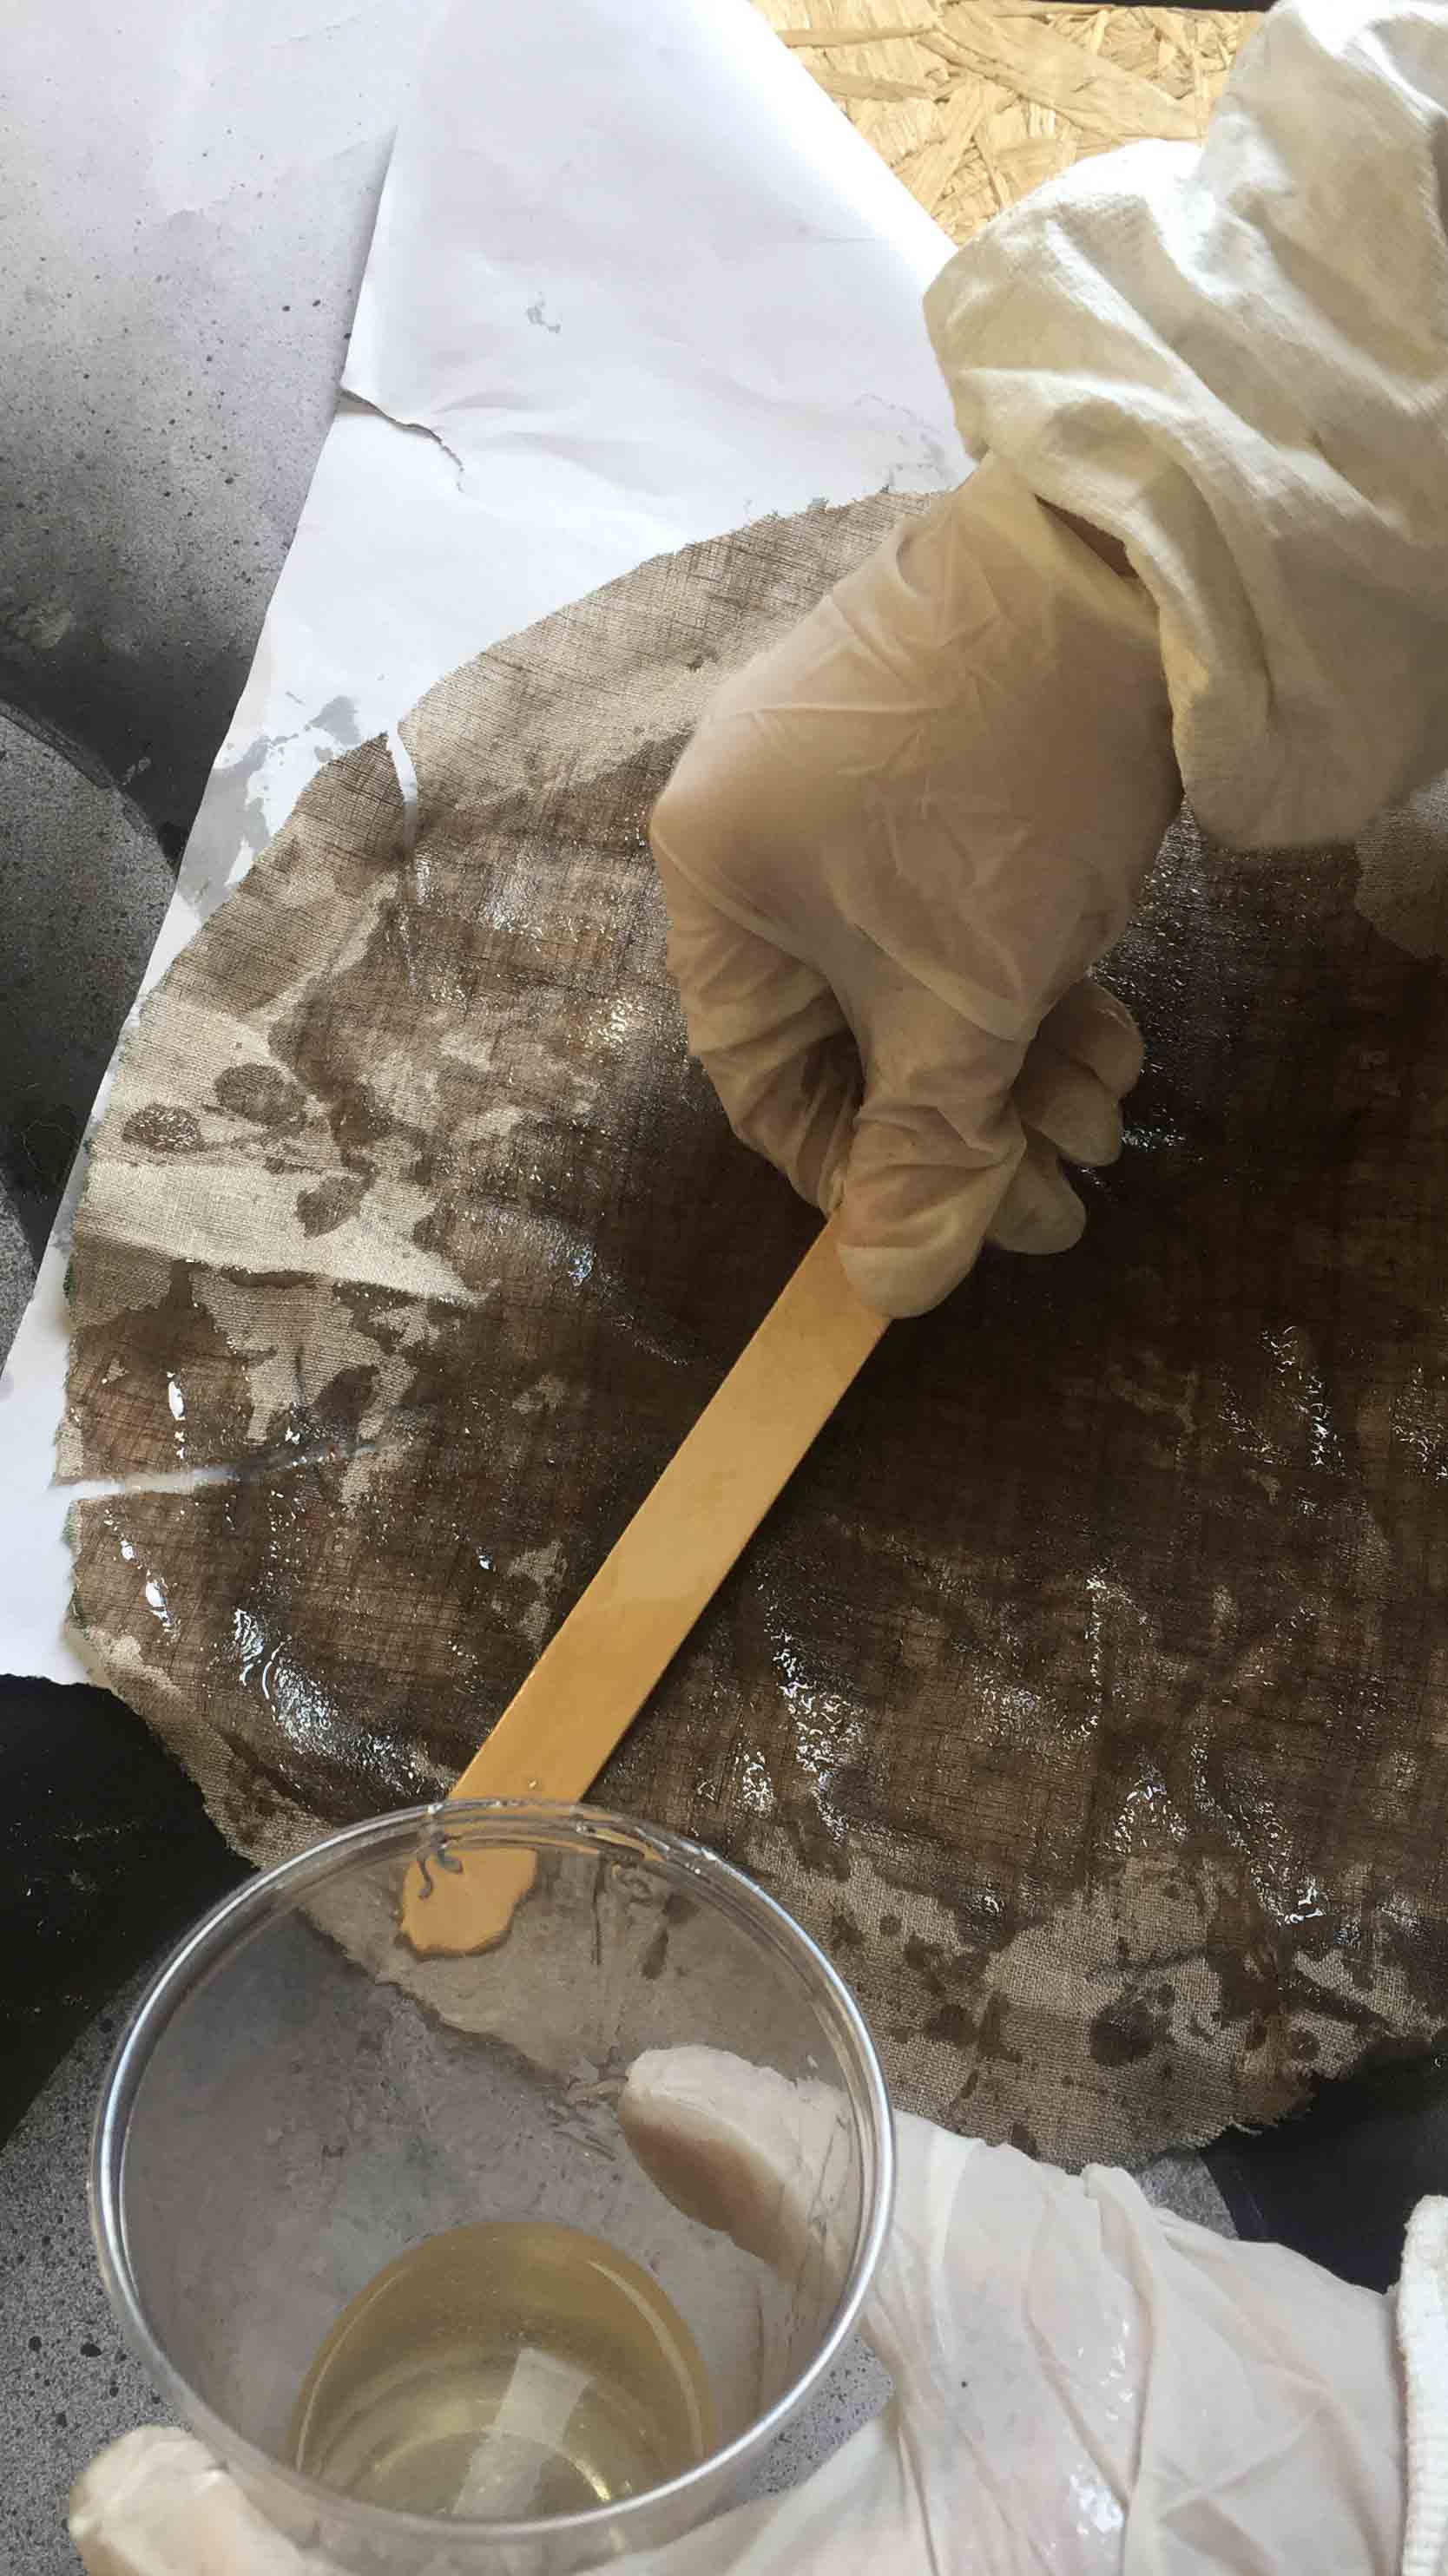
1) EPOXY RESIN: With the Epoxy I have coated some piece of linen and cotton that I used to create my frisbee. The right ratio is 2:1 (2 part A and 1 part B).
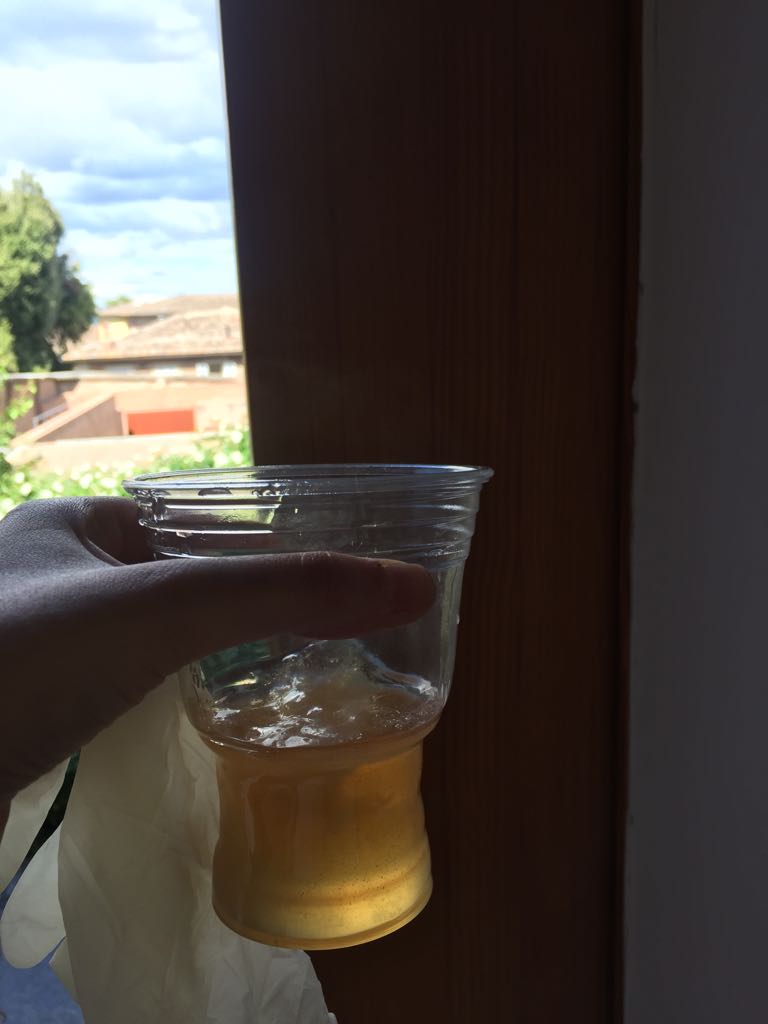
ATTENTION!!!!: As you can see in the pic I have used plastic cups to mix the resin, but you can't overfilling it because epoxy have after few minutes heats up and dissolve the cup. There isn't my mistake, but it's important be careful.
2) BALANCE: I have use it to measure a perfect ratio of epoxy. As you can read on datasheet, you havn't much margin of error, so it's important use it.
3) PLASTIC CUPS: For the epoxy 4) WOOD STICK: To mix the resin and to spread resin on the fibers.
Then I have prepared 2 piece of linen and 1 piece of cotton. My frisbee will have 3 layers of textile material to make more strong.
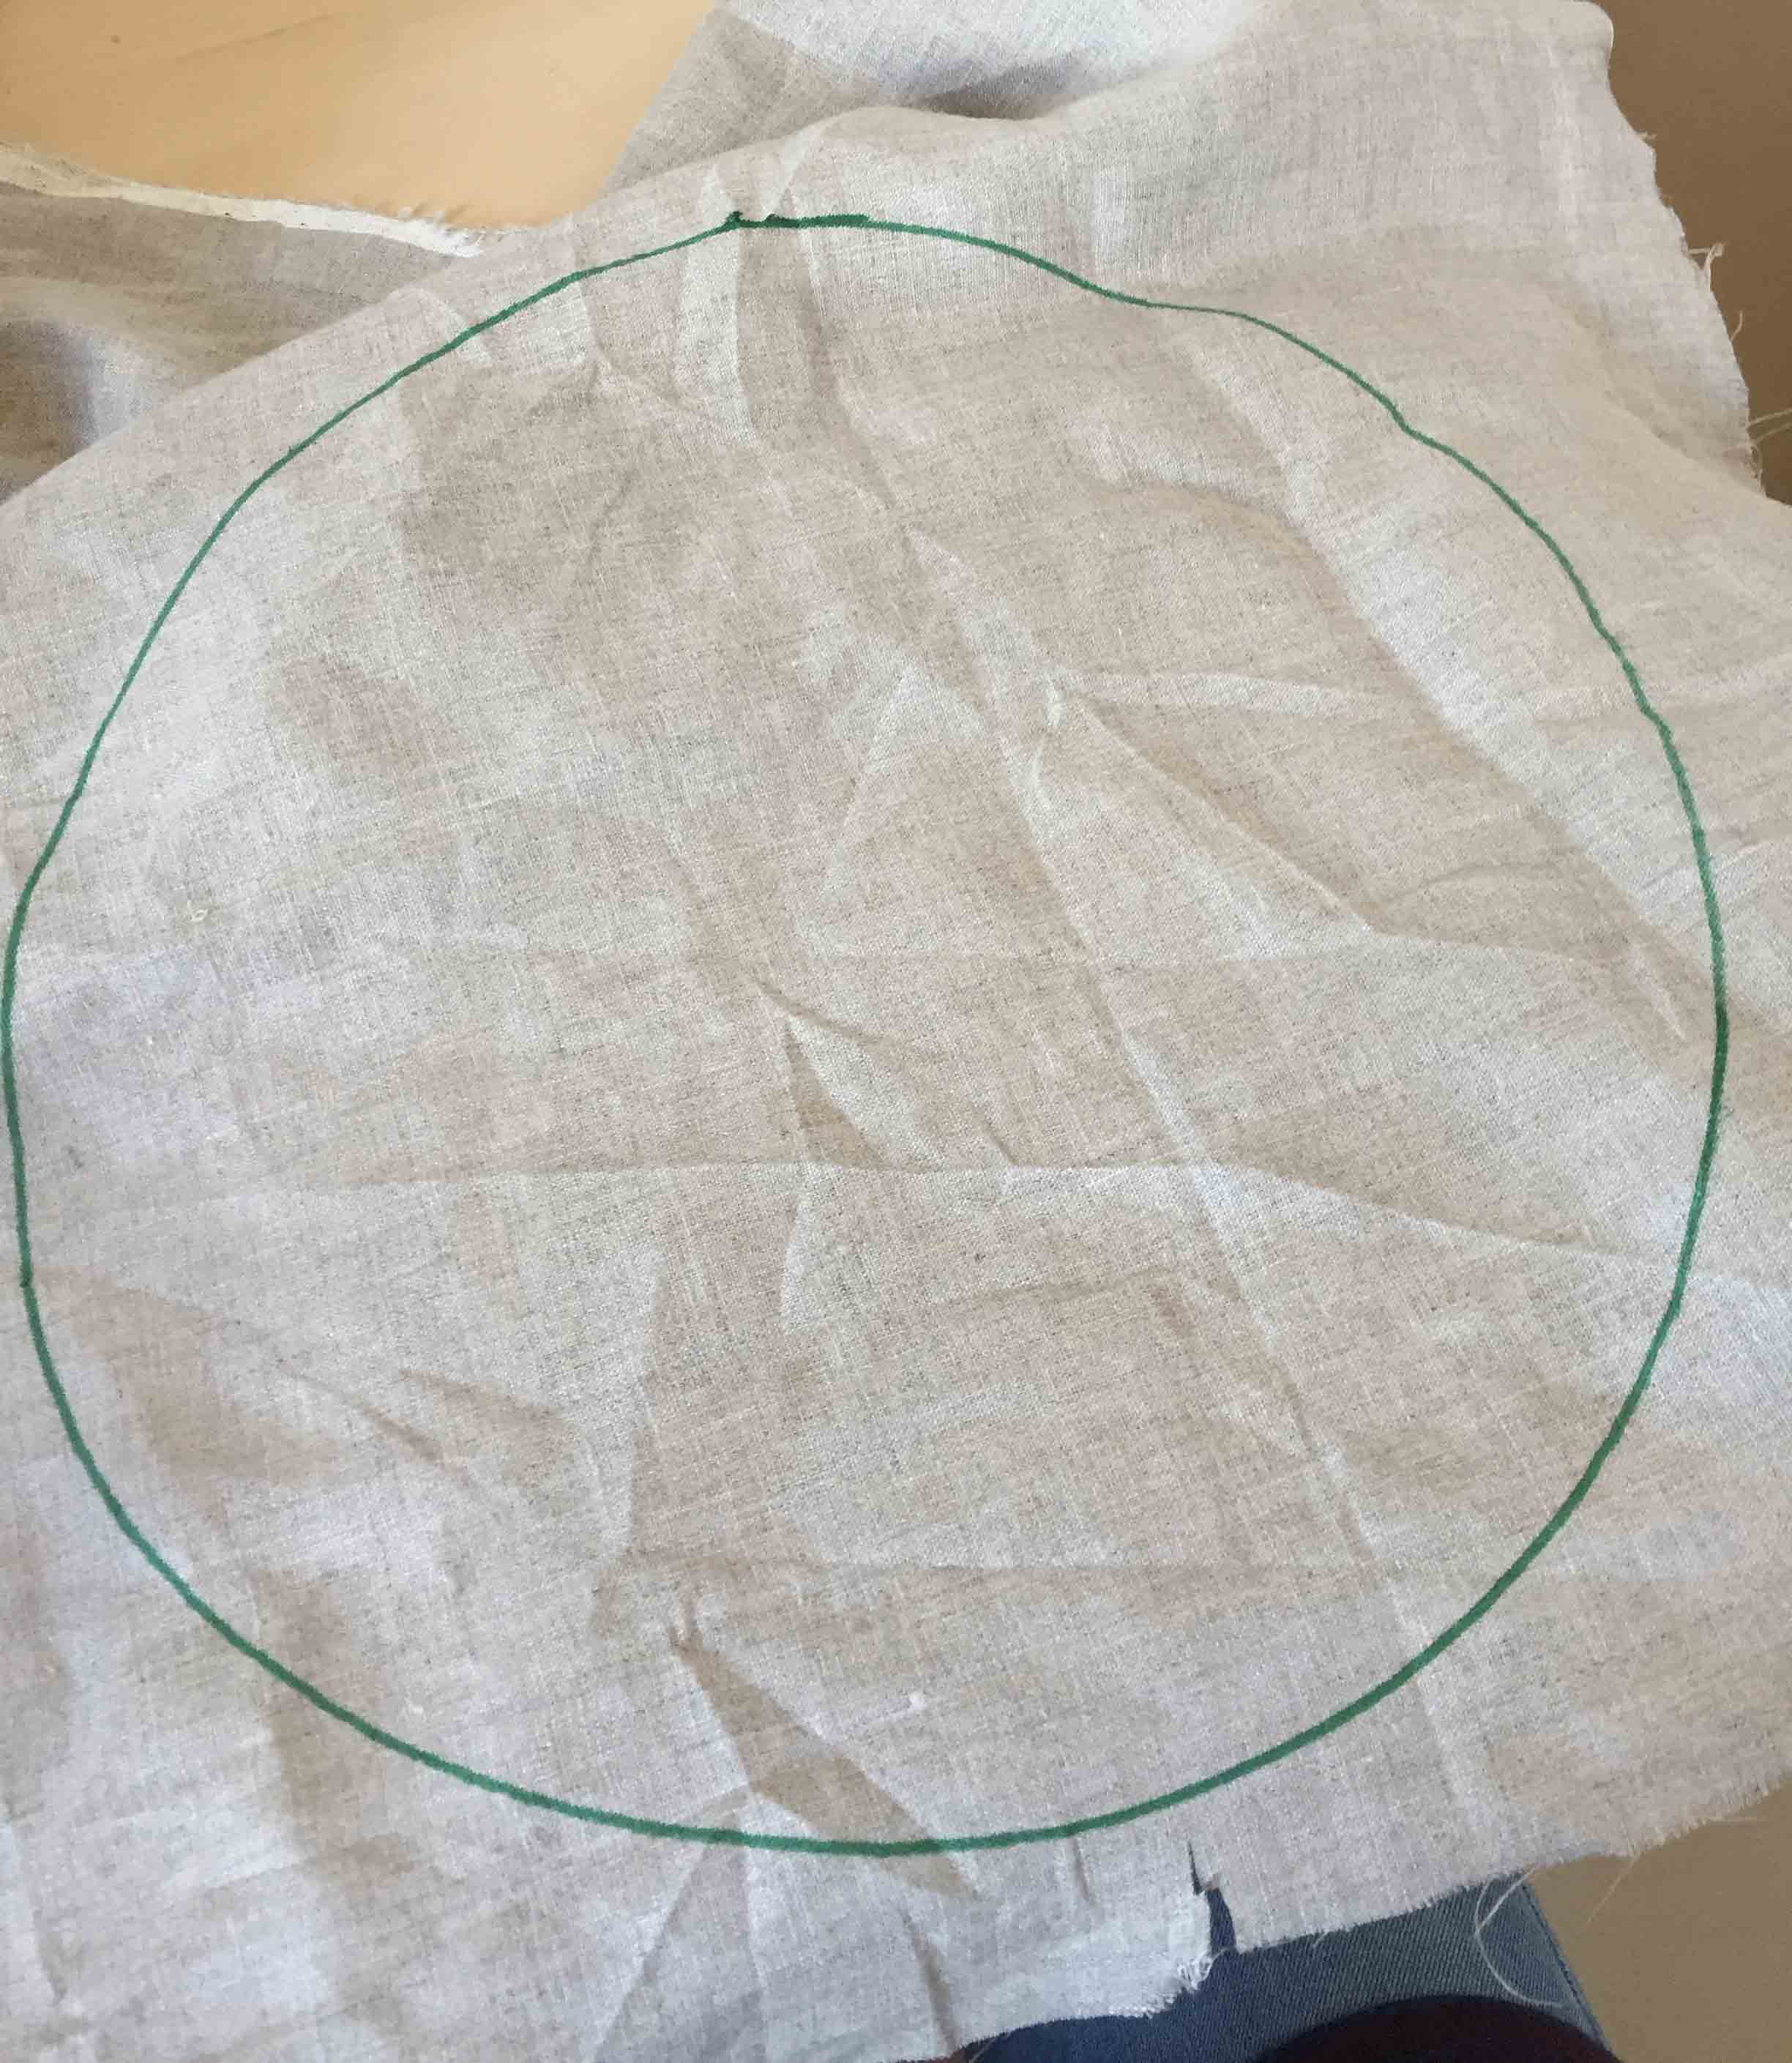
I decided not to use several pieces of linen to create the layers, but an entire piece of it. With the Laser Cutter I have cut a disc on cardboard to draw a perfect circle on linen. After that I have done some little cut around the circle to avoid lot wrinkles around the frisbee.
IT'S TIME TO ACT!!
I've followed this schema to put each layer of material correctly:
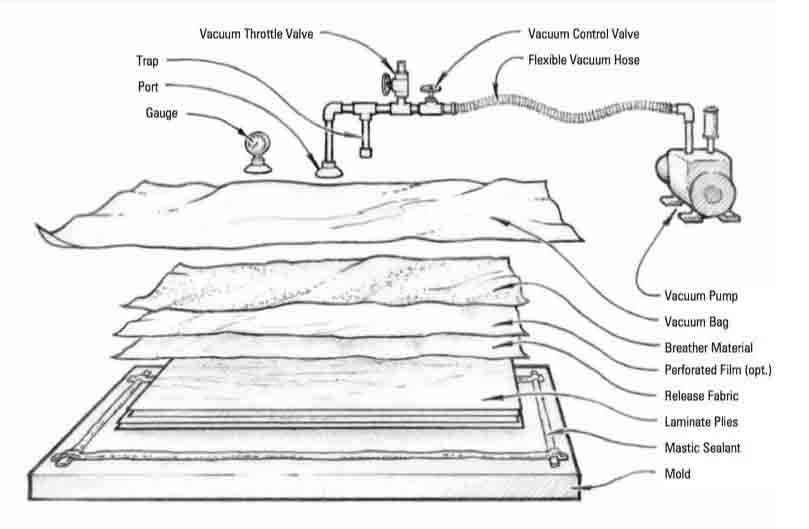
FIRST LAYER - Plastic food as release material
SECOND LAYER - 2 Layer of linen and 1 layer of cotton
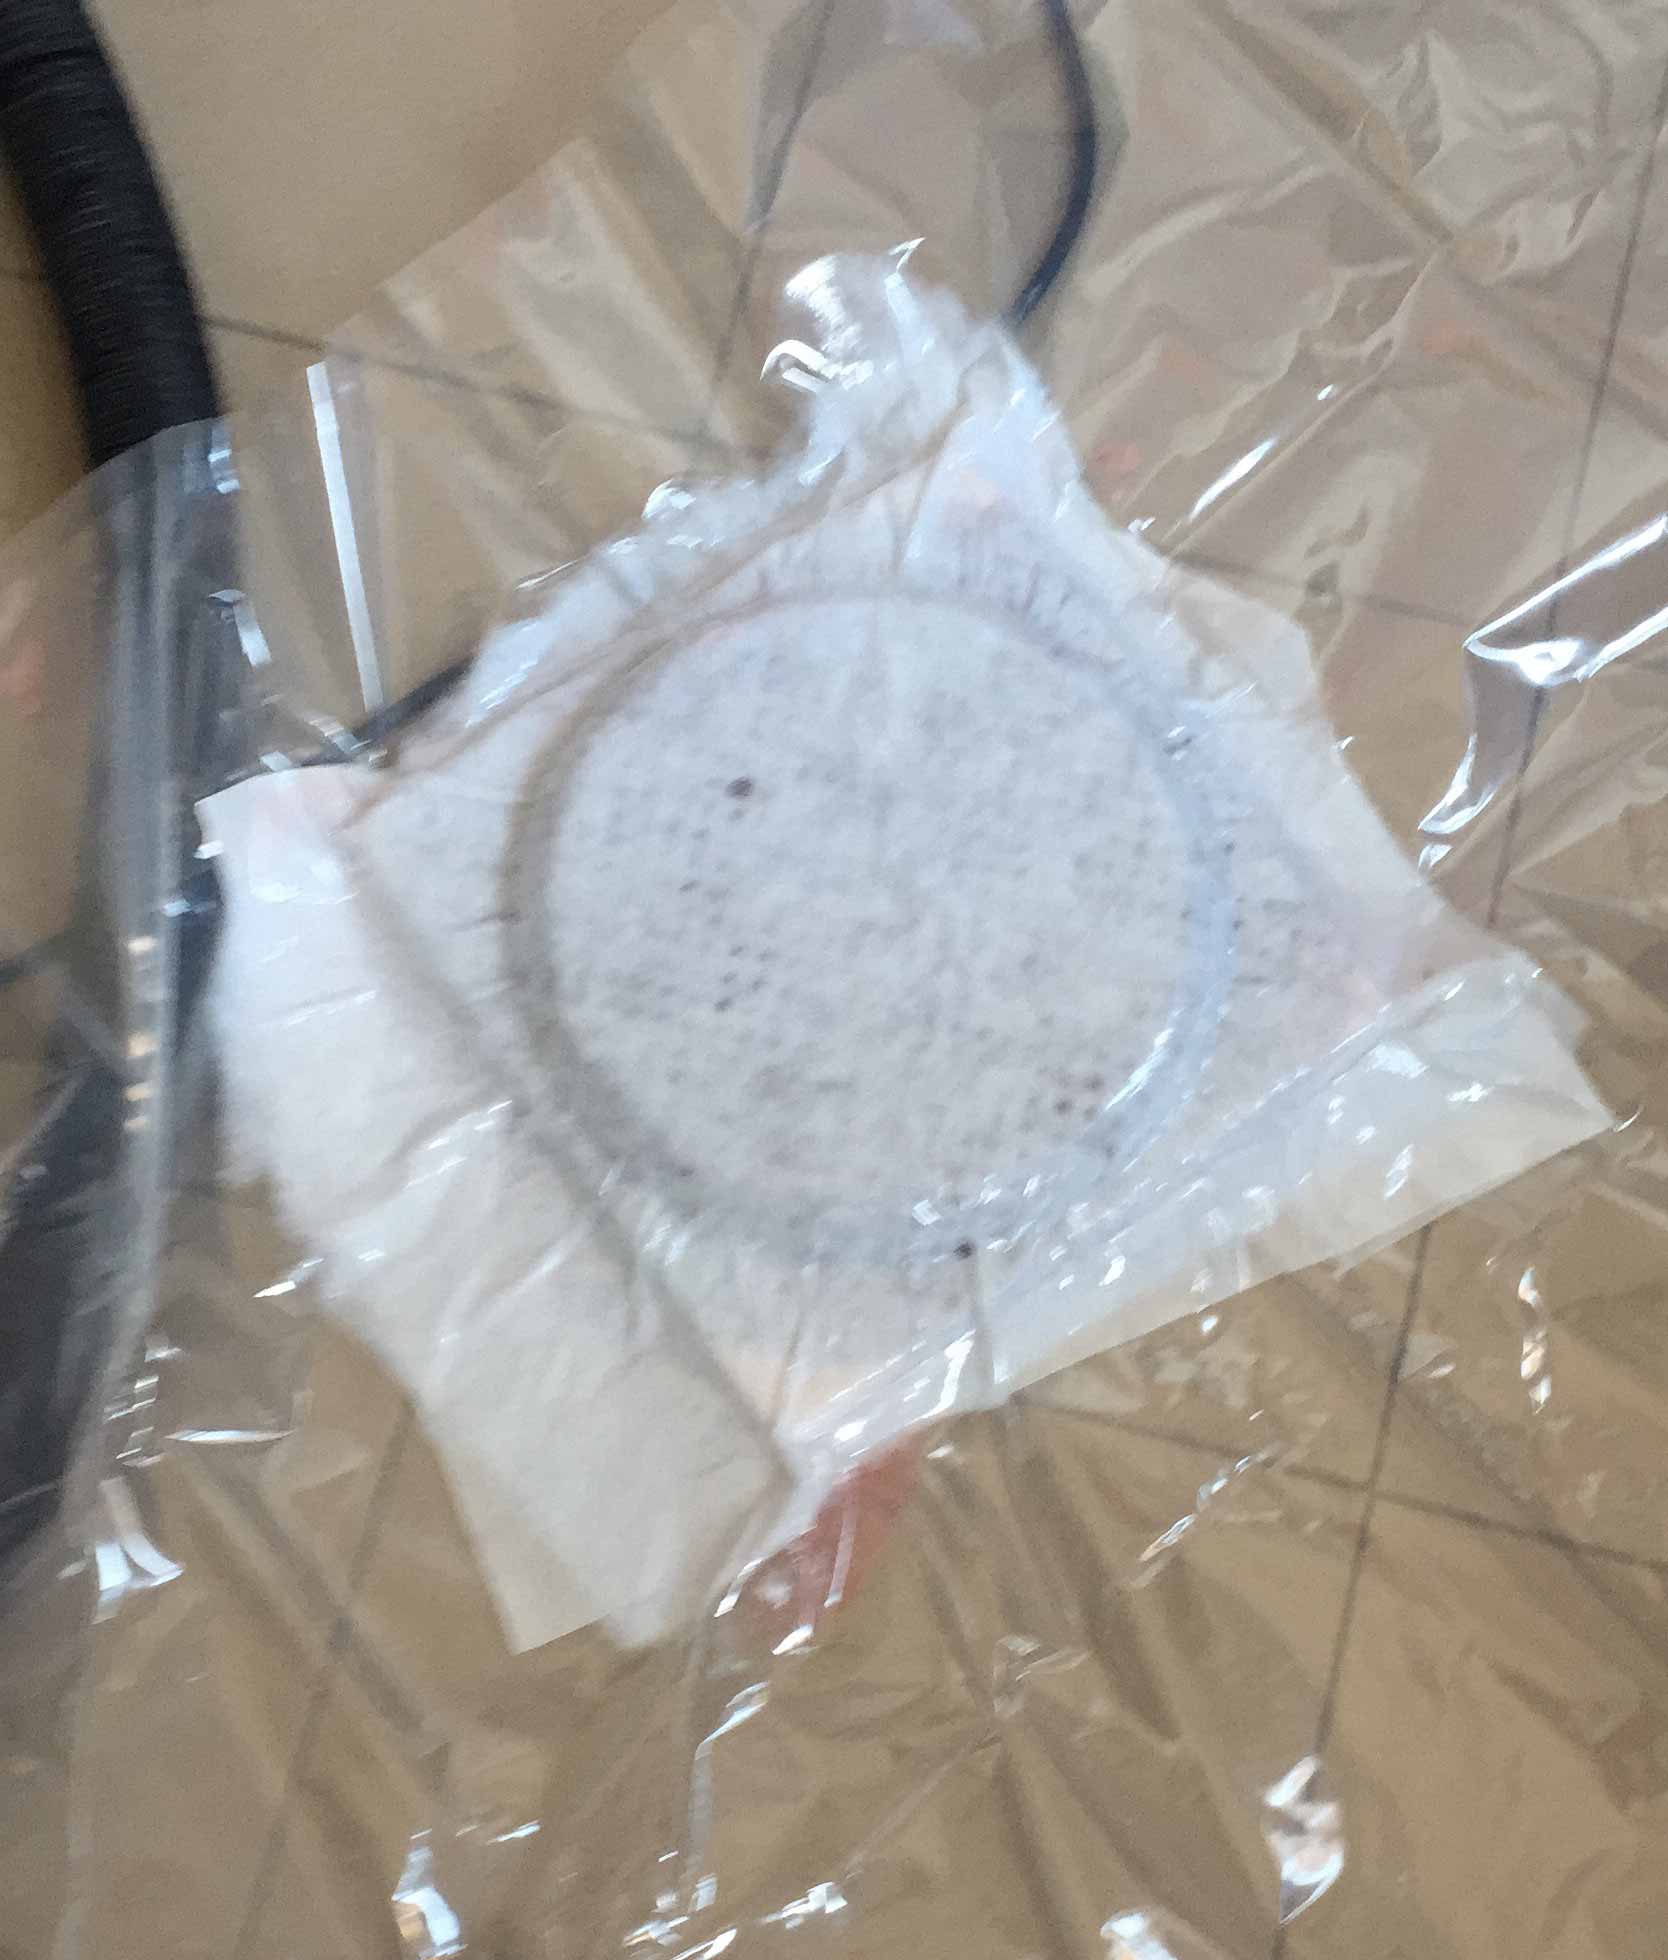
THIRD LAYER - Perforated film
FOURTH LAYER - Release material
FIFTH LAYER - Breather material
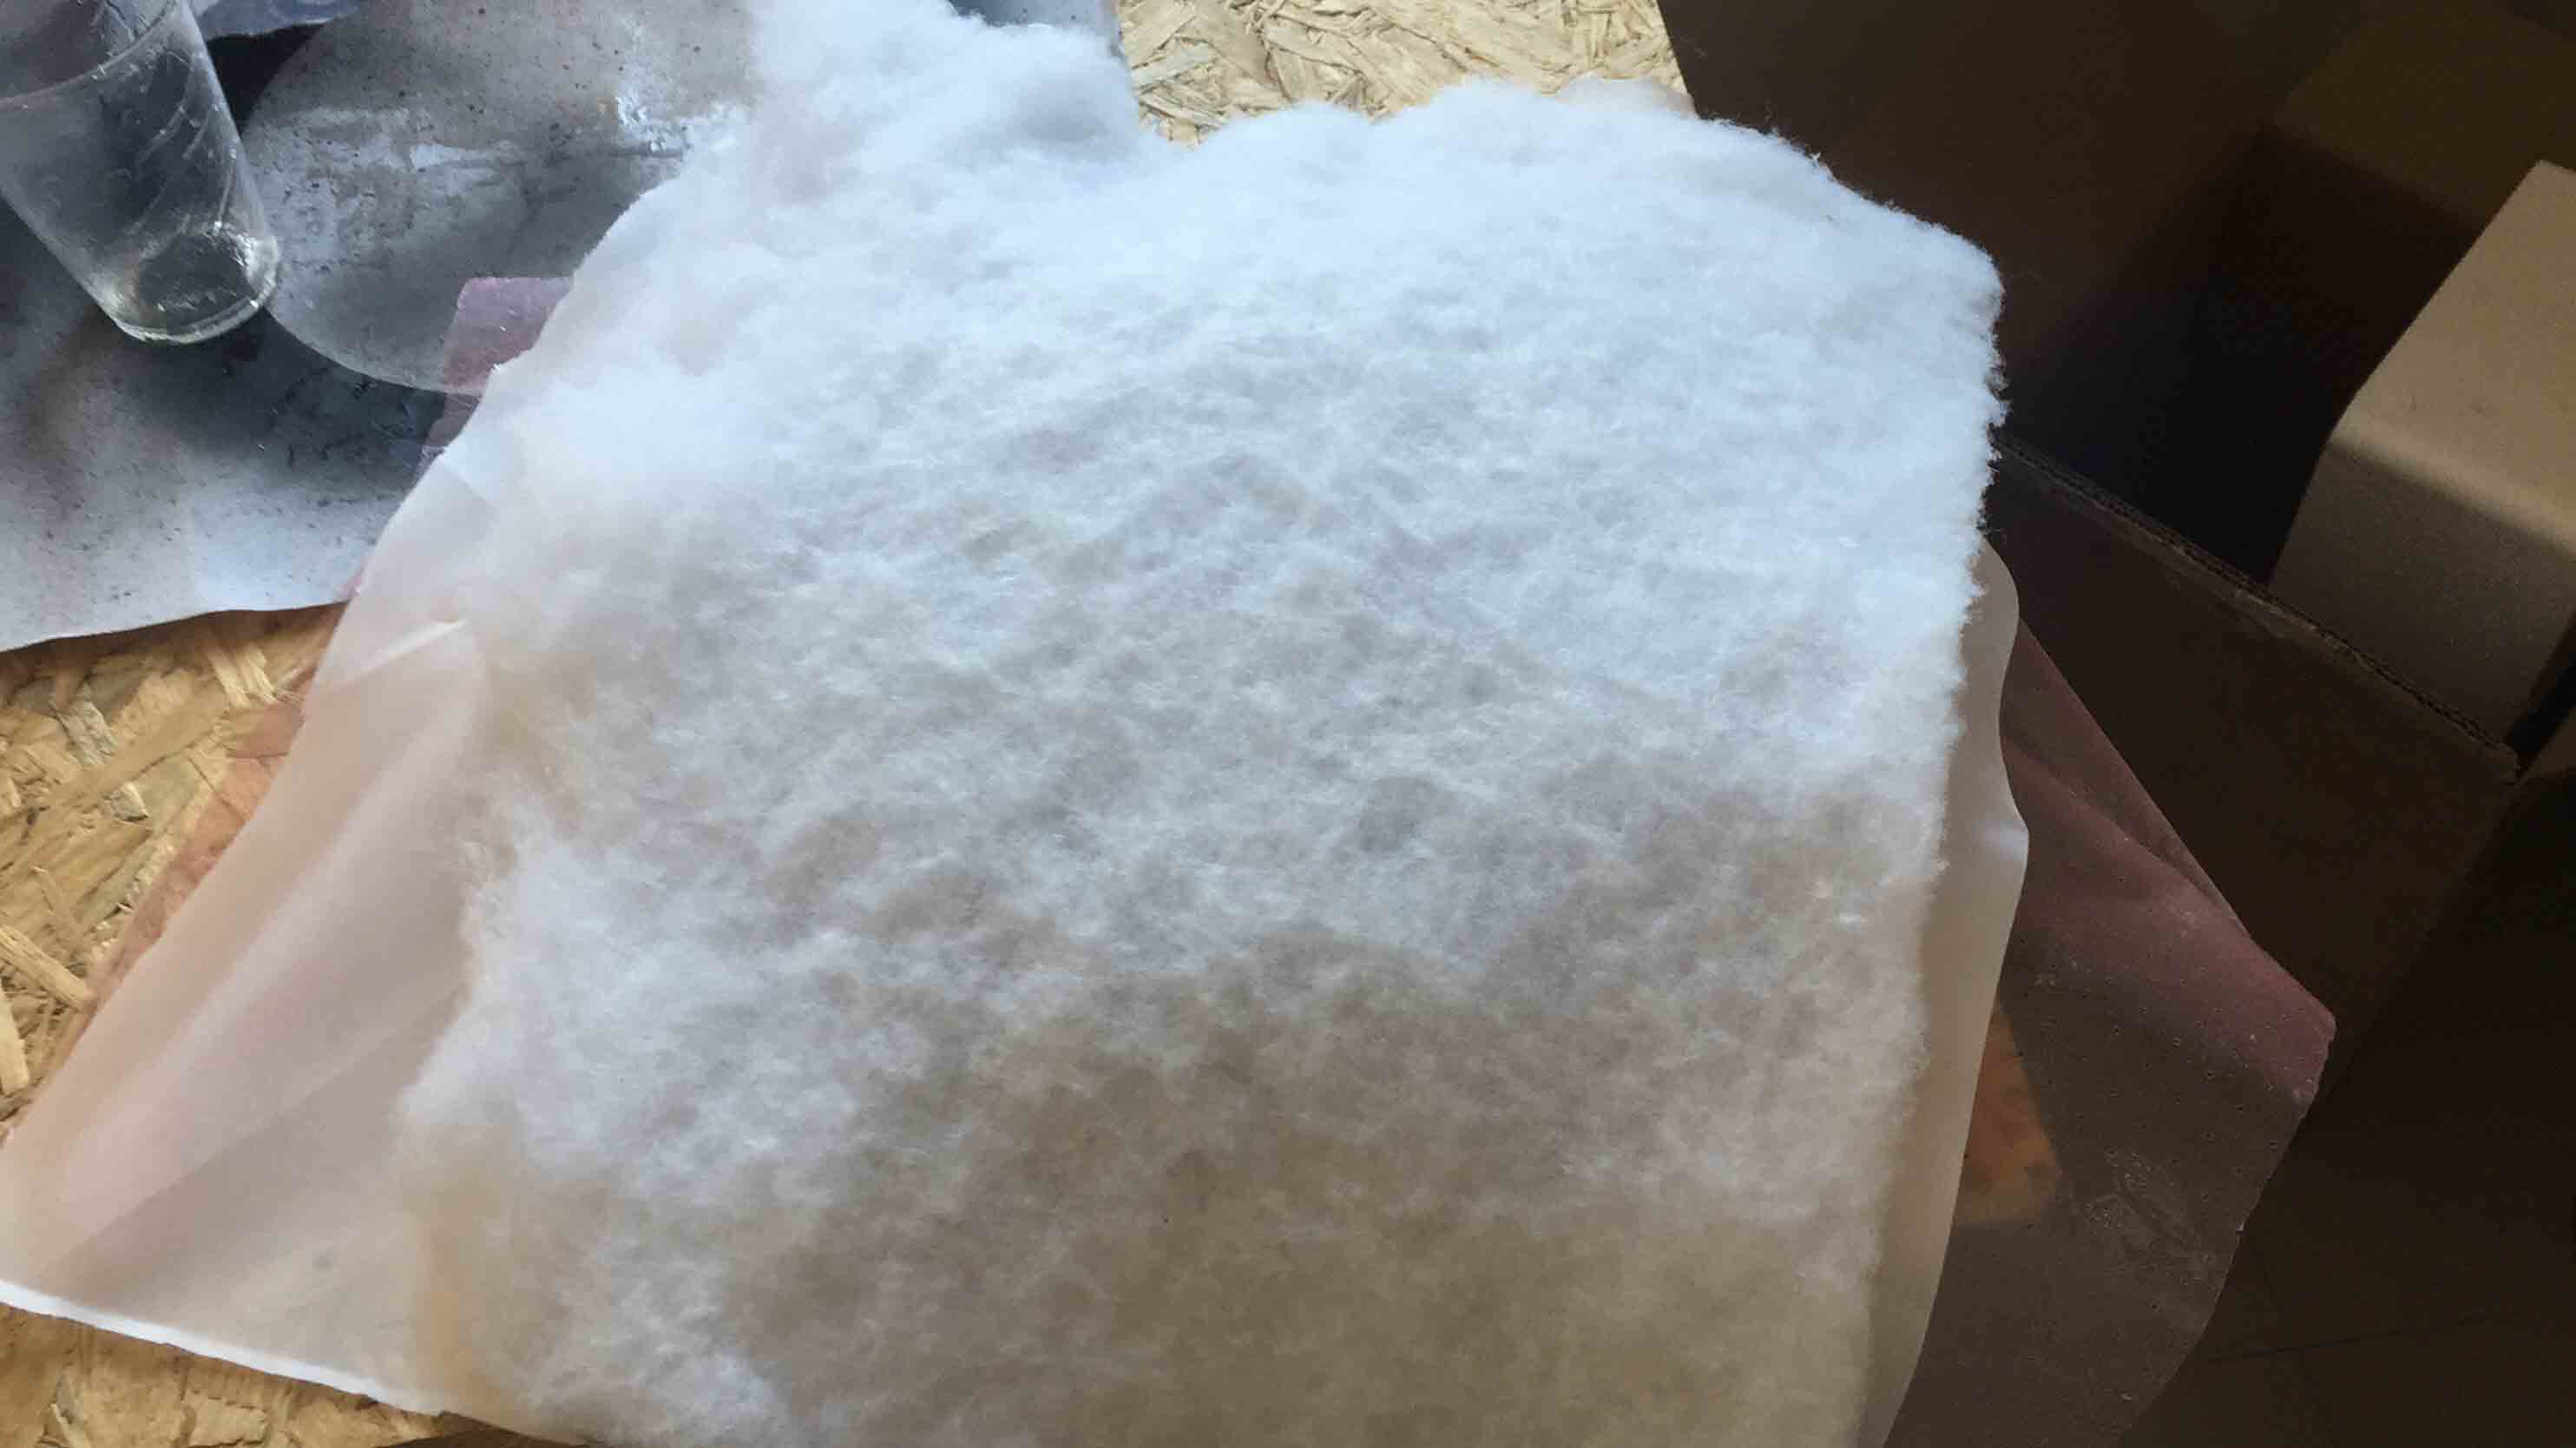
SIXTH LAYER - Vacuum bag
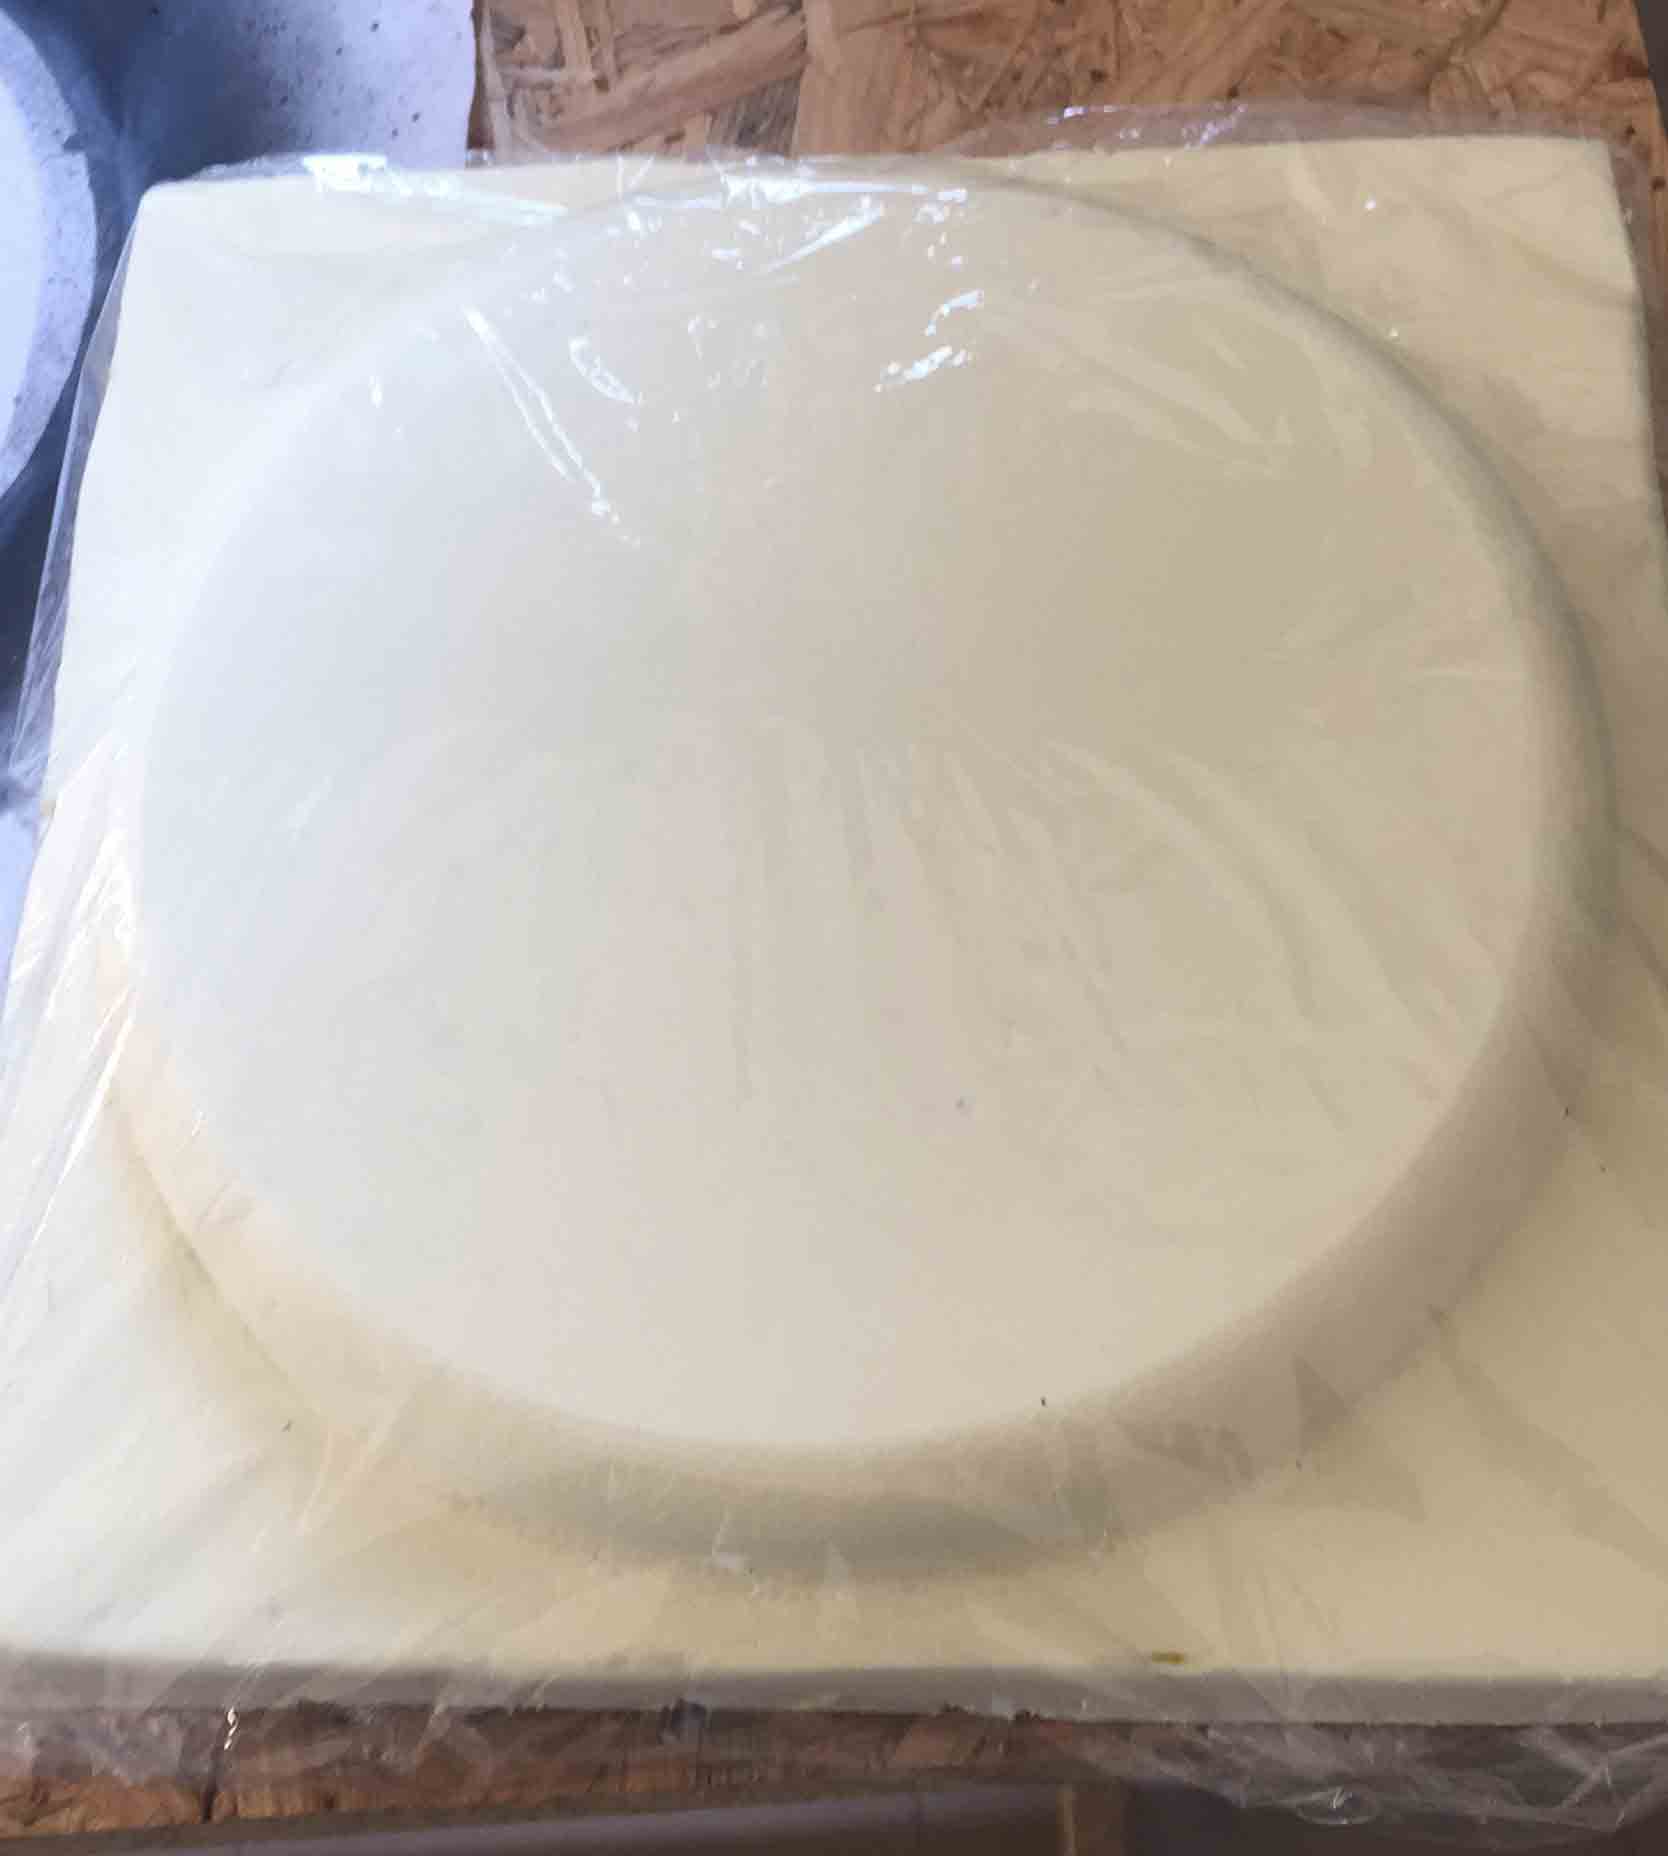
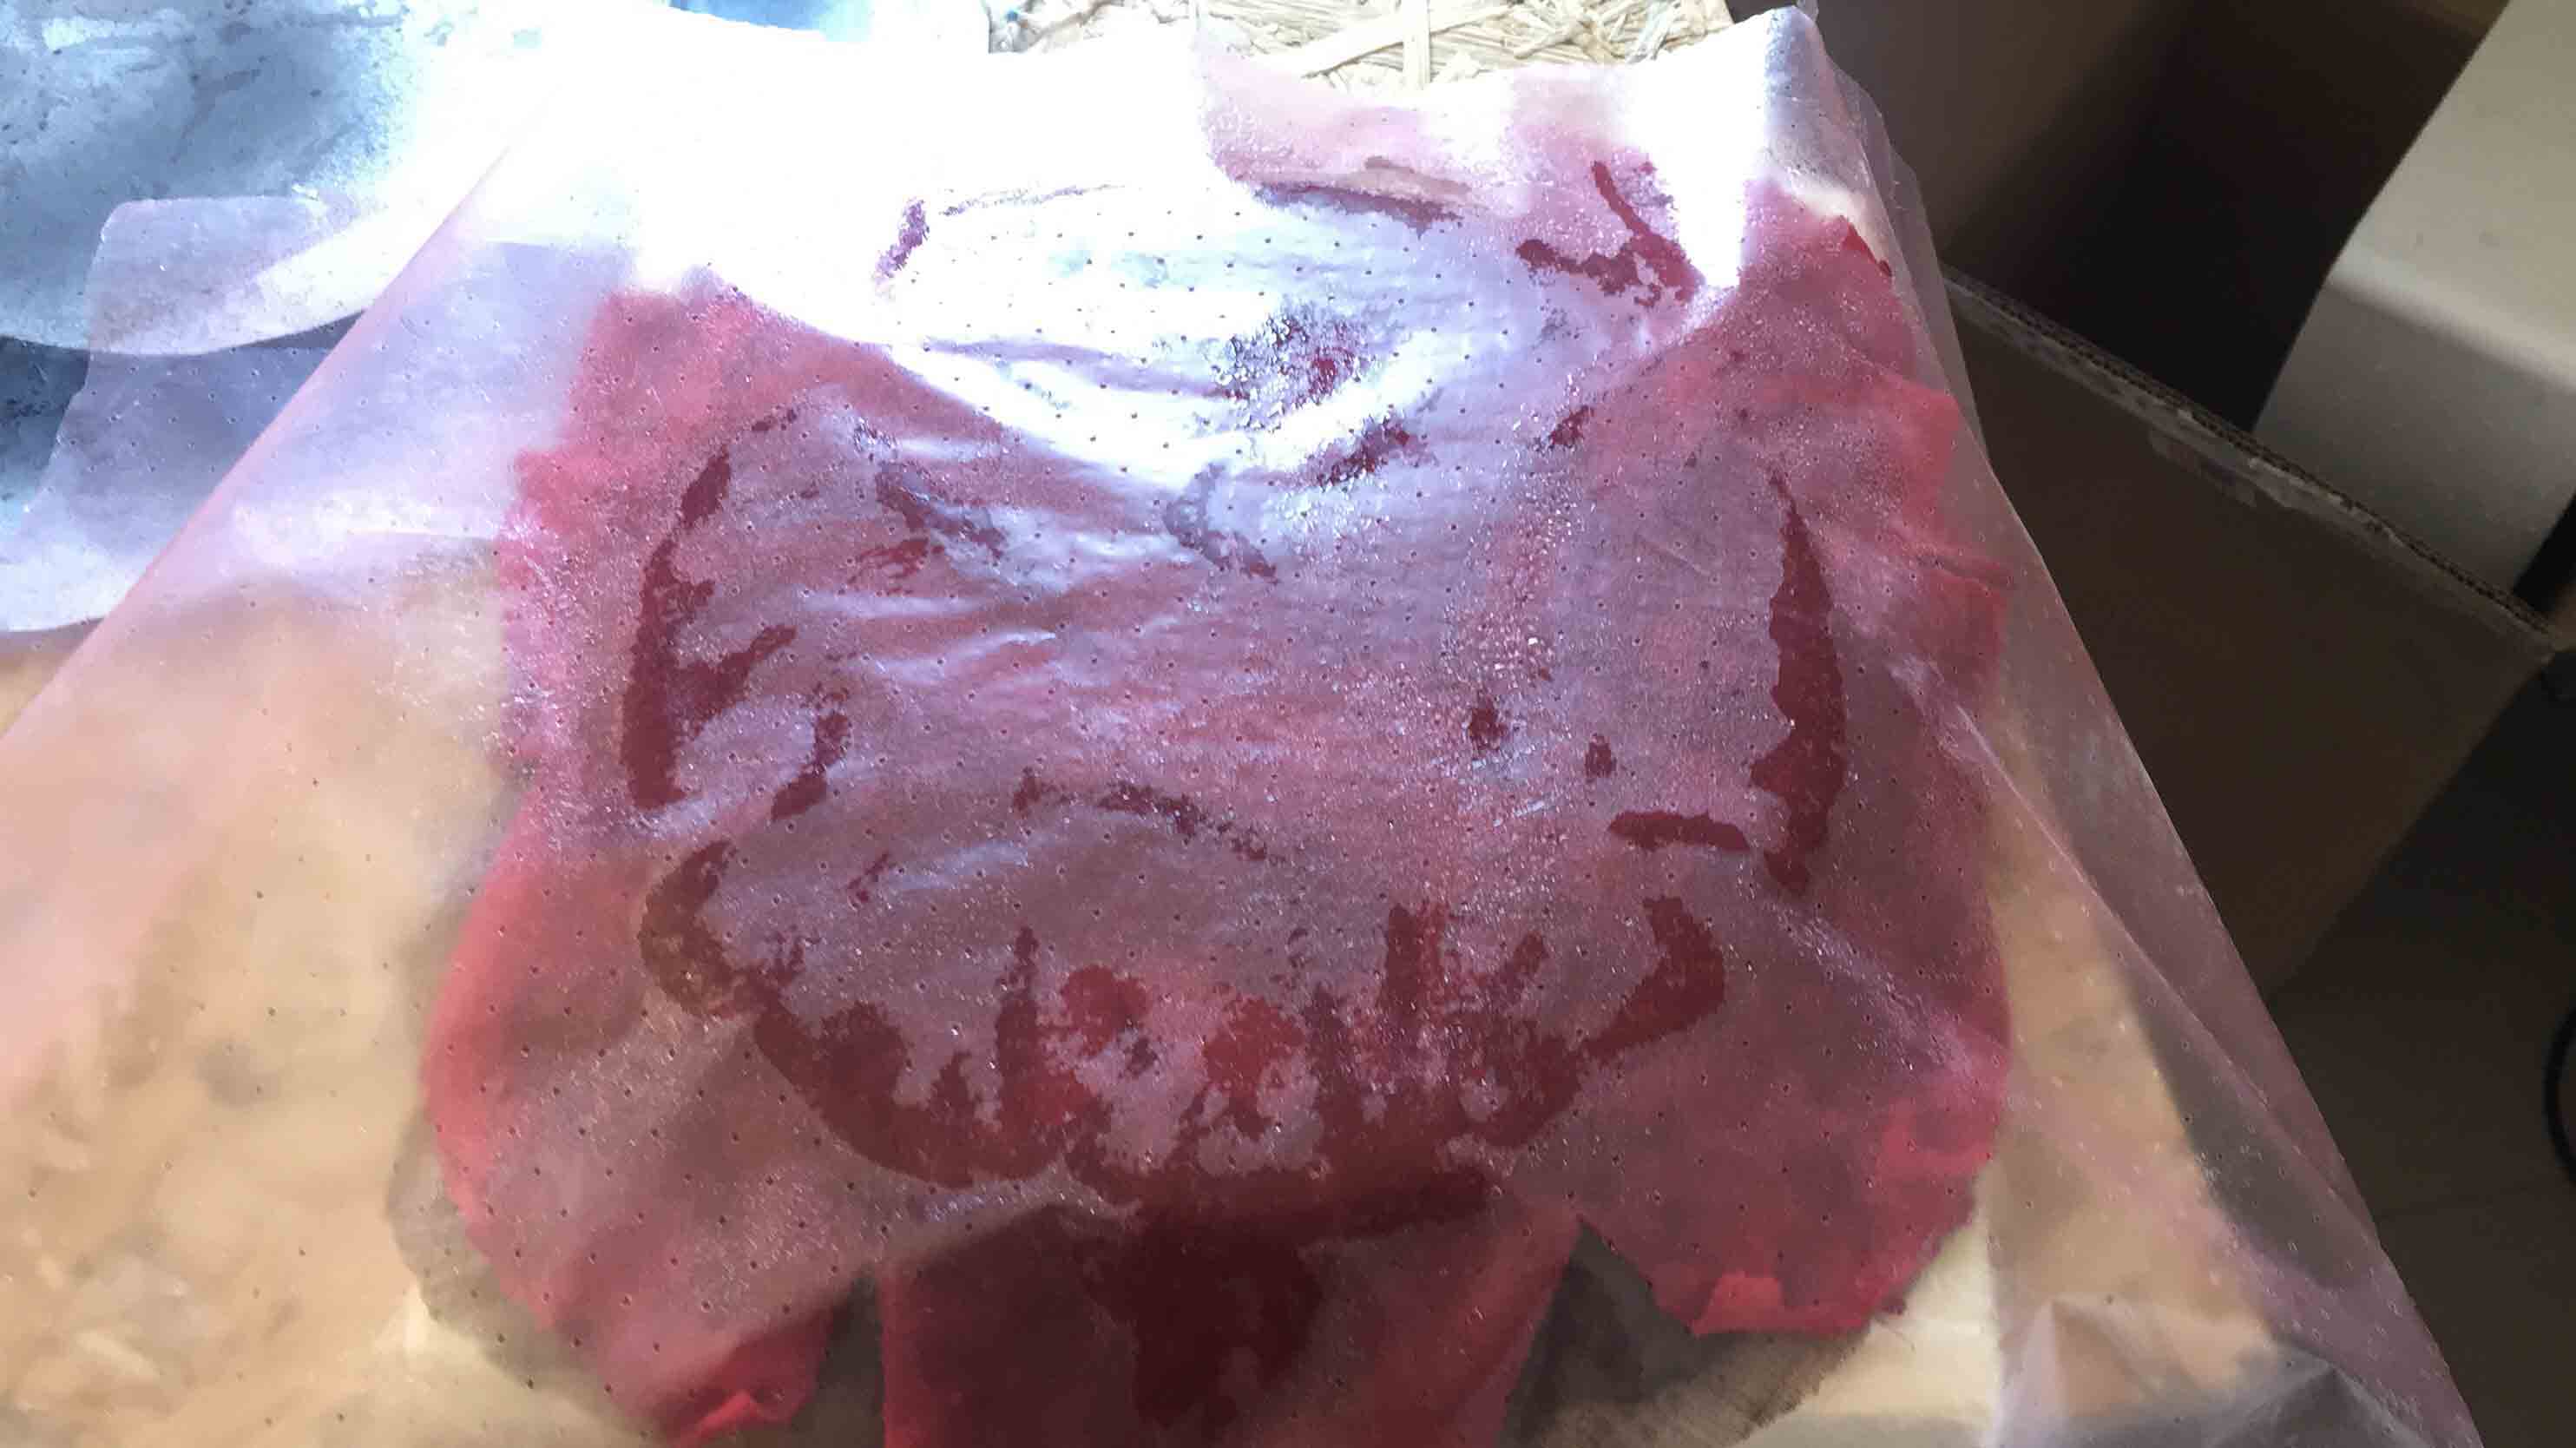
After a night in the vacuum bag, the day after was time to open it and this was the result
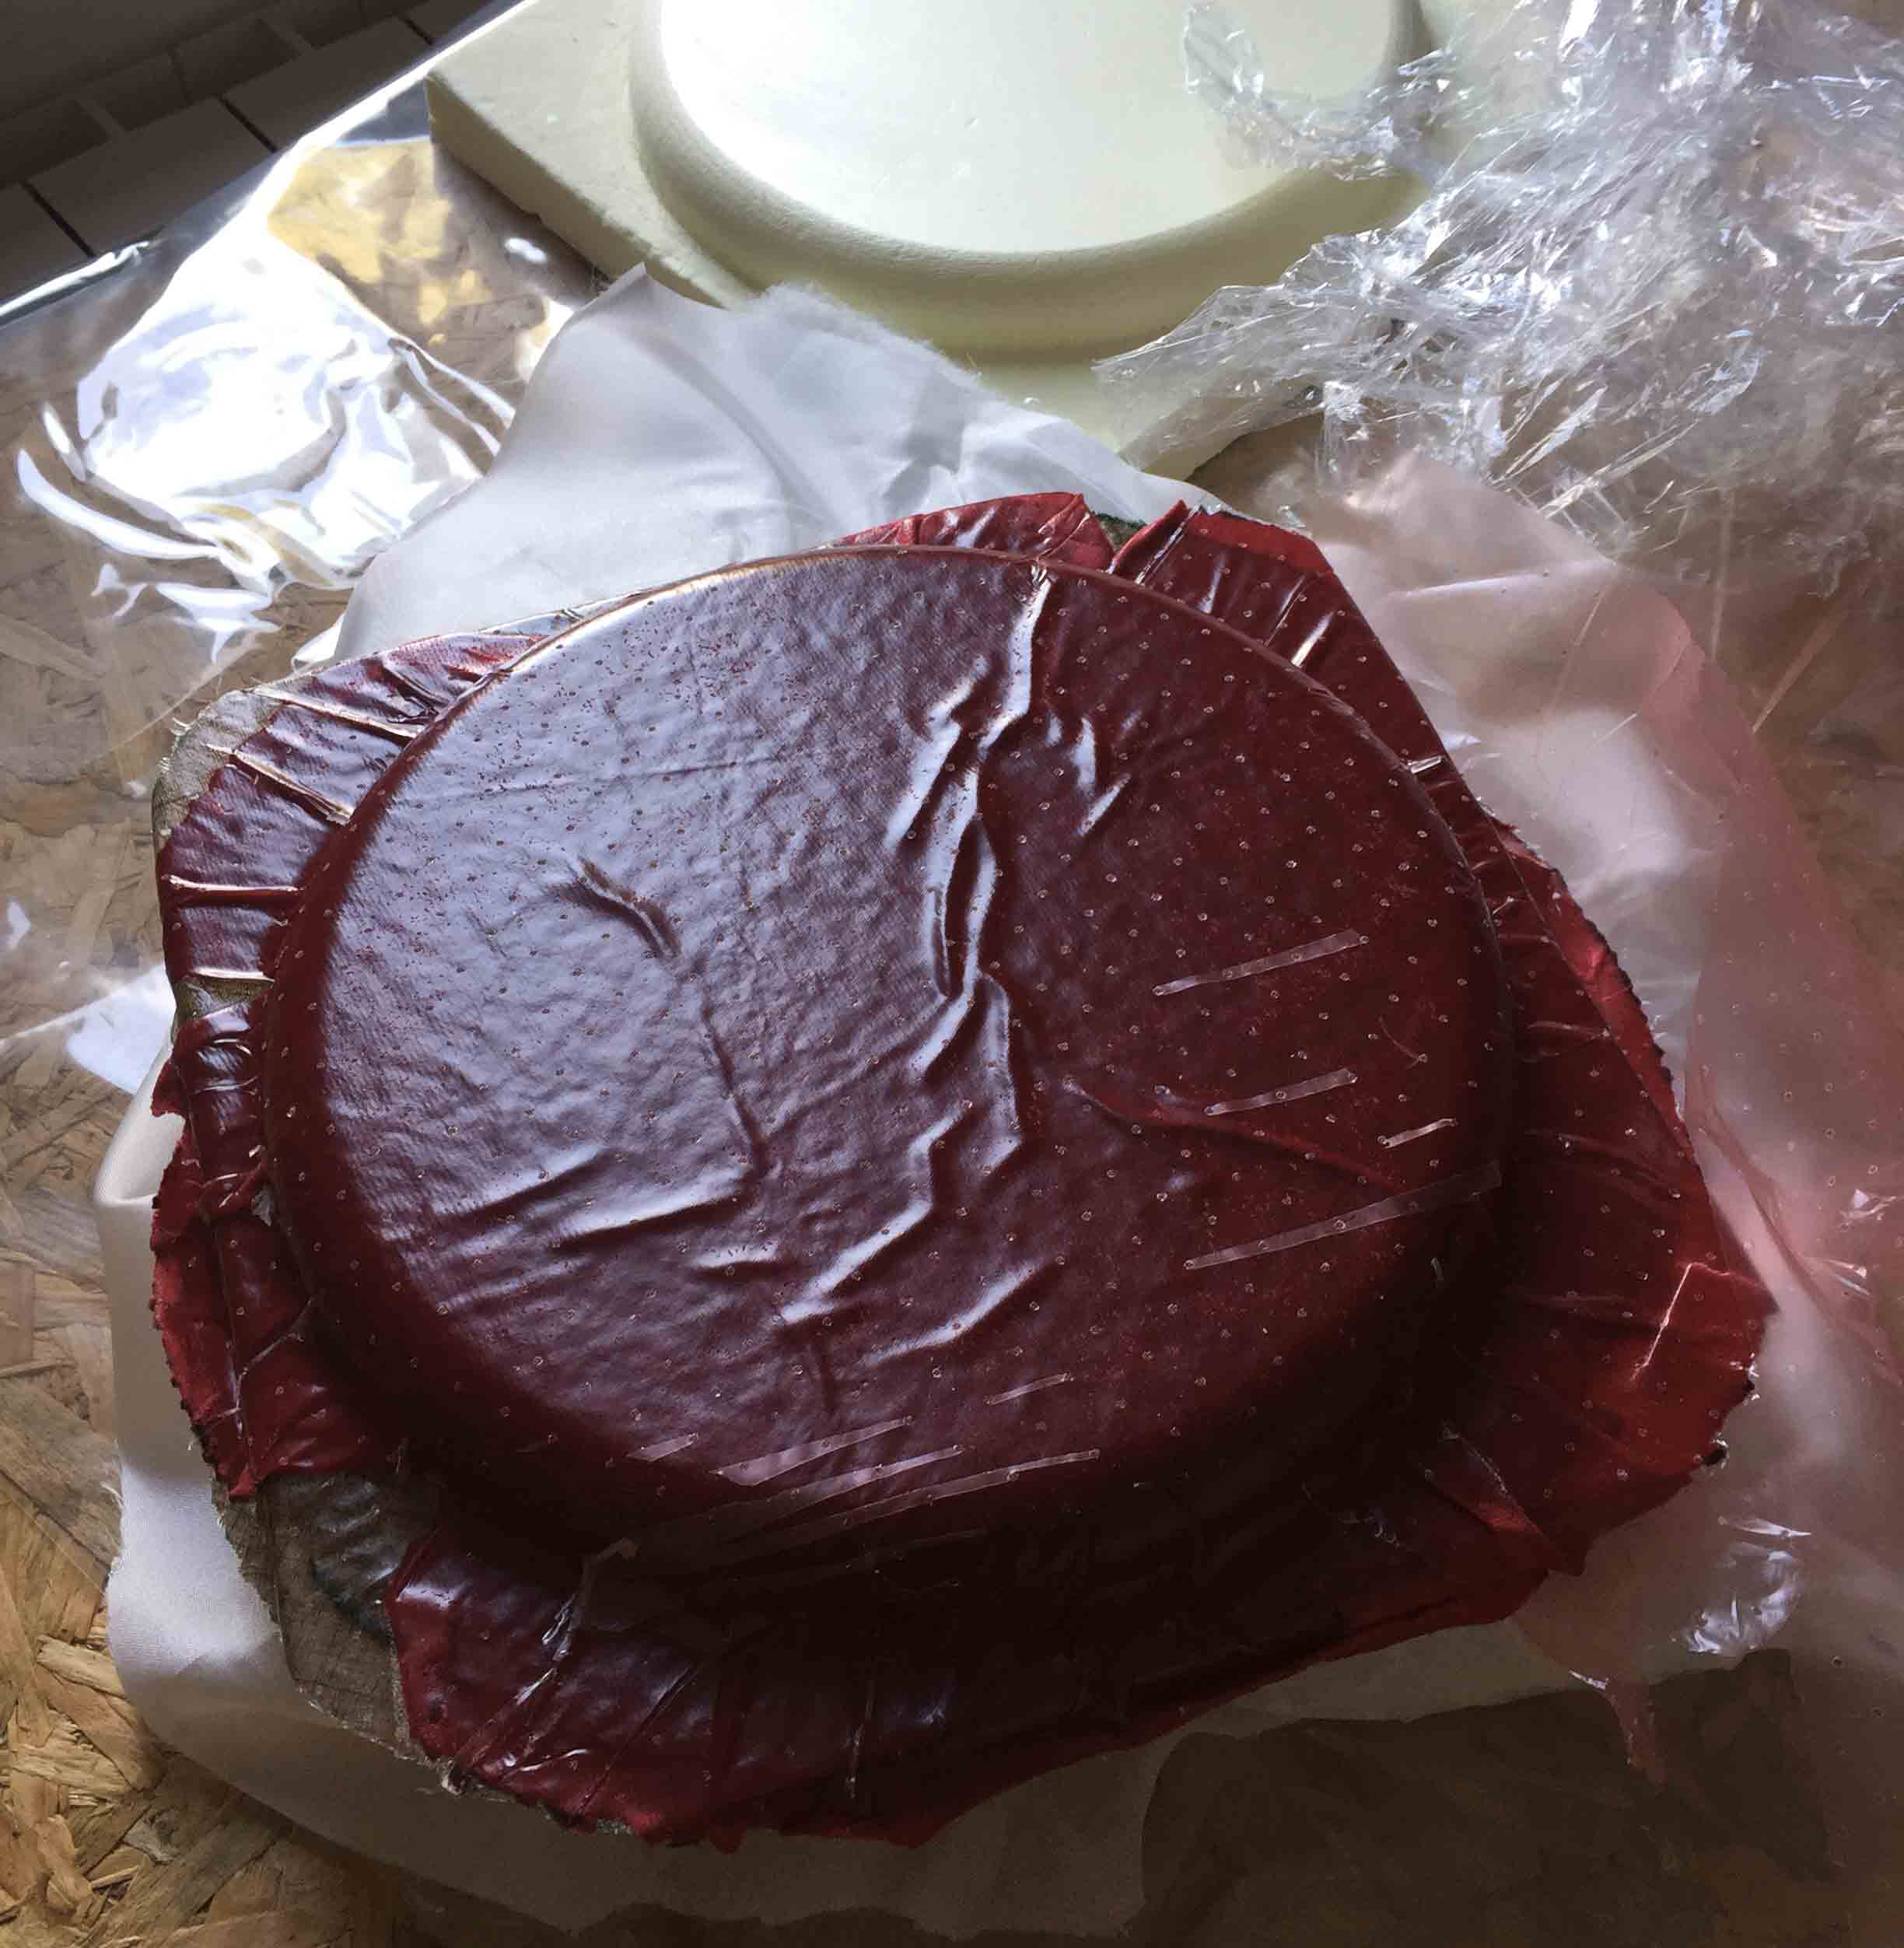
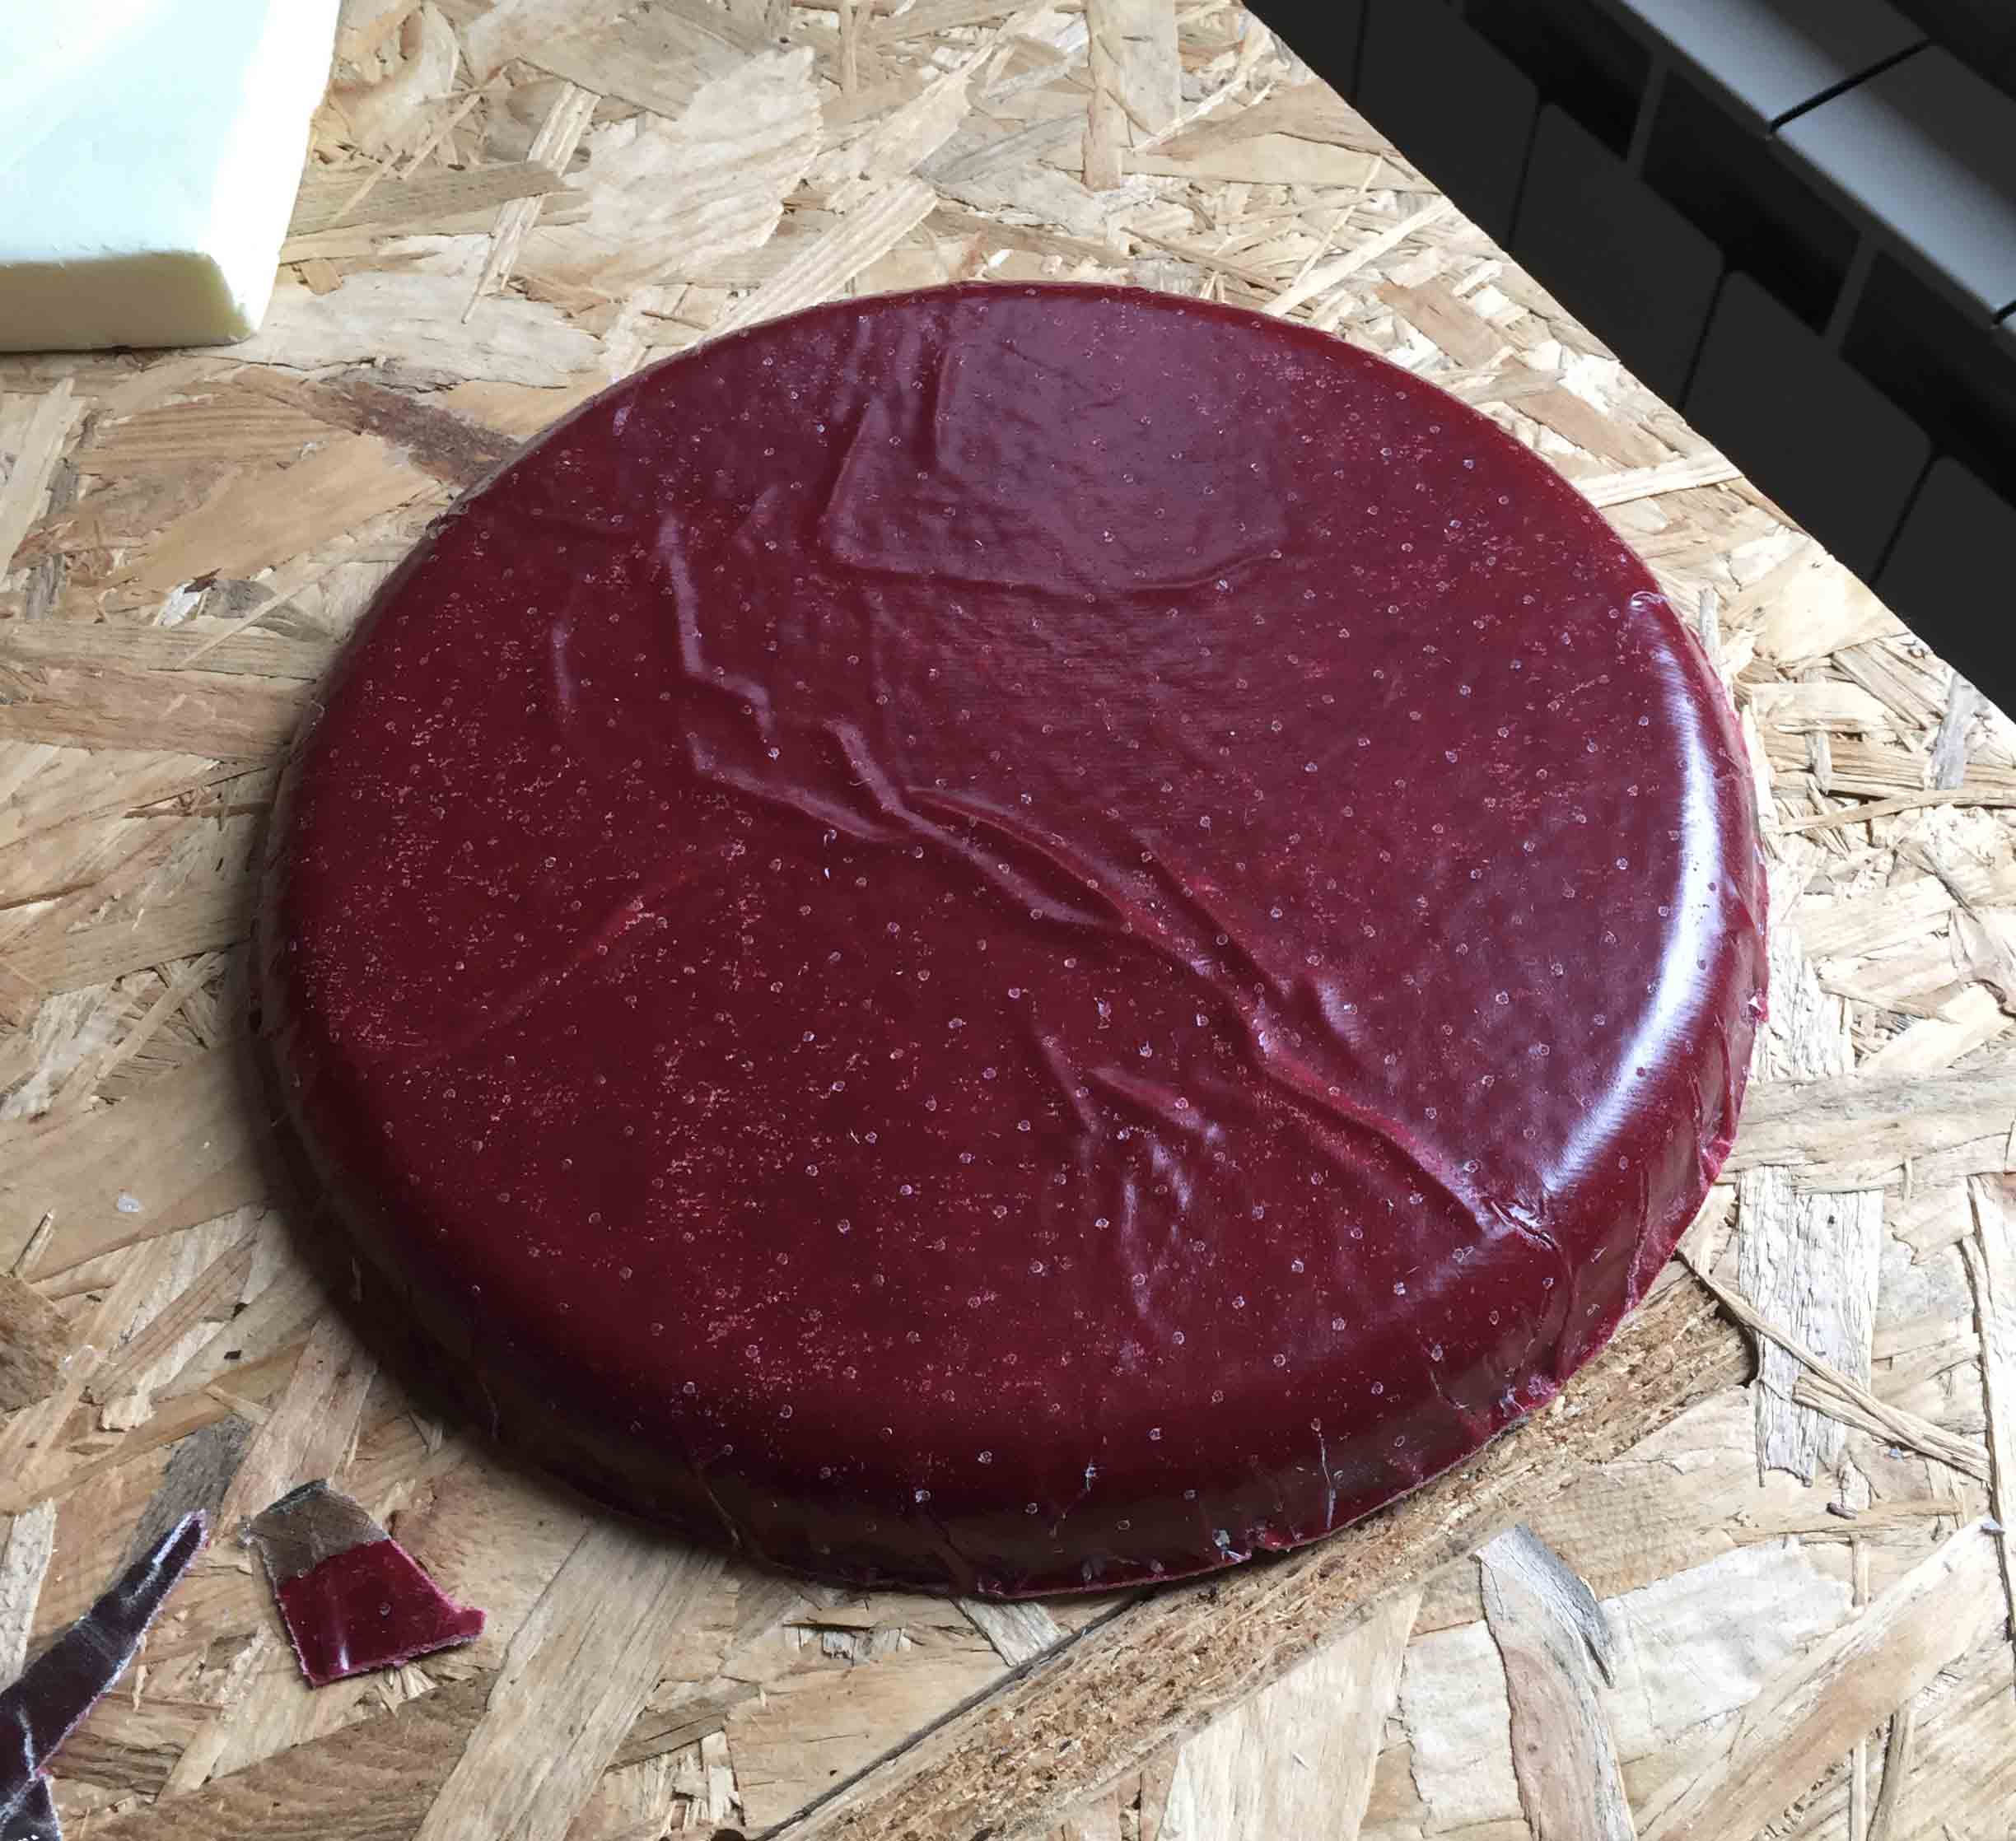
With pincers I have eliminated the excess and then I have beveled the outline with dremmer.
As you can see I have some wrinkles on the top. That's because I didn't pay attention when I put my mold in the vacuum bag.
Another mistake was the position of the third and fourth layer. I have put perforated material at first and then release material. If you look on the schema, they had inverse position, but I remove it easily anyway.
STICKER
As good luck I have decided to create a sticker to put on my frisbee. I have cut it with our vinyl cutter.
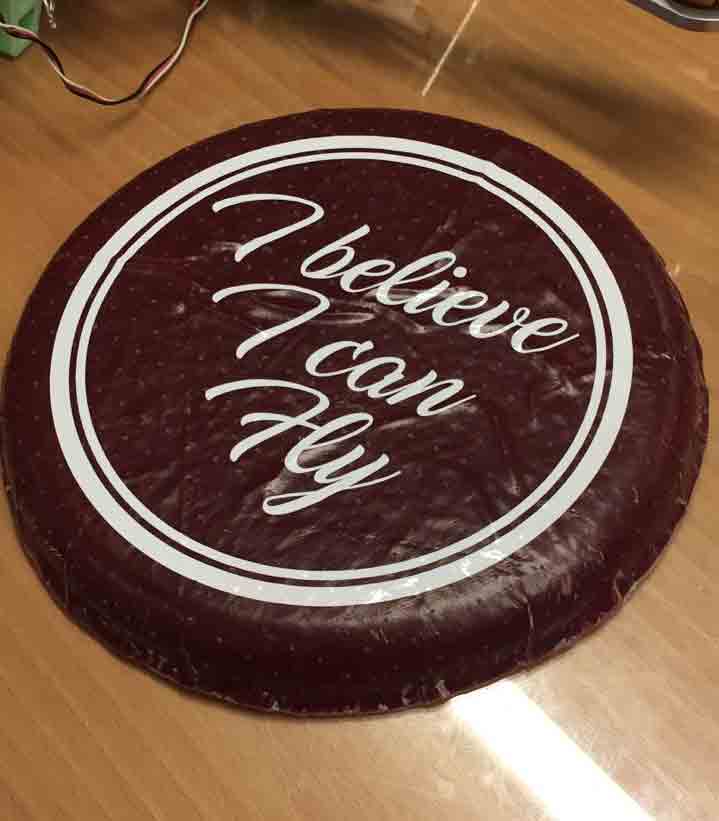
This is my frisbee! Hope you like! :)
It's time to play!! We have tested it and it fly perfectly!
FRISBEE #2
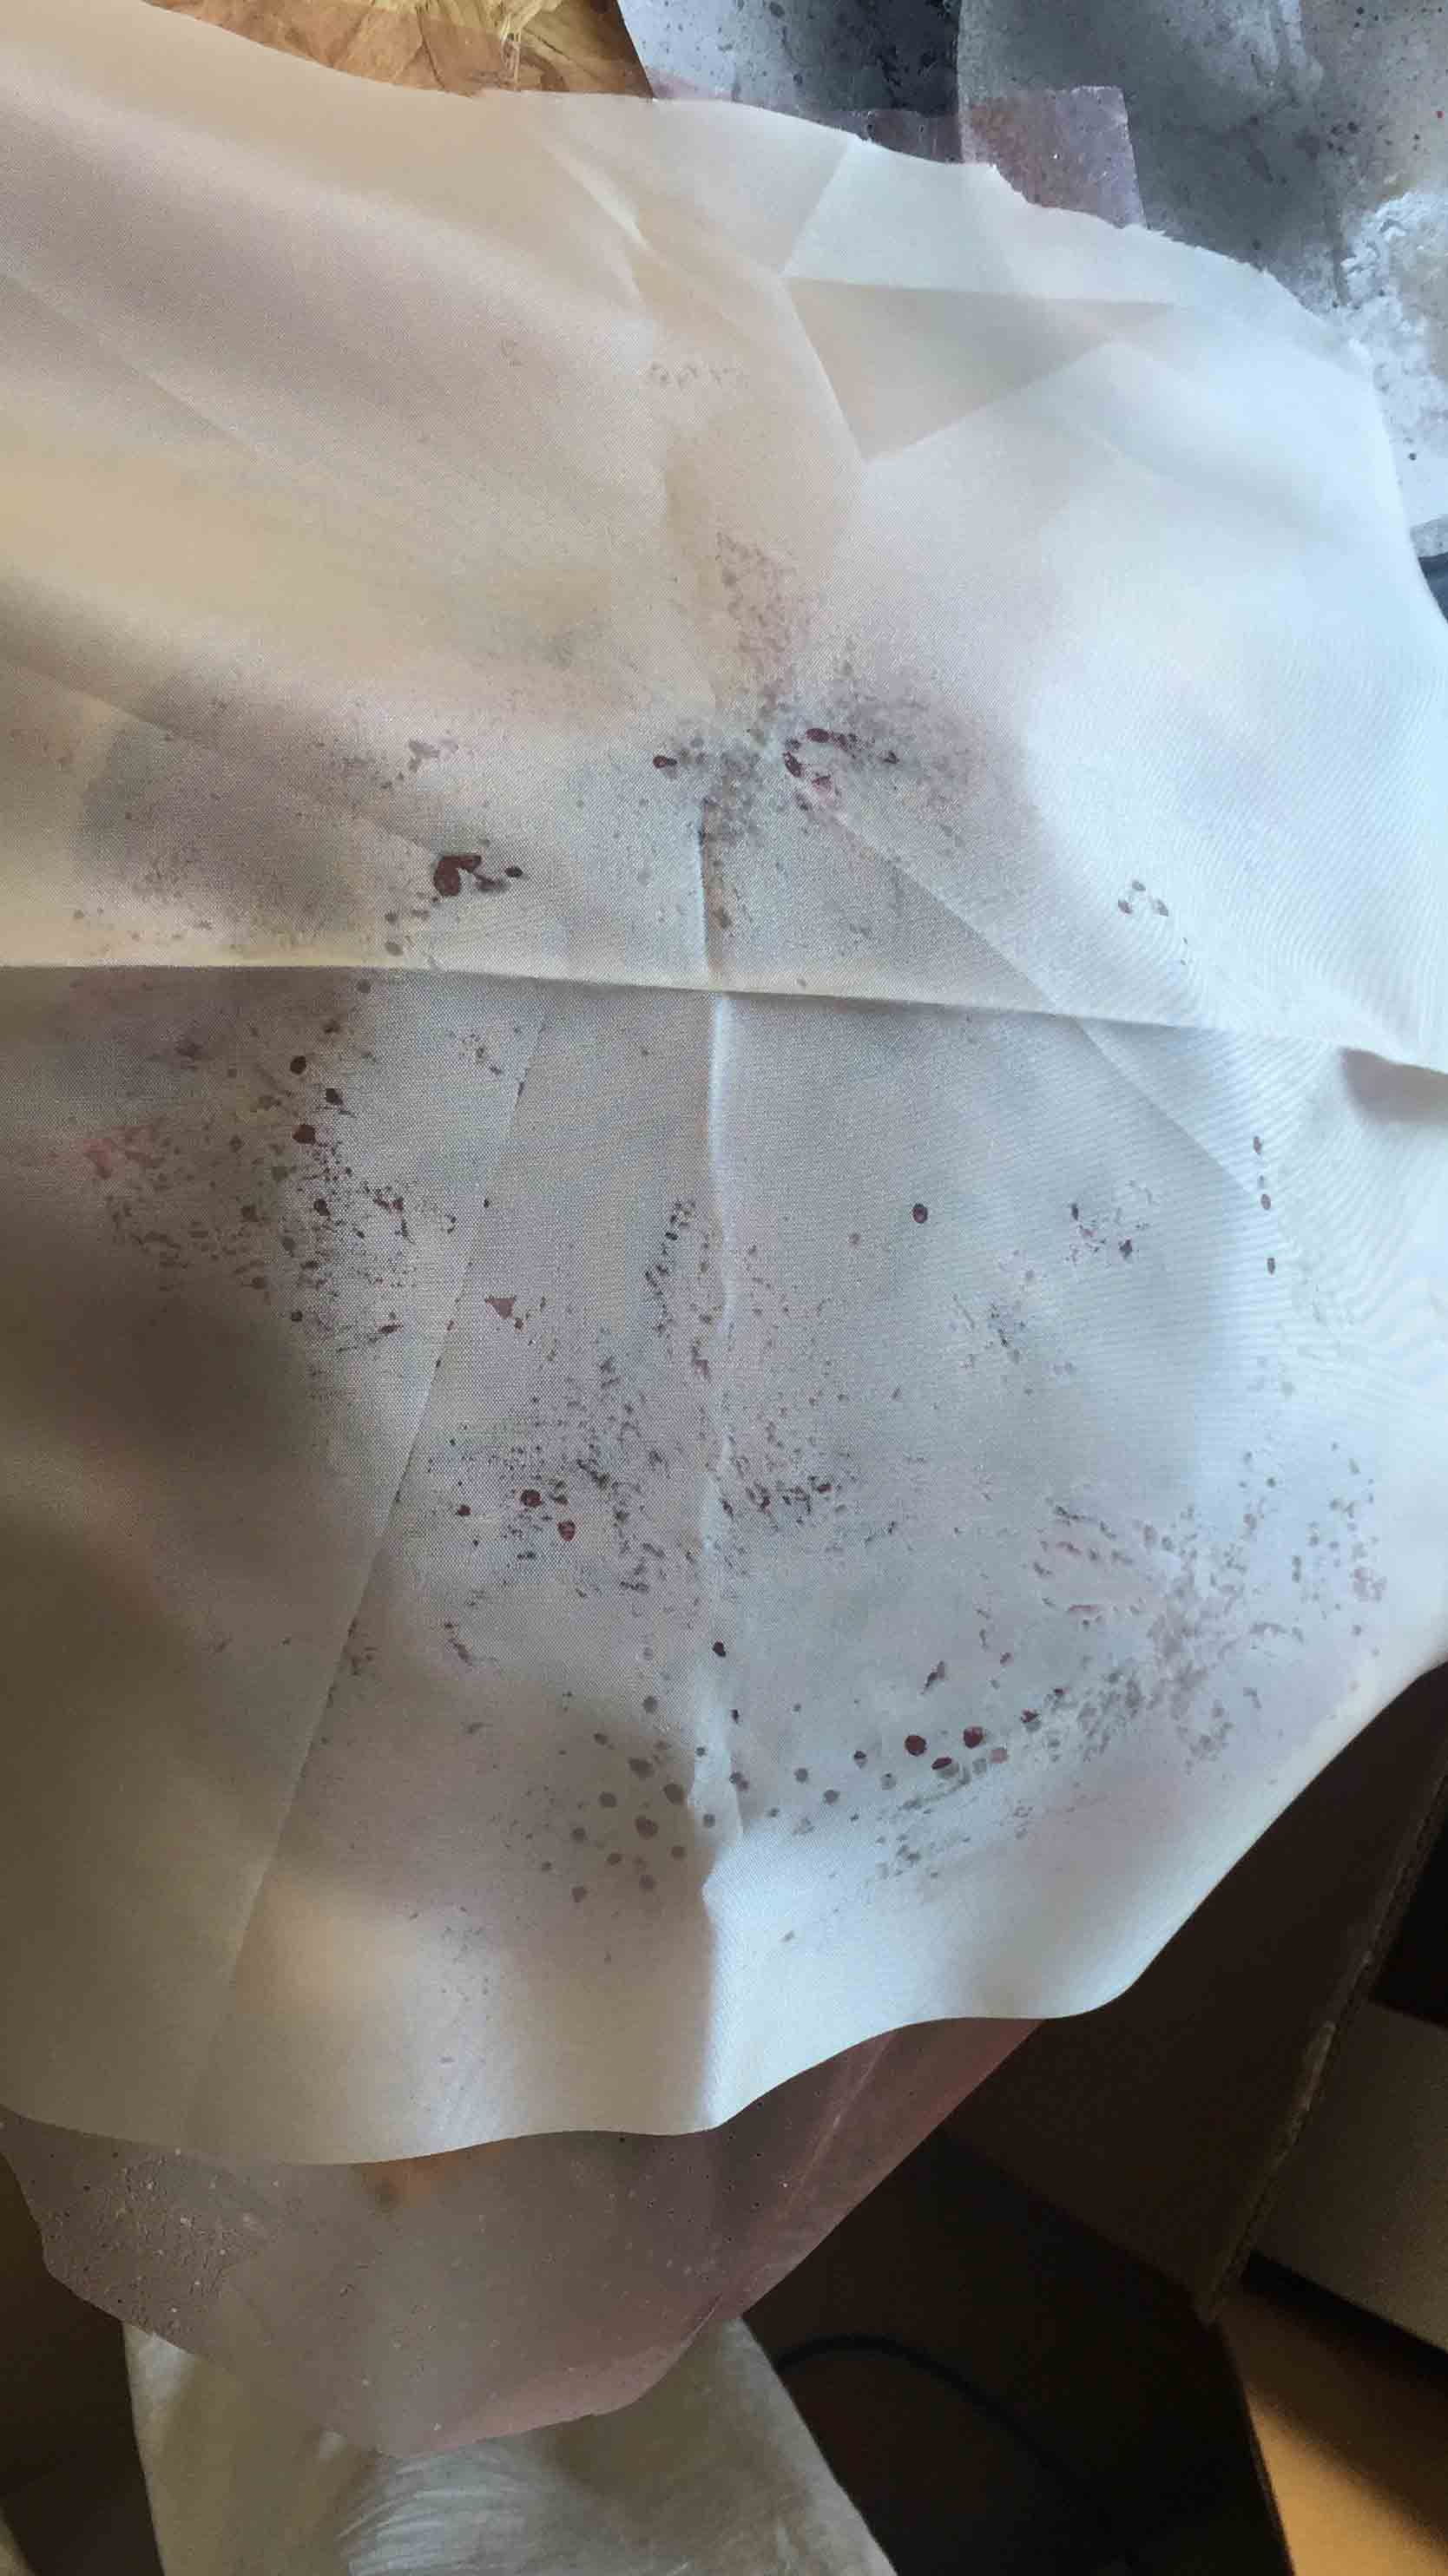
As I have told before, I have done a mistake, I have put perforated material at first and then release material, so I decide to do another frisbee with correct layers. This time I have tried not to use three circular pieces of material, but I tried to use some small pieces of it.
I have followed the same workflow that I have used before, using release material at first and then perforated material. After a night in the vacuum bag, this is the result:
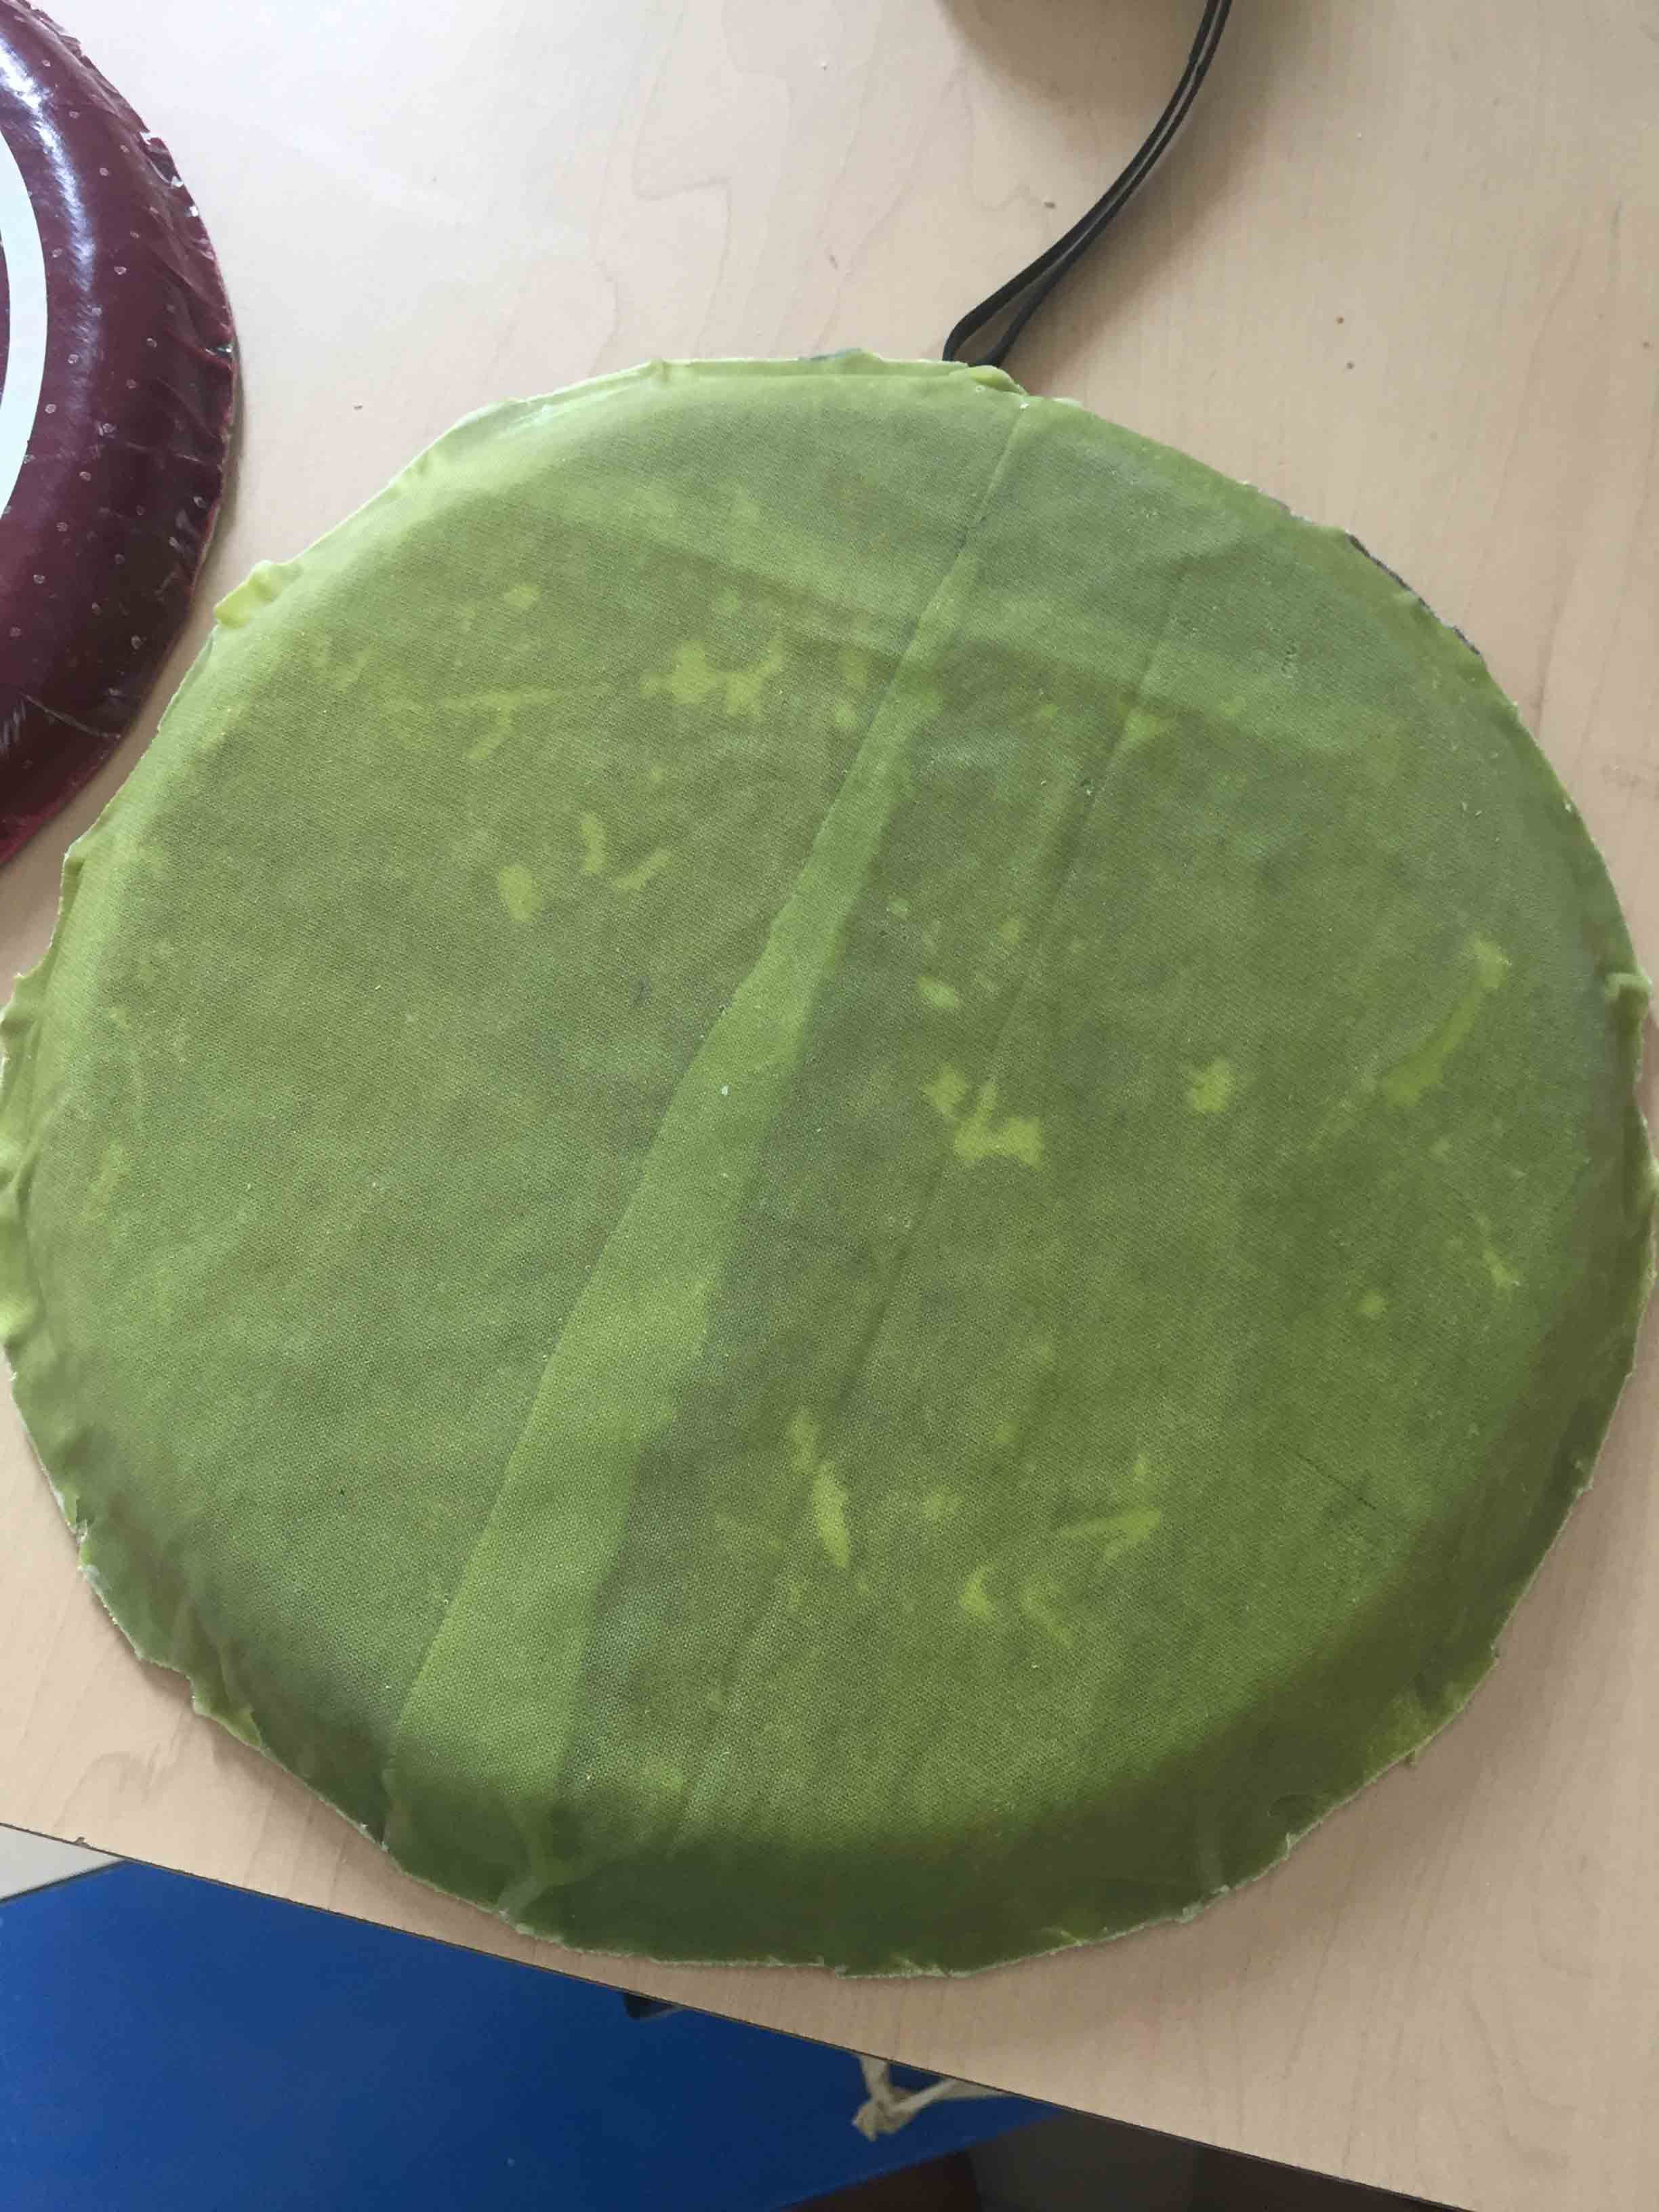
There are some differences between two frisbee.
- Using more pieces of material and not using three circular pieces, is stronger but each piece is to much visible. Is not uniform.
- Surface of the second frisbee is rougher than the first one and the vinyl sticker won't stick.
CONCLUSION
This week was really fun! It has been very satisfying see my frisbee fly so well. This was one of my favorite week for sure.
DOWNLOAD
You can find all files here

This work is licensed under aCreative Commons Attribution - ShareAlike 4.0 International License.