Introduction
This week assignment was:- Measure something: add a sensor to a microcontroller board that you have designed and read it.
DESIGN AND MILLING
For this week assignment I have decided to test pressure sensor, particularly the Velostat because I will use it for my final project. I have used Neil's board for touchpad sensor.
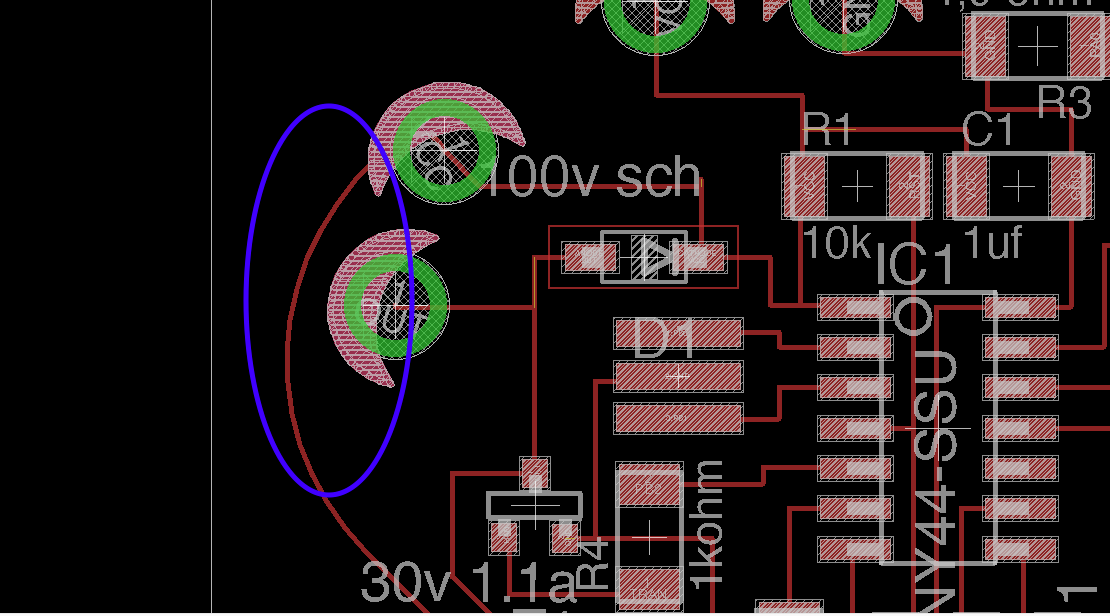
I have decided to modify this board using holes from Lilypad library to connect Velostat. So, first of all I have downloaded the library and I have uploaded it on Eagle.
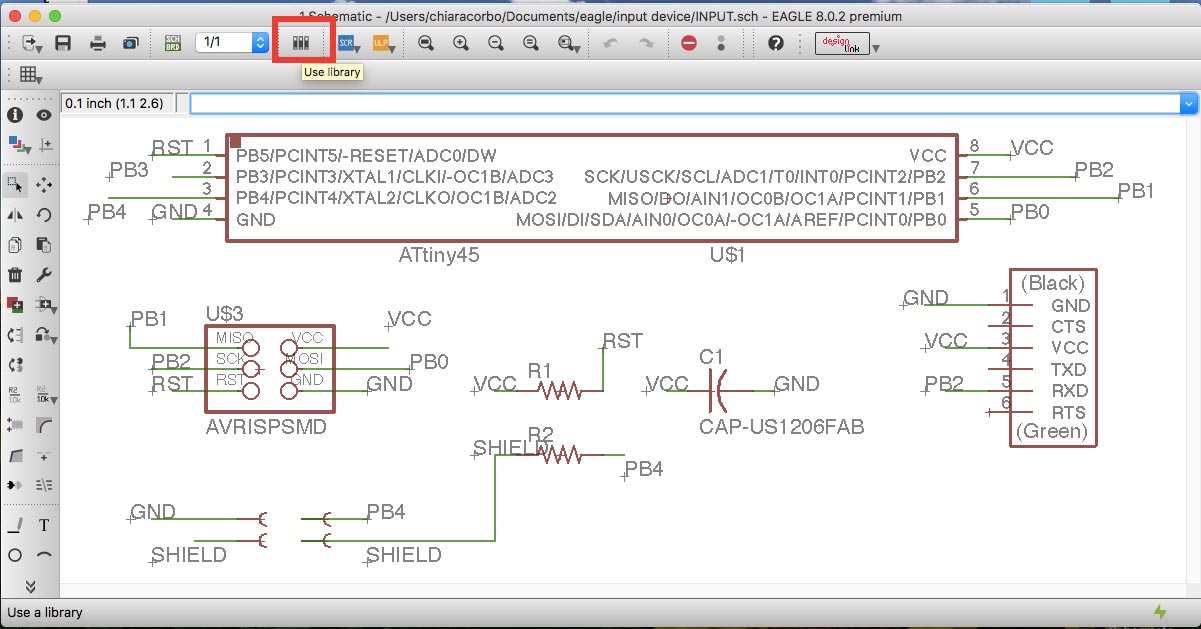
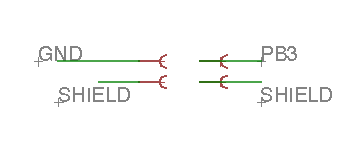
I have replaced the Isp 2x2 connector with four holes. I looking for it on the library and then I have added it in the schematic files.
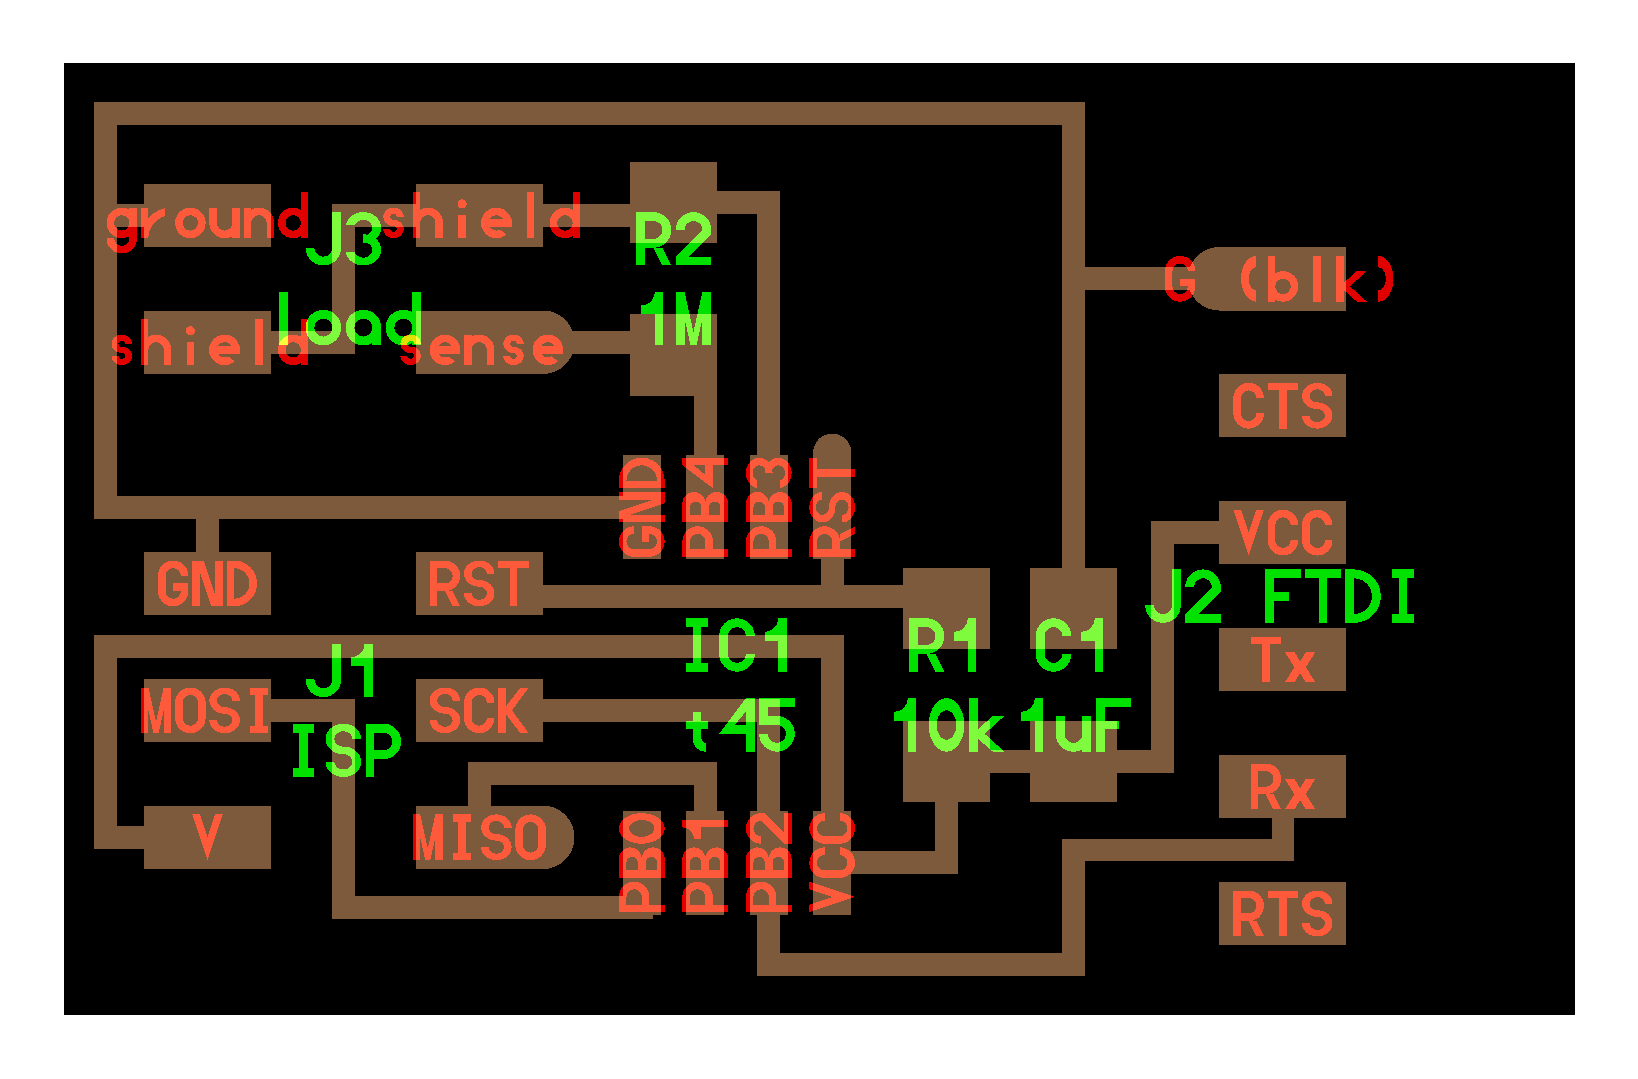
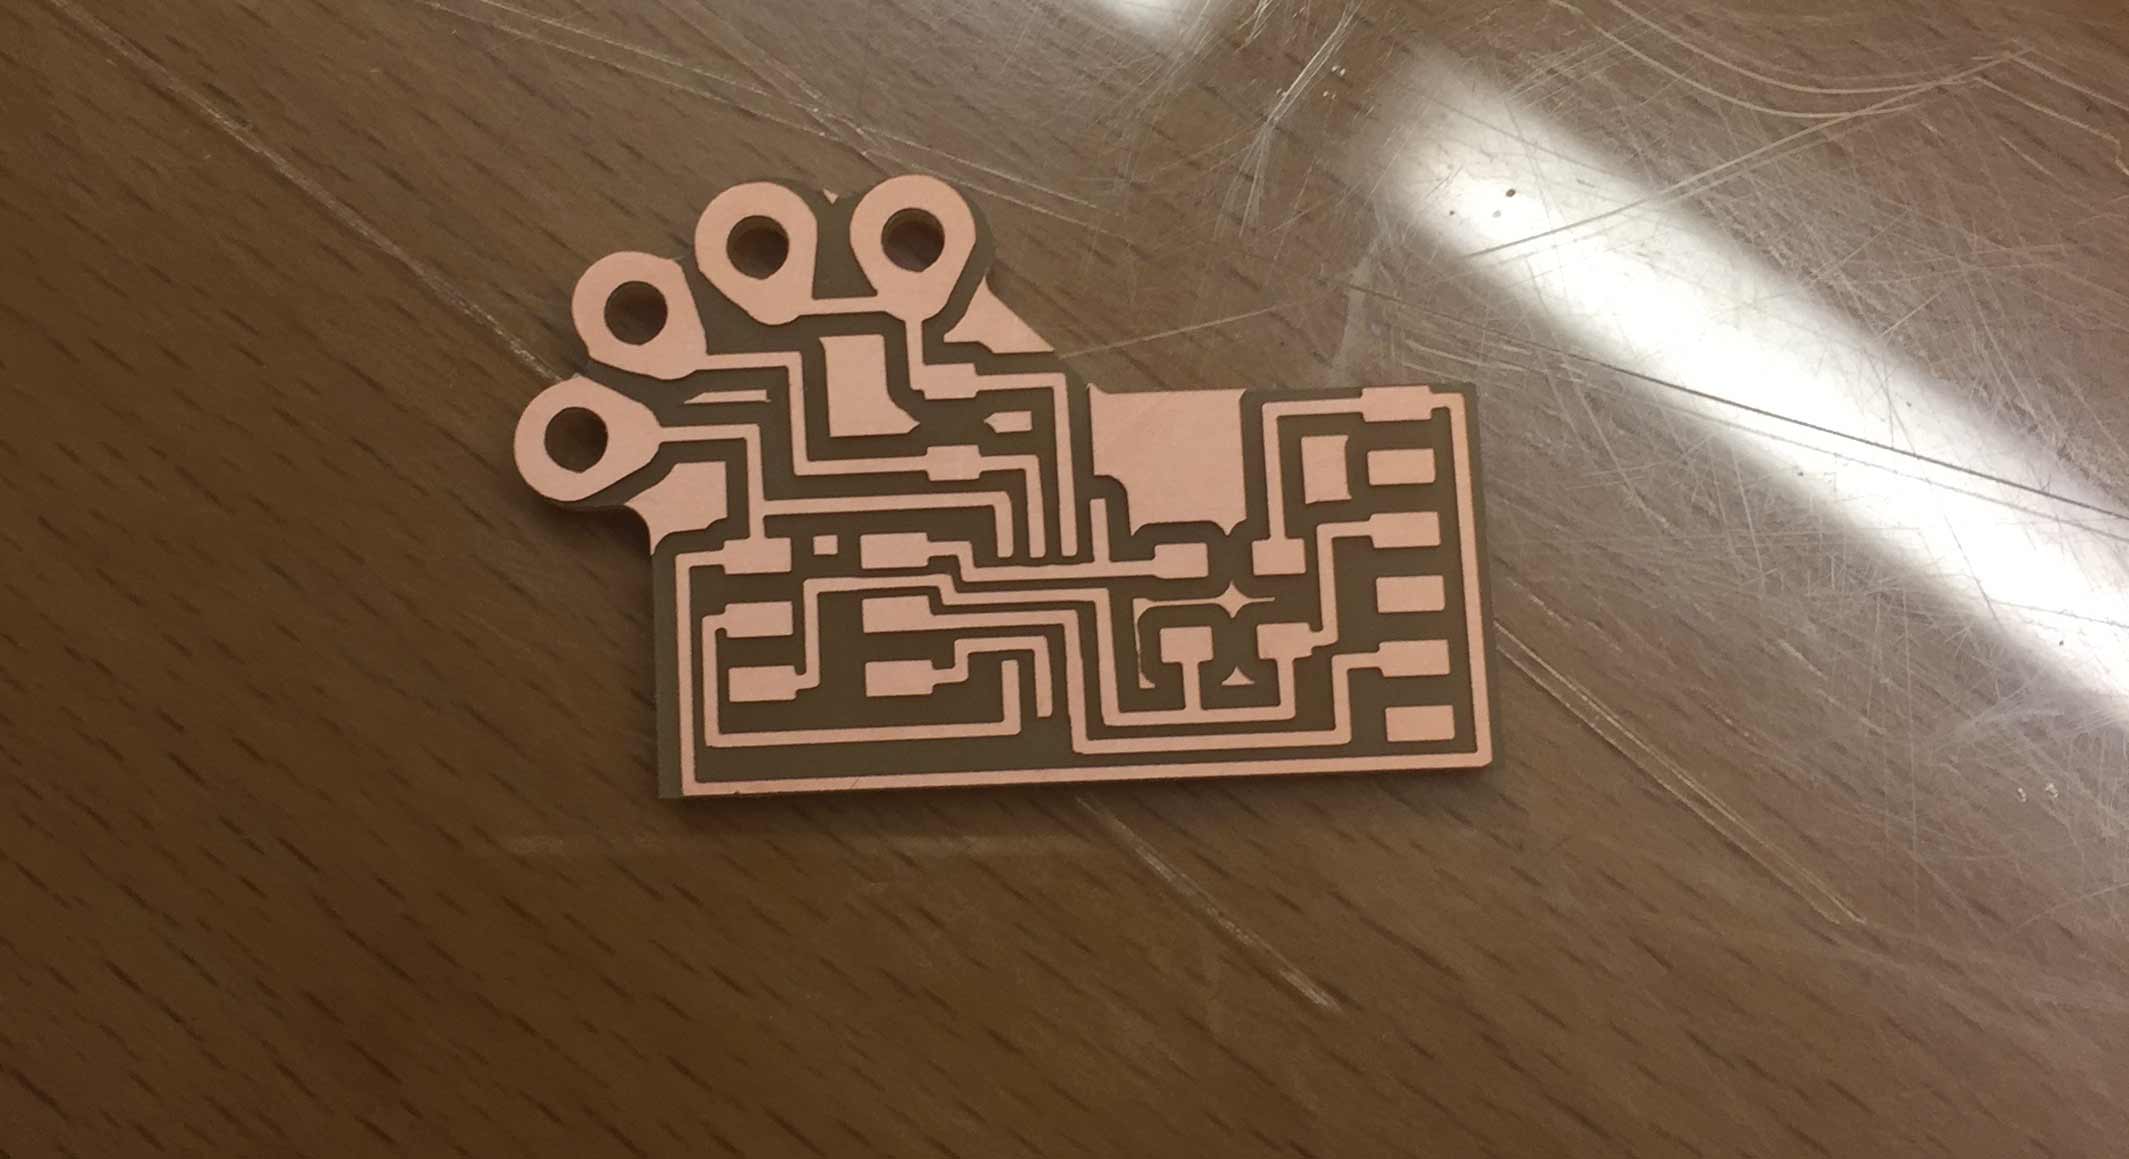
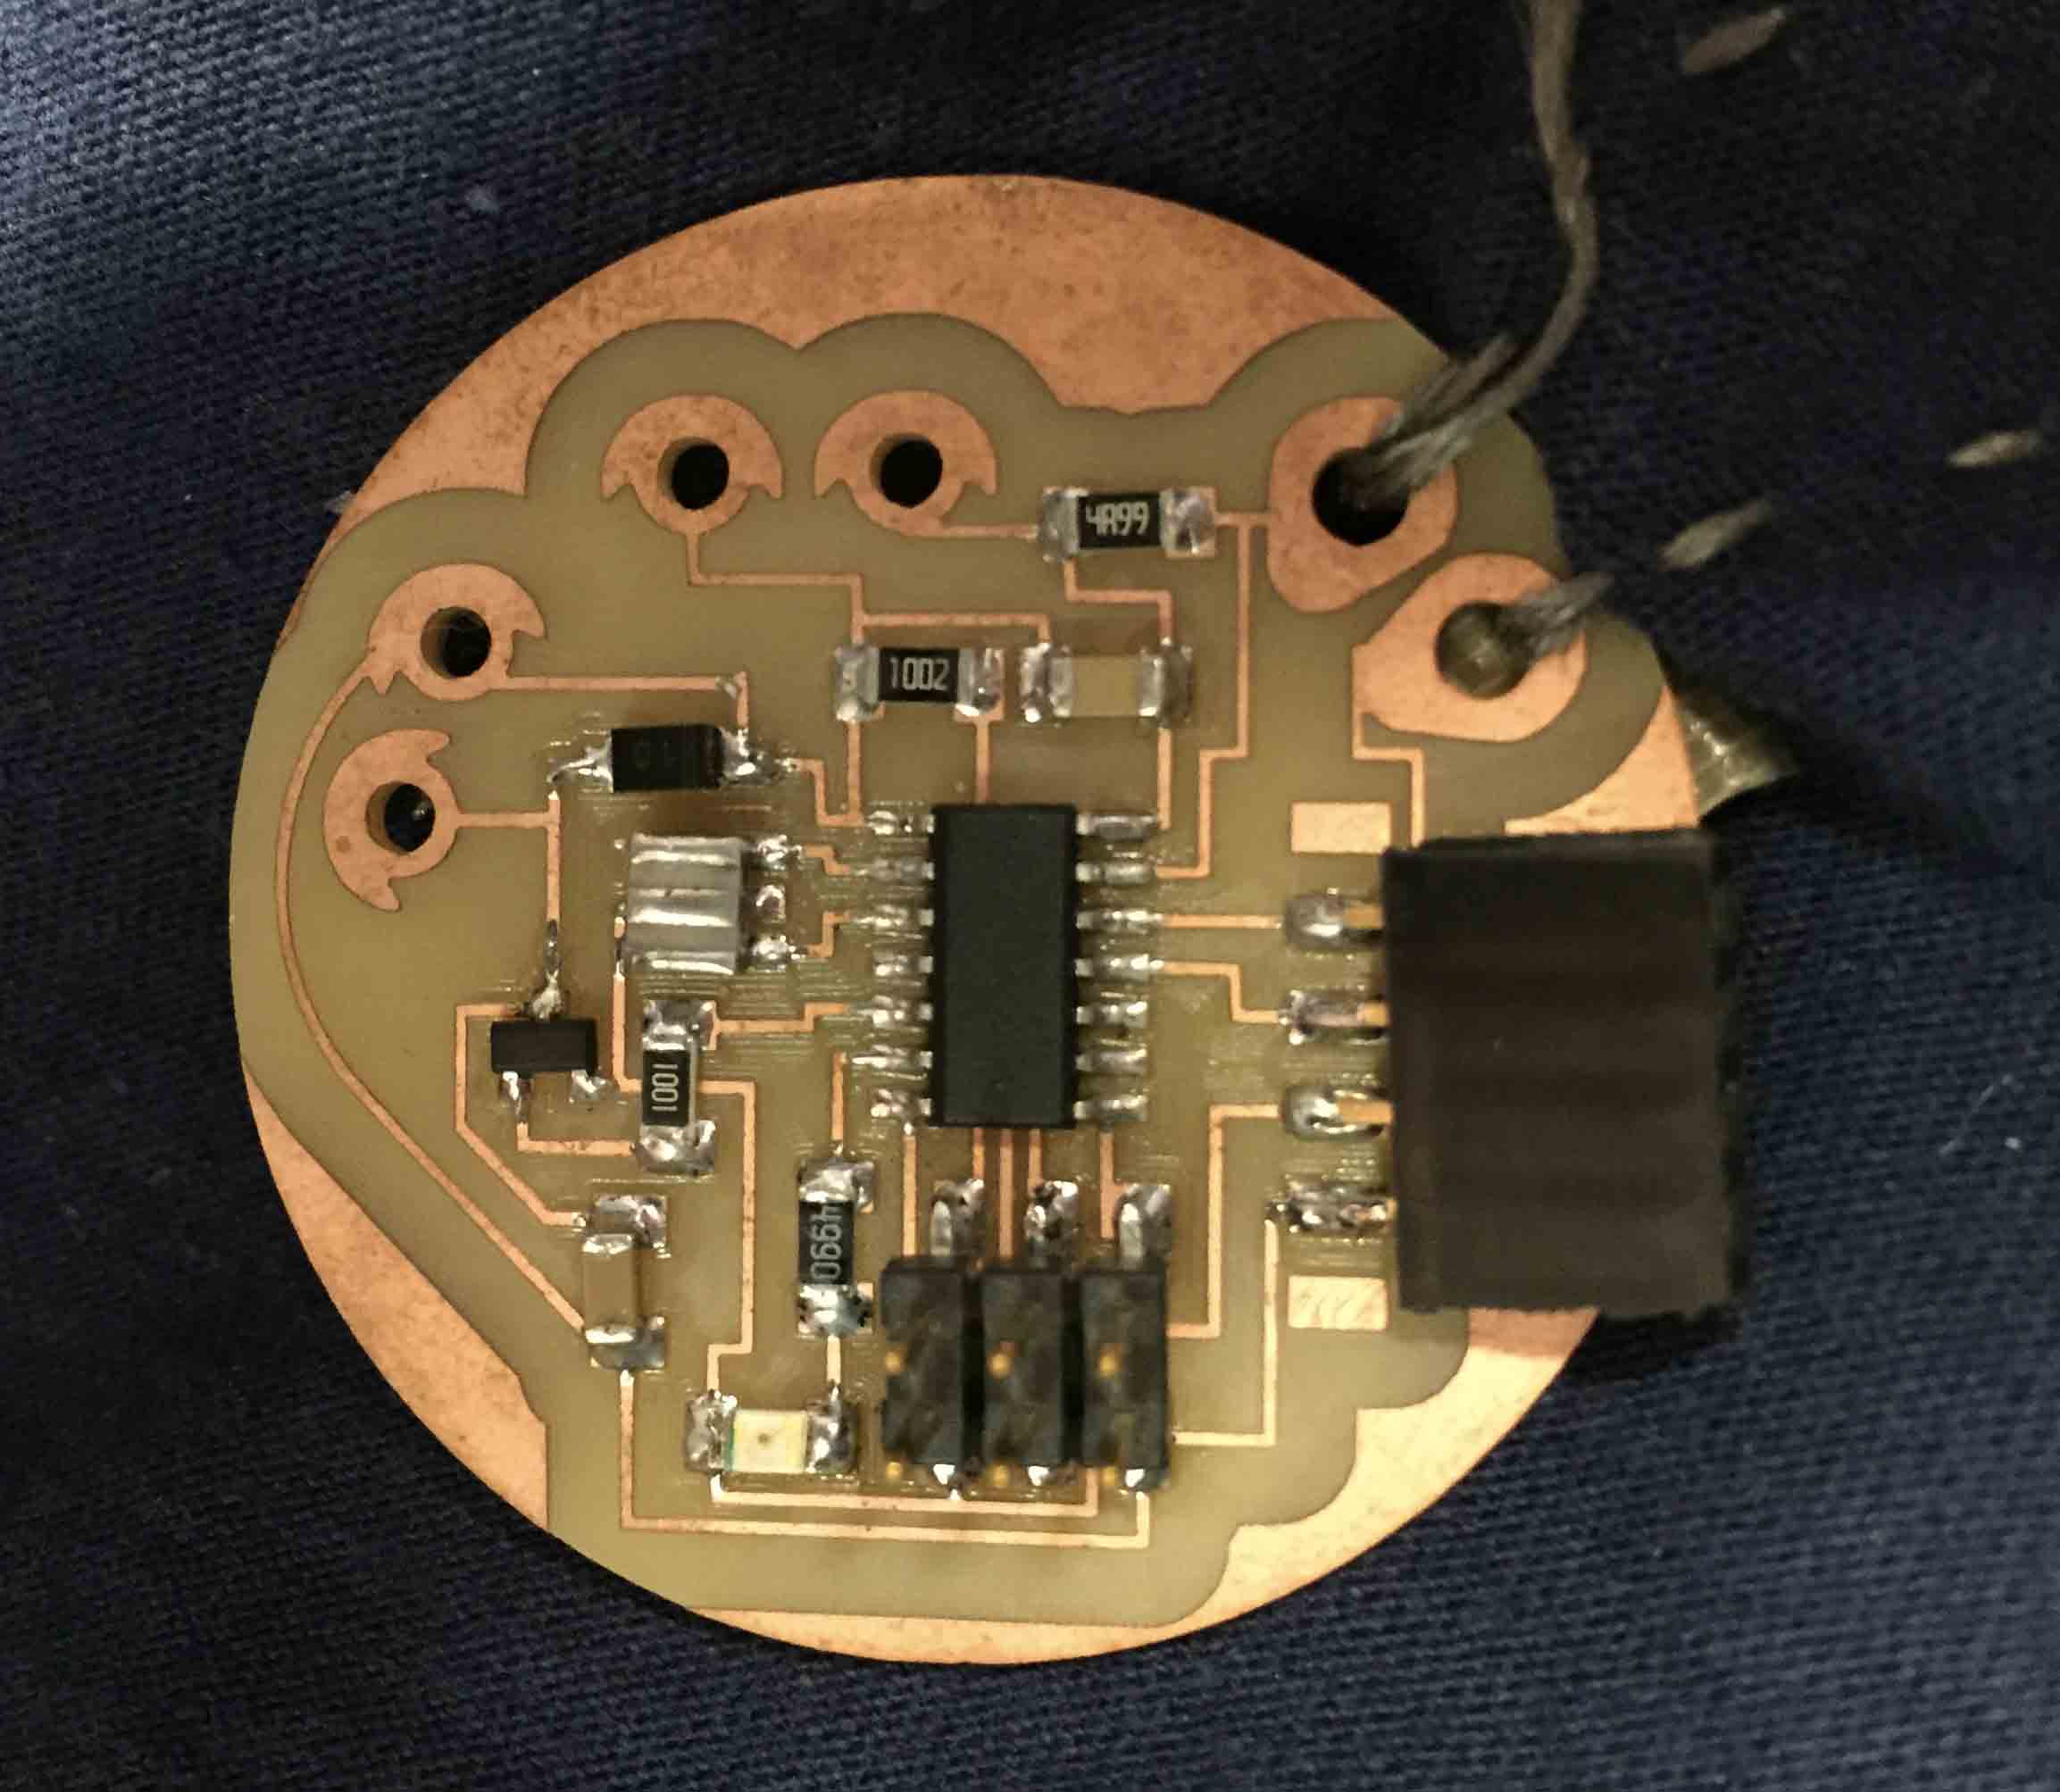
This is the my board
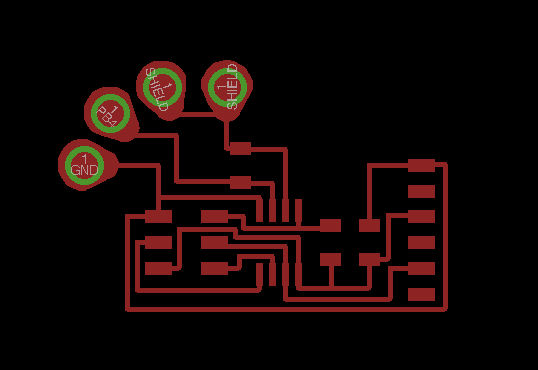
Then I have created the outline and the hole path on Illustrator. I have opened the traces that I had saved from Eagle and I have drew the outline.
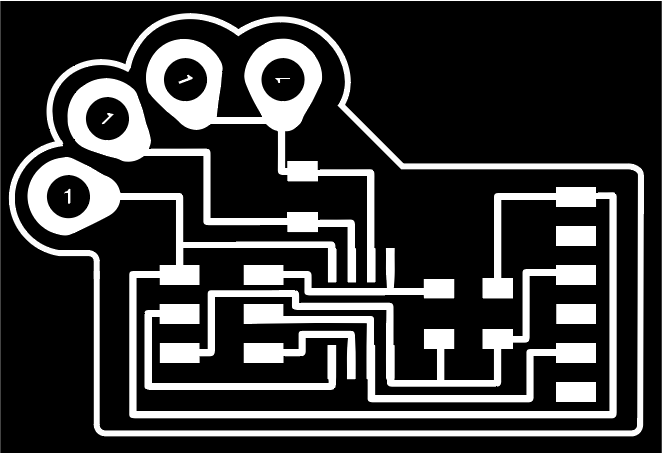
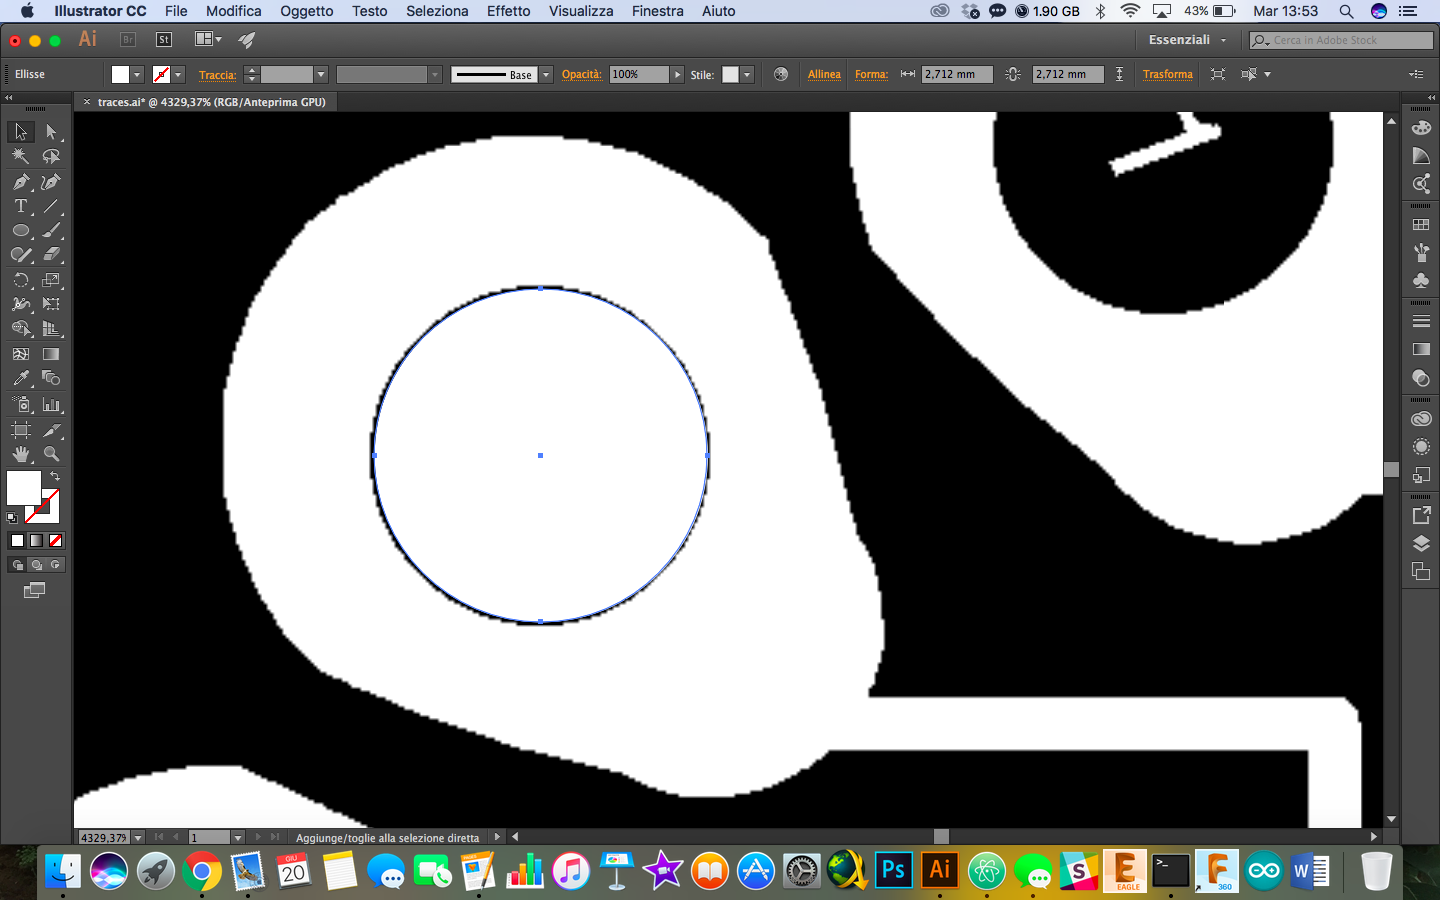
I have draw it by myself to create the right outline around the sensor's holes. To create holes path I have followed this procedure:
- Inside the holes I have drawn a white circle with the same measures as in the traces.
- Then I have drawn a black rectangle with the same meauseres and I have placed it under traces layer.
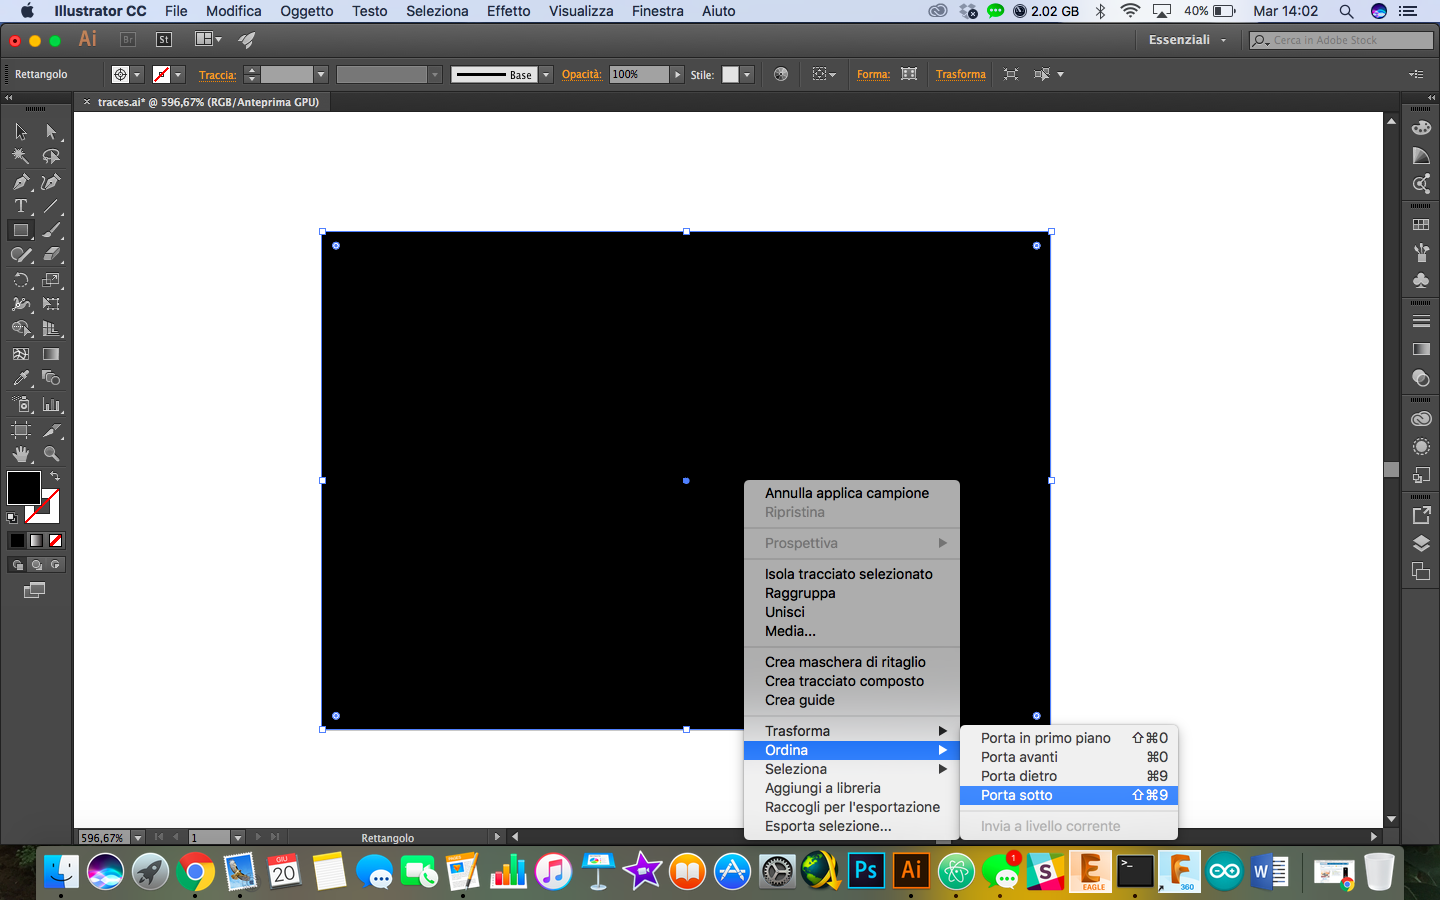
- After that I can delete the traces layer and now I have the holes path. ATTENTION!!: On the fab modules you must invert the colors.
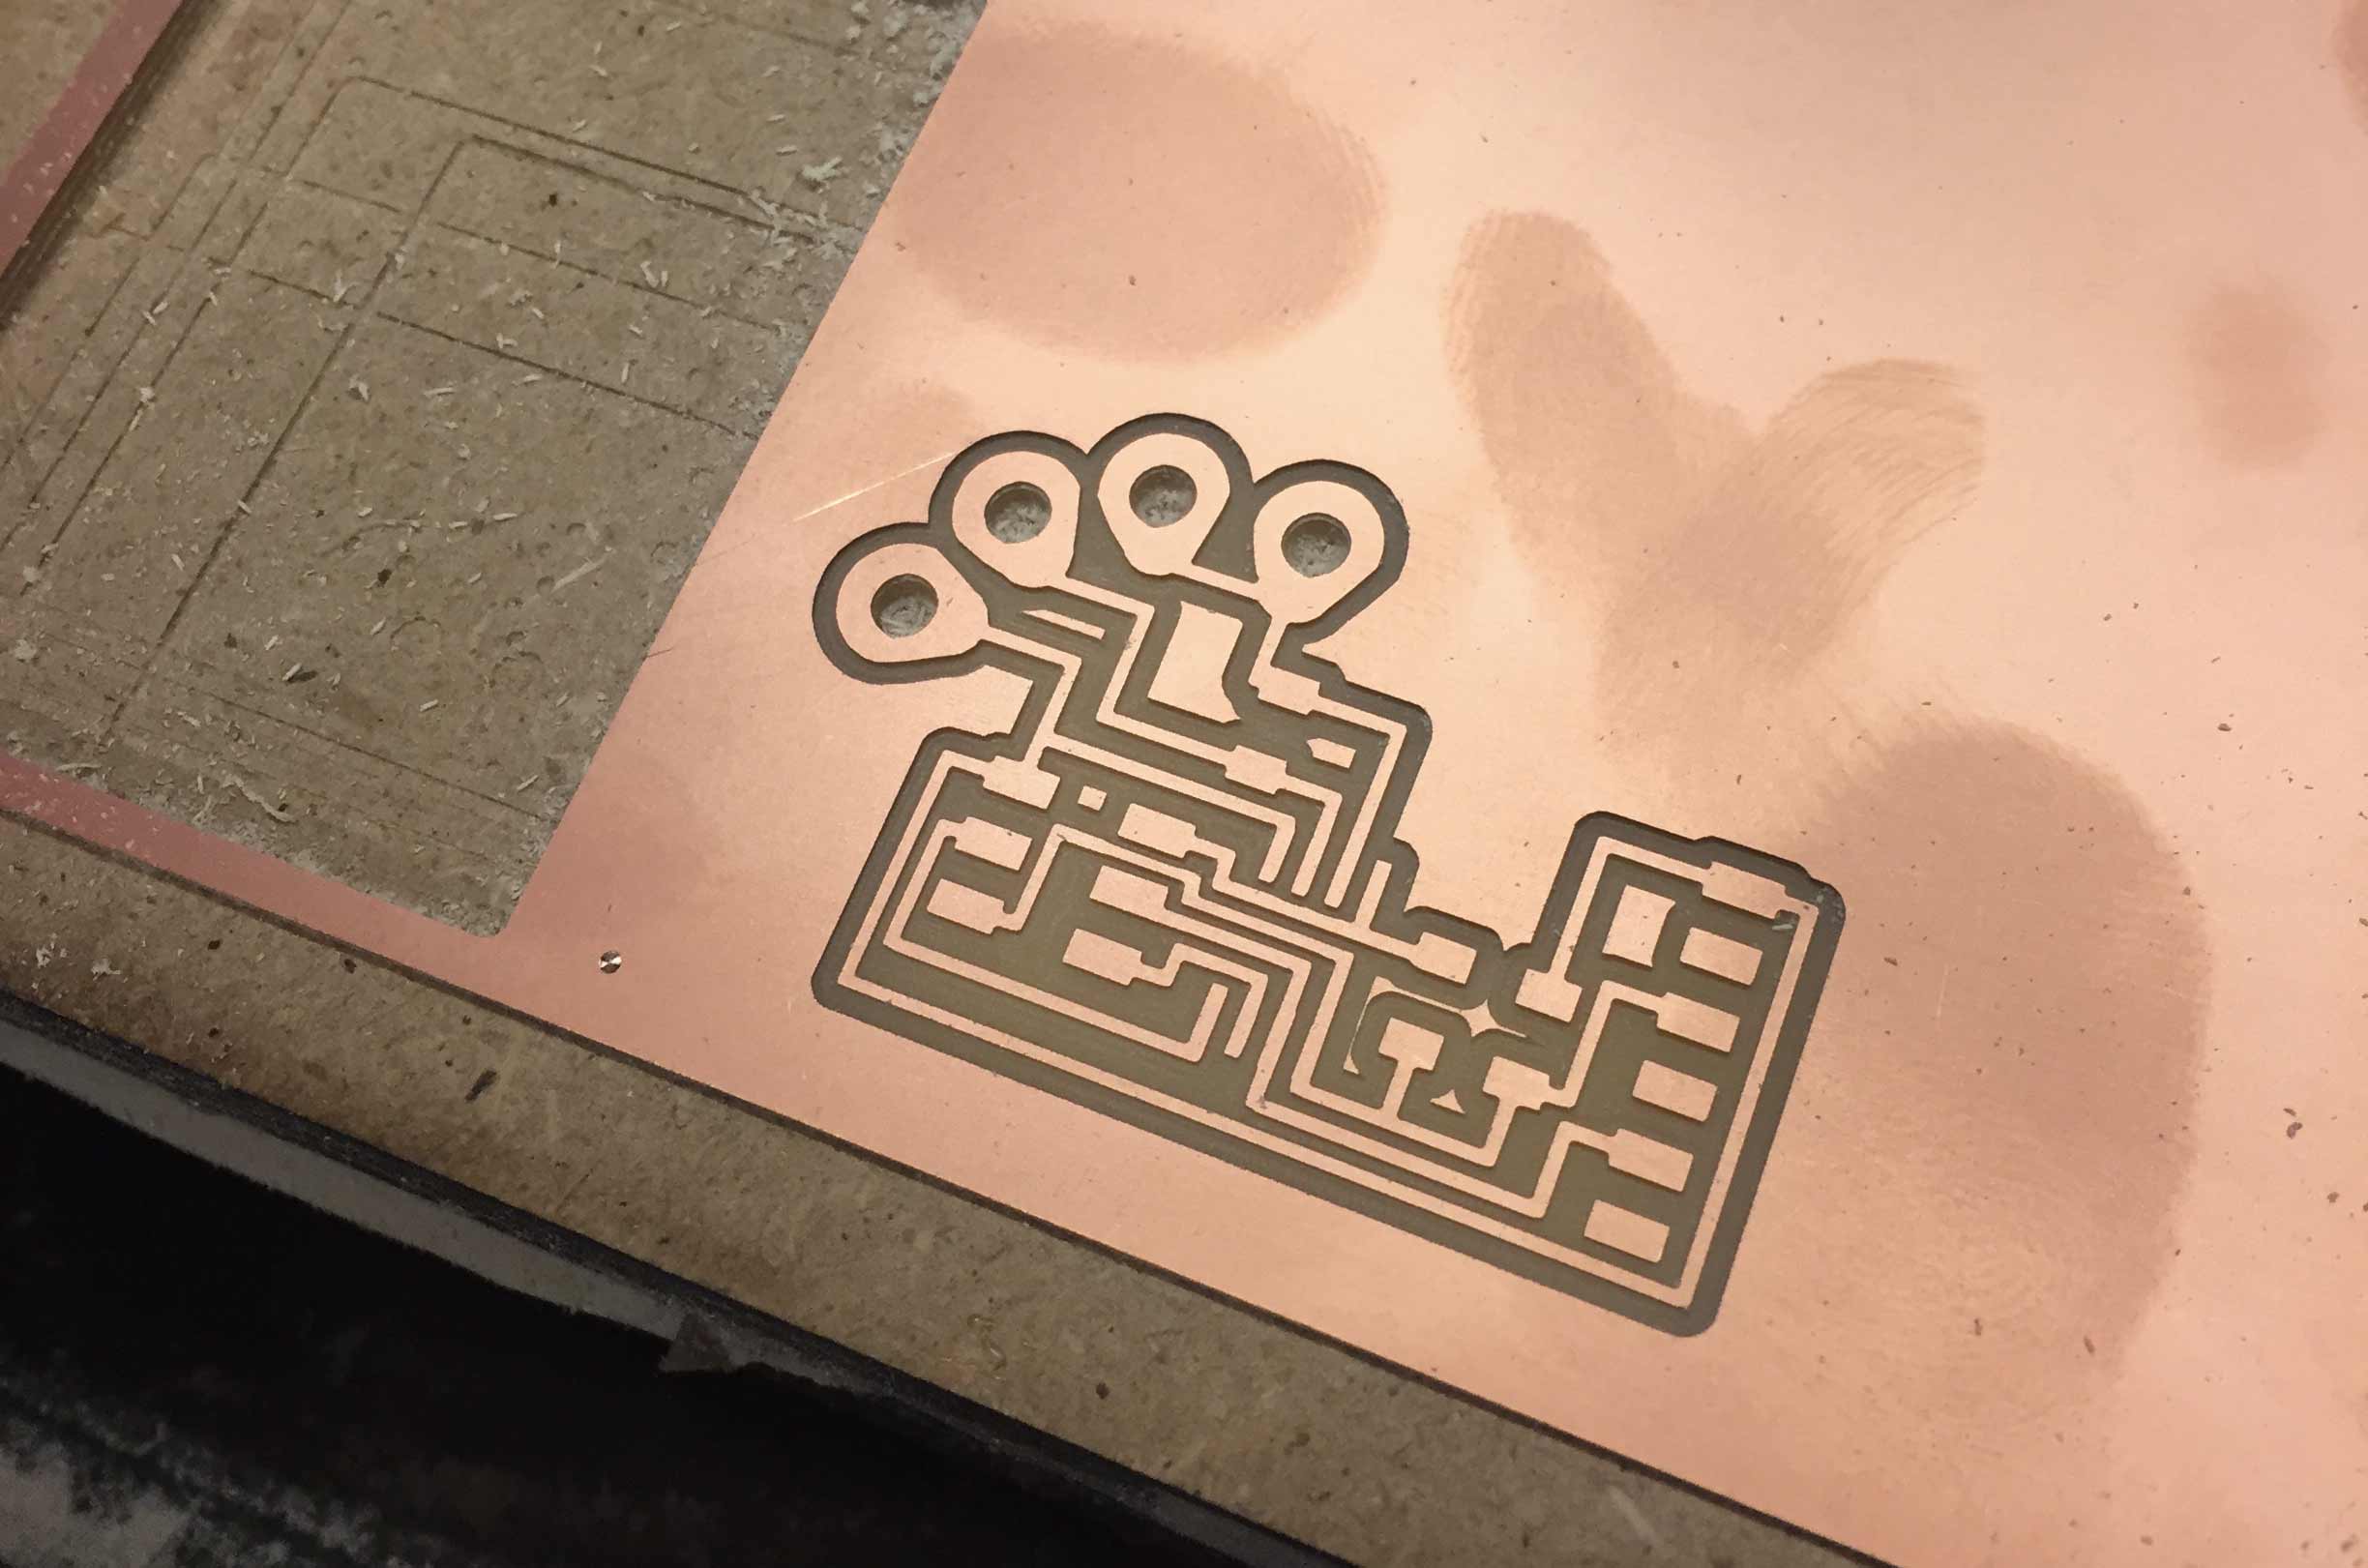
As always, I have created the milling path with Fab Modules and I have milled the board. This time I have holes file also, and for it I have used 1/32 mill tip. I milled first the holes and then the outline to avoid that it detached from the basis.
UPDATE
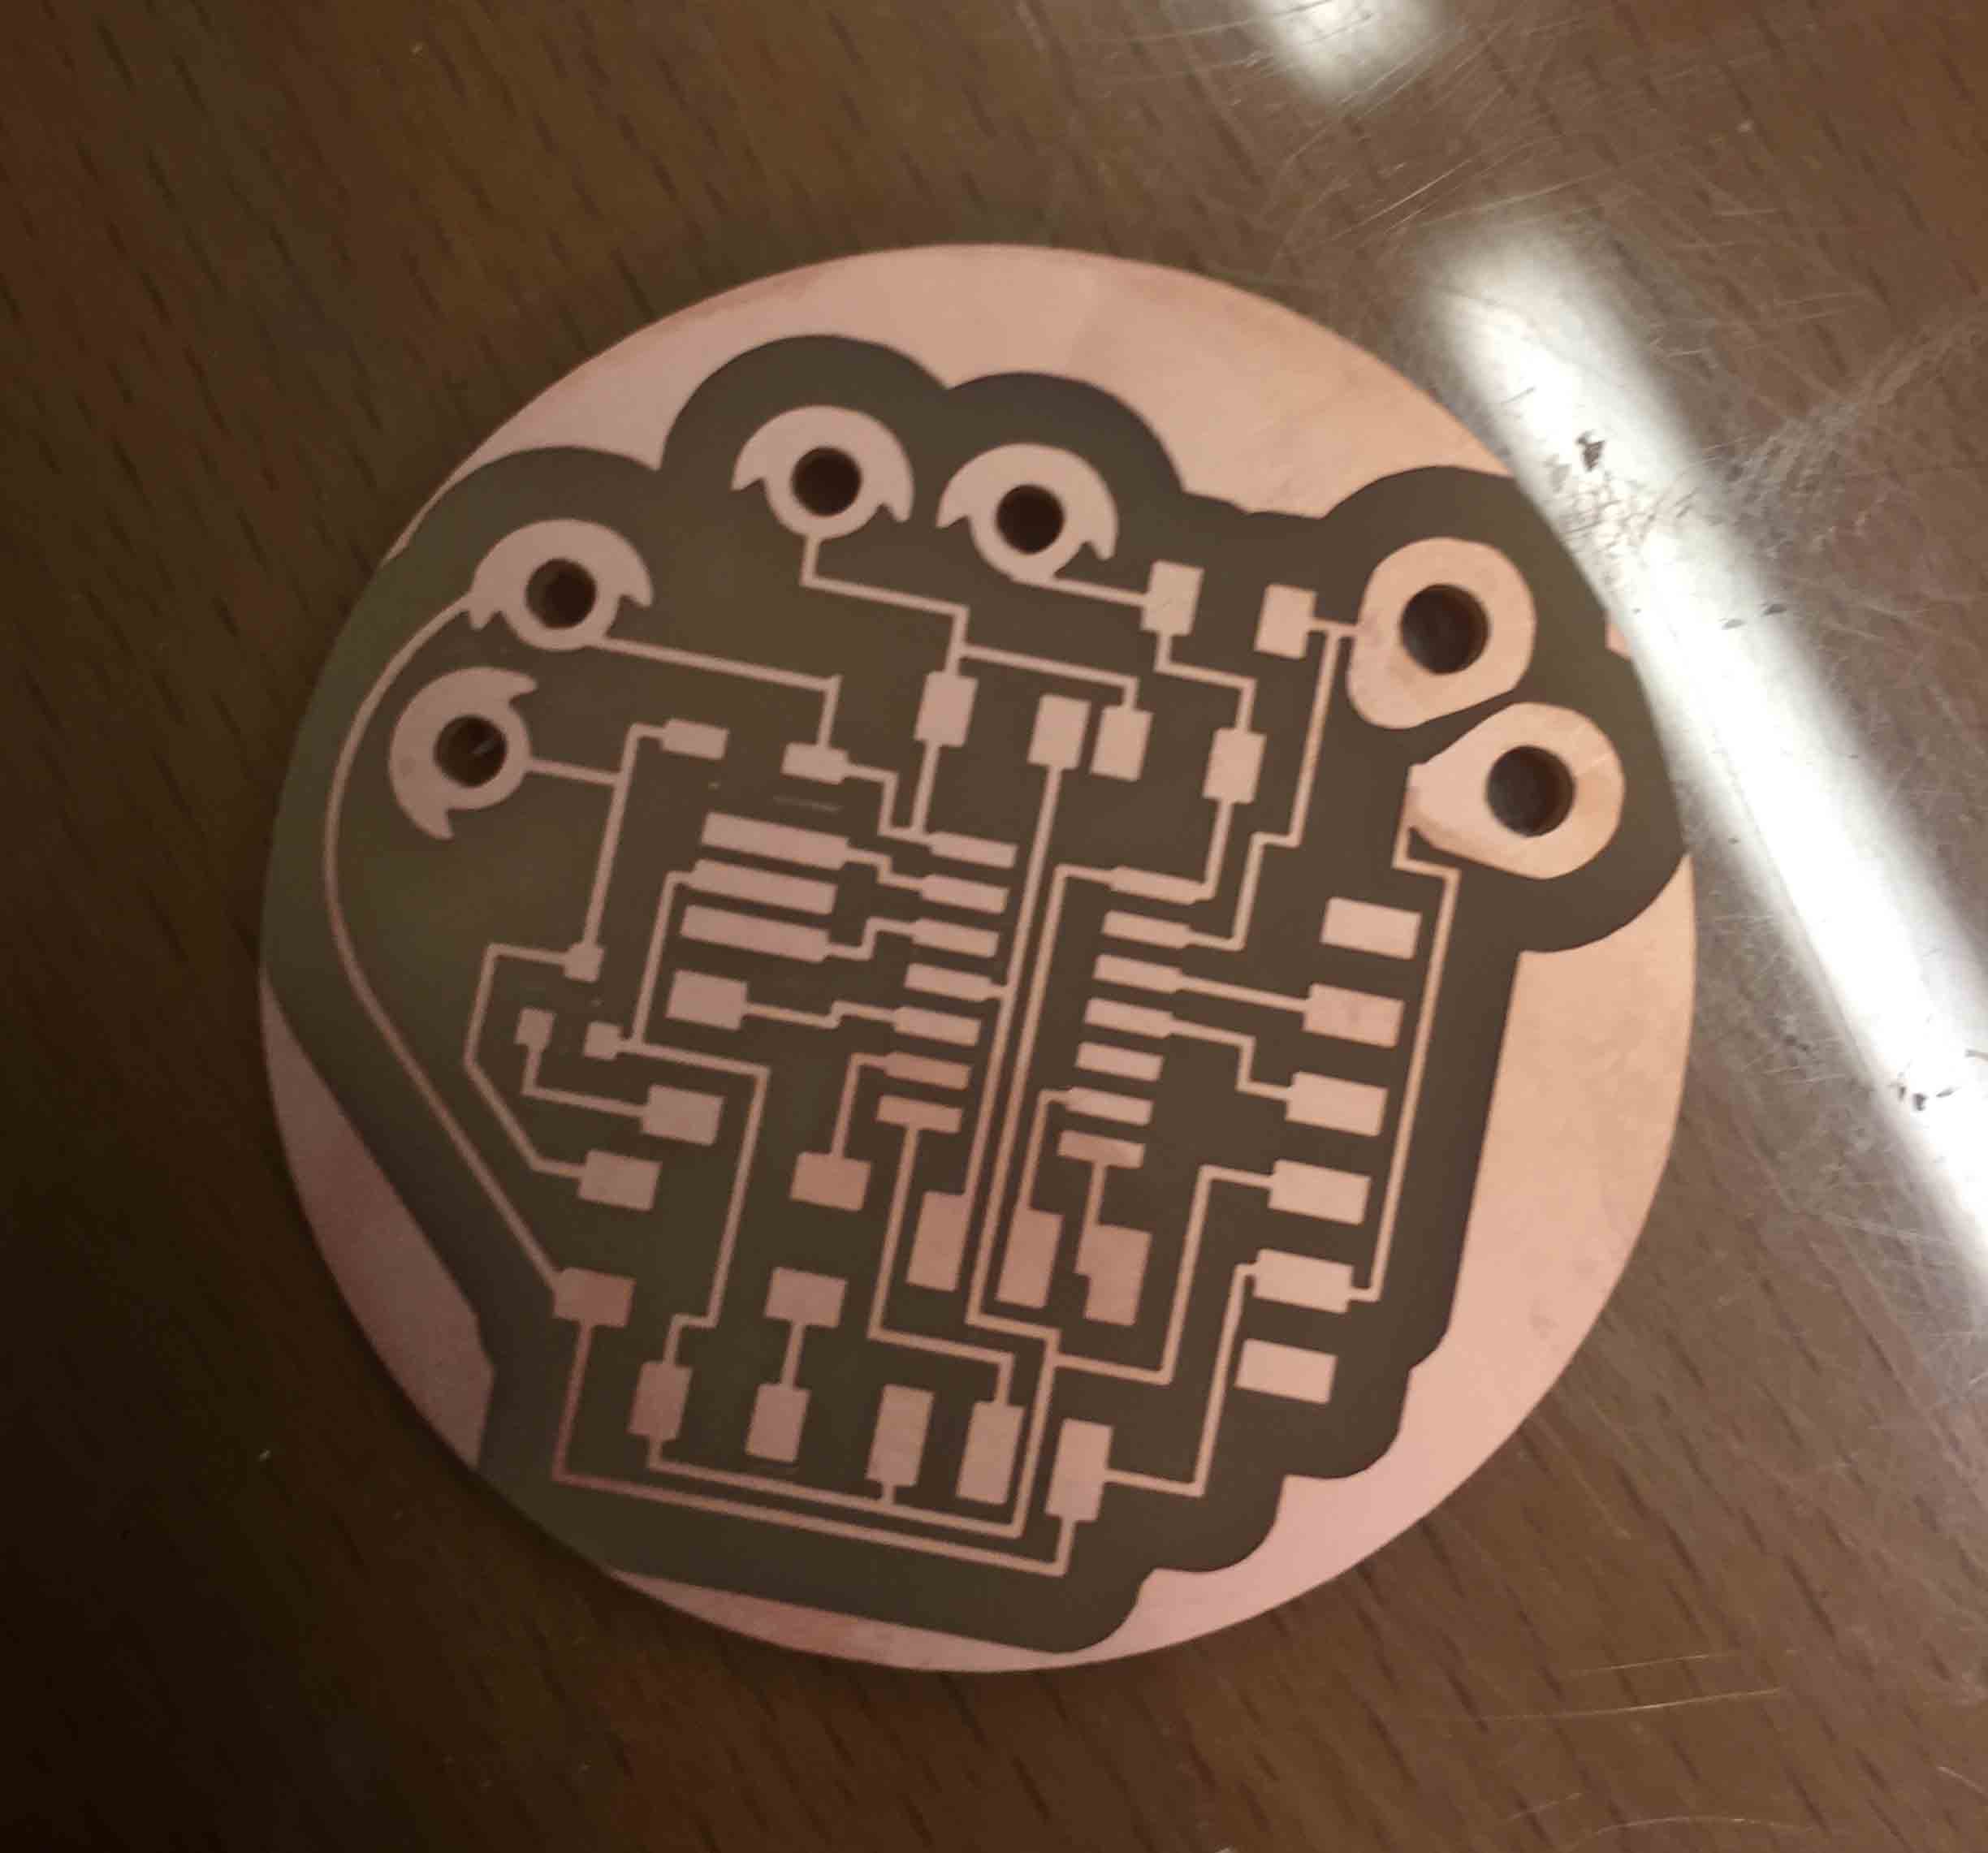
For my final project I have design a board to use a pressure sensor, as Velostat, and a coin vibration motor. I have tried to include every component in a board. It was a challenge because I had some constraint:
- It should be wearable, so it should be small and comfy.
- Sensors and battery will be sewings, so I had to use a hole for each wire.
- As I said I had to use holes, it means that during design process I had to consider it.
I decide to do that because this is an hole to connect coin vibration motor and I have decide to solder it passing them under the board. Another important difference between the two board are the Velostat connection pins. During this week I have connected four wires on the board, but for my final project board I have used only two connector pins. Why?
To use only a single pressure sensor, I just need VCC and sensor pins.
VELOSTAT
To understand how Velostat works, I have read this tutorial.
With paper tape I have create four traces with conductive thread, one for Ground pin, one for the shield pin and one for sense pin.
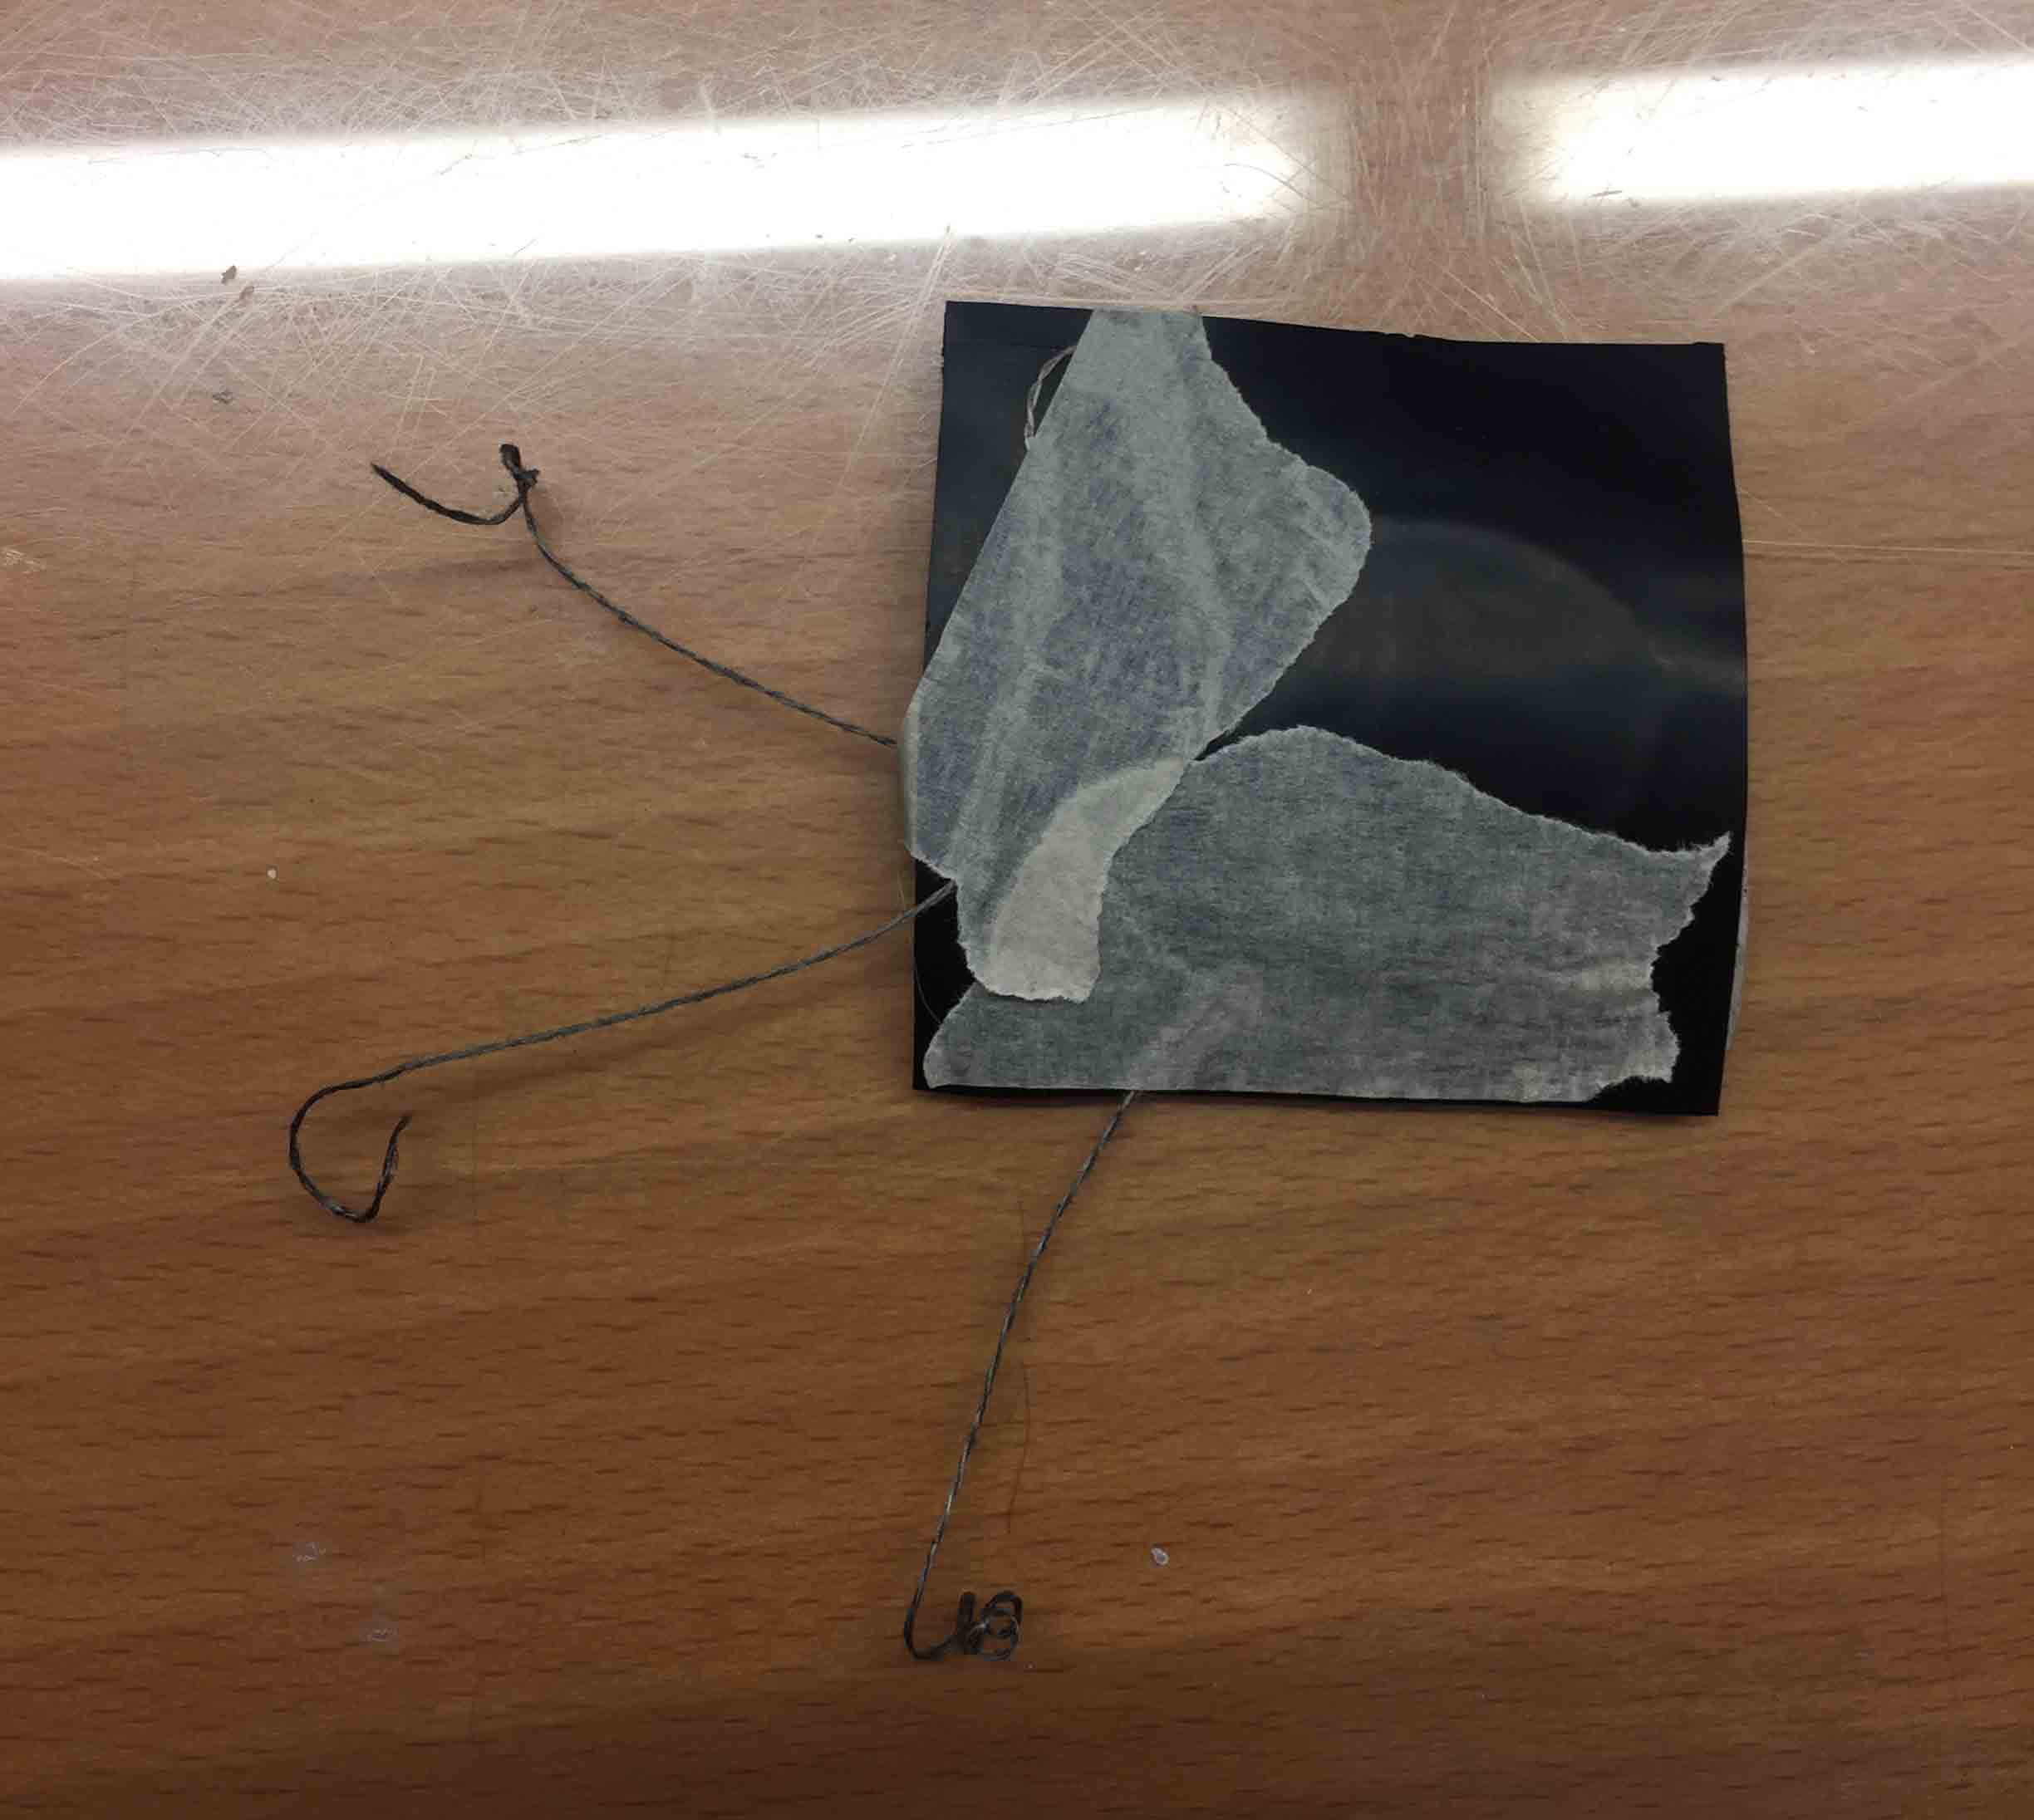
Each wire should be well separated to avoid a blackout.
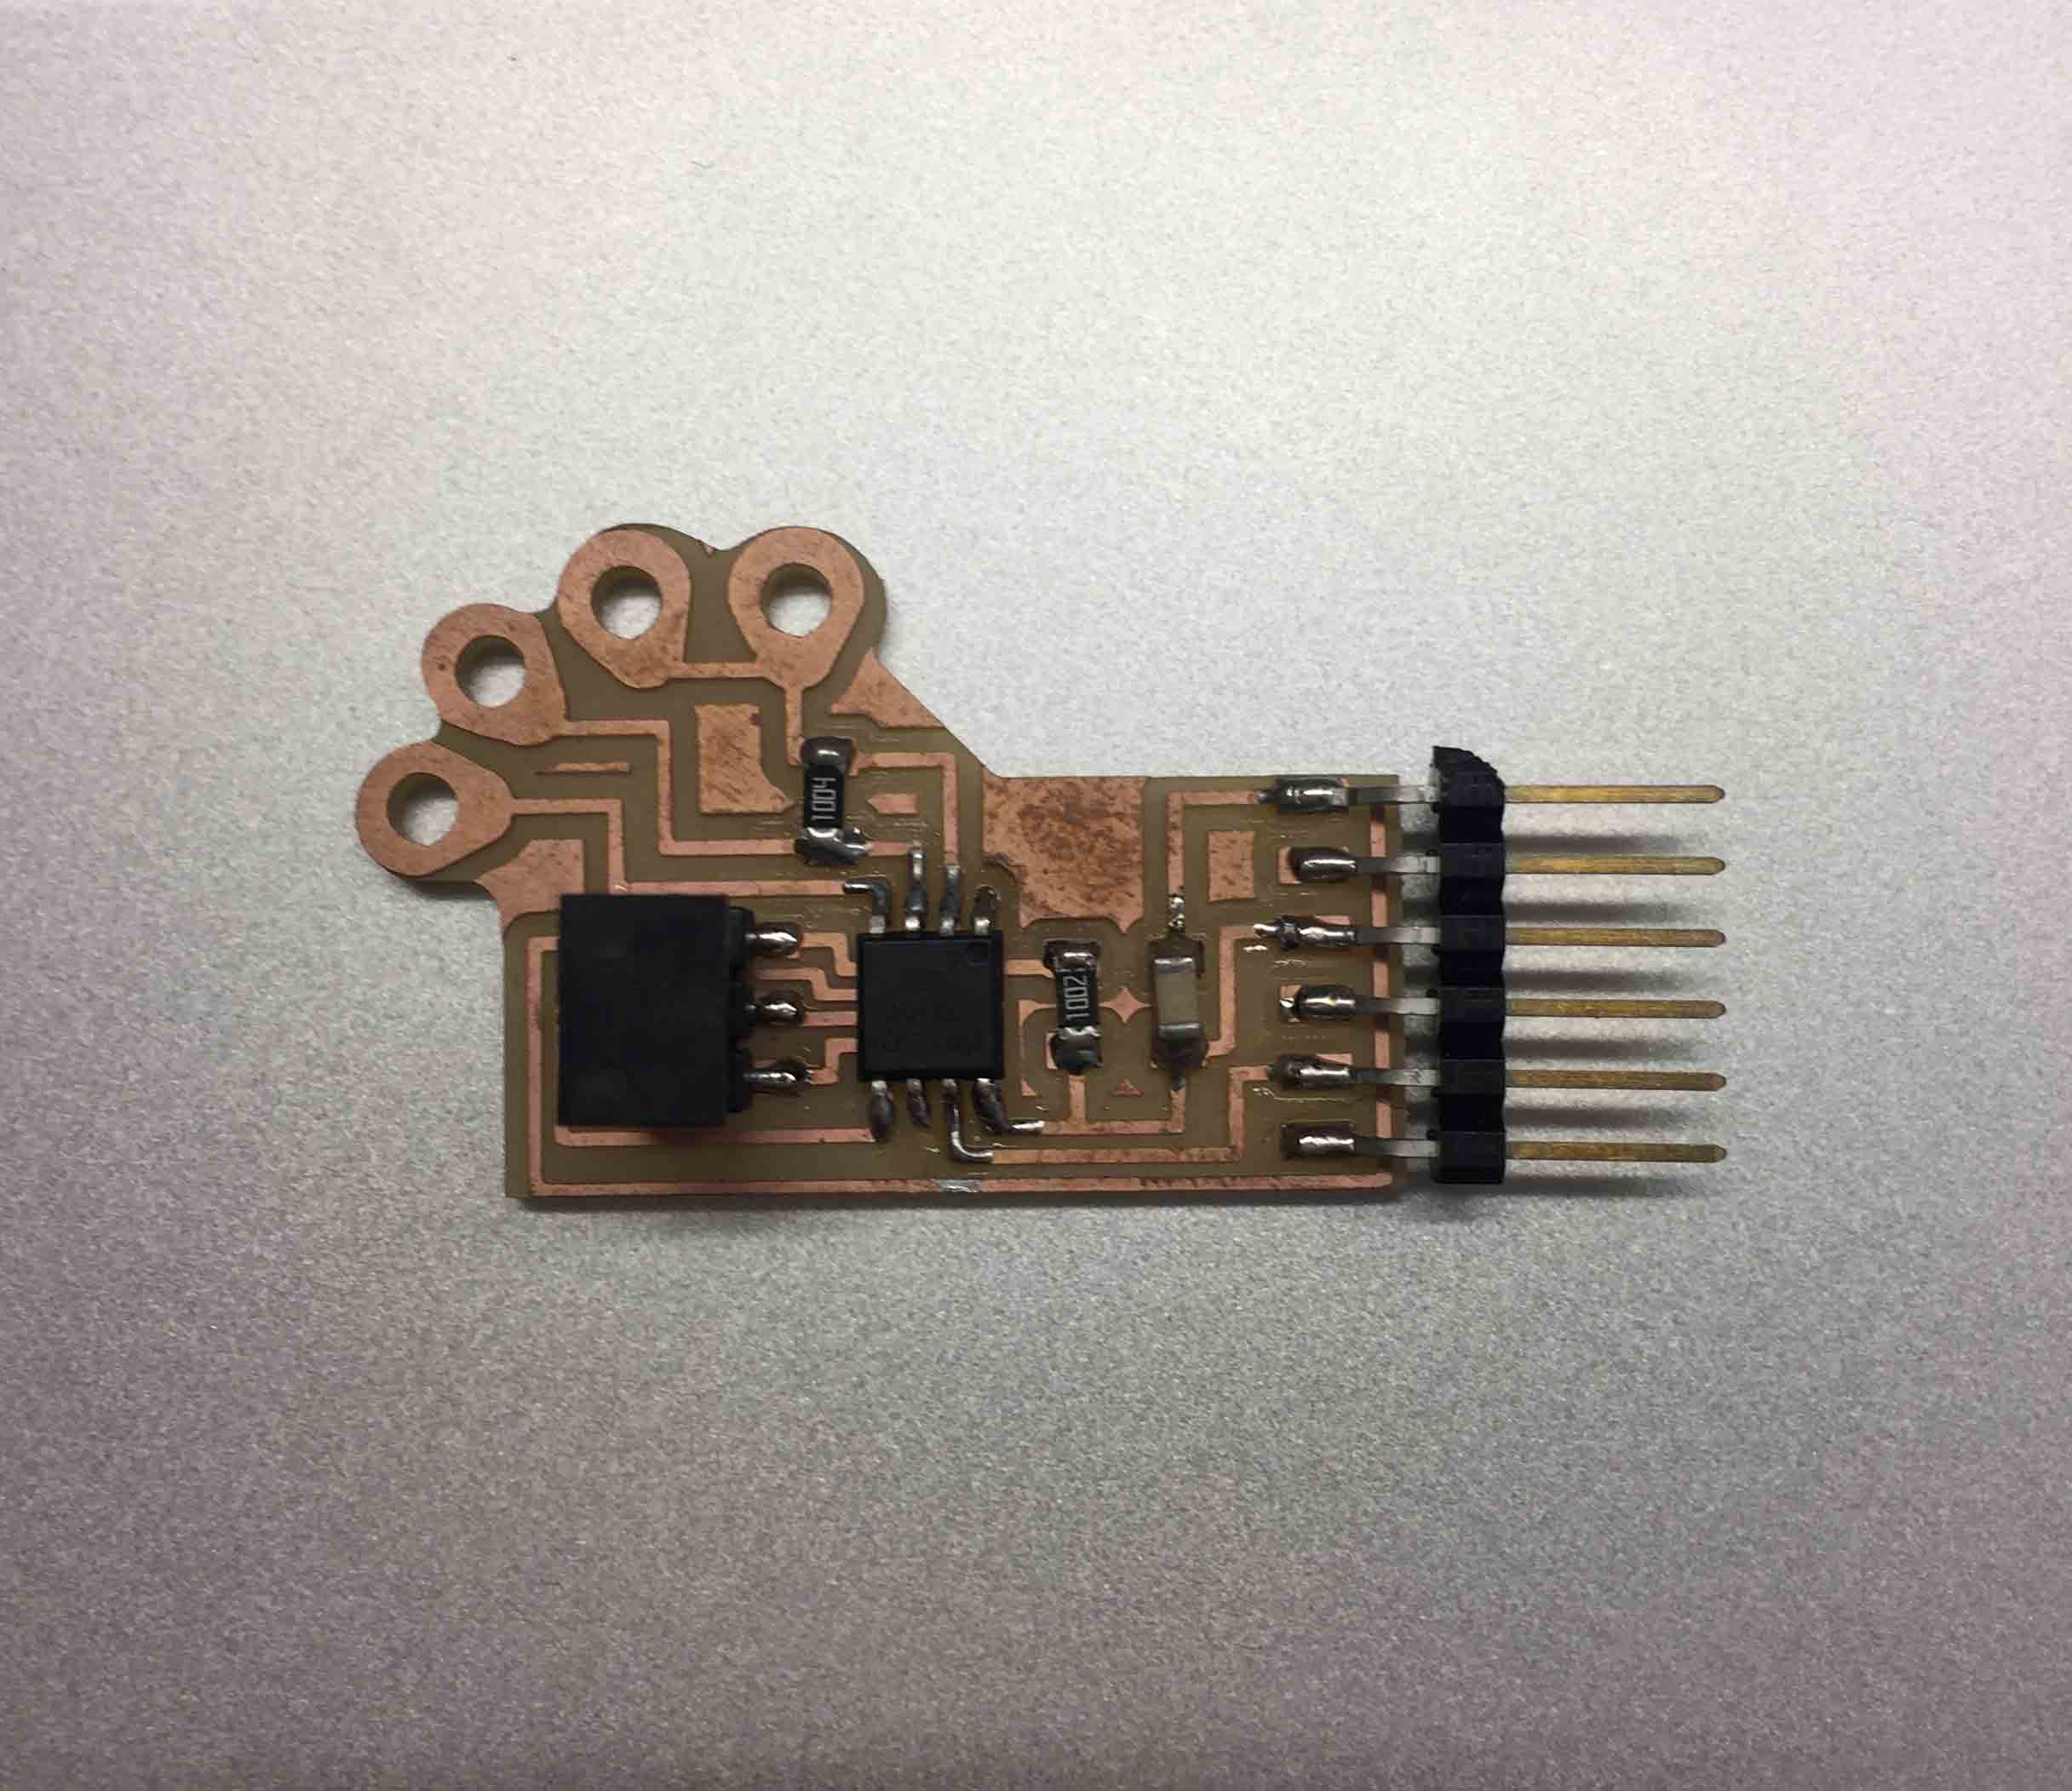
PROGRAMMING
As the past week, I have download Neil's make and C files from the schedule. With command
make -f name.make I have created *.hex and *.out files, then with make -f name.make program-usbtiny I have flashed the code on my board correctly.Now the most interesting part arrived: PYTHON
I have used it to have an interface to understand if my board really works. So by terminal I have sent this command,
sudo easy_install pip, to install Python on my Mac.

After that with command
sudo pip install pyserial I have installed serial packages on my Mac. Without it I can't communicate with my board by serial port.
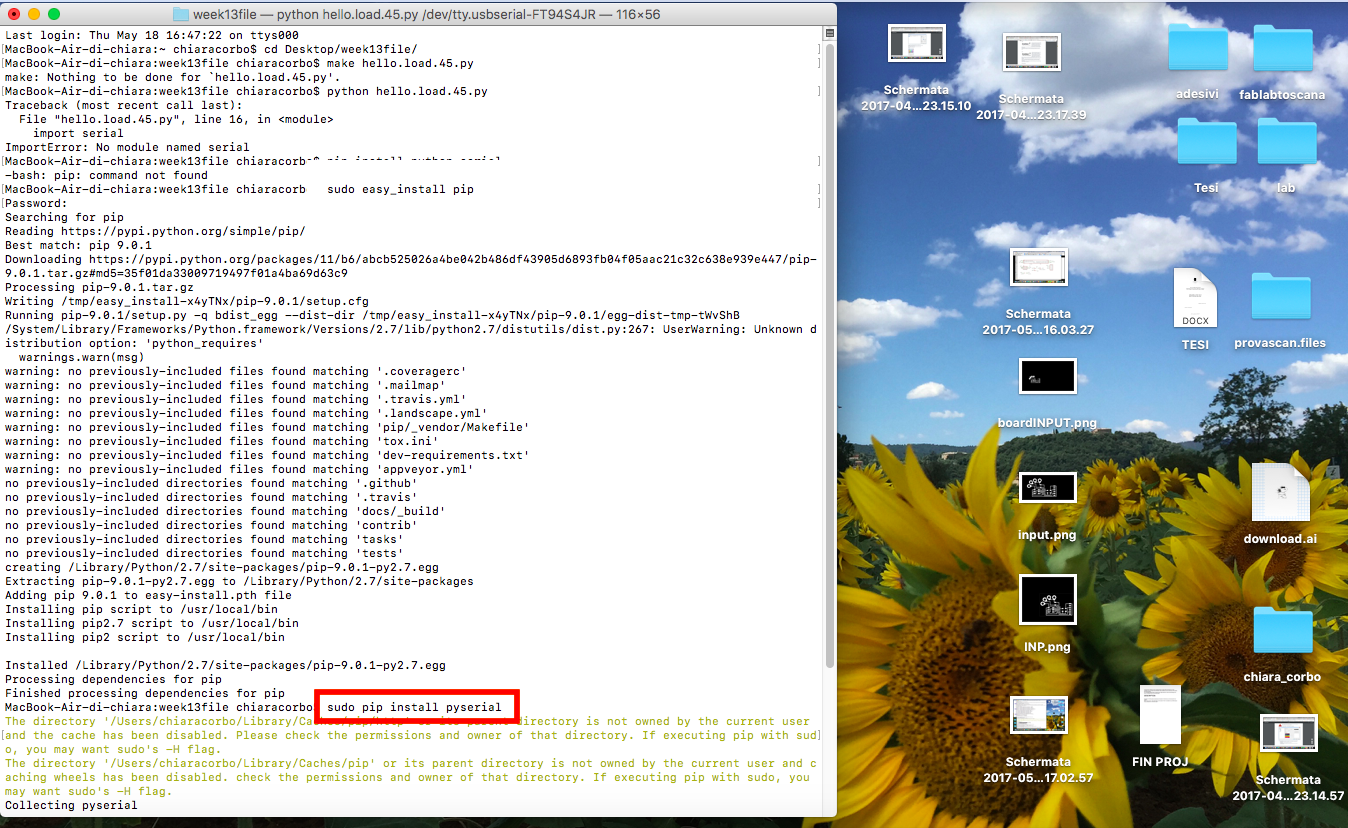
At the end I have ran the python Neil's file that I have found on the schedule page. With command
python hello.board.45.py I have selected the file, but I have done a mistake: I haven't selected the serial port on my Pc, so I have to know which is the right one.
By sending ls /dev/tty.* I had a list of my USB port and I could see which is the one where I have connected my board.

Then by re-sending command
python hello.board.45.py /dev/tty.usbserial-FT94S4JR I have, finally, opened the files.
With my board connected I can have a visual output of the interaction with my input device. There is a video to show how sensor works:
CONCLUSION AND DOWNLOAD
You can download my files here.

This work is licensed under aCreative Commons Attribution - ShareAlike 4.0 International License.