Week14 : Composites
The assignment of this week :
● Read the material safety data sheet (MSDS) and technical data sheet (TDS) for the resins that I'm using.
● Design and fabricate a 3D mold (~ft2) and produce a fiber composite part in it.
● Demonstrate workflows used in mould design and construction.
● Select and apply suitable materials and processes to create a composite part.
My workflew of creating a composite part is as follow:
1.Design a 3D mould and millimg it with CNC machine.
2.Chose proper cloth and cut it into pieces.
3.Paste pieces of cloth on the mould via epoxy resin.
4.Vacuum object.
Before start doing this week's assignment, I need to understand the material safety data sheet (MSDS) and technical data sheet(TDS) for the resins that I am using. I use epoxy resin to do the work, so I read the safety data sheet (MSDS) and technical data sheet(TDS) of it from this web site .
● Design a 3D mould and millimg it with CNC machine
In this week, I try to make a silver helmet which relate to my final project. I want to put a AR(Augmented Reality) cardboard in the helmet. I bought an false head and wearing a AR(Augmented Reality) cardboard, so I could measure a approximate size of the helmet.
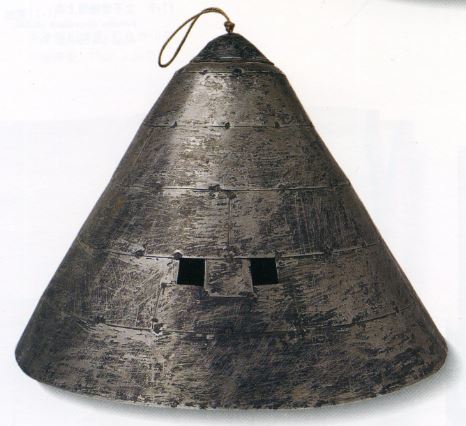
figure 1 : TAO's silver helmet.
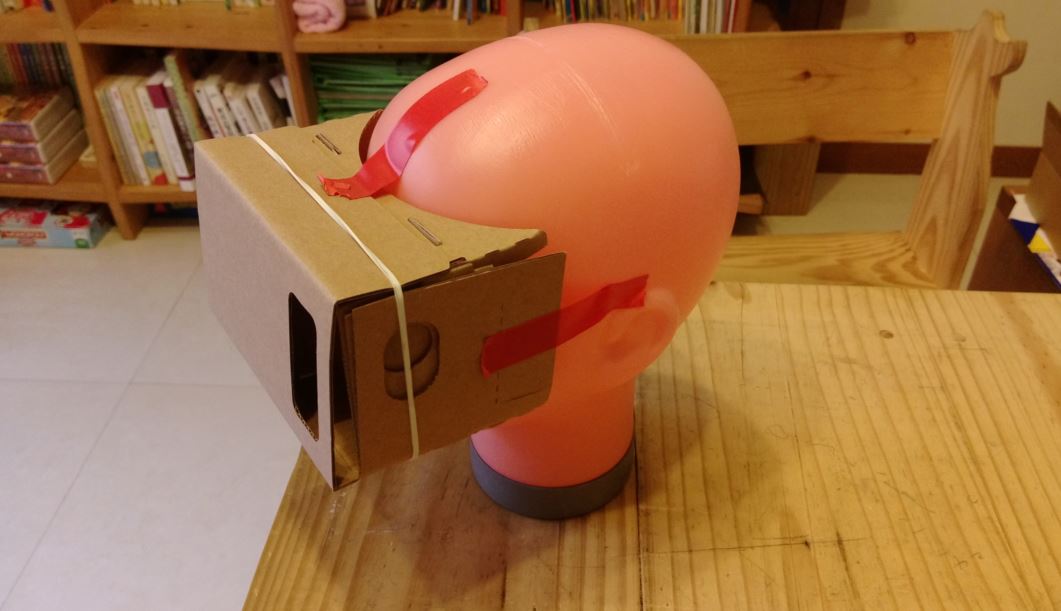
figure 2 : False head which wears a AR(Augmented Reality) cardboard.
After measuring a approximate size of the helmet, I design a 3D mould with Rhino. Then I find out some problems, the height of the helmet is 35 cm and the material(high density foam) is 5 cm. The height limition of our CNC machine(Rodela MDX-540) about 10 cm and operation area is 50x40 cm. The diameter of the helmet's bottom circle is 54 cm. That means two things I need to do:
1. I need to cut the 3D mould into pieces to fit the machine's limition.
2. I can not miling whole the 3D mould, so I decide to milling the upper half part and make 8 stays to support the helmet.
The parameters setting of CNC are as follow :
tooling:
● 6mm square bit
● center-cutting
● down cut
speeds and feeds
● feed speed: 1800 mm/min
● Spindle: 12000 RPM
● cut distance: 0.7 mm
● distance between each cut: 0.7 mm
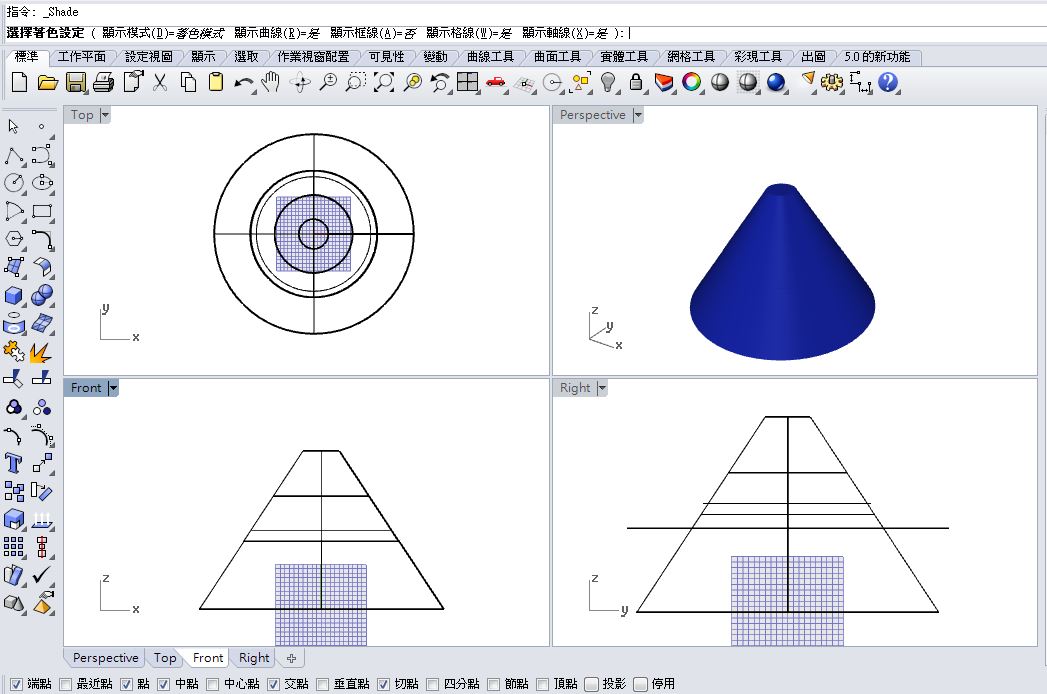
figure 3 : Design 3D mould with Rhino.
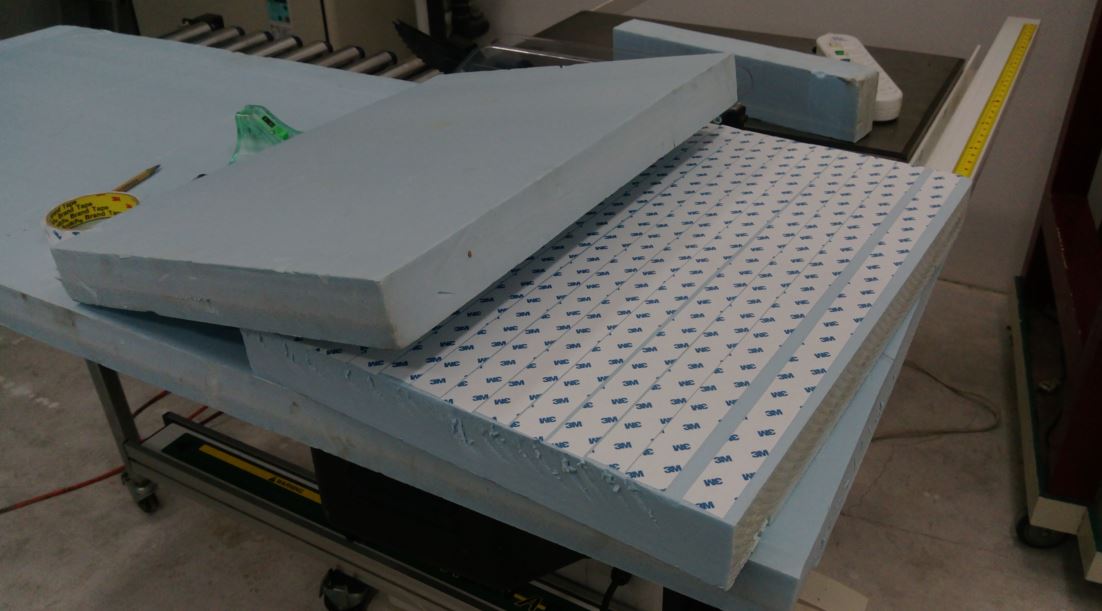
figure 4 : Make the 3D mould with high density foam.
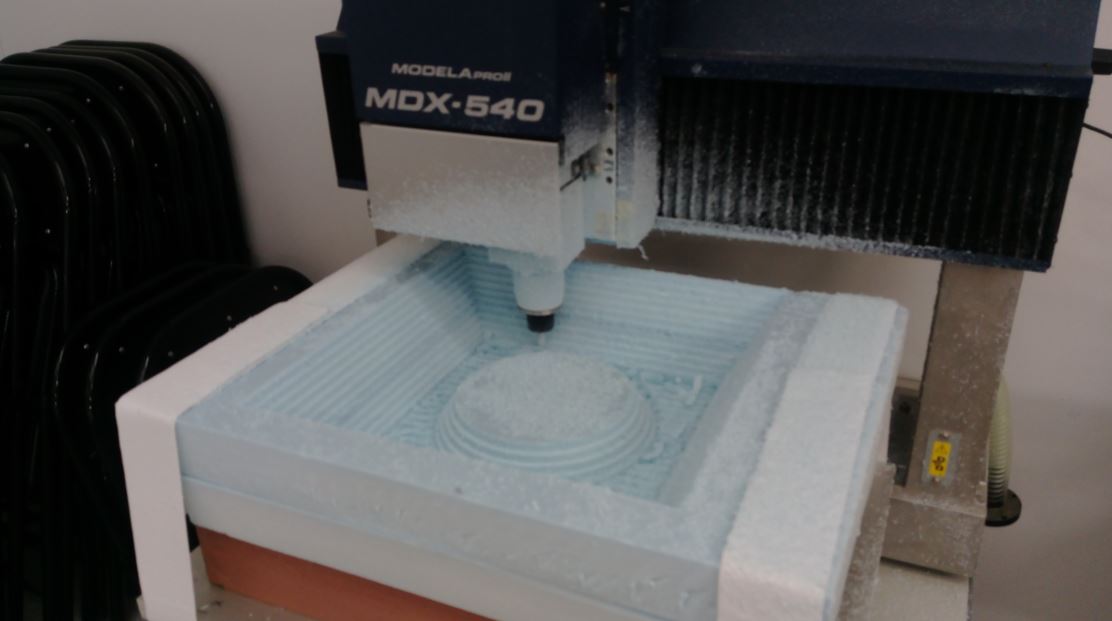
figure 5 : Milling the 3D mould with CNC machine.
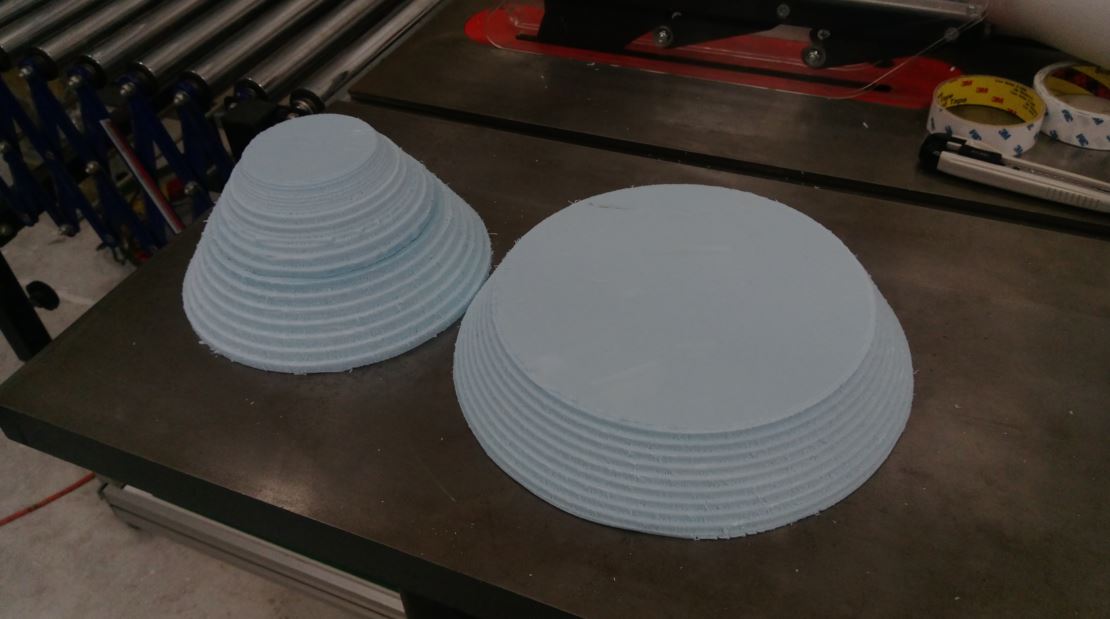
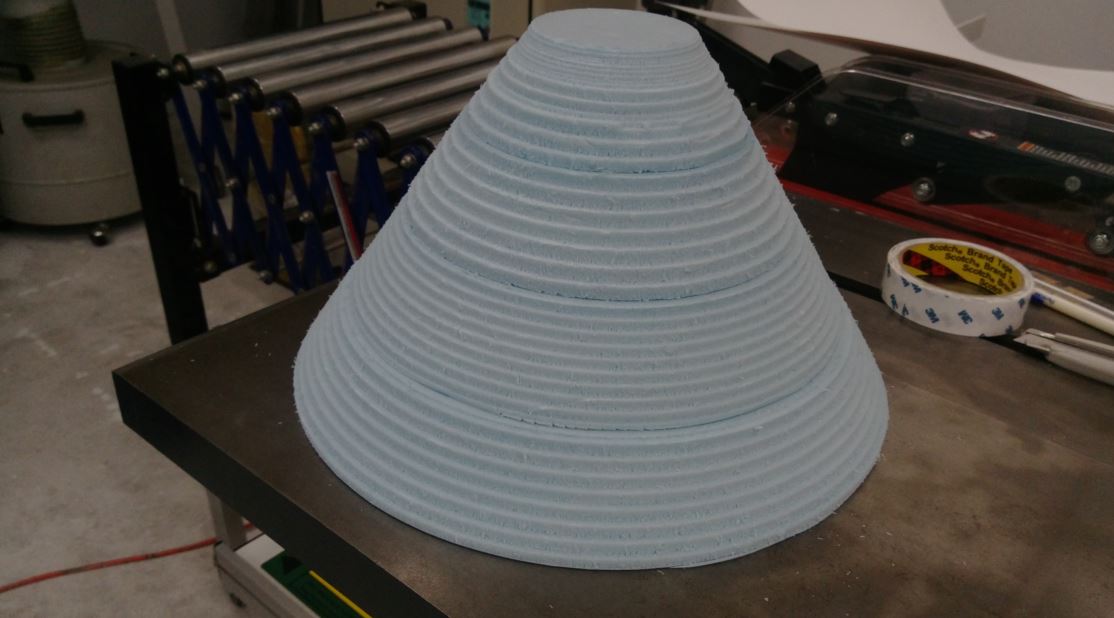
figure 6 : Milling the helmet into four pieces and combine them.
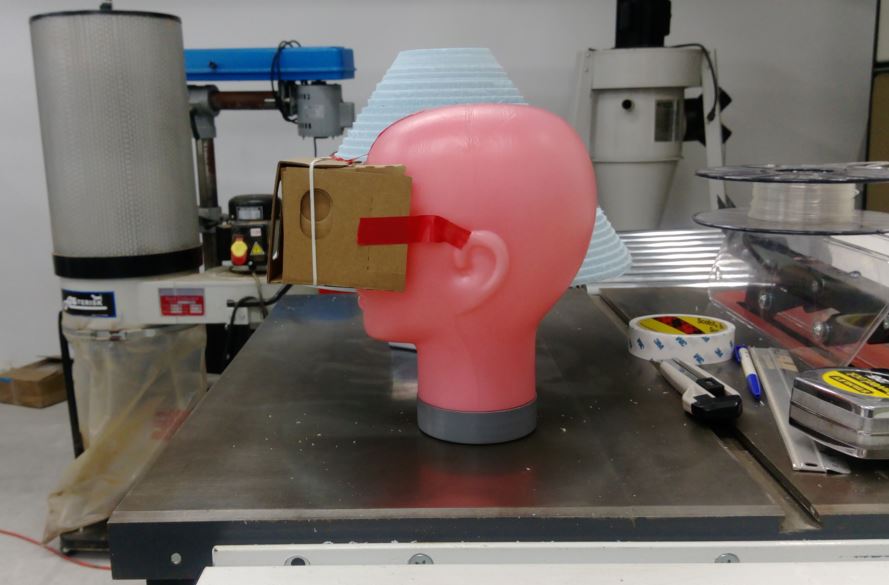
figure 7 : The millinged upper half 3D mould could not fit the false head.
Then I made 8 stays with laser cutter machine and pasted them evenly on the upper half helmet mould.
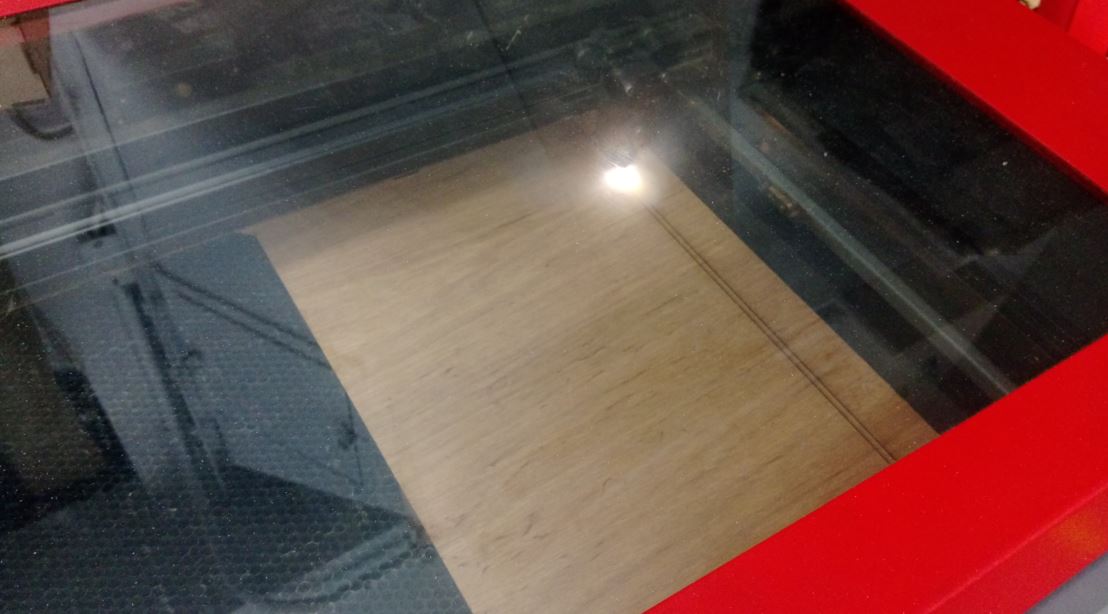
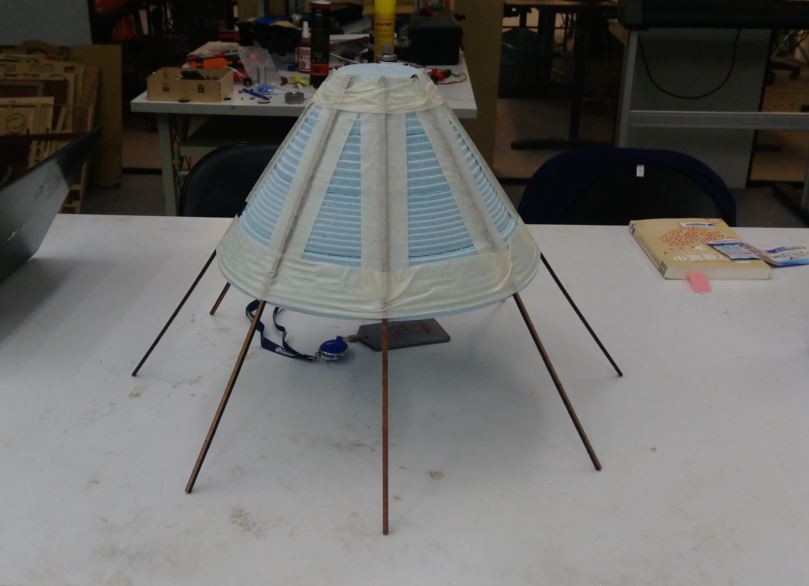
figure 8 : Laser cut 8 stays and pasted them evenly on the uper half helmet mould.
Then I lay a layer of PP paper on it. PP paper is a synthetic paper which is made of polypropylene resin and natural stone powder and other major raw materials mixed to suppress the plastic material imitation paper. At this time, it seems to fit the false head.
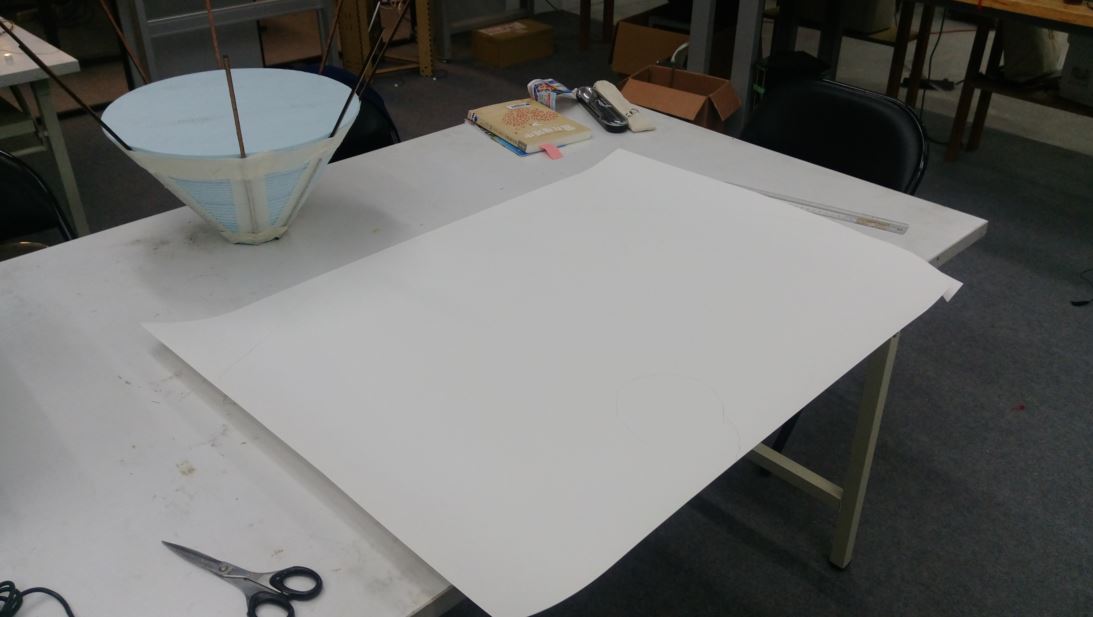
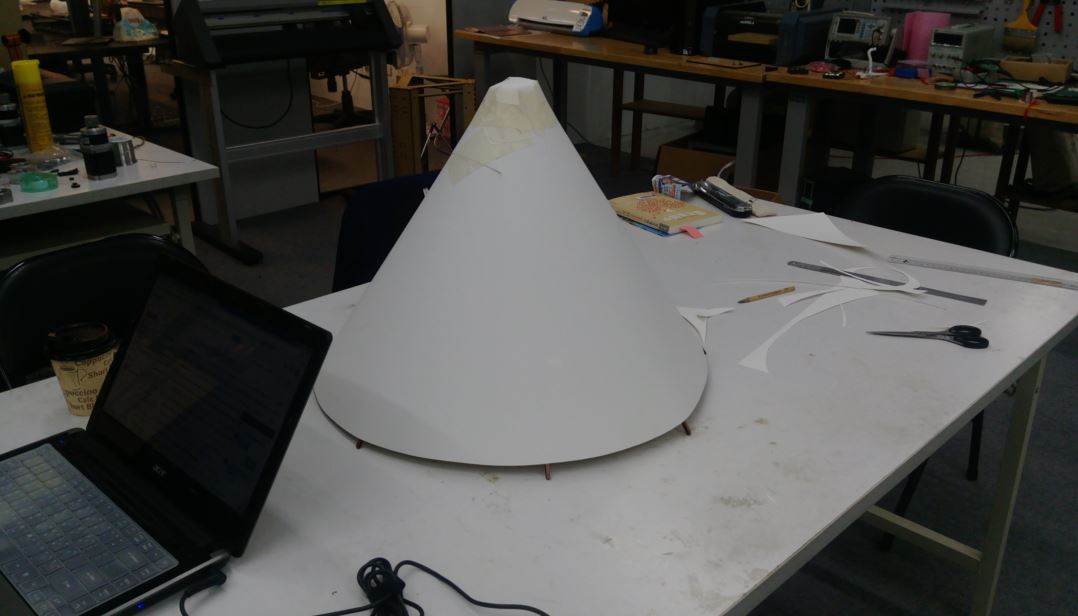
figure 9 : Lay a layer of PP paper on the helmet mould.

figure 10 : The mould seems to fit the false head.
● Chose proper cloth and cut it into pieces
In order to make imitated silver pieces, I bought a silver cloth. I kneaded silver cloth to create traces of silver alike, and casually coated with black acrylic paint on the cloth to create the old look. Then ironed and cut it into pieces. Now they looks real like pieces of silver.
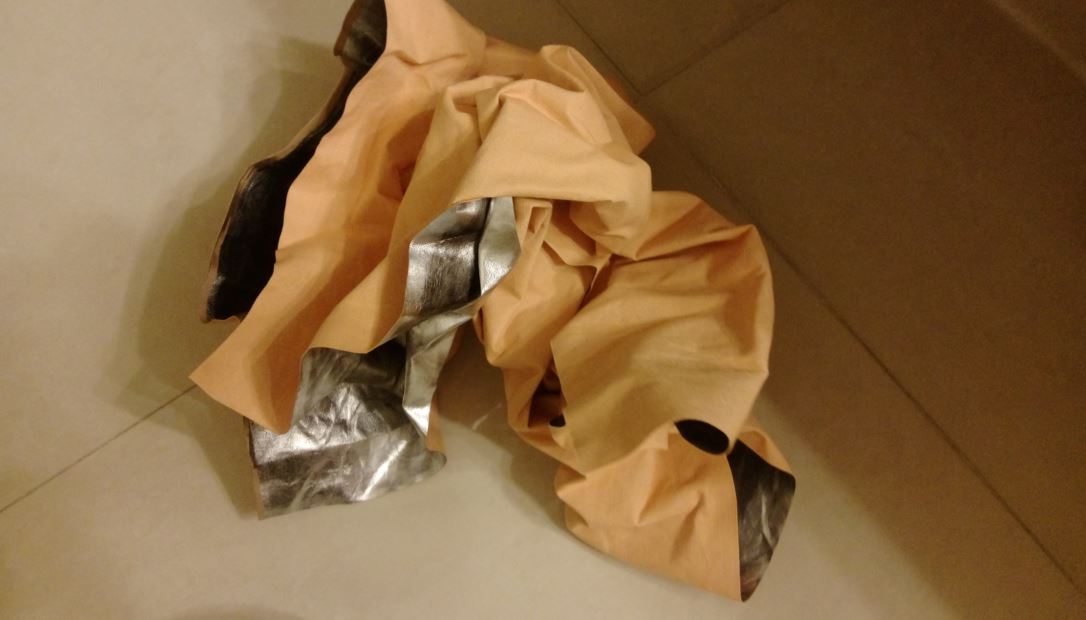
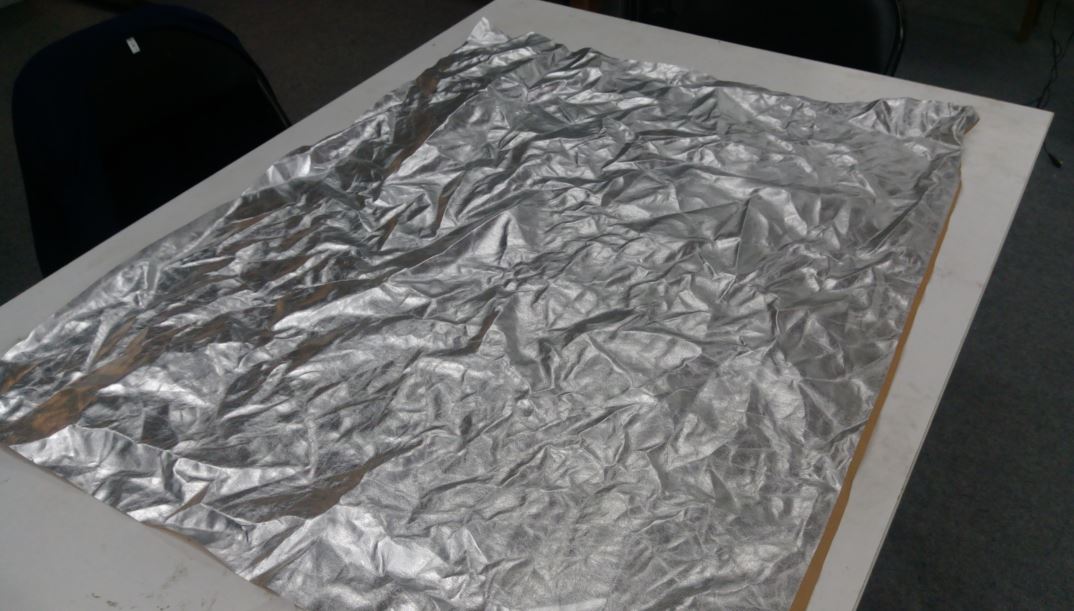
figure 11 : kneading silver cloth to create traces of silver alike.
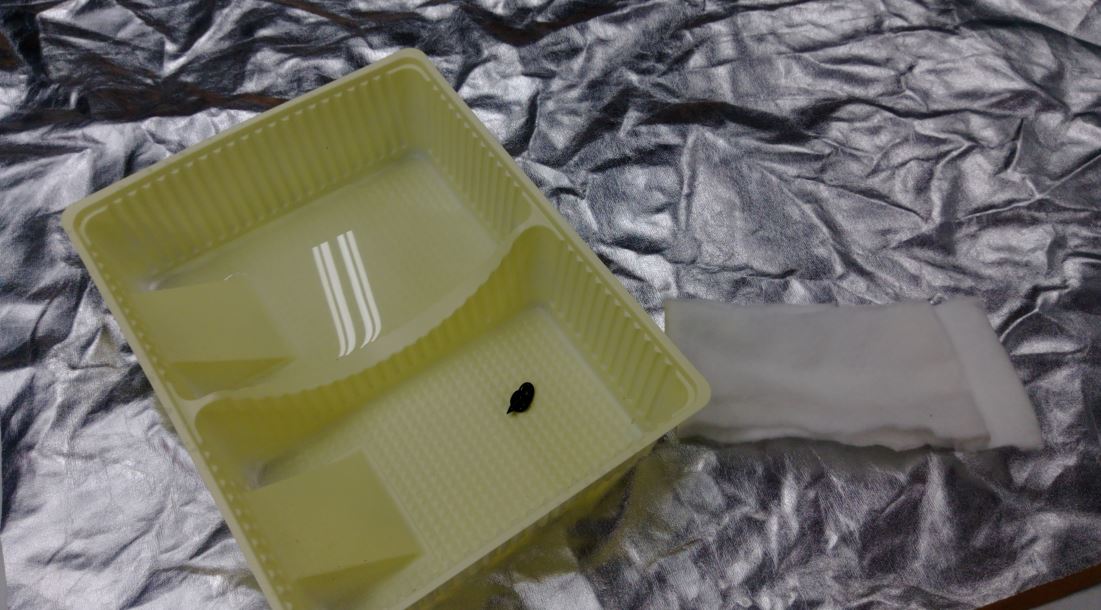
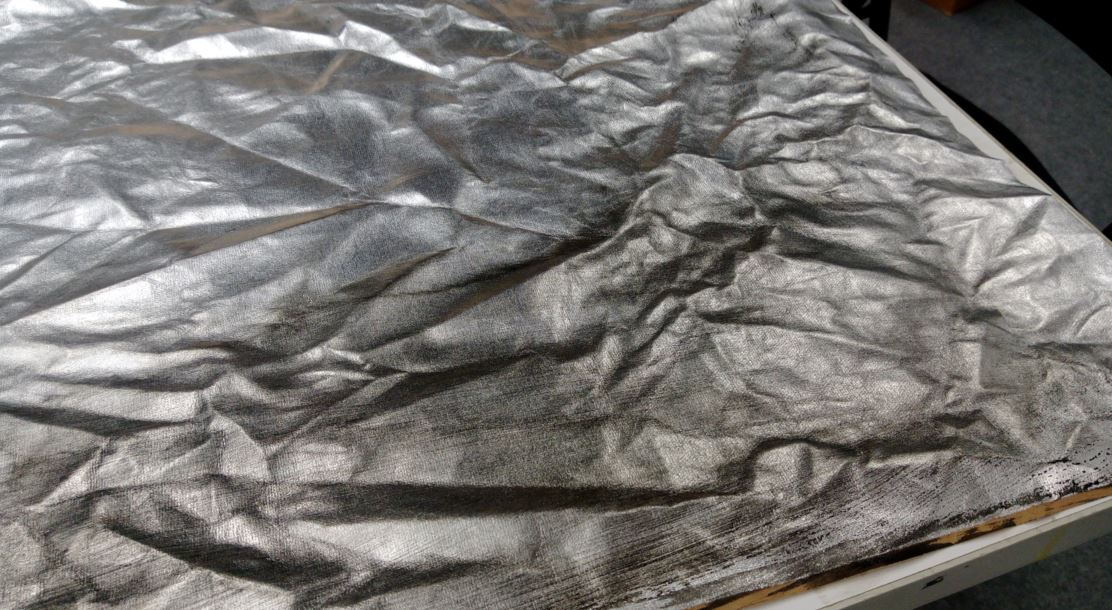
figure 12 : Casually coated with black acrylic paint on the cloth to create the old look.
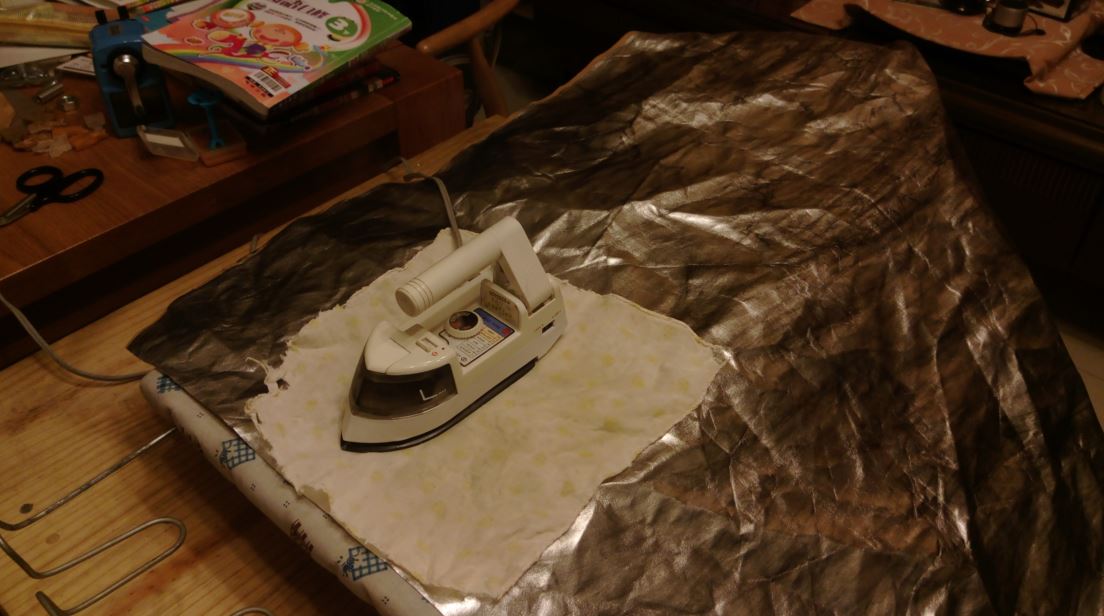
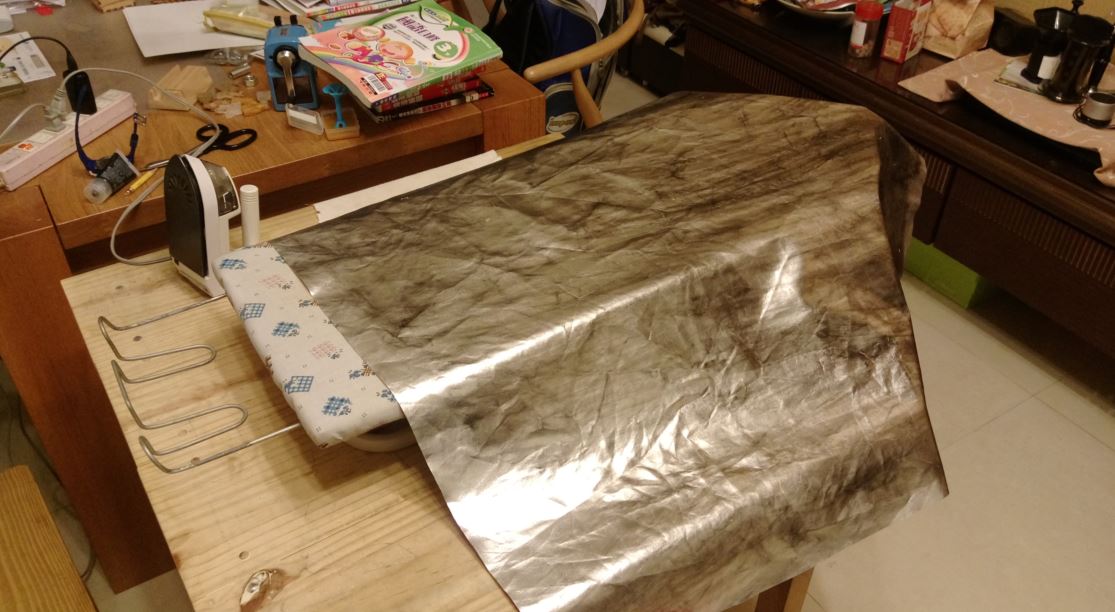
figure 13 : Ironed the cloth.
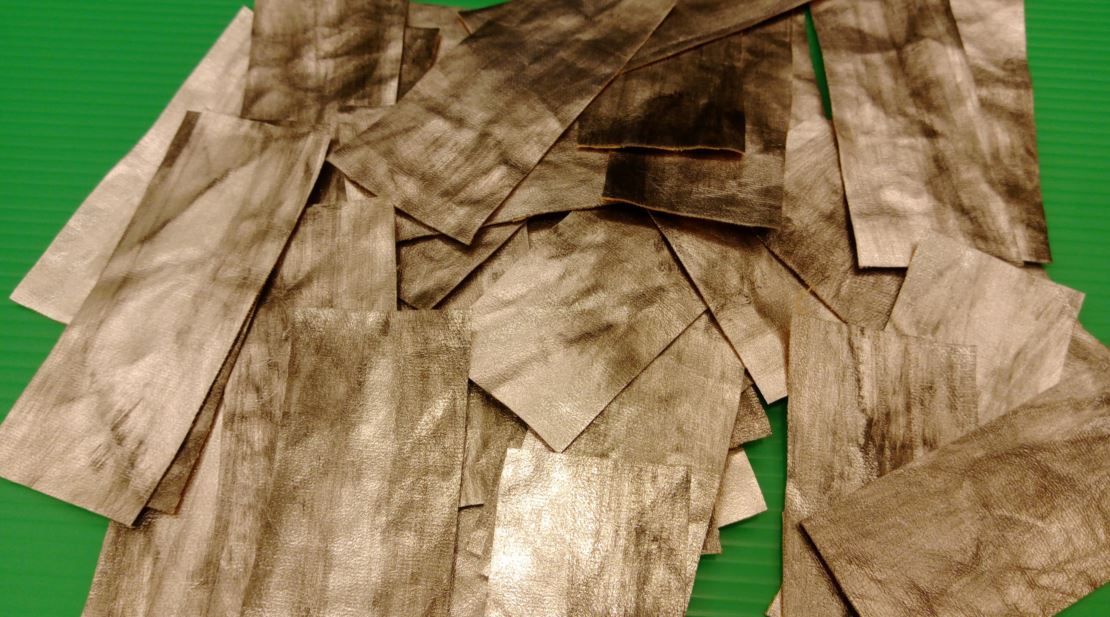
figure 14 : Cut the cloth into pieces.
● Paste pieces of cloth on the mould via epoxy resin
The material I used is epoxy resin, and I need to wear rubber gloves while using it. Epoxy resin has two cans, epoxy resin and hardener. The proportion of epoxy resin and hardener is 3:1. It needs to be waited for 6 hours for hardening. I paste pieces of cloth which were soaked with epoxy resin on the mould and lay a layer of epoxy resin at the end step. After waitting for 6 to 8 hours, I got my silver hrlmat and it looks great.
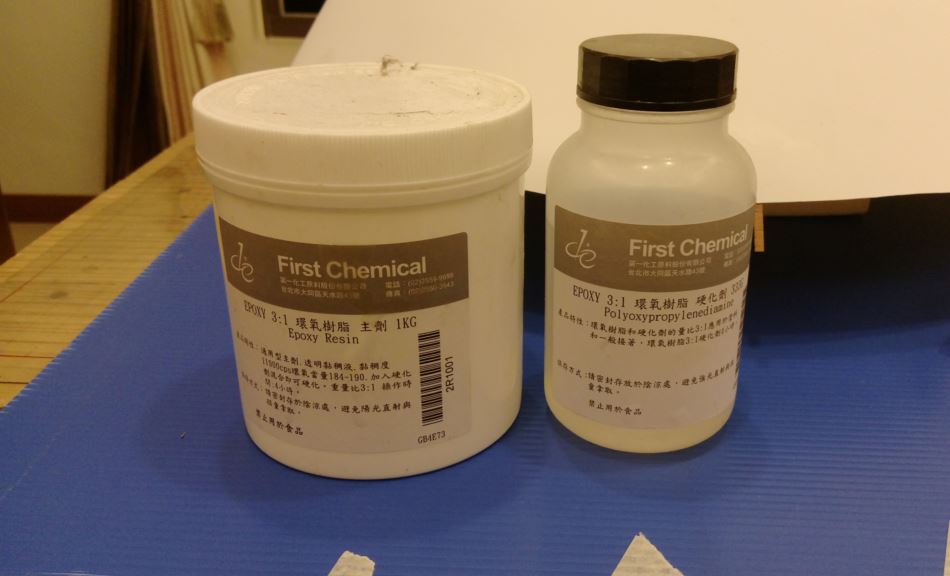
figure 15 : Epoxy resin.

figure 16 : Pasting pieces of cloth which were soaked with epoxy resin on the mould.
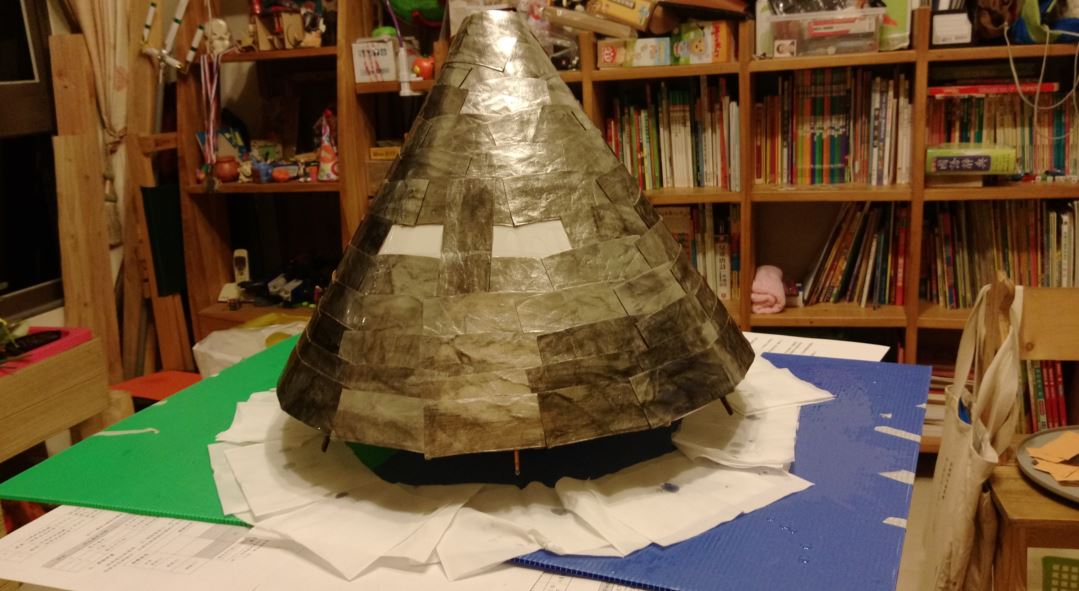
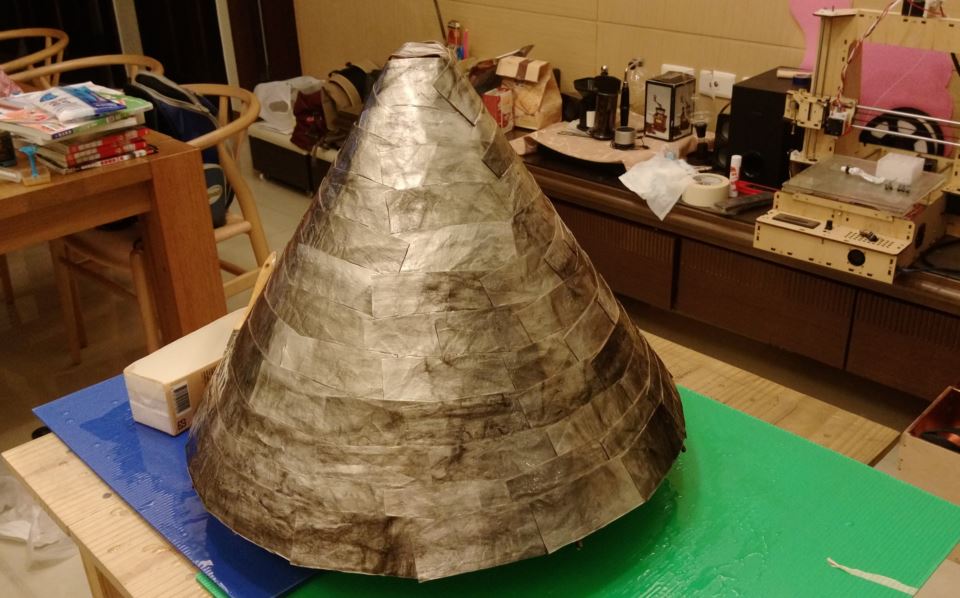
figure 17 : Finish pasting and waitting for hardening.
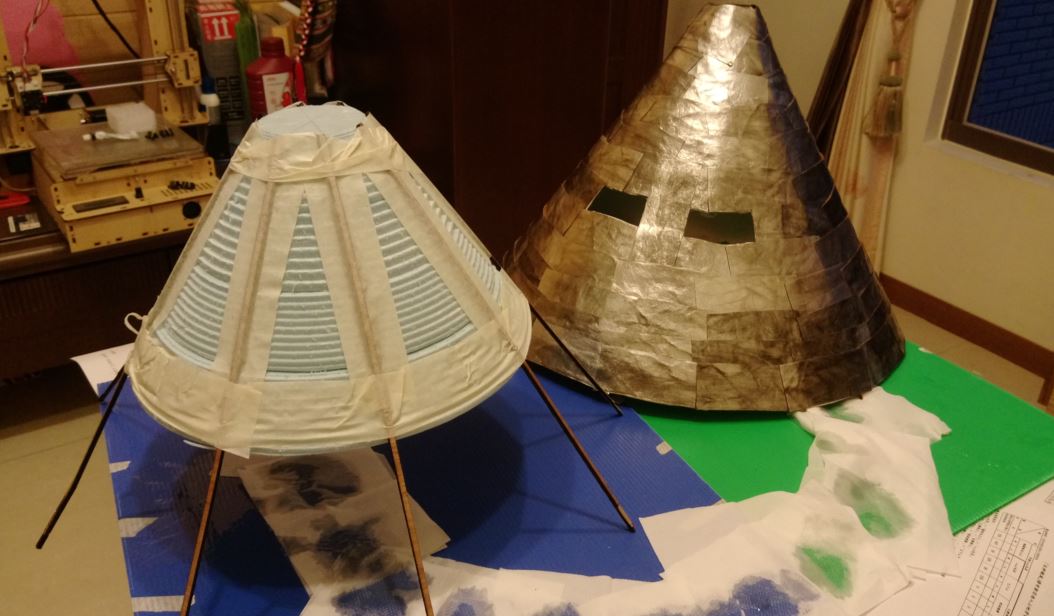
figure 18 : Finished silver helmat and it's mould.
I check both sides of this helmet to make sure the PP paper and cloth cement well. These two materials were cemented very well.
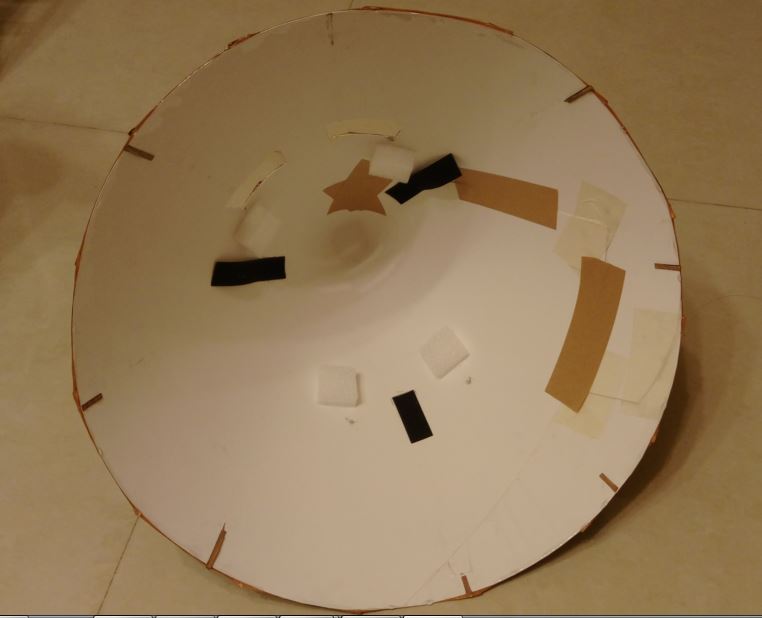
figure 19 : Inside of silver helmat.
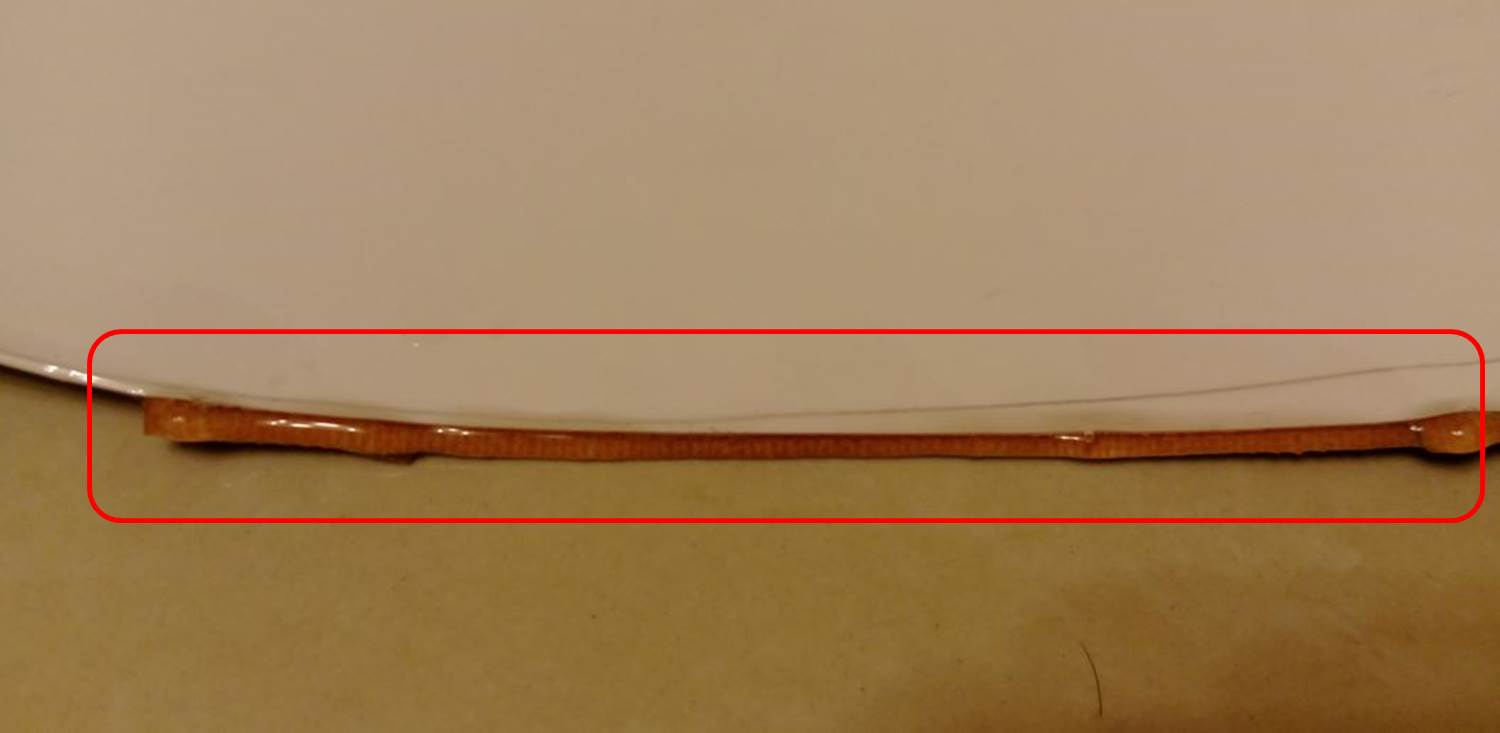
figure 20 : PP paper and cloth cement well.

figure 21 : Finished silver helmat fits my head
● Vacuum it
Because the silver helmet is too big to vacuum it, I decide to remake a smaller one to complete the whole process. I use the uper part of the mould to make the smaller helmet. I do the same steps as above to build the helmet. The only different step is I use stapler to connect each piece of cloth. Then coated whole helmet with epoxy resin.
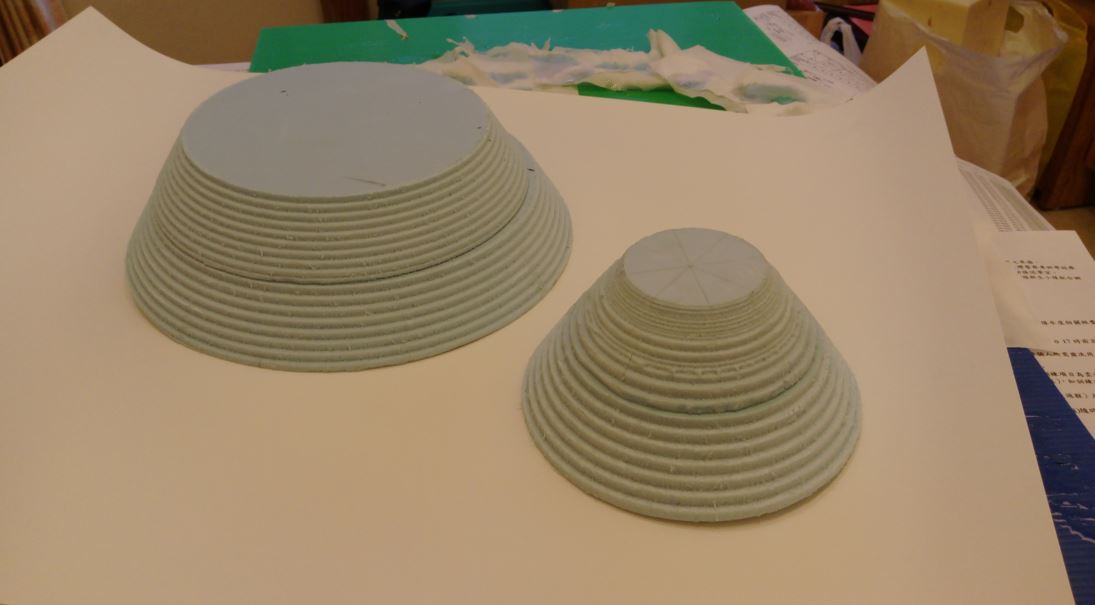
figure 22 : Use the uper part of the mould to make the smaller helmet.
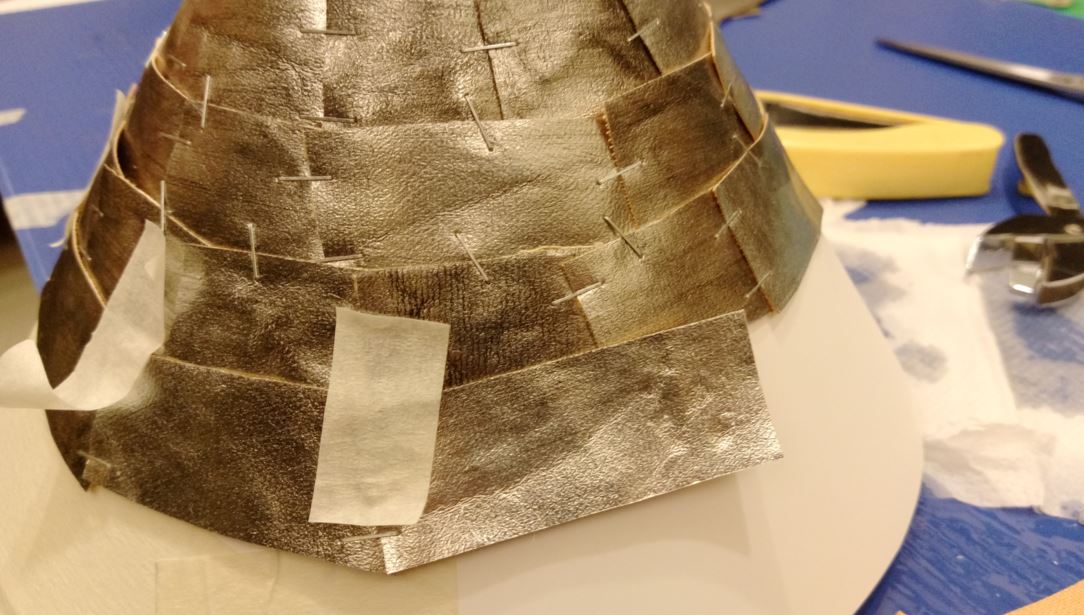
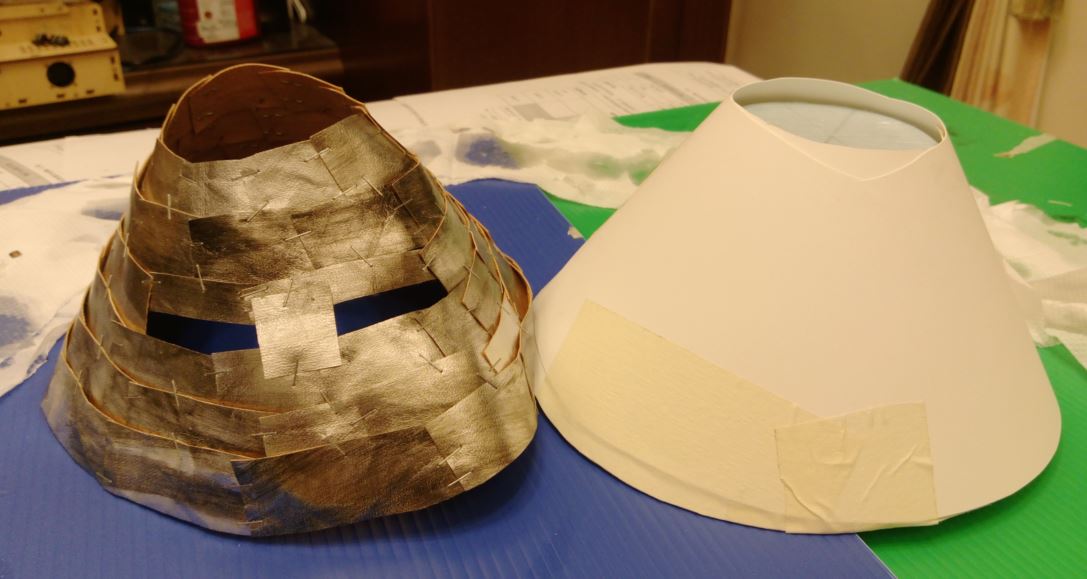
figure 23 : Use stapler to connect each piece of cloth..
The final step is vacuuming the object. I put it into a vacuum bag and used vacuum cleaner to vacuum it. After 24 hours waitting, I unpack the helmet and the result looks good.
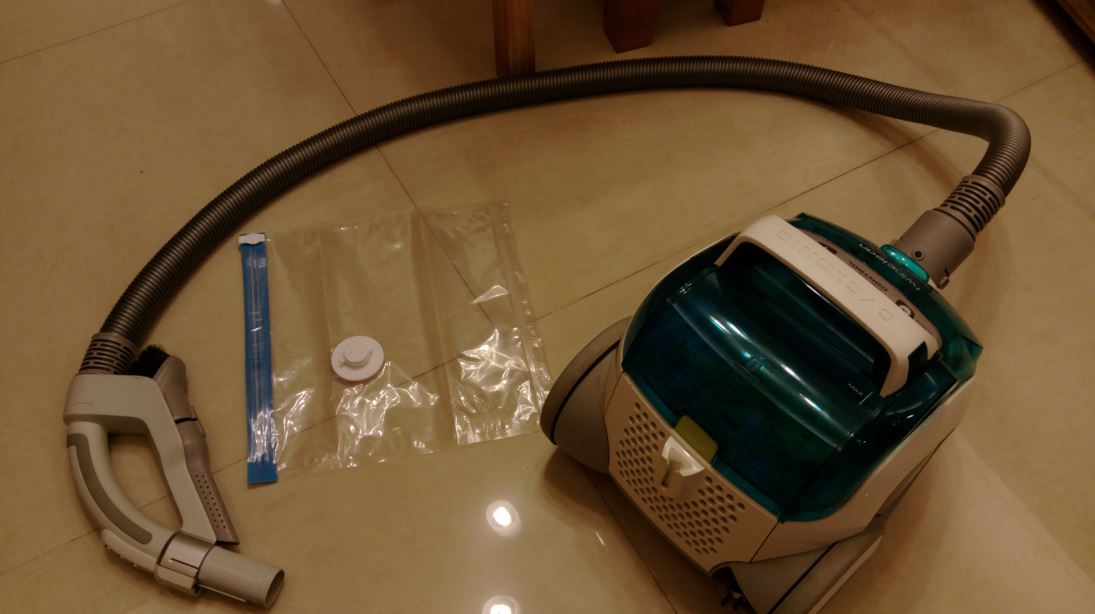
figure 24 : Vacuum bag and used vacuum cleaner.
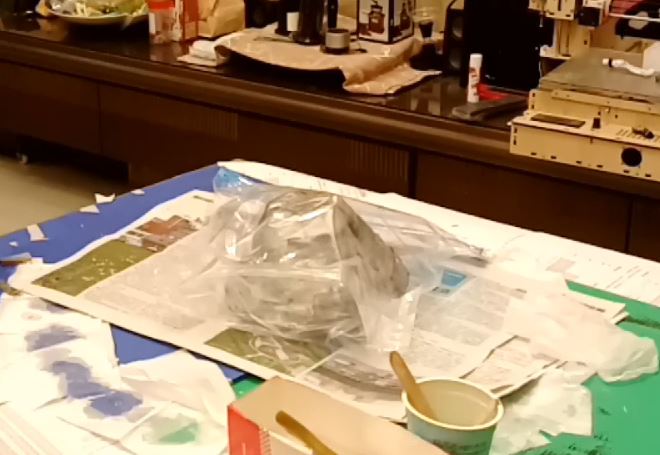
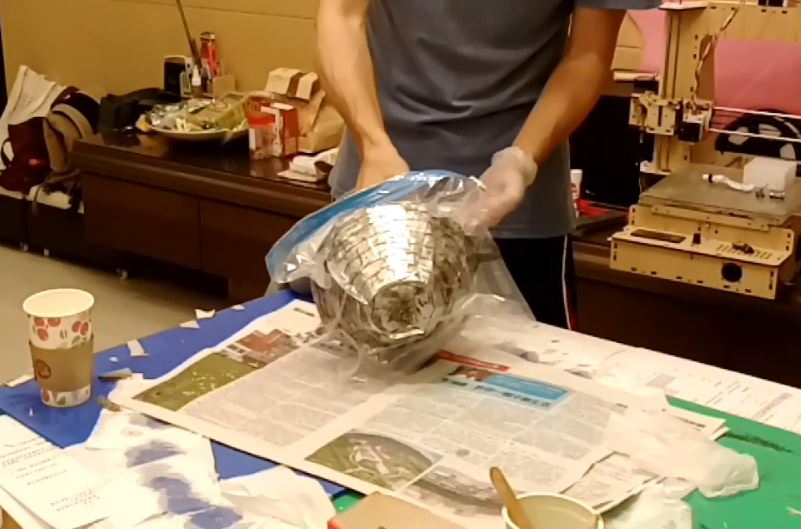
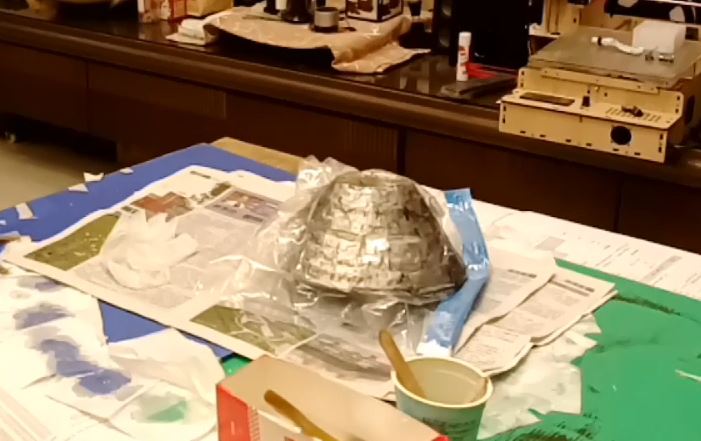
figure 25 : Use Vacuum bag and used vacuum cleaner to vacuum object.
Also,I check both sides of this small helmet to make sure the PP paper and cloth cement well. These two materials were also cemented very well. It also can find the resin is completely infiltrated into the cloth.
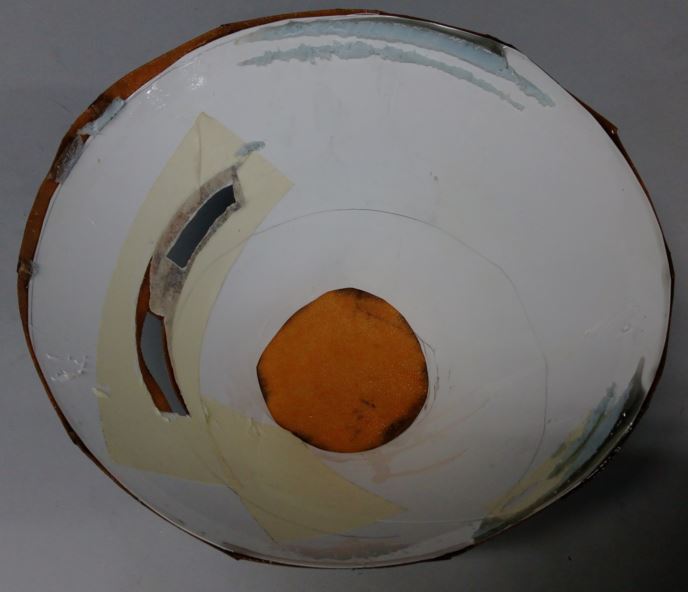
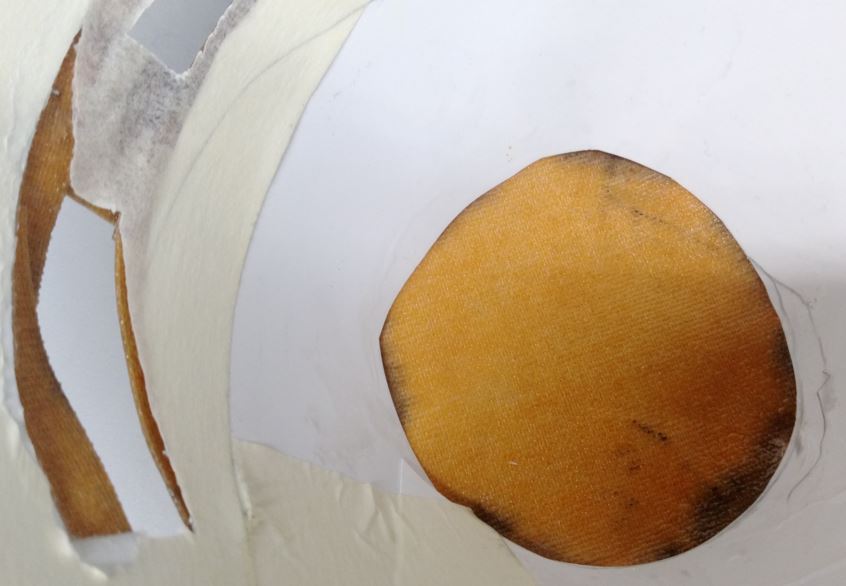
figure 26 : Inside of silver helmat and two materials comented well. The resin is completely infiltrated into the cloth.
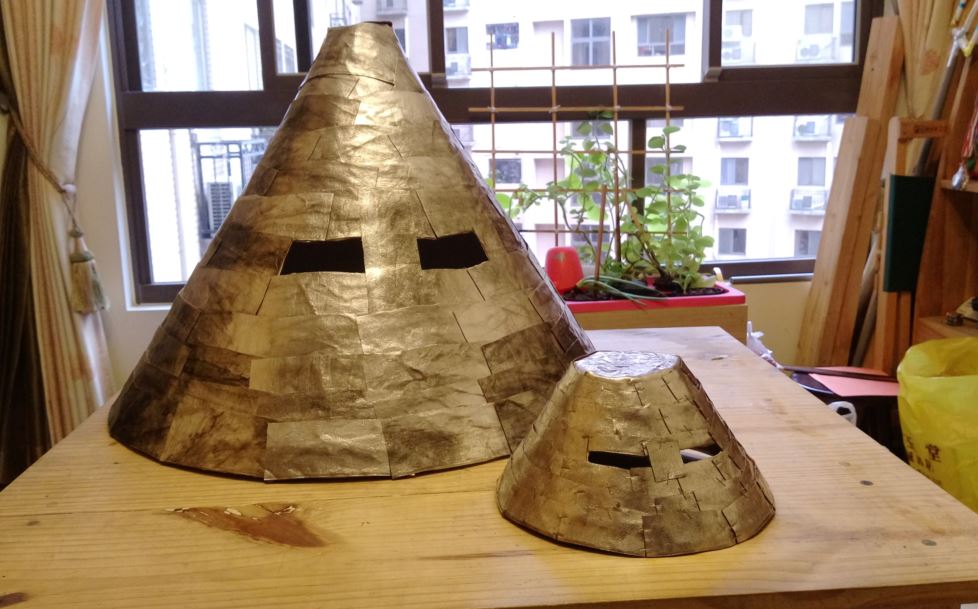
figure 26 : Big silver helmet and smaller one.
The vedio of the process of making composite helmet is as folllow: