This week was super fun! I managed to produce a little stool and a big cabinet for my studio.
I have learned how to operate Shopbot, prepare the file in Vcarve, made some tests and it all worked well with satisfying results.
There were moments where I felt like oparating such a powerful machine is a bit scary but because me and Ana were always together in the lab we always had things under control.
Few useful things you can do to your file in VCarve:
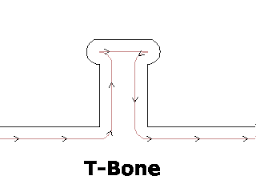
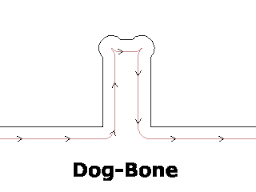
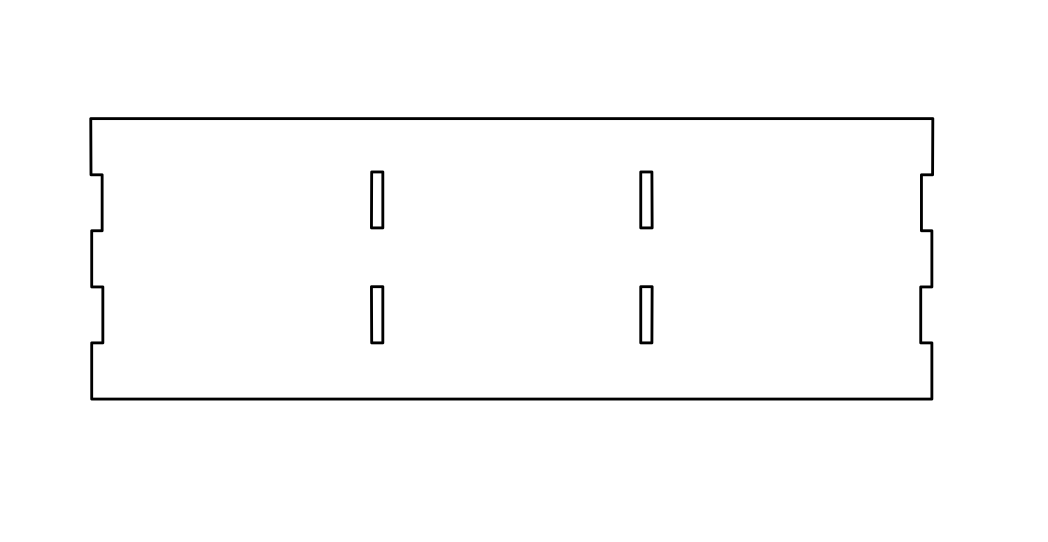
Making T-bone and Dog-bone cuts to remove material from corners
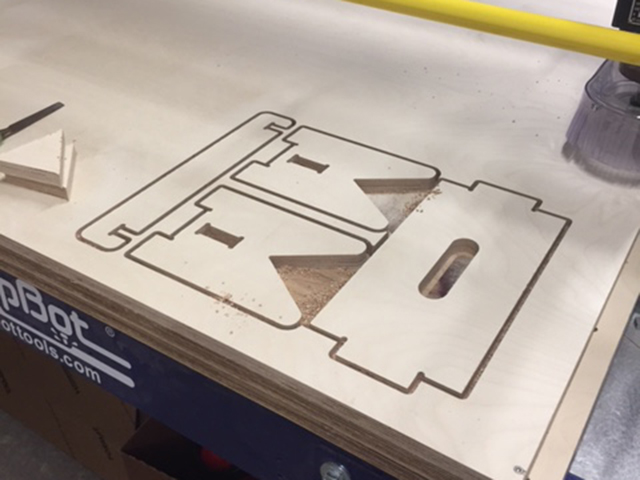
Creating tabs to secure elements while being cut
SHOPBOT
First of all we have looked into what tools we have and how do they look.
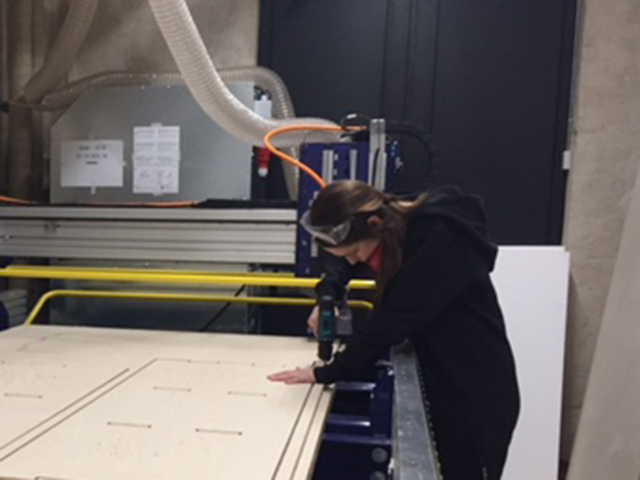
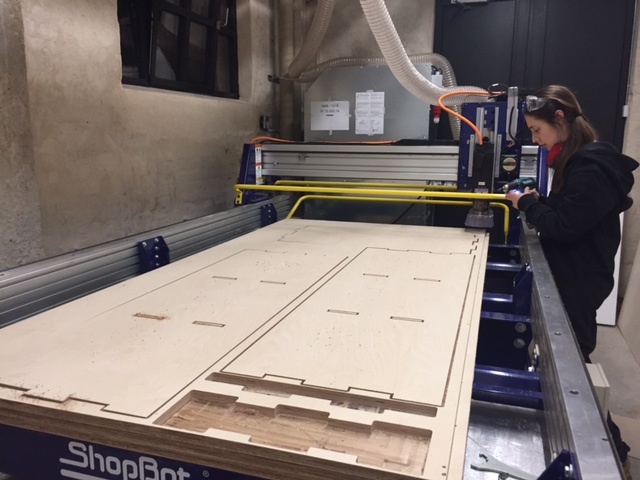
MOUNTING THE MATERIAL
Sheet material has to be securely mounted onto the bed with multiple screws.
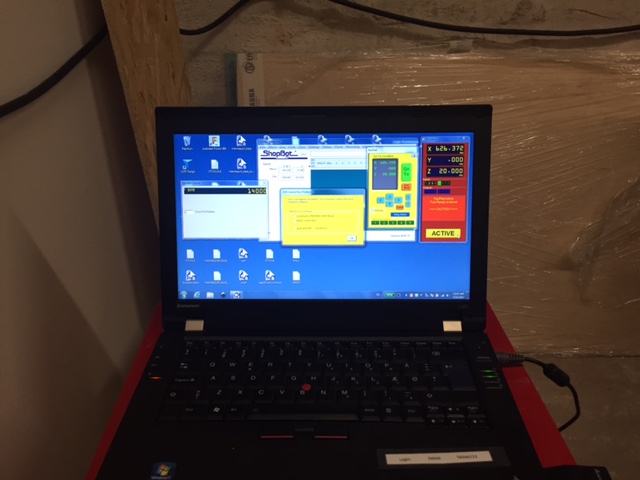
CUTTING
The SHOPBOT interface is a little less intuituve but after few times I managed to memorise the routine.
1. Make sure machine is disabled
2. Change the tool
3. Turn on the machine and press reset (to hear the click)
4. Press k to open the keyboard
5. Move the machine arround to find the place when you want to zero it
6. Zero x and y axis than close the keyboard
7. To zero z axis there is a special tool which can be acessed though the script under the cuts menu
8. Use the metal tool to zero z axis
9. Open the spindle speed conrol window (press R)
10. Now you can cut your part
11. Upload a previusly prepared file from VCarve
12. Press start, than press the start button on the console, wait until you hear the spindle turning
13. Turn on the extractor
14. Press start on the computer
15. Make sure you sit close to the computer and watch the job (if anything goes wrong you can pause it without reseting by pressing space bar)
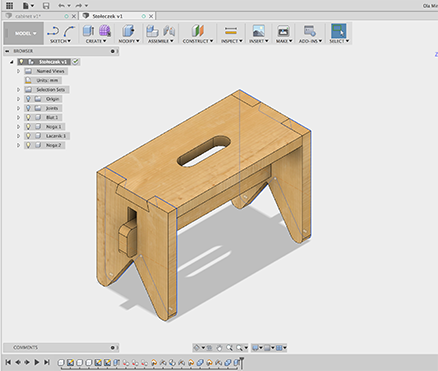
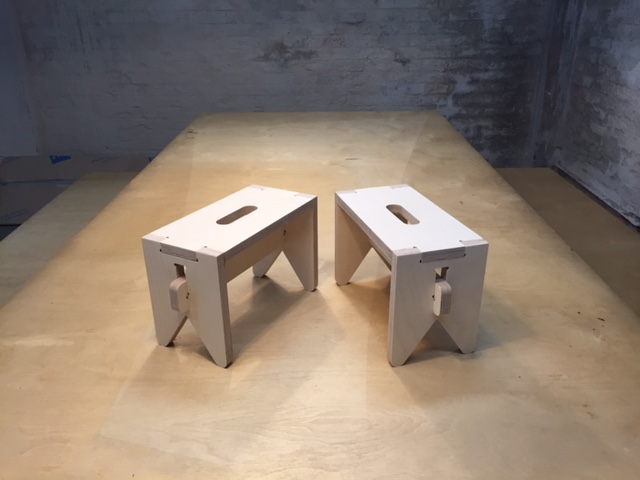
LITTLE STOOL
For making the little stool I used a file I created in week 2. Because the stool is so small I decided not to do a test cut for the joints but go ahead and cut the whole thing straight away. I think it was a mistake It is better to be patient, test the joints and than make a proper copy once you get the dimentions right!
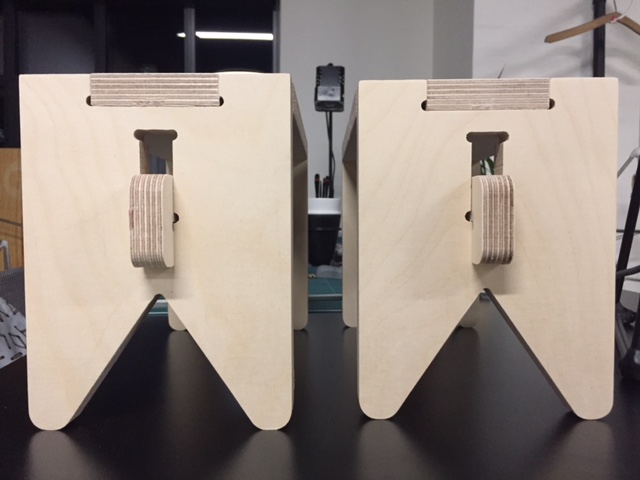
From my unsucessful attempt I have learned that also I have accidentaly modified the size of the top element in VCarve. I also forgot to add offset to the cut out hole so the element fits inside without hammering it in. In the second run I have added 0.3 mm offset. It worked well and the second stool was a sucess. I decided I was ready to move on to something bigger!
Material: 18mm birch plywood
Tool:
Spindle Speed:
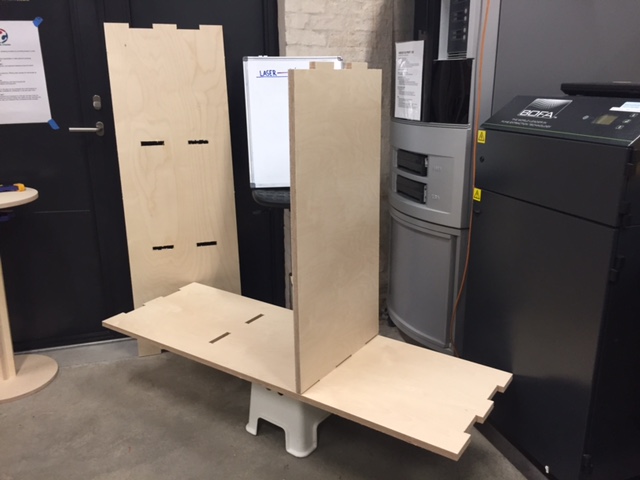
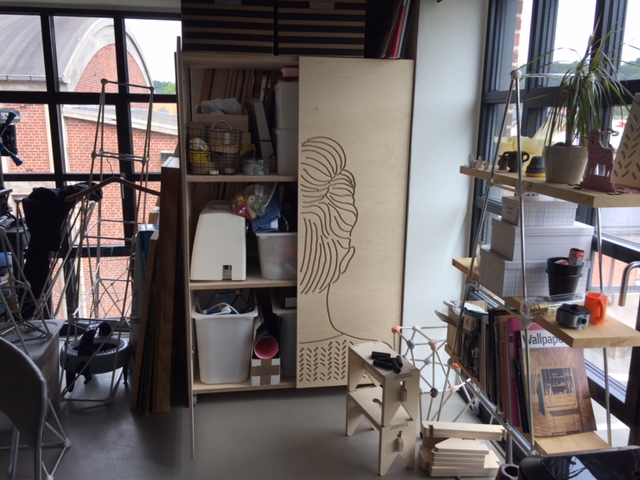
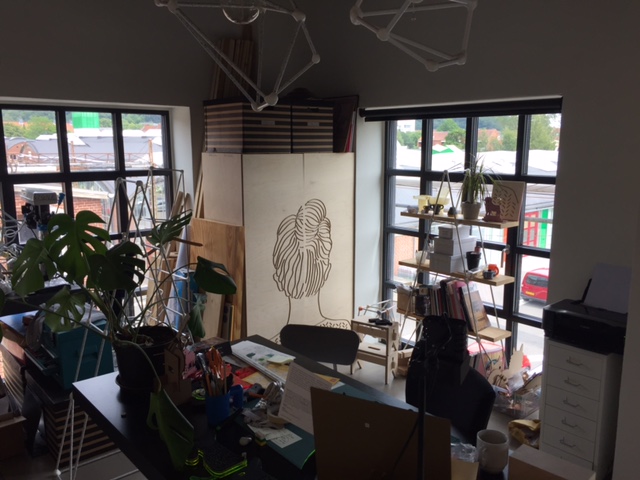
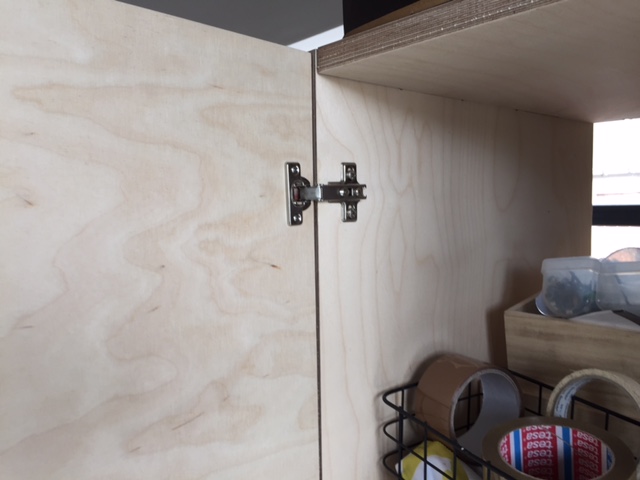
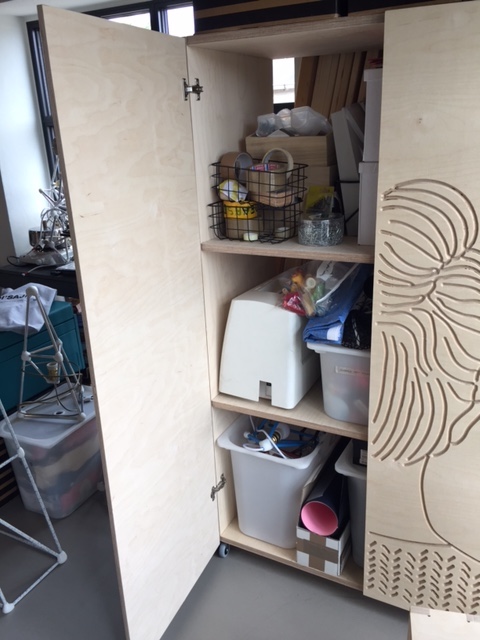
CABINET
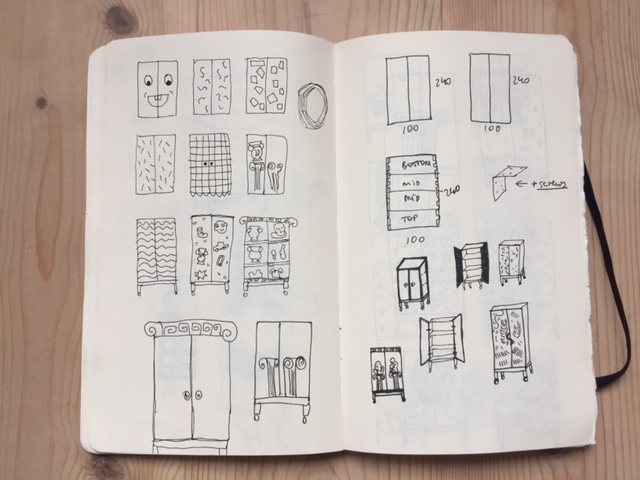
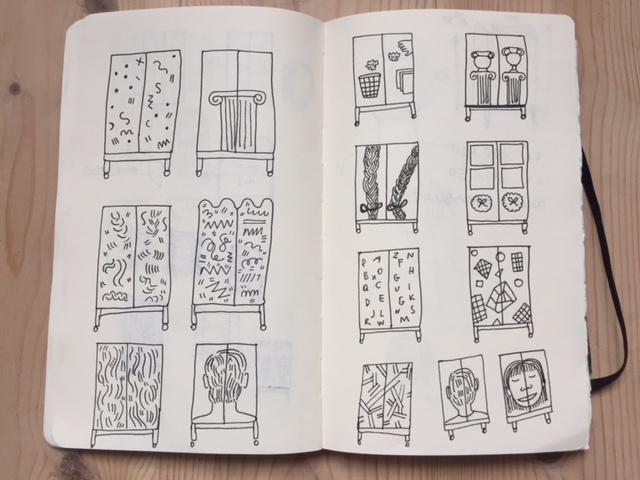
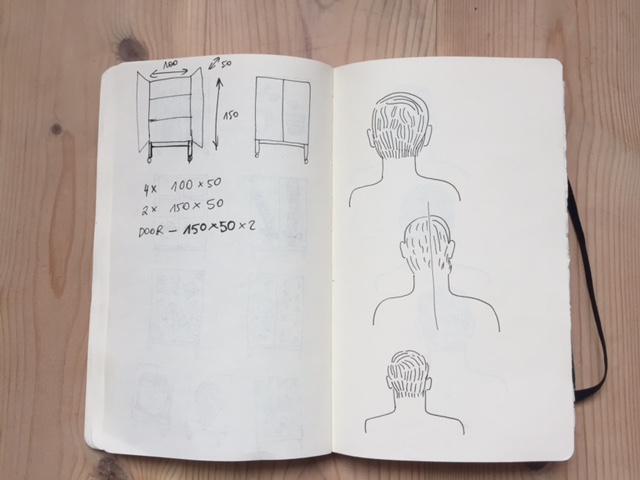
DESIGN
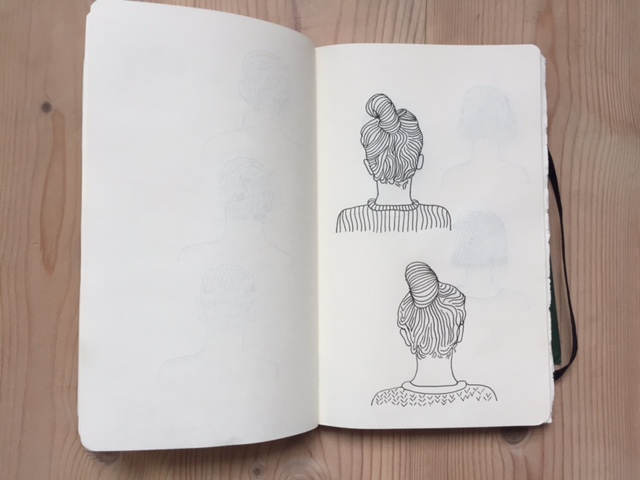
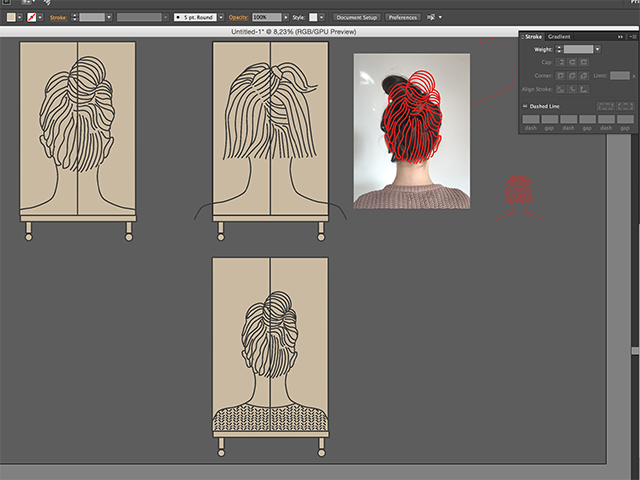
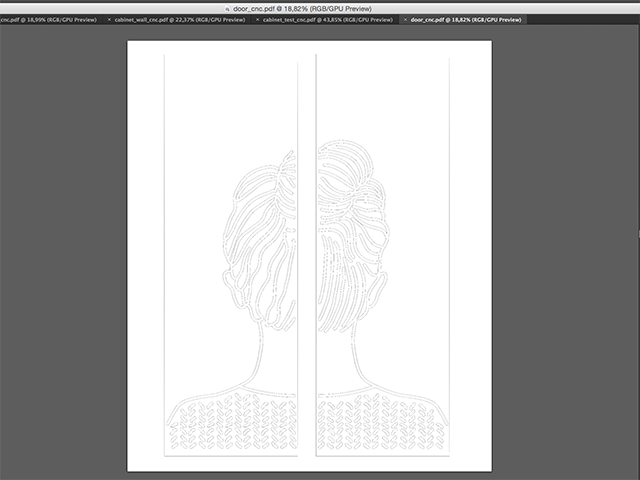
DRAWING TO BE ENGRAVED ON THE DOOR
I have made few drawings and took a picture of the back of my head. I've imported drawings into illustrator and edited them there.
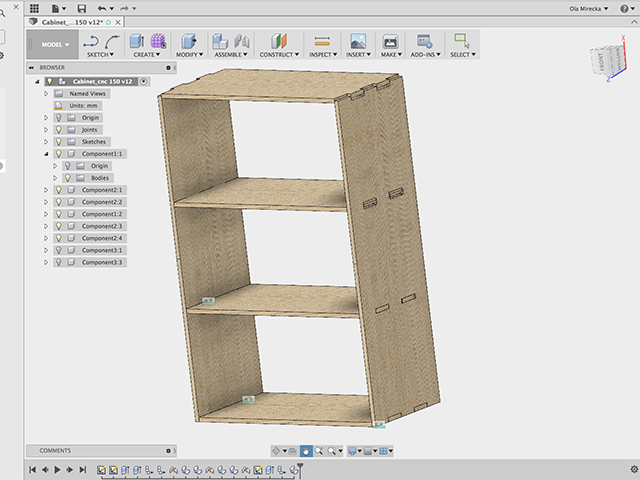
DESIGNING IN FUSION 360
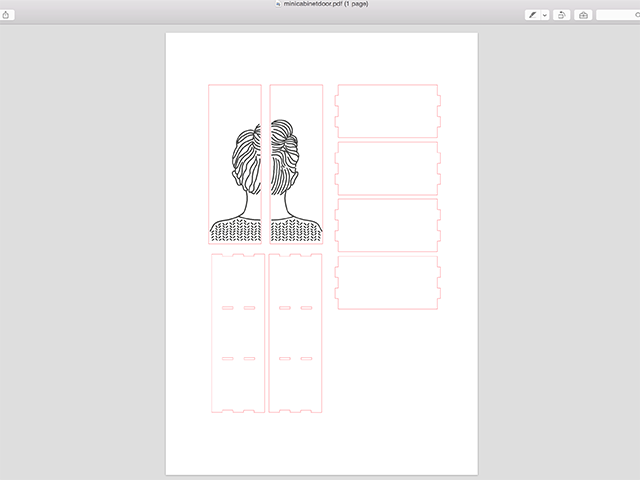
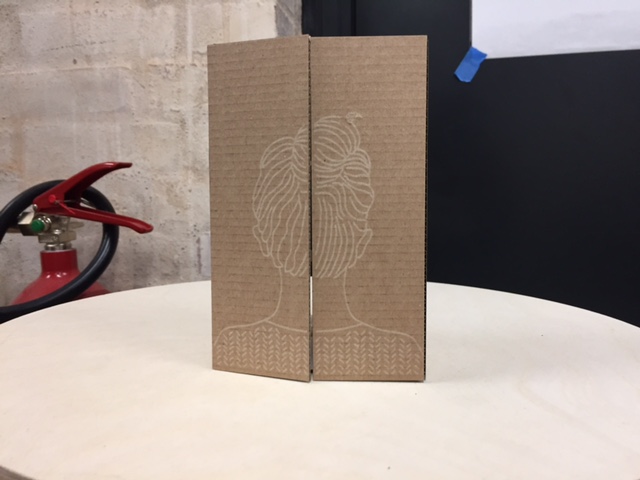
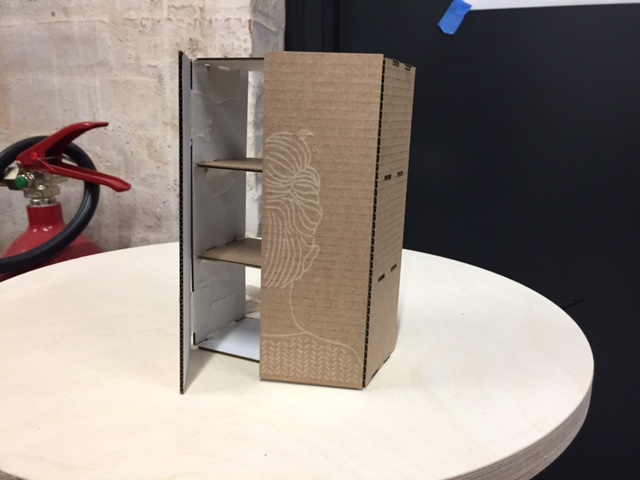
LASER PROTOTYPE 1:10
To test if my elements fit together I run a scaled test on the laser using cardboard.
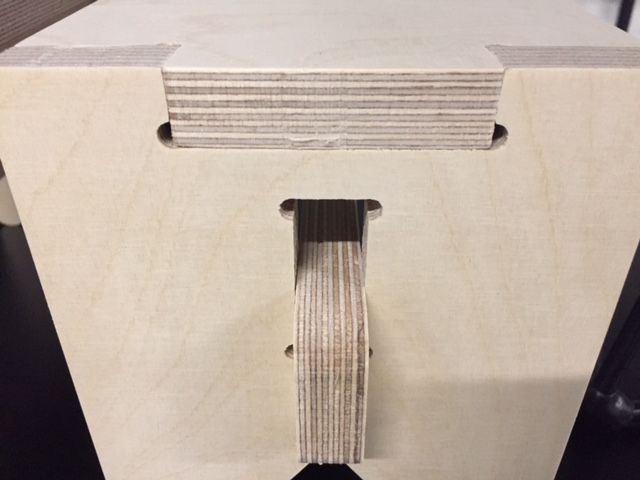
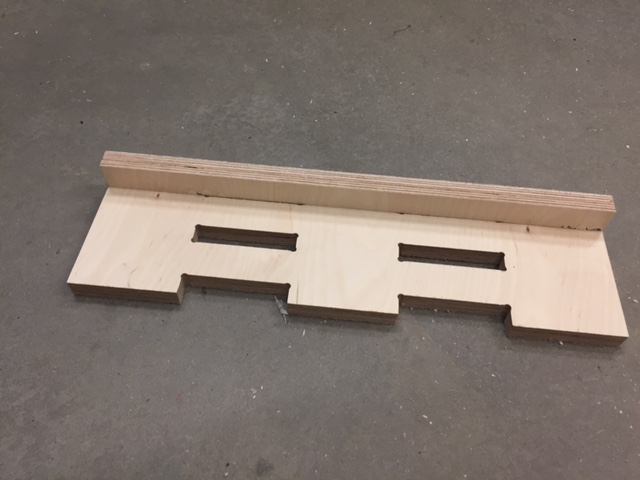
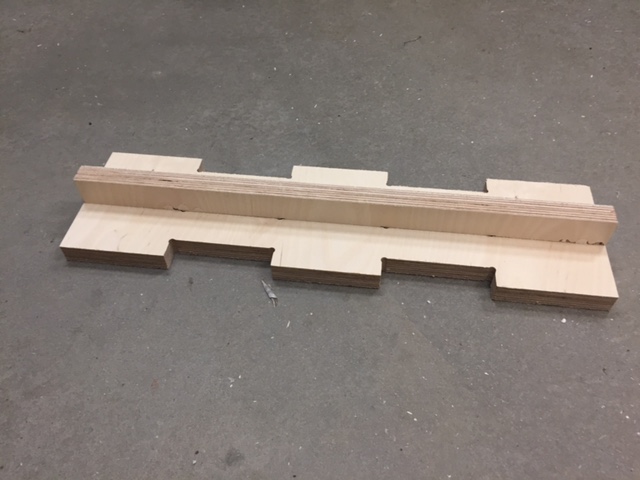
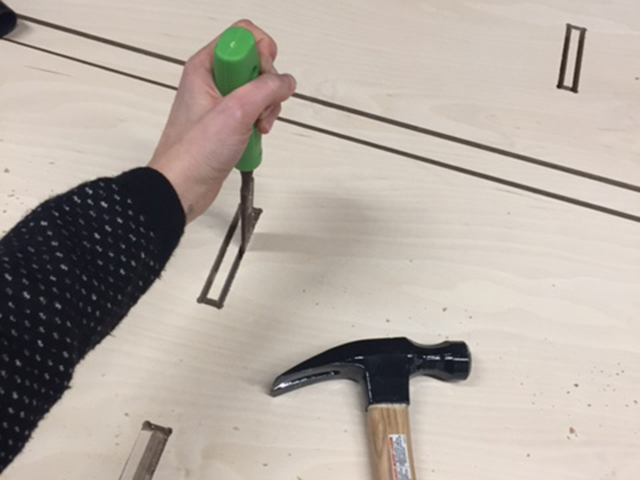
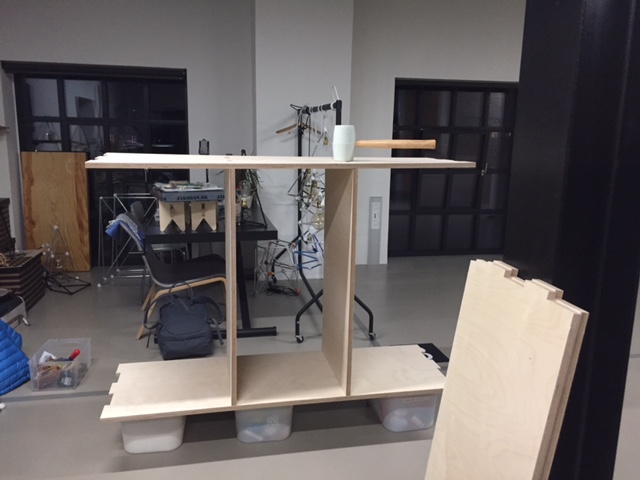
TESTING THE JOINTS
I also did a test to check if the actual 1:1 joints are well designed and if they have enough offset. It would be a waste of material to make something that big and afterwords find out that it doesnt fit together.