06. Electronics Design
Prepare the files you need
2.install it and run it.
I found that all links in the tutorials pages are not available. So I went to the schedule page to get the resources and I cannot download the Hello World module.
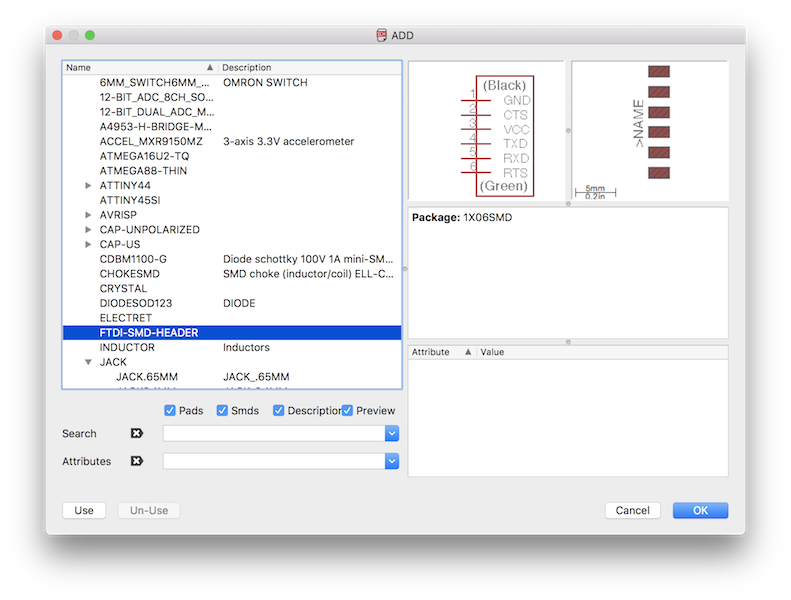
Add components to the eagle - downloads the fab.lbr and put it into lbr files. Then kick libraries/used in the toolbars inside the eagle's UI. Then, go to Edit/Add... to add the components - you can search the conponents you want or find it in the fab.lbr
I can't find the JP1 so I used FTDI-SMD-HEADER as a substitution.
Here I got:
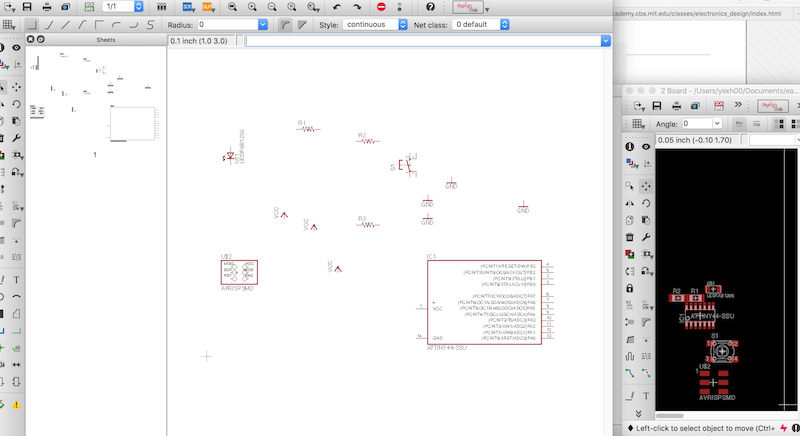
Route the Traces on the Board
Go to the top menu > File > switch to board
You can't close the board mode.
Go to the toolbar - net to draw the net in the schematic mode
Use net to create a net and then use lab to creat the lab and use the name to change the name
Then the eagle will warn use whether you want to connect the net, click "yes"
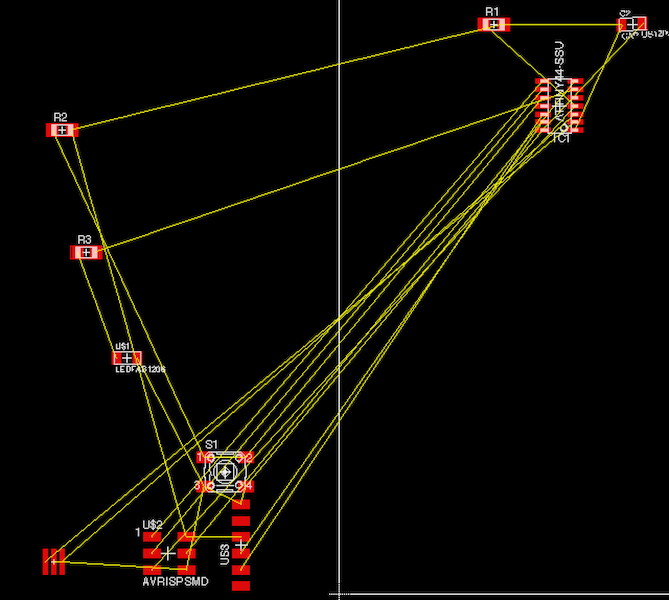
Here you see I use net/lab/name to finish my homework:
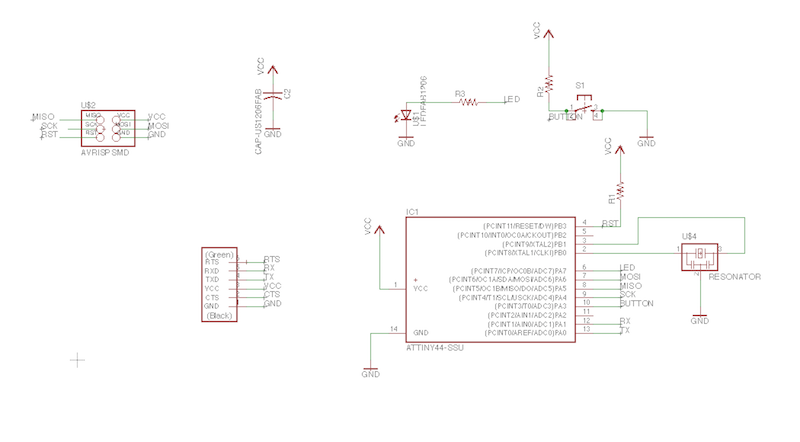
Now if you change to the board mode, you will see
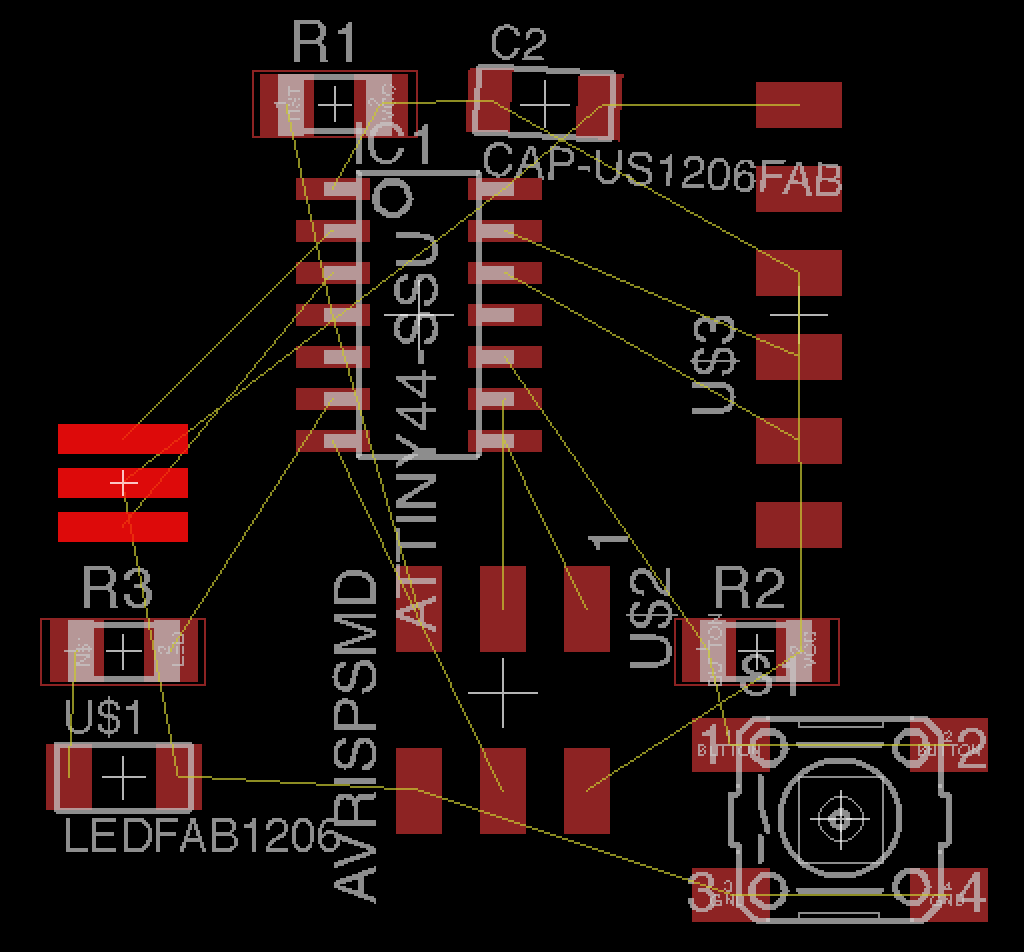
Then in the board mode, put the components into proper situation, ( I found I Reverse the R2.R3 so I put R3 in the place that R2 might be in the tutorial pages.
You can use the toolbar > Ratsnet to see the shortest net way. ( You can see it more clearly after using it )
Here I did:
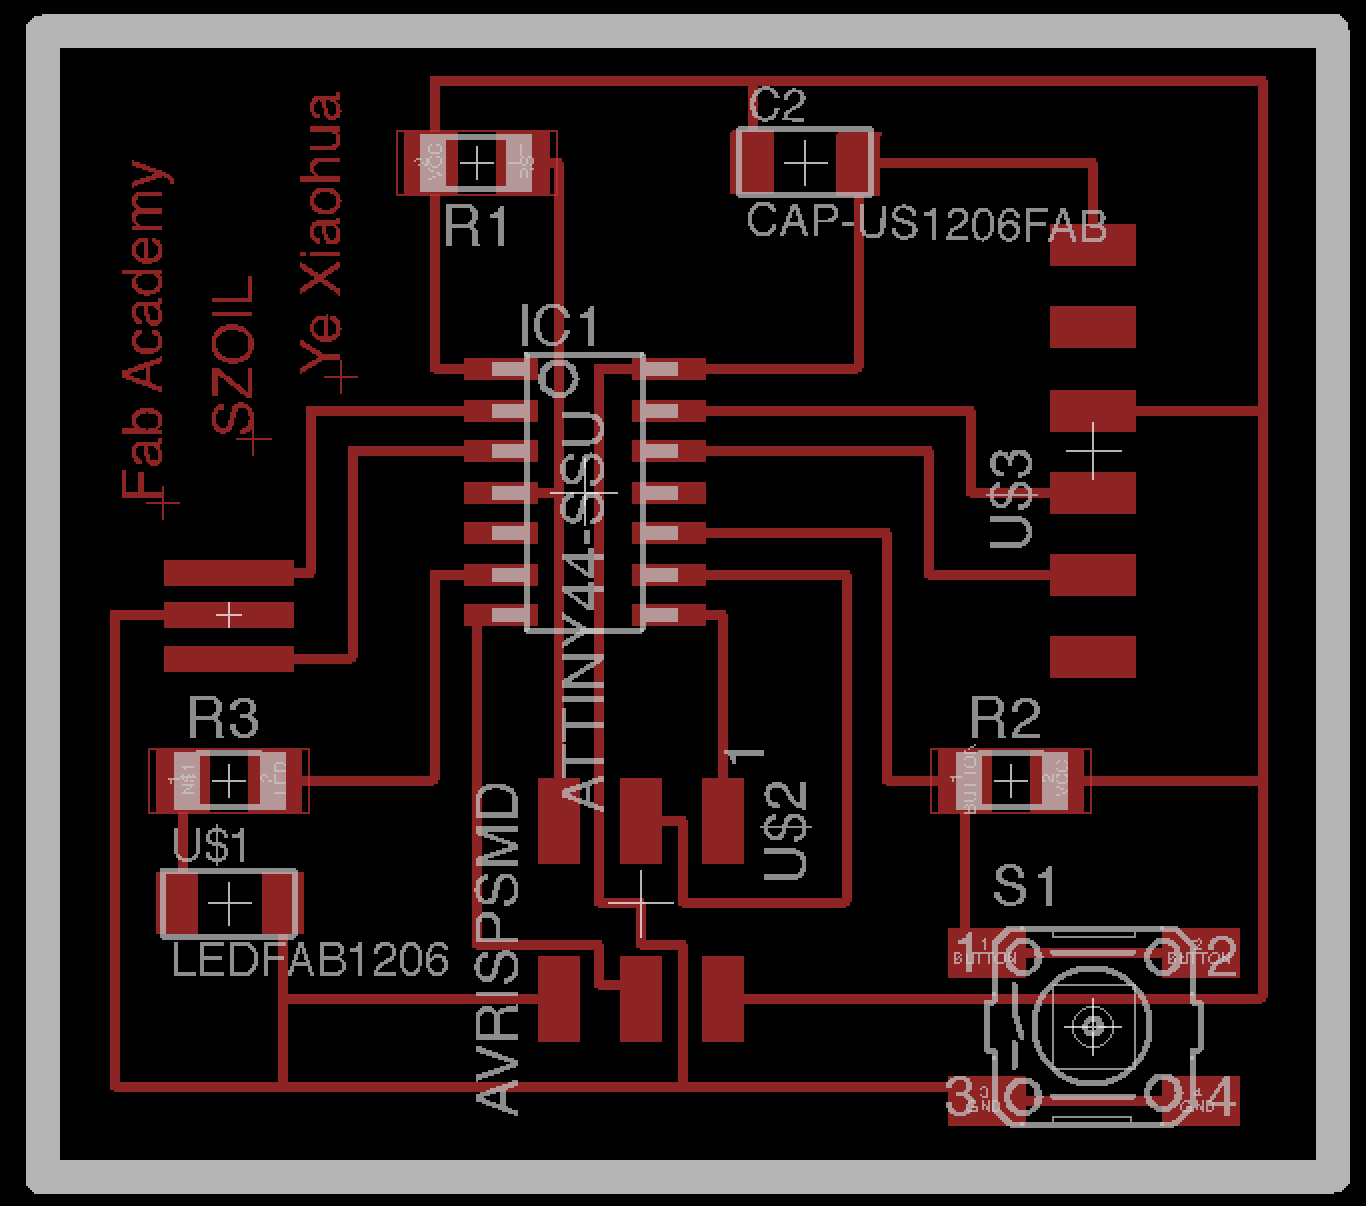
Then, use toolbar > Routes manually and use the TOP1 as the layer
...I found it hard to put them so close, so I changed and routed it again
Then I set the frime's width to 1.016mm
Here I finished:
By the way, you can change the minimize movement by changing the grid setting.
Cut it!
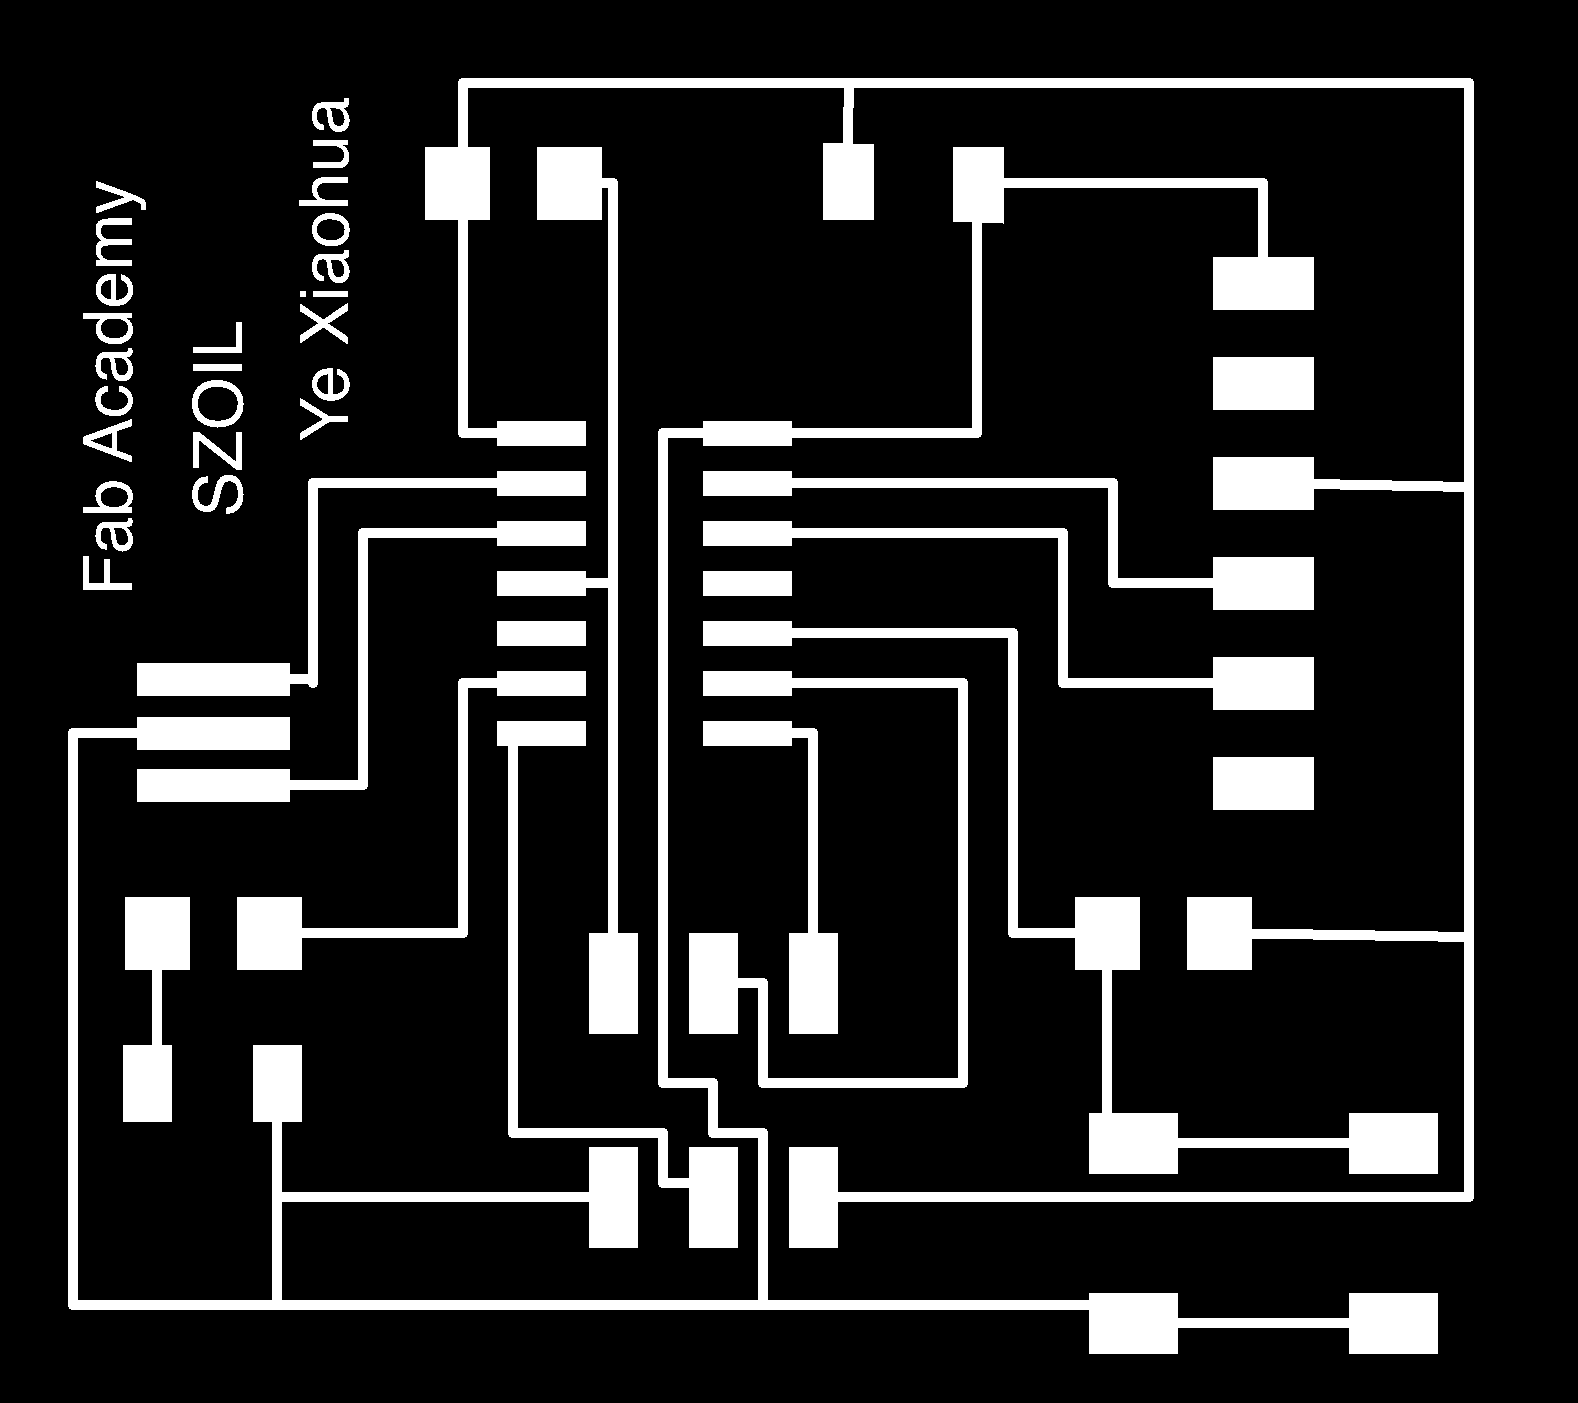
Exporting a Board Design to be Used with Modela
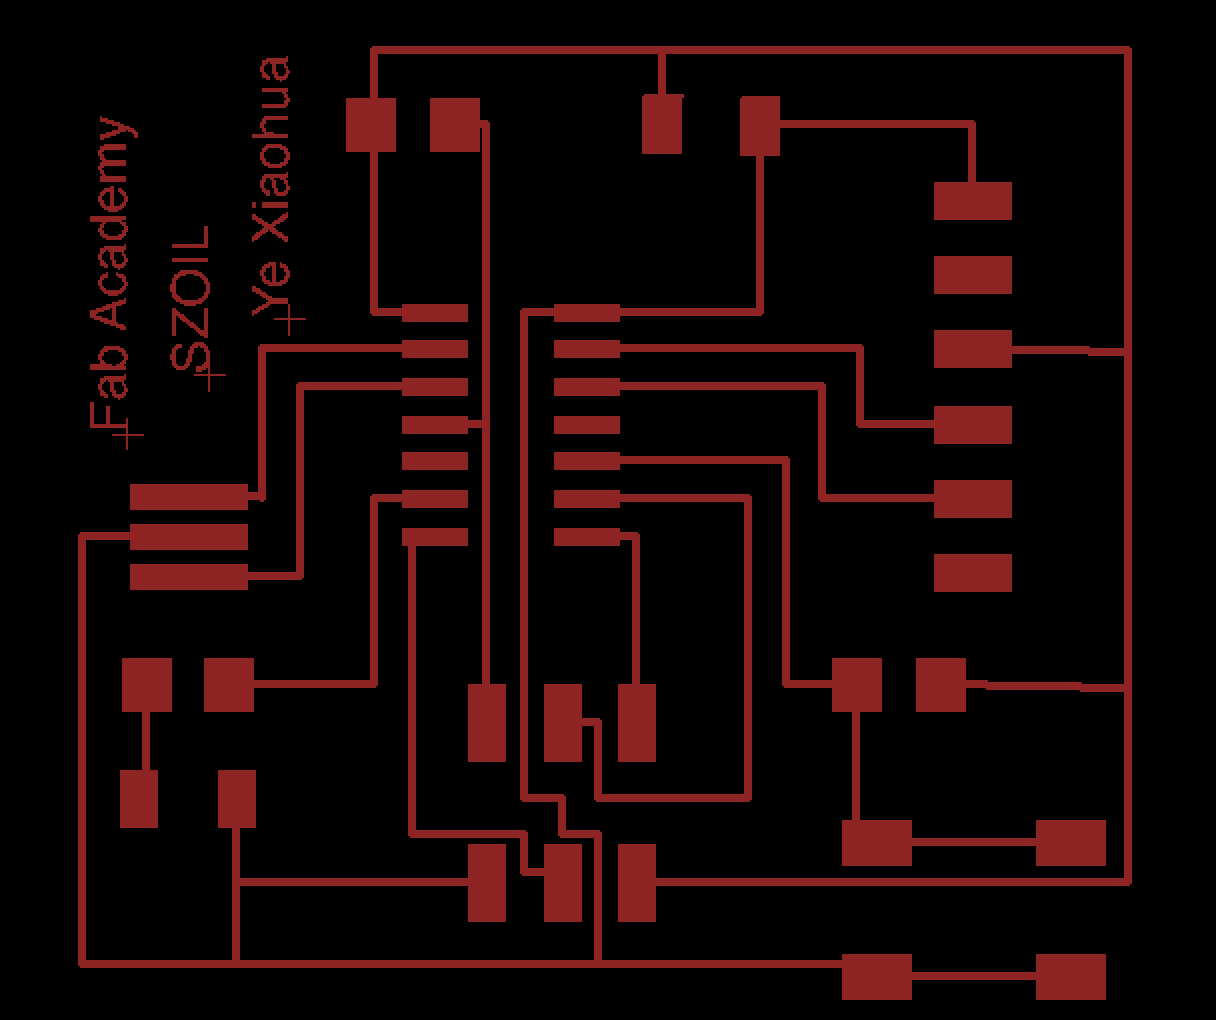
in layers menu in the top toolbar, select the only the top layer (traces only) - I select RED only
Here I got:
Then export it as .png file (file > export > image)
Make sure that settings should be MONOCHROME and 500 DPI - this will export a image with white traces.
Make sure the color mode is set to greyscale: image > mode > greyscale
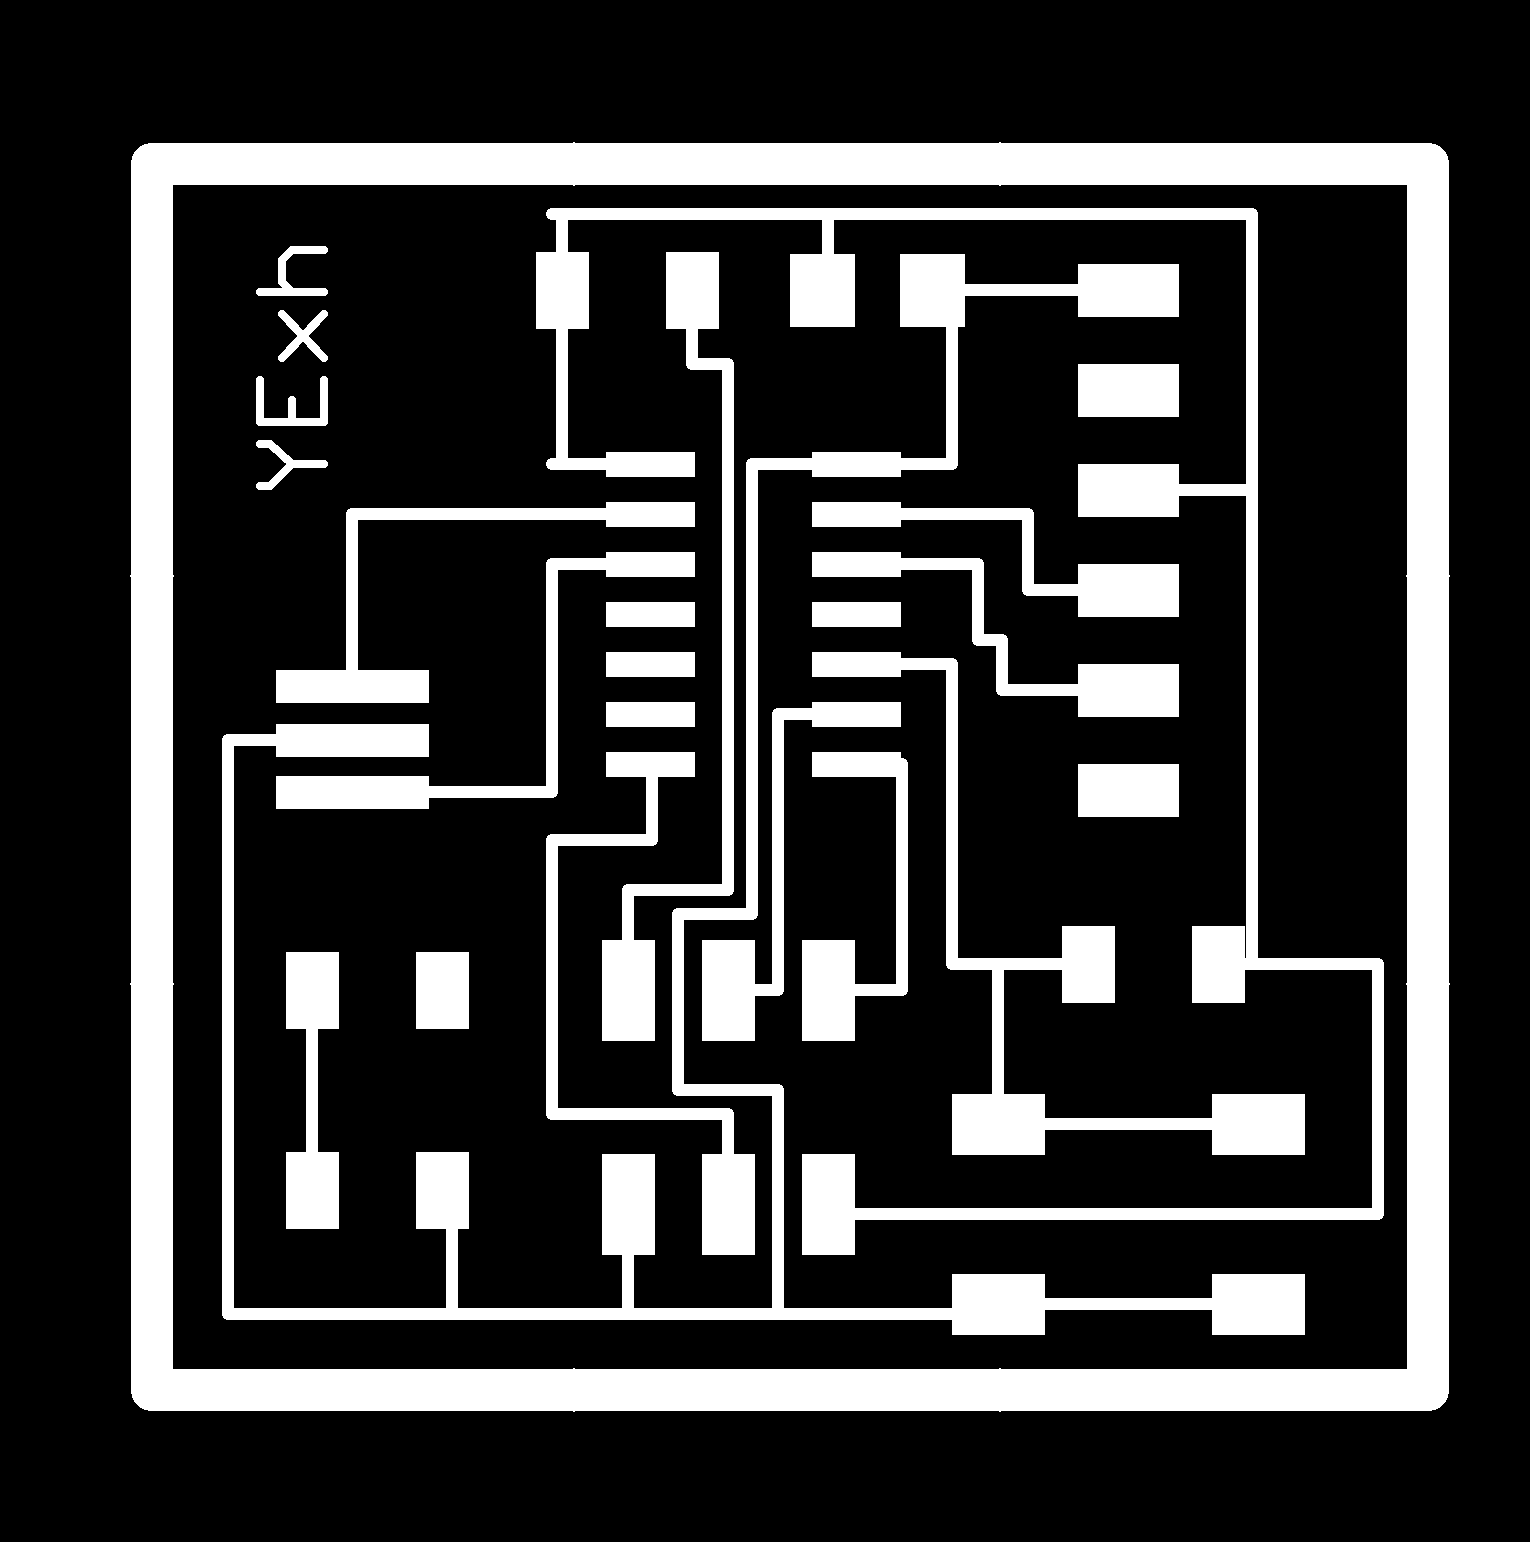
Then export Dimenson layer for milling the outside of the board.
Be careful that the Modela cuts out the DARK and leaves white.
Editing Board Files / Creating Traces and Mill-out Files
01.Open up your board traces .png in The Gimp
02.Crop the file to the proper size.
03.Go to the "Images" menu > Canvas Size - you will see the size is 500ppi.
04.Add a White Border around the image
Here I got:
And also export the outline and do the same steps:
Use the fabmodules and Start milling.
Then, I found that there is a error in EAGLE - all components are larger than it used to be
Here you see:
Additionally, there is a bug in my computer - I can't save the file so I redesigned one:
I solve this problem by changing the dpi into 1000 when calculating in fabmodule.
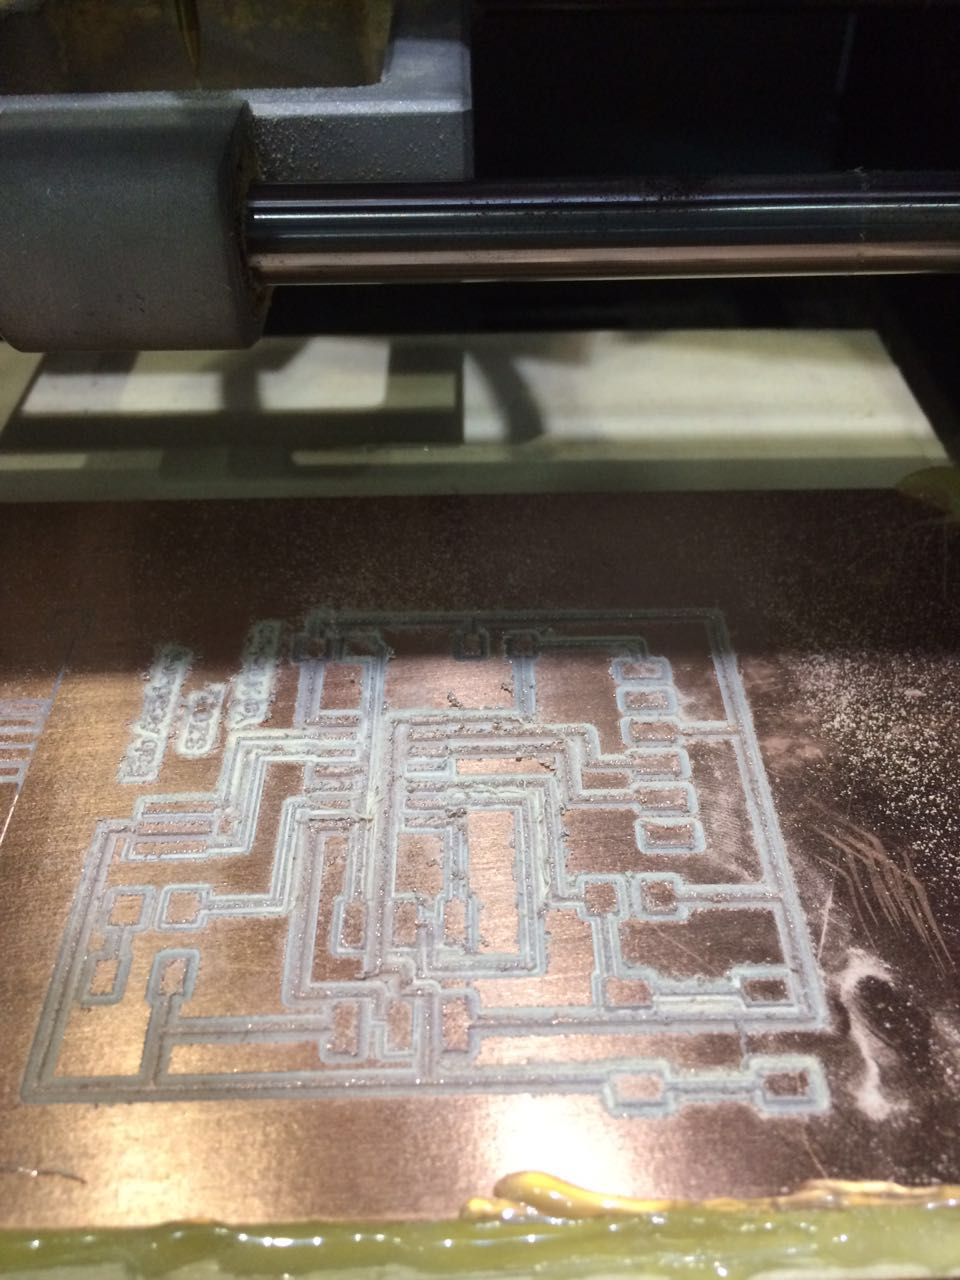
And I milled it with the machine.
And there are still some problems - since the dpi is too high, you can see something haven't been cut.
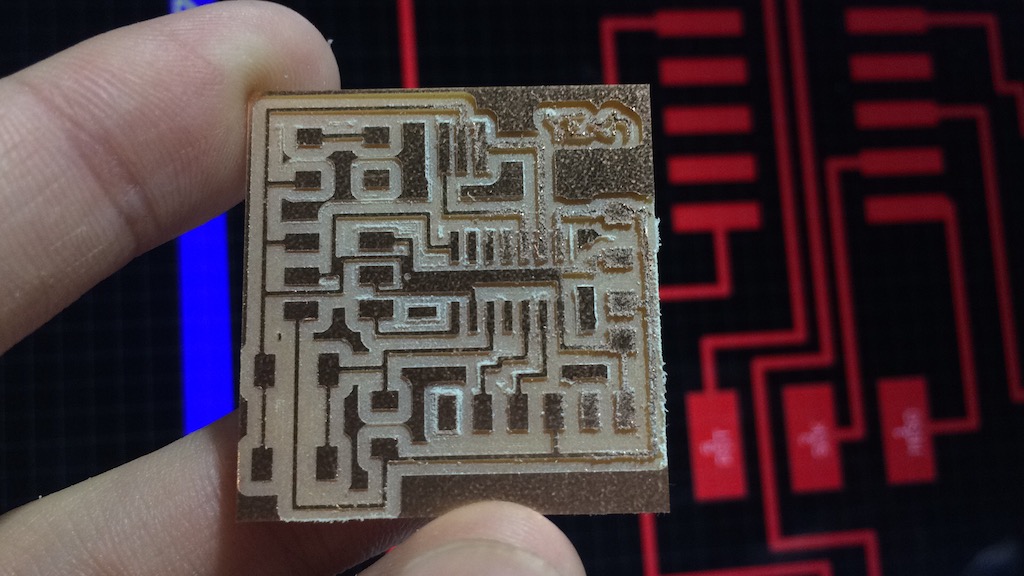
At last, I used the older version of Eagle. And I set the number of offsets to 1 and tool diameter to 0.25 mm
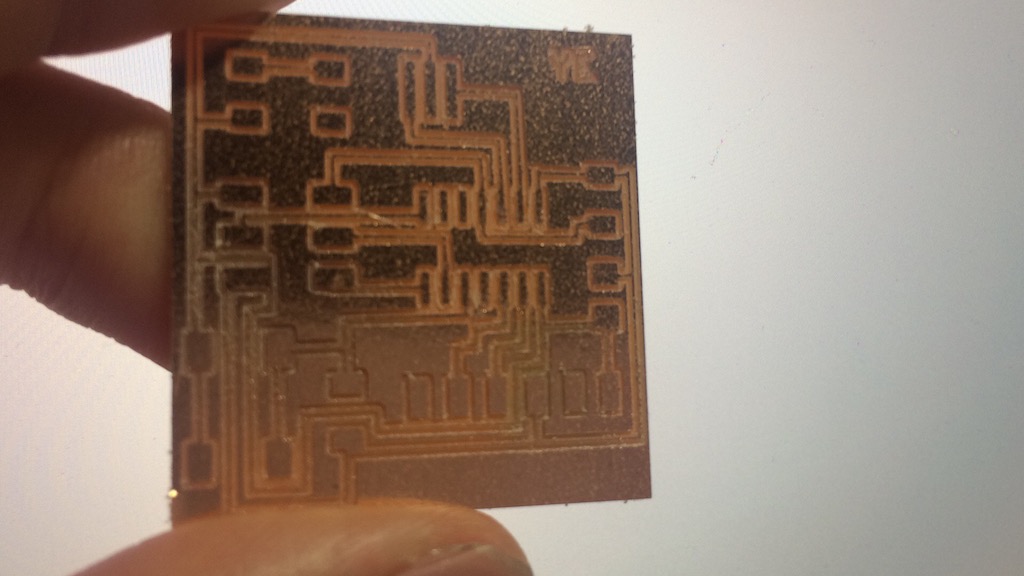
I change some details of it and tried quiet a lot times and successfully cut it out at last
I found it hard to cut 3 lines between the gap of the ATTINY44 so I modified a lot of times.
Here I got at last:
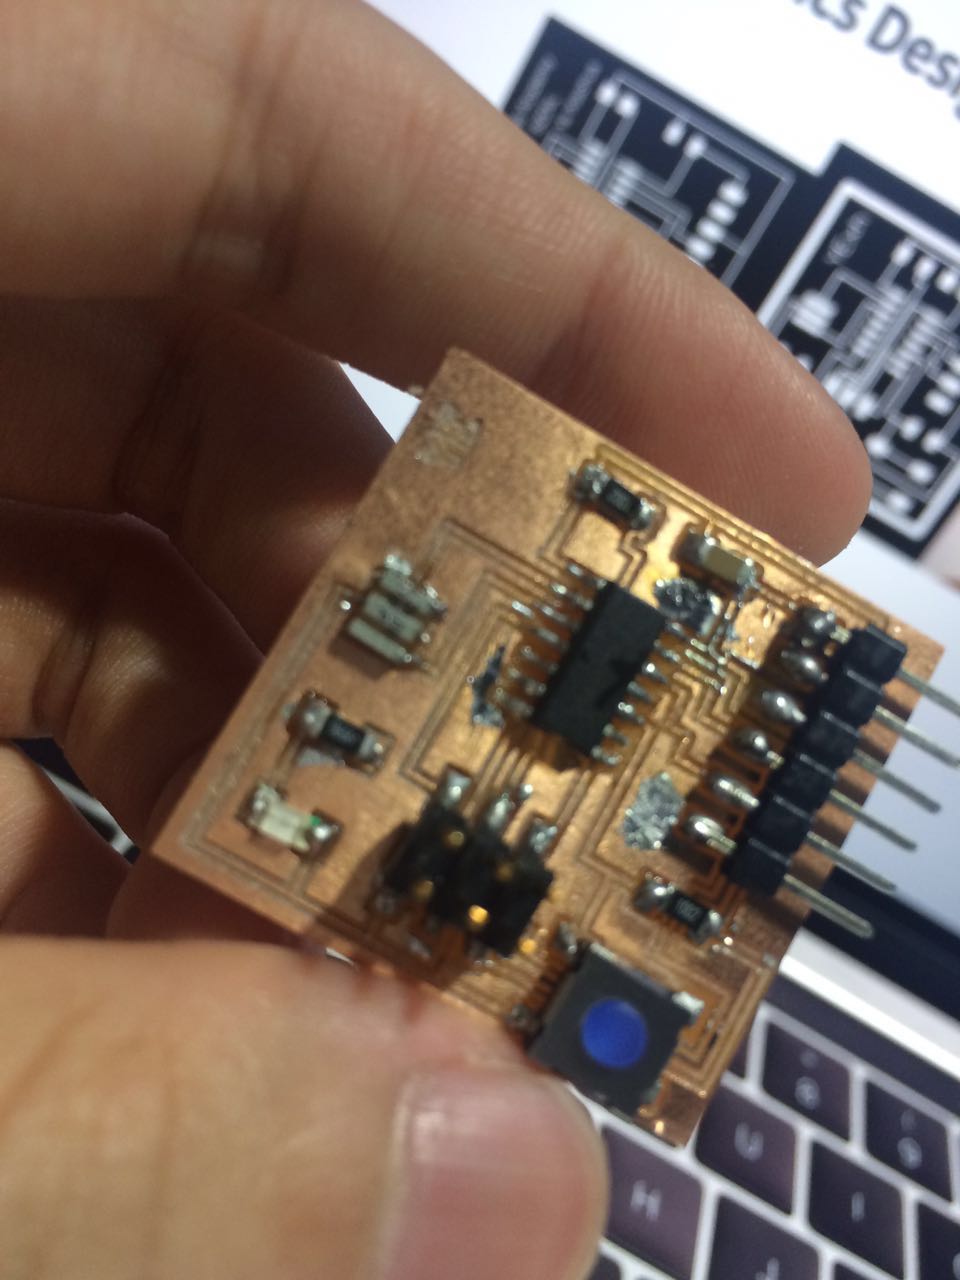
Then, solder the components
I failed so many so many so many ... times
But I manage to fix my board!!!!!!
There is something wrong with the mill machine - something didn't mill out
I use the knife to cut it, but some other traces were cut at that time
My instructor said there is no hope fixing it, so I redesign one and mill it.
But there is something wrong with my roland machine!! I change the setting in 7 times and the endmill broke 7 times!
Then I try to use the crop-paper to fix it - I cut it in very thin straps and solid it to the board
It was really hard and took me an hour to do it.
Then I found that I still can't write program in it, so I check again and found some bridge linked together.
Then I repeat the steps and fixed it and cut others.
Here are my steps:
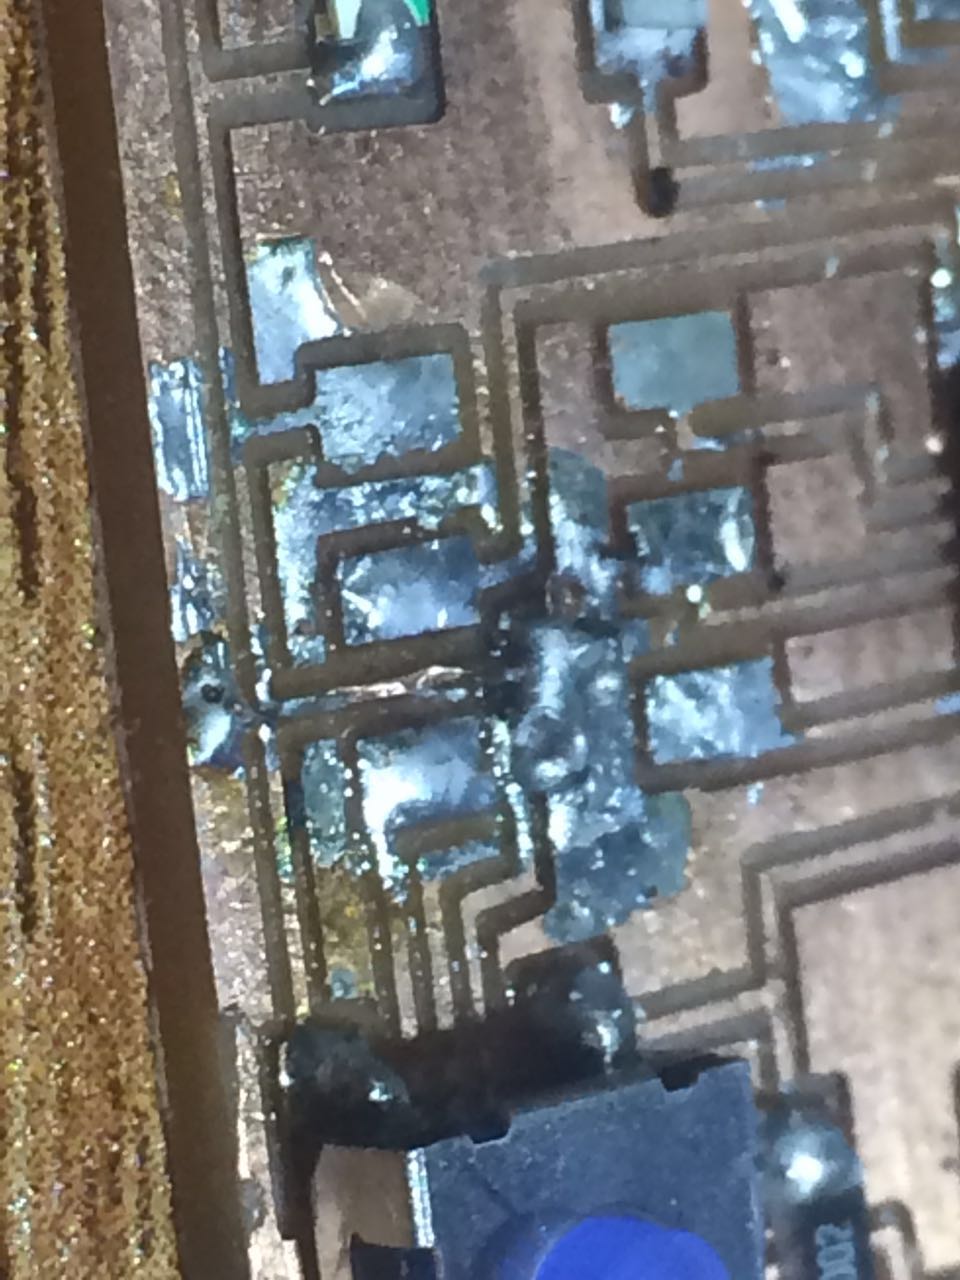
Here you see how many places I fix.
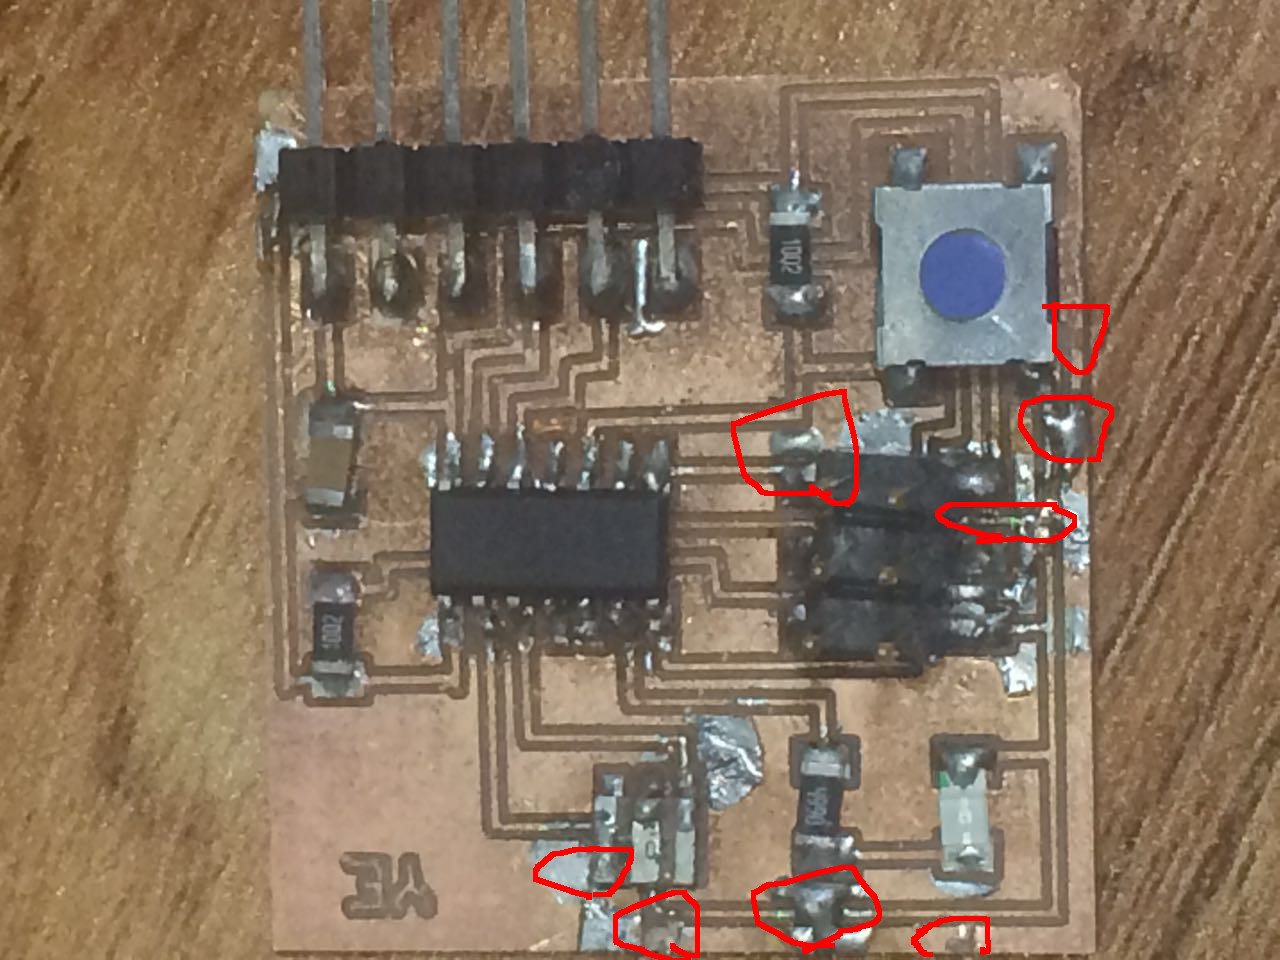
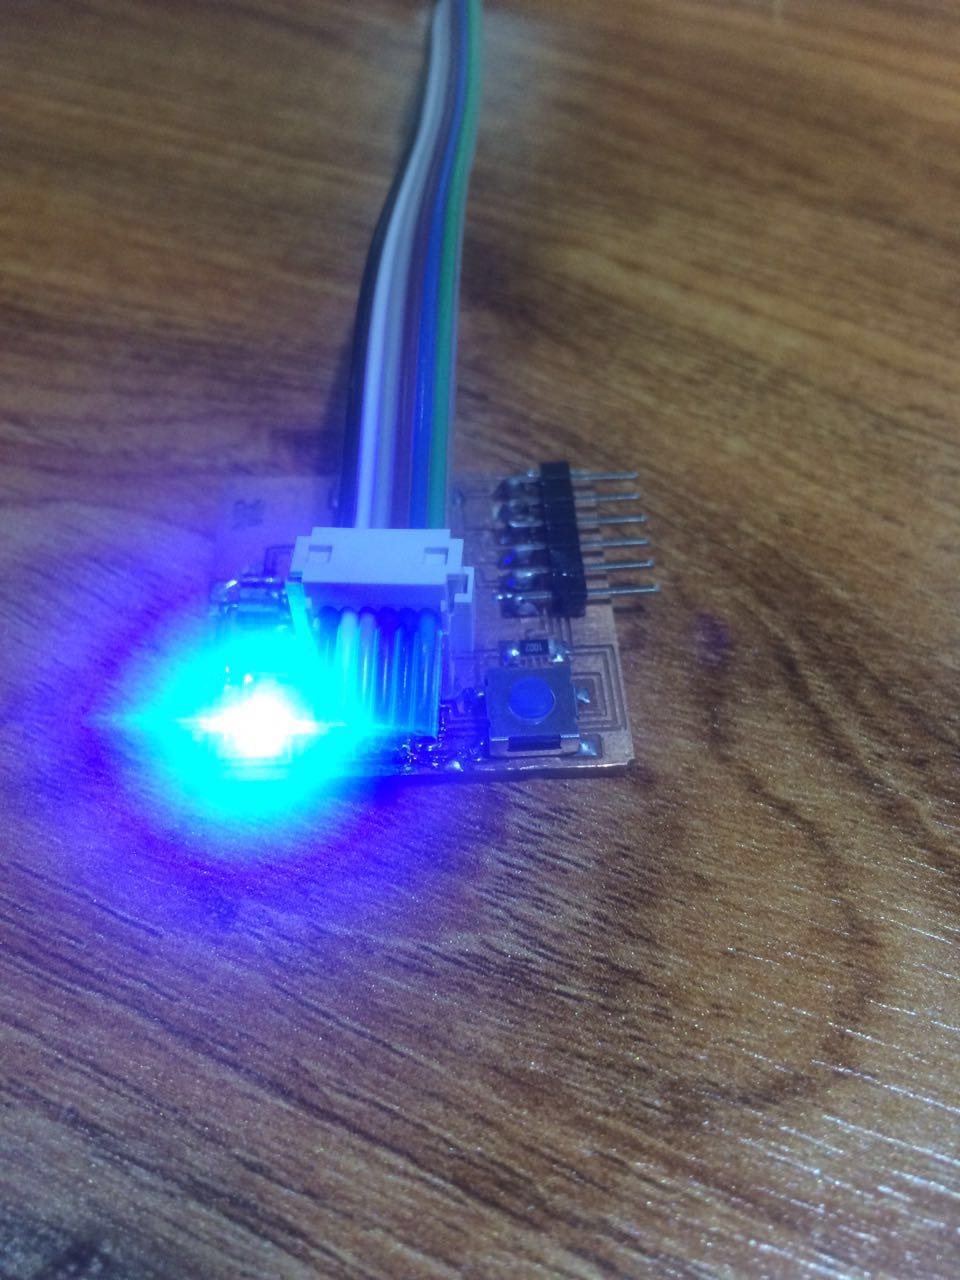
AND FINALLY I FINISH!!!!!!!!!!
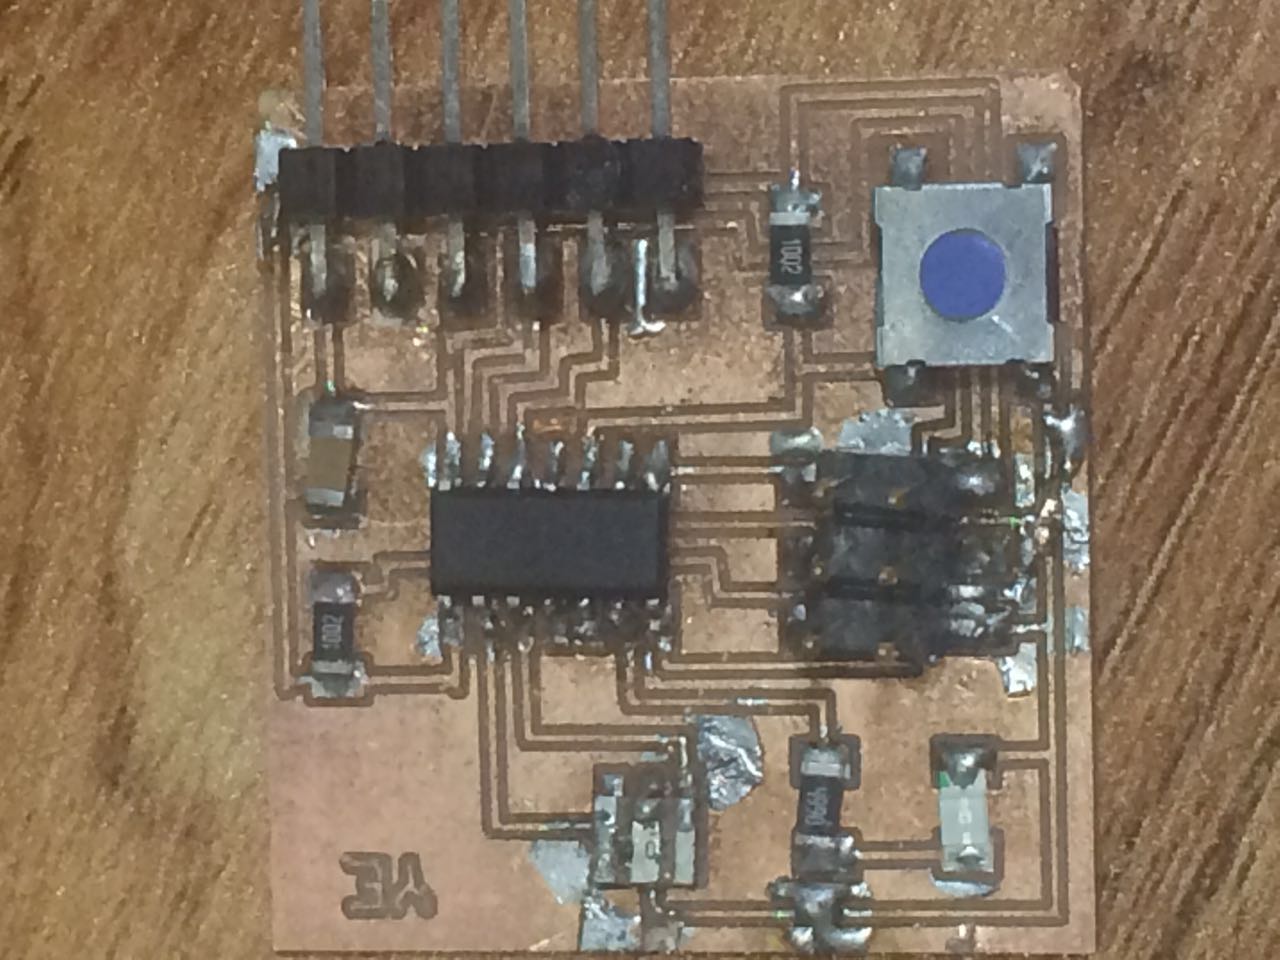
REALLY AMAZING!! you can use the crop-paper to fix the broken part. And use the knife to fix the linked part.