Week 5 Feb 22: 3D Scanning and Printing
3D scanning and designing and printing in additive processes
We're gonna upload physical stuff to virtual stuff with changeable dimensions and then we're gonna make that virtual stuff to actual tangible stuff again, but probably not as accurate nor as pretty, but hey we can make a dozen easily if we wanted to.
Now to be honest I have messed around with 3D printing machines, making cool stuff from thingiverse or bike/GoPro parts to use on my rides, but I haven't really understood how all the doo dads and numbers meant. I mean, simple stuff like thickness and nozzle size and temps to adjust minor things but I sat myself down, brewed some tea, turned on my computer and started playing hearthstone. After I lost 3 games to this BS(I was told I curse too much in the regional discussions and am trying my nominal best to improve such qualities) pirate meta, I started reading the material provided on the academy archive.
There are several different types of 3D scanning methods we touched upon in the lecture as well as what we have access to here in FabLab Seoul; of the many different types(I especially liked the milk idea) I've tried three different scanners, not due to my diligence and dedication to the art of learning but I couldn't get my $h1t together and cuz I was bored waiting for my design to print. Initially I tried the Da Vinci printer scanner all in one using the XYZ scanner program. At first I scanned a shot glass since I thought that it would be cool to have 3D printed ones for my alcoholic collection, but it turns out the reflective nature and the transparency of the glass does not provide a good contrast for the software to pick up. I then tried using my friends Pebble so we can make custom watch straps after finding out the size of the watch pins.
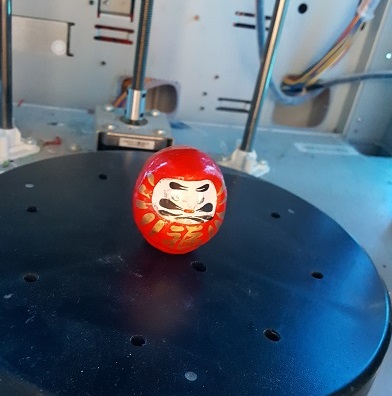
However it seems like it was still not getting a good scan, even through multiple scans. So lastly I tried a Daruma of which I have no idea where I got from and tried that since it had more height and I'd assumed an easier shape to 3D model and found some results, albiet lacking in details to be of much use. So in conclusion I decided I dislike the Davinci scanner greatly.
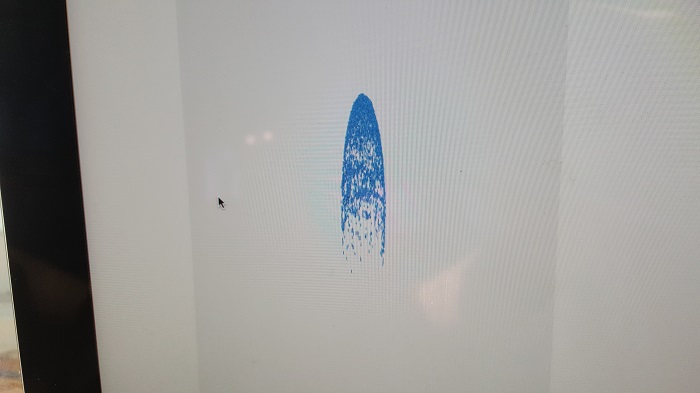
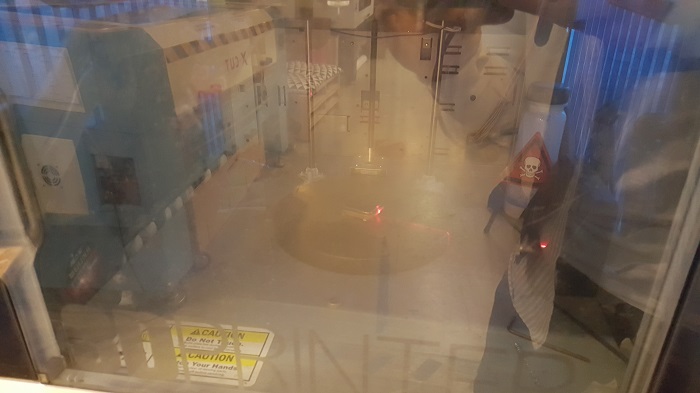
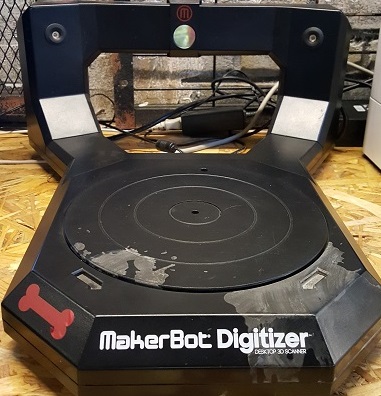
I decided to use the two other 3D scanners we have, just to see how their output files would differ. The Makerbot has stationary cameras with a turntable that takes a static picture of many sides of the object while spinning on the platform and the software will create a 3D object from the 2D pictures: nifty. Kinect on the other hand allows a camera to scan objects dynamically by moving the kinect around the subject and scanning it, which is quite fast and ideal for larger subjects as well, not to mention making fun poses to be scanned digitally(forgot to take progress pics because I was having too much fun, will add later) I also tried using a same object which was a small drunken cat I had on me. Unfortunately the Kinect could not detect the small object no matter how I tried different angles and locations and settings. But the Makerbot seemed alright and I can now say I made a CT scan.

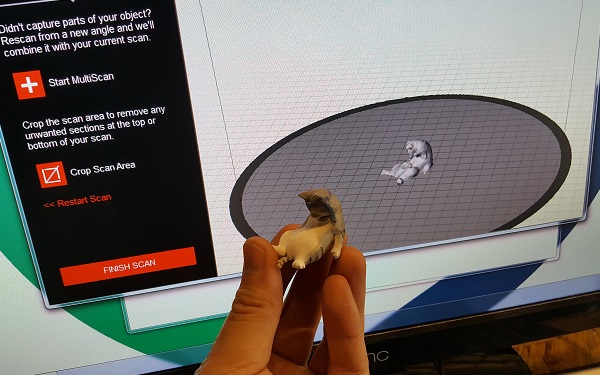
This is the .stl for the cat file: Download .stl file
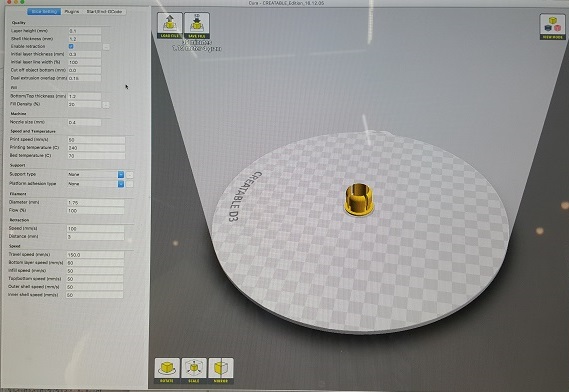
As for my 3D additive design print, I modeled a bike handlebar plug which I will add some LEDs in later to make rear facing cool bike lights which will be programmed with turn signals. I used Fusion 360 and exported it out to Meshmixer and straight to Cura as well, so I can use two different materials to see which would be better since the bike plugs would need to flex and snugly fit in the handlebar ends.
(Btw, for gifs showing progress on the computer, I use a screen capture program and capture only the program while I go "undo" and then "redo". This allows a much smaller video file to edit than just recording start from finish and you can add different video angles and comments if you wish)
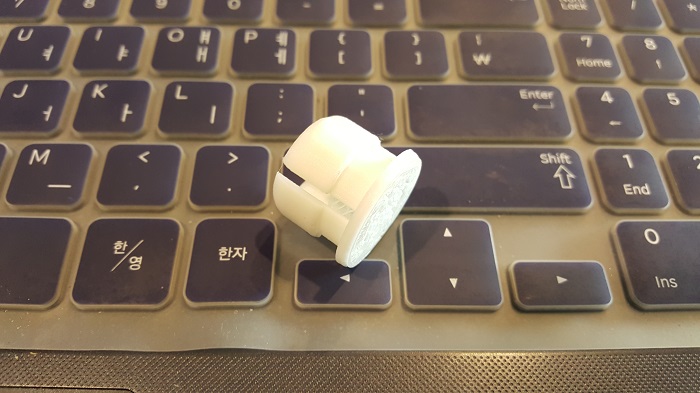
Not bad. The PLA version came out with almost no problems(there was some internal webbing which Eduardo explained was from either too high a temperature which causes parts normally not connected to be connecting and the retraction speed which can allow the layers to cool more before adding on and a lot of the detailing was lost on the bottom, which was to be expected) and I think I will continue with the ABS one to see the flex of the material but see no problems in adding LEDs soon.
This is the .f3d for the handlebar plug file: Download
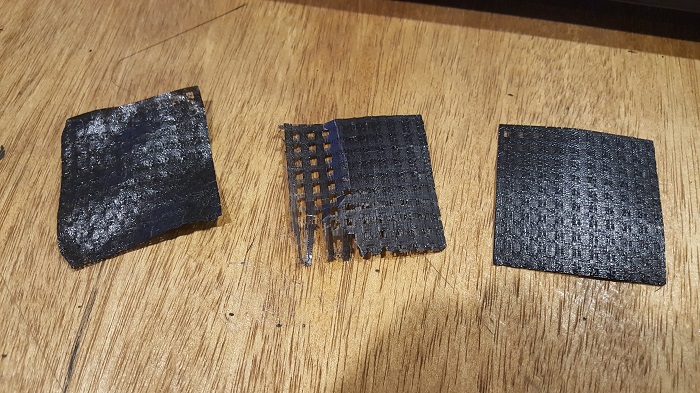
I also was working on making some faux carbon fiber strips made from PLA to make a ring wrapped around it, instead of messing around with the real thing which I learned was very irritating to work with, even a week later my fingers feel the carbon splinters. The first intially prints were... Shoddy at best but after increasing the temperature and adjusting the speed to smooth out the material and the level of the bed, the results were much better. I plan to print them out in a 45 degree angle so that will provide additional strength with the lateral direction. Will work with the paramaters of the machine to build a better product as well.
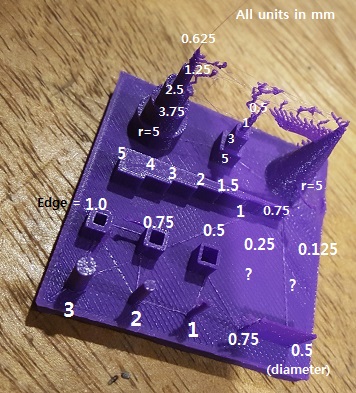
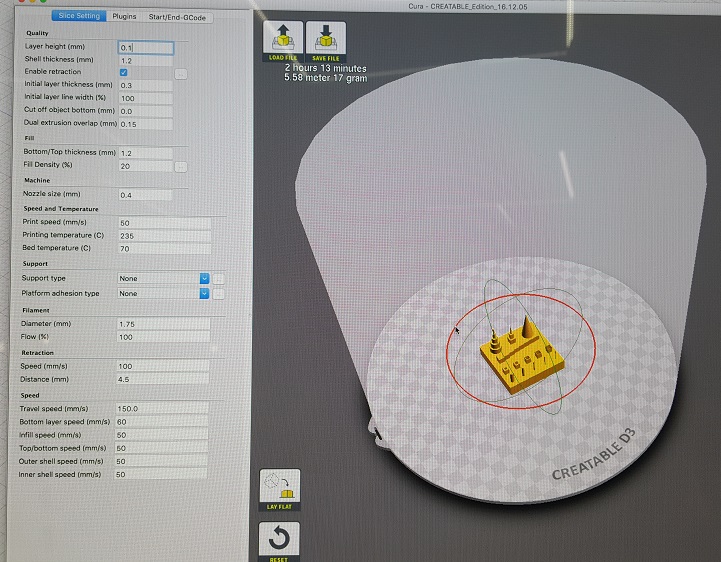
For the group project we decided on making different calibration tests on the Creatable D3 under a standard setting. We would build on a small 5x5 cm plastic board different objects such as bridges, polygon shapes, curved/angled inclines, cut outs, differing thicknesses, etc. I chose to do different thickness of cylinders and tubes(edges), some square bars, and some shapes of differing sizes with height.
This is the .f3d for the group project file: Download .f3d file
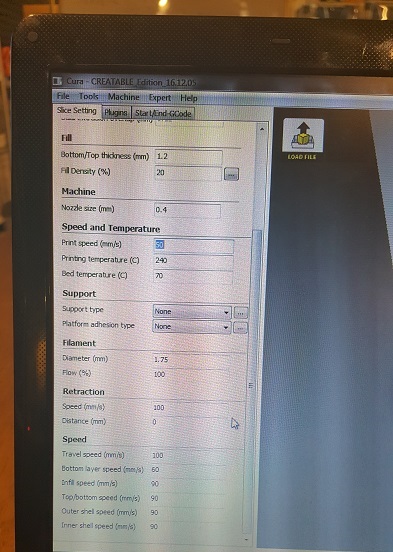
I chose 0.1mm for the layer height(0.05 being the smallest but that took too much time) with a fill density of 20%(usually standard), at a slightly slower print speed(prints better usually and I thought going slower especially in the smaller area would be better for the parts to cool down more) at a slighly high printing temperature(due to the fact it gets cold here after everyone leaves and turns off the heaters, and it usually prints more smoother) with no supports and a retraction distance of 4.5mm(again to let them cool more and to lessen unwanted connections between objects). However as you can see and as I have wisely named it this file "fail.f3d", we indeed experienced failure. The nozzle size being limited to 0.1mm I think was a big issue(I think that is why two of the objects didn't bother to print) and I still went too fast while at too high a temperature. I was surprised at the bottom right 2 where causing a web might have allowed them to print at all. Again on the second layer, we can see that a supporting length will also help print objects even though they are thinner. Anything lower than 1mm seems to suffer problems so I believe any object I 3D print should be kept bigger than that or will require more support.