Fithteenth week's Assigment
For this week, the assignments to be accomplish are:
- Make 3 boards and make them talk together using one f the protocols that Neil show last week!
- Learn about protocols and how devices talk to each other.
Design and Cuting the board
I choose to do S.Bus communication protocol! and it was a lot of reading and researching!! Actually is very difficut to explain the process for this week. So, I will do it from the end!
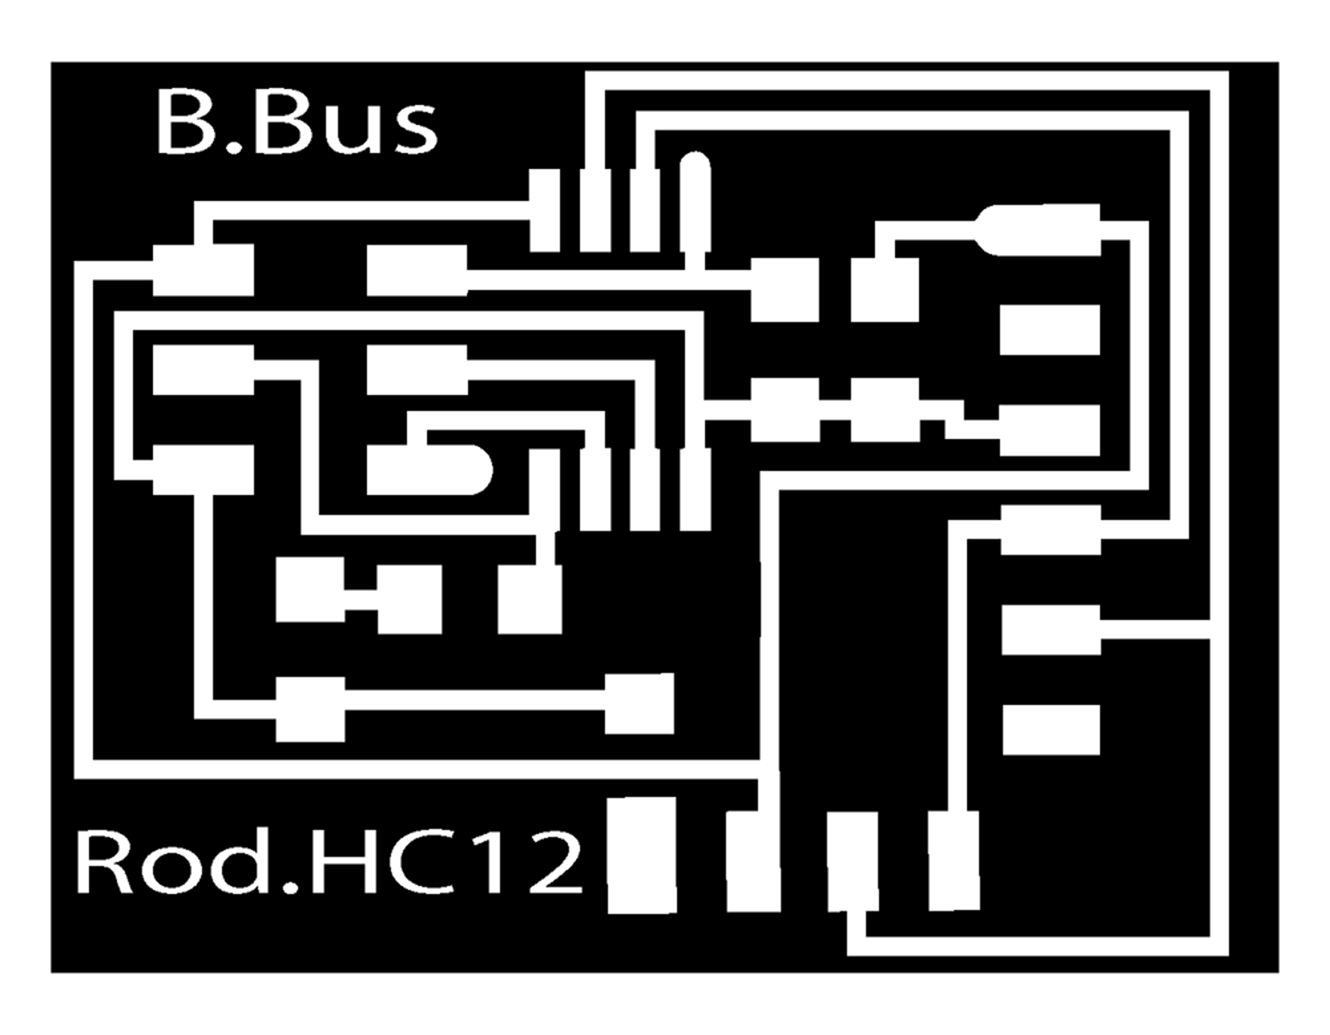
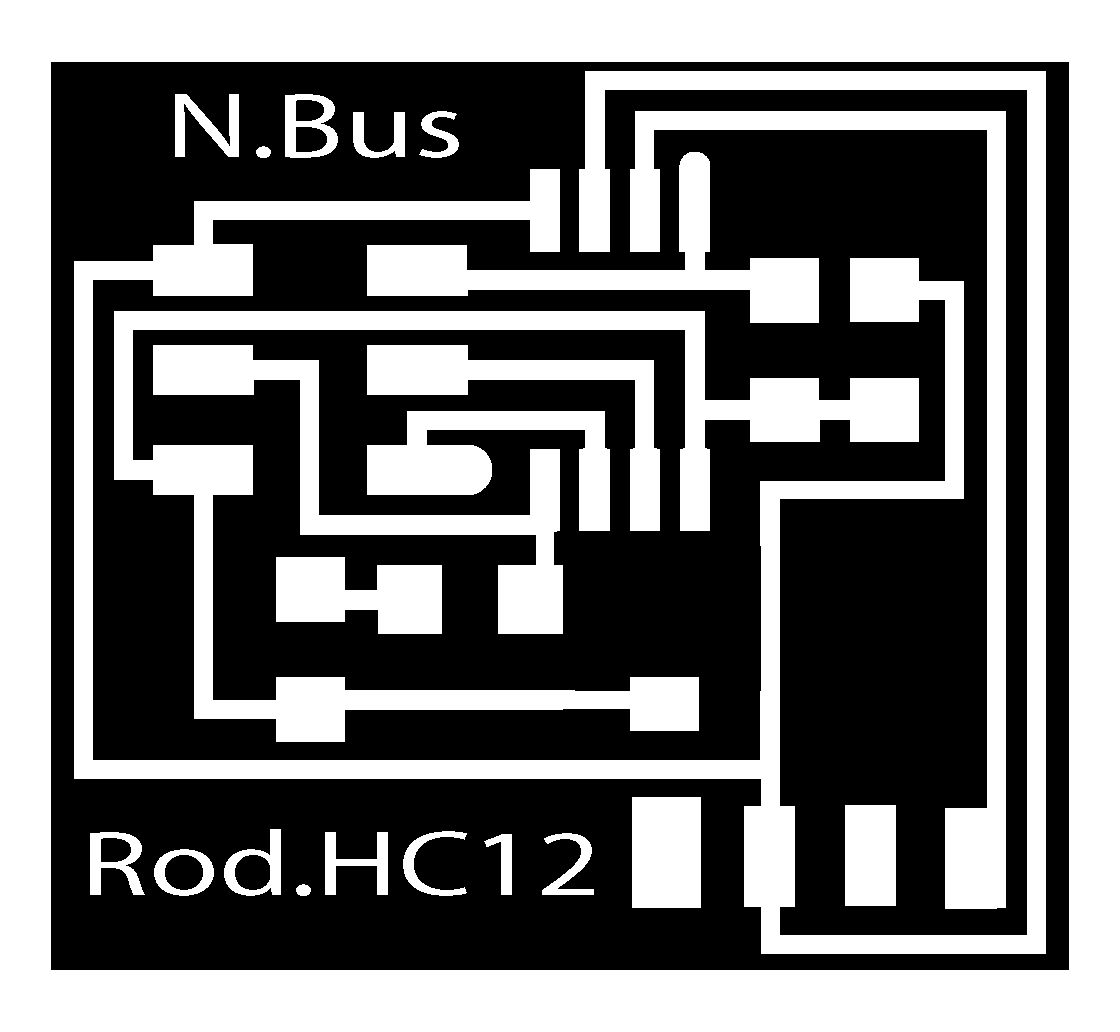 B.bus for the bridge board and N.Bus for the nodes, I had to use for the first time a 0 resistance jumper to connect the VCC comming in from the ISP VCC line.

 the board in the left is my bridge board with some VCC GND TX and RX line for S.Bus communication I change the board configuration compare to the one that Neil has in on the class archive. But i wanted to try to have option, try to use a wireless connection and if and case doesnt work still be able to finish the assigment for this week.

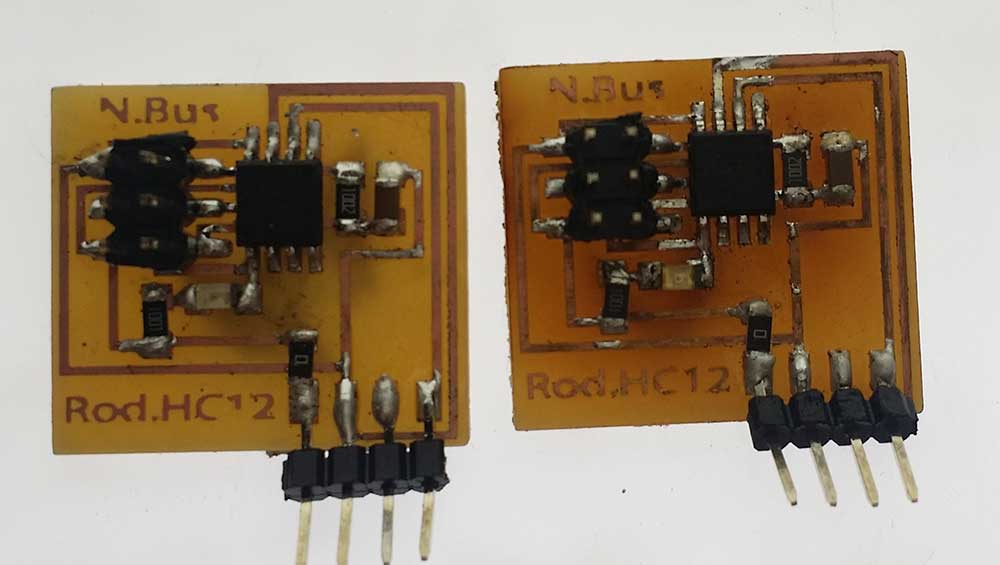
 one of the problems is was that one node board could was recognize by the terminal when setting up the hex file. and if you see the board inside the red circle is darker than the other ones and the reason is that I had to re-heated to help the re-flow and get better connections. It took me two time also I had to unsolder and resolder some parts that they didnt look shiny enough and it work!
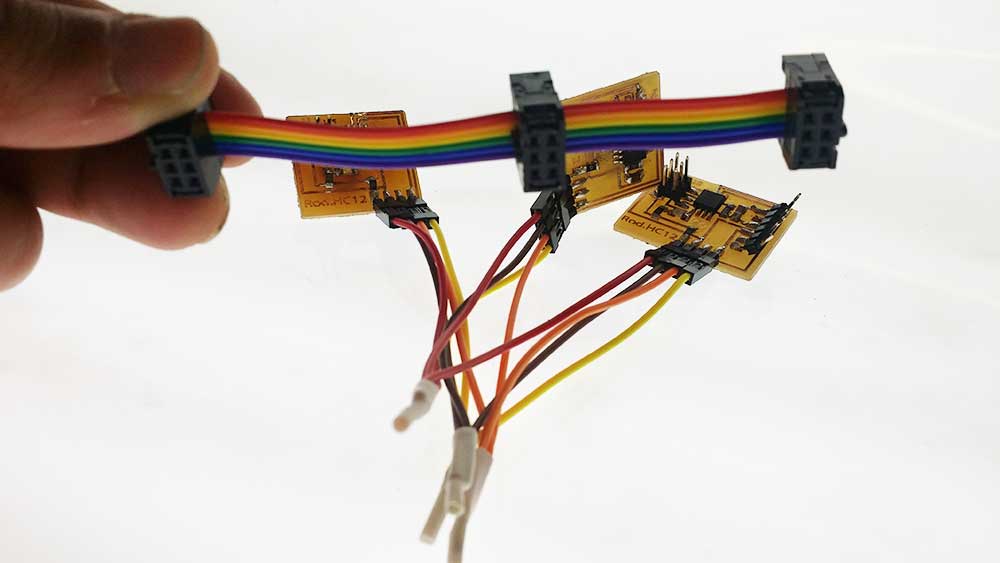
One of the inconvinient part was the connectivity with cable because the pins were adapted to work with a small transciver HC-12, So, if I want to use it with cable connection I had to make a triple connection as you can see in the picture on the right.
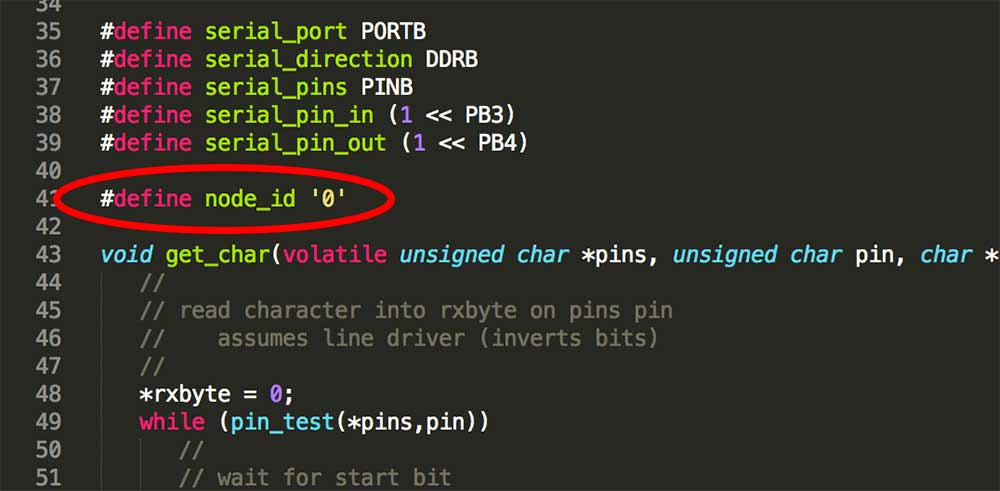
 the difficult part for me was to upload the raw C Makefile to the board, because I always did my own code for the my boards, (because they were simple), So, I had to teach myself how to dowload the files by opening a the "hello.bus.45.c" from Neil's web and edit the "ID" by changing the line #define node_id '0 or 1 or 2'for the Bridge and Nodes by changing the number as showed in the picture on the left.
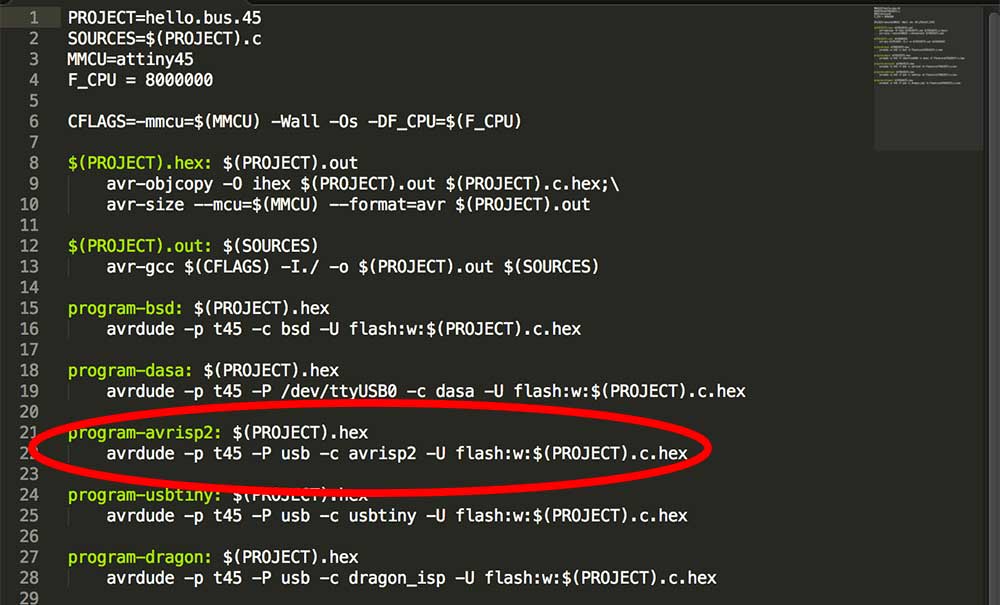
Once there you can go to the terminal and upload the code using the AVR commands that is listed on the Make file picture on the right.
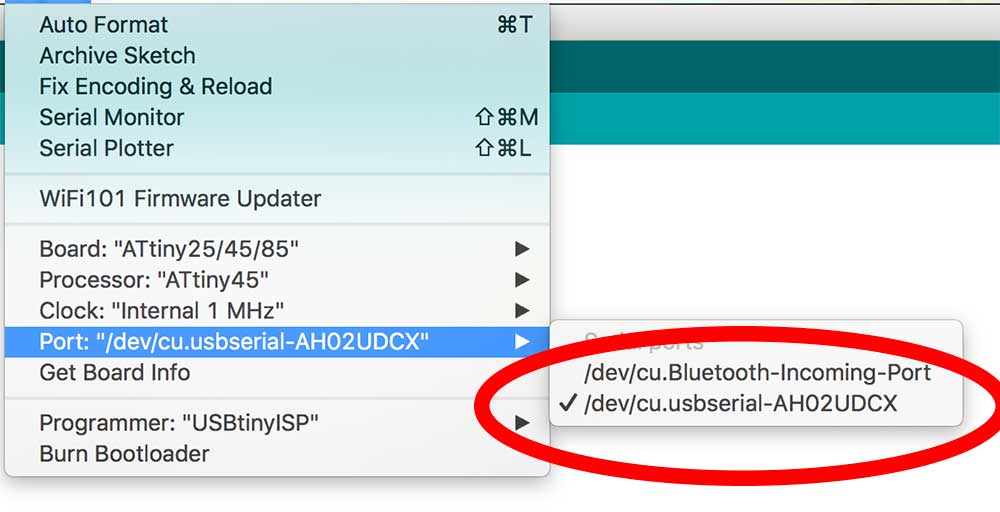
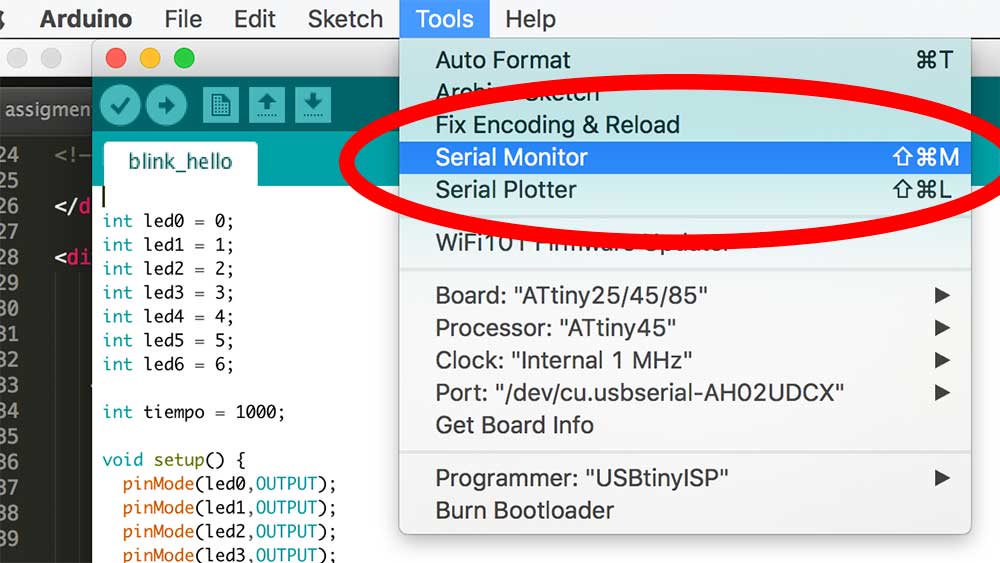 After you upload the code using the AVRdude commands you can go direct to the Arduino IDE and use you serial monitor (offcourse after connecting the right port and instal all the drivers) and give commands using the Arduino Serial Monitor GUI you can text the commands by "calling" the nodes by sending 0 + enter, 1 + enter, 2+ enter. and the boards should blink.
This links below help to study protocols
If anyone is using this website to follow the weekly assignment watch this videos before even starting doing the homework
Serial communication Protocol ,
I2C and ISP
Lessons Learnt
What I was not able to do this week:
- No able to use the HC-12 board, Althoug im learning and most probably will work later on.
- No able to make my own code
What I did but need to get better at:
- Learn Protocols
- Learn A lot more than I expected
- Teach Myself again how to use the AVRdude commands
| Week14 | Week16 |

